
Leaderboard


Popular Content
Showing content with the highest reputation on 02/16/21 in all areas
-
As soon as I saw £11k I thought bloody hell - Dick Turpins on the loose! £11k...really. As Dave says, as soon as the word Grant appears it is code for 'tax payer subsidy' to whichever charlatan attends a 4 hour course to become an 'accredited' installer of whatever bullshite they are peddling this time. Kingspan is £45/sh for 100mm inc VAT --> 30 sheets is £1350 with free delivery. You can probably get cheaper, Celotex or something - its all the same stuff. £11k - its digusting that they can be allowed to legally rip unsuspecting customers off like this. If it wasn't a 'Grant' scheme they would be on Cowboy traders - legalised criminality.4 points
-
In Belgium they say... Build your first house for your enemy, your second for a friend and the third one for you.2 points
-
It has been sub zero here since Christmas. The ground has been frozen solid for weeks. Today it has jumped to +10 and feels positively "warm". All the snow and ice is melting but is not soaking into the frozen ground. It's running off the fields in places it does not normally and running down the road and presently down next doors drive into his garden. Thankfully I saw this possibility and installed a drain channel and pipe to catch the water running down the road and pipe it down to the burn, that is working nicely.2 points
-
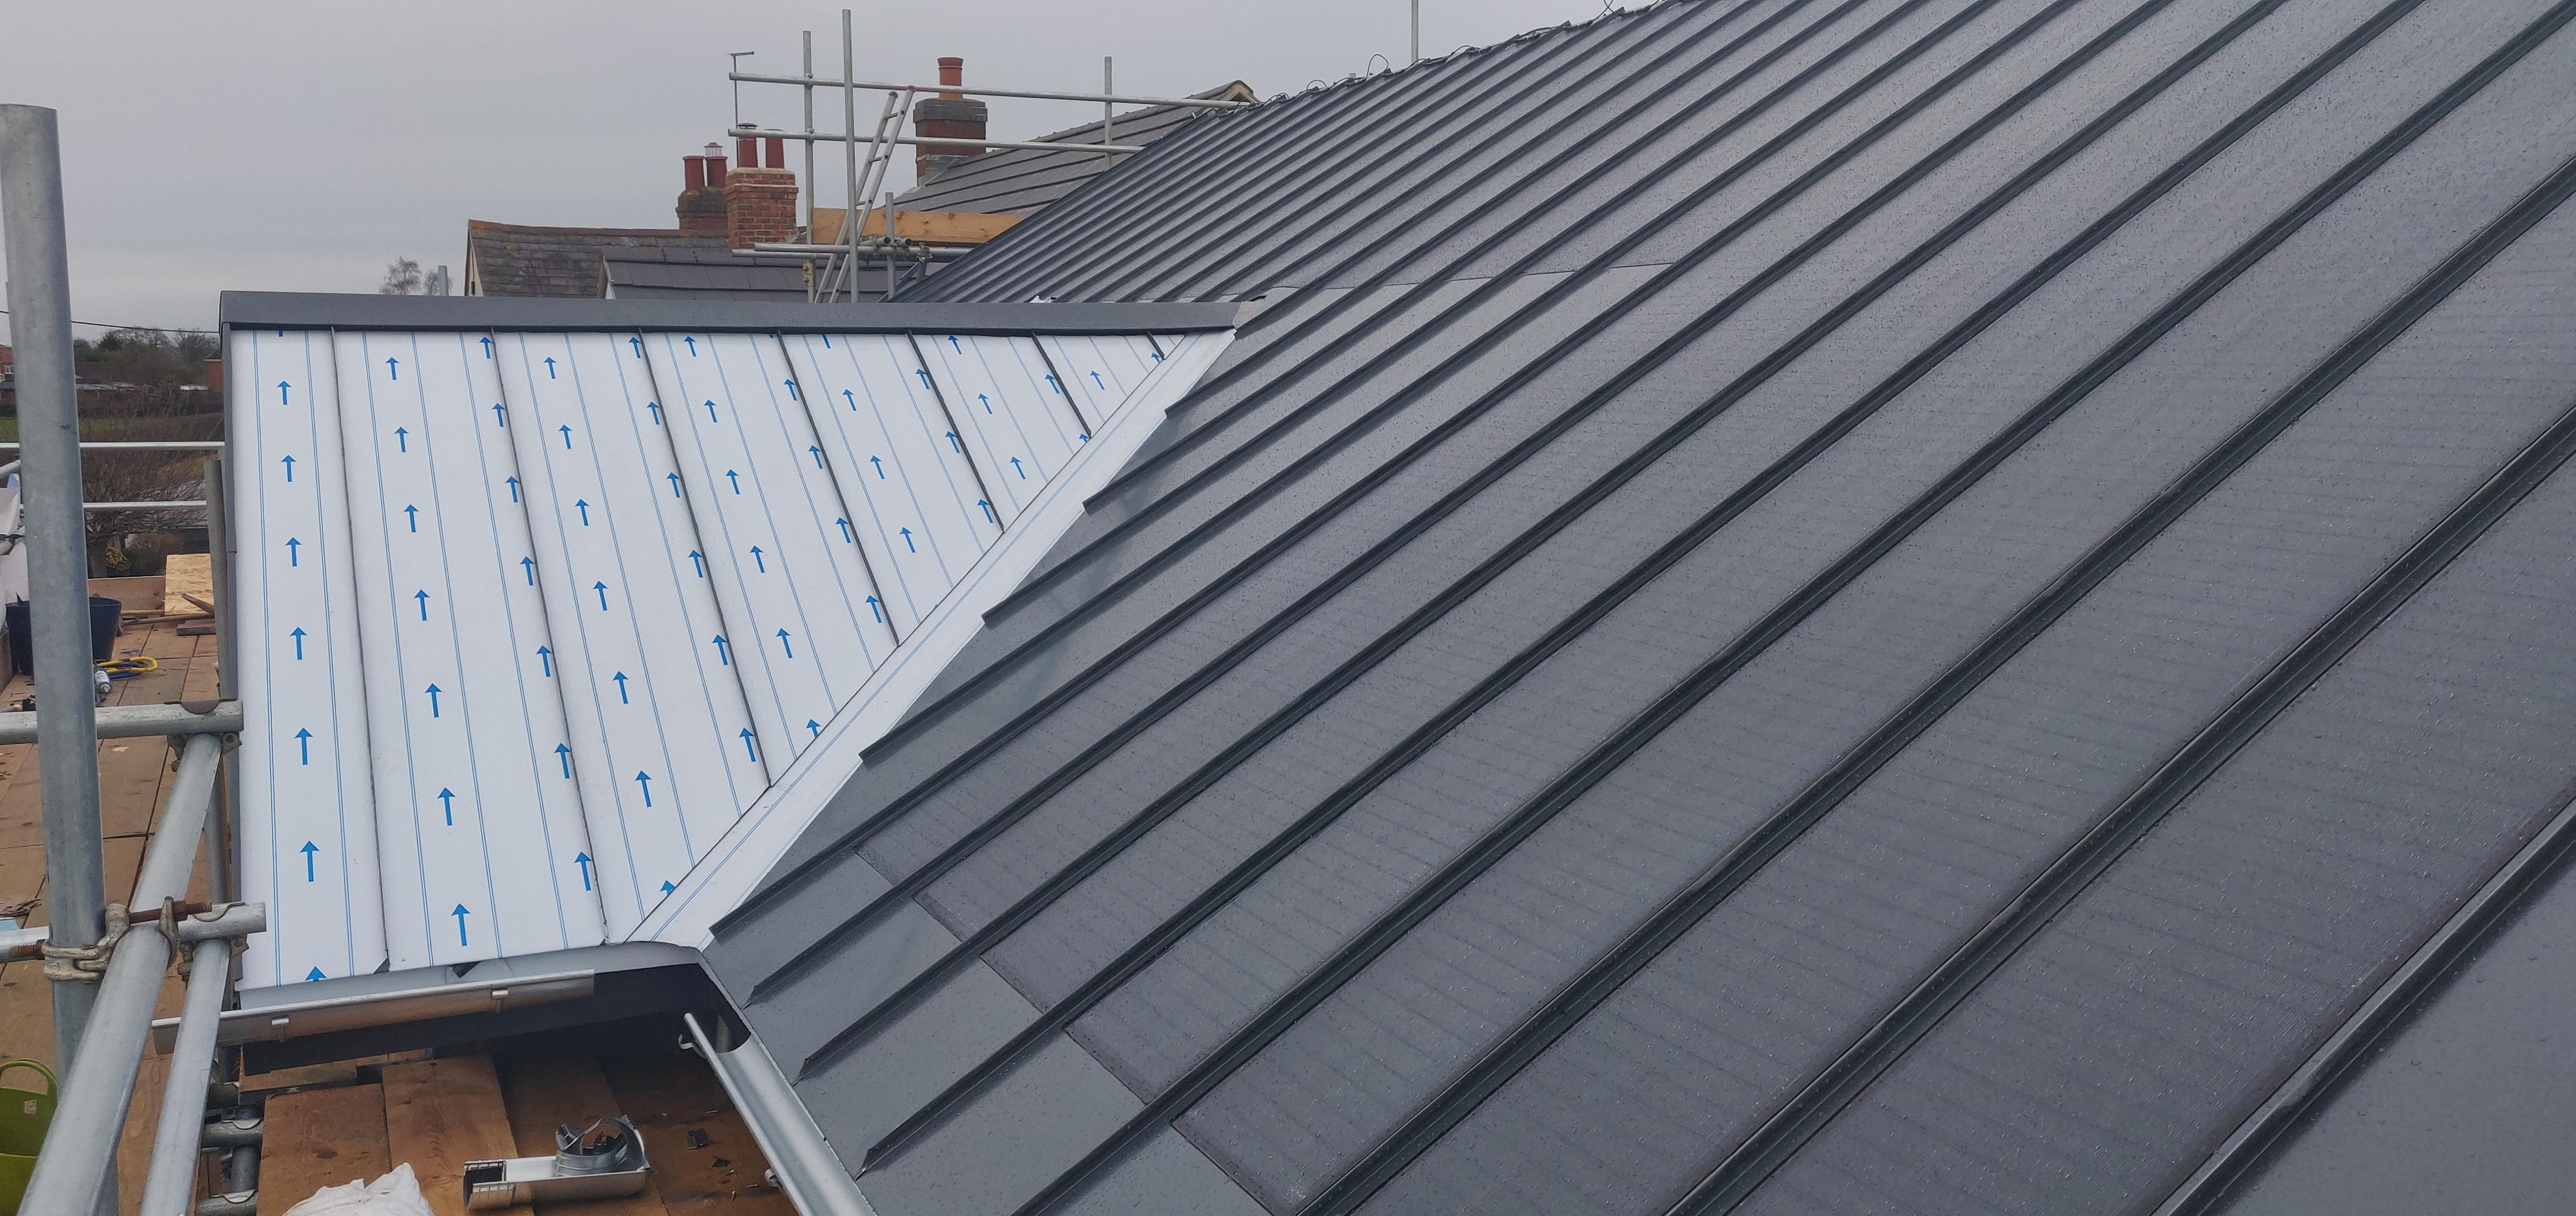
I'm really pleased with the way the solar panels and roof is looking
 2 points
 -
Why would a tree survey cost £1000 if you have no trees present. It should be around £300 you do the leg work first, so supply a site map so the arborists does not need to download one. Their report will be about a paragraph long, stating no trees on this site that have any significant amenity value and none that will be in the way of the future development. Job done. Or produce your own maps and photographs showing no trees and write in your submission beside tree report, no report obtained due to the site not having any trees. I did did a lot of legwork for my submission saving the planning consultant a lot of time. Regarding the piling, why would you offer a solution to a problem that doesn’t yet exist, wait for a soil survey before you think about piling.2 points
-
Having originally planned then dropped the idea of Solar PV (a combination of budget constraints and drop in FiT rates) I recently acquired a number of Solar PV panels (a pallet bought in conjunction with @ProDave from Bimble Solar via Ebay). Having recently collected the panels, lengths of mounting rail and various other bits and bobs @ProDave had kindly sourced, I fitted the system over the last two Saturdays. First off was mounting the rails on my rear, SW facing garage wall. I decided to mount the panels vertically simply for ease - a ready made structure to fix the rails to, and easy access to a consumer unit for the grid connection. There is a penalty in terms of a reduction in annual generation compared to a sloped array, however simplicity won out. The following picture shows the garage wall with rails fixed; To start I nailed packers to the cladding to ensure I had a drainage gap behind the rails. I then fixed the rails (Unistrut - a tip from @Onoff) through the cladding, cladding battens into the timber frame of the garage using timber drive bolts I happened to have. As the lengths of Unistrut I had were offcuts (only way I could transport them) I used joiners secured to the channel with bolts/channel nuts. Finally, I added hanging brackets for each panels to help carry the weight of each panel / so I wasn't reliant purely on bolts clamping the panels in position. I fitted the panels, sitting them on the hanging bracket and bolting them around 300mm from top and bottom as pictured; The ends were secured using Z brackets I cut down using a grinder (thanks @JSHarris) so that they clamped only the frame and did not overhang the panel itself; Long M6 bolts with large washers were used to secure the panels into the rails where they met with each other; The channel nuts (also known as Zebedees) into which the long M6 bolts were secured; I used M8 bolts and channel nuts for the joiners, end and hanging brackets. My electrician connected the system up, wiring the panels to a DC isolator, into the Inverter which in turn is wired into the garage CU via a meter and AC isolator. 2 hours work for him. Switched on, the Inverter ran through all its self tests and everything okay. Sadly at that point it clouded over and the heavens opened so only a few watts being generated. Fortunately, today has been a bright and sunny day (albeit a bit hazy) and my 1.5 kWp system is as we speak, generating 1.2kW. The following shot was taken yesterday just before the rain came on, but all in all, I'm pleased with the way it looks (panels mounted so they read visually with house windows). Cost wise the system (1.5kWp plus a spare panel), mounting rails, nuts, bolts, brackets, isolators, meter and electrician (@Prodave was kind enough to give me the DC cable he had left over which was just enough for the job) total £550. I already had the inverter. Final job within the next 28 days is to notify the DNO of the installation.1 point
-
One of the more onerous (read expensive) planning conditions related to the driveway design and protection of tree roots. We were required to install a "no dig" foundation layer using Core geocells (or similar) after the planners were happy with the site fencing, but before the old bungalow was demolished. Typically the planners said "no" the first time we applied for discharge for no readily apparent reason. I re-applied having done more work for an unrelated condition and they said "yes". Braced fencing and signage seemed really important to the planners. So I have lots, all bought for bargain price second hand. We didn't spend much time on site in 2018 or the early part of 2019 because of a perfect storm of family things and working away from home. The winter of 2018 was not kind to the bungalow. there was a lot of rain and several periods of extremely high wind. This redistributed the roofing felt over the lawn and caused the very rotten parts of the structure to collapse. Everybody needs a site office! A bargain £250 caravan will do nicely for a while. Getting a good start on the driveway. Wooden sleeper edging in place and the first couple of geocell panels pinned down. The first (of many) loads of stone. And my old, but perfectly formed digger. (called Digby) A little while later we have most of a driveway. The other entrance is waiting for the land drains to be completed and for the small swamp to become less swampy. This is however enough access for the next stage of proceedings.1 point
-
Any recommendations? Been looking online and for around 300 can get a very small kitchen set. I'm going to butcher this to suit our temporary needs ( 'temporary' means I reckon maybe a year with it ) I'll buy the appliances we want e.g. cooker, hob etc. and just wack them in.1 point
-
I do most the cooking ! I am an excellent cook !1 point
-
If you want that, you need to be the person to *use* it.1 point
-
Going to do that aswell . Remember I need some SWMBO kudos !1 point
-
^^^ That is why I am not volunteering. It would be more "complicated" if you flooded the flat below.1 point
-
If this is under class q, the legislation states (my emphasis) "(3) Development under Class Q is permitted subject to the condition that development under Class Q(a), and under Class Q(b), if any, must be completed within a period of 3 years starting with the prior approval date." This is the law, so will not be a planning condition.1 point
-
Get a couple of trestles and plywood and cut a sink out and sit a microwave on it. Make another and there is the prep space.1 point
-
If you have a Howdens account keep an eye on their special offers, they often sell off end of line left over units or worktops really cheap. Just having a look back and they have had odd kitchen units for as little as £10 and 3M worktops for £30. All very much branch dependent I would think.1 point
-
Grow rice.1 point
-
Just watch Howdens for worktop lengths. Less than 3m it’s about £15/m, go over and it jumps to double that for the same stuff.1 point
-
8 unit rooster deal minus appliances is £425 ex vat. Inc doors etc but not sure worktop but that is only £40 https://www.howdens.com/rooster-deals1 point
-
This just seems to reinforce the impression that as soon as you mention any form of "grant" the prices charged by the installers mysteriously jumps up massively, so most of the grant money just ends up lining the pockets of the installers and not of benefit to the home owner. It is about time this was investigated to see if the tax payer is getting value or not,.1 point
-
It depends on you soil makeup, mine is thin soil over solid yellow clay so nowhere for the water to go but evaporate. Getting machines on already wet ground is not a good idea although a tracked machine will make less mess that a JCB like I have.1 point
-
We did the same as you, our plot was part of the land belonging to a cottage we had bought and lived in for a year. We originally were going to put two bedrooms and a toilet upstairs and had gone through the process right up to getting the building warrant to do the work. We decided against doing the work as it appeared we weren’t going to recoup the cost of doing the work when we sold. We handed over all the paperwork to our solicitor so that the buyer could do the work if they wanted to but when I spoke to them after the sale was through they weren’t even aware of the plans and their solicitor had never handed it over to them so a total waste of time and money on our part.1 point
-
This sort of thing? https://www.ebay.co.uk/itm/Modern-Kitchen-5-Units-Cabinets-Set-Dark-Oak-Cupboard-Worktop-Budget-Cheap-Small/113054393917?hash=item1a5291263d:g:-m4AAOSwqApdpbdh1 point
-
I am not convinced that planning consent would add much to the sale value and if the prospective buyer does not like the scheme they may feel they are paying extra for something they don't want.1 point
-
Welcome ... Unless you have shares in an electricity company, forget the ASHP and keep the oil. You would have to put a significant amount of insulation and air tightness products and effort into the building to get anywhere with a heat pump. It just won’t be big enough or be able to cope. Controversially, if you want something RHI related and have the old Victorian chimney then pellet or biomass boiler may be an option.1 point
-
I think of it like pushing a weight up-hill. Heat naturally wants to go from hot to cold ("downhill") - but the bigger the hill (the bigger the temperature difference between the outside air and the water flowing around the heating system), the more work you need to do to push it up the hill. Flow rates make a small difference, basically there's a sweet spot for efficiency where the work you do pumping the water or air is more than the improved heat transfer. Best just to leave the heat pump to do it's own thing there - that sort of thing is programmed in at the design stage.1 point
-
While researching this topic I read somewhere that one bonus of using substantial valley backing is that the valley (if wide enough) then becomes a useful roofer footpath up to the ridge for maintenance.1 point
-
That’s exactly what we did
 1 point
 -
It is the Carnot Cycle Heat Engine principles. The electrical energy that you put into a heat pump just drives a compressor, fan and a water pump, the rest of the energy comes from cooling the air though the external heat exchanger. If you cool a mass of anything, it releases energy, how fast you do it is the power. Energy is measured in joules [J], power is in watts [W]. A watts (not Watt, as that was the man) is 1 J.s-1. If the ambient air is very cold, i.e. close to the temperature of the external heat exchanger, very little energy can be extracted, and what can be extracted takes along time, which is more electricity to drive the compressor, fan and pump When the compressor control gear senses these conditions, it turns on a very basic electrical resistance heater, this drops the efficiency to just below 1 i.e. more energy is going into the ASHP tan is coming out. Another way to think of it is as a lever with a moveable pivot point. When conditions are idea, a lot of mass can be moved with one stroke, when they are suboptimal, many strokes, of a small mass have to be used. So basically the compressor is spinning without compressing the refrigerant gas much, the air fan is at full speed, but little energy can be extracted from the cold air as it is almost at equilibrium with the expanding refrigerant gas in the evaporator. Luckily these conditions never last long in the UK (I expect not many people will complain about their ASHPs now that air temperatures have risen 15°C).
 1 point
 -
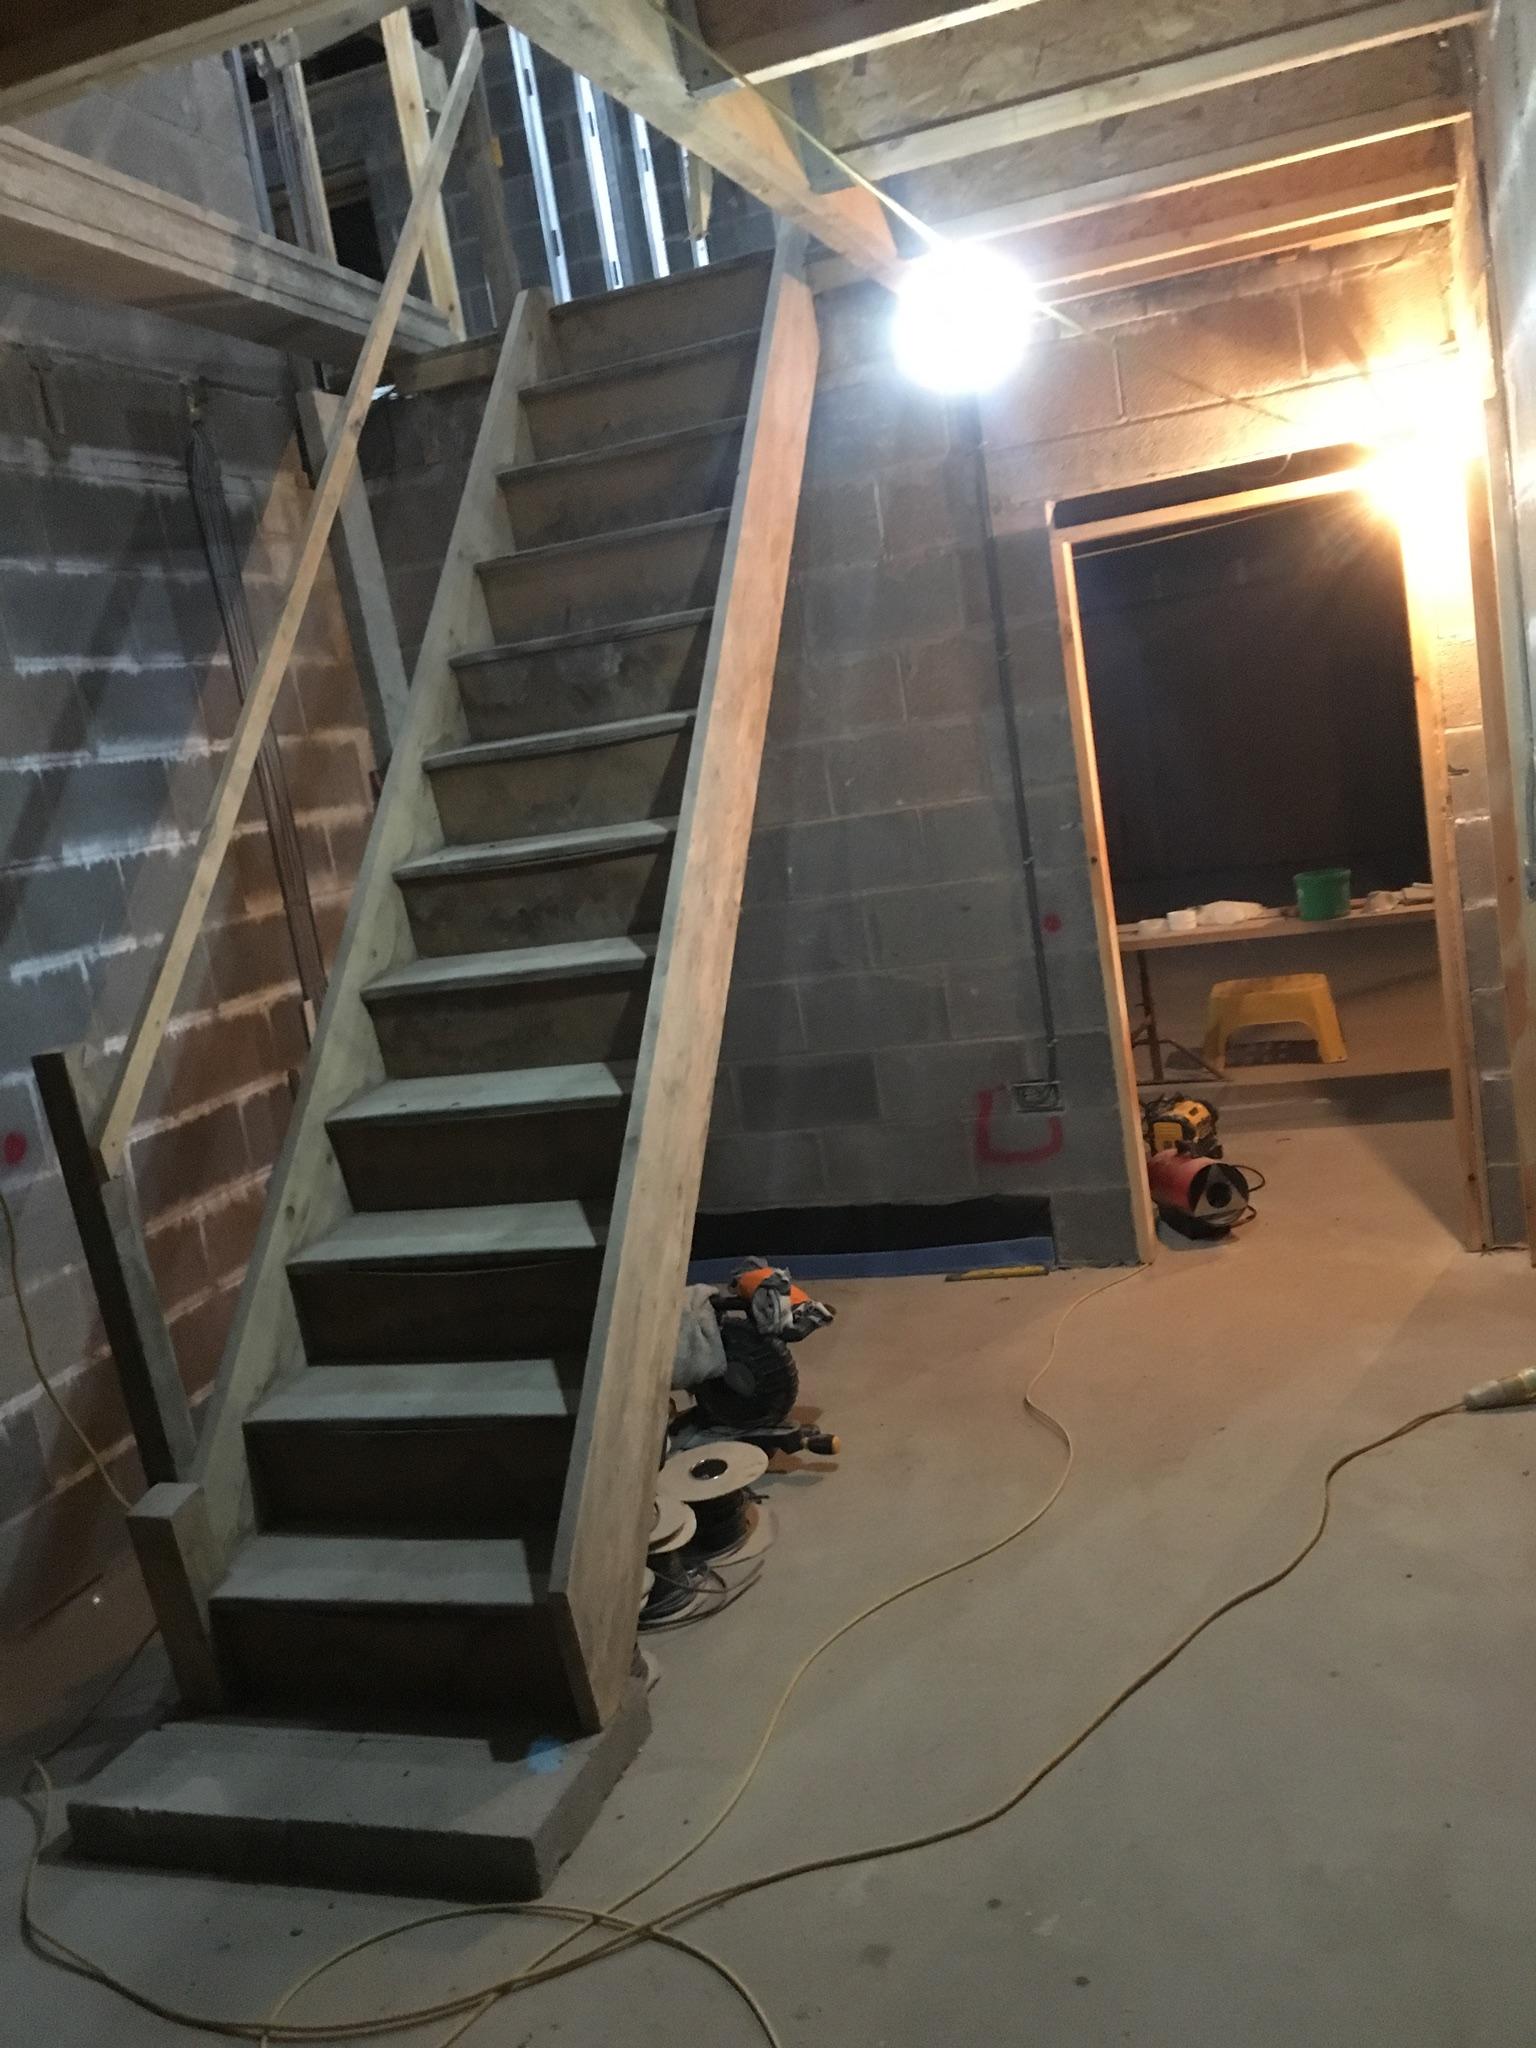
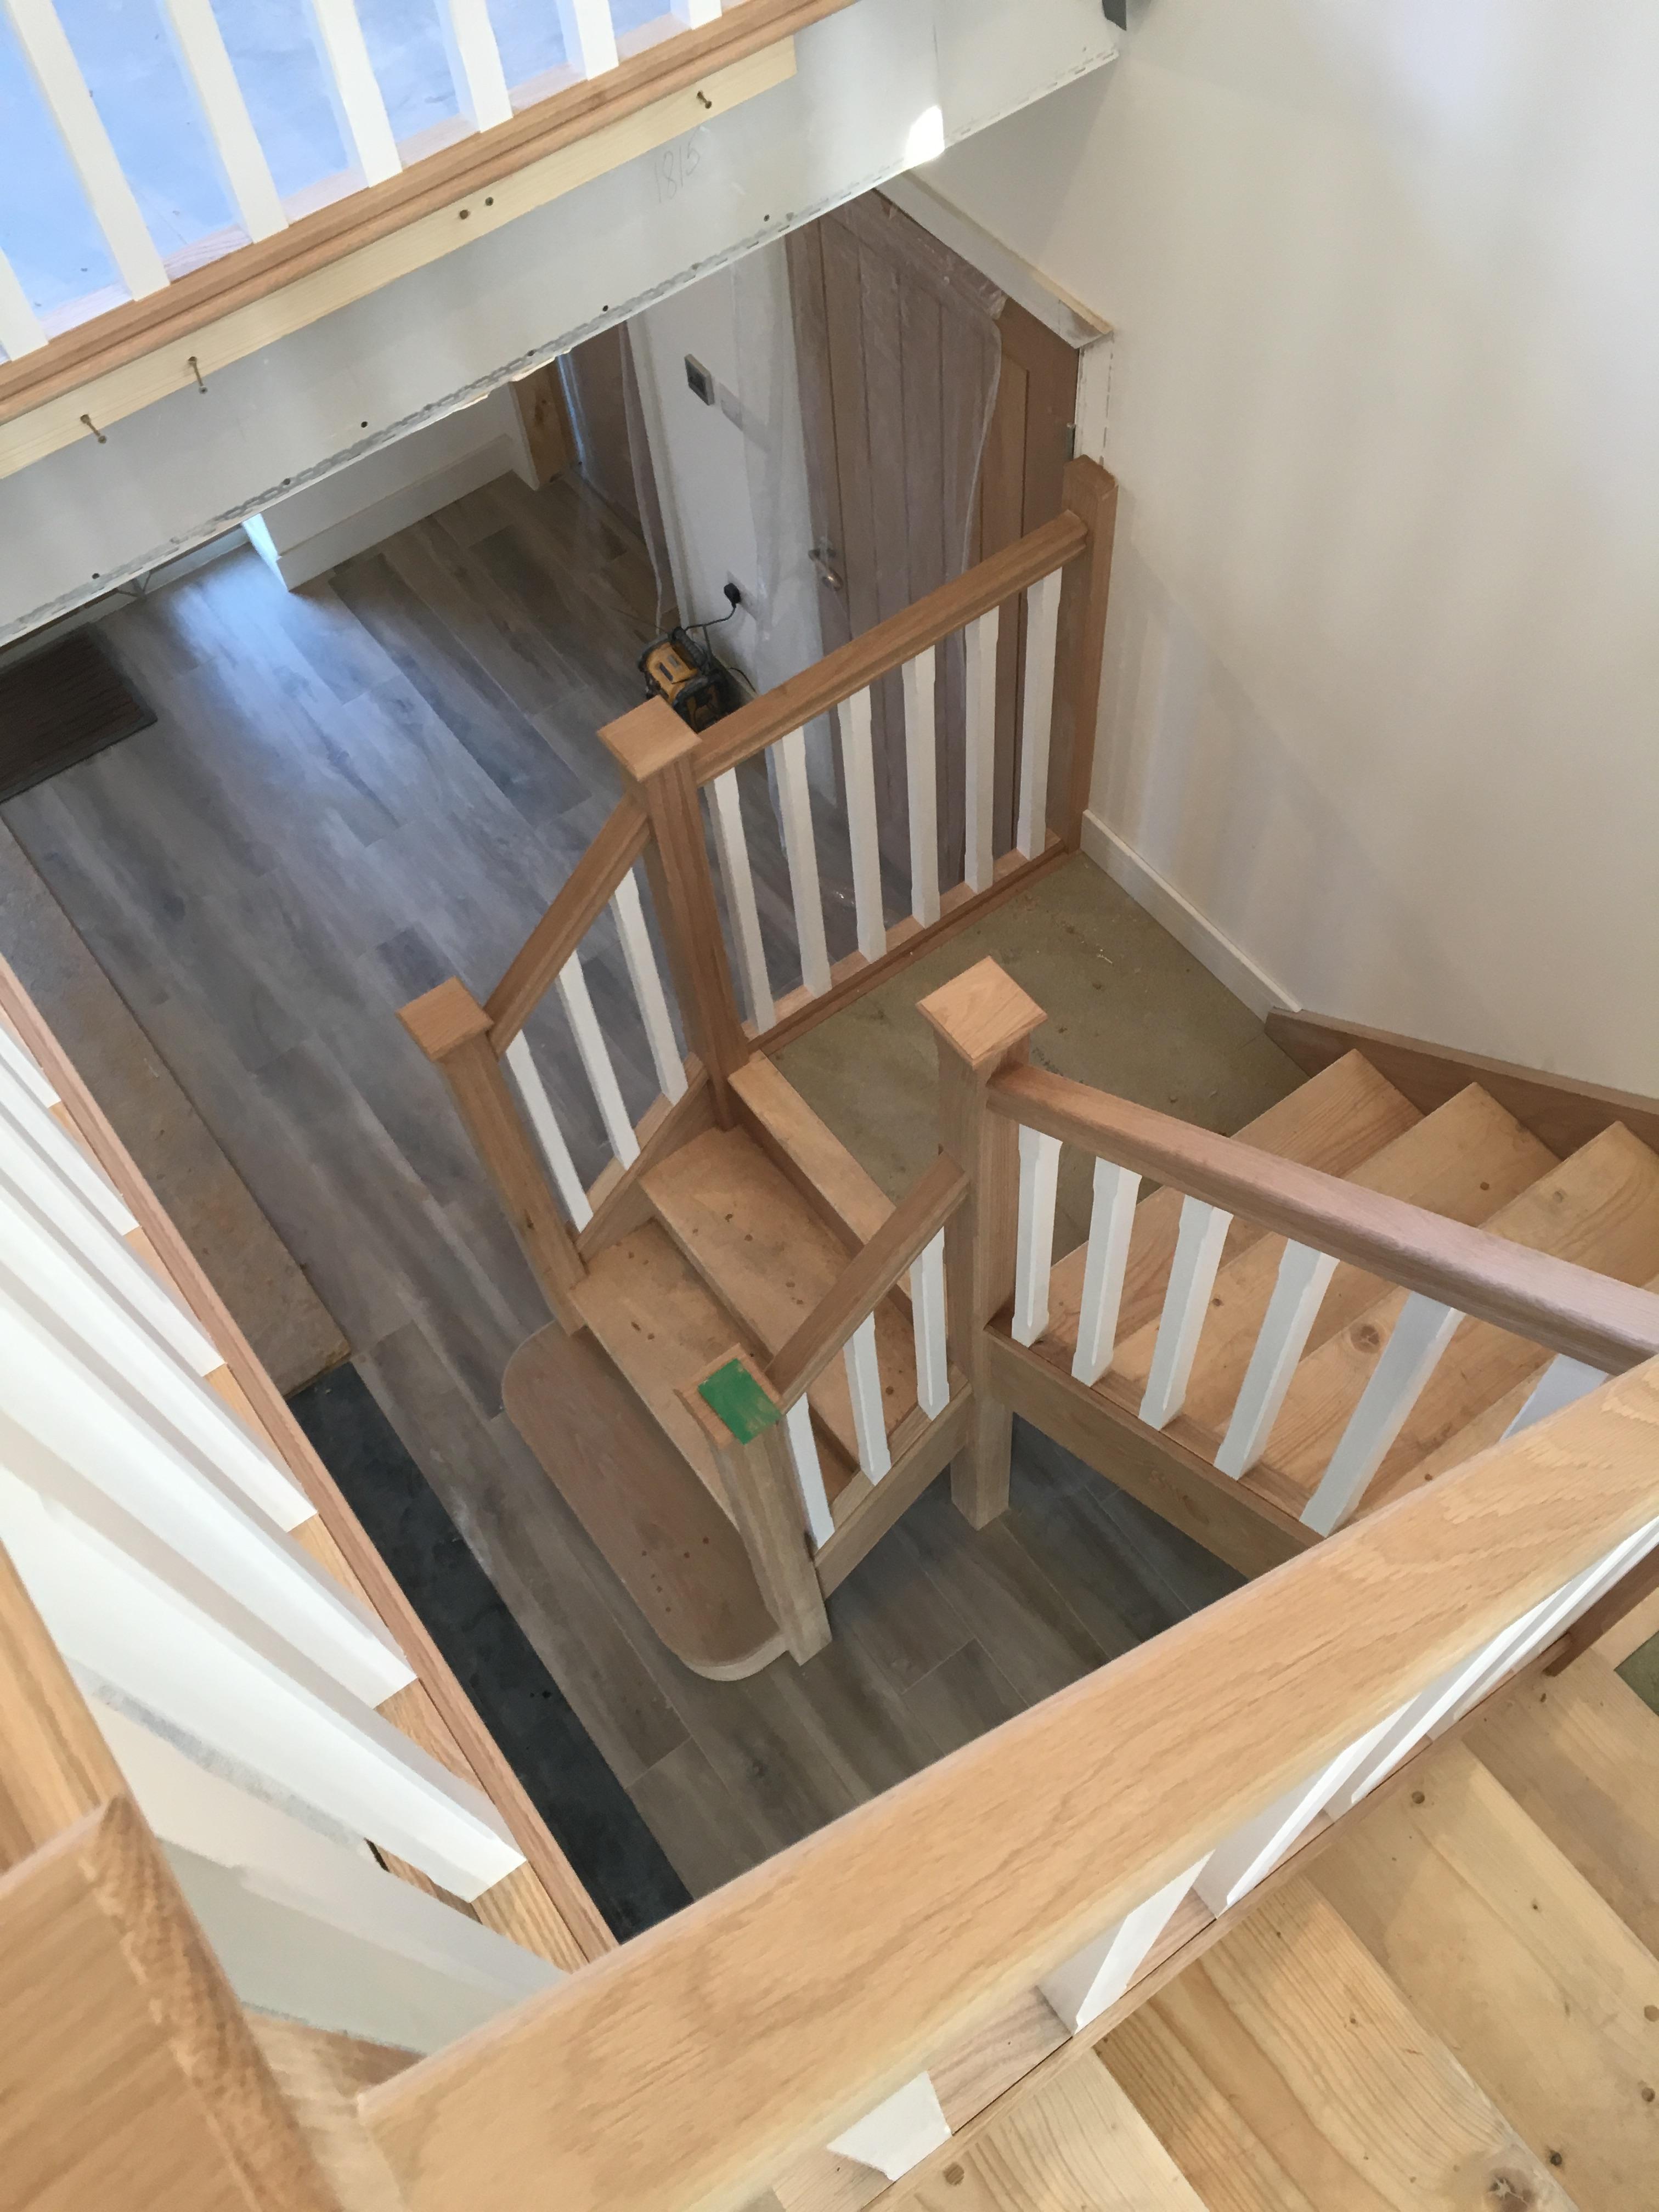
Buy yourself a cheap staircase from howdens or jewson (£120) it will be money well spent and don’t fit your oak one until everything is done, trades won’t look after it like you would and it’s bound to get damaged.1 point
-
Not Stevie Wonder though!!1 point
-
The planning dept will be able to look up if they have any TPO's. Also your application will show any trees or not ? Planning should not be concerned about how, or what method you use to build.1 point
-
I can't answer specifically, but I've just had piles done for an extension and they were close to a row of hedge/trees in the conservation area and the question you have raised hasn't come up. If there are no trees on the site, I don't see how it can be an issue. During the planning process the council will ask the various interested bodies for their comments and they can delay if they want more information. Have you been for a pre-application meeting, as that should give you a good idea of the concerns the council will raise? It's usually about £500 but well worth it. Piles are usually a Building Control issue rather than planning. Planning usually only care about the external appearance.1 point
-
https://www.ebay.co.uk/itm/No3-4-6-8-10-12-A2-Stainless-Steel-Slotted-Flat-Countersunk-Wood-Screws-DIN-97/322452558445 There you go, I just used wood bolts in the search.1 point
-
As soon as @pocster can trvel it's a plan! ?1 point
-
I boarded and plastered ours myself But still chose to fit the oak staircase afterwards It’s very difficult not to damage oak with wet trades Like many on here I used Osmo oil for all oak
 1 point
 -
Hi @ICF_needing_brick_cladding As per my previous post a quote from. There's good info about shading there too. https://elrondburrell.com/blog/passivhaus-overheating-design/ The UK’s Passivhaus Trust recommends aiming for windows in a south-facing wall to be a maximum of 25% of the external wall area. This should be adequate for daylighting except in the case of very deep rooms. Windows in other walls should be considerably less than 25% of the relevant external wall area and designed around views, daylight, ventilation, and aesthetics, as per the previous point. The UK’s Passivhaus Trust also offers as a rule of thumb that glazing (excluding frames) should be around 15 – 20% of the Treated Floor Area of a Passivhaus building, as a starting point. Aim for rooflights to be 10% or less than the room floor area.1 point
-
On my daughters gaff, i ground out all the cracks and splits, after stripping off all the paint. Then over filled all the cracks with epoxy resin. ground back flush to the stone, then finished with p45 car body filler. Sanded, and then painted with three coats of masonary paint. Still look good after 4 years.1 point
-
@Jilly is converting a stable in a paddock, so that should be doable by some means. Nick a bit more land for the site and dig a seasonal pond.1 point
-
A detailed Flood Risk Assessment and Surface Water Drainage/SUDS Strategy was prepared for my site at Outline Planning stage. As it was done before I purchased the site and poor drainage/flooding is the number 1 bugbear of the neighbours, I have been through it and The SUDS Manual (968 pages !!) with a fine tooth comb. As you say, the jargon and the methodology is very off-putting for the lay person. A couple of extracts from my report summarise the first steps (as well as the jargon) required: "In order to quantify the existing runoff rate from the site, the methodology outlined within the Institute of Hydrology Report Number 124 (IoH 124) entitled Flood Estimation for Small Catchments, has been adopted. This document together with the guidance stipulated in the Interim Code of Practice for Sustainable Drainage Systems, compiled by the National SUDS Working Group in July 2004, suggests that an estimation of peak runoff rates from areas below 50 ha, and up to 200 ha, can be derived from the calculated mean annual flood flow, QBAR." "The ICPSUDS function within the Microdrainage software Version 2016.1 can be used which implements IoH 124 method with a pro-rata below 50 ha. The SAAR value of 623mm has been determined from the catchment descriptors taken from the FEH CDROM Version 3. The soil value has been determined using the information from the Winter Rain Acceptance Potential (WRAP) map within the Flood Studies Report, 1975, together with Table 6 and equation 12 of the ADAS document entitled Pipe Size Design for Field Drainage, 1980." Thankfully Microdrainage is not required and the online tools at Online tools for sustainable drainage systems (SuDS) (uksuds.com) will allow you to calculate mean annual flood flow (QBAR) for the existing site. The methodology is based on the premise that the flow rate discharge constraints for storm water runoff from the site are defined by the greenfield runoff rates for the 1 year, 30 year and 100 year return periods. The tool is flexible in allowing the use of three different methods for estimating greenfield runoff rates along with various options for assessment of storage volumes using variations in the design criteria (e.g. minimum design flow rates from the site, requirements for control of runoff volumes for the 1:100yr, 6 hour event). Note that in Microdrainage a range of storm durations and intensities are modelled (i.e. 15 - 10080 minute for both summer and winter). For my site, the 1440 minute summer storm was the worst case used for the permeable paving design. Note also that although SUDS attenuation/infiltration devices are usually designed for 1 in 100 year events, the design is checked against an exceedance case which is usually the 1 in 1000 year storm events. Let us know how you get on ?1 point
-
Most likely originally had storey height frames with borrowed lights and changed in filling with aerated blocks1 point
-
Your not really out of your depth BC requires you to have valley boards Truss manufacture agrees Your the boss Tell The roofer your hands are tied1 point
-
My roofing supplier gave me a shock today when he quoted a delivery time of August for 9000 Marley Eternit Plan Concrete tiles, he has assured me it will probably be less, need them in June so he had better be right! just thought id share the tale as all the material lead times have gone out generally.1 point
-
see @nod - good answer.1 point
-
As far as I'm aware (and I don't work much in England so take this with a pinch of salt), you will need to attenuate the 1 in 100 year, 6 hour event so that post development runoff equals the greenfield runoff rate. In terms of meeting the planning condition you'd just need to detail aspects of the calculation showing how you come up with the greenfield runoff rates for the site. If the online tool works and allows you to do this (I don't use them so I can't confirm one way or the other) then you can probably just extract the outputs from this. Alternatively, I have heard of a standard 60mm rainfall depth being used for this event but you'd probably need to confirm with your BCO before adopting this for design. Obviously there are many ways of providing the attenuation, some more aesthetic than others and some have been referred to above.1 point
-
Those will be the ones that happen every 20 years now.1 point
-
Normally Mvhr doesn’t move enough volume of air to be considered useful in heat redistribution.1 point
-
You can. Simple to have an upstairs and a downstairs heating circuit on different timers and thermostats. And not difficult with smart TRV's to have individual room control.1 point
-
Good job I did not hold my breath waiting for the brickie's "mate" to repay the favour Was there ever a worse year for bricklaying, weather wise? If it is not peeing down (the worst for a hundred years) then it is below 4deg C so no bricklaying can take place. Now we have several inches of snow! All this has left us with several inches of water, which turned to ice, inside the build. Pre covid we could have had an ice skating party! Bless our bricklayer he has soldiered on, when he can, even doing Sundays. Good job he did because we finally have the carpenters here to put up the roof trusses and fix the soffits where they can. Just been hearing about their "little job" in Buckingham Palace! The guy we chose as our roofer has been absolutely amazing in organising an electrician to quote for solar panels, the carpenters to quote for the trusses and now he is here, on the day he said he would be here, to fix the felt! The carpenters worked in a snow storm to make ready for him. The only hold up we had was down to the, usually very good, supplier. The roofer even went round to give them a good ear full about some scratches on the fascias and their tardiness in sorting it all out. He missed his vocation as a project manager! It is feeling such an achievement to get the bungalow water tight. Sods Law means that not another drop of rain will fall. Well, not until we start building the garage or landscaping anyway. If you want prior warning then let me know Feeling a bit nervous about the prospect of installing the windows which have been in storage for nearly a year. Roof tiling first, though, so that the scaffolding can come down.1 point
-
Here goes the next stage. Building the reinforced concrete ring beam. The plan is to build the steel cages off site in a shed due to awful weather, then deliver to the site. Lots of things arriving on site! The yellow plastic takes the place of traditional shuttering. Apparently this is faster and therefore cheaper. This will help pay for the huge amount of claymaster I need. It's still a little wet out here so digging might get interesting. We're armed with pumps and a couple of diggers so what could possibly go wrong? It took a couple of hours on Monday morning to measure out the site accurately, then the team got on with digging and cutting the piles to the right height. The cages started to arrive on Tuesday and installation was swift. The kitchen and family room cages nearly complete. The building inspector was happy with the progress on Wednesday so on with the show! With a bit of luck the concrete arrives on Friday. Then we can open the first of the four bottles of Cava allocated to the significant milestones.1 point
-
The piling crew phoned me early on Monday morning. Can we come to site on Thursday? We're going to be done earlier than planned and we don't want to waste money on the ferry. Fair enough I think - the ferries are silly money if you're moving equipment. It left me a little problem though - the site wasn't graded to the right level and I had no piling mats. They were on my weekend list so they would be ready for Monday when I was originally expecting the piling team. So a few phone calls later and I had my stone order accelerated and had found a very speedy digger driver for a day and a half. I'm still learning the art of grading with a digger and I haven't got time to mess about. Besides, who is going to walk around with the surveying stick saying "a bit more off here!" if I don't? Job one was to complete a piece of French drain along the front third of the southern edge of the property. Due to the lack of dumper truck, we improvised a stone carrier. We skip a few steps now because I didn't have a camera for most of the grading work. The crushed tarmac arrived for most of Wednesday morning and I spread it about until it got dark. I didn't get all of it finished but there was enough flat ground to get a good start on the first few piles. This is after the first 20 tonnes arrived. There should be no surprise that it rained the previous night so I had to deploy a pump to empty the garage footprint lest it turn to a swimming pool. I spent the morning of Thursday marking out the site with a couple of decent tapes and a laser level. It should be good to 10mm or so all things considered. This is (hopefully) adequate for groundworks. The ring beam will cover the multitude of sins, I am reliably informed by the machine operators! The first pile hole being drilled. A momentus occasion - we are finally under way with the build. The plan with the piles is to auger down to 3 metres, through the reasonably clean clay to where it starts to contain a lot of chalk particles and an awful lot of water . The anti-heave sleeves will then be fitted (the most expensive toilet roll middles I've ever seen) and an end driven steel pile will be installed to approximately 8 metres. More drilling and shovelling. The team can work at quite a pace! Even an attack of super moles doesn't put the team off their game. Most of the sleeves are now installed. Little did you all know, I am secretly building a multi-story car park. The piles are ready to be hit with the large hammer on a string. Sometimes brute force is the best way. All piles installed and concreted. Oh and it rained again for a change.1 point


This leaderboard is set to London/GMT+01:00