
Part 26 - Wall mounted Solar PV system

Entry posted by Stones
5172 views
Having originally planned then dropped the idea of Solar PV (a combination of budget constraints and drop in FiT rates) I recently acquired a number of Solar PV panels (a pallet bought in conjunction with @ProDave from Bimble Solar via Ebay).
Having recently collected the panels, lengths of mounting rail and various other bits and bobs @ProDave had kindly sourced, I fitted the system over the last two Saturdays.
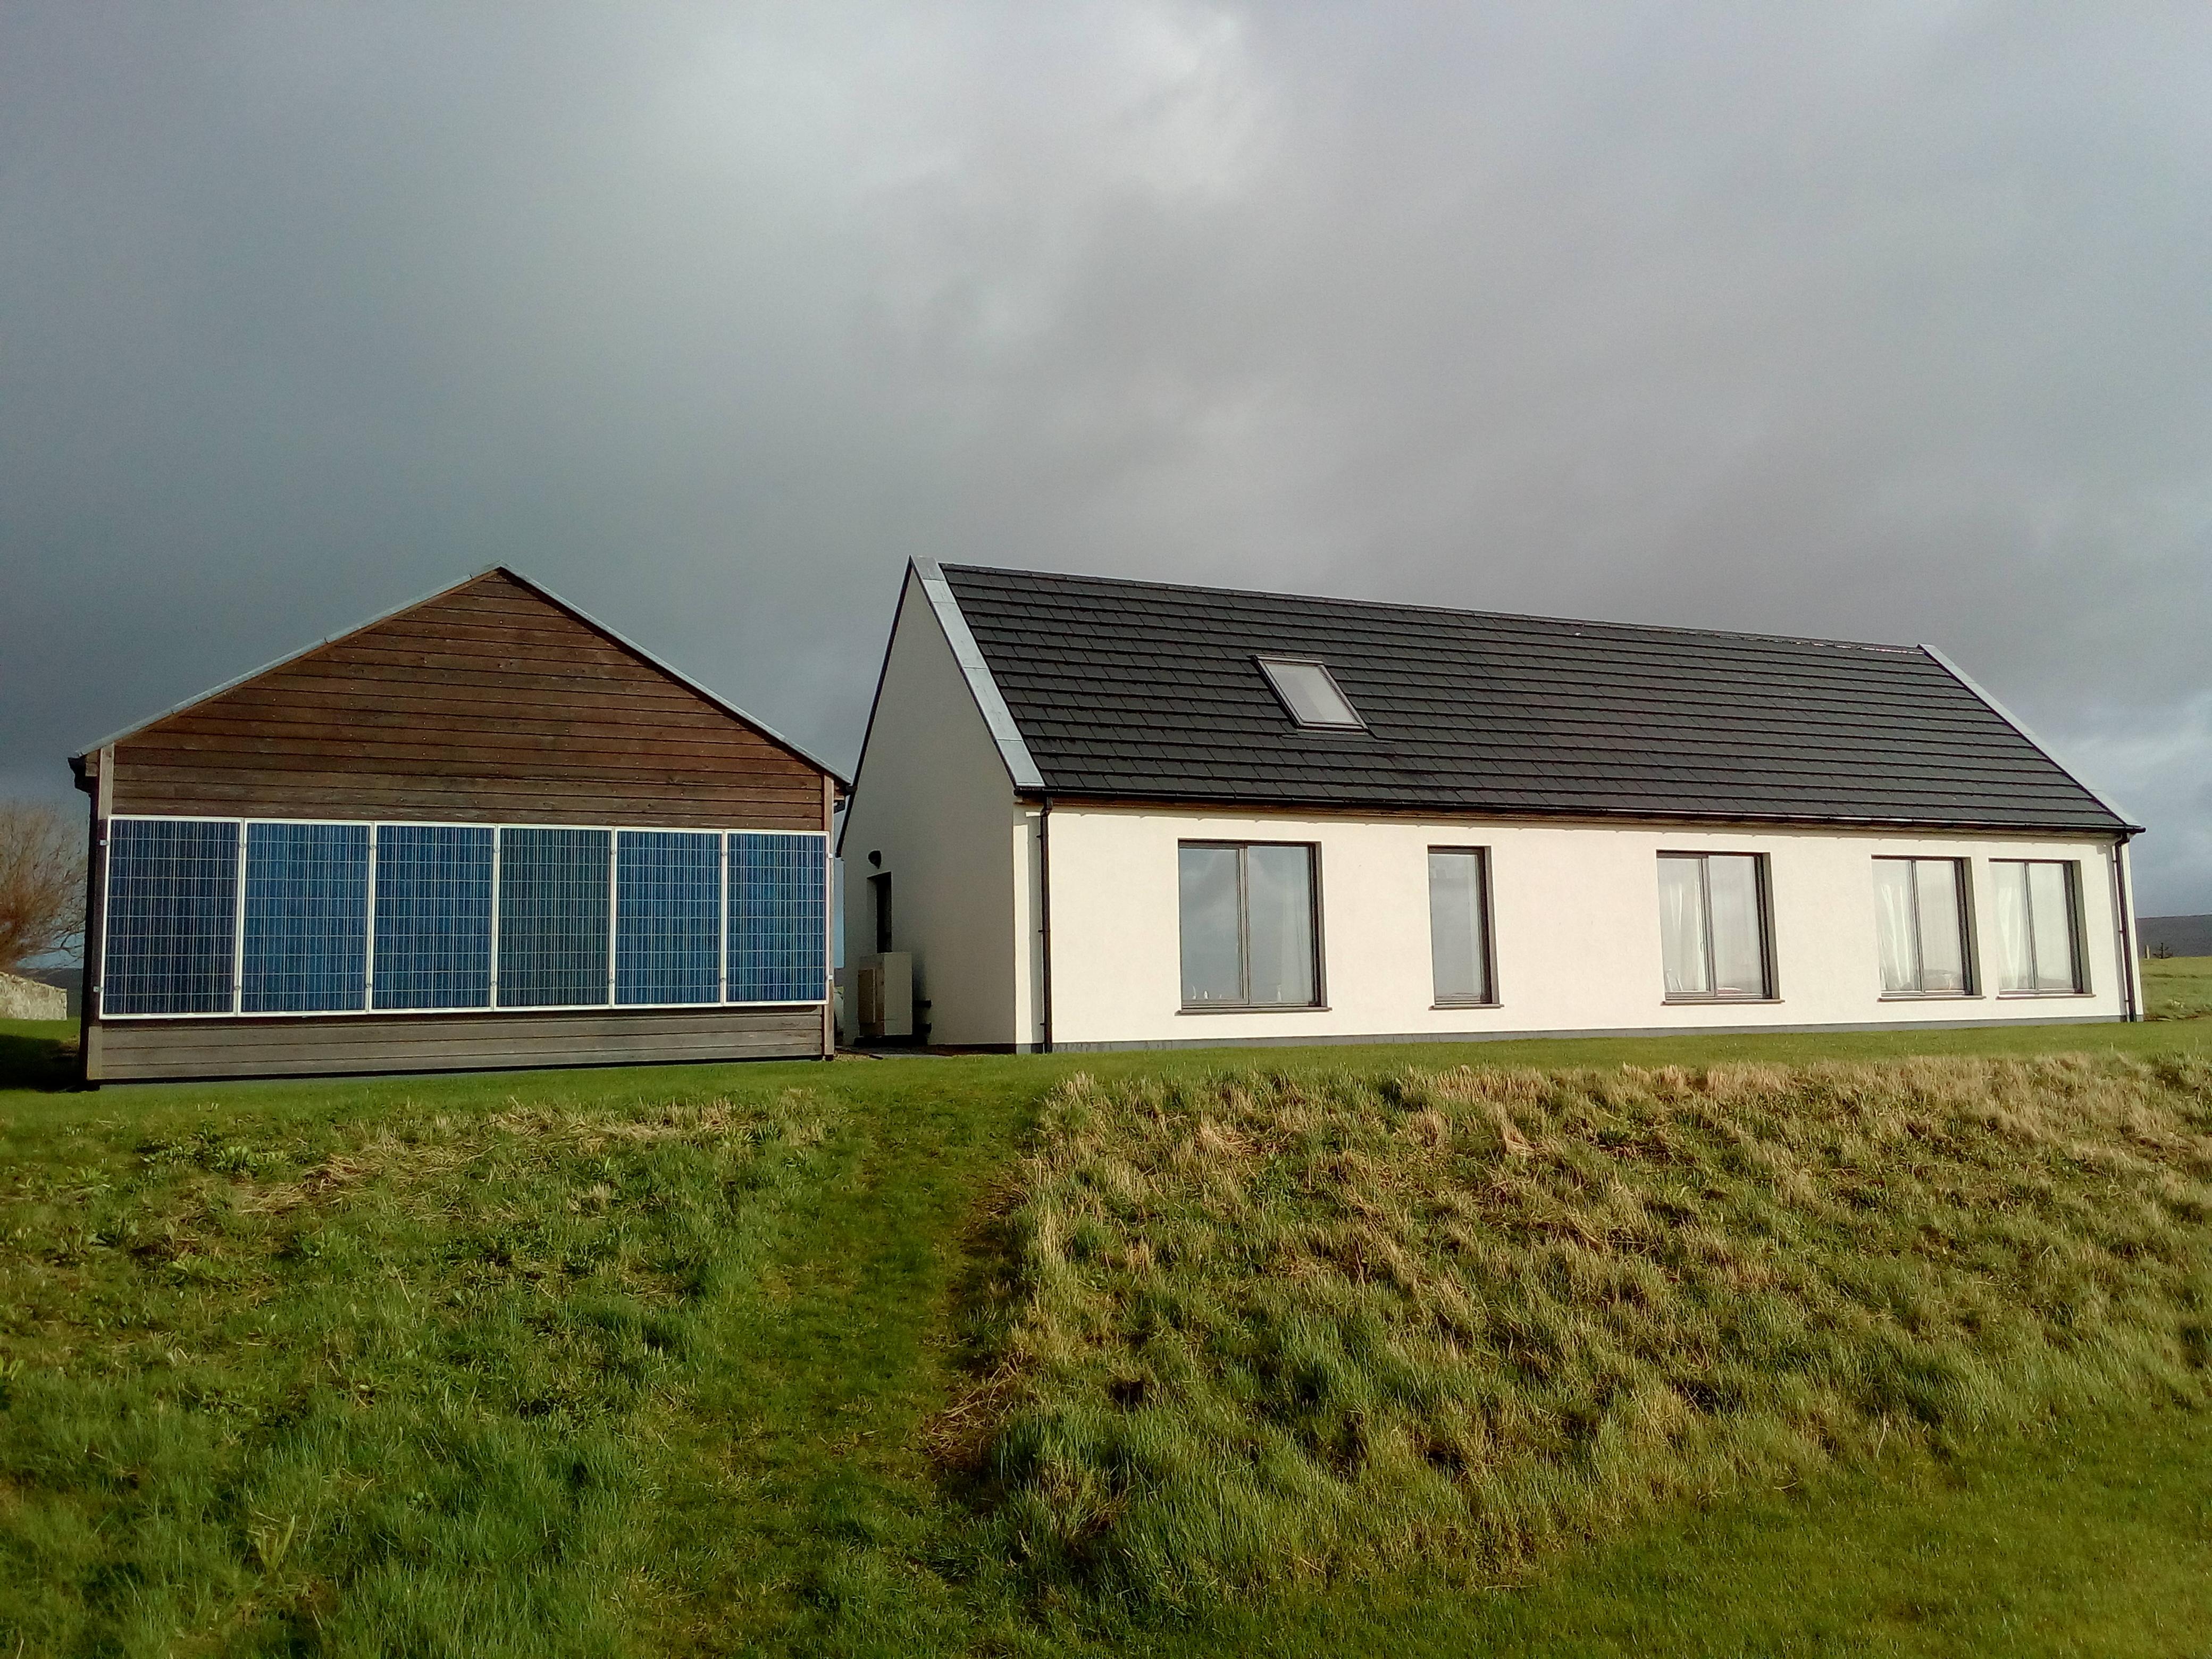
First off was mounting the rails on my rear, SW facing garage wall. I decided to mount the panels vertically simply for ease - a ready made structure to fix the rails to, and easy access to a consumer unit for the grid connection. There is a penalty in terms of a reduction in annual generation compared to a sloped array, however simplicity won out.
The following picture shows the garage wall with rails fixed;
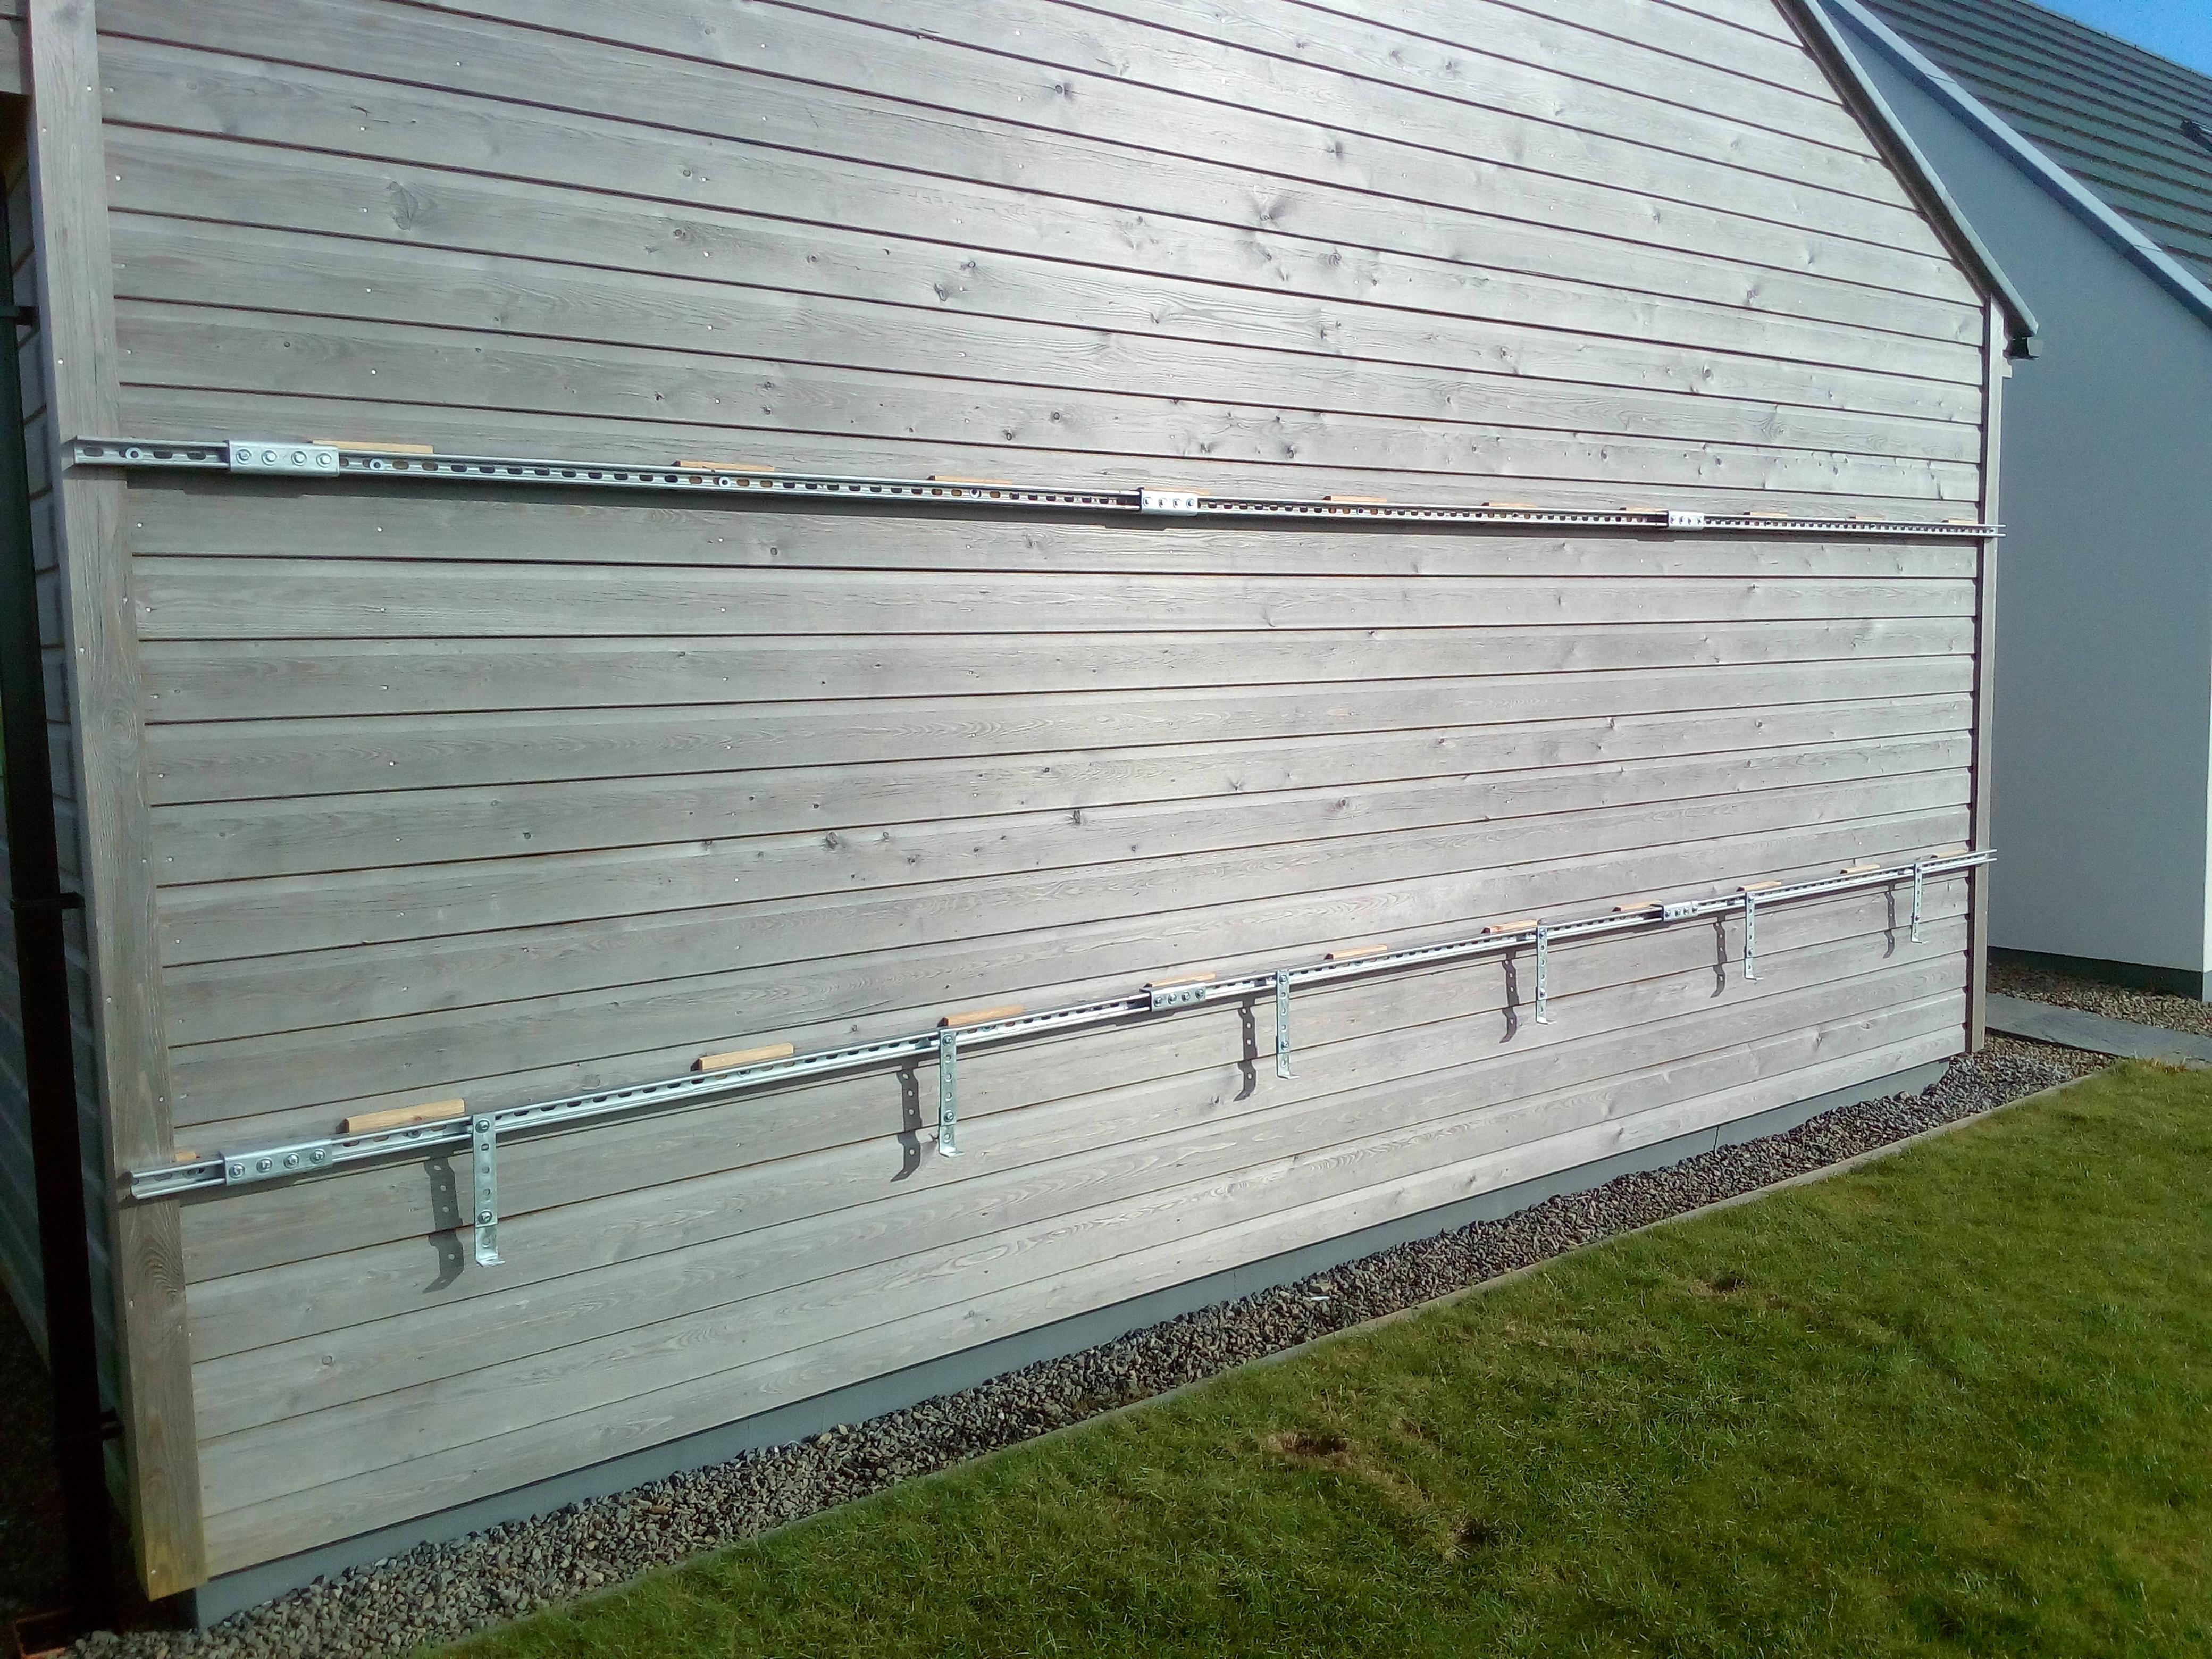
To start I nailed packers to the cladding to ensure I had a drainage gap behind the rails. I then fixed the rails (Unistrut - a tip from @Onoff) through the cladding, cladding battens into the timber frame of the garage using timber drive bolts I happened to have. As the lengths of Unistrut I had were offcuts (only way I could transport them) I used joiners secured to the channel with bolts/channel nuts. Finally, I added hanging brackets for each panels to help carry the weight of each panel / so I wasn't reliant purely on bolts clamping the panels in position.
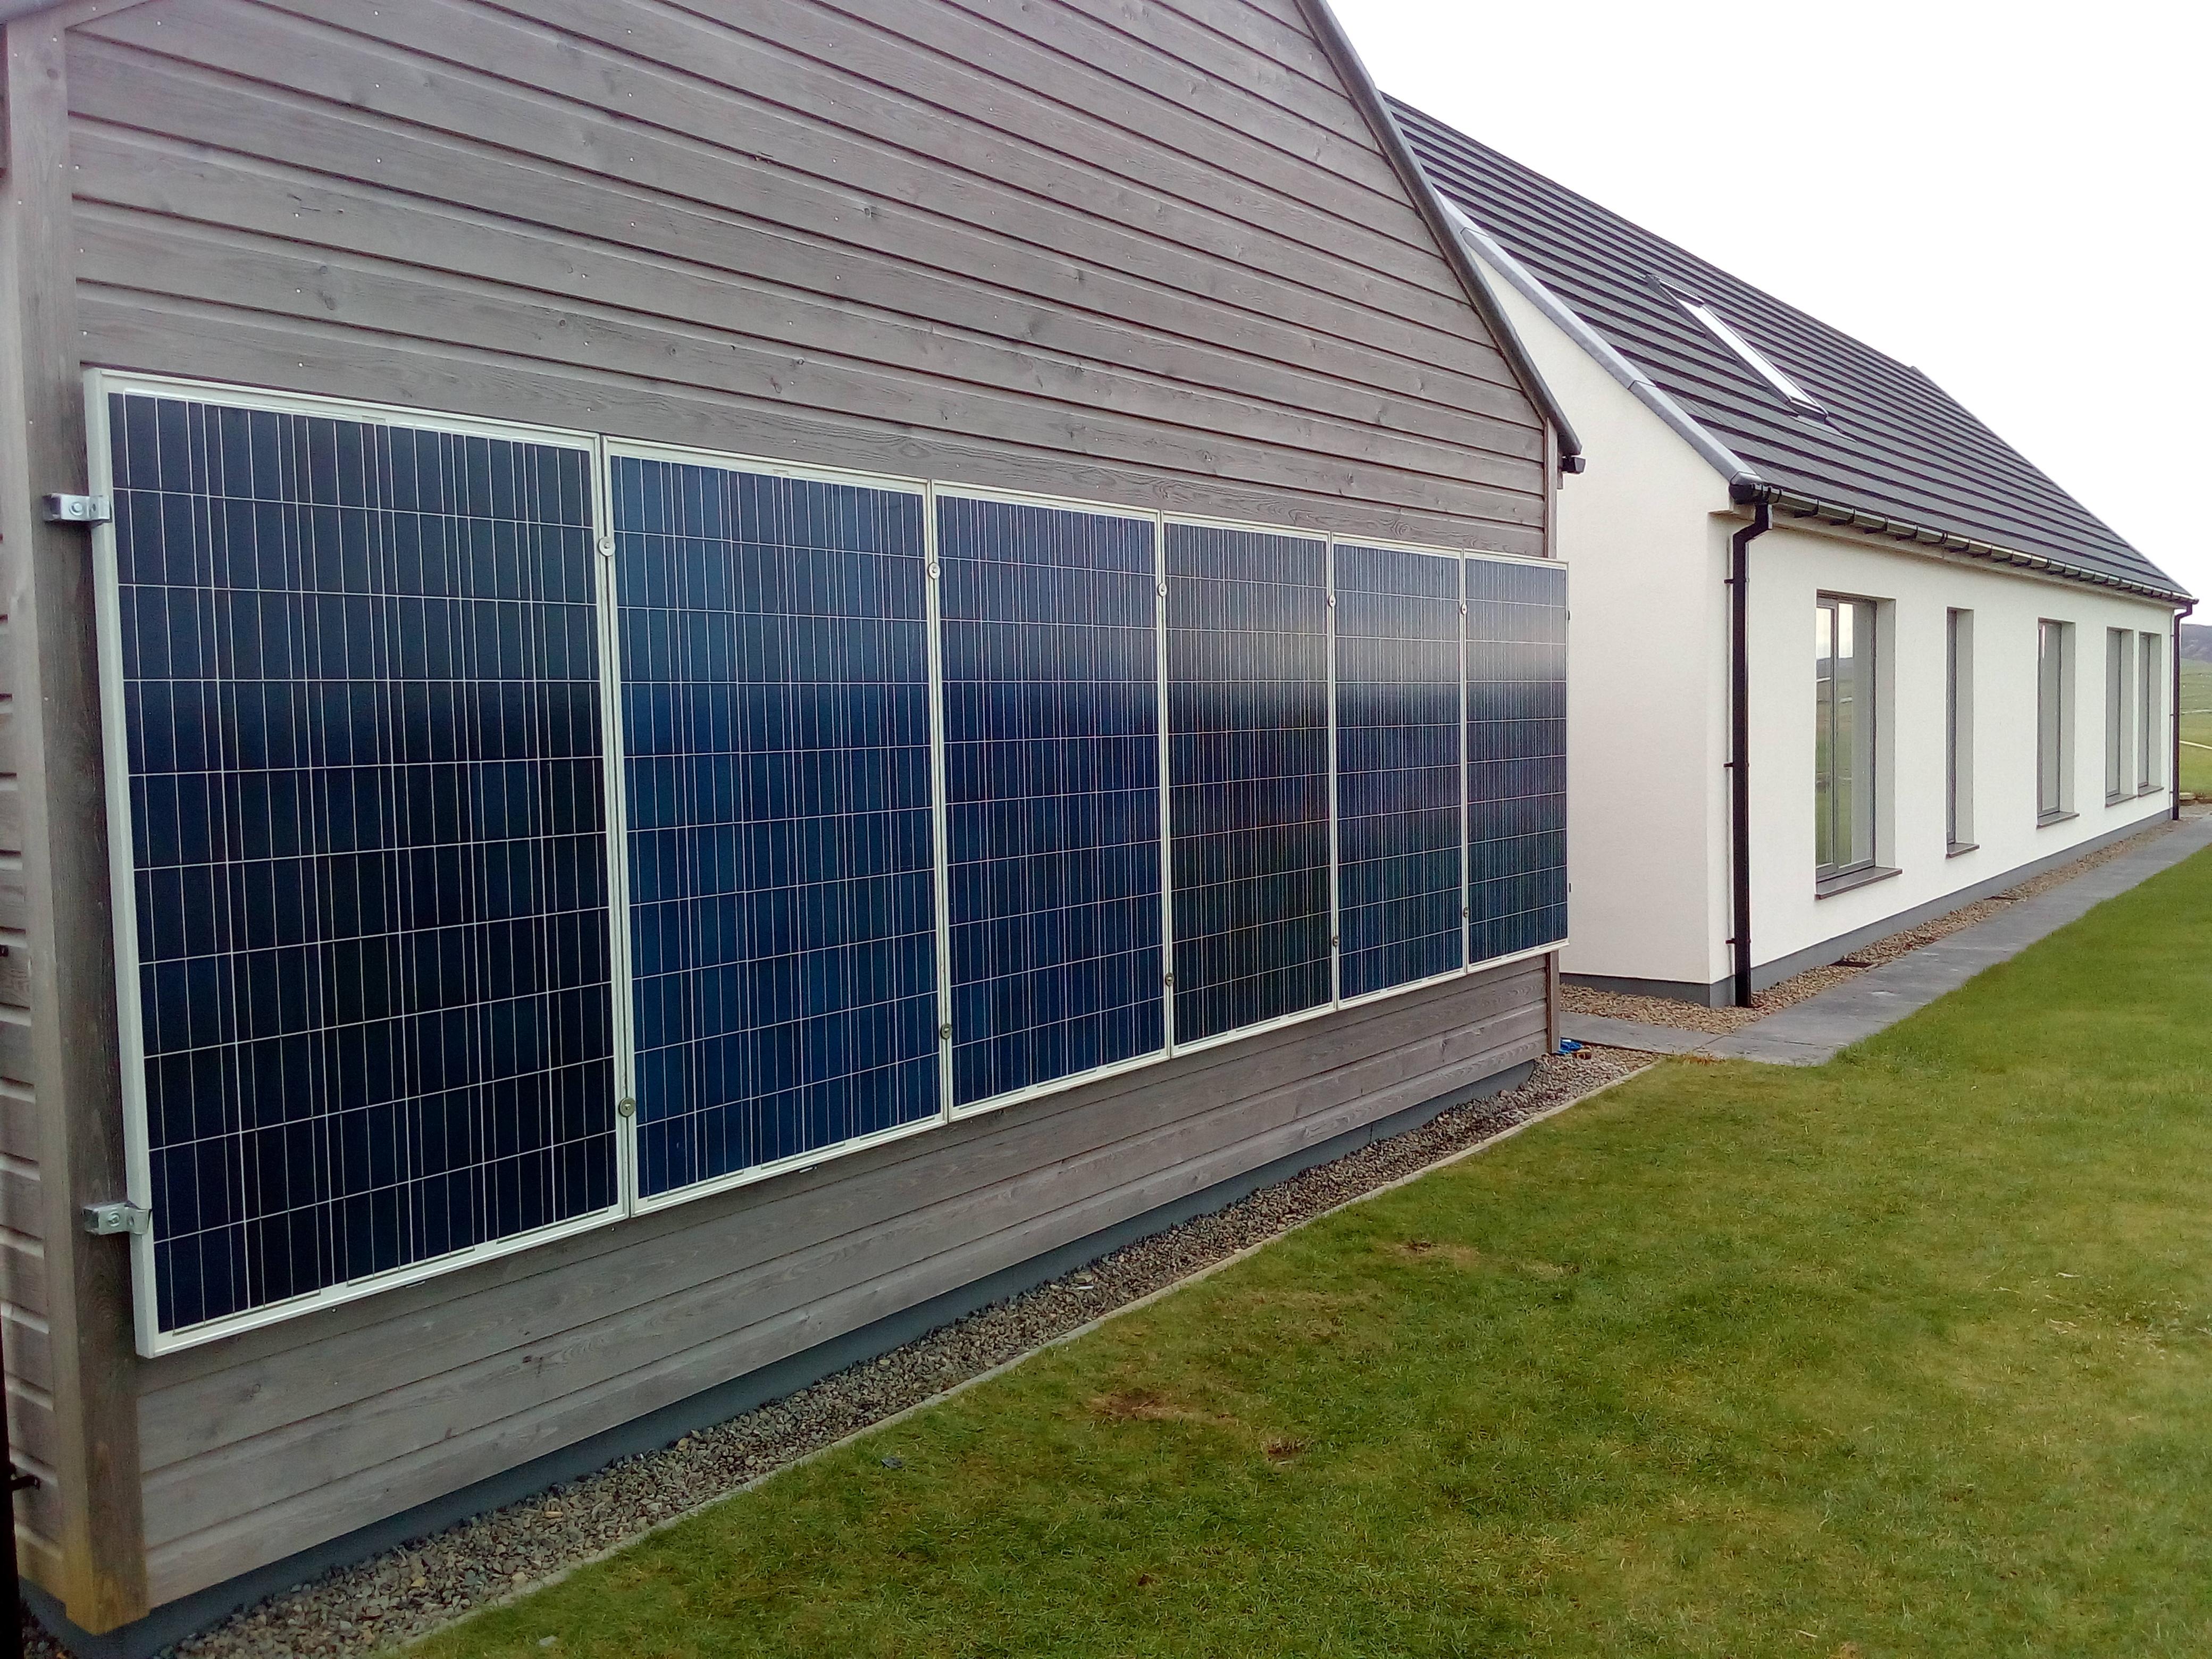
I fitted the panels, sitting them on the hanging bracket and bolting them around 300mm from top and bottom as pictured;
The ends were secured using Z brackets I cut down using a grinder (thanks @JSHarris) so that they clamped only the frame and did not overhang the panel itself;
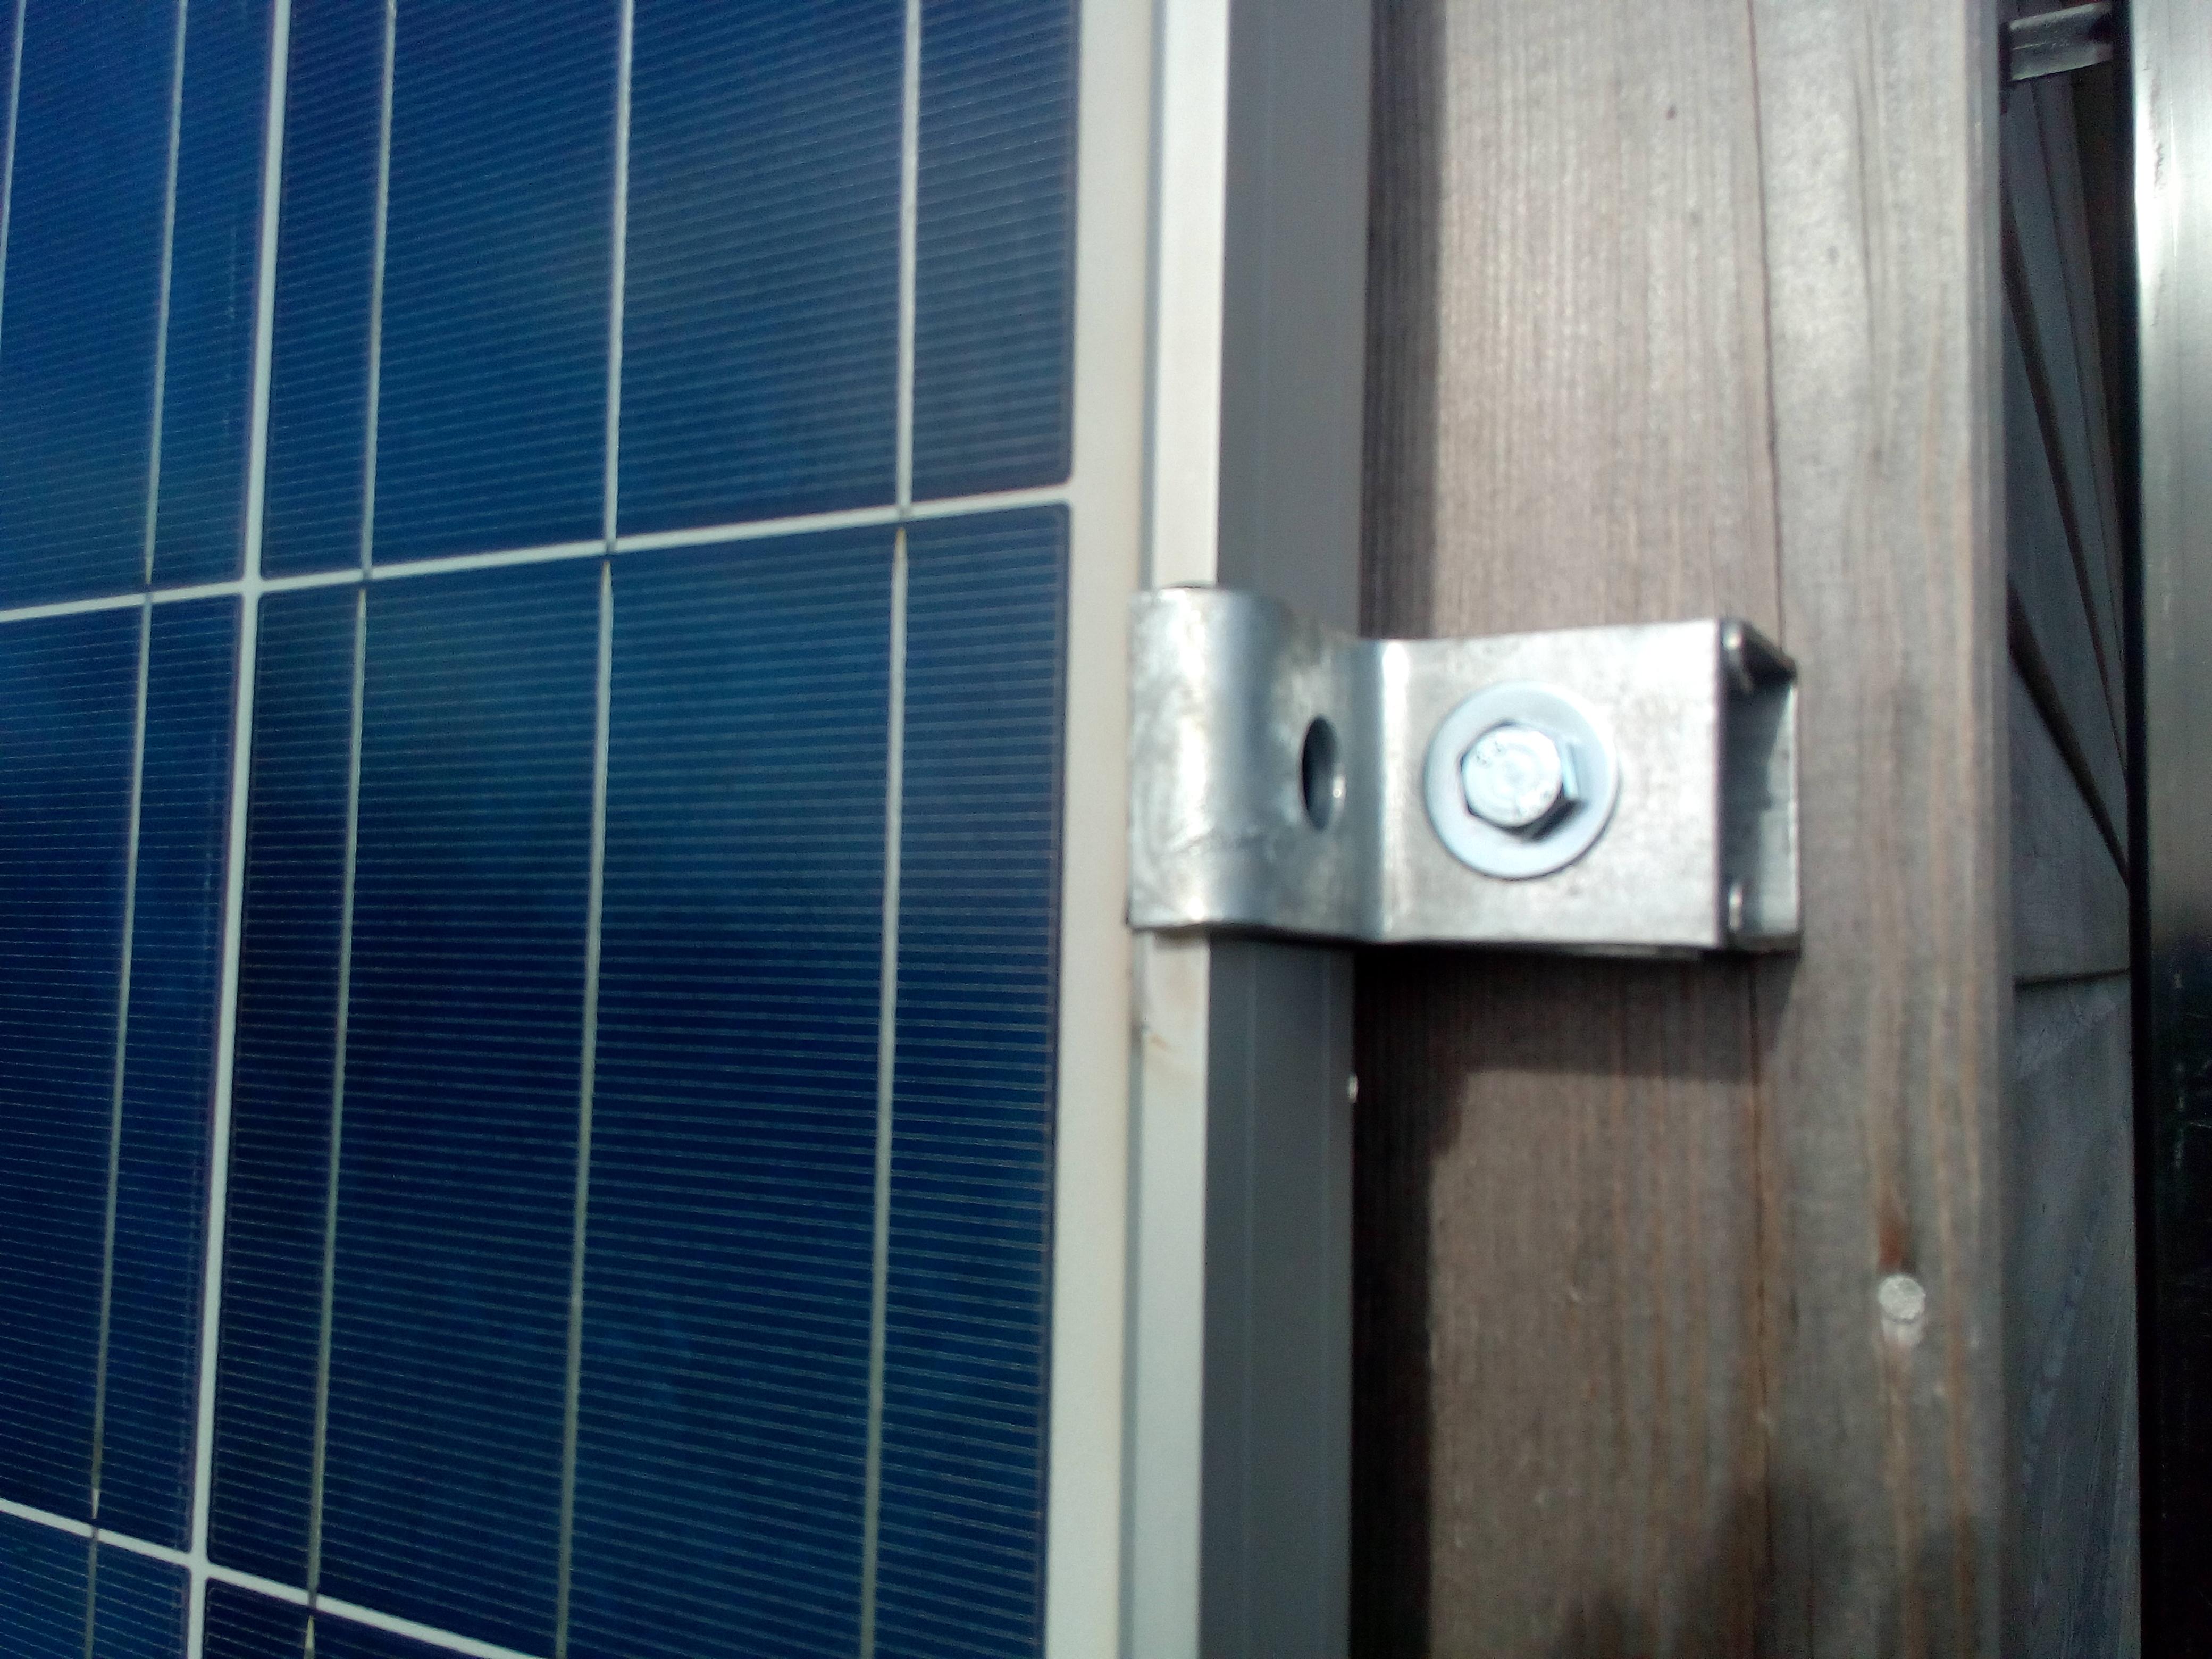
Long M6 bolts with large washers were used to secure the panels into the rails where they met with each other;
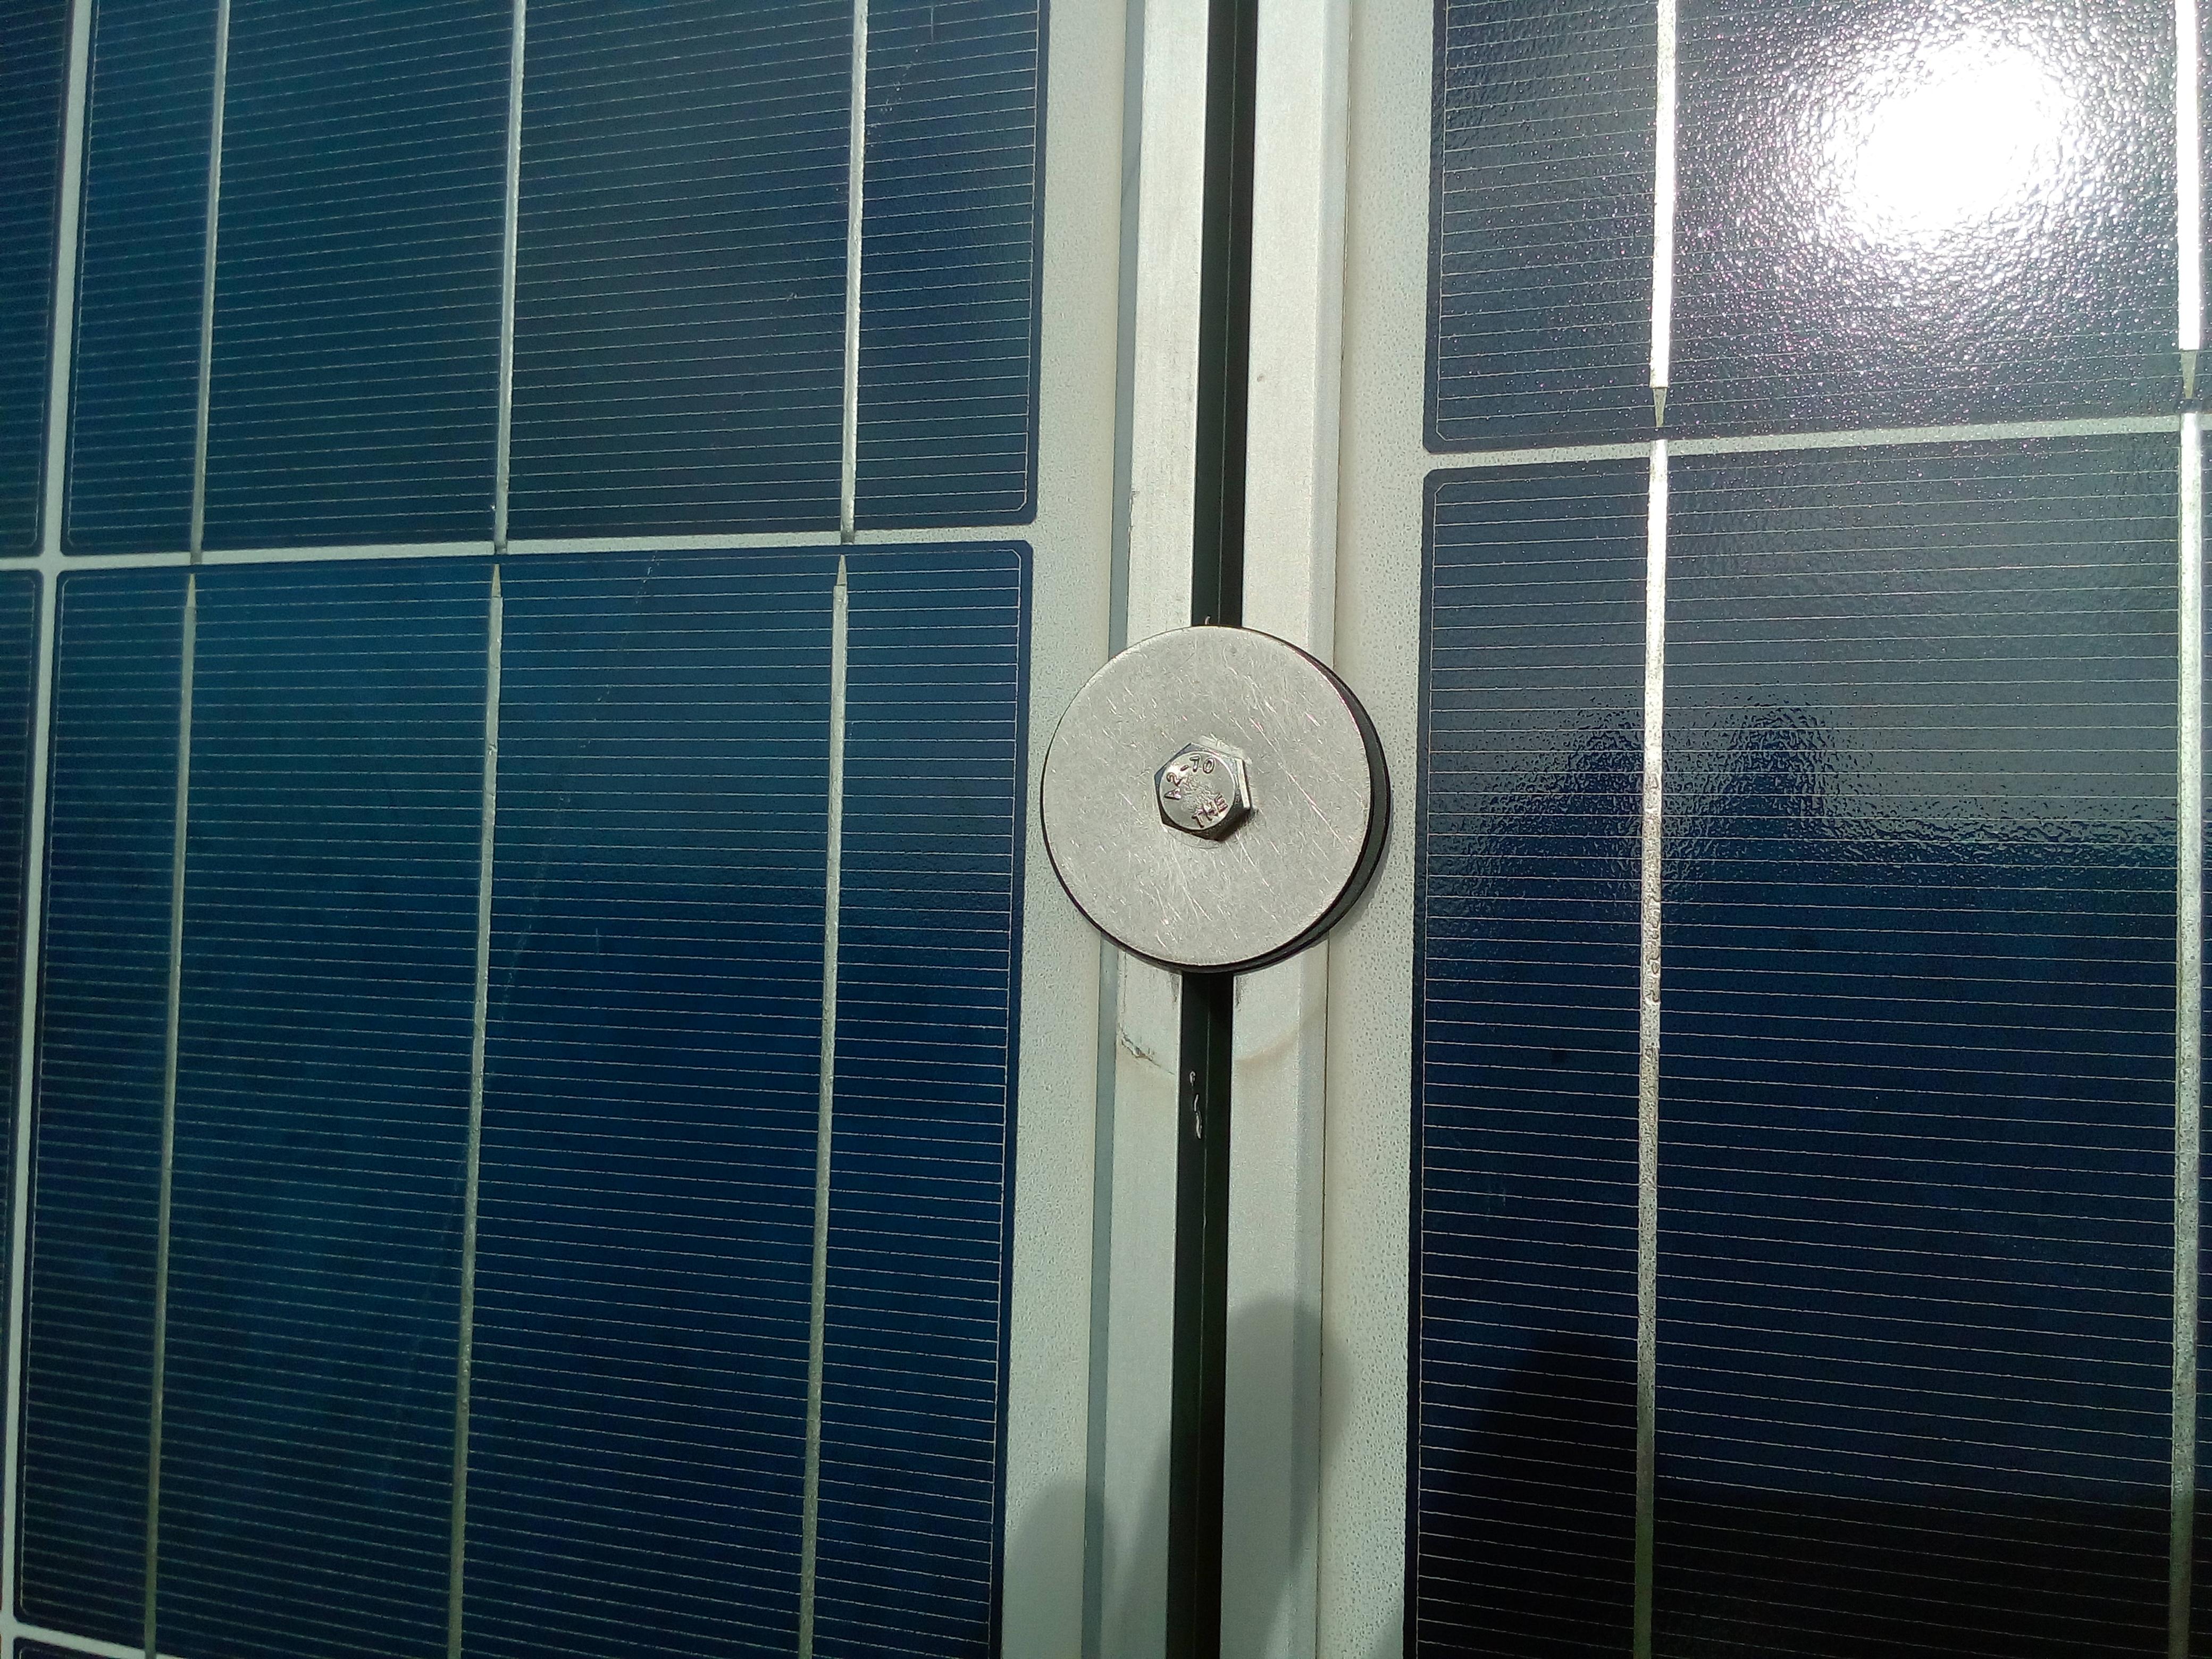
The channel nuts (also known as Zebedees) into which the long M6 bolts were secured;
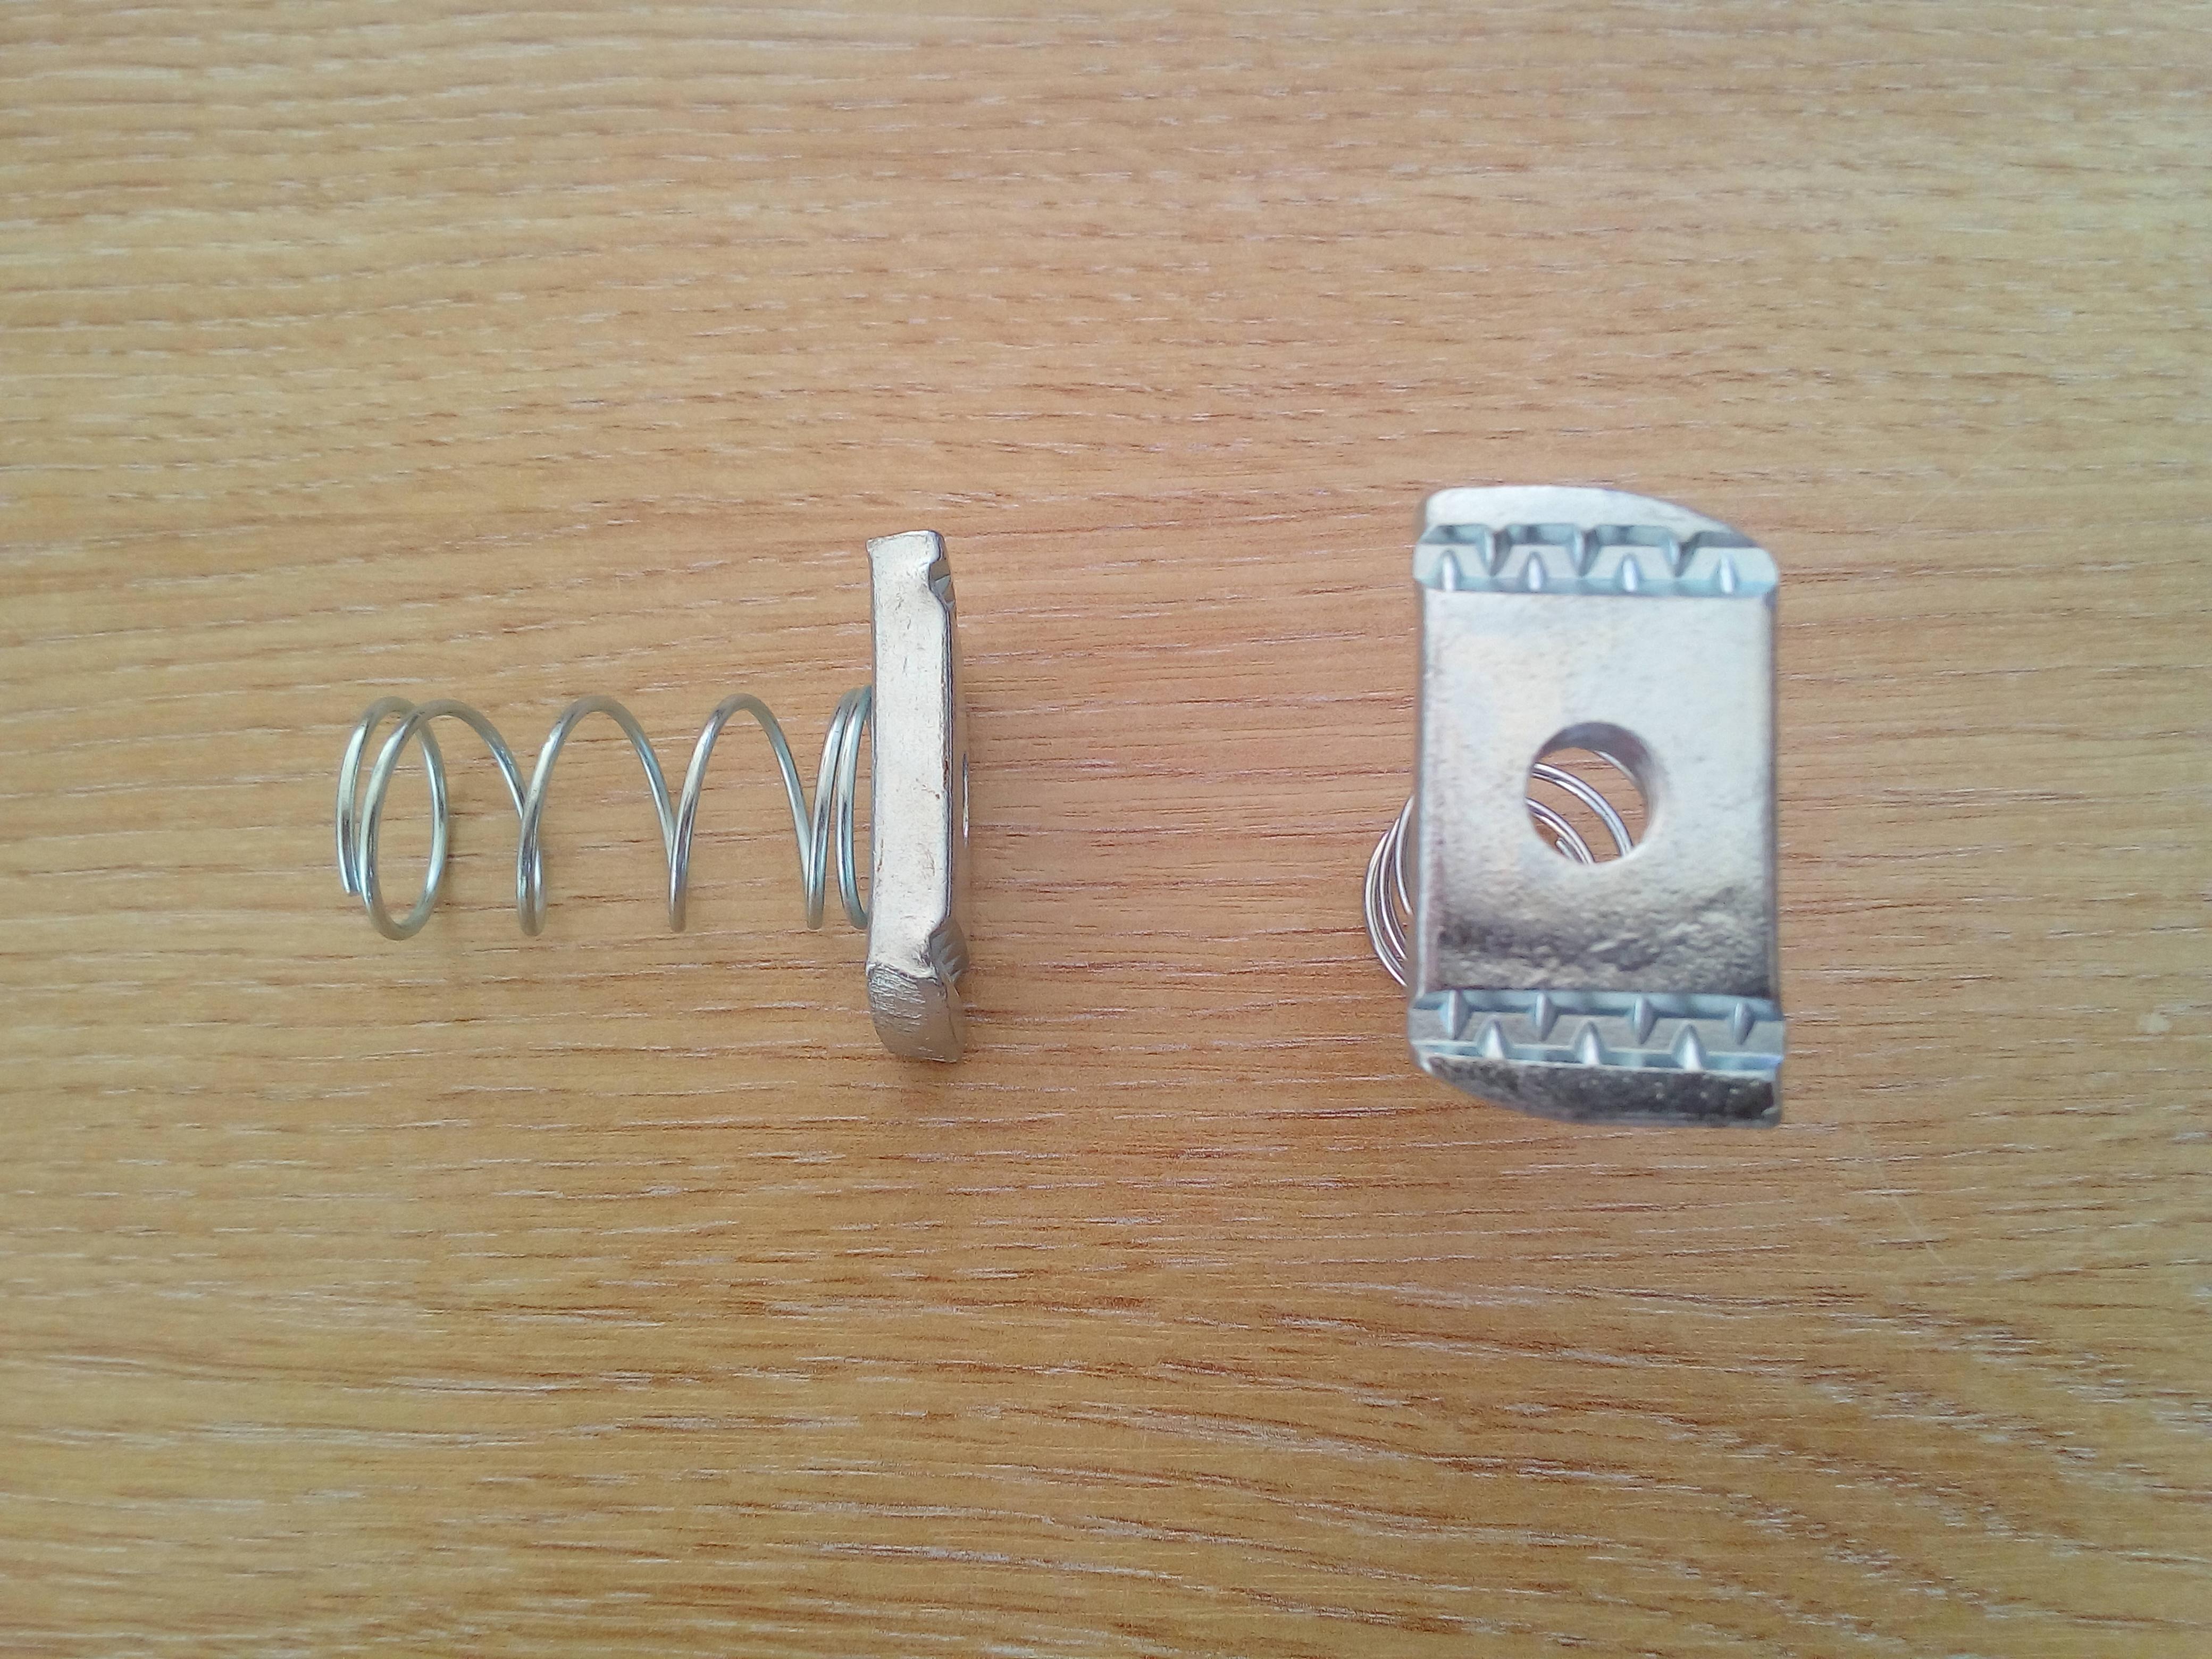
I used M8 bolts and channel nuts for the joiners, end and hanging brackets.
My electrician connected the system up, wiring the panels to a DC isolator, into the Inverter which in turn is wired into the garage CU via a meter and AC isolator. 2 hours work for him.
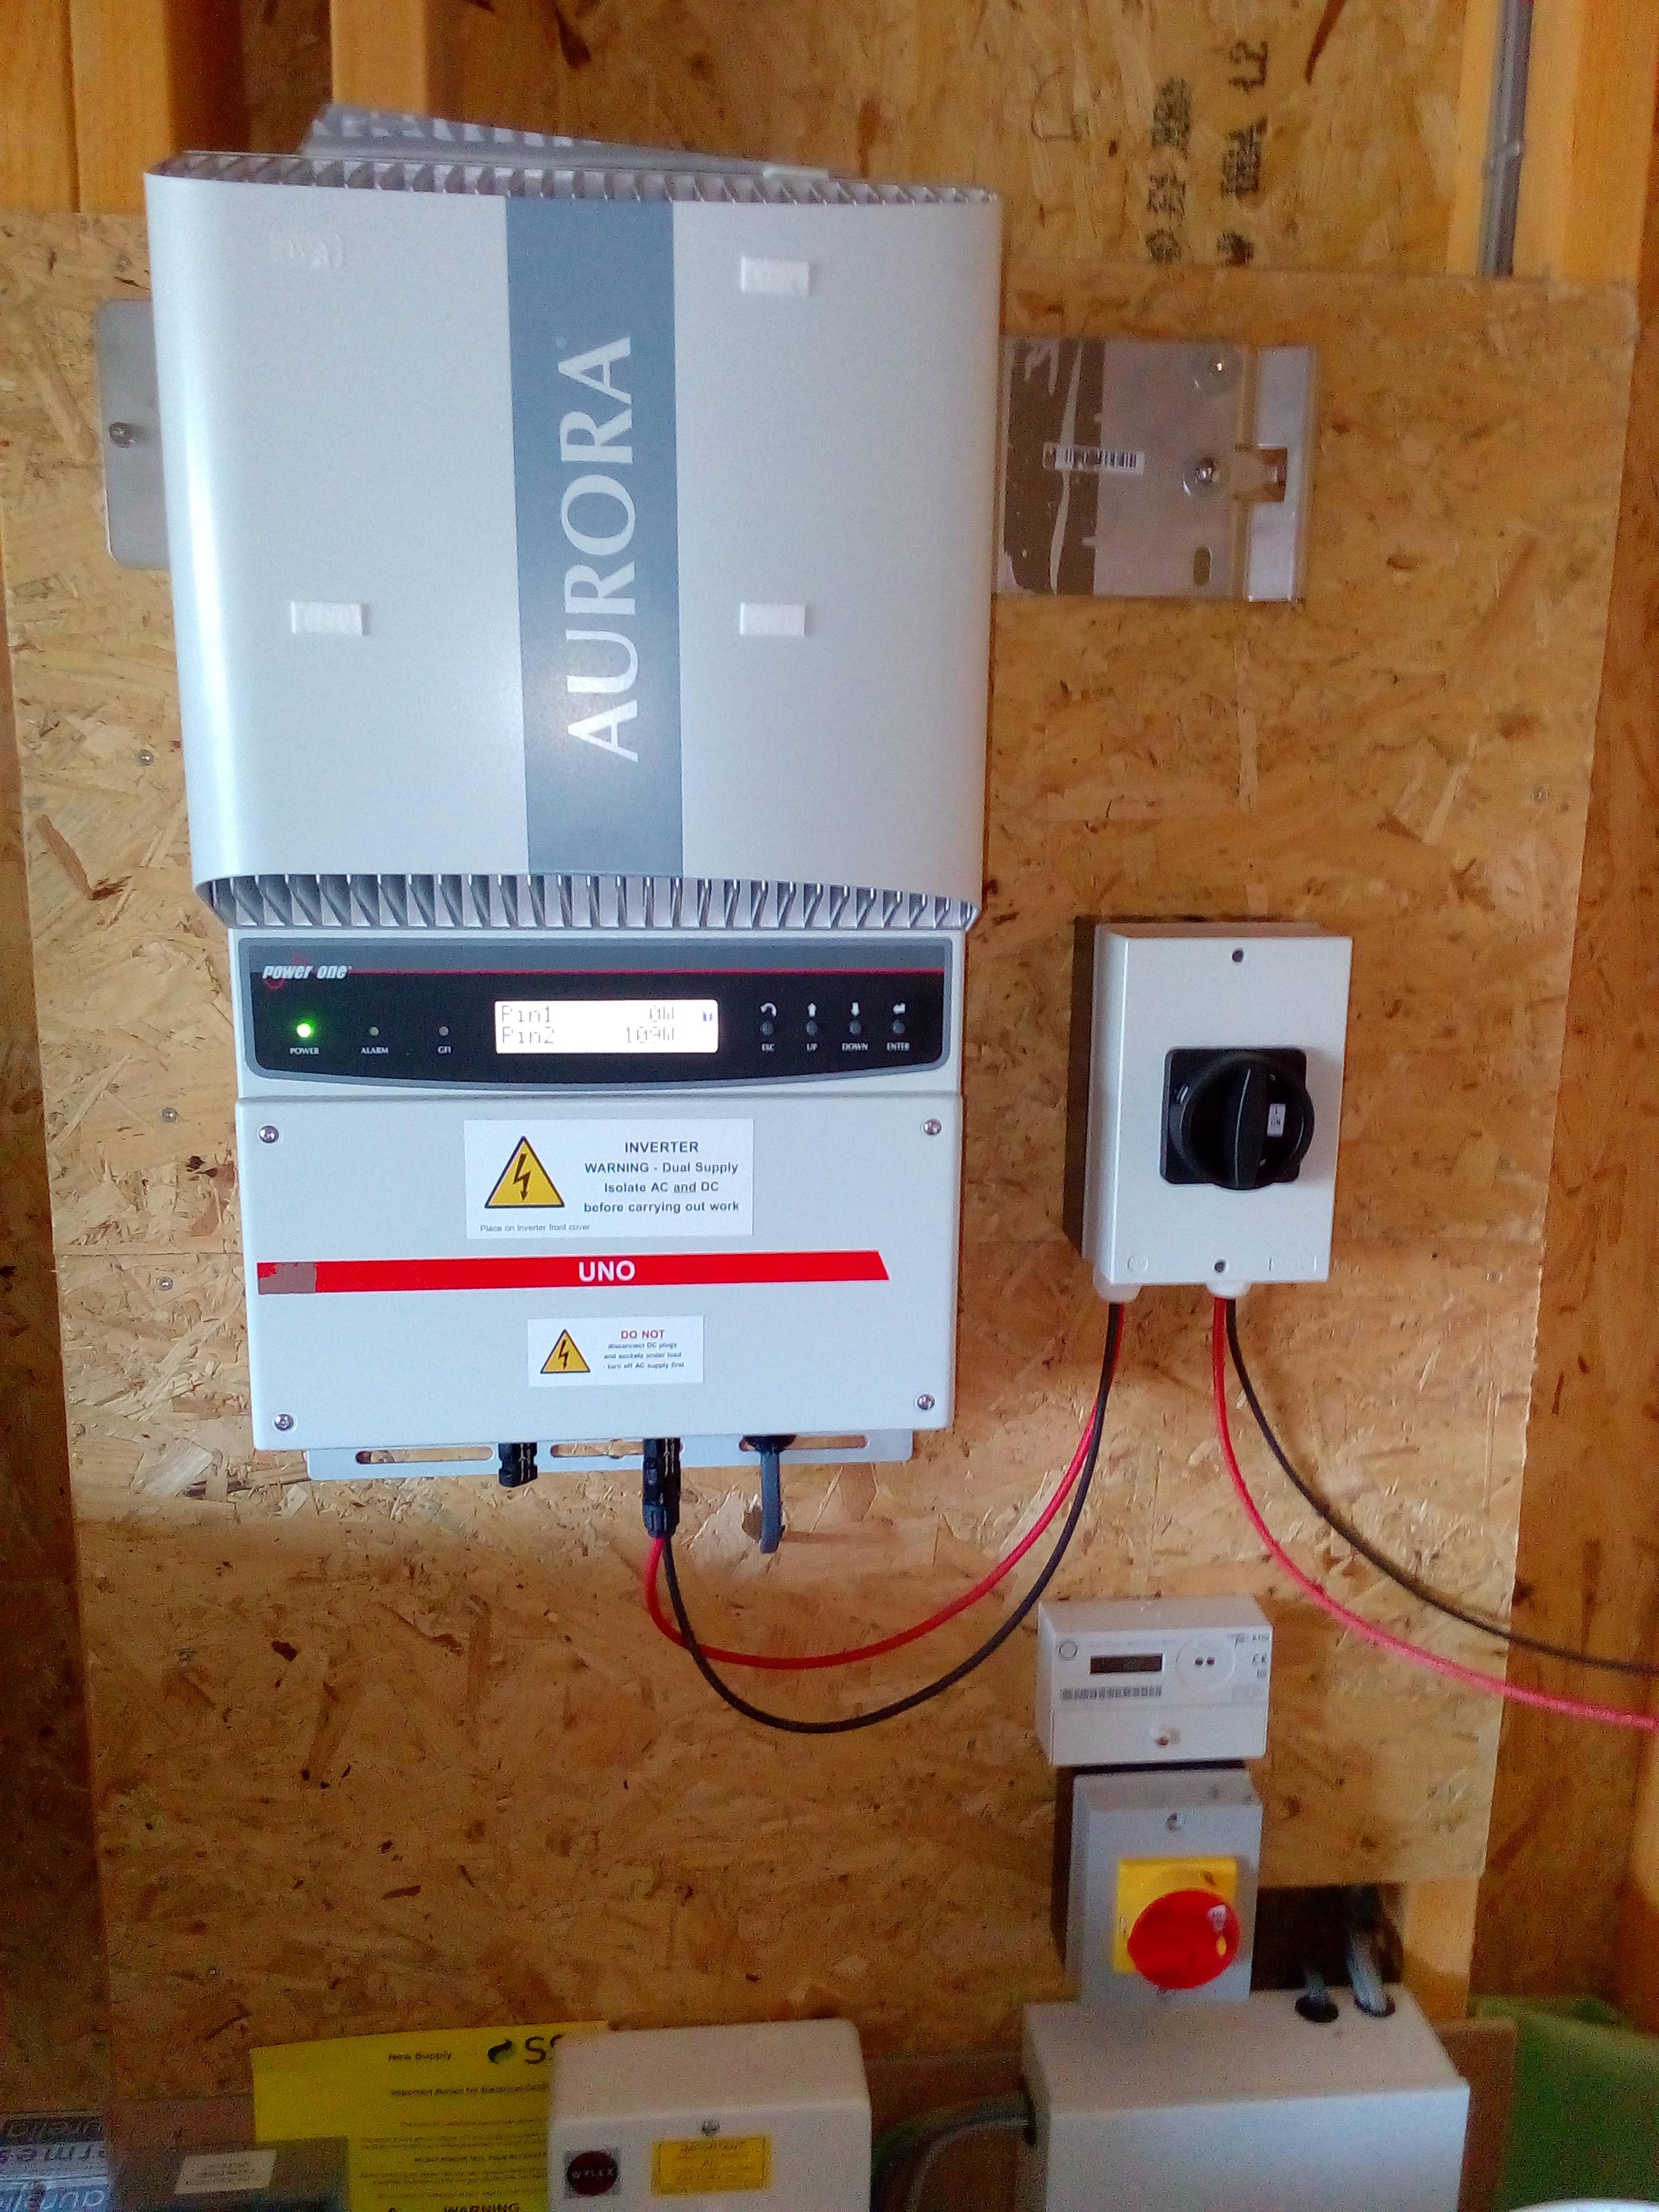
Switched on, the Inverter ran through all its self tests and everything okay. Sadly at that point it clouded over and the heavens opened so only a few watts being generated. Fortunately, today has been a bright and sunny day (albeit a bit hazy) and my 1.5 kWp system is as we speak, generating 1.2kW.
The following shot was taken yesterday just before the rain came on, but all in all, I'm pleased with the way it looks (panels mounted so they read visually with house windows).
Cost wise the system (1.5kWp plus a spare panel), mounting rails, nuts, bolts, brackets, isolators, meter and electrician (@Prodave was kind enough to give me the DC cable he had left over which was just enough for the job) total £550. I already had the inverter.
Final job within the next 28 days is to notify the DNO of the installation.
-
 9
9
8 Comments
Recommended Comments
Create an account or sign in to comment
You need to be a member in order to leave a comment
Create an account
Sign up for a new account in our community. It's easy!
Register a new accountSign in
Already have an account? Sign in here.
Sign In Now