Leaderboard
Popular Content
Showing content with the highest reputation on 05/02/21 in all areas
-
We have sold our house and are moving in the near future. There is a lot to sort out so won't be on here for a while but hopefully will come back at some time with questions and contributions. Good luck to all with their projects.2 points
-
week 2 has finished and the perimeter of our basement has been dug down to the sandstone and it is now obvious how bloody massive this thing is going to be! it really didn't look that big on the plans.....honest! ? we were hoping for more hands and heavy plant on site this week to speed things up but Monday and Tuesday came and went and still the one man and a digger. on Wednesday a second digger came! woo-hoo! but no extra help so we now have one man and two diggers. It seems to have made him more efficient as he doesn't have to get the one digger out of a big hole to load the lorries. Anyway, here's the video of the second week. I hope you enjoy. we did get the 9.5 tonnes of steel delivered for the reinforced concrete and the waterproofing membrane so it gives me confidence that the basement contractors will be starting soon. we just need to get the hole dug and the hardcore/blinding down and the insulation down first. so not much to do then in the 4-day week next week. One thing the video doesn't show is the huge amount of sandstone that has been dug up already and it's only been half the basement. we're hoping to store it all on site and use it to build a stone wall post-build as part of the landscaping. I think it'll be amazing to have a wall built from stone dug from our own land. here's a picture of the current pile of stone excavated. And here's a small piece I have rescued and cleaned up. it is really lovely stone. Anyway, that's about it for this week. fingers crossed this rain that's here as I type doesn't do any damage to our excavations and it clears up for work to start again on Tuesday. As always, thanks for reading.2 points
-
Hi, I am a retired builder from Dorset, and still have an active interest in what is happening within our trades, we have recently completely refurbished our 1970's bungalow and I am always ready to learn new things. I have only just joint the Buildhub, but have popped in and out of here from time to time and look forward to spending more time here reading what you are all up to. Have a great bank holiday weekend. Graham2 points
-
I'm doing a big job with Rosemarys just now and it is a 3 month lead time2 points
-
https://www.birminghammail.co.uk/news/midlands-news/probe-huge-home-extension-left-20485340?utm_source=sharebar&utm_medium=email&utm_campaign=sharebar1 point
-
1 point
-
? Oh dear, sorry, I wasn't asking for more information - I was commenting on the usefulness of fora like this where so much information is freely available. But thanks anyway. ?1 point
-
Our plot has neighbours services running down one side close to the boundary. Rights are established in the transfer deed.1 point
-
1 point
-
I recently applied for a NMA and was amazed to get the decision (approval) just 10 working days later. Now considering submitting another NMA to get the ridiculous dummy chimneys removed (I'm buying the plot with existing FPP) but at £245 every time it's a gamble. I also have to apply for a dropped kerb and to move a bus stop sign which is in the way of the new access.1 point
-
I think the gun can fire full heads but I just used proper galv clipped head ring shanks at 51mm1 point
-
22mm sounds like loads doesn't it but I guess the weld adapter is all about connecting simply into typical waste pipe sizes and if you do have a 22mm run you will still need to wrangle a way to connect that into the waste system somewhere. I think that I am saying perhaps best to stick to waste pipe sizes so you can get adapters, there must be small sized waste pipes out there I think the overflow from our roof tank is about 20mm but 32mm is the most common.1 point
-
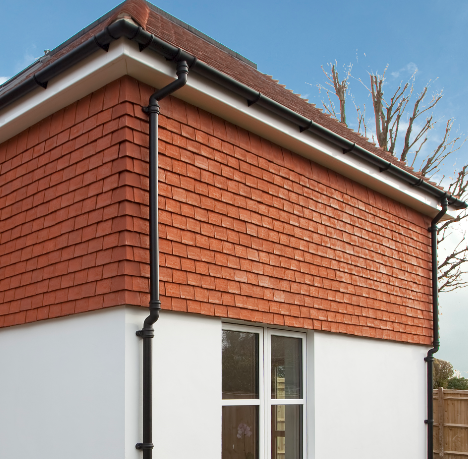
32 week delay on some tiles currently. Also, watch out for reclaim yards adding massive premiums to prices - seen them selling Marley moderns for example at £1.75 each, they are only £1.15 new ..! Same with clays - rosemarys are pretty easy to match, so keep an eye out on Facebook marketplace too.1 point
-
welcome! hopefully with your background you can being a wealth of knowledge to this already knowledgable forum.1 point
-
1 point
-
1 point
-
* Power Factor I have two types of meters, one uses clamp on sensors and the other uses an optical sensor that counts the flashes from the real meter. The second one is much more accurate.1 point
-
Approved Document R is down here.. https://www.gov.uk/government/collections/approved-documents1 point
-
1 point
-
I have a Wunda system and the pump set had a manual blending valve whch wasn't particularly good and I found did vibrate and was noisy a lot of the time. Following recommendation from @Nickfromwales I now have an Ivar pump set and blending valve which is fantastic. Leaving the purchase of the manifold and pump set/blending valve until later on is definitely a good thing.1 point
-
1 point
-
Hi Ollie, Yes, ideally you want to insulate the front of the block wall. This should be down to a minimum of 215mm below the top of your floor beams. EPS would be fine, or XPS. It's common to find EPS 200 or 300 rather than 70 detailed here for the perimeter board. As @Mr Punter suggests you might want to look at your insulation thickness all over and also consider whether rigid insulation is the best option for you in a timber frame - it's more difficult to fit and detail between the studs compared to flexible insulation materials.1 point
-
I agree with James about changes. If you don't get the water from the flashing into the gutter even if you seal it it will run down render and stain.1 point
-
1 point
-
1 point
-
it's been a bit quiet on our blog so I thought I should update it. While we've been waiting for the groundworks to start we've been busy getting the site ready. This has included getting the new entrance to the plot created, getting the sub-base for the driveway in place and then topping it off with a layer of 6F5 as a hardstanding for the construction vehicles (after the build I can then remove the top layer to reveal the, hopefully, still in good condition sub-base to put the final layer on top of. well that's the plan at least!) and putting up the site toilet. Obviously the last job was the most important. Our new entrance to the plot is over a culvert and as it's connecting to an adopted road it had to be done by an insured contractor and so I had to fork out the cash to get it done. but they did a very good job and we're very happy with it. the culvert in situ with enough concrete on top to take the lorries and cranes for the build a nice base layer of tarmac finished, which will see us through the build when they will come back and put a nicely finished top layer on. nice sand-bagging. ? once, they'd finished the entrance we moved on to the driveway and hardstanding but, first, an observation....it's funny how things don't look as big on paper as they do in real life. that's exactly the conclusion I came to after I looked at the plans and thought "that driveway isn't that big I'll just dig it out myself and save myself a fair chunk of cash" and then went on to dig it out. it was only after I'd finished the 120m2 area did I realise how big the driveway is going to be (I swear it doesn't look that big on paper!). oh well, it's done now, at least we'll have plenty of parking. maybe I can rent it out and do a 'Park and Ride' in to the local town to recoup some of the costs. ? a big hole dug and covered in Terram (or an equivalent to be exact) 100 tonnes of beautiful primary Type-3 granite aggregate all compacted by that beast of a roller. Don't really care what everyone else thinks but I think I did a darn good job for my first driveway sub-base. Sadly it all got covered by another layer of Terram and then a load of 6F5 got dumped on top and it now looks like a building site hardstanding area (which is what it is!). here's a photo of the lovely lady of the house helping out on the roller. it was a bit cold out that day. And finally we get to the most important job, the building of the site toilet. Friends of ours got it from a local freebie site and used it for their self-build, we then dismantled it, transported it to our site, erected it, put a new roof on it and plumbed in the toilet and sink to our existing STP. we think it's a very luxurious WC for site use. it's even got a couple of windows so you can watch the work progress while you're doing your business. and that's it for this blog post. we are extremely excited as tomorrow is the day we've been waiting for and the groundworks starts in earnest. They'll be on site to set up and start digging out the big hole for the basement as the basement contractors are due to start on the 3rd May so we should start to see some real progress now! finally!! thanks for reading. ?1 point
-
Over the last month we've spent our time removing bits from the barn that will either be returned, replaced or disposed of depending on there condition and the LPA requirements. This means that the yard is filling up so deliveries and other storage is now being put in the fields. That's okay with a very dry April, might be more tedious if we have a very wet spell. I removed the roof from the barns where there was a low ridge height, but that also included the insulation (lucky piggies), rafters, joists, wall plates, lintels (angle iron), gutters and fascia boards. This resulted in a number of bruises from hammers, crow bars and wood. All when they moved unexpectedly, luckily being a weak woman the crowbar was not much bigger than a pencil so only gave me a small bruise. If it had been one of the big ones I would possibly have ended up in A&E. I don't think I've ever seen so many nails. Being rural we've been able to burn wormy wood and the rest I have chopped up for the wood store, the insulation has been stacked along with the roof sheets ready for the future workshops and garages. Once hubby has a dry and insulated workshop he will never come in the house ? I'm also very glad of my work factory boots with steel toecaps with the number of times I've dropped things. It certainly looks very different now, lovely and light. We have left the shed at the end intact as we are going to use if for secure storage and tea room for as long as possible. Ultimately that will be our utility / plant room so we won't do anything until we have to. The back of the barn had an overhang which has been removed, this was pretty low so although it was included in the dwelling dimensions we decided not to bother as we were not allow to increase the ridge height enough to make it useful. This is where all the drainage is going to go, the internal walls have been set up to fit with the current window openings, not always central in the room, but good enough and easy and meets the LPA requirements. We do need to create one more window opening for the family bathroom. This back wall is to go up 1 block to allow for lintels, although the first window is quite small so the lintel is only the thickness of a brick so it will be pushed up so that the top of the window is as high as possible. This side of the barn is the south side, unfortunately, as it faces a 45 degree 12' bank then the end of our land so it doesn't have an exciting view. I'm planning on gabions, but at 24m long the cost might be prohibitive for now, a future project. In the meantime I'm clearing the bank of weeds, dead trees, shrubs, rubble and a number of tennis balls lost there over the years. Hubby has been working on the L part of the barn which had a cement fibre roof, which possibly contained a small amount of asbestos, and a metal frame. The roof sheets are now cleared, double wrapped and stacked ready for the company to collect. The metal frame had to be cut up in situ as it was fixed so firmly, but that is now down, cut up and gradually going to the tip. It is much easier to destroy things with crow bars, saws and grinders, when we rebuild we shall have to be much more careful. During May our plan is to start work on rebuilding the external of the ensuite / wardrobe room. We will level the existing blocks, then add another block to the top as well as the window lintel. As we won't be replacing the roof for a while we will leave the wall flat until we can measure the new pitch accurately. The unwanted internal wall will be removed and the floor dug out. This will be done in 2 stages, firstly the floating floor to level with the rest of the barn floor then the lower floor. The floating floor is all we are doing at the moment as the whole barn floor needs to be dug down to install insulation and UFH and we will do that dig out in one stage when we are ready. We will then follow the same process with each 'room' on the low side of the barn. How long this will take really depends on all the other demands on our time. Once this side is done and all unwanted walls knocked down then we will start on the other side and follow the process all over again. So far progress has been pretty obvious, and as we have a nearby footpath we have provided lockdown entertainment for many of the locals who like to question us and comment on what we are doing. Since last week and less restrictions the number of people has reduced by 90%, something that I'm pretty glad about. I've had problems with images today so I've just added them all together. I'm still chasing for Building Regulation drawings, something that will soon become more urgent. Thanks for looking and feel free to ask questions. Jill1 point
-
1 point
-
The first week of the build is over and I've collated our time-lapse footage for the week and made a 2 minute video, hosted on Vimeo we're a little disappointed at the speed of the dig but the boss has only given us one driver to do the digging/dumping/lorry loading so a lot of his time is spent moving the spoil around. but I've been told that more hands might be on-site next week and a bigger excavator so fingers crossed that happens and we see more progress next week. The basement contractors are due in a week so they need to get moving if they want to hit that deadline! Anyway, I hope you enjoy the video.1 point
-
My application is still in planning! ? Crossing licence granted. Building regs submitted Wednesday night, spoke to the allocated BCO this morning, they have already looked over the plans, they don't see any major issues and likely to grant permission end of next week subject to me sending them SAP and structural info today. Worlds apart between planning and BC!1 point
-
1 point
-
1 point
-
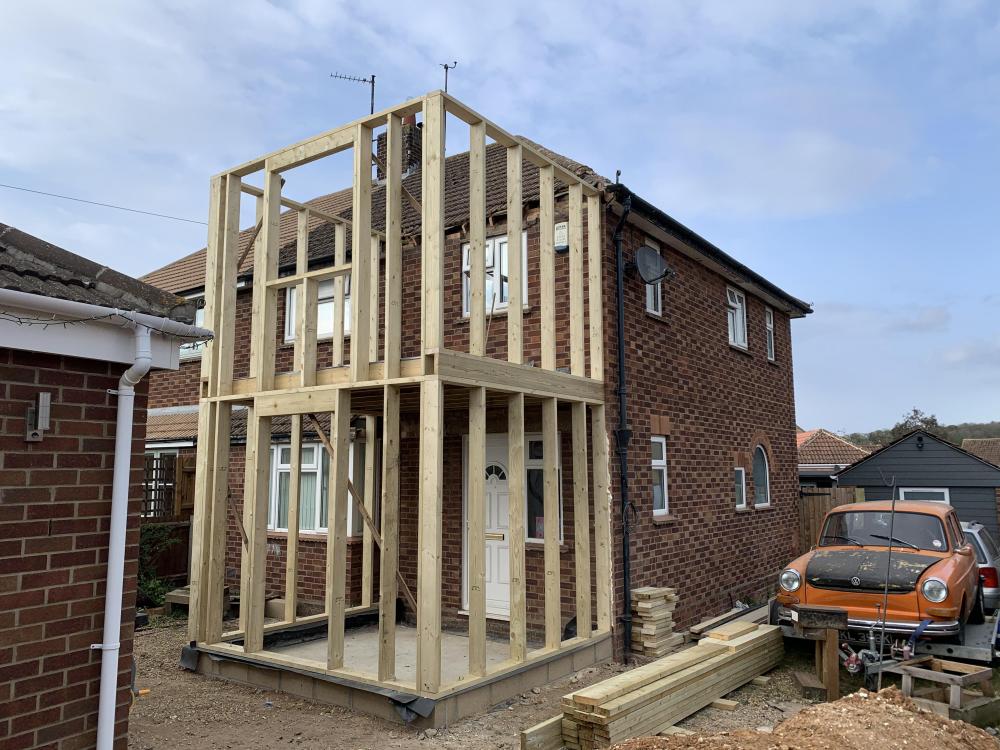
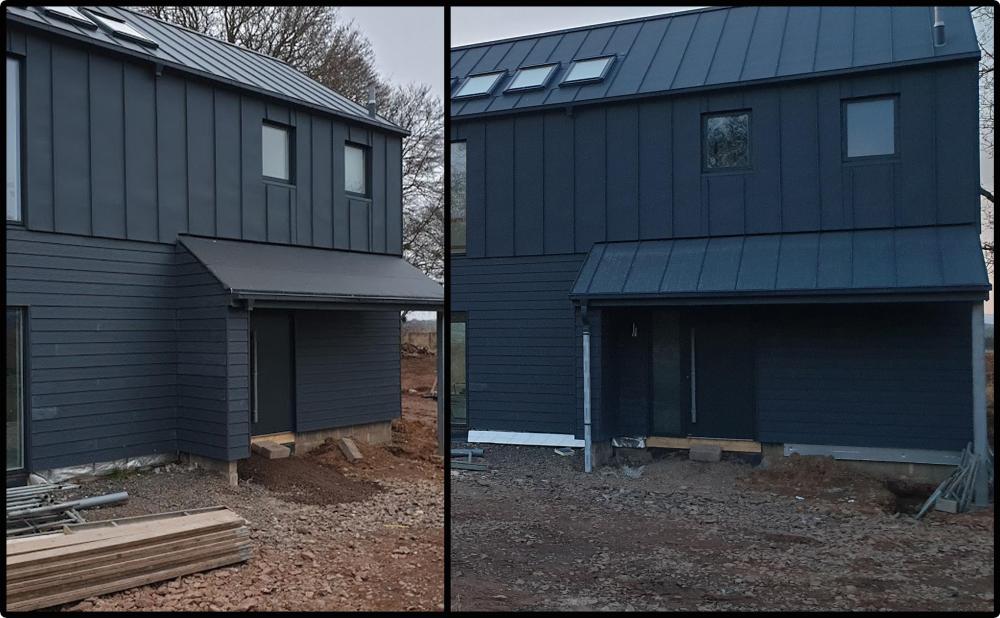
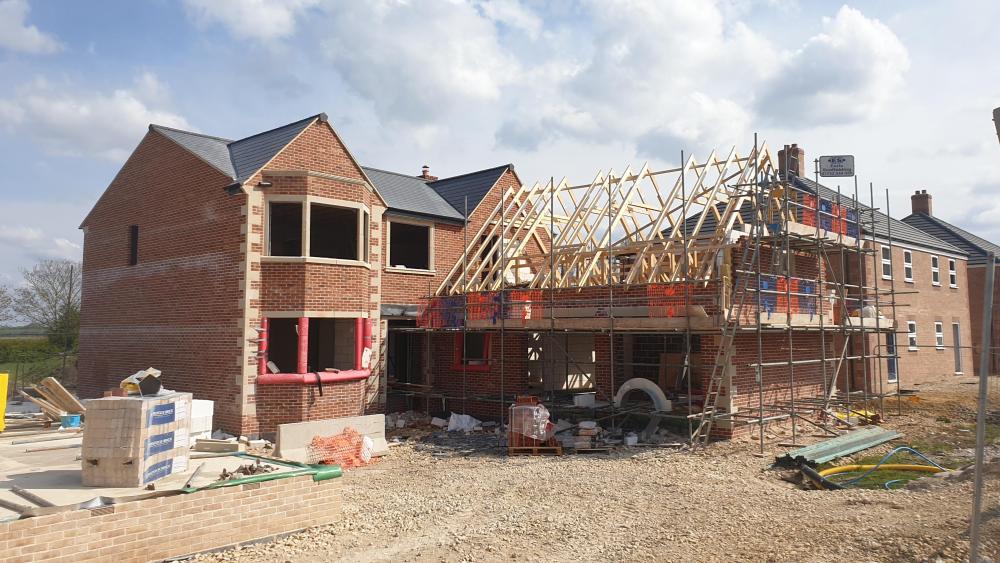
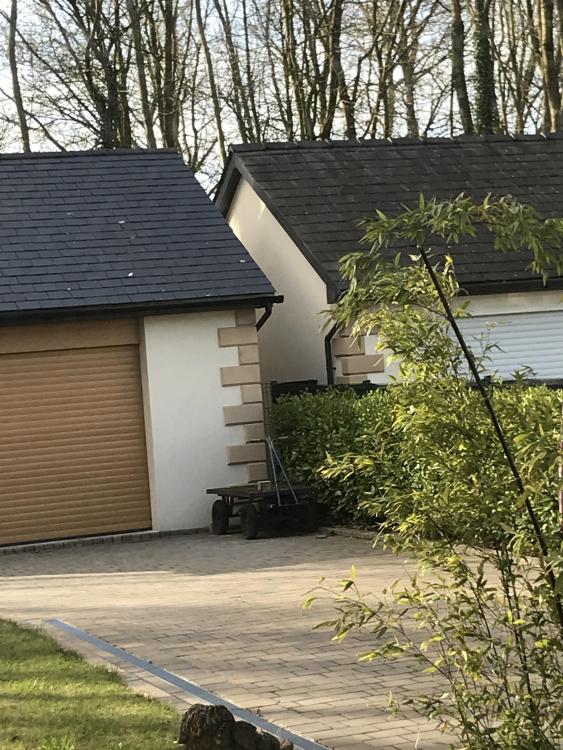
I like those Ferd. I would consider taking planning decisions away from L.A.s . In my opinion the quality is poor, and the local planning committee are "not in my back yard" The other thing that i have a problem with is "Making new buildings fit in with the local venacular." That is my pet hate. Lets all build new stuff, that looks like old stuff. Lets never move our architectural style forward. Lets instead have roads of houses where in 25years, you won't be able to tell which one's in the road were built when.....because they all look the bloody same.1 point
-
Mark those occasions on the calendar and get a reality check. The only thing you need to know is where the CU is and which circuit to switch off eg “kitchen ring” if the ? hits the fan ?1 point
-
Hi , i notice that your 'z' vents have ben built on the outside of the blockwork, how are you going to accommodate them now, as i am just trying to resolve this detail ?1 point
-
I used a high-build epoxy paint product. Can recommend the guys at Promain - excellent advice. If you're going to spend a lot on epoxy (and it's way more expensive than regular floor paint), you need to make sure you get the prep right. We had really bad spalling in places, so I rented a floor grinder. It was very expensive due to the amount of wear I put on the diamond pads, and that was without taking it all the way back to perfectly smooth. I doubt I'd take that approach if I were doing it again. I really liked the idea of one of the epoxy self-levelling products to build up a thicker coat, but it was expensive, and I was worried about having to mix and lay it while keeping a wet edge (etc). Given how much the grinding cost, however, I think it might actually have been cheaper to go this way, and the result would almost certainly have been better. While the high build product I used did iron out the finer imperfections, it doesn't really do much for deeper marks. You can still clearly see tamp marks in places where I wasn't able to grind them completely off, for example.1 point
-
With my planning “war” I found they were fire fighting, only dealing with it at the last possible moment then finding something to delay the process. The appeal process was far better, timely and informative.1 point
-
Cut the top of the external insulation at an angle so any moisture that comes down the cavity sheds outwards, this provides a gap for ventilation, step the insulation in a bit so to add some interesting details, just not the 100mm you had or it will look like a council house that’s had external insulation added. Loads of little things need adding to finalise this but thats a robust design to work with.1 point
-
The kitchen has a 10.5 metre steel ridge which protrudes into the vaulted ceiling by 50cm. I also attached the ventilation 75mm pipework along the side of the steel to supply the living room at the opposite end. So a curved ceiling to run underneath the inside of the ridge. A simple explanation is imagining a skateboard halfpipe upside down. I built a frame out of ply with cutouts for batten to run the entire length of the ceiling. I then fitted a layer of 6mm red faced ply to create a curve. Then the final layer of 4mm birch plywood, glue and pinned and treated with Osmo oil. Well, it took a while. I know my building is not 100% square as one of the long kitchen walls was leaning out when we fitted the original rafters but overall the sheets all butted up square with only one sheet needing a little fillet added. I started in the middle of the room to allow any discrepancies to dealt with at either end. Then it was back to more plaster boarding and a novice bee keeper. More to follow.1 point
-
0 points
-
I was half way through a ham and coleslaw sandwich. Food first, facts second ???0 points
-
Drove past the Tattoo Parlour just now, door was open so I assumed they were working. As I got closer, I could hear a Kango pecking away. Well hard women get tattooed there I think. Or the builders were in.0 points
-
Thanks for the welcome, and I can tell you that over the years I have worked plenty of bank holidays and so many 7 days a week ...too many to count, but guys, keep the noise down as we don't want to hear the machinery working on our rest days ...???0 points
-
One of my client's projects in ireland is a 100,000m³ covered reservoir. When we were preparing the tender, one thing that we highlighted to the contractors was that the construction of the walls would require the equivalent of Ireland's entire concrete production capacity for a 4 week period!0 points
-
0 points





.jpg.063f4d831294375de240a32d7a628f28.jpg)
.jpg.c12a88131d405e867bfe09b2d0a142d2.jpg)
.jpg.475c4c3daae364f7721c5cc86de591ed.jpg)
.jpg.670e9f53e1995acf33c697ff7a5639ca.jpg)


.jpg.c21f3ac78c9b7efd90cbdcb312744dc5.thumb.jpg.7adcad4c0e384f5ecd7d56b0618df6e5.jpg)


