
Leaderboard


Popular Content
Showing content with the highest reputation on 12/15/20 in all areas
-
If the first layer isn't laid between the joists, there's bound to be passages for cold air to circulate and negate some of the benefit of the insulation. For minimal cost, and a few unpleasant itchy-scratchy, bang-your-head, back-aching hours, I'd re-lay it to my satisfaction, and top it up to 400mm. Then you know it's right ?2 points
-
hive wireless cams2 points
-
I have never heard of the firm. Integrated ones do close a bit more firmly without the furniture door but should still be fine. Yours sounds like Arkwright's till! I have never seen an integrated dishwasher without the door fitting kit and a template. Out of interest, what made you choose that brand?2 points
-
I don’t see how this is your problem, you have supplied all the correct stuff if their bank doesn’t like it that’s their problem. I understand the frustration, but dealing with theses people is on another level of dodgy. Keep the house on the market and keep showing it. If they are having this problem then it will probably fall apart later on anyway.2 points
-
@pocster has experience of cutting them out with a dremmel. So maybe ask him how not to do it?!?2 points
-
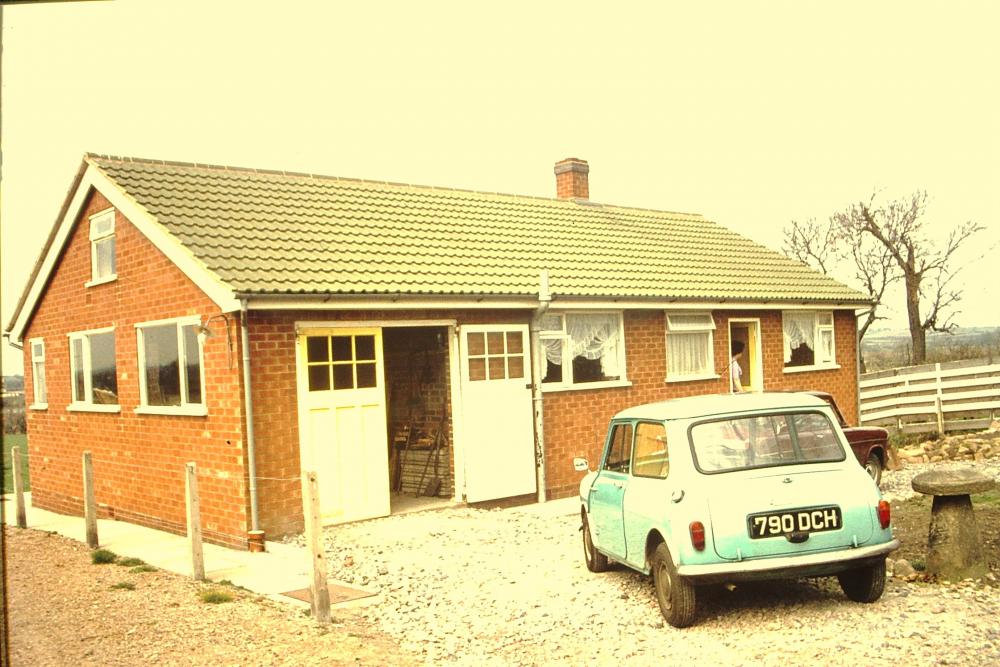
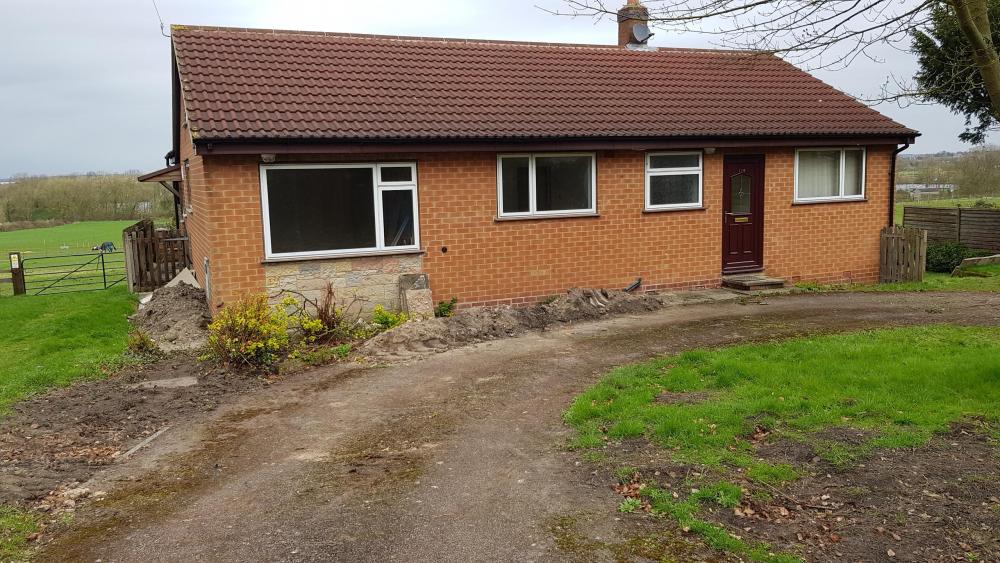
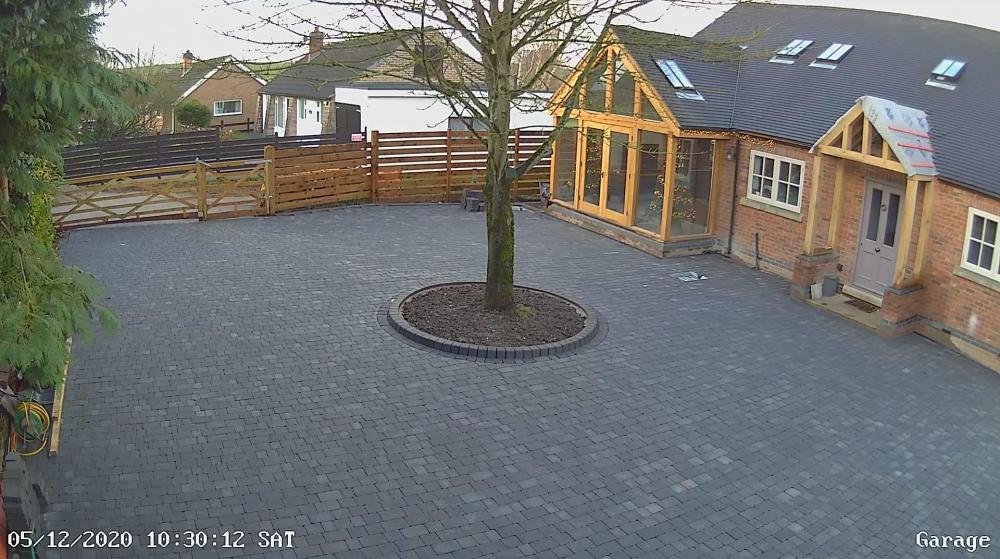
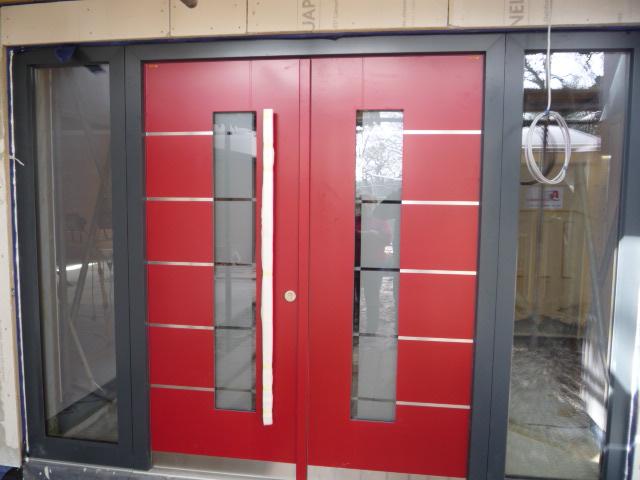
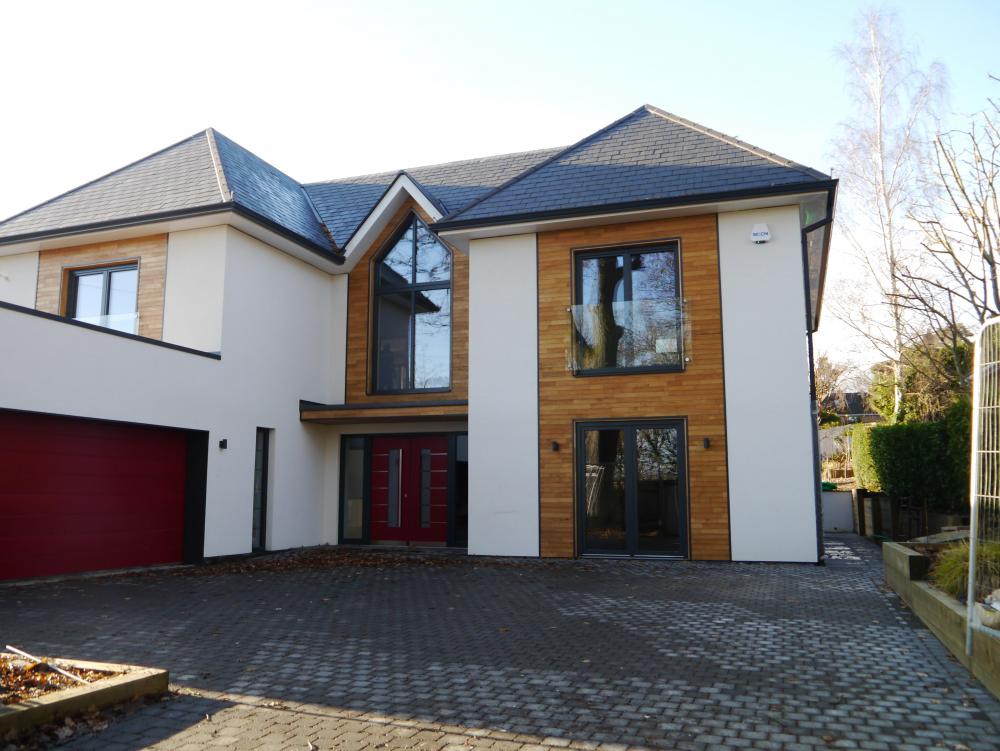
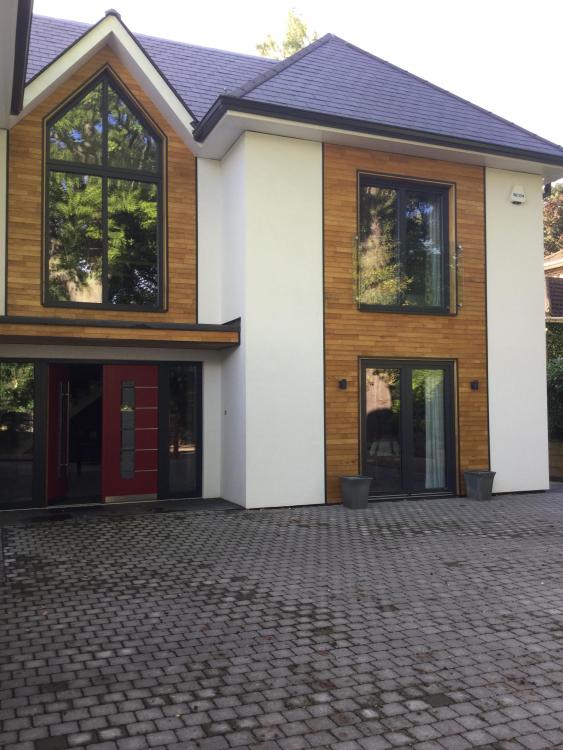
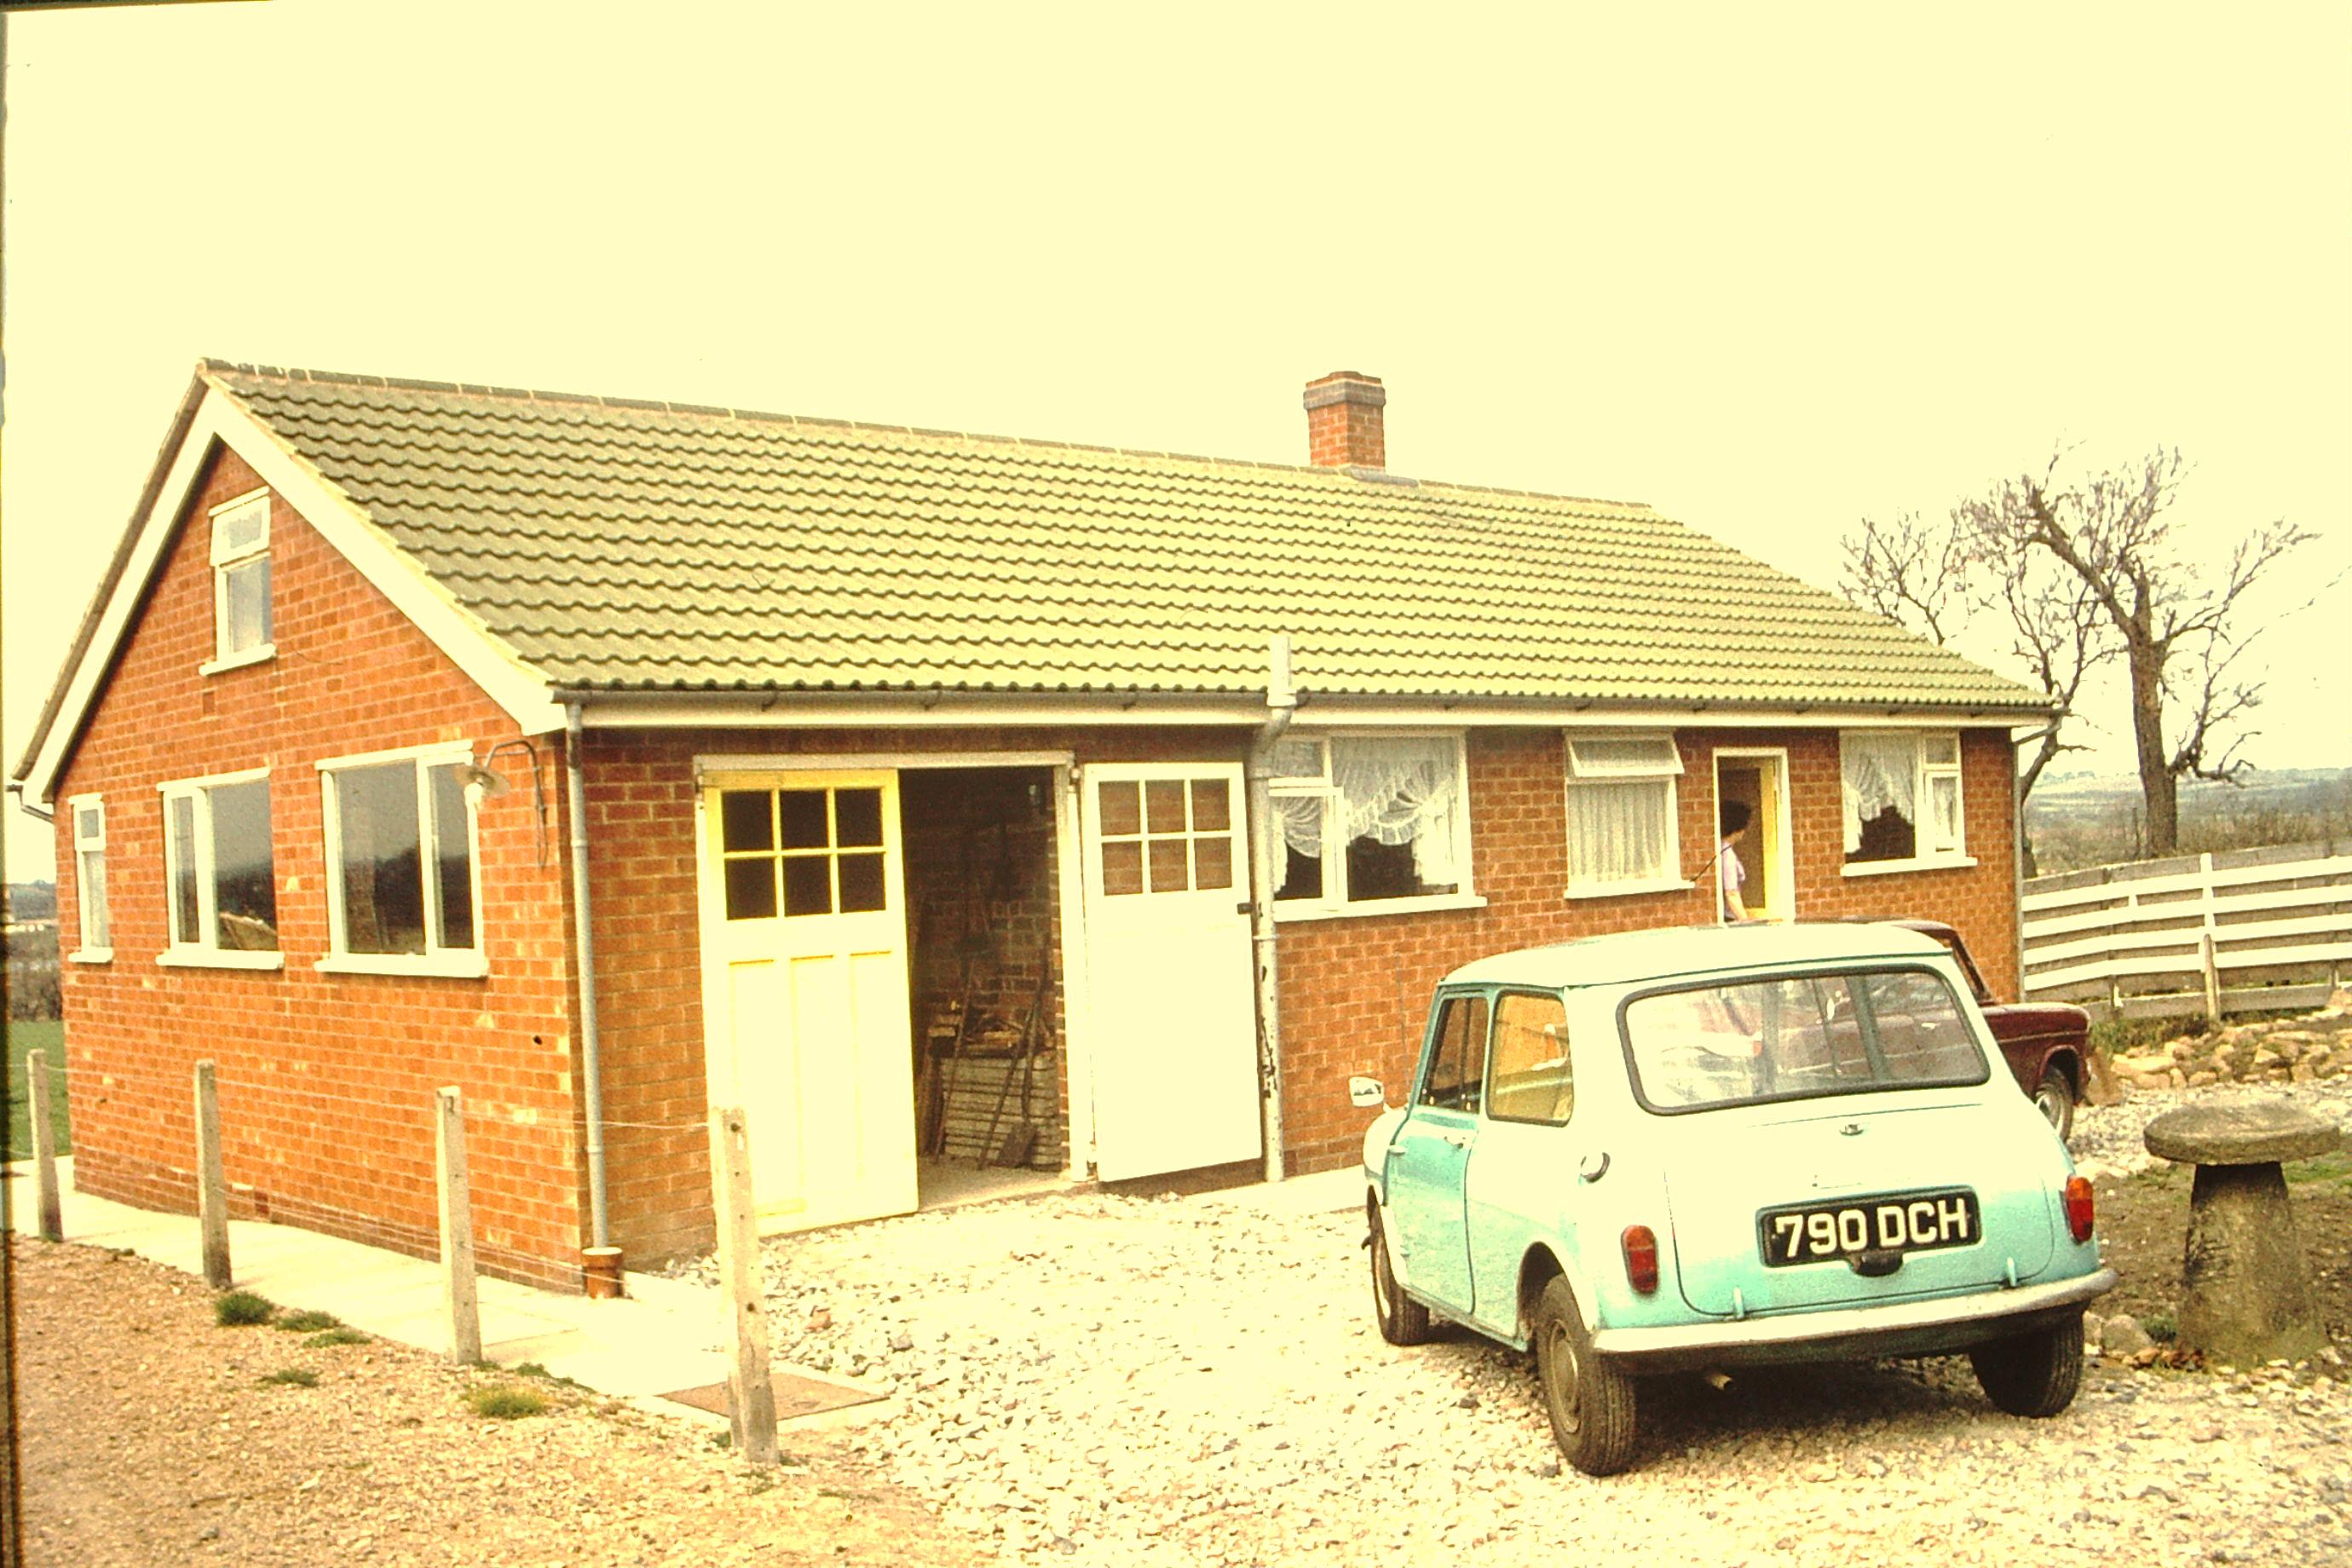
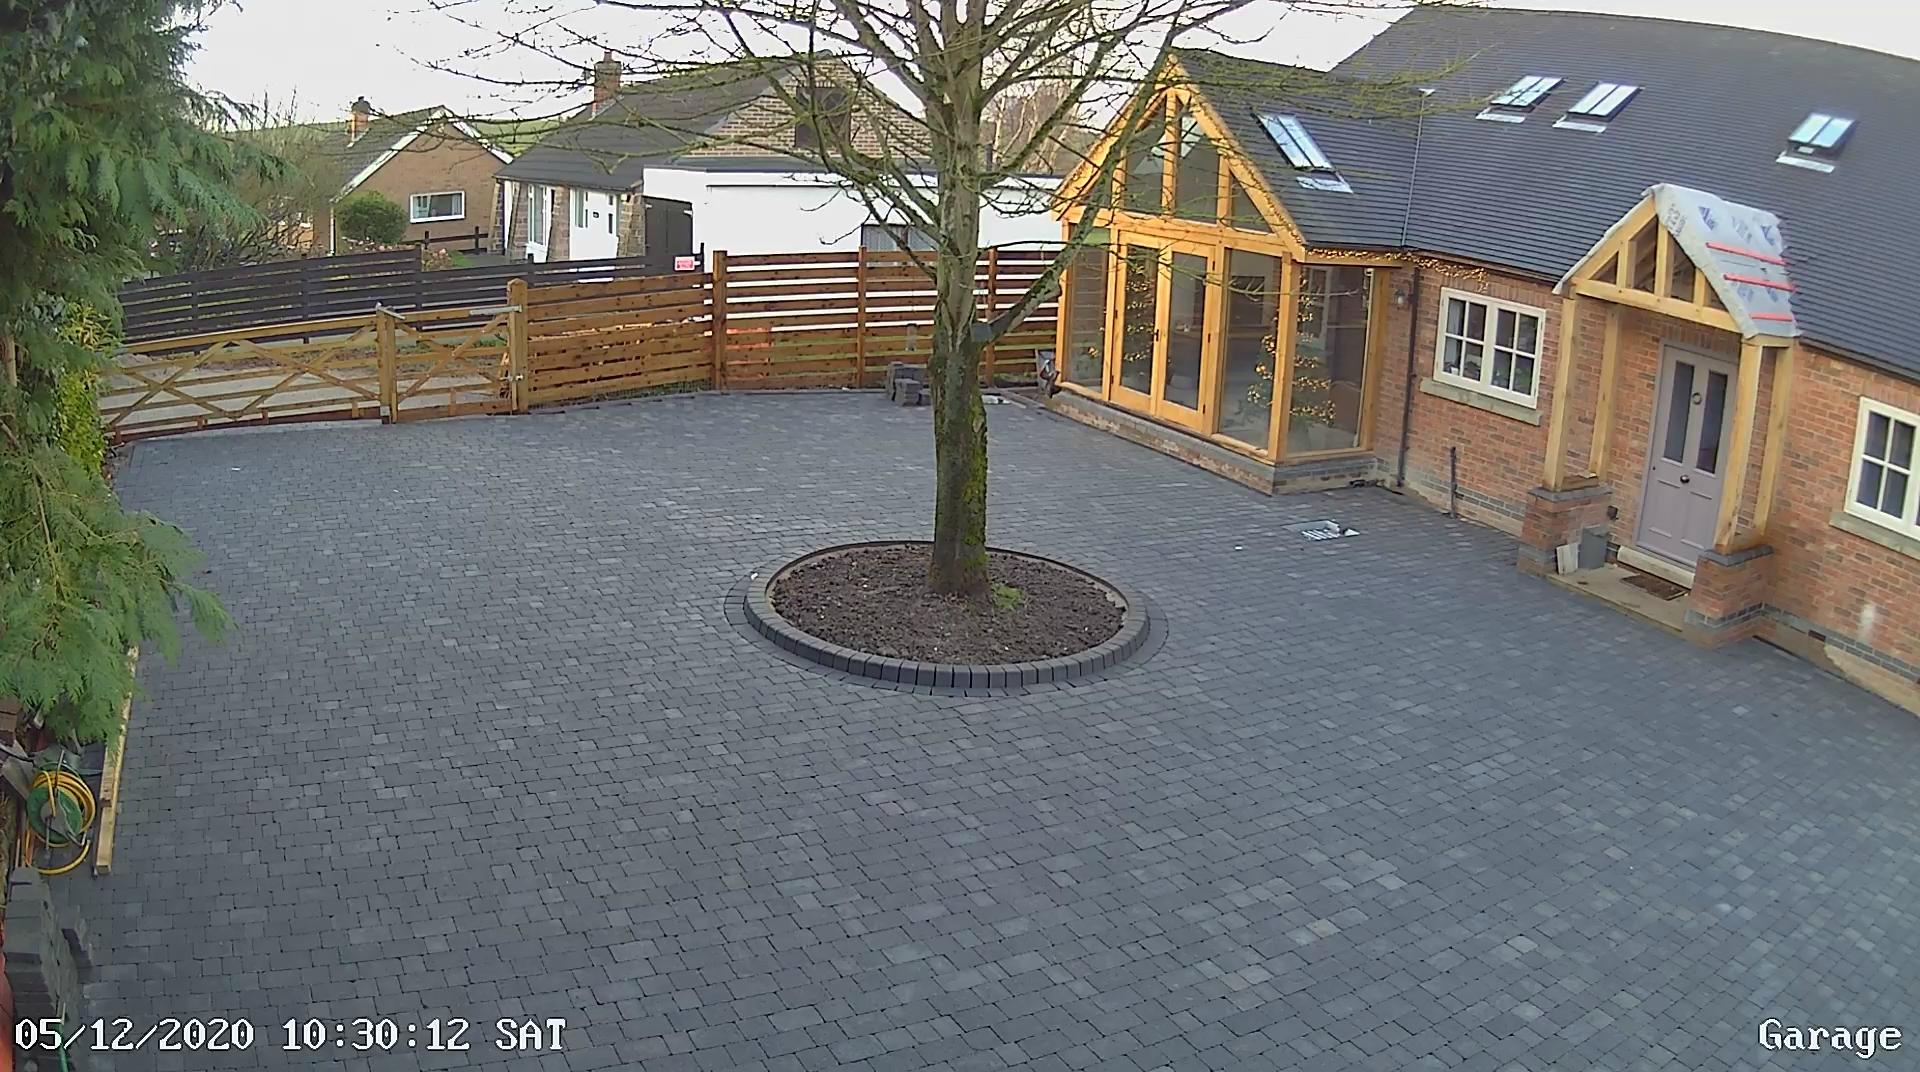
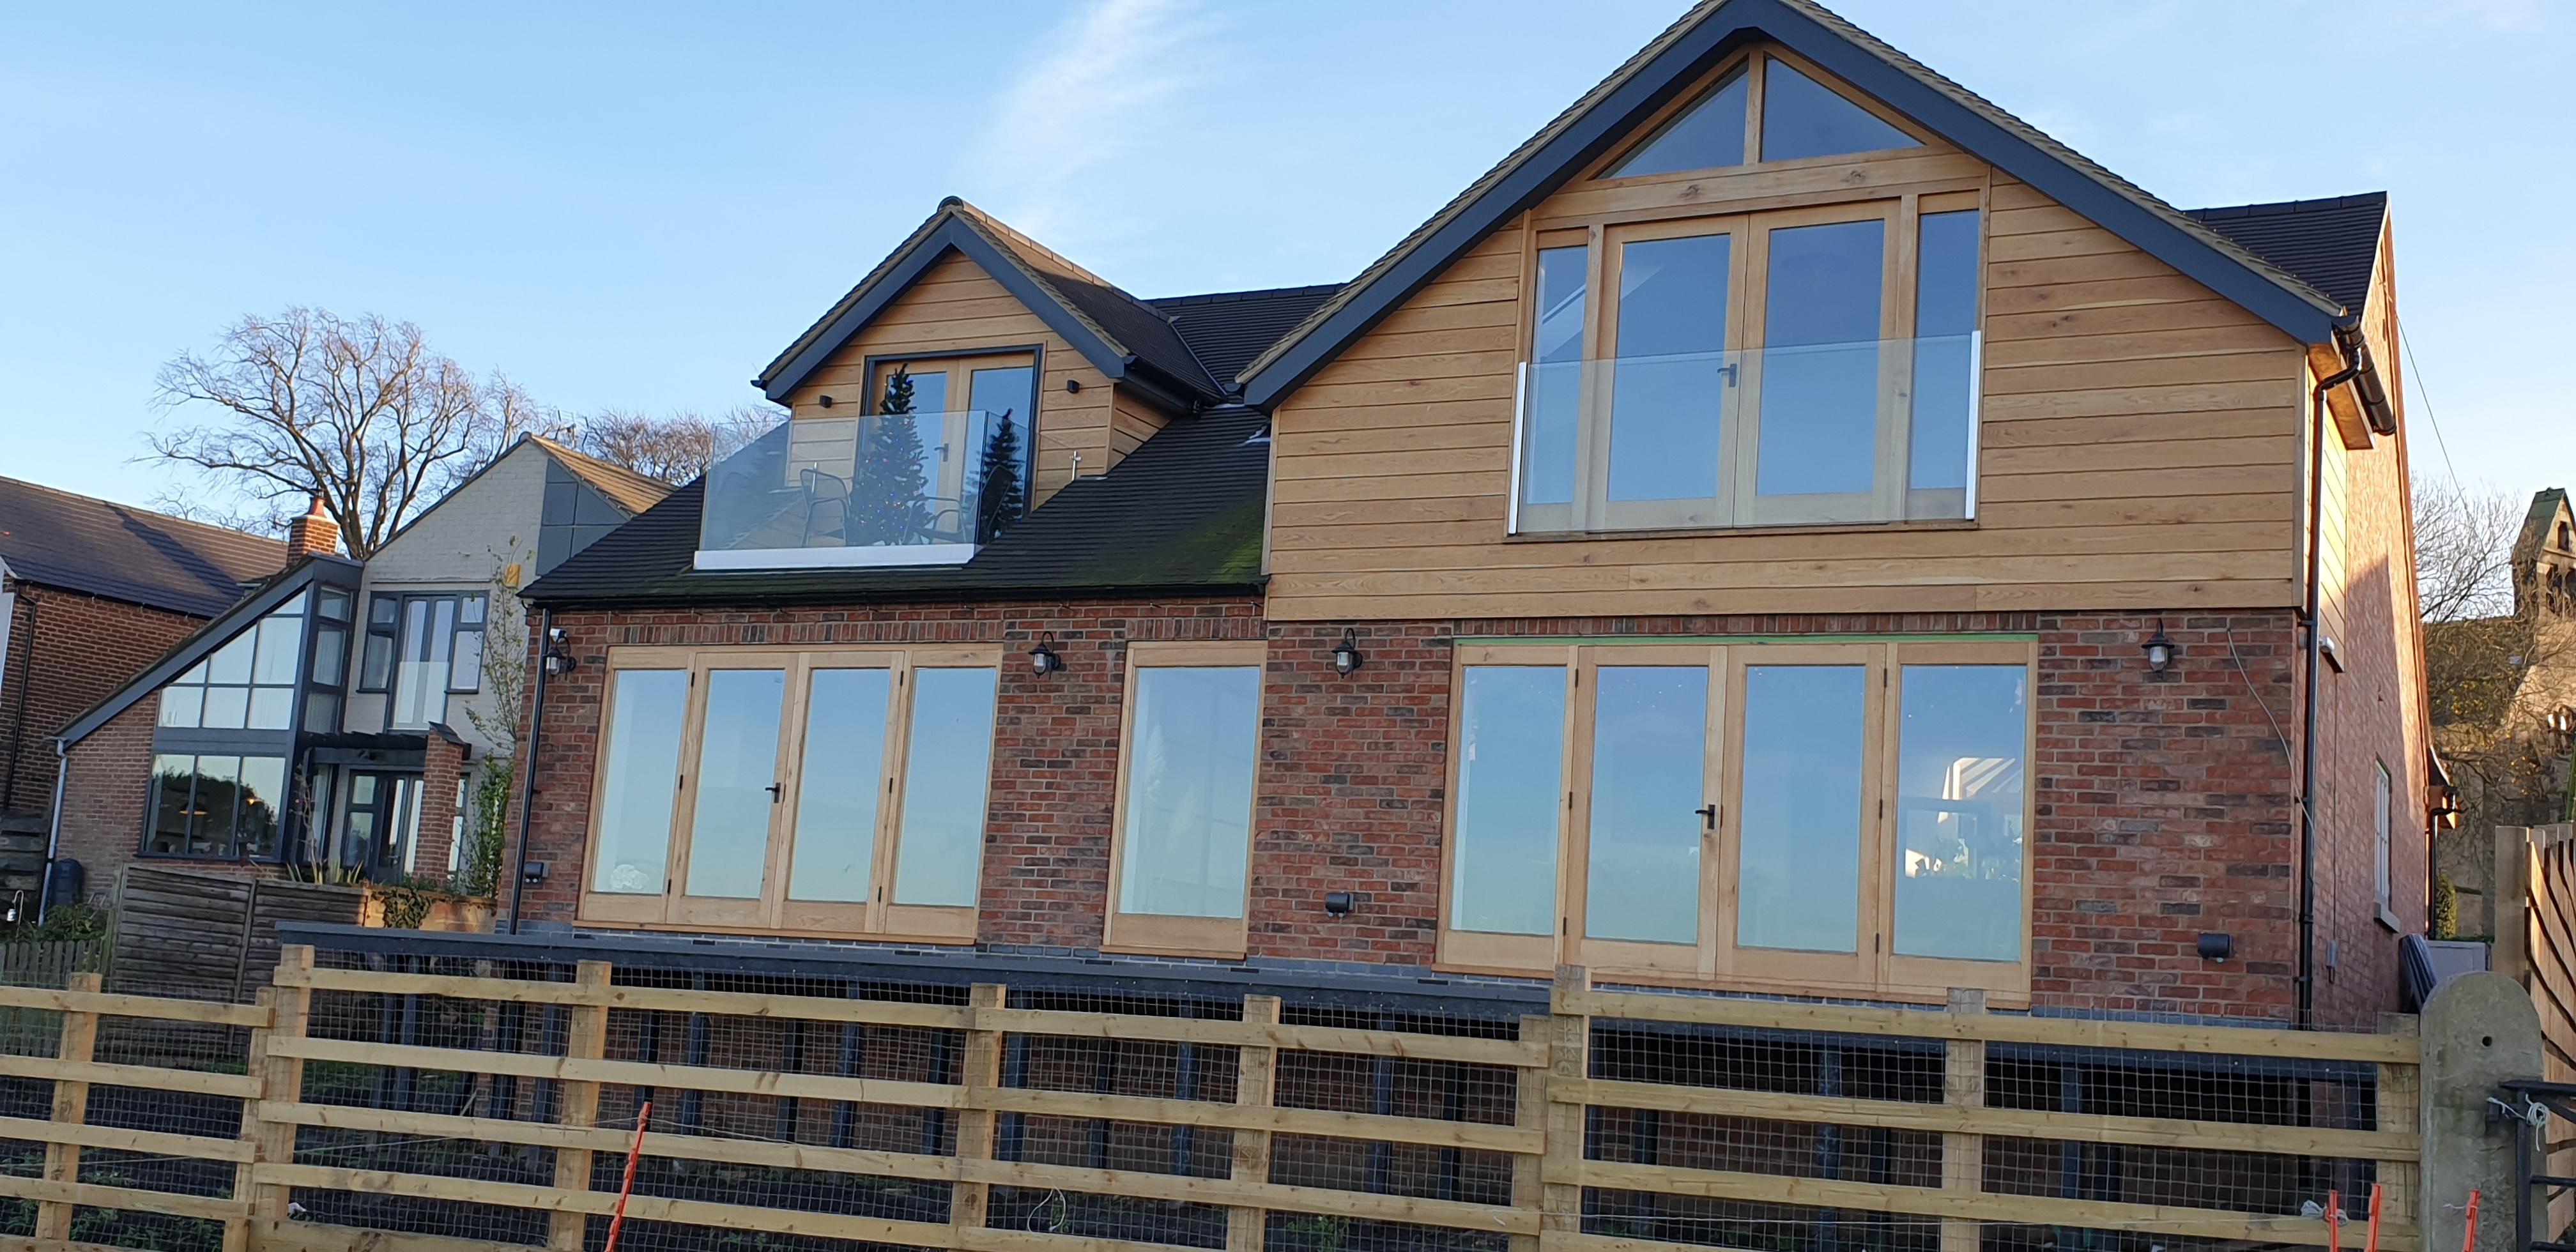
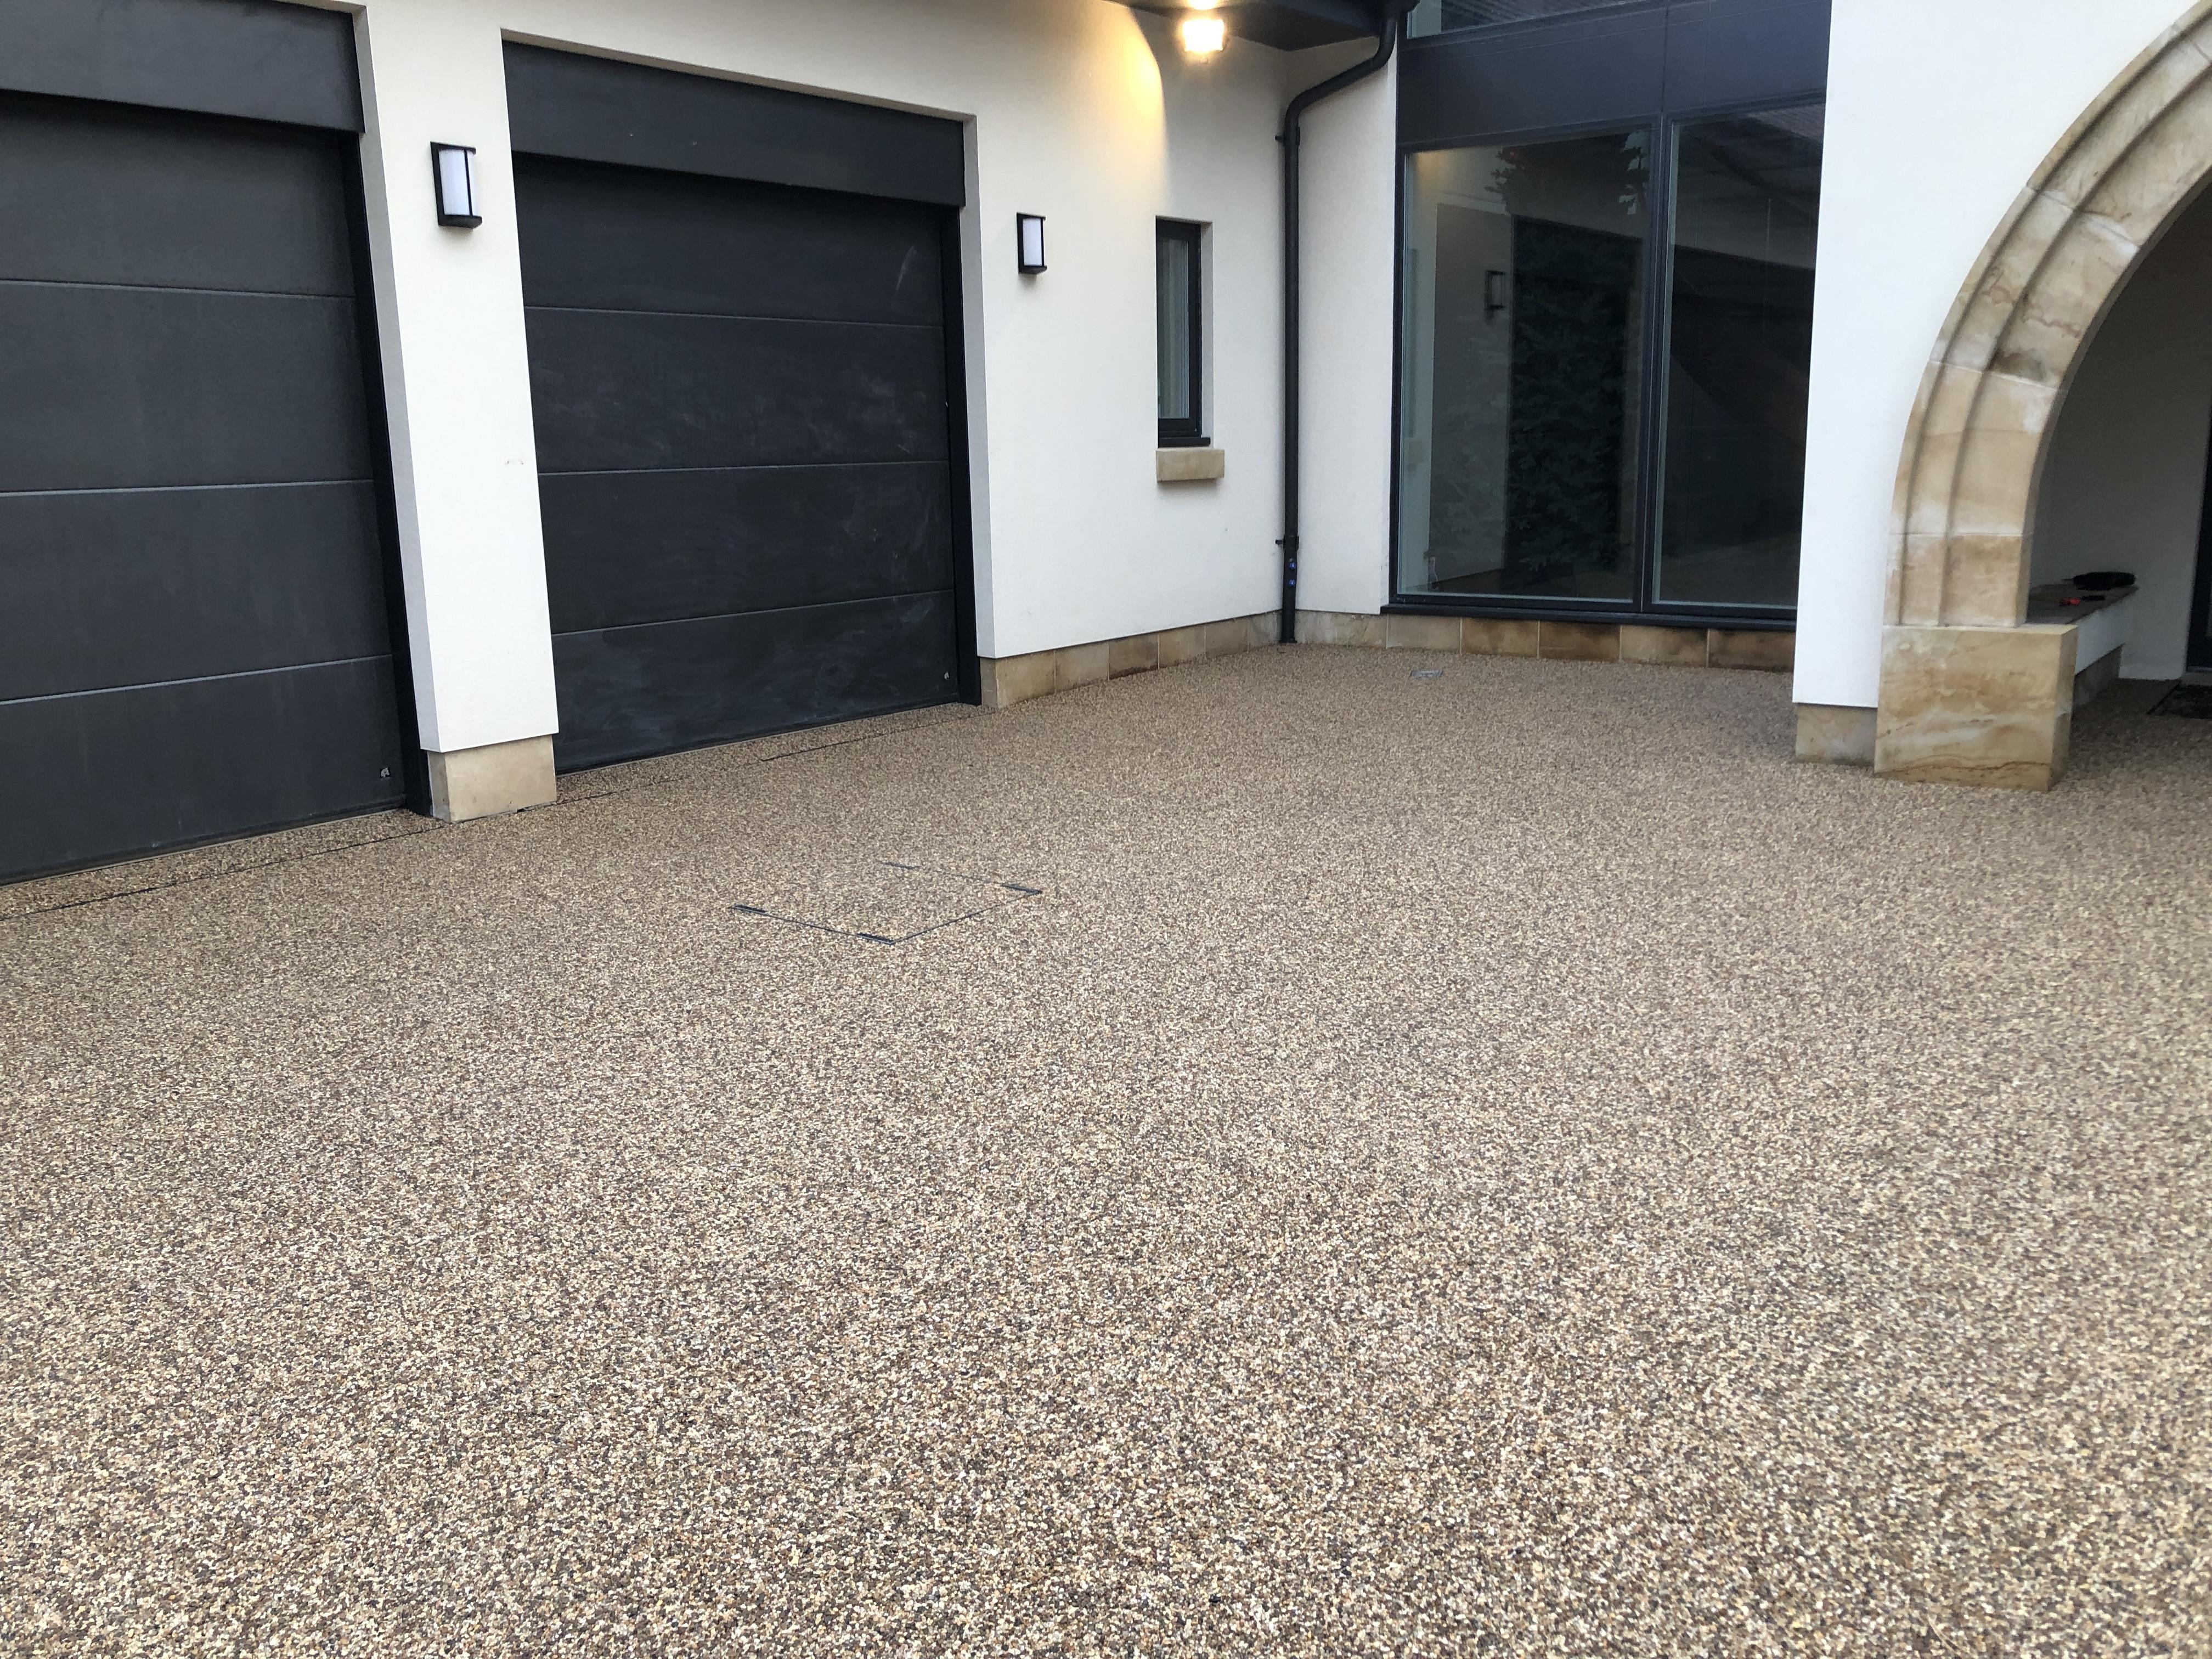
Hi everyone, Wish I'd found this forum earlier!! We are now in the final throws of building our dream home in South Derbys, we bought my wife's childhood home in 2017, demolished it in 2018 and have now built a replacement. Our original plan was to refurb it but it would have involved knocking down all internal walls and replacing outer skin of brickwork as that was patchy from previous alterations. So decided to go down the demolish & replace route as we thought it would be better value for money with getting the VAT back. Pics attached from when my in-laws bought the bungalow in the 60's, what it was like when we bought it, and what it looks like now. Plus the view from the back which is why we bought it really!! Always feels like your bragging when showing people what we have built, but we know how lucky we are, and are very proud of what we've achieved, as the design was generally our own with added input from the in-laws as they had lived there for 16 or so years until they sold it in the 80's.

 1 point
 -
There are regs on height of consumer unit MCBs/RCBOs which from memory I think is 1350-1450 from floor level. Providing your control cabinet is fed from RCBO's in the consumer unit then local RCBOs in your cabinet can be at any height.1 point
-
Mine was designed by Wunda but I changed some things. Rather than always going through doorways, which made the hallway and doorways very crowded I opted for going through some walls with conduit. Also I did reverse serpentine to even out the temperature spread. I also kept away from outside walls more than they planned. I also scrapped the hallway loop as there was enough pipework there from feeding different rooms. It all works ?.1 point
-
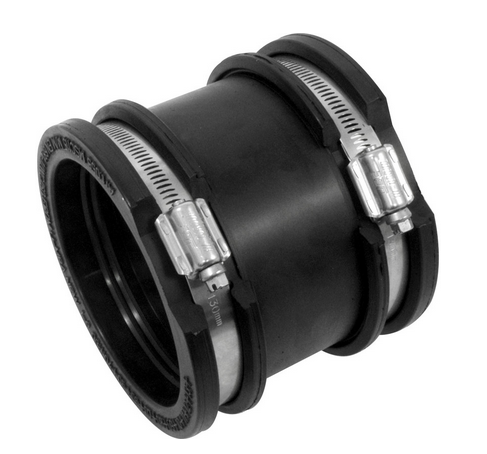
Ah but.. yes saddle branches onto older pipes tend to leak for me as I'm not that lucky. Slip couplers seem great but if you are not used to using them day in and day out they don't "slip" quite as much as you think. Again maybe I'm not so lucky or need to learn more. But if you use a .. flexible coupler and follow Peter's suggestion.. At each end where it interfaces with the existing pipe you'll make life a bit easier as it's easier to slip them about, they are a bit more forgiving especially if the existing pipe move a bit when you are exposing it. They will cost a bit more but you'll save the skinned back of the hands and a lot of frustration.
 1 point
 -
That won’t fill enough of the gap, plus don’t forget that This type of insulation shouldn’t be compressed so it’s important for it to be between and then over the joists.1 point
-
If the insulation just goes over the joists with nothing in between, then you will have a gap between the ceiling and the insulation. Then at the ends, it is very likely that gap to some extent will be open to the cold loft allowing cold air under the insulation totally negating all it's good work. What many people fail to appreciate is is to be effective, insulation needs to be installed carefully to ensure there are no paths for cold air to bypass the insulation. this is easiest achieved by filling the whole area totally with no gaps, then putting the next layer on the same, with no gaps etc.1 point
-
No buffer tank ..?? Who’s manifold controller is it...? I would be using the heat enable to open the zone valve and use the micro switch to trigger the ASHP. Does the ASHP only have one temperature setting ..?1 point
-
If you pack the top of the wood that is attached to the house out 10mm this will mean the bottom section will be running up hill towards the house. This will mean the rain can't run back and will drip of.1 point
-
Wood should be ok, I would try to stop the water/rain getting behind it. You could drop the timber down a bit, and put lead into the wall and draped over the wood a little, Also the wood being lower (say 20mm) would create a drip so water will not track back to the glass etc.1 point
-
That might look quite good finished off with a bit of leadwork to hide the brick. Cut out a bit of the bed above the bricks and put in a lead flashing, the bottom would form the drip to keep the rain off the window. Make sure you use patination oil on both sides of the lead so you don't get staining. You may be able to pick up an offcut of lead to save buying a full roll. Code 4 lead would do the job.. not too thick and not too thin. Don't block off any of the weep holes. There is a limit to the length that each lead strip should be as it moves about. For a flashing in code 4 the max length of each piece is recommended to be 1.5m so you probably need to do it two or more pieces.1 point
-
Try to negotiate directly, but I believe the small claims court process is fairly straightforward, particularly with the evidence you have, if needs be.1 point
-
You should write to the engineer stating your grievance together with a request that they pay the costs that you’ve incurred. A condition of the engineer’s professional indemnity insurance will be that they can’t admit liability and must notify their insurer of the claim . The insurer will appoint a specialist solicitor who will formulate a response for the engineer to put back to you. The fact that the institutes complaints committee has already found against the engineer will be a big help in convincing the insurer to pay up. Depending on the amount of the claim it may be less than the amount of the insurance excess in which case the engineer will have to foot the whole amount of the claim.1 point
-
A number of (general) things come to mind. If you can sort it out privately, do so. Can the SE pay, no point claiming against a person that cannot. Can you afford to chase a debt. Was it paid for on a credit card, can you claim on that. It the claim small enough to use the small claims court.1 point
-
I can't comment on hive, however I bought eufyCam 2C and I'm disappointed. The camera seems to be using a separate sensor (PIR?) to detect motion to save energy for the main video chip. The result is that each video of passing person begins half way throught the field of view (5 seconds late) and with another 3 seconds of adjusting brightness and white balance. On rainy days though that trigger sensor seems to go blind, making the system useless. Also I seem to be getting more alerts when it is dark, than during the day, which makes me suspicious that the stronger the ambient light, the weaker the capability of the supporting sensor - and this camera is located on the northern wall, I don't want to think what would happen with the Sun shining directly. I test it twice a day when doing school run and based on the results one would think my children absence rate is 50%. So in essence it gives false sense of security. So whatever the make, definitely keep it wired!1 point
-
I have said this many times, it’s only wasted in summer when house heating is not required and the windows may be open .1 point
-
I know little of court cases etc but I know if you have a problem with say a builder, in the first instance you must give them the opportunity to put the work right. I feel it would not be unreasonable for you to put the report to the person in question and ask for the sum required with a statement that if he does not you will take it to court and claim costs as well.1 point
-
Yes, if it’s a catnic often plasterboard is stuck to or thick plaster is used on the inside. Frankly if there was no lintel in there it would have collapsed before now,!!, just fix what you want over those bricks and it will be fine ?1 point
-
It’s probably a catnic lintel, get a strong magnet and see if it will stick to the underside of the render, that will prove if there is any steel in there.1 point
-
I honestly wouldn't waste the effort thinking about this issue with fixings. I've pargecoated and direct fixed into the block with screws. I've also nailed/screwed thru airtight membrane to ceiling. The fixing traps the hole. I scored just over 1 on air test.1 point
-
Is that just a steel lintel which has been rendered underneath? All looks fine. Plenty of bearing either end. I think the vertical gaps are weep holes, so leave them as gaps.1 point
-
@Olly P I'd say as a low user you should minimise daily standing charge, EON have a 1 year fix with a 7.35p/day standing charge (on U-switch). There are 'minows' that offer marginally lower total costs but I'd stick with a big six company.1 point
-
So exactly how deep is the insulation in total. I want it in mm or cm but an actual measurement using a tape or ruler. I have Xcm between the joists. I have Xcm over the joists.1 point
-
Yes he's aussie.. but assuming cottage isnt, as i think the few comments concur, ie cottage too old to be in aus.1 point
-
But you'll forget all about it one done. The only time you'll consider the grout line is when sat on the toilet, and you won't be looking under your arm pit to see what's behind you, the one straight ahead will bug you the most. That said where does the lines fall around the shower tray. You may choose to be deliberately half a tile out if it fall better for the tray/bath and door into the room etc.1 point
-
Good man. The kind of thing you are spraying is similar to the small things I need to do.1 point
-
Lightly sand the surface of the paint above the damage. Use some filler to create a new 'paint thickness' below the damage. Lightly sand and then paint. If you really don't want to see the difference, there are some wrist exercises that make you go blind, similar to sanding.1 point
-
Why go sand and cement and then board and plaster ..? Why not use bonding then multi finish and you’ll take out cost and materials. Holes for TVs etc are negligible - you need to watch for details at floors , joists and ceilings as @tonyshouse says.1 point
-
Ok so ... the buyer may be using an Indian bank such as SBI (State Bank of India) as they do a lot of buy to let loans and also recognise non UK investments and securities for parts of mortgages. They also could be using an Islamic Sharia mortgage as under Islamic tradition interest cannot be charged. There are plenty of reasons as to why this may be the case, but I would speak to your buyer and tell them if they want a PCC then it’s their cost to obtain it.1 point
-
Not all lenders recognise all warranties. The Council of Mortgage Lenders used to have a database. I think the CML is now part of UK Finance a new trade body. Perhaps suggest the buyer go back to his lender and ask if he can take out a PCC? Or try another lender?1 point
-
@Jilly, consider Zinsser paint for your steels. I suggest it because of the (advertised) 15 year maintenance cycle. Yes, it's very expensive: but over (say) a ten year maintenance period, it's probably worth it.1 point
-
One thing I would note is to say be careful of the MVHR sucking in foul drain gases from the soil stack. With regards the boiler, you are quite right to be concerned. My gut instinct would be to go with boiler through roof, and MVHR through wall, but there would likely need to be some distance between the two. I have around 4m between my intake and the boiler flue, and the boiler flu is also downwind from the prevailing winds.1 point
-
Granite black here. Bizarrely we knocked down a house that was white with a red roof and black windows then built one that was exactly the same colours. Worth noting that black expands in the sun. I believe that Hormann recommend you do not use it if your garage doors face south.
 1 point
 -
Fair point that. You can get "brown" frame sealant. It's achieving a nice bead is the issue. Easy to make a crap job. https://www.toolstation.com/window-door-external-frame-sealant-300ml/p76921? I used an Evostik product about 35 years ago on a prefab garage and am sure it said "good for 25 years" on the tube. I replaced a door by cutting and dropping in gravel boards. Irregularly repainted with Sandtex the "silicone" or whatever it was is still good.1 point
-
Same as mine except I used the smartply for vcl and OSB racking. 100mm rockwool and 140mm pavatherm1 point
-
This sounds seriously shady to me - as in, I wouldn't be confident that this buyer would ever get the mortgage they've applied for. Have they got a seriously good reason for applying for a mortgage from an Indian bank on a UK property?1 point
-
You have three choices Pay for the PCC Or the buyer pays Or find another buyer I would think the vast majority of lenders will accept what you already have1 point
-
Don't forget about making your back boxes airtight!1 point
-
You shouldn't ever drill holes in sealed box section. Water gets in and rusts it from the inside out. Filling it with foam isn't going to do anything either. Its air inside it, which is pretty much the same thermal conductivity as insulation. So no win here. Adding insulation around the outside of the steel will help for sure as will properly stopping any rust in its tracks by rubbing it down and painting. However also...don't get too worried its not going to rust and fall apart any time soon.1 point
-
@Reetster that plan makes a lot more sense now, as has been suggested rockwool would work ok as would PIR probably the deciding factor would be what type of insulation you are using in your frame? im presuming PIR as you say it meets building regs, the different types of insulation have an effect on decrement delay but you also need to think about the positioning of them as to respect of the vapour permeability of them and also where your vapour control layer is going (usually as close to the inside as possible)1 point
-
It will be good to try and wrap it in some thin PIR insulation and clad it with Ali flashings to match the windows. But as others said get the rust dealt with first. Can you get dpc taped to it, to lap with the dpc under the frames and the floor dpm.1 point
-
Normally just go round and kick each clip You will have to tap it down Then grout over it1 point
-
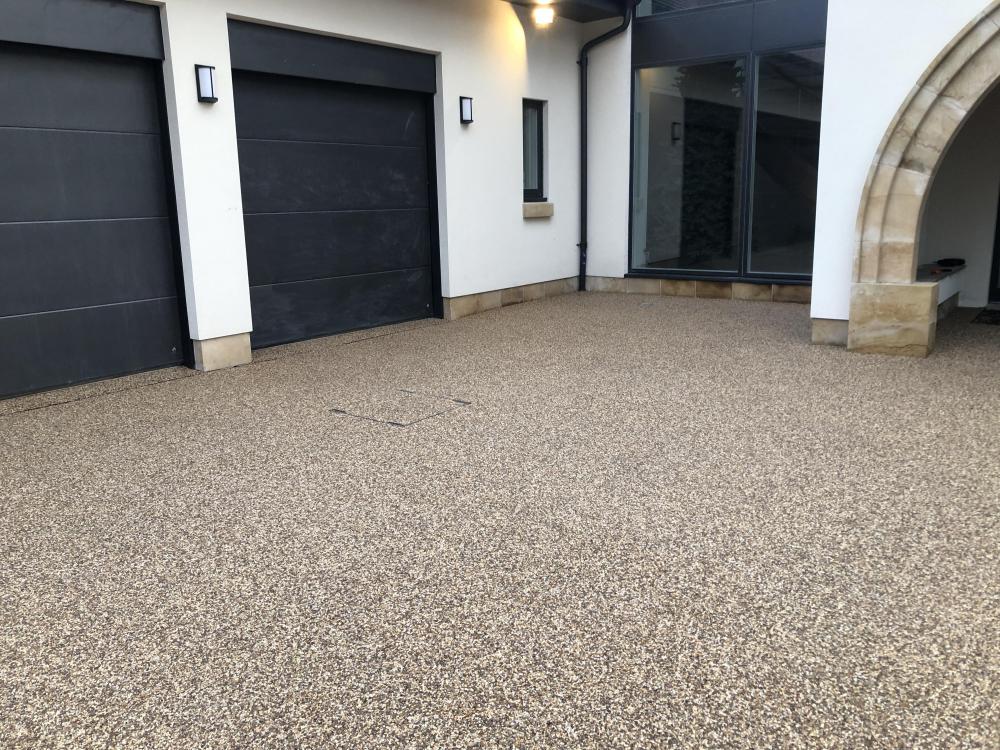
Get that concrete smashed out, get it wire brushed down vigorously, throw the tin of red oxide over in the corner and get some cold galv paint, preparation is key don’t skimp, coat it up with cold galv. My corner post is full with foam on the inside and has 40mm xps insulation on the outside then an aluminium cladding to match the windows.1 point
-
Only thing I'd say is... You need to connect and get on with your architect. It's a creative partnership. Pick the one that feels right. The one you'd invite to invite round to dinner or go for a pint with.1 point
-
Snap , with RAL 7016 Window Frames and Sweet Chestnut cladding
 1 point
 -
Yes - cut a piece longer than a branch fitting plus a length of pipe that will hold two slip couplings - which is about 300mm. Mark the pipe where the tee needs to sit, taking into consideration the length of the socket on the pipe. Cut the length of pipe out with enough space to slide the tee onto the stub. Chamfer, lube well and slip the tee onto the fixed pipe. Now measure approx 300mm from the tee back along your second fixed pipe, and cut and chamfer. Accurately cut a length of pipe to fit the gap, chamfer both ends and mark the pipe where the slip couplings are mid point. Lube up and fit both slip couplings. Put it into the gap and then slide the couplings into place to the marks you've made. Time for a cuppa and a chocolate digestive...1 point


This leaderboard is set to London/GMT+01:00