Leaderboard


Popular Content
Showing content with the highest reputation on 01/30/22 in all areas
-
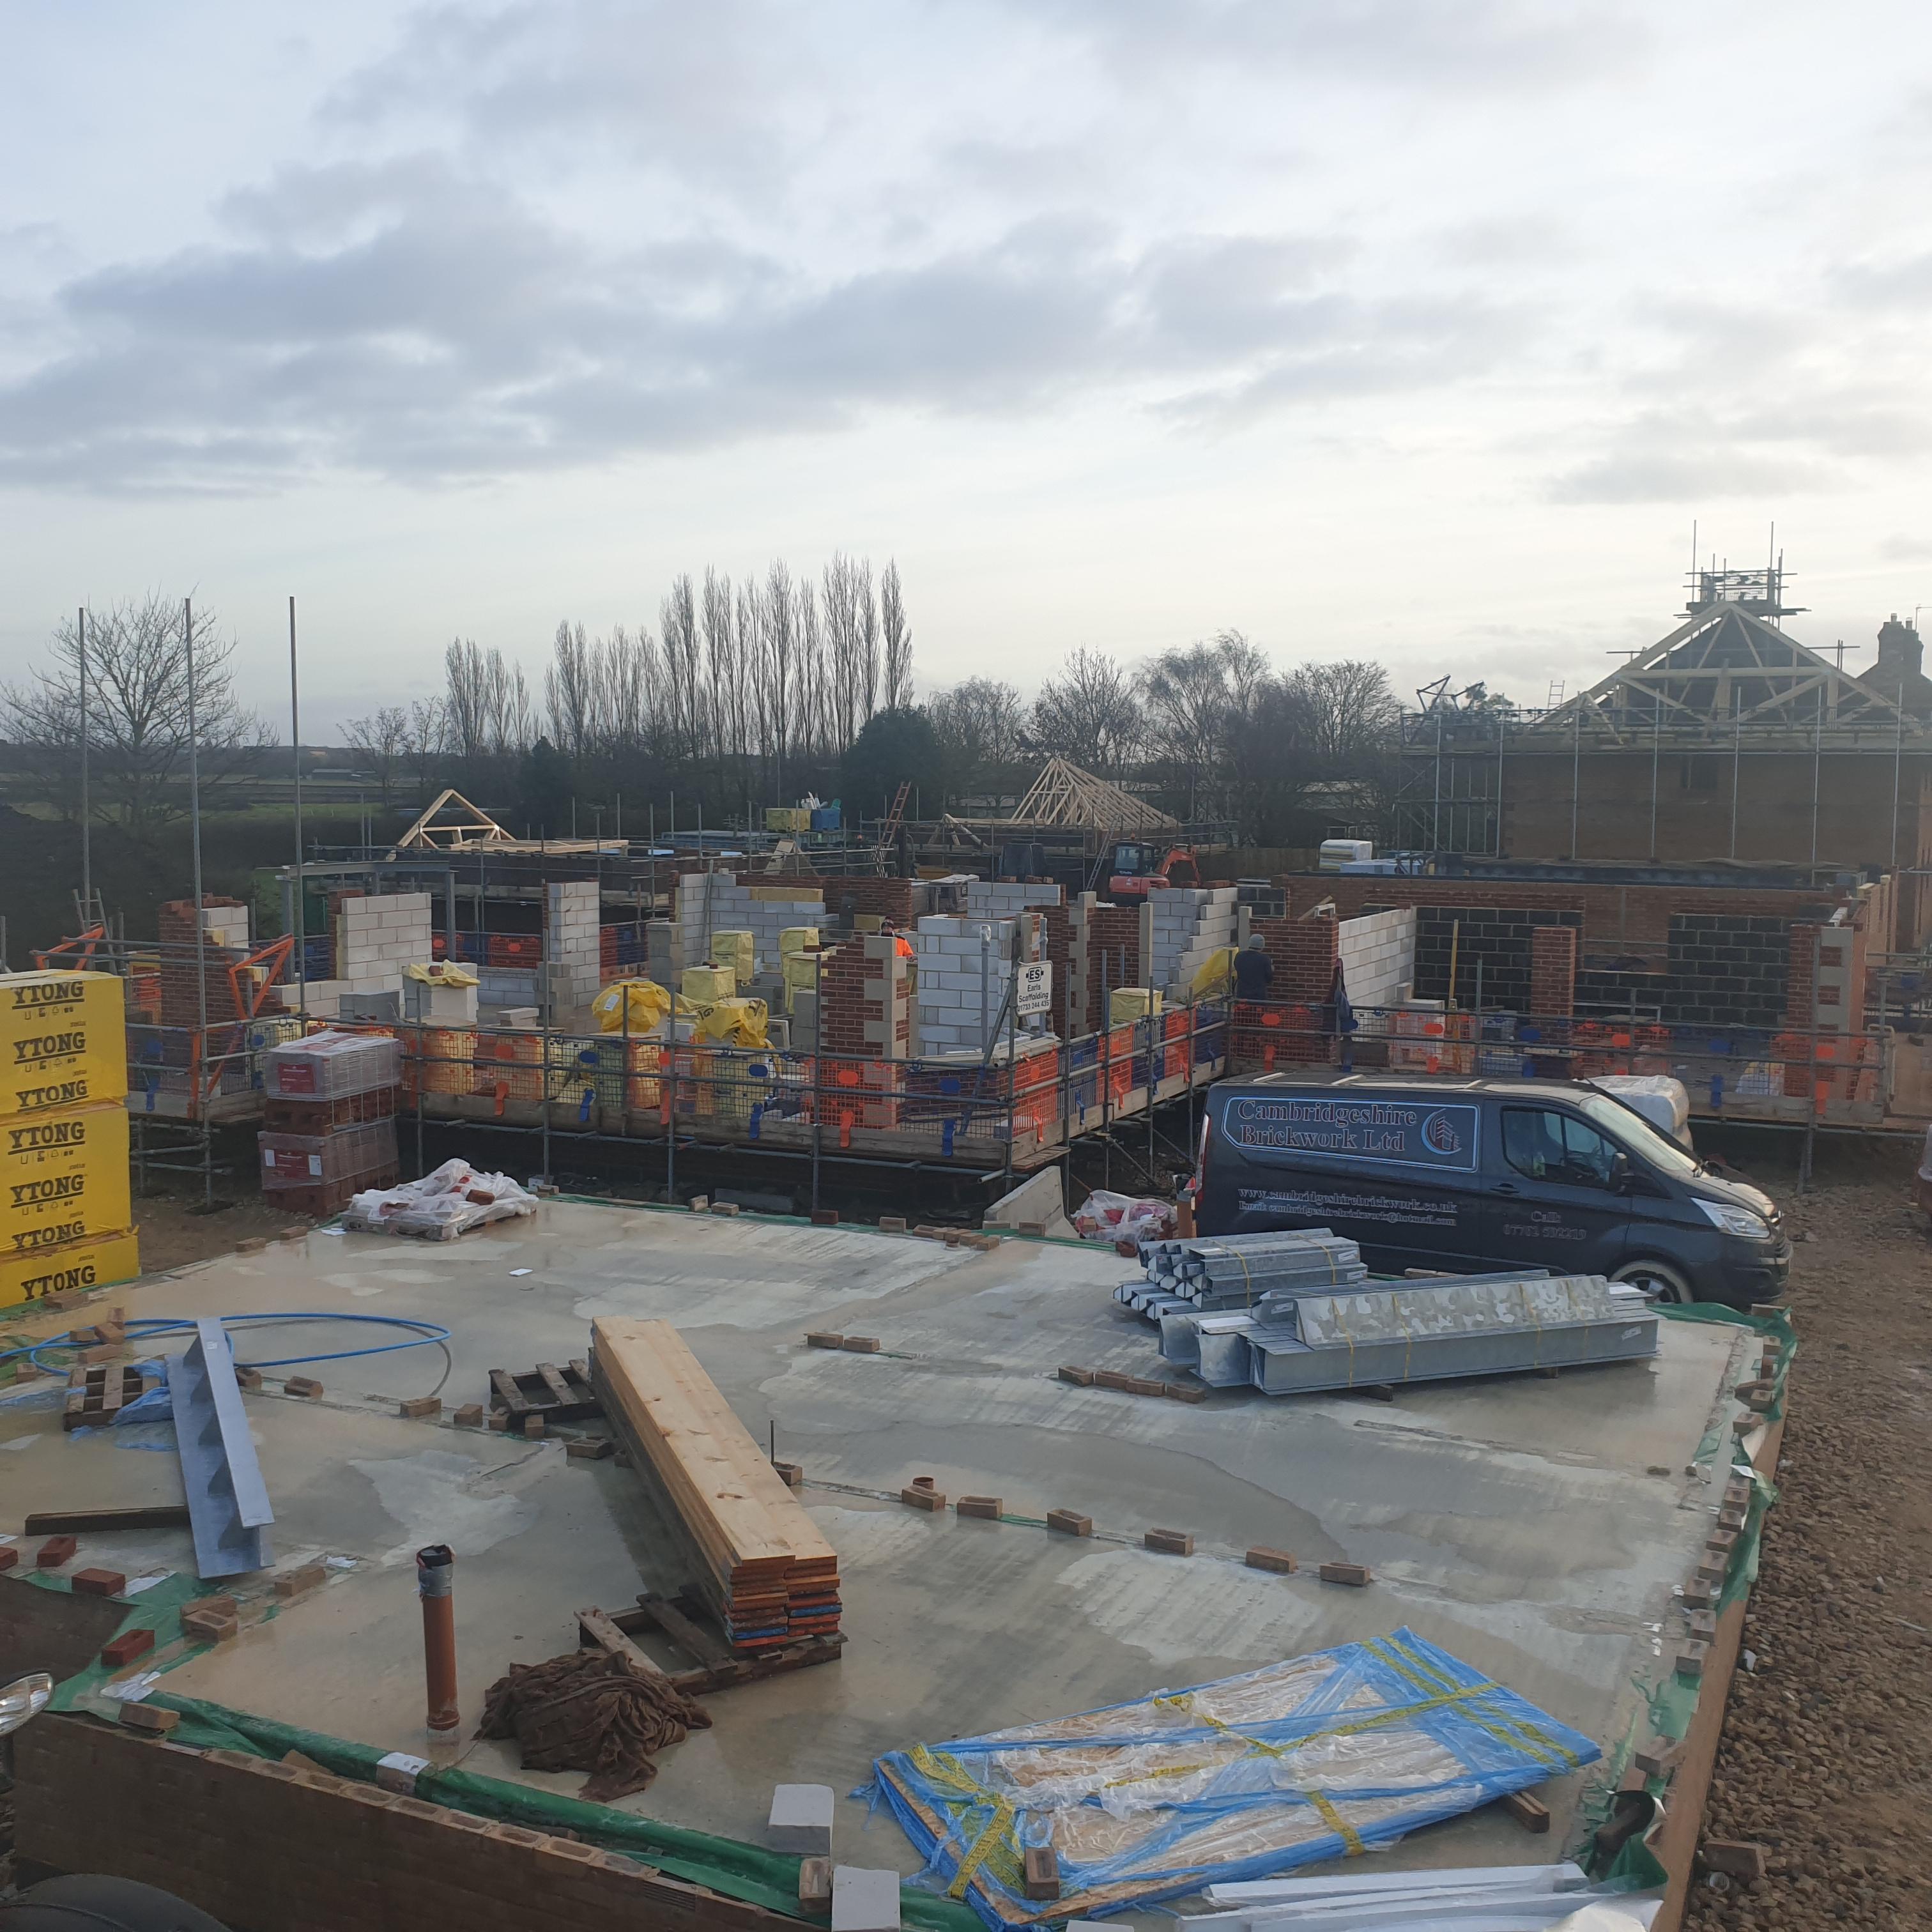
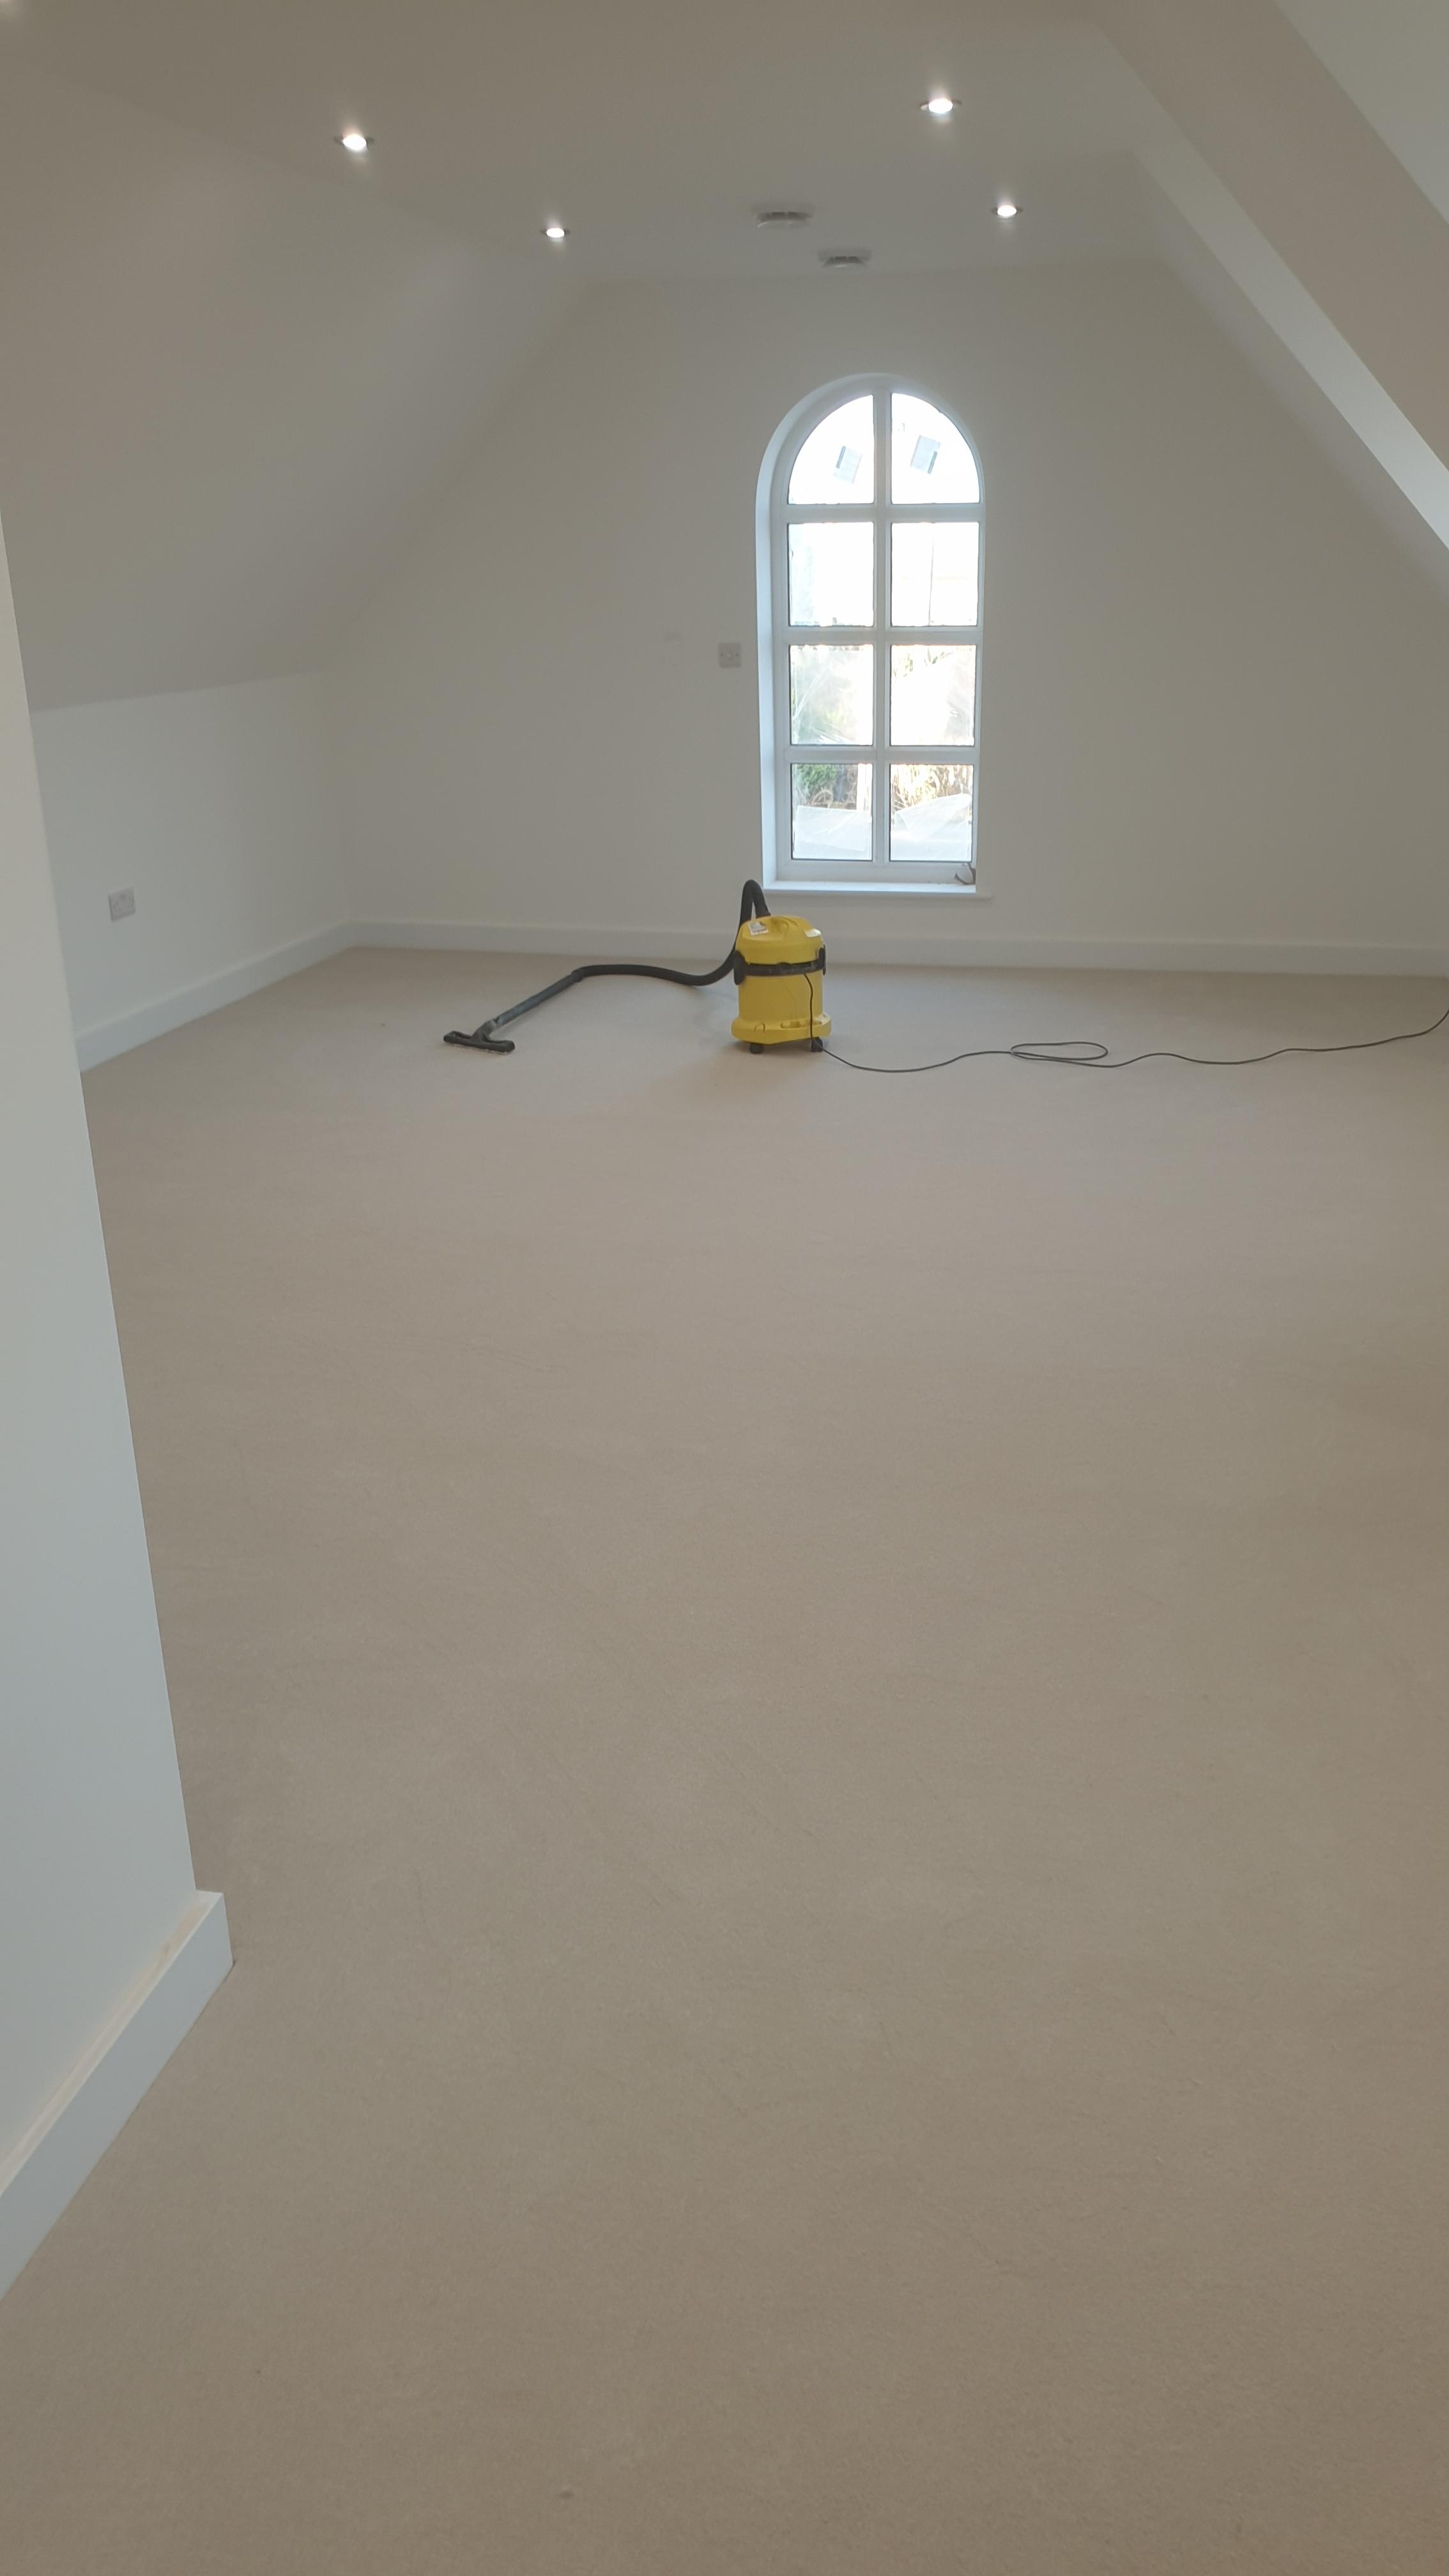
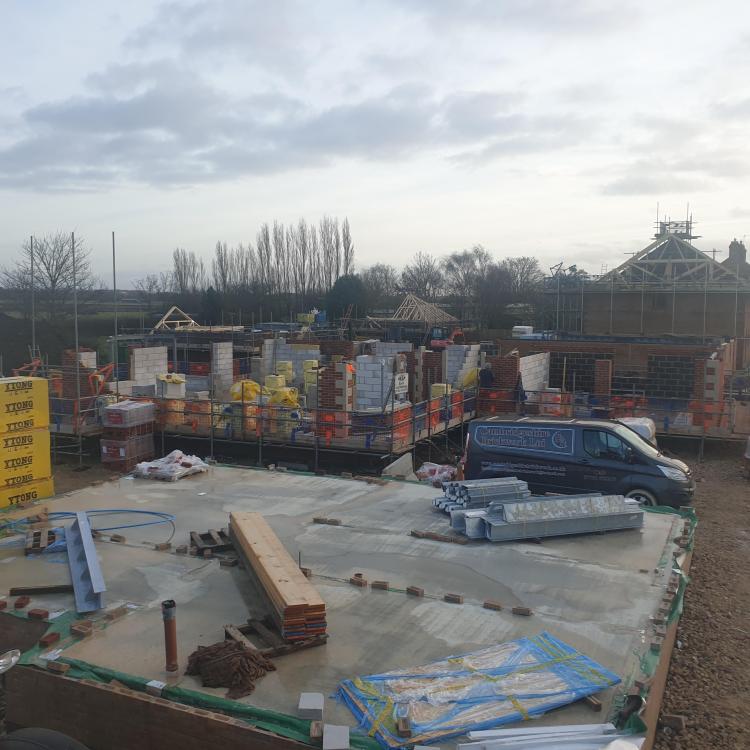
Just had a look back on my phone since the sd card started to work again - this is where we were this day last year and a couple from this morning. We move in w/c 14/2. Could have been a bit quicker but covid and babies have been an issue....

 3 points
 -
You are probably right - too tight. Mastic it is then - again it is available in all shades. The joys of construction - the descions you have to make on the way through often to make up for the descions you made earlier! It is a bit of a comedy show when you come to think of it!2 points
-
@Dan F, picking up a relevant point in your last PM, IMO the MBC built -- or equivalent -- low energy houses have some common high insulation, little or no thermal bridging, very airtight, MVHR. Large thermal mass within the insulated shell. This first leads to a typical daily heating requirement of perhaps 50 kWh (+/- a factor of two) for typical January temperatures. A good way to evaluate the second is to let the house read a stable "normal temperature" and then turn off the heating for 24 hrs and measure the temperature drop. Our house loses about 1°C / day. That is the house as a system has a very long time constant. IMO, most heating control systems are based on a on/off demand based on some dead-band around a temperature set-point; these really only work well for typical houses which might lose more like 1°C / hr. Given this 1°C per day response, I think that my overall strategy is far more robust: Once per day calculate how heat will be required for the following day based on some simple formula. I base mine on external temperature, but if you have large window areas, then you might need to factor in solar gain, etc. Execute a daily plan to dump the calculated amount of heat into the house. In my case I pack most or all into the cheap-rate time window then dole out the remainder (if any) based on a simple temperature sensor threshold. I use resistive heating but IMO the same approach would work equally well for an ASHP. As part of the daily calculation I check to see if there has been any drift against set point (e.g. if your supplied heat was only 75% of that actually needed, then the house will have dropped ~¼°C or so) and then adjust the heat demand accordingly to correct for this. (I had to add this feedback term because I found that the daily average temperature would slow drift without it. This feedback also corrects for effects like guests staying which can generate quite a few kW from their body heat and all the associated entertaining!) We do most of our heating overnight because we use E7, but the downside is that we do have this ~ 1°C ripple on room temperature. With an ASHP then it might be better to have a more spread out execution plan. You should avoid letting the two control systems (the house and the ASHP) fight, and to do this you want to configure that ASHP to be as dumb as possible: if the heating / cooling demand is on the supply a fixed heat input (say 2-3 kW) in your case in blocks of one hour on (or so) spread through the day. Even if you can't monitor the heat the heat output directly from the ASHP, there are measures which correlate very well and could be used as proxy -- for example, use a power monitor relay to measure the power input to the ASHP and the actual heat output can be estimated from this.2 points
-
Similar but different story - we spent over £5k on a passive RK door with flush profile, fingerprint sensor, 180o hinges, the works. Aperture was 1600mm so I wanted 1100mm 'statement' door and just a thin section of glass for the remainder plus frame etc. Checked, double checked and ordered. When it arrived months later, the door was 900mm with wider glass - was fuming and checked the paperwork. I had screwed up and the final spec I had submitted online had somehow reset to the default of a 900mm door. I felt sick and was super pissed off for a week, even contemplated buying a whole new door. Reality then set in and I got over it, moved onto some other issue. Within a few weeks I was perfectly happy with the door as it still looks great. You do beat yourself up a lot over mistakes in a self build, whether your own fault or oversight, and the OCD kicks in all too often but you do get over it so don't be too hard on yourself. Just crack on and enjoy the house.2 points
-
We moved into our new build mid-December 2017 in time to host an extended family Christmas. We are now over 4 years into living in our new home. We have lots of accumulated experience and made a few small tweaks. However, we are delighted about how the house has turned out, and we love living here. There were no material cock-ups, or regrets on design decisions, so we have probably fared a lot better than most new purchasers or self-builders. Maybe a general experiences post should be on the to do list, but what I want to focus on here, and a couple of follow-ups, is a general topic that others on the forum have asked about over the years: that is how our central heating system works in practice, and how I control it. The system as currently implemented is still largely the same as when I first commissioned it, that is a now 5 year-old RPi-based custom control system directly controlling the CH and DHW subsystems. This is a pretty minimal headless system running Node-RED, MySQL and MQTT client for control. The three material changes that I've made since moving in are: I have followed my son and son-in-law in using Home Assistant (HA) for general Home Automation. My server (an RPi4 in an Argon One case) uses an attached Zigbee gateway, and I have a lot of Zigbee devices around the house: switches, relays, light sensors, etc. and I do the typical home automation stuff with these. There are loads of YouTube videos and web articles covering how to implement HA, so please refer to these if you want to learn more. My HA installation includes an MQTT service for use as a connection hub for these IoT devices. I also have another RPi4 acting as an Internet-connected portal / Wireguard gateway/ file-server for caching video snippets from my PoE security cameras. Note that none of my IoT devices directly access the internet, and the only in-bound access into my LAN is via Wireguard tunnelled VPN, and my HTTPS-only blog. All other ports are blocked at the router. Before moving in, we assumed a target internal temperature of 20°C. In practice, we have found this too cold for our (fairly inactive OAP) preference and so we have settled on a minimum control threshold of 22.3°C. As you will see below, because we largely heat during the E7 off-peak window the actual room temperatures have a ~1°C cycle over the day, so the average temperature is about 22.8°C. This hike of 2.8°C increases the number of net heating days since my design heating calcs and the increased delta against external temperatures in turn increases our forecast heating requirement by roughly 18% over our initial 2017 heating estimate. Because our UFH is only in the ground-floor slab, we found that our upper floors were typically 1-2°C cooler than the ground floor in the winter months. We also need more than the 7 off-peak hours of heating in the coldest months, so I have added an electric oil-filled radiator on our 1st-floor landing; HA controls this through a Zigbee smart plug that also reports back on actual energy drawn during the on-time. HA uses MQTT to pass the actual daily energy draw back to the CH control system. This radiator provides enough upper-floor top-up heat, and does so using cheap rate electricity. Note that all servers are directly connected to my Ethernet switch, and the CH/DHW system has all of its critical sensors and output controls directly attached. It can continue to control the CH and DHW subsystems even if the HA system or Internet is offline. There is also no direct user interface to the system, with all logging data is exported to MQTT, and key CH/CHW set-points and configuration are imported likewise. This integration with MQTT, enables user interfacing to be done through the HA Lovelace interface. If there is sufficient interest I can do follow-up posts on some more of the "Boffins Corner" type details on these implementations, or if this turns out to be more of a discussion then it might be better to move this stuff to its own BC topic. However, for the rest of this post I want to focus on the algorithmic and control aspects of the heating system. In terms of inputs and outputs to the control system, these are: There are ~20 DS18B20 1-Wire attached digital thermometers used to instrument pretty much all aspects of the CH / DHW systems. Few are actively used in the control algorithms but were rather added for initial commission, design verification and health checking. Some are also used to monitor and to trip alarms; for example, there is a temperature sensor on the out and return feed for each UFH pipe loop. These were used to do the initial zone balancing. However, the average of the return feeds is used as a good estimate of the aggregate slab temperature. One of the temperature sensors is also embedded in the central hall stud wall to act as a measure of average internal house temperature. There are two flow sensors on the cold feed to my 2 SunAmp DHW storage units to monitor DHW use and to help automate during-day DHW boost. There are 4 240V/20A SSRs used to switch the power to my (2-off) SunAmps, my (1-off) Willis heater, and my (1-off) circulation pump. These and the rest of my 240V household system were wired up and Part P certified by my electrician. These SSRs are switched by a 5V 50mA digital input, and so can be driven from an RPi or similar. (I used a I²C attached MCP23008A multi-port driver to do this, as this can drive 5V 50mA digital inputs, but its input I²C side is compatible with RPi GPIO specs.) There are many ways to "skin this cat", but whichever you choose for your control implementation your system will need to control some 240V/12A devices and take some input temperature sensors. My preference was to directly attach all such critical sensors and outputs. My heating algorithm calculates a daily heating budget in kWh (each midnight) as a simple linear function of the delta between average local forecast temperature for the next 24 hrs and the average hall temperature for the previous 24 hrs. This budget is then adjusted by the following to give an overall daily target which is converted in minutes of Willis on time. heat input from the heater mentioned above. a simple linear function of the delta average hall temperature and the target set-point (currently 22.3°C). This is a feedback term to compensate for systematic over or under heating. I initially calculated the 4 coefficients of the two functions using my design heating calcs and an estimate of the thermal capacity of the interior house fabric within the warm space. After collecting the first year's actual day, I then did a regression fit based on logged actual data to replace the design estimates by empirical values. This was about a 10% adjustment, but to be quite honest the initial values gave quite stable control because of the feedback compensation. The control system runs in one of three modes: No heating is required. Up to 420 mins of heating is required. The start time is set so that heating ends at 7 AM, and the slab is continuously heated during this window. More than 420 mins of heating is required. 420 mins of heating is carried out in the off-peak window. On each hour from 8 AM to 10 PM, if the hall temperature is below the set-point (22.3°C), then an N-minute heating boost is applied, where N is calculated by dividing the surplus heating into the 1-hour heating slots remaining. Here are two history outputs from HA showing some of the logged results. The LH graph is the slab temperature over the last 7 days. The general saw-tooth is identical from my 3-D heat flow modelling discussed in my earlier topic, Modelling the "Chunk" Heating of a Passive Slab. The 7 hr off-peak heating raises overall slab temperature by ~4-5 °C; well within UFH design tolerances, and no need for any HW buffer tank: the slab is the buffer. The RH graph is the hall temperature. Note the days where on-hour boosts were needed. (Also note that the CH system only updates the MQTT temperature data half-hourly, hence the stepped curves.) So the approach is fairly simple, and the system works robustly. ? And here is a screenshot of my HA summary interface, which gives Jan the ability to control everything she needs from her mobile phone or tablet.1 point
-
Plot 1 done, my plot done apart from kitchen that was waiting for the worktop template completed today. Plot 2 done in 4 weeks. and externals wrapping up in terrible conditions. 15 months - 3 plots - 7,000 sq. ft at £110 psf to a high (London SW1 spec) in Cambs. Have been self censoring on here as I have been critisised as a bit of a Swearey Mary (in the good times of Viz!) which is fair enough for the community. So this post will pretty much wrap it up for me as coming back from site where every other word consists of 4 letters to post here seems pretty much impossible! All the best lads. Tony1 point
-
We use 2 × SunAmp PVs for our HW system in a household of 3 people. According to our water bills, our consumption is about 83 ltr per person per day. Our pattern of use is pretty even across the year: more showers in the summer; an occasional shared bath in the winter. The year round average temperature of our rising main is 11.3 °C (Oh, the wonders of logging everything in a DB and knowing how to do SQL subqueries). The H/W manifold is mixed to 53°C (perhaps a little too hot for kiddies but we are an adult household). I estimate that ~40% of our water is run as hot. (The washing machine and dishwasher, bogs, etc. are cold fill.) Cranking these number into a heat calculator, this gives a total heating requirement of just under 5 kWh / day + another 1 kWh / day heat loss as the SunAmps are tight side-by-side and amazingly insulated. (I don't separately meter the SunAmps, but a quick sanity check of my actual half-hourly electricity meter readings would indicate this figure is about 20% too high, but let us stick with this figure for estimating purposes. All heating is done at cheap rate tariff ( fixed at 9.66 p / kWh inc VAT) so this costs us ~ £211 p.a. Using an ASHP to supply the SunAmps at 40 °C, say, would drop this to 2.5 + 1 kWh saving us less than £100 p.a. or about £1K over 10 years. So in our case if we decide to install an ASHP, there aren't enough savings to make it worth installing an extra pump, a buffer tank and a two temperature ASHP to use it to (part) heat the DHW. We will stick to Keep It Simple Stupid. A couple of caveats here: I think our pattern of water use would be very different with children in the household. We have a fixed price deal until end 2022. We are going to see a big hike in our next tariff, but I feel that this will settle down in the longer term, so I am ignoring this for now.1 point
-
Yes as long as you use an insert https://www.screwfix.com/p/jg-speedfit-superseal-plastic-push-fit-pipe-inserts-15mm-10-pack/69329?tc=SB6&ds_kid=92700055281954514&ds_rl=1249404&gclid=EAIaIQobChMIm7fnkcPa9QIVibbtCh2QHQ4pEAQYAiABEgKVIPD_BwE&gclsrc=aw.ds always use these with plastic pushfit plastic pipe edit, no such thing as a stupid question, stupid is not asking ?1 point
-
I'm not so sure... I think most won't know what it is & will just see an EPC rating and be happy with it. The difference between being top 2% vs top 10% just isn't that meaningful to average Joe, even with higher energy bills hitting us all If OP isn't designing his forever home, just get the architect to design it for a SAP of 91 (or a B and be 81 ) and leave it at that. Anything more then this is money you simply won't recoup.1 point
-
I’ve thought this on many occasion It would be so helpful if a town or City was listed next to each person’s handle or name With planning rules and Labour charges regionally sensitive Or is it just me1 point
-
Should you not get planning to rebuild before you start pulling this one apart. you are not guaranteed to get platform a replacement. be careful.1 point
-
A whole load of offensive and dam right rude posts have been removed. Learn to behave like grown ups.1 point
-
Thanks all, @Dave Jones @Iceverge Good point @ProDave, I do need a shed / workshop in the garden and hadn't thought of that. Good luck with your build @Thorfun1 point
-
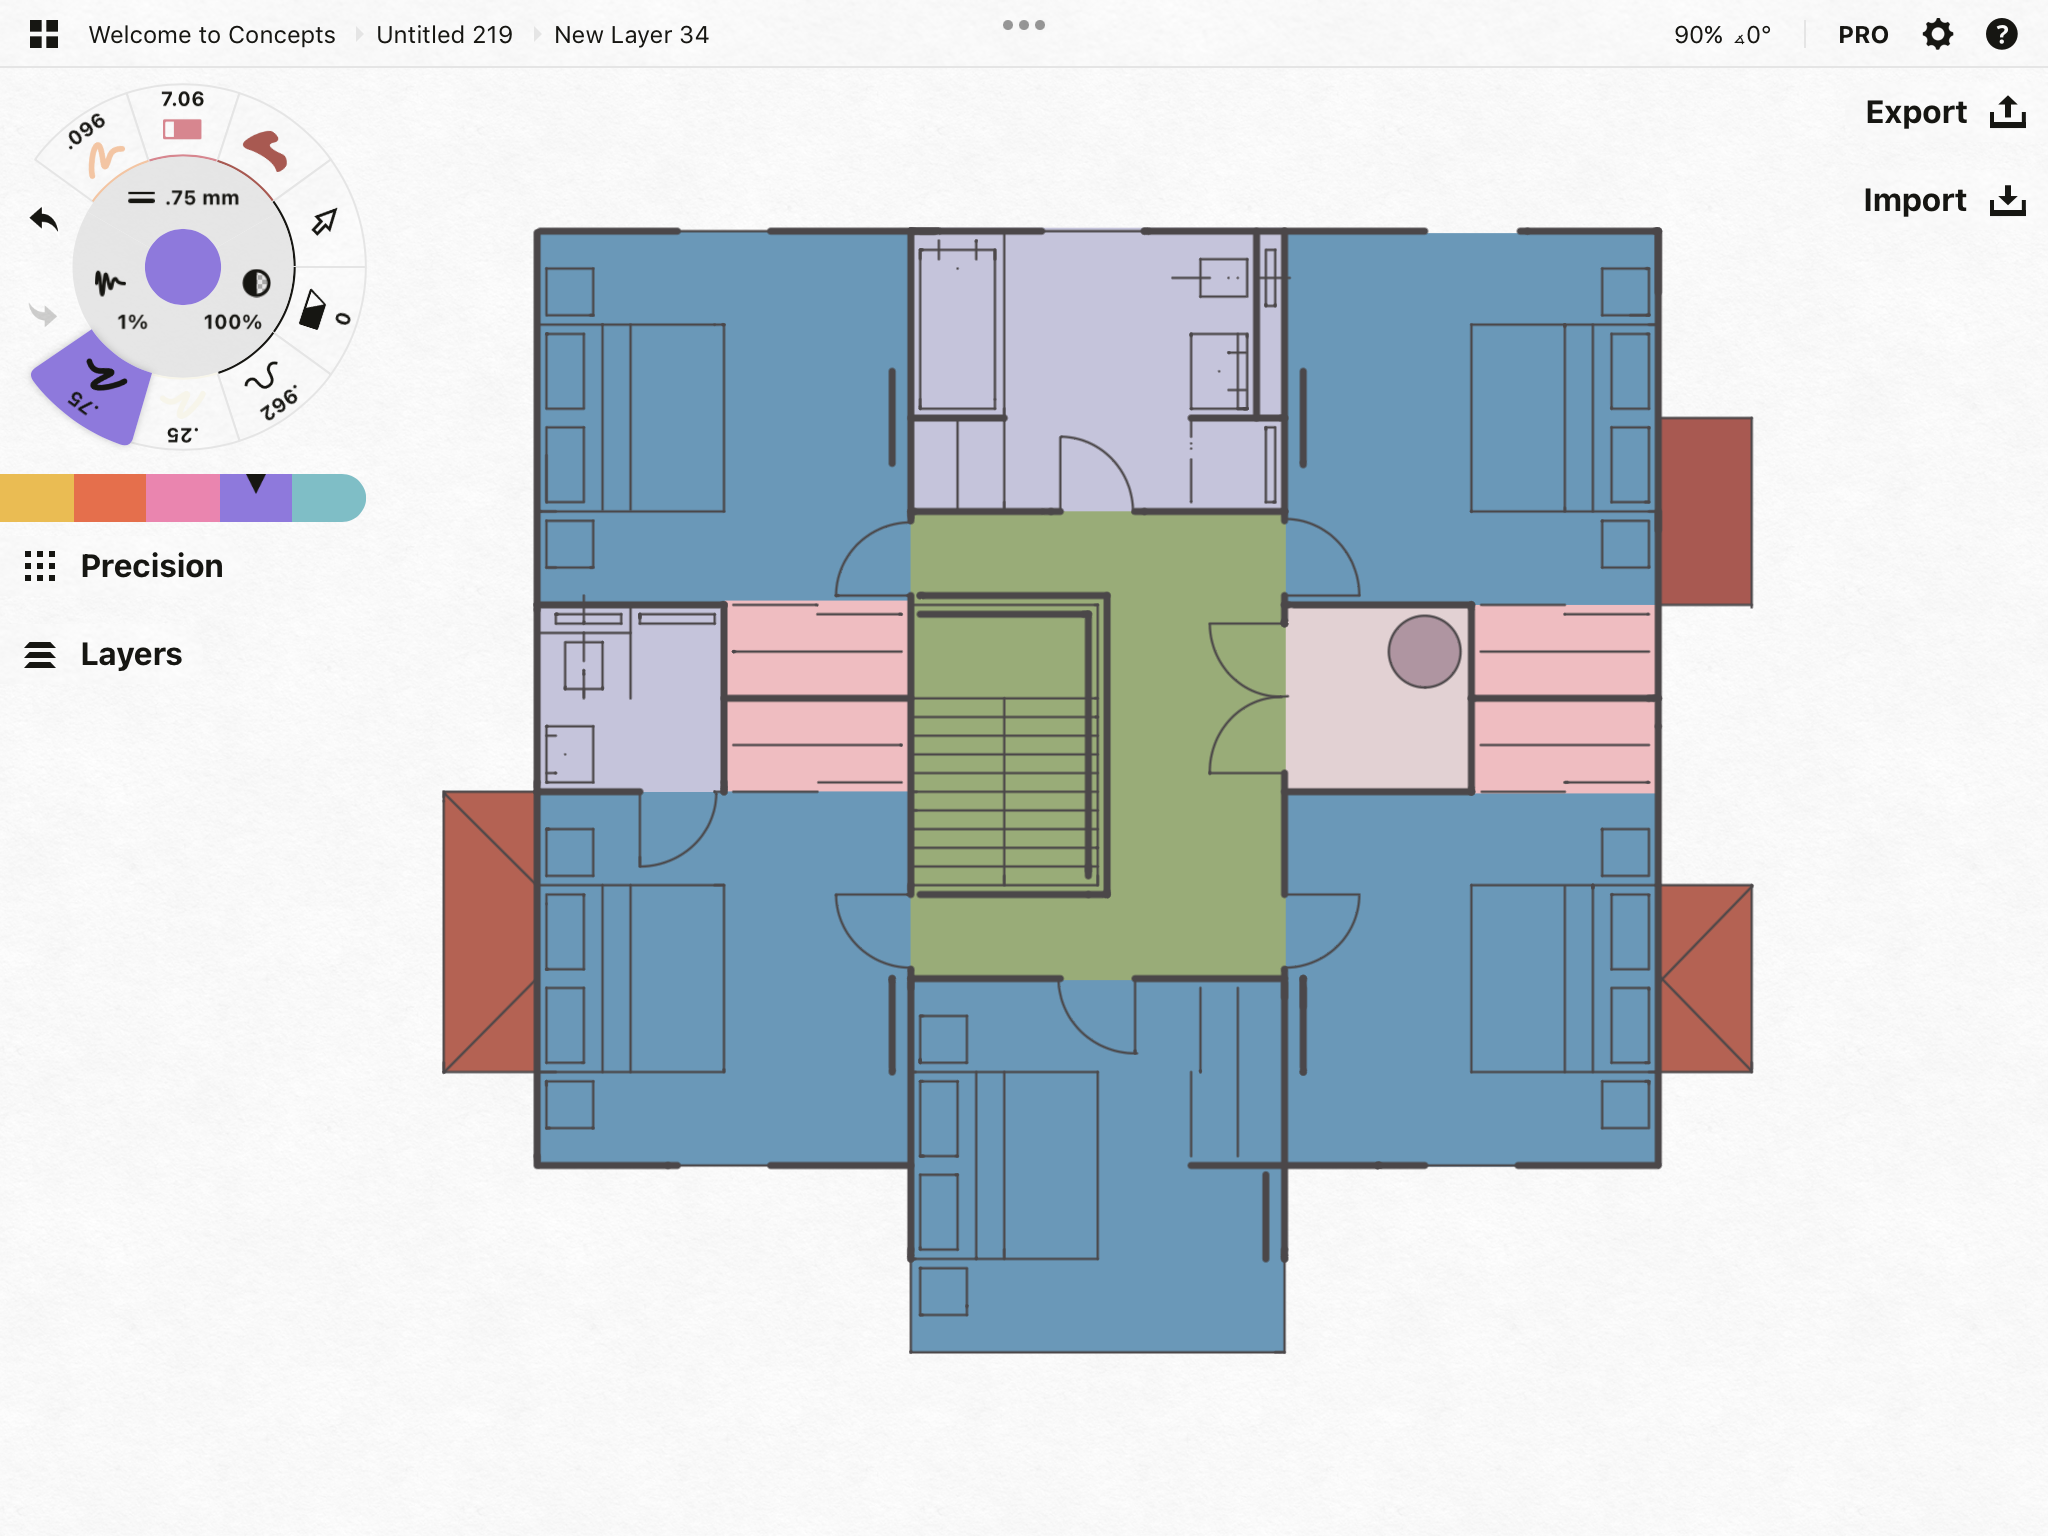
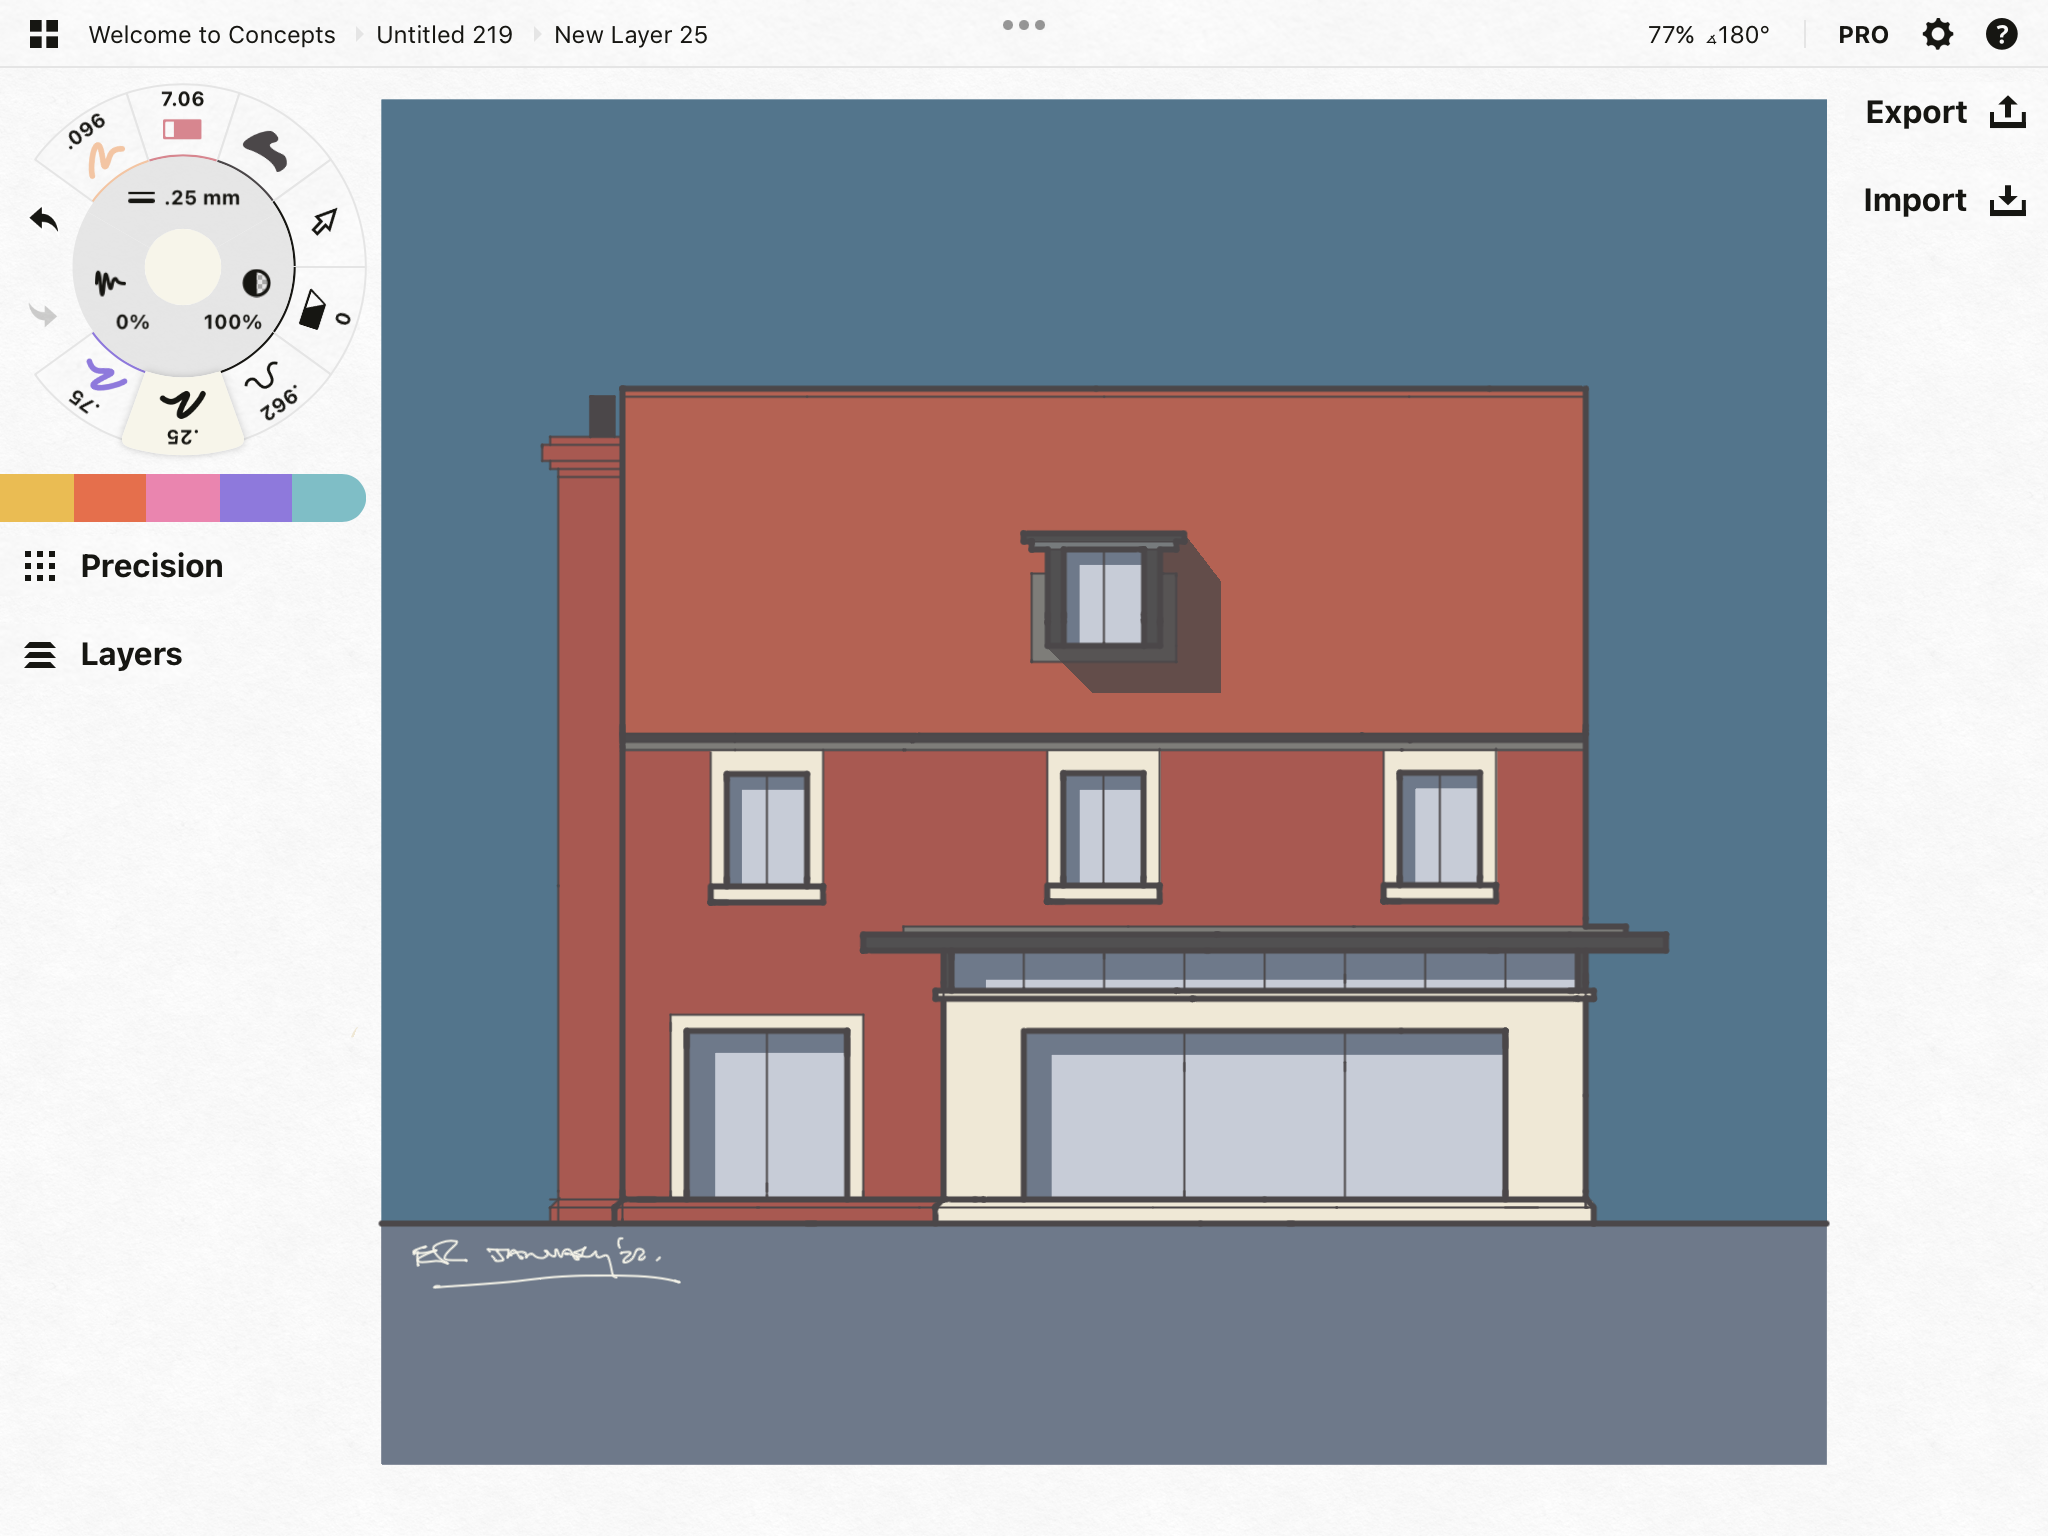
@LnPand a completely modern version.
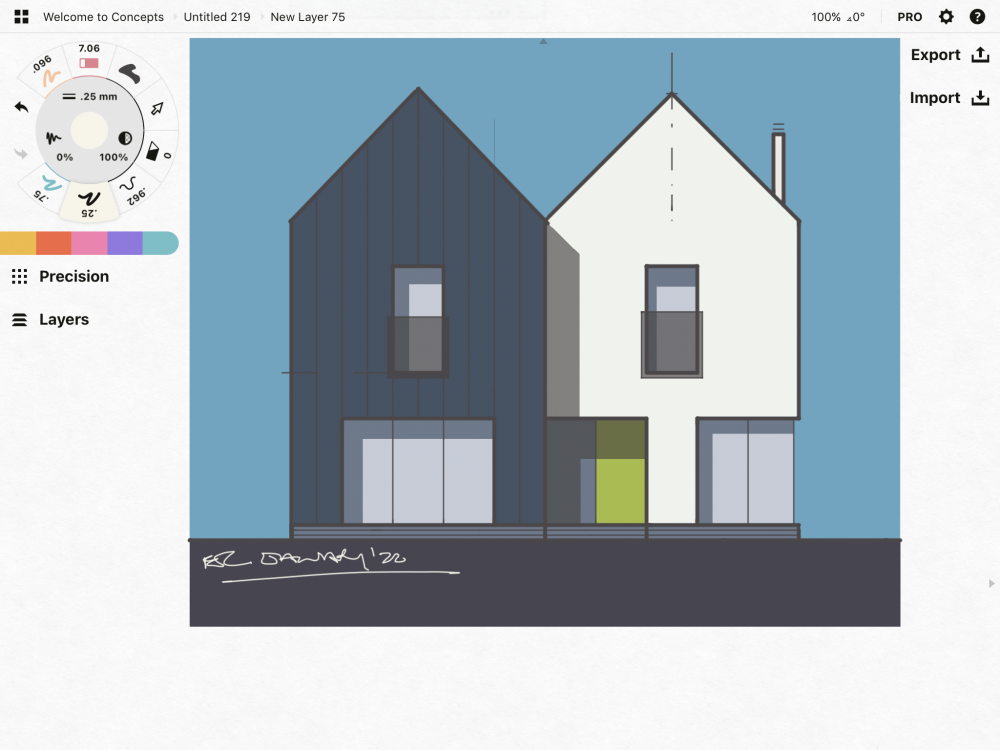
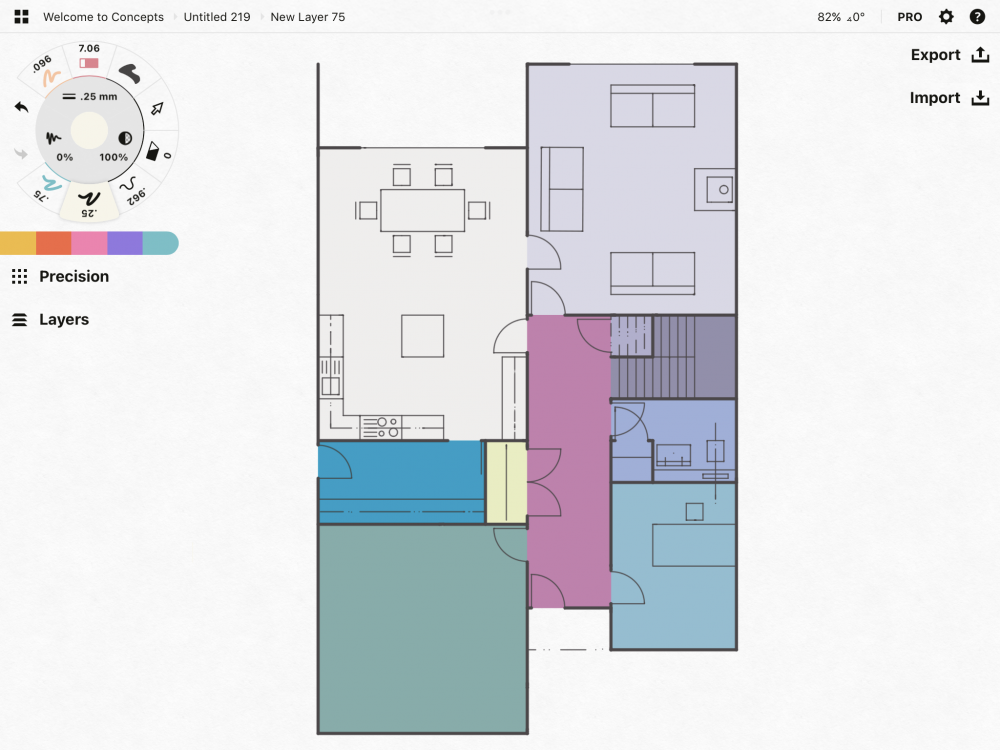 1 point
 -
Standard stuff, especially if it's to help you sleep rather than because a SE says it must be there. Just a stack of standard timber of whatever your wall is made of, e.g. the ridge beam of my house is supported partly by 2 internal walls that have a stack of three 147 by 47mm C16 regularised timbers running up inside the wall.1 point
-
I don’t know what you mean by ‘architects are busy’ lol, I’m not - I’m bored crazy!!! not sure you can get ‘passivehouse’ on a tight budget. You can get over the requirements, but passivehouse is difficult and unnecessary, forget about it I’d say. also pre apps are pointless. If you have a decent architect they should know what the planners will probably say, they are covering themselves and trying to get more money off you (or trying to stop your design ideas from being daft).1 point
-
Yes, the Heat Pump is sized to the MCS calcs by the Installers, but Ofgem check that the system installed is capable of delivering the heat requirement of the grant being paid out. If the system is undersized for the EPC energy requirement, the application is put on hold while more questions are asked and evidence requested. The grant is then rejected if the compliance team at Ofgem are not satisfied. I've witnessed this exact scenario. One of the RHI rules is that the EPC "accurately reflect information about your home at the time you apply", as well as being under two years old and with no loft of cavity wall insulation recommendations, so it would not be legitimate to provide an EPC from before works were done to improve a home, if the application was made after. I agree, this would be against the rules. My previous point is that there is no requirement to have an air tightness test, so an EPC may legitimately overstate the energy requirement if the actual air tightness is below the defaults used in the EPC calcs. For a new build I believe the default is 5m³/h.m² and 10m³/h.m² for a conversion, not sure for an older house.1 point
-
sure a digger can pile it into skips real easy. skips = ££££££ muck away for bricks, blocks and tile = cheap. you do the math.1 point
-
You have to seal it mate one way or another. If you don't then water will be getting through and will destroy something which will inevitably lead to stripping the whole bathroom out and redoing it. If it doesn't attach the boarding it will eventually destroy something else be it joist or truss. I had a purchaser who let his dog scratch out bits of grout as the twat showered it - water got through and attacked the wetroom board - this was the black board system - best you can get. Over time mould and rot set in and everything was destroyed. Green board would have been toast in months. Premier Guarantee, in their infinate wisdom, made me do it. Muppets. Rot loves both hard and soft water - it just needs to be damp and the stuff is has a party!1 point
-
My idea for the intumescent adhesive was to use it to butt big slabs together, with this stuff along the slab edges where they meet. Can't see how you can not grout between quarry type tiles if you use them. As for sticking them to ply I'd use an adhesive like No Nails, tile spacers then grout.1 point
-
Okay, so the laying guidelines from the company you link says this: Secondly, for fine porcelain stoneware polished tiles, it says waterproof treatment required (this is sometimes only required when installed on floor). Here is a link to the document: https://www.marazzitile.co.uk/media/filer_public/e9/5f/e95f3156-f66b-4e26-9ae8-c51edfe8bd14/posa_manutenzione_marazzi.pdf I reckon you need to call the tile company to get their view of it.1 point
-
1 point
-
Not sure, I was doing it in a hurry, but I think the overall temperature is okay to use. There will be more losses at the top than the bottom, but on average it evens out. It should be the mean temperature I think. As the probes are on the outlet pipe at the top (as close to the tank as I can get, and under pipe insulation) and the lower probe is on a bare patch at the base, the median temperature is the same as the mean temperature (technically it should be the geometric median, but treating it as a 2D problem, our CET weather temperatures use the median temperature at 9AM and 9PM I think). Any water I draw off is from the top half of the cylinder, so the hotter part, that will reduce the overall losses thereafter. But even of the losses where up to a kWh a day, still pretty low in reality. Shows that insulating the cupboard around the cylinder helps. What is interesting to me, is that the cylinder has fully stabilised after 1.5 hours after taking, the the majority of the turbulence being in the lower half of the tank, which isn't a surprise as that is where the element is.1 point
-
Both my expansion tanks are above their larger tanks (buffer and DHW).1 point
-
1 point
-
1 point
-
They do look rather nice!1 point
-
Yeh this 100%. It will do the job perfectly well and will allow you to focus attention on other more important aspects of your project. The stuff about MDF leaching toxins is going a bit far, and once sealed on all edges and painted, it's fine. If you use any other material (as in timber) and want to paint it, you'll need to ensure the moisture content is 10% max, otherwise you may see movement over time.1 point
-
Yes, mine uses Knauf Aquapanel, but you can just as readily use skimmed plasterboard, or even plywood as the base.1 point
-
Or here.... Boom, Boom!1 point
-
They do quality at the right price. but they also have very tired ex-holiday units round the back cheap: but need a lot of work. Worth asking.1 point
-
Well after doing up old houses most of my life, my new build was a dream, yes I was lucky with a good builder to put up the shell and lucky to finish before material prices went through the roof but no “old shit” to deal with and no compromises to make. Well done @Faz.1 point
-
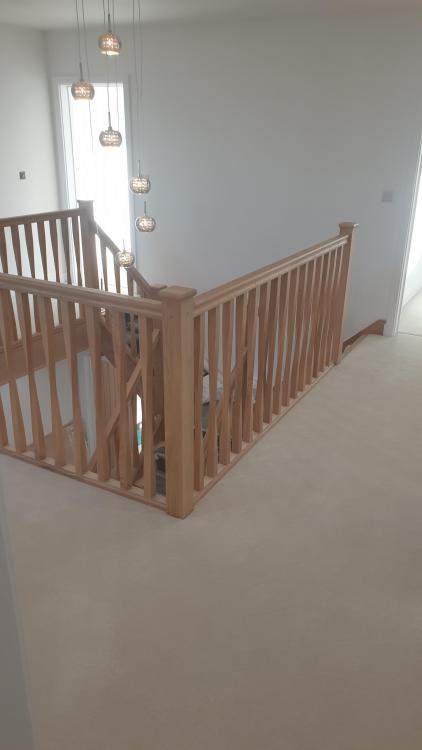
I know you say you have solved the problem, but just saying I am happy with the quality of my XL joinery doors. But i made my own linings (Oak)1 point
-
Wow, that’s impressive. i really should have just knocked down my 1930s semi and started from scratch. Would have been quicker!1 point
-
1 point
-
+1 We have laundry on level 2 as the bedrooms are level 1 and 2. It has access to a balcony and we use a low level airer that is not visible from outside.1 point
-
1 point
-
So it turns out the gap is only 2mm deep and probably even thinner than I thought. Probably just another example of me worrying excessively.1 point
-
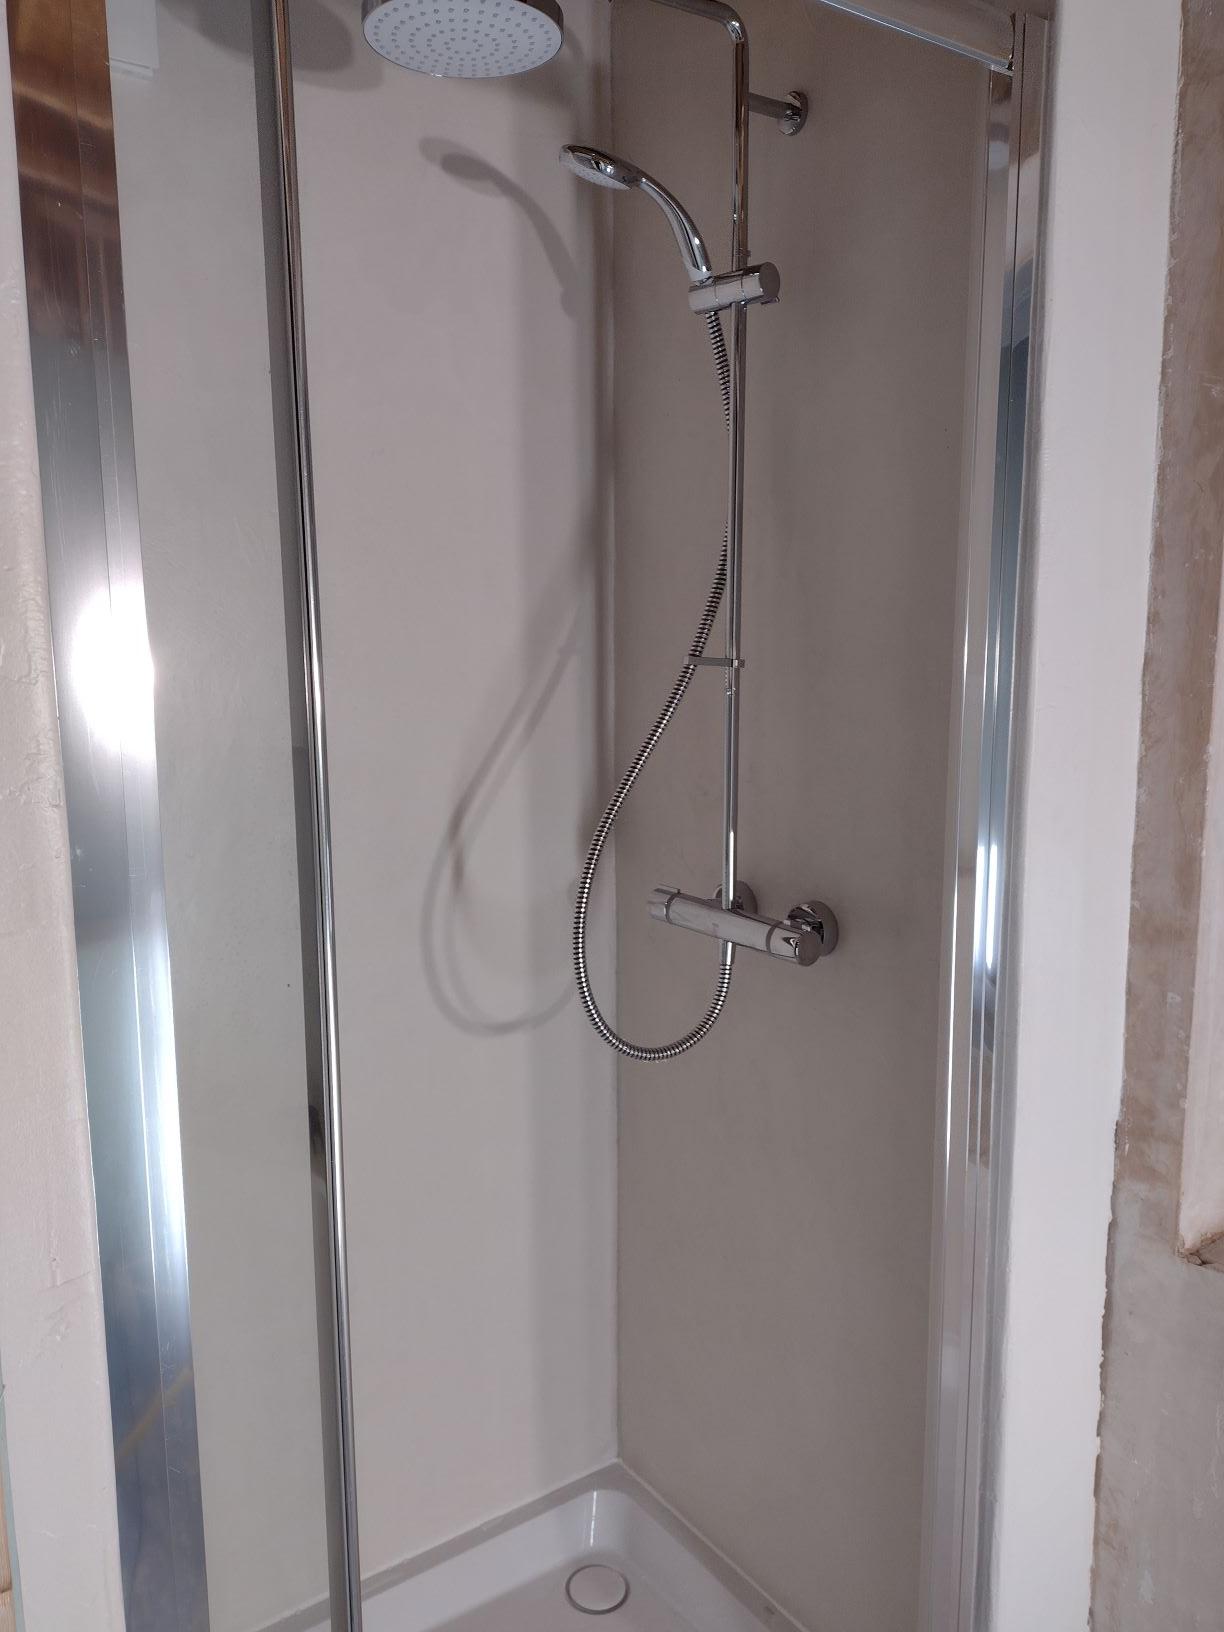
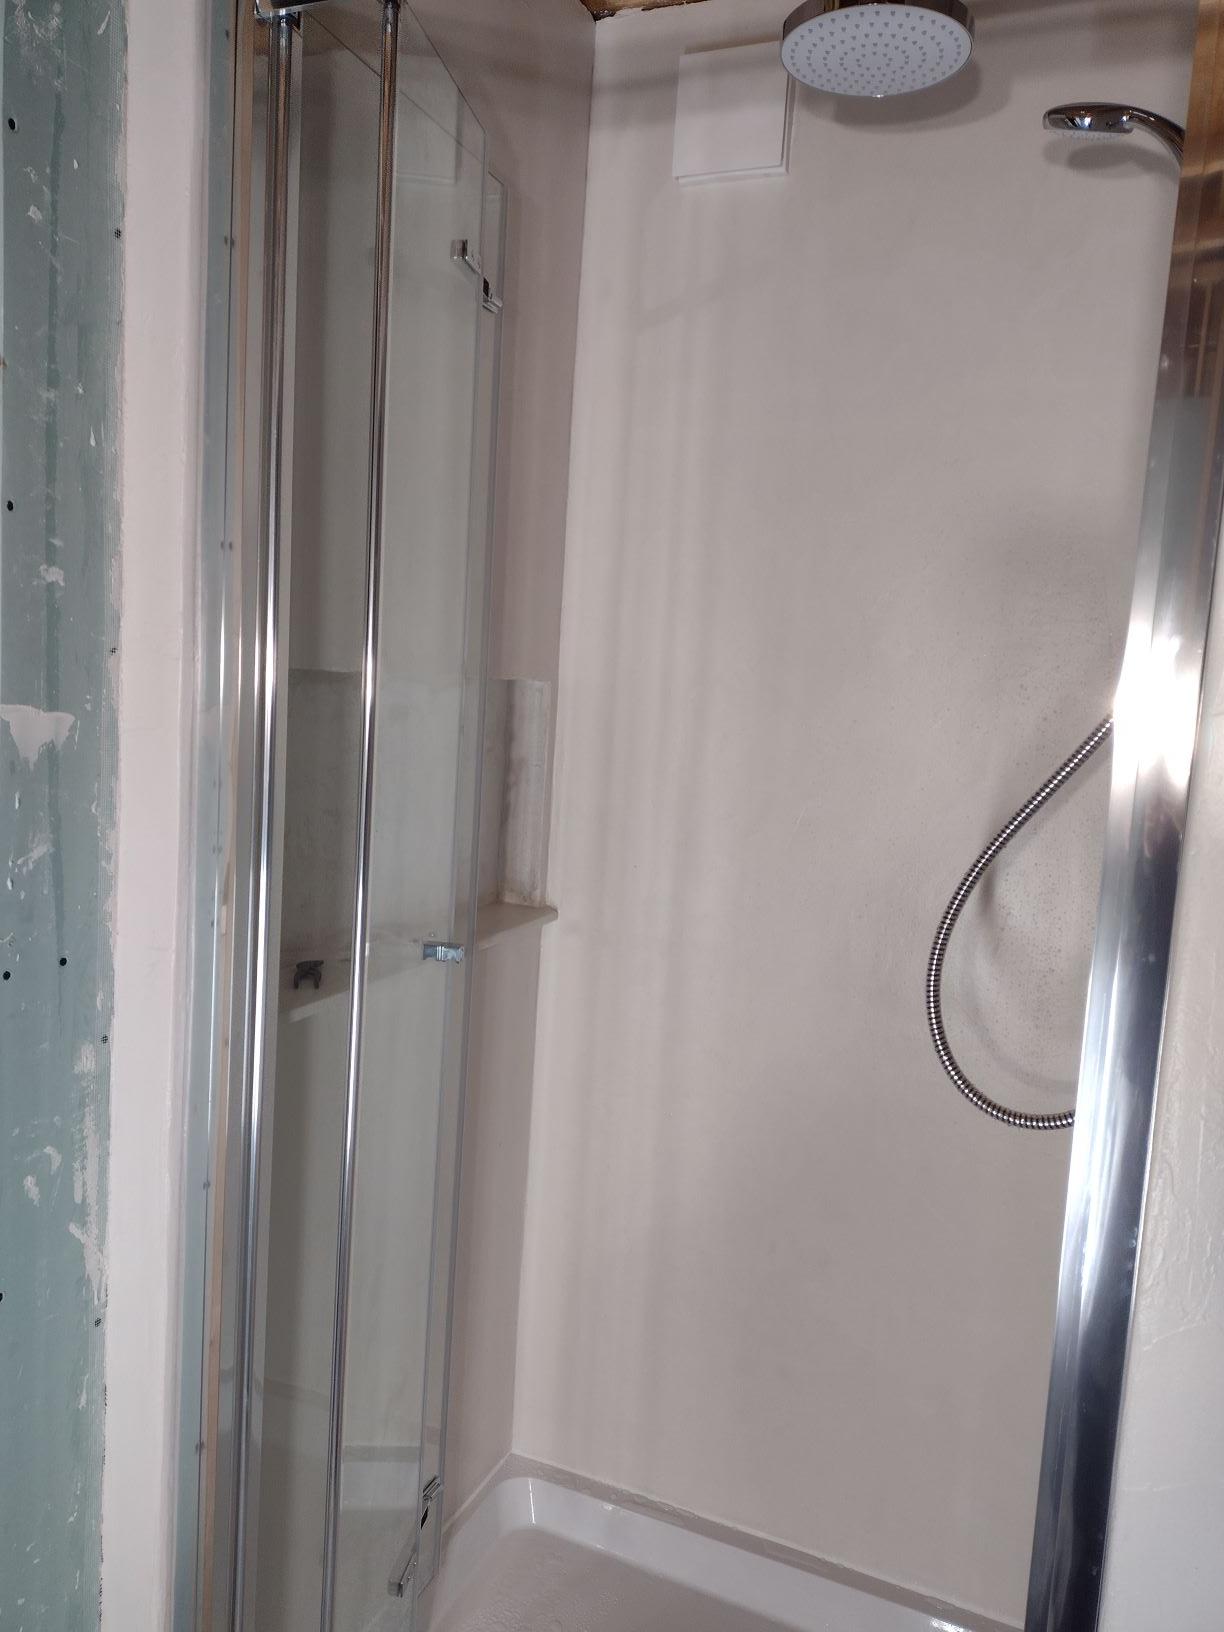
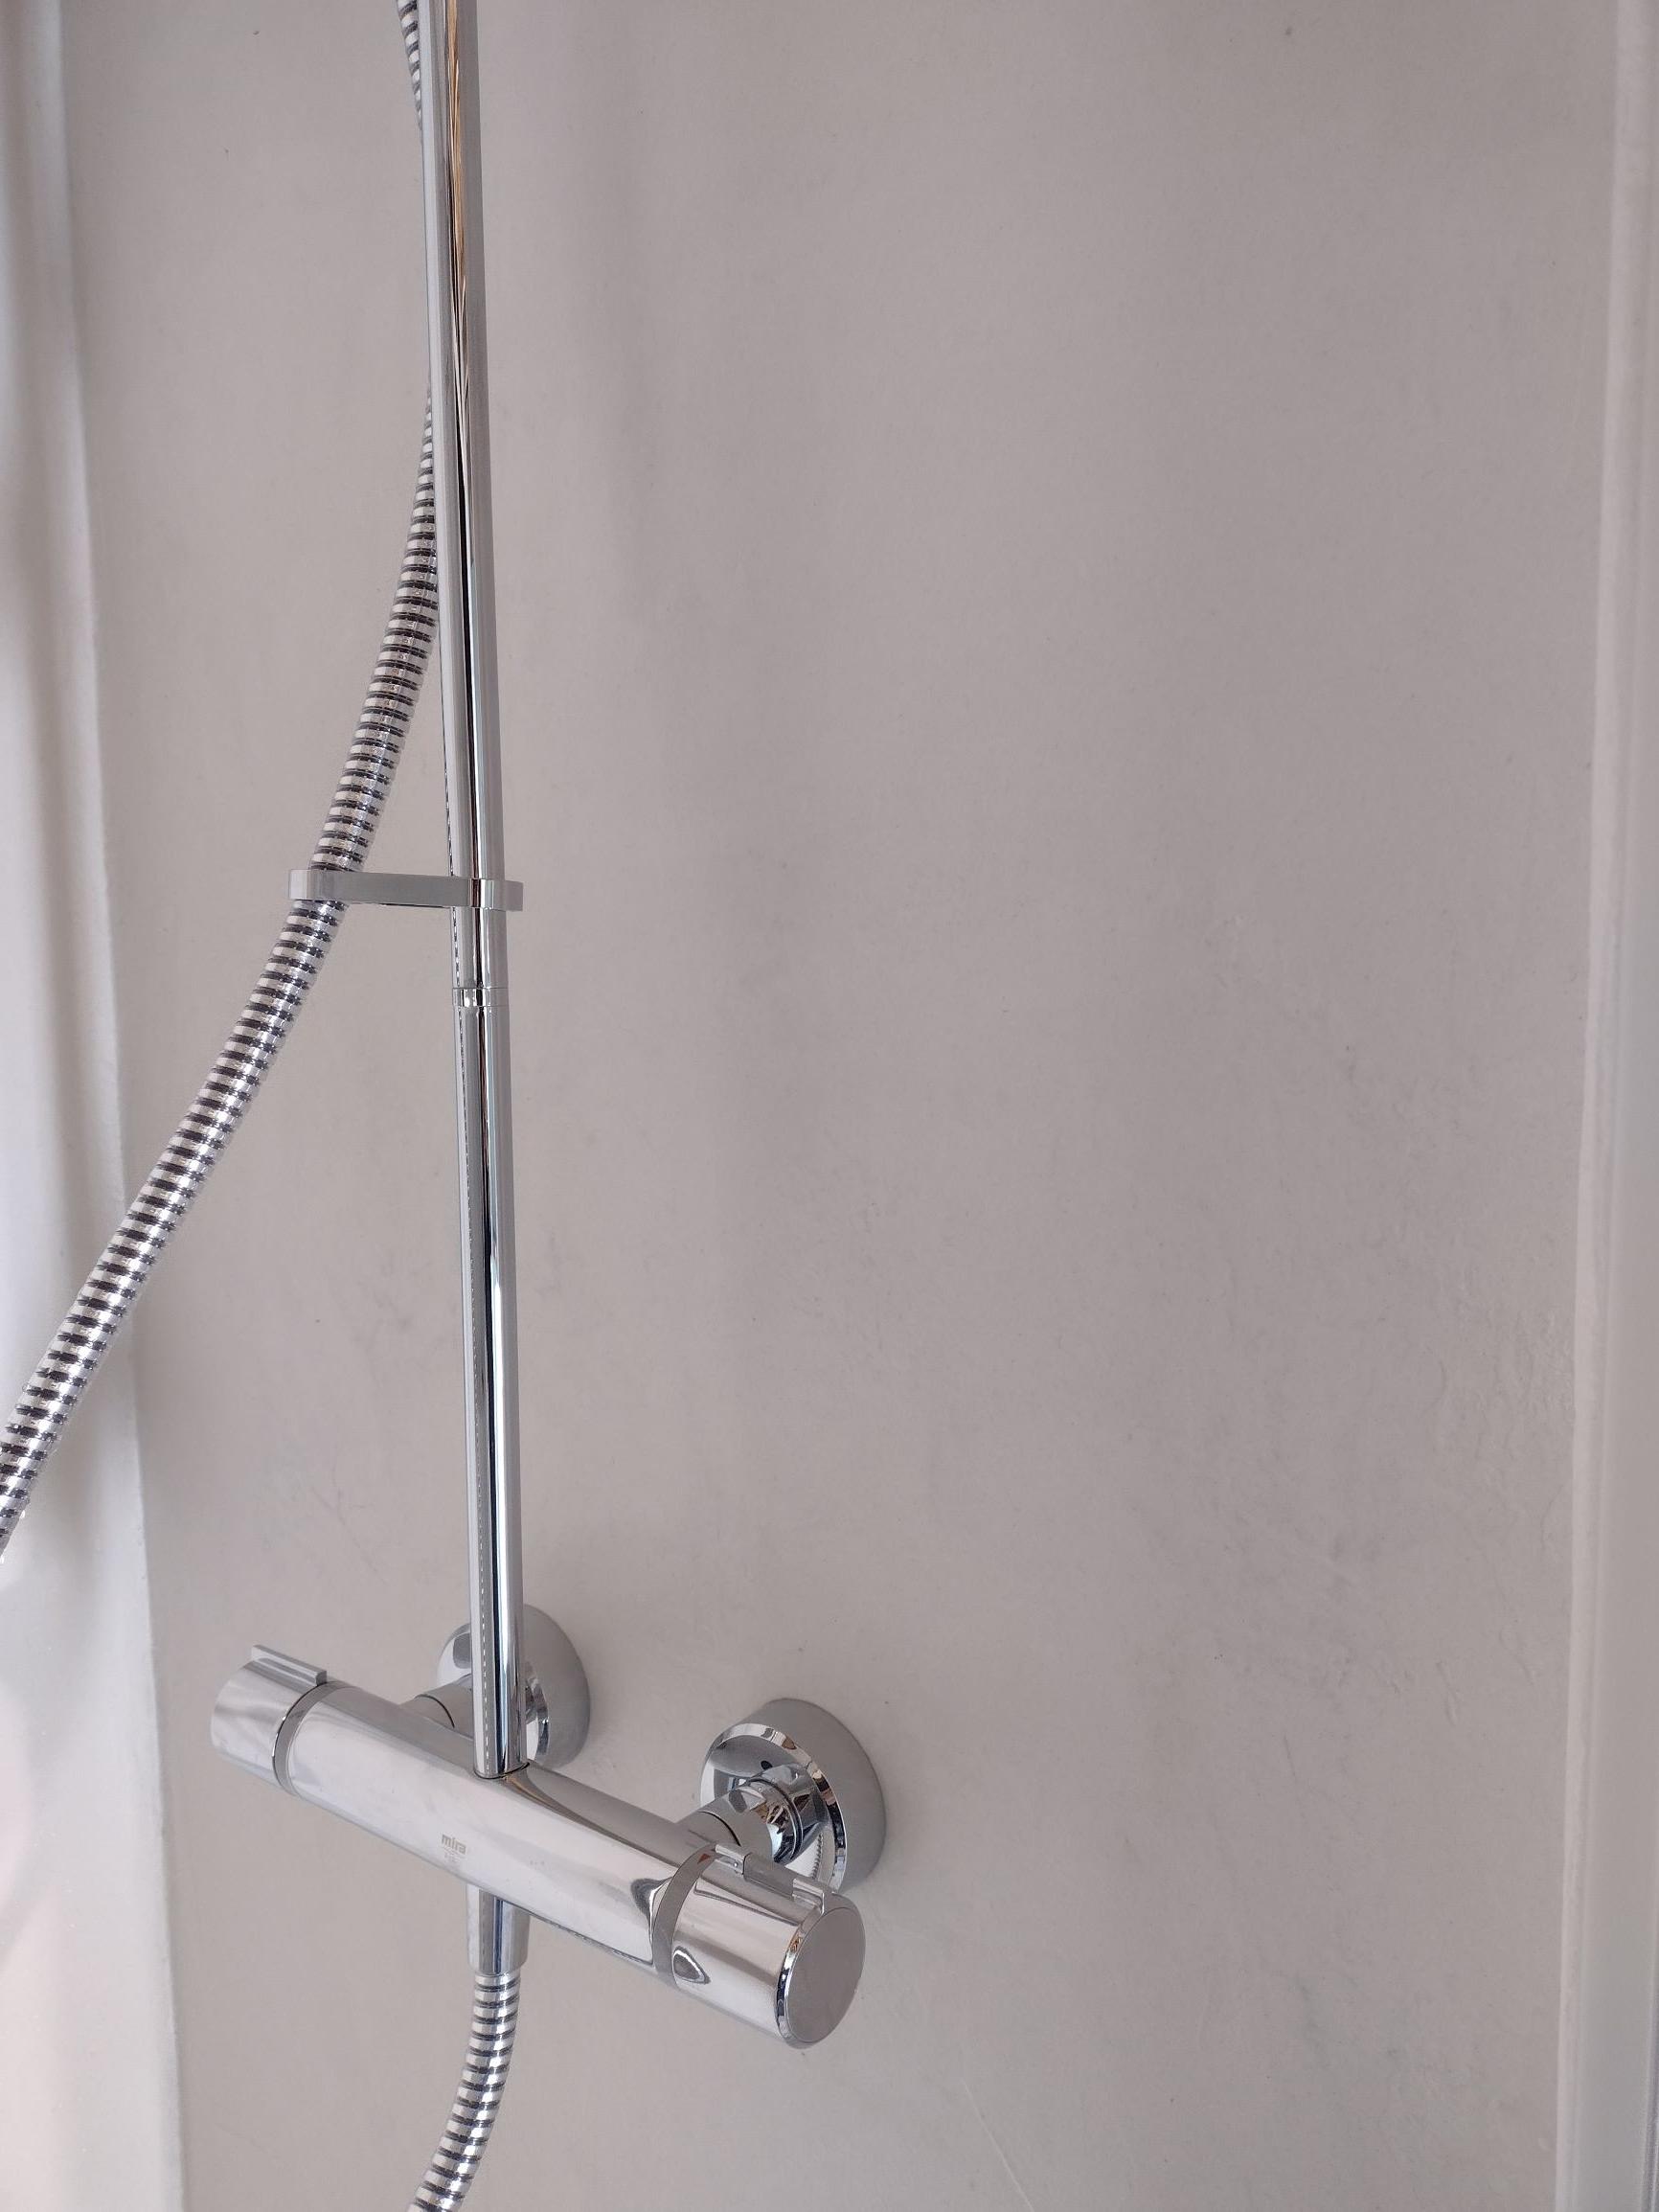
Okay, I've done the shower enclosure now. In total 4 coats of finishing resin since my last post, two coats each of a different type. Each coat sanded with 400 grit paper. I'm ever so slightly worried about the final coat as I was slightly short on hardener for this coat so I hoping it is hardy enough. However, if it isn't I can always get some of the same 2 part resin and re-coat. I've also put in the shower, shower door etc. but just waiting for tiles to put into the back and side of the built-in shelf. I'm very happy with how it's turned out. I like both the look and the colour (Montblanc White). Now we just have to see how it stands up to some abuse and I'll report back over time. Below are final photos where I've added a couple in the hope it shows the colour and texture in close up, but may not work. Hopefully this may help anybody looking at microcement in their shower.

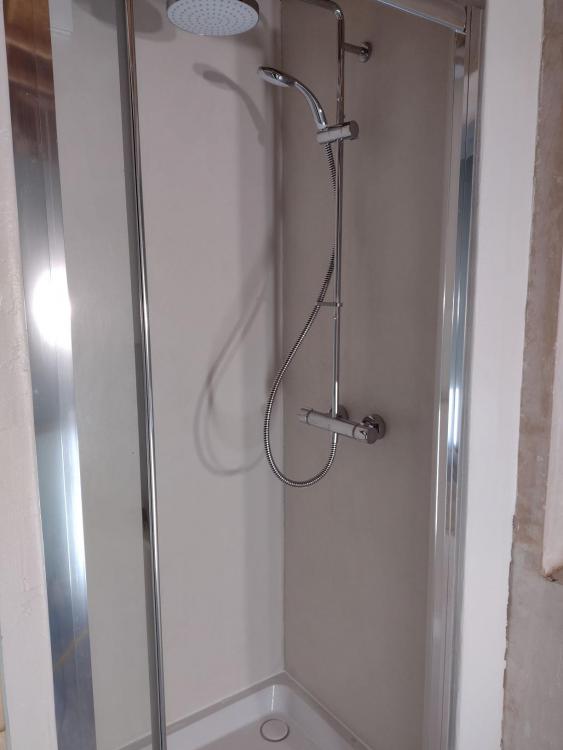


 1 point
 -
Pick up the phone to your architect and ask. They may be more than happy to offload the donkey work of sourcing other contractors or may have a hit list of who to avoid. Alternatively they may give you good reasons why using their preferred suppliers will make the path quicker smoother and cheaper overall. Either way it's no harm to remind everyone there's a budget to be worked to.1 point
-
Change that word slightly to picky , then that's exactly what's needed. Attention to detail. Everything to be said in favour of that.1 point
-
If you want to commission them yourself then just do it and supply the information to the architect. Bear in mind that any missing information or difference in what's needed for to complete the design will be your cost and responsibility, we generally get quotes from surveyors for our clients because we have a lot of experience in knowing what we need to satisfy a local authority or what would be useful later in the process to avoid redoing/adding more information to surveys later and most of our clients might not understand the difference in scope of services so just look at the bottom line costs...1 point
-
I thought it time I updated this forum as you were all very helpful coming forward with advice. I bit the bullet and used Potton Homes (Kingspan) to take the project forward. We are nearly at watertight stage but not without significant amounts of trouble and alteration. As soon as Potton have signed off from their participation in the project I will post a more detailed review. Unless things change significantly it wont be a dazzling review and should be of help to others venturing into the world of self build for the first time!1 point
-
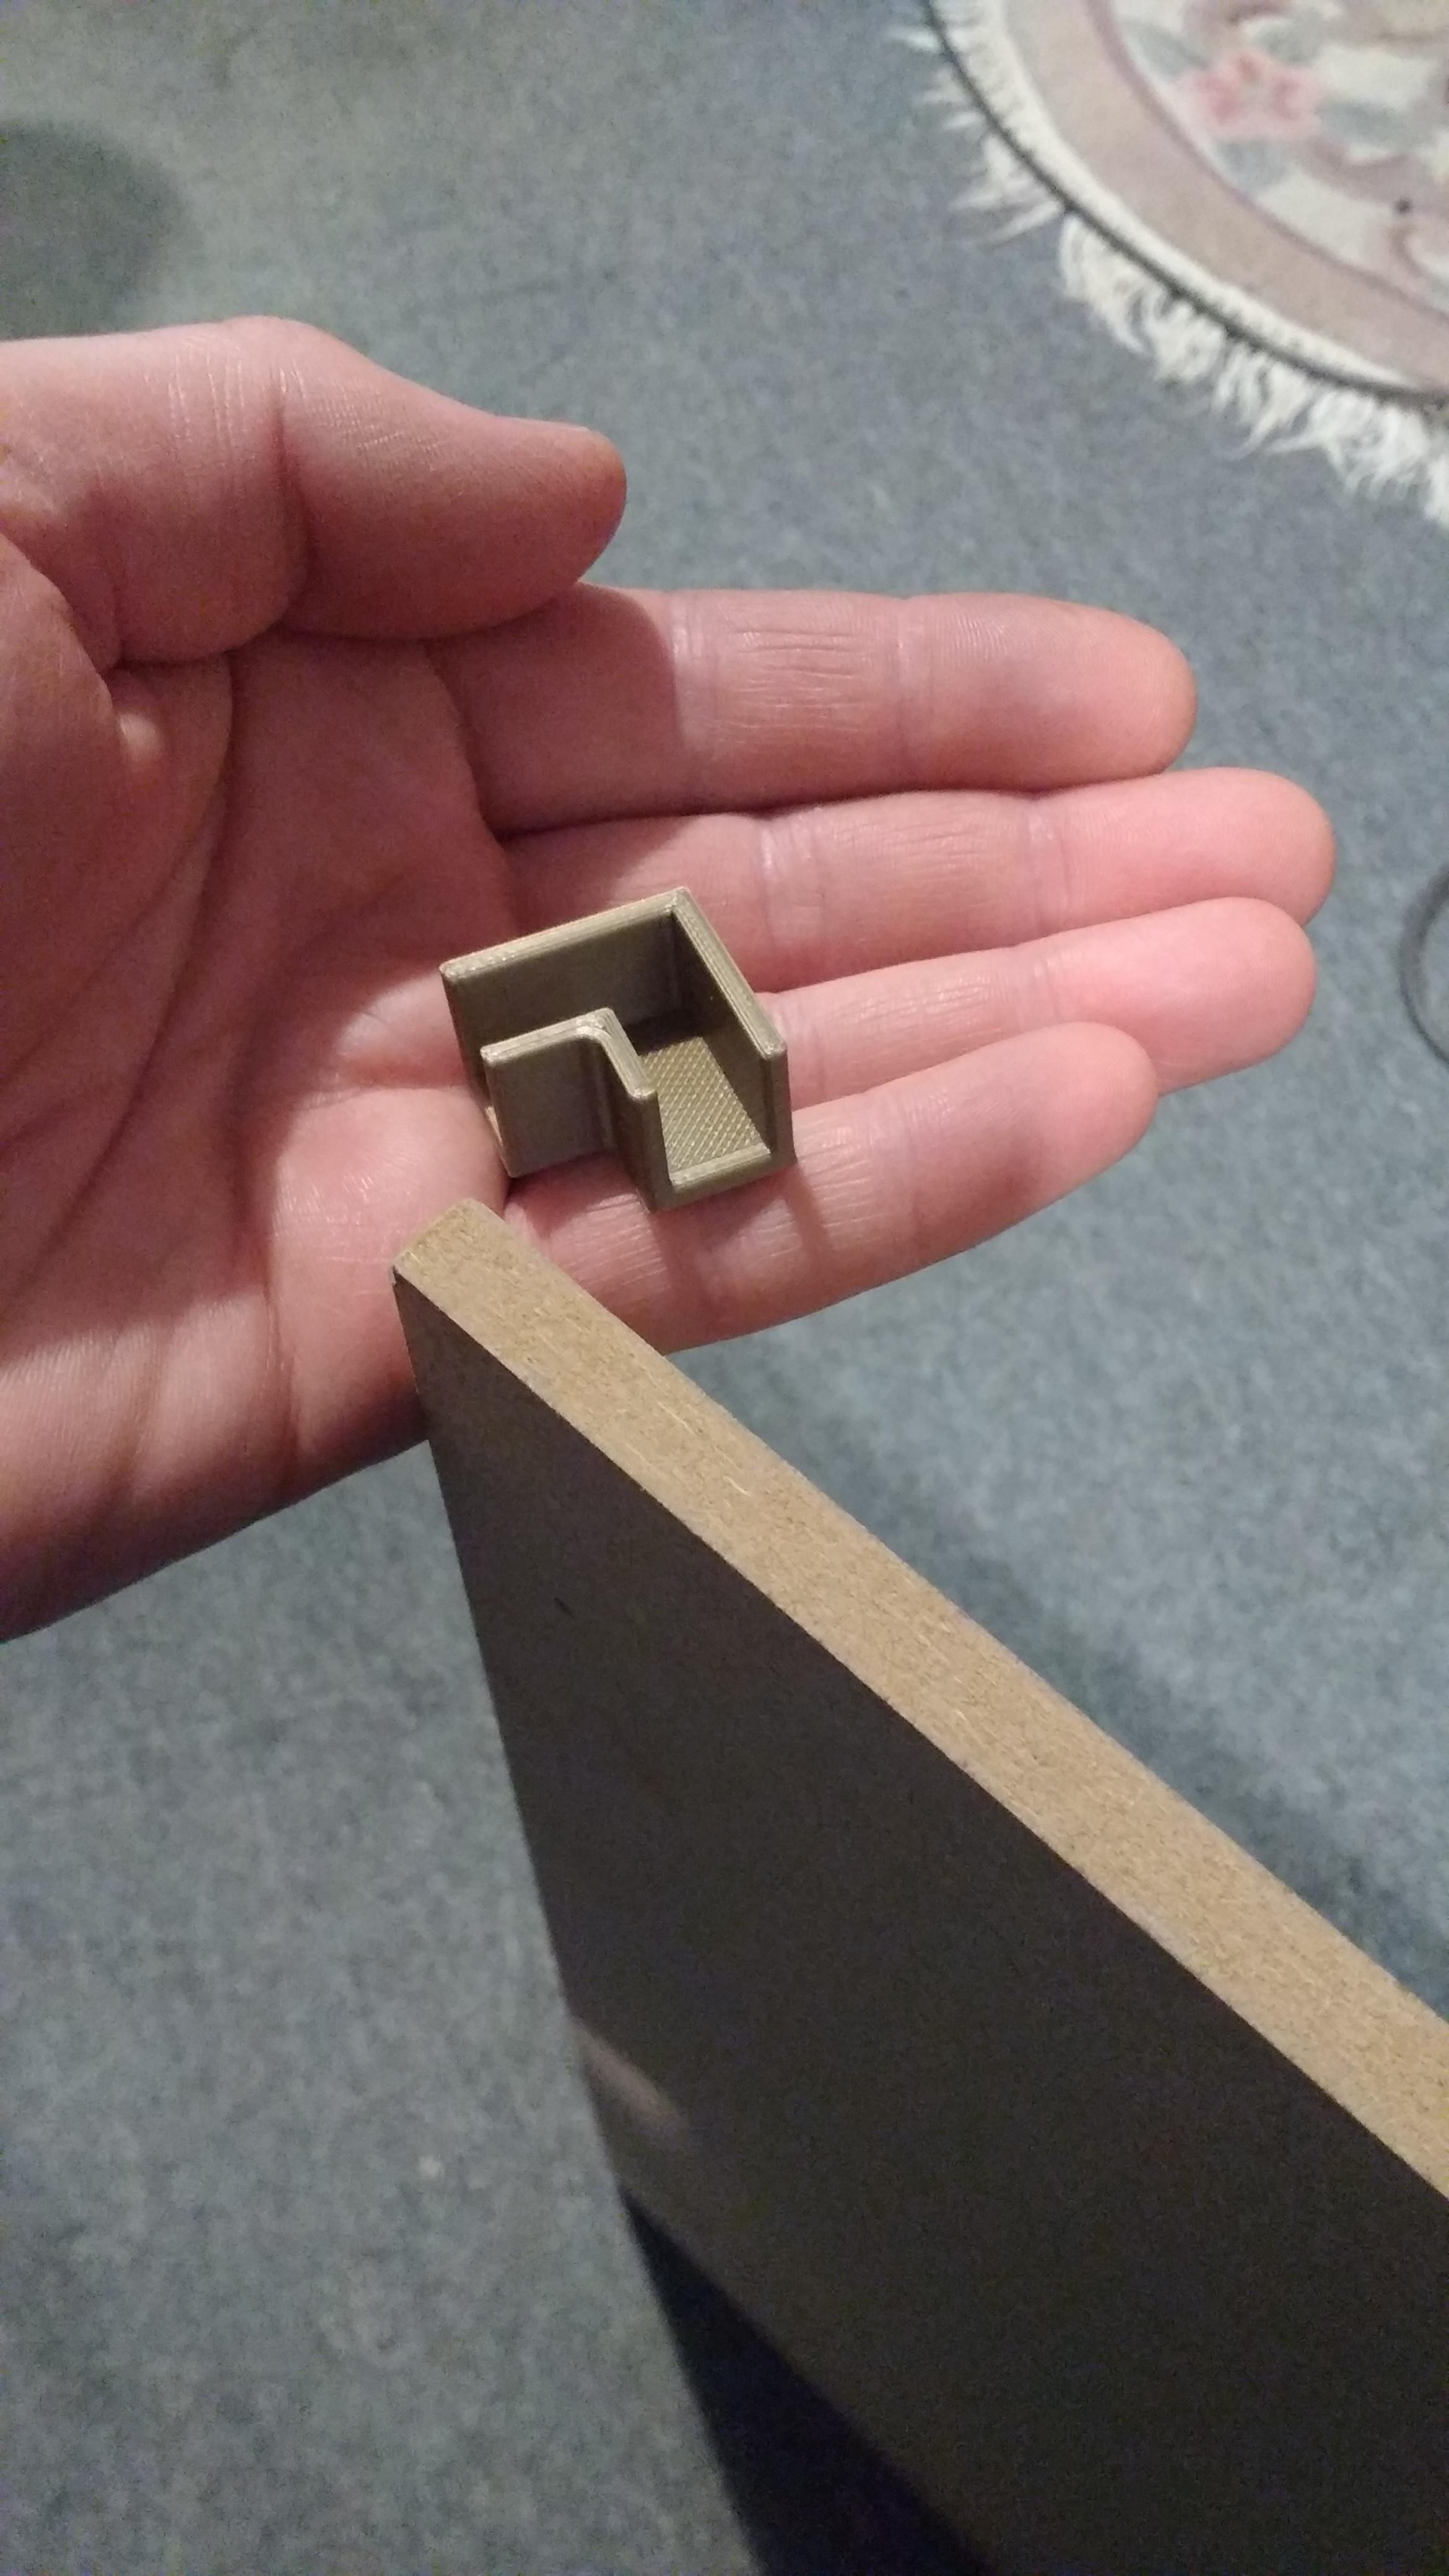
I'll have you know I made this today! An open fronted MDF box for a diorama my daughter's doing for her school graphics project. 3D printed corner connectors in copper (apparently) PLA! That's my part over, so FINISHED!

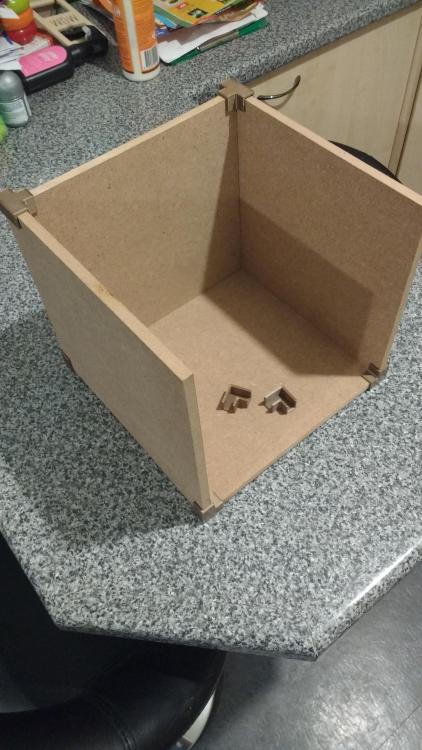
 0 points
 -
Green campaigner lectures GMB viewers on damage that conservatories are doing to the planet - while sitting in her conservatory.....? https://www.dailymail.co.uk/news/article-10421987/Green-campaigner-lectures-GMB-viewers-damage-conservatories-sitting-hers.html0 points