Leaderboard


.jpg.c21f3ac78c9b7efd90cbdcb312744dc5.thumb.jpg.7adcad4c0e384f5ecd7d56b0618df6e5.jpg)
Popular Content
Showing content with the highest reputation on 10/02/21 in all areas
-
https://www.bere.co.uk/assets/NEW-r-and-d-attachments/Lark-Rise-Self-consumption-study-by-Energelio-160429.pdf is worth reading deeply if you're seriously considering going off-grid. It's the calculations for how close to autonomy you can get with a ~200m2 Passivhaus in the southern UK with 13kW of PV and a battery of varying sizes. Even with a very big battery (40 kWh in this case), in December it's still importing ~60% of electricity demand from the grid. Per PVGIS for Aberdeen, you'd need at least a 30kW ground-mount system to meet demand in December, which is the hardest month to handle - in the process producing 27,000 kWh nearly all of which would go to waste. You could probably downsize a bit as you're looking at a smaller house, but given how well insulated the example given is you're going to struggle with getting a 50% reduction without going full Passivhaus. Going off-grid with only PV and batteries in the UK is exceptionally hard. Assuming you need 500 kWh in December to give you some margin (most of the power coming from PV throughout the year), you only need a steady-state power of 700W to keep things going which isn't huge. Small wind turbines are very site-specific and a bit of a lottery though - average capacity factor seems to be in the 15-20% region (inferring you'd need ~5kW installed power), but can be very high or low. One interesting note - heating demand is 1000 kWh of electricity a year in this model and DHW another 800 kWh/year. Take that away and over an **average** year, you'll be able to run everything else 100% on PV. In the model the COP is assumed to be 2.8, so heat demand is 5100 kWh/year => equivalent to about 400 kg of Propane. So an LPG boiler plus standby propane-fuelled generator in case you get a week of miserable weather might be a decent option in your case. As noted the power draw will be very low from it - it's only there as a backup for the few times a year that the batteries run out and need a top-up, so fuel burn and running hours will be relatively low. Resale value is going to be higher on-grid and running costs a bit lower, but not shockingly so. It's really important that the house is very low-energy though - the cost per kWh of off-grid energy is much higher than on-grid. If it was my build, at £30k I'd go for a grid connection (mostly considering resale and the faff-factor), but if it ended up being a lot more (£50k+) then off-grid is feasible.
 4 points
 -
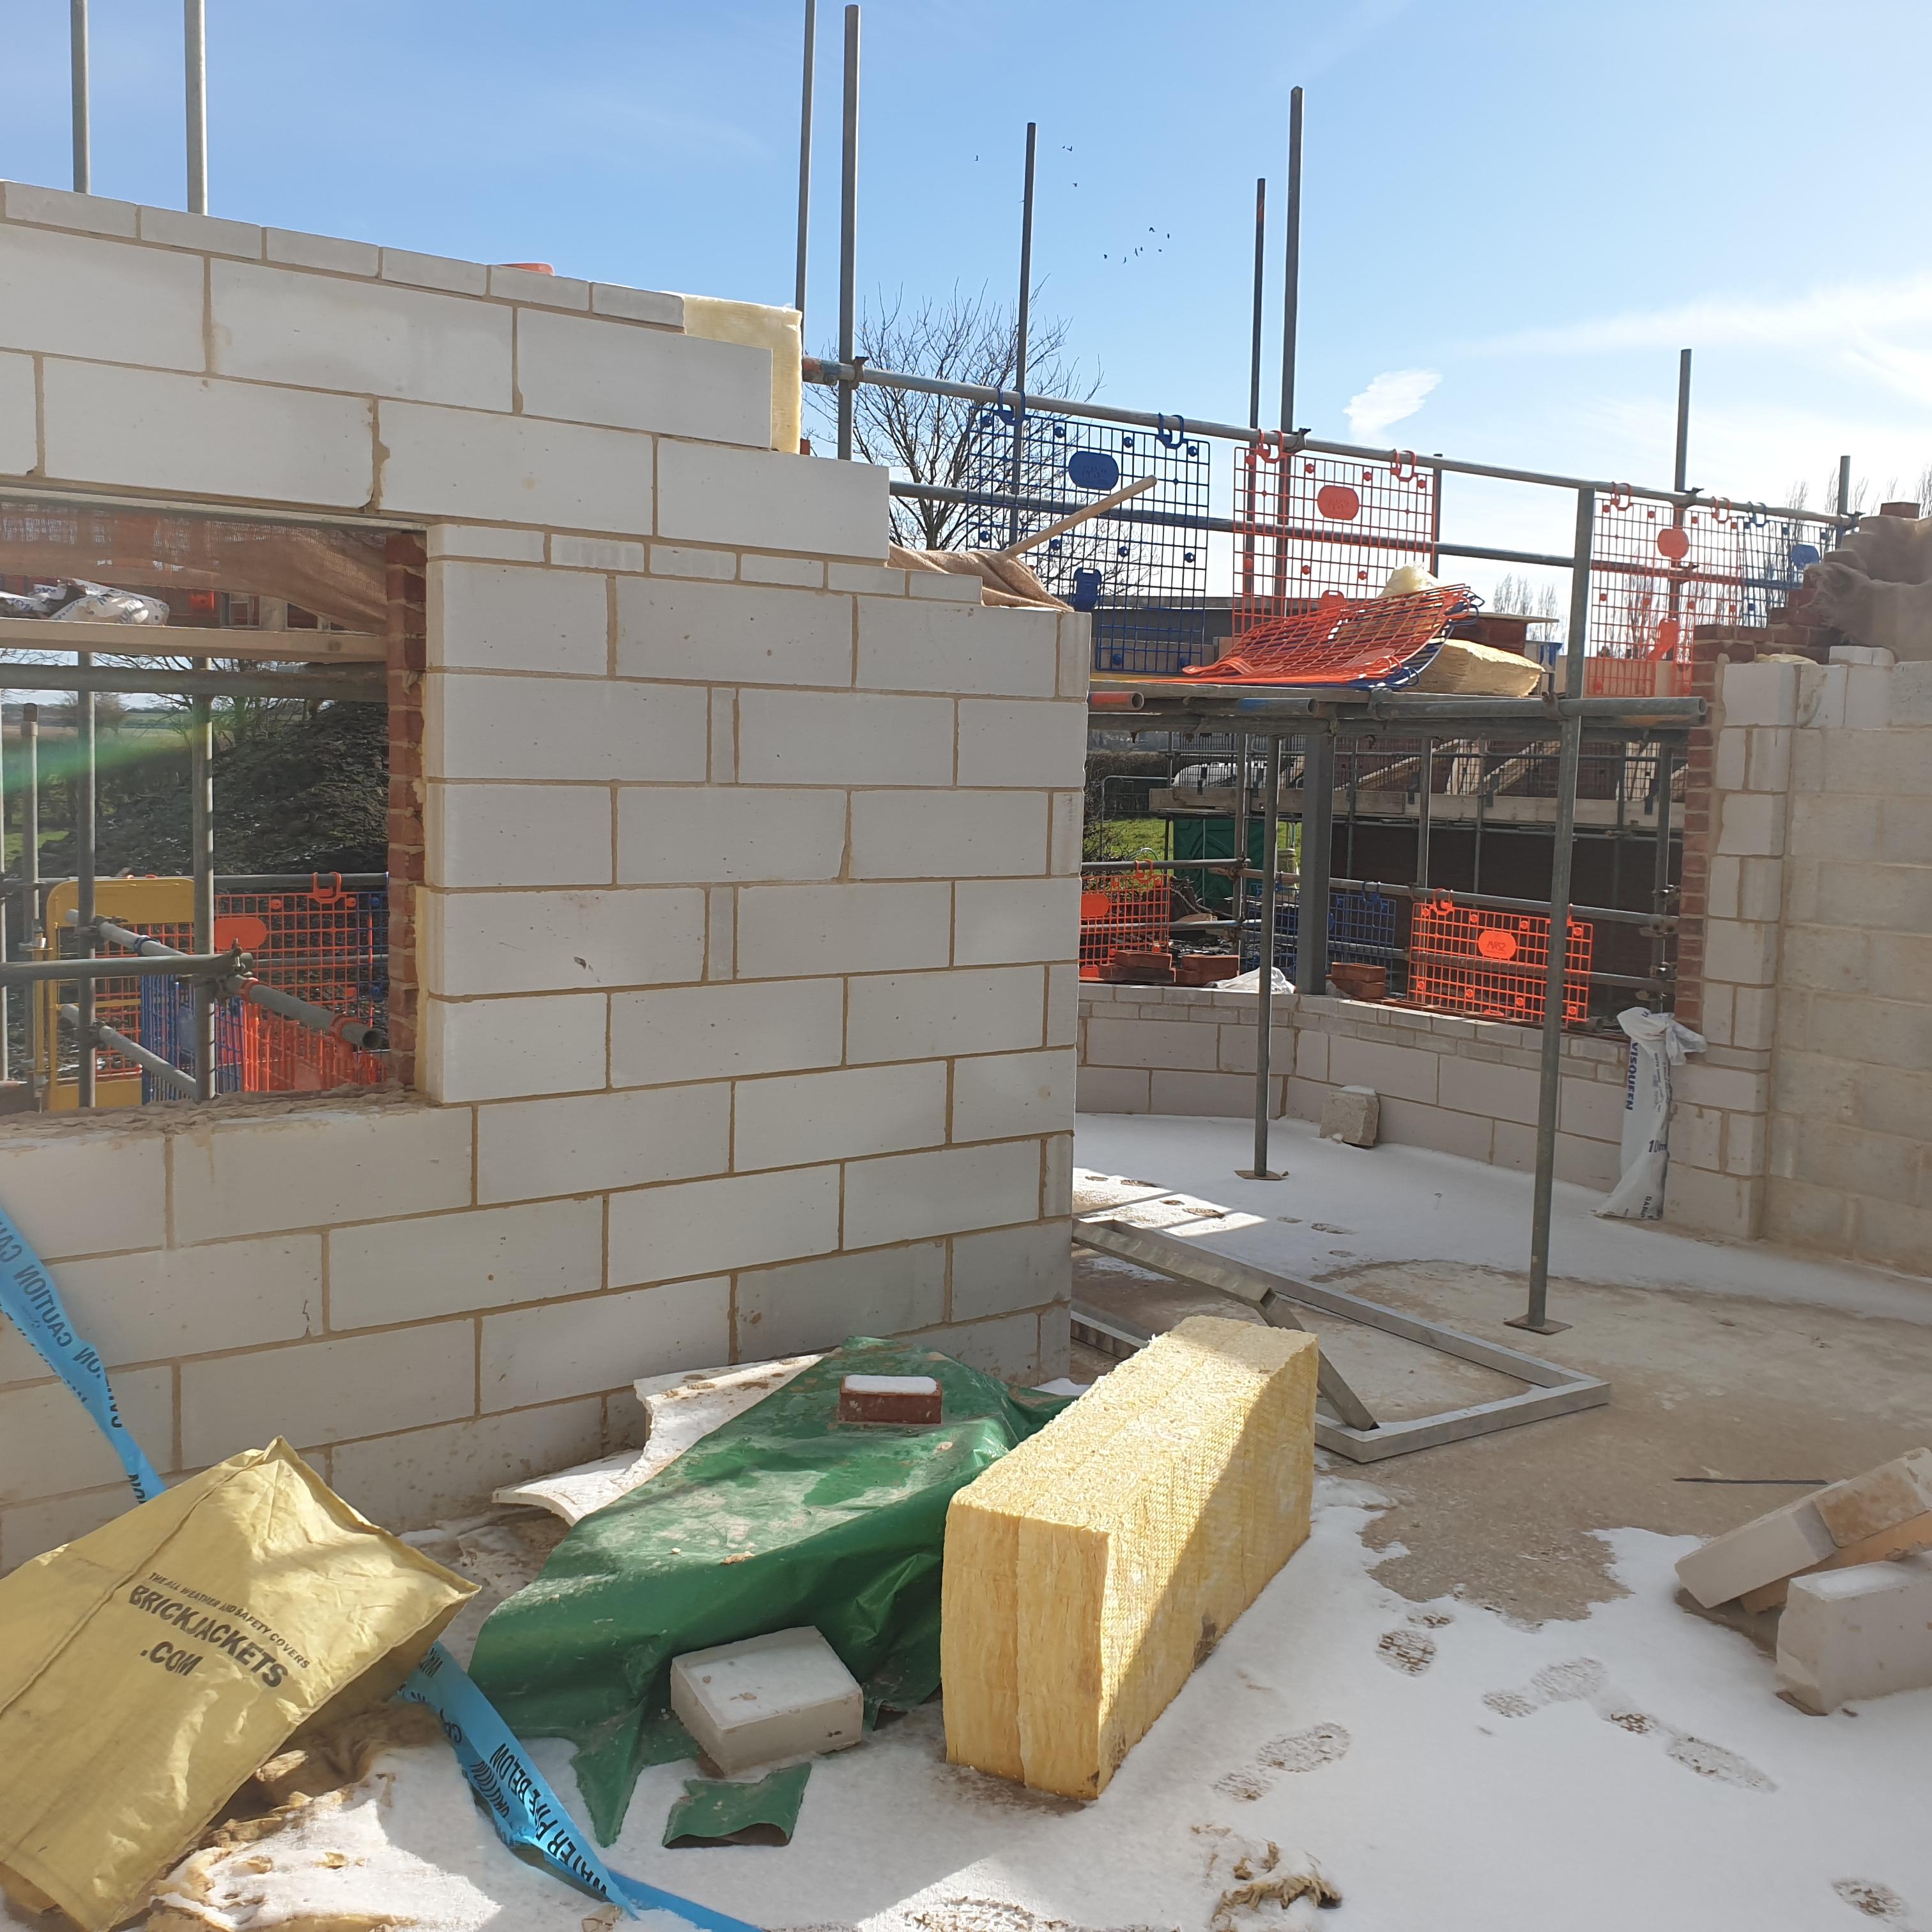
Since the basement was finished at the end of June things seem to have been dragging on for ages but we are finally out of the ground and ready for the timber frame. It has taken 13 weeks and we had delays with materials that held things up but when I look back at the photos from the basement being finished to where we are now it is amazing how much has been done and we’re very excited about the timber frame going up next week. When the groundworkers came back post-basement they started by insulating the basement walls externally with 200mm of EPS 100 and then backfilling with clean crushed as per the structural engineers specifications. Then they started digging the foundations for the ‘arms’ of the building as I call them and you’ll see why from some later photos as the main building looks like the body with 2 x arms coming off it. These are a garden room (that links to the kitchen/diner) and the utility room and garage. These are designed as insulated slabs with 300mm EPS underneath which you can see in the photos. Here we see I had to put some Perinsul blocks in, thank you to @ToughButterCup for getting them to me. While that was happening the brickie was also on-site building the internal walls for the basement. We have a 3m ceiling height in the basement so we had to get scaffolding in to build them safely which was another expense I hadn’t planned for (beginners naivety) but something that had to be done. It was around this time that I purchased a DJI Mini-2 drone. It is brilliant and has given us a whole new perspective on the build. Here are a few videos from before the slab pours (please excuse the auto-added cheesy music that DJI added). And some photos of the slab pours. I also put in some VCL between the basement and ground floor as a Tony tray. Once the slabs were poured we move on to the block and beam flooring. This caused the biggest issue with getting materials as the company the groundworkers were using moved their lead times from 15 days to 6 - 8 weeks which would’ve put us stupidly behind schedule. So I sourced some beams from a local builders merchant and paid the beamers to cut them to size on site rather than waiting for the correct sizes to be fabricated and delivered. It was pretty stressful to say the least. But what made it worse is that I decided a while ago to move from precast hollow core slabs to block and beam but no one along the way told me that the beams couldn’t take the load of the walls above like the hollow core could and, by chance, during my conversations with the block and beam company designing it I found out that I had to put supporting steels on top of the basement walls to take those load bearing walls from above ground. Back to the structural engineer to get those designed and then fabricated and installed. And then the beamers tell us that they won’t do the work without a complete fall arrest system across the entire basement 600mm down from the top of the basement walls. Back to the scaffolders to come and put that up at yet another expense (although the safety of the contractors is important to us so I didn’t grumble too much!) and we were finally ready for the block and beam to be installed. So what turned out to be the decision to save a few £k by moving to block and beam has in the end cost me a lot more due to the extra work involved. Oh well, you live and you learn. Anyway, the day came for the beamers to install it and they were a smash and grab outfit but that is, apparently, what all block and beamers are like. They just turn up and smash it out and leave without any due care and attention. To say they were miffed that they couldn’t do that on our build due to the steels on the basement wall is an understatement and comments like ‘if I’d known there were steels I wouldn’t have taken the job’ and ‘I’m losing money of this job’ really filled me with confidence. And if I ever do this again I will probably do the block and beam myself as, although hard work, it’s not complicated and I would’ve done a much better job. Anyway, it was done and they left and we could get on with laying the coursing blocks for the sole plates to sit on. This is where I insisted on precision and I spent a lot of time out there with the brickie assisting with setting out to make sure everything was spot on for the sole plates and checking that the levels throughout were within 5mm - 10mm across the building. It was time consuming but I think the accuracy will pay off in the end. While that was happening and with the timber frame imminent the scaffolders came and put up the required 2 lifts around the entire building and by 5pm the Friday before the frame was due it was all finished and we were ready……or so we thought. The timber frame ended up being delayed by 4 days due to the chippies testing positive for Covid-19 (the first time we have been directly impacted (not including the material shortage etc) by Covid) and during that 4 day delay the contract manager attended site and noticed that the garage (which is 120mm below the main house) had it’s coursing blocks below the main house. After a quick email exchange it was pointed out to me that I’d misread the plans and that those blocks, and the sole plates, need to be at the same level throughout so I needed to raise the coursing blocks by 120mm in the garage by the end of the following day. The groundworkers have moved on and I couldn’t get anyone to do it so I knocked up some pug, borrowed a disc cutter, bought myself a trowel and got laying. I’ve never laid blocks before but I did spend a lot of time watching and helping the brickie so I had a good idea as to what to do. I started after work on Wednesday (sole plates due to be fitted Friday) and finished half of it well after dark and then got up early the next day to finish the rest off. And it worked! Level and straight (ish) and still standing the next day. Phew! And this is where we’re at right now. Timber frame ground floor wall panels are due next Tuesday so we should really start to see things happening rapidly now and within 4 weeks our superstructure will be up. But that will be the subject of my next blog. Here’s a time-lapse video of this part of the build. I had to speed up the footage x10 and each day is about 4s long so things happen at quite a speed but it’s amazing to look back and see what has been done these last 13 weeks. Thanks again for reading and I hope you’re enjoying this journey as much as we are. Until next time…2 points
-
Local builders and developers in "the know" seem to have a habit of putting in for planning and then, upon finding out which officer has been allocated to their project, withdrawing the plans.2 points
-
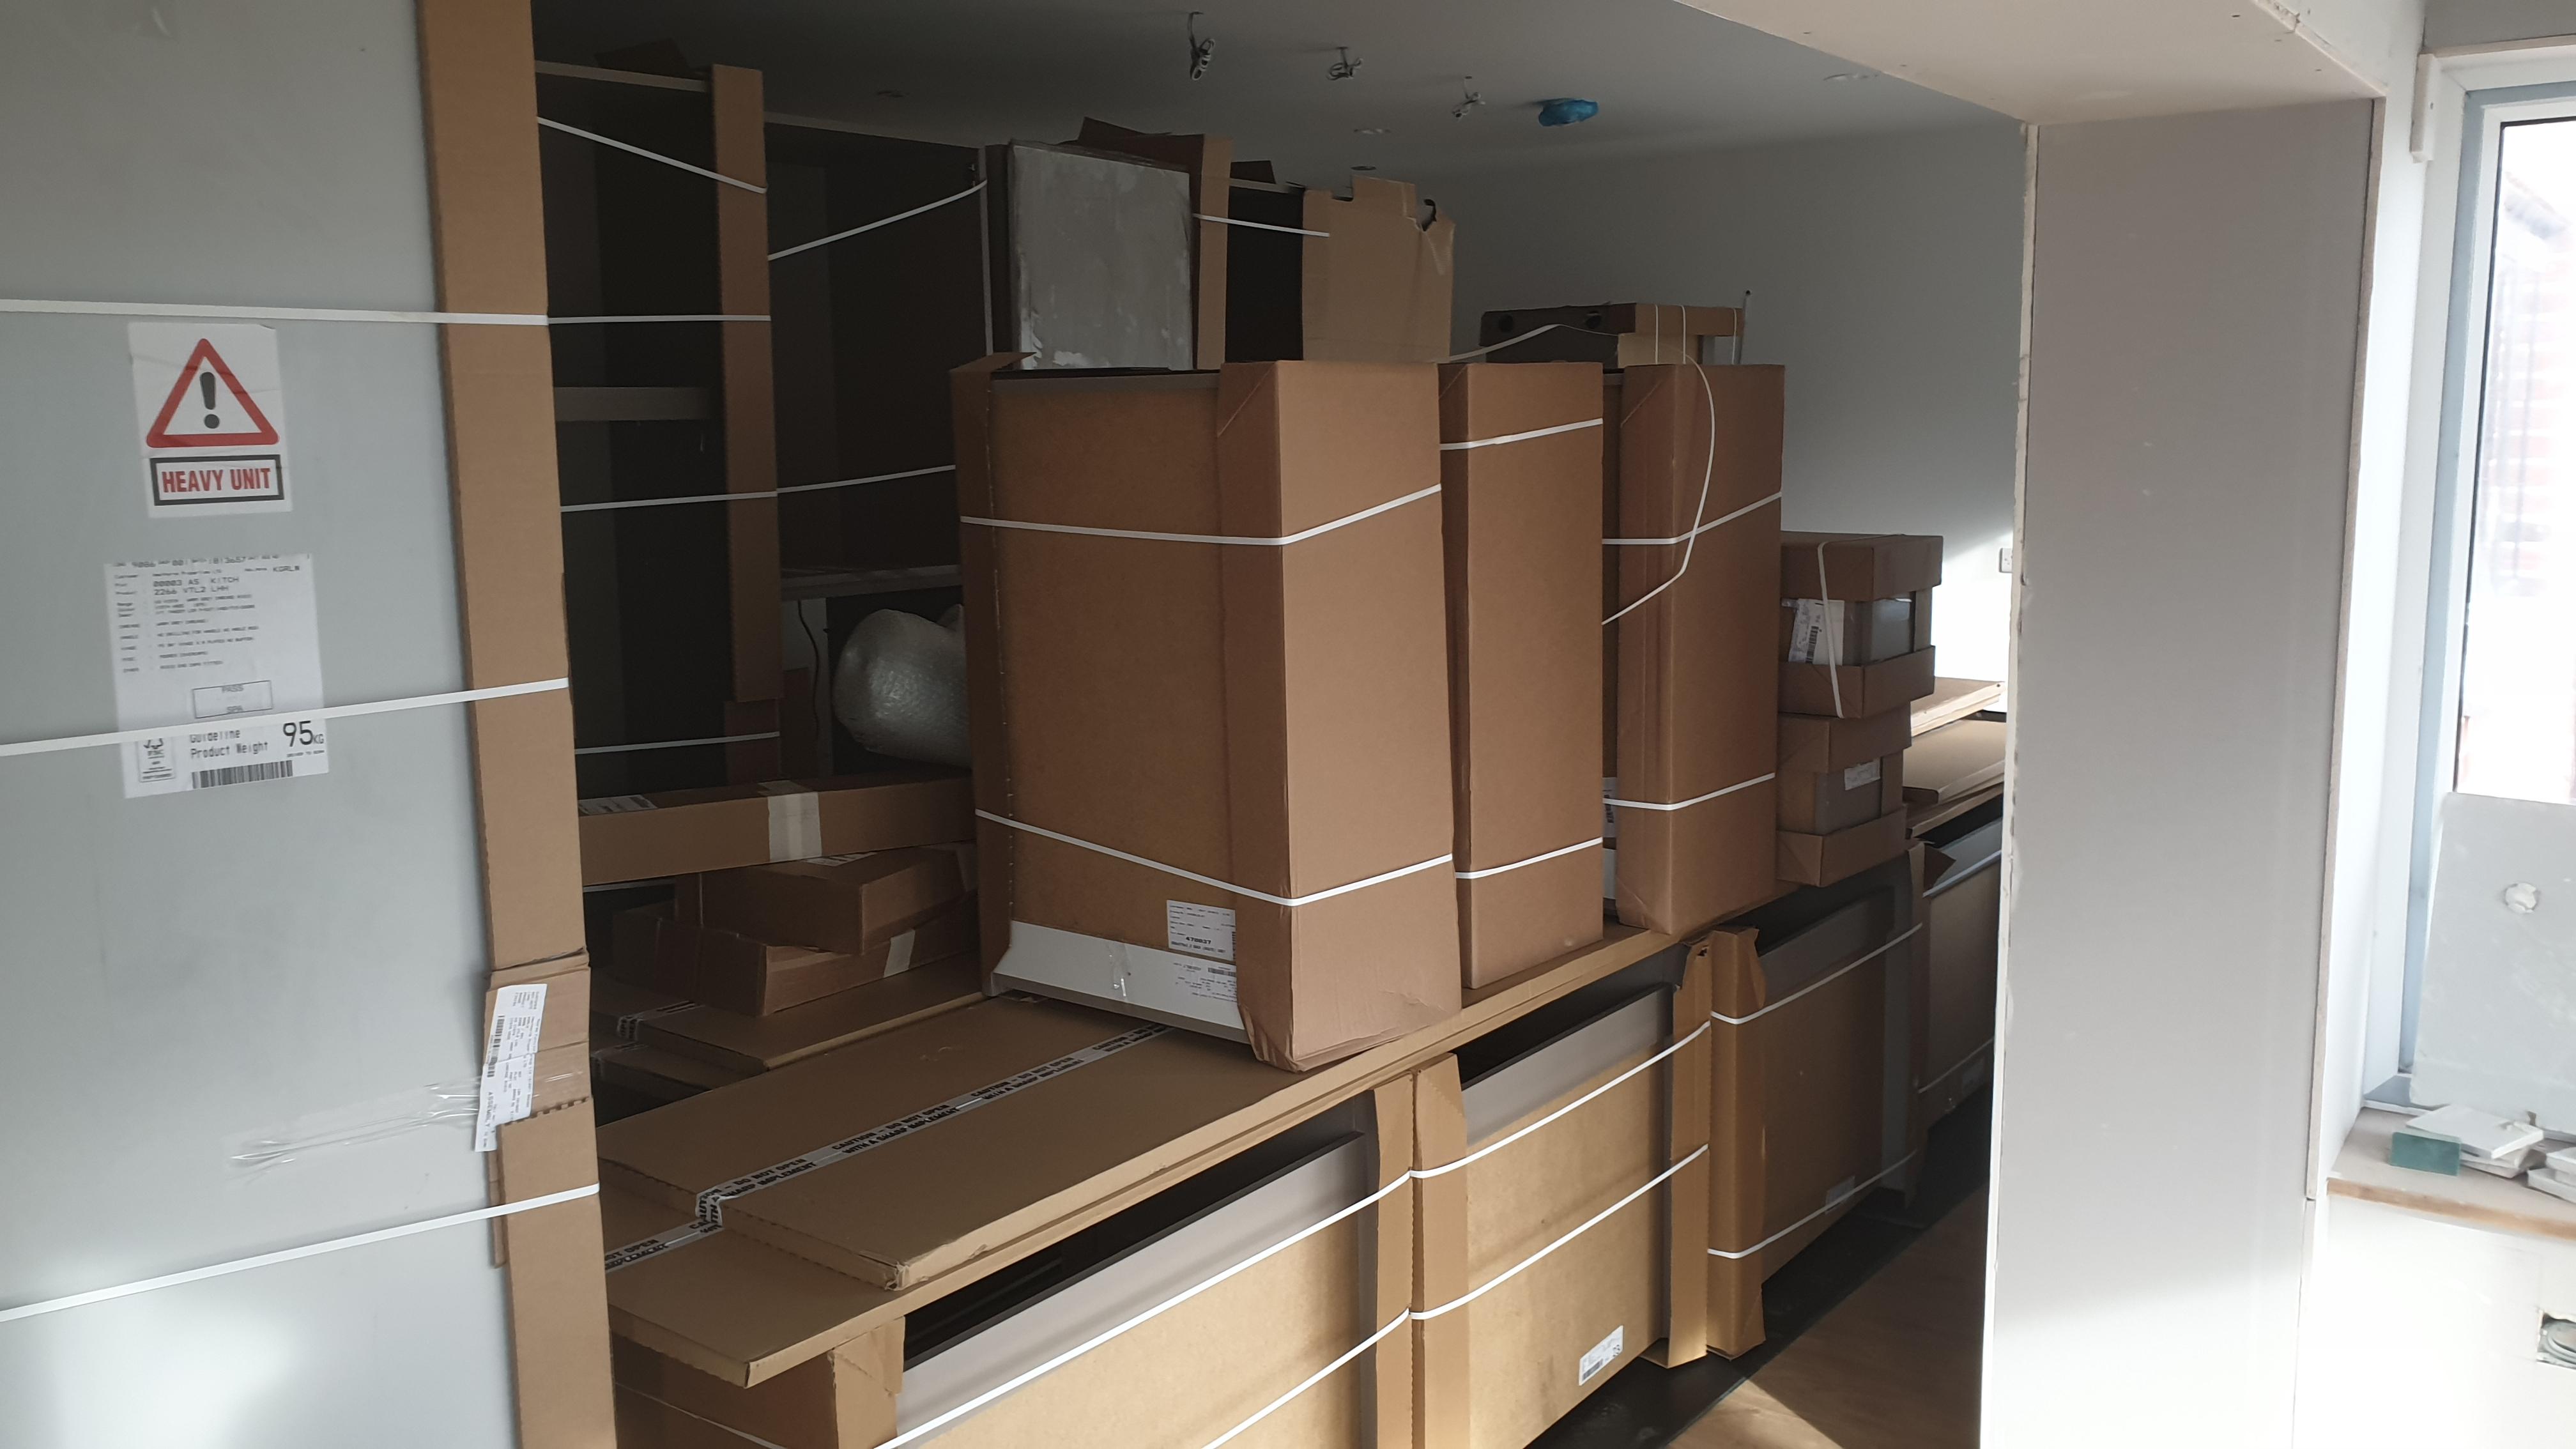
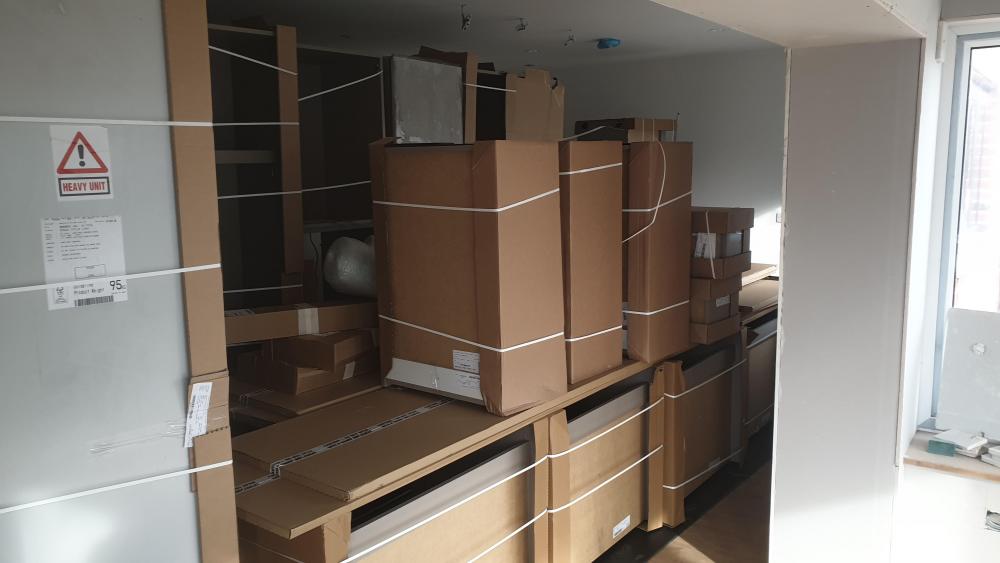
It would appear that the latest shortage is now kitchen appliances - blaming the chip shortage as a reason to stop you making chips! Bosch / Siemens (which is naturally what I am getting) appears to be one of the worst - our supplier quoted me Jan / Feb - maybe.... Mad dash on the internet and I managed to get all 8 appliances albeit from 5 different suppliers. This lot arrived yesterday hence the panic!
 2 points
 -
This^^^ I too fail to understand this. If you are putting UFH pipes into a massive slab the only place I would not put pipes is next to wastes or where you plan on fixing into the floor. Any parts of the slab which are unheated will just suck heat towards them so the whole slab will eventually reach an equilibrium of sorts - maybaswell put pipes in to speed this up.2 points
-
I went this morning just to check out the glazing suppliers. I wasn't expecting much so at least I wasn't disappointed. It's only 20 minutes drive from me anyway. But I agree about the lack of vaccination proof checking, especially since the organisers sent a warning email a couple of days ago.1 point
-
Very interesting post Marc we are meeting up with friends and going to the Harrogate show They sent us a reminder saying we won’t be allowed in if we forget our vaccine certs I said it’s unlikely that anyone will be bothering to check While I don’t hold much faith in masks Sensible distancing and showing your vaccine status on your phone would t be difficult1 point
-
But it should be thin joint.... this looks like an apprentice has had a go?1 point
-
Are they Ytong 650’s as they are longer than a normal block. If that’s inside face then it’s crap - ask for it to be pointed and full perps as that’s about as sealed as a seive…1 point
-
This is so wrong on many levels, I don’t doubt it but there should be local policies dictating what is acceptable. I think every time a planning appeal goes against the planner they get a black mark, too many black marks and they are sacked ?♂️.1 point
-
Not nice mate - hopefully this crew aren't proposing to do any facing brick for you? This is my internal block if you want to compare.
 1 point
 -
Triggered an idea for an extension of that detail to protect the non-joisted part of the first floor void. In addition to polythene or similar to replace joist caps, drape another length of membrane across the top of the wall from one joist to its neighbour. Overhanging the inner leaf on both faces. Then after ceiling board and floor board installed, pull the overhangs in and tape to the respective boards, as well as to the airtight membrane or tape at the respective wall junctions. Treating the entire floor void as a quasi-joist. For those who are constrained to have no more than plasterboard on dabs. The tonytray does all round1 point
-
If the cap, aka eyeless, leather mask with zips fits...1 point
-
Old nails might have rusted?1 point
-
A mechanical mortar gun which works like a giant mortar syringe is one possibility, trouble is these require a wet mix and the whole job becomes messy. The other option is to us a thin pointing trowel but this is a fiddly job on the vertical perps. With my brickie team this was a 2-stage job. First is the usual extra 3 seconds a block to butter the end with mortar then the brickie's mate went around pointing up both sides of the block wall within the hour and filled in any voids. The cavity had a rougher finish but was still better than your example.1 point
-
I have watched the ufh pipe installation at a neighbour's house and concluded intricate layout plans are a bit theoretical when it comes to fixing down the pipe from the reel. The plastic pipe seems to have its own idea where it should go.1 point
-
Until reading this thread I was planning to omit ufh pipes below fixed kitchen units. I still think the idea has merit where the counter top is along the boundary of the room. Given the 600mm depth of a counter and the need for pipes at say 200mm for an even floor temp, this suggest a useful temperature gradient under fixed kitchen units when no pipes are present. Skipping ufh pipes under an island is another matter.1 point
-
You balance all the rooms by adjusting the water flow rate through each of the pipe loops with the aim being to get all the rooms to heat up at roughly the same rate. I omitted pipes under the kitchen units and in particular none under the fridge, but i did not compensate with changing the spacing, normal balancing was all that was needed.1 point
-
Don’t call him a freak! Fixable from outside, tower would be best, should not let wet in.1 point
-
Had a bit more time to look at the futures markets. Last summer prices were around 40p/therm. A therm is 29.3kWh. Thus the wholesale price of gas was around 1.3p/kWh. My fix was at 2.1p. So basically 0.8p above the cost of the gas to account for transmission costs, overheads, hedging costs and profits. Thus we can probably use a rough rule of thumb that the price to a consumer is going to be around the wholesale price of gas plus 1p/kWh. The spot price hit 241p on Friday. The November-February and Q1 22 futures prices are all around the same. Thus if you had not hedged your prices by buying in the futures market last year, your wholesale cost of gas in the next five months would be 8.2p/kWh and you could have to price gas at around 9p/kWh to breakeven. This compares to the current cap of around 4p! The summer and winter 22 prices are around 120p. So you would need to sell gas at around 5p/kWh. Just a week ago these prices were around 25% lower so you were looking at 4p. If I took out a fix today it would be at about 5.5p to the end of next year which aligns with this. The 23 price is around 80p and the 24 price around 60p. Equivalent to 3.7 and 3p per kWh to consumers. All these prices have increased by around 1/3 in the last week. 24 months fixes also seem to be priced at around 5.5p/kWh. This is not a good deal looking at the 2023 future. You could lock in a price of less than 4p for 2023 in the futures market. As i say futures markets do not act as you might expect. Theoretically they should be the price that you expect something to be at some point in the future. In reality the biggest driver is what is happening today and futures markets go up and down based on this albeit with less volatility than the spot market. If you wanted you could of course hedge your own gas price using the futures markets! Not something I would recommend and this is a highly simplified example and there would be all kinds of things to take into consideration such as financing costs and matching the contracts to your actual usage. For example you could buy 75000 kWh of 2024 gas at the current 60p/therm price. This would cost roughly £1500 today. If gas prices do not fall and are still 240p/therm in 2024 then you would make a profit of £4500 and this would offset the increase in you gas bill. On the other hand if gas prices went back to 40/therm then you would lose £500 on the futures but gain from a lower bill. Basically you could locking a price of about 3p/kWh today (Note you could have locked in closer to 2p a week ago)1 point
-
Great progress and a really nice tidy site.1 point
-
Wow, no hanging about. Are you trying to be in before Christmas???? Btw very tidy…is this down to your contractors or you sorting stuff out every day? Really, looking great. So jealous1 point
-
Thanks for that, I hadn't considered a non-Loxone option for the forecasting. My (house's) unusual proportions exaggerate the benefit of circulating the UFH. All habitable space is on the ground floor and due to the depth of the building (previously a cow-shed) we have a few rooms that have no direct light, so with those as well as the North-East and North-West elevation getting no solar gain we have less than a third of the area "benefiting" from solar gain. On the South-West and South-East elevations we have lots of full height glazing. This side of the building therefore over-heats quickly, and the rest is unaffected, so circulating the UFH triples the size of energy store available to the solar gain and helps equalise the building temps.1 point
-
Why design for a higher target temp in the kitchen than the living room? I would want the reverse. The layout pipe patterns are far too fussy, any UFH installer will laugh at your diagrams and run the pipes in simple repeating patterns.1 point
-
The Spacing to me seems to vary massively, kitchen extremely close, living hardly any? IMO Very bad. Also, I struggle with any in slab / in screed systems not incorporating the spaces under kitchen units. This is a thermal mass so will heat up anyway, or in my view draw the heat away for the areas you are heating. I personally use the whole area and pipe space accordingly. -- BUT I must be wrong as every designer do it.... Can anybody help me to understand why? Electric over floor heating I'm okay with1 point
-
I fitted oak Not as solid as concrete But certainly not squeaky You get what you pay for1 point
-
A well build wooden stair does not move or squeak, metal does not have to ring if designed well with vibration damping (small welds in strategic places to pre stress the members). precast concrete is bulky and ugly but a bespoke cast-in situ stair can be really cool and slender/interesting.1 point
-
Metal stairs clang unless very thick, even with carpet. Concrete stairs are very unforgiving to fix, so everything has to be exactly right. Plus, unless this was only one manufacturer, precast stairs are made to standard sizes, and they get tilted to fit. Then fixing rails is hard work. In a house, steel (if not wood) In a public building, concrete.1 point
-
Wood is onky squeaky if its built rubbish.1 point
-
Personal choice but I like metal, less bulky plus I like the industrial look.1 point
-
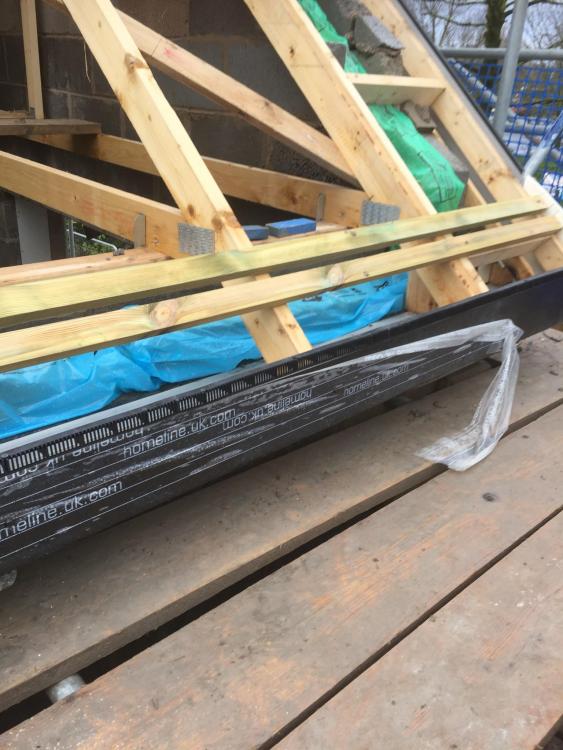
First floor starting to take shape1 point
-
1 point
-
I had a planner like that, went to appeal and won hands down, appeal officer even told her she was not abiding by their own policies ?1 point
-
I am planning to use 125 & 150mm rigid duct so would be interested in any excess pipe ? Thought about Y connectors and 45deg runs but threading through posi-joists at an angle doesn’t look feasible.1 point
-
tonytray ?1 point
-
It’s normal to put cavity socks around the perimeter of the building at wall plate height Simply push them in a dpi tire with a knife
 1 point
 -
I blame bad weather on wind turbines, I’ve noticed the turbines are never turning on nice still days so they must be causing the wind. …. Can I have some funding to study this please.1 point
-
Also worth looking this side of the Irish Sea- Leadon, Kilbroney, Kudos, QTF etc1 point
-
I have a Scotframe house. It is relatively old now (ordered 2009) but I don’t think the noise levels are any worse than living in brick and block houses, that I’ve always owned prior to this one. Heat efficiency I will pass on as I have had a ‘few issues’ with my heating let’s say . We went for Supawall from Scotframe which at the time was their top insulation but times change and they do a different version now that is no doubt a lot better. Go for the best insulation you can.1 point
-
That’s interesting, sounds like it’s carbon neutral ? ... on that note, I’ll get my coat ....0 points
-
0 points