Leaderboard
Popular Content
Showing content with the highest reputation on 11/08/18 in all areas
-
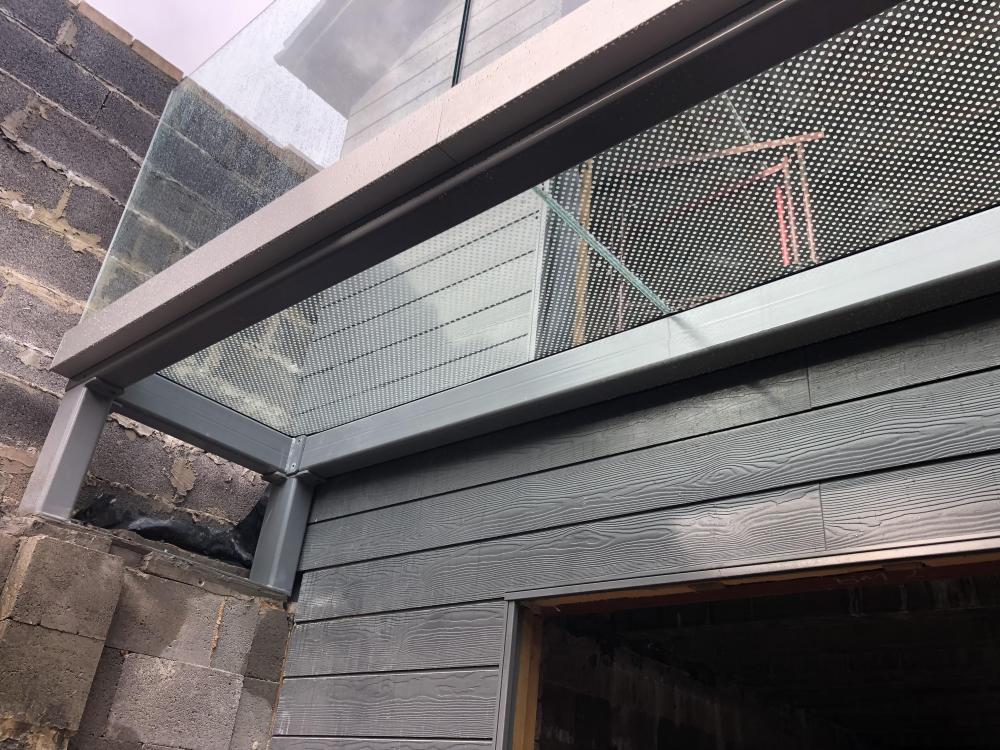
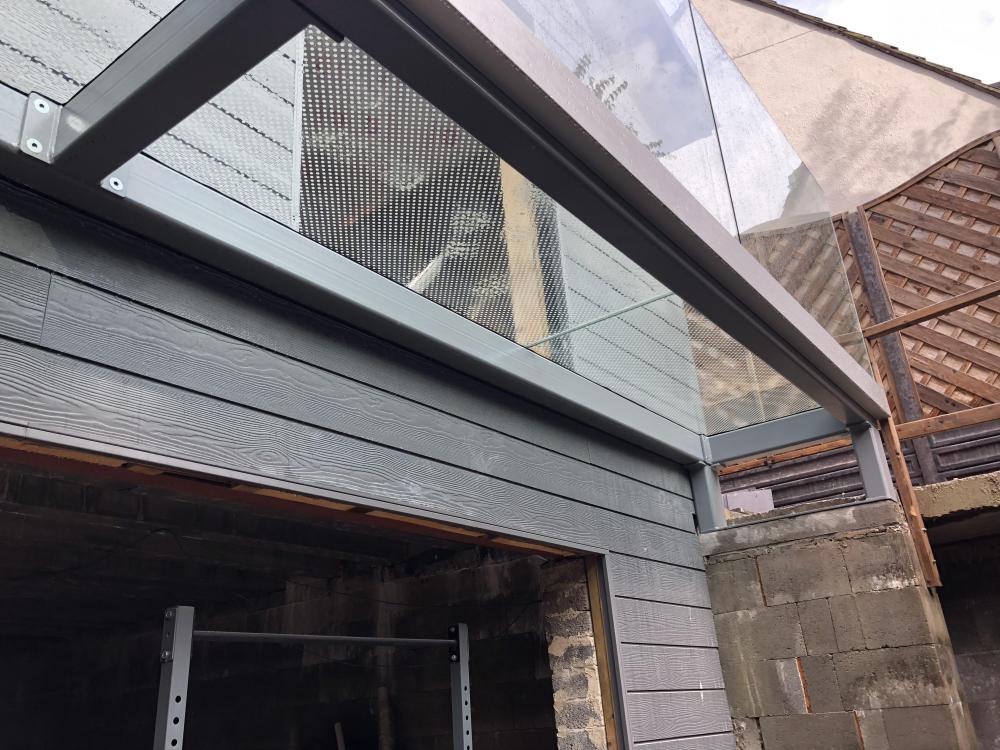
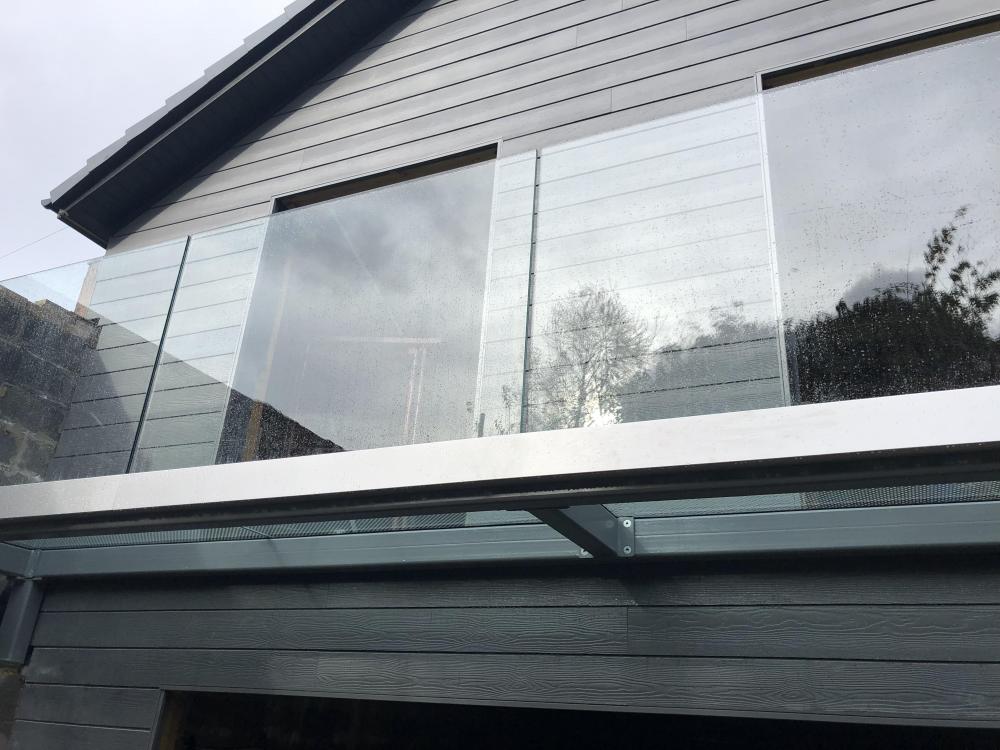
Our flat roof guys have been great. Though they worked very short hours compared to MBC (doesn't everyone). With a flat roof you apparently need at least 18mm OSB to lay the roof membrane onto. The standard MBC spec is less than that for a flat roof so we had to stump up some money to upgrade the roof deck to 18mm. We have three different roof decks. Here is one roof deck with the roof lights (more on those in a separate post one day). The upper roof deck And a view of the lower roof deck and garage Some lessons learned: OSB is not weather proof despite assurances from MBC that it would be OK. It holds out for a short time and then water floods through the joins. It was a pretty sunny summer. But the downpours were bad. Wish we had plastic sheeted the whole roof. To be fair to MBC, the house is fine (as they said it would be) despite being flooded more than twice. However, the stress for us, and the clearing up, could have easily been avoided. We insect meshed all the gaps before the roofers started. The parapets are edged with this smart design. We drilled some drainage holes through the parapet walls for the roof drains. Burned out the drill. Got that as a wedding gift 18 years ago so him indoors was delighted to upgrade. This is the membrane going down, on a felt underlayer. And the finished look (though the front of the garage isn't finished and can't be until the render is done). Learned from the building inspector that we don't have a high enough upstand on this roof / door combination so it will likely not get included in our warranty. That was news to us and is one of the issues caused by not keeping on our architect. We have definitely missed stuff like this so could have probably avoided a few problems. So that's it. Probably one of the easiest bits of the build so far. However, we still made some cock ups like not allowing enough space to fit a window into an L shaped corner area. This is the view from above and the window has to sit on the OSB bit. Unfortunately that bit of roof sticks out a bit far. We had to trim it on site and the roofer guys are going to come back and fix it another day....... A big lesson for us has been the ability to fix things on site. Doesn't stop me losing sleep over them, but I think I am losing less sleep than I was over the "problems".5 points
-
I had purchased all my tapes from Passive house systems and found them great to deal with. When I realised I had not ordered enough I contacted them to ask if I could purchase one more roll and could they look at the postage as it would make it a very expensive roll! Not only did they apply the discount I had received in the earlier orders they posted it free of charge. ( I have no connection to this company)3 points
-
He says Honeywell above. I'm only asking as I've one (a Honeywell) to fit. I'm going to run it on the bench so I make bloody sure I know how it ports.2 points
-
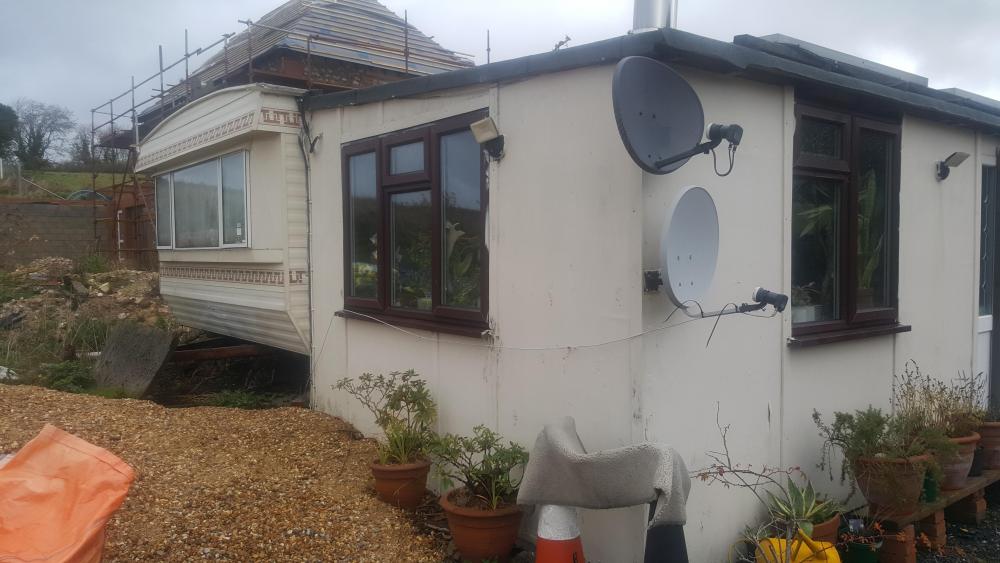
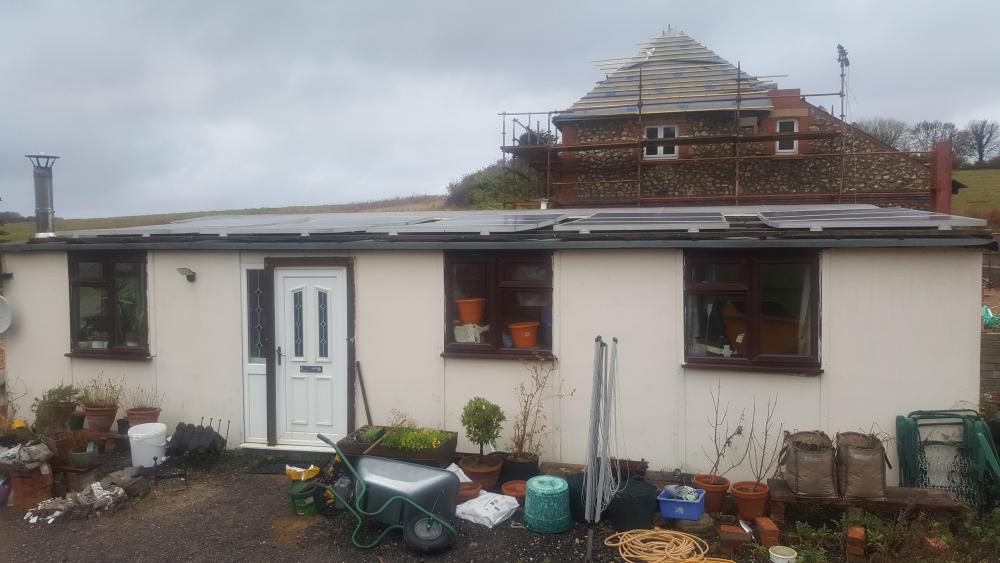
I cried a few months back when rain was pouring through the unsealed roof deck, soaking through the first floor boards and then building up to over 2 inches deep on the whole first floor. I cut my scalp open on a scaffold bolt as I was desperately trying to bail out the first floor faster than the rain was falling. All this whilst trying to "work from home" that day. After throwing the bucket and the water out of the window opening, swearing alot, sobbing and yelling at my husband that I hated our house build I then pulled myself together and got on with the clearing up. A self build appears to be an endurance test of the highest order. You will survive and be stronger because of it. And caravan living has just taken on a bleak reality with the dark, cold mornings and the damp. I know how you feel. This will be our first (and only, hopefully) winter in the caravan. Already there have been days which have been depressing. If you can't get a weekend away then at least get an evening out of the caravan - some dinner at a pub / a trip to the cinema. Takes away reality for a few hours and that might be enough. Keep on going. You are nearly there.2 points
-
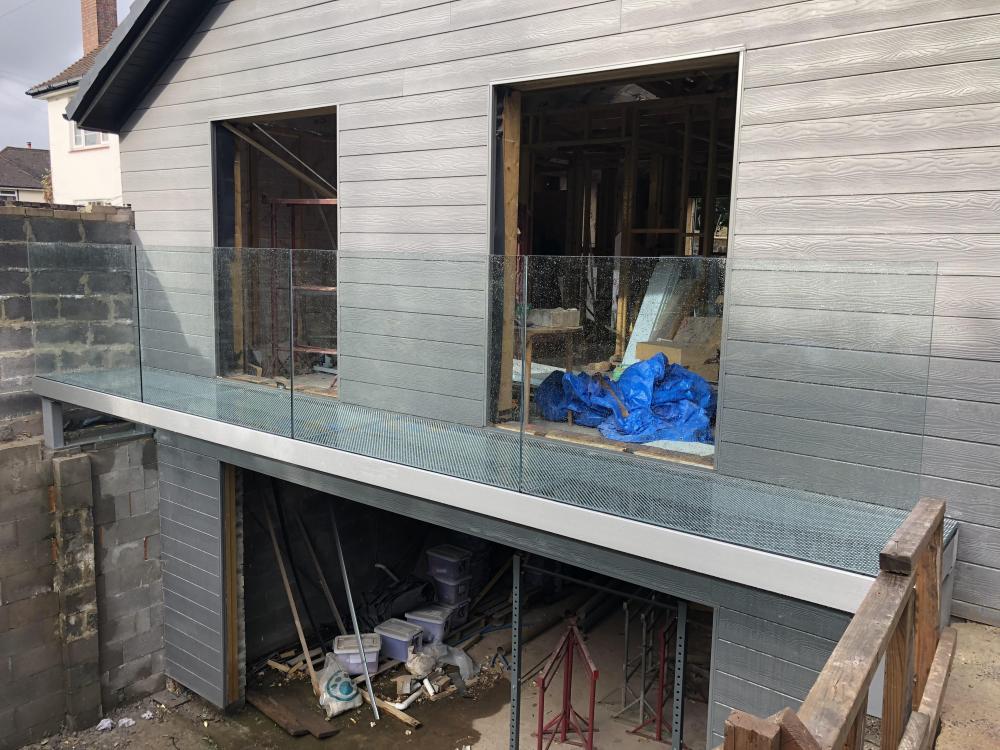
Looks neat with the trims around the openings. If it does get damaged by anyone you could use the downstairs dungeon to conceal the body.2 points
-
I decided to do a bit of digging around to see if I could find some reasonably well documented evidence to support the view that blown cellulose insulation was reasonably fire resistant when used in a timber frame structure. This video is old, but seems to show that it is significantly more fire resistant than rockwool/fibreglass, something I found a bit surprising:2 points
-
2 points
-
So it becomes clear just how seriously we take real science round here - Luddites the lot of you....all the fungus right out of it.2 points
-
Well ! It’s finally just about finished . Complete over haul 4 new ensuites new kitchen new bathroom new glazing loft conversion re wired re plumbed emergency lighting mains and battery fire alarm laminate flooring in bedrooms skimmed and decorated Too good to rent TBH Piccys tomorrow!!!!!1 point
-
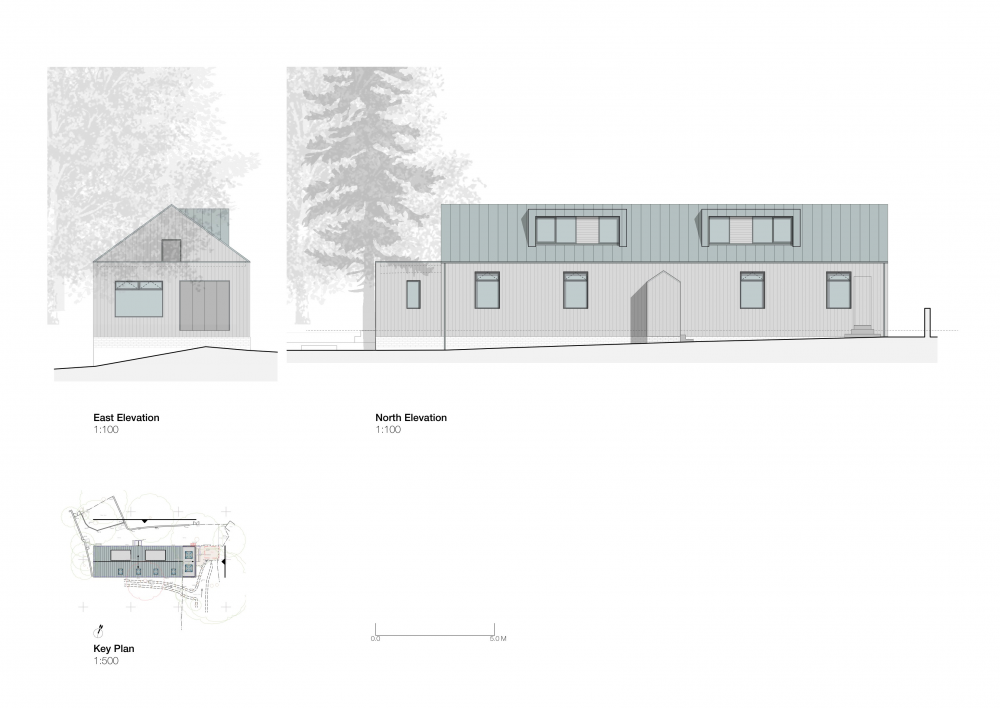
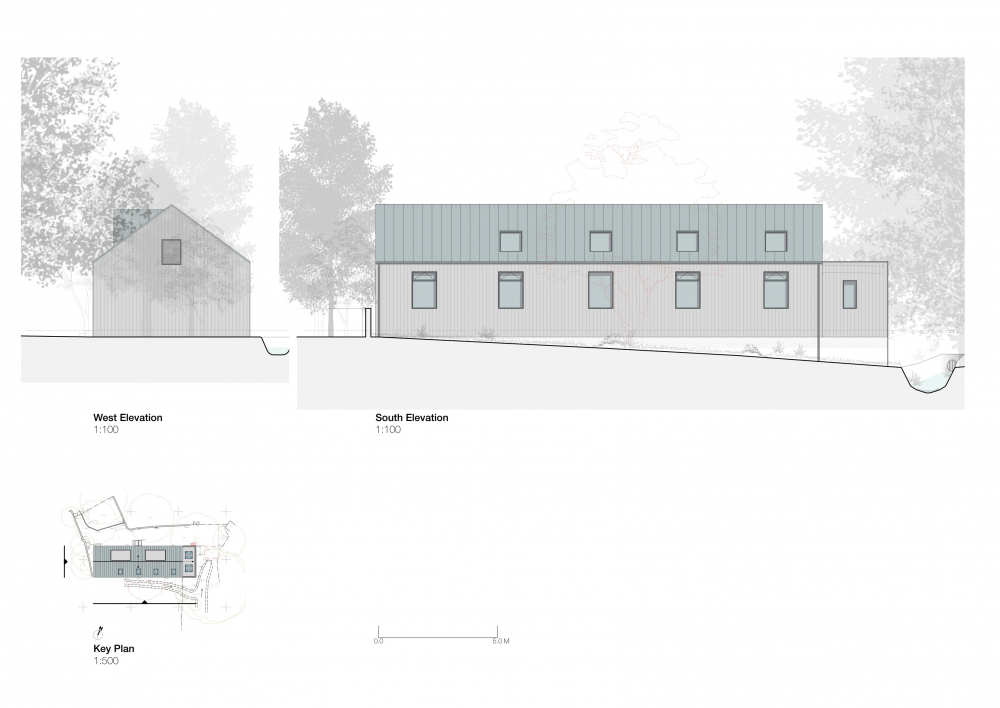
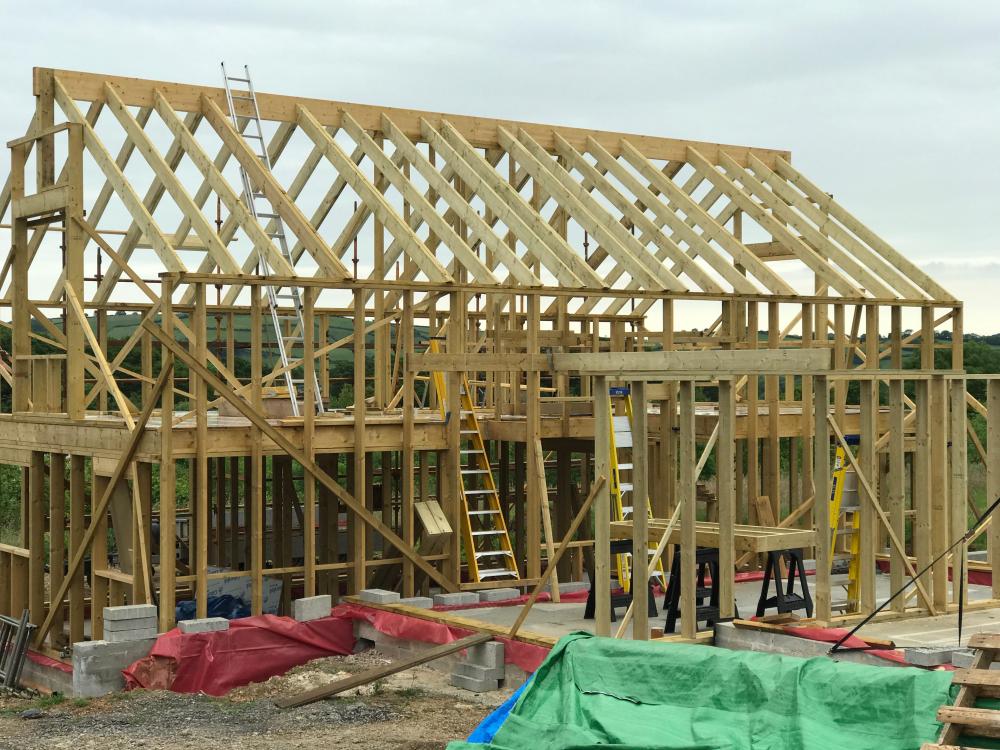
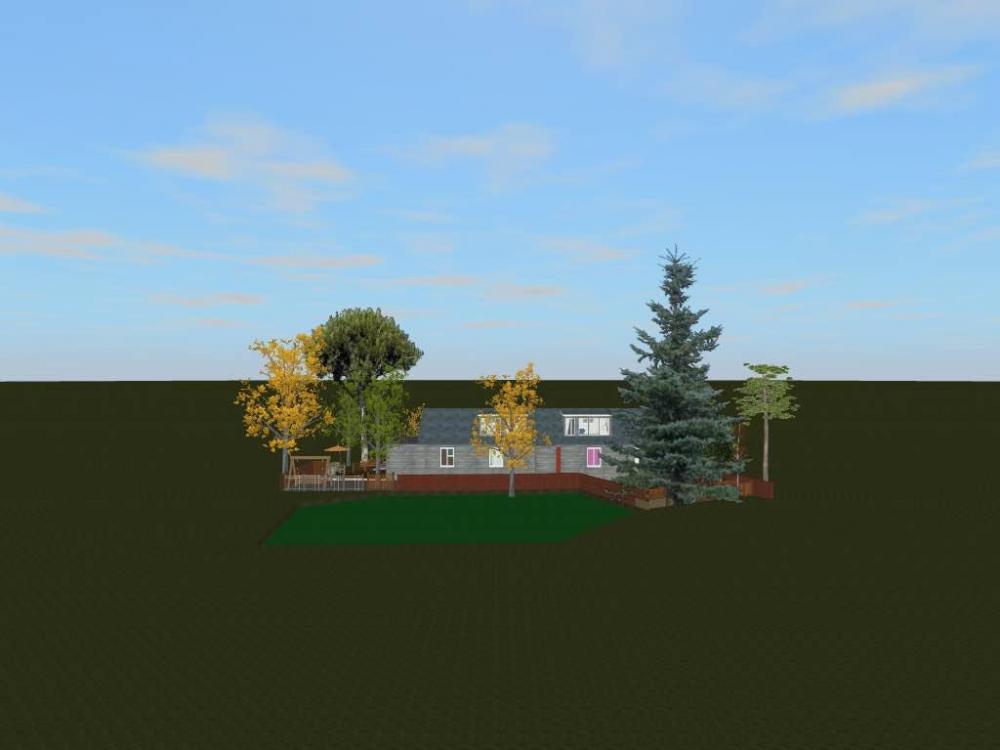
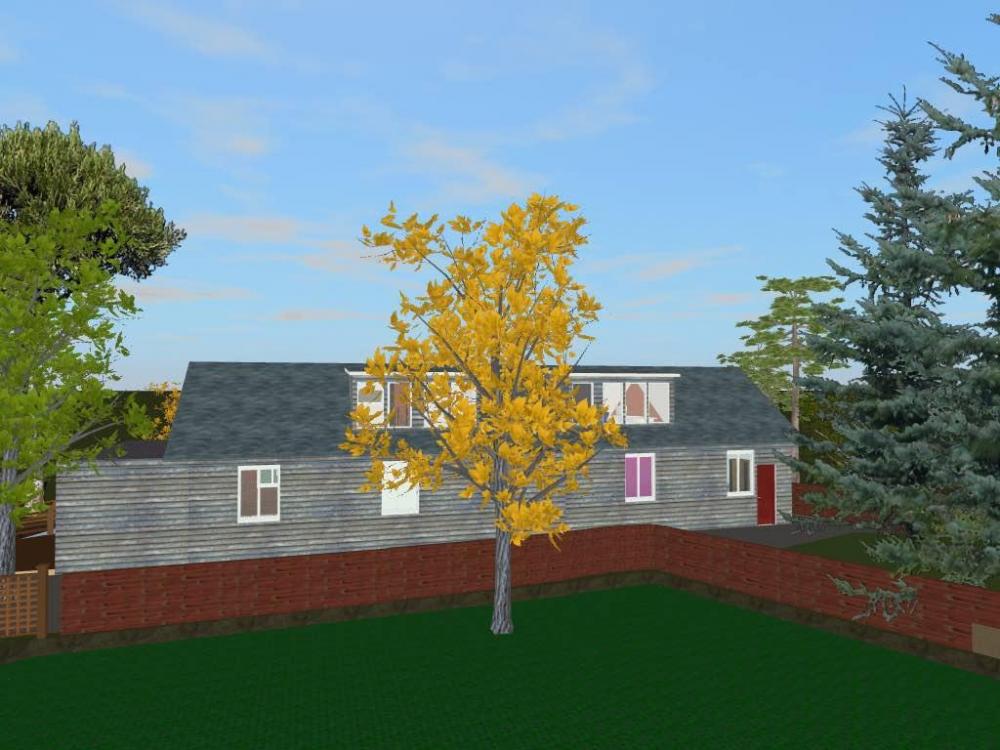
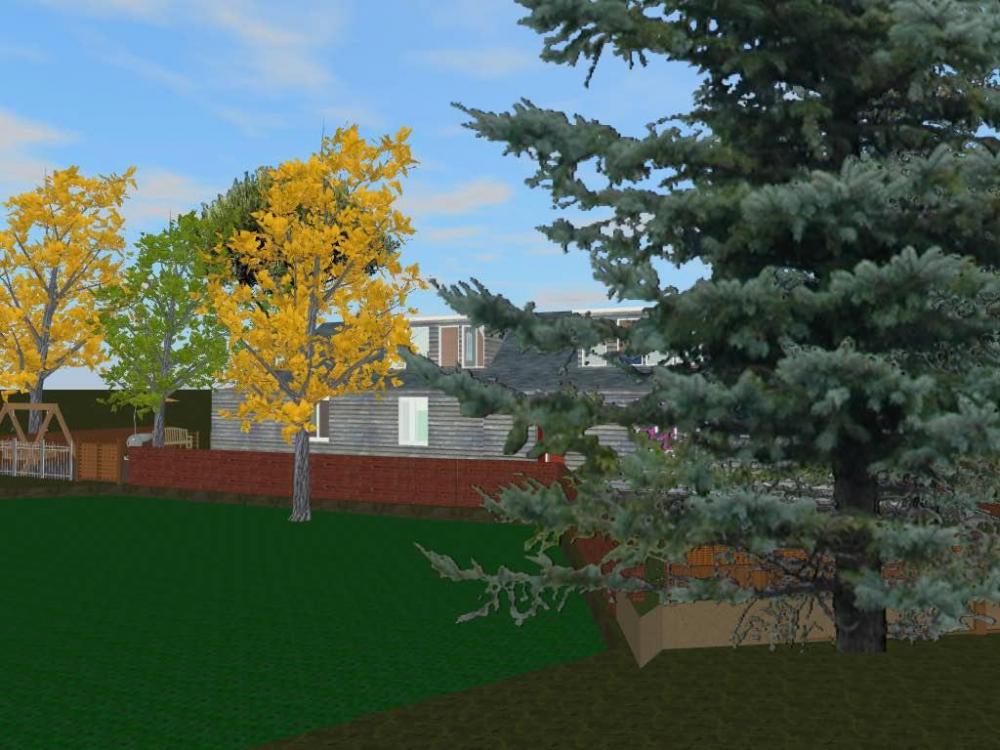
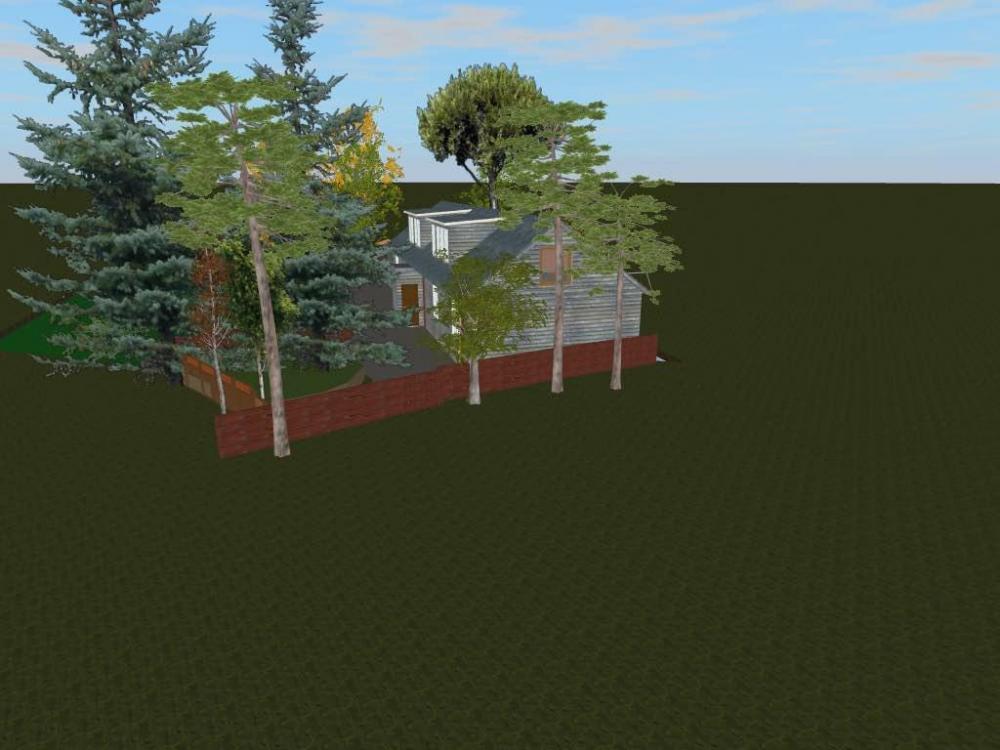
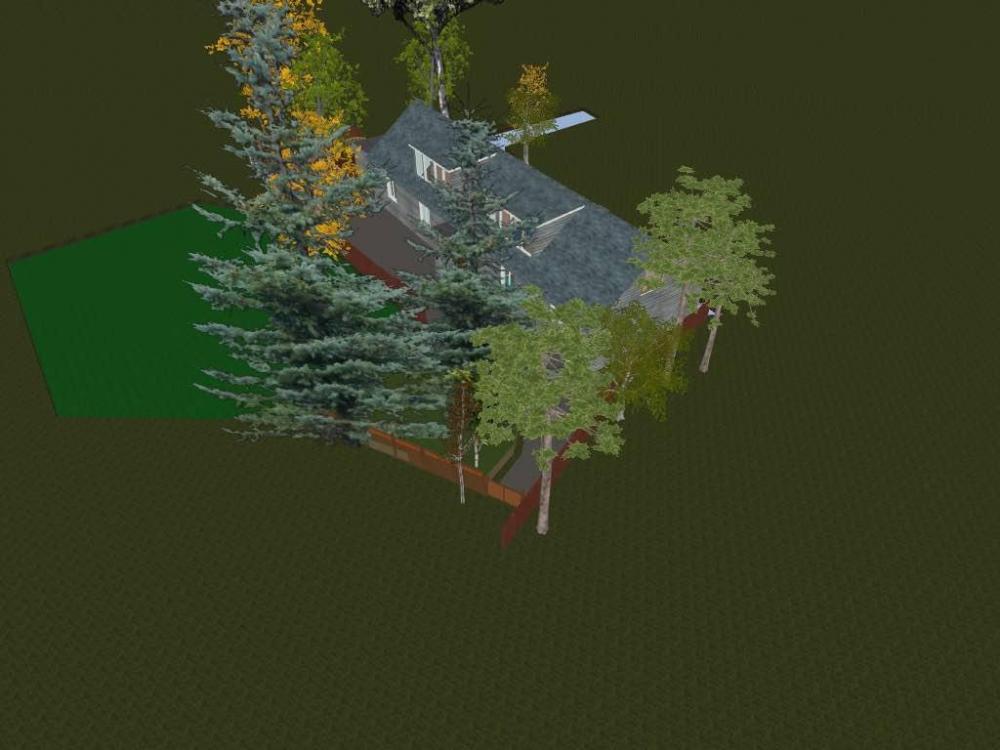
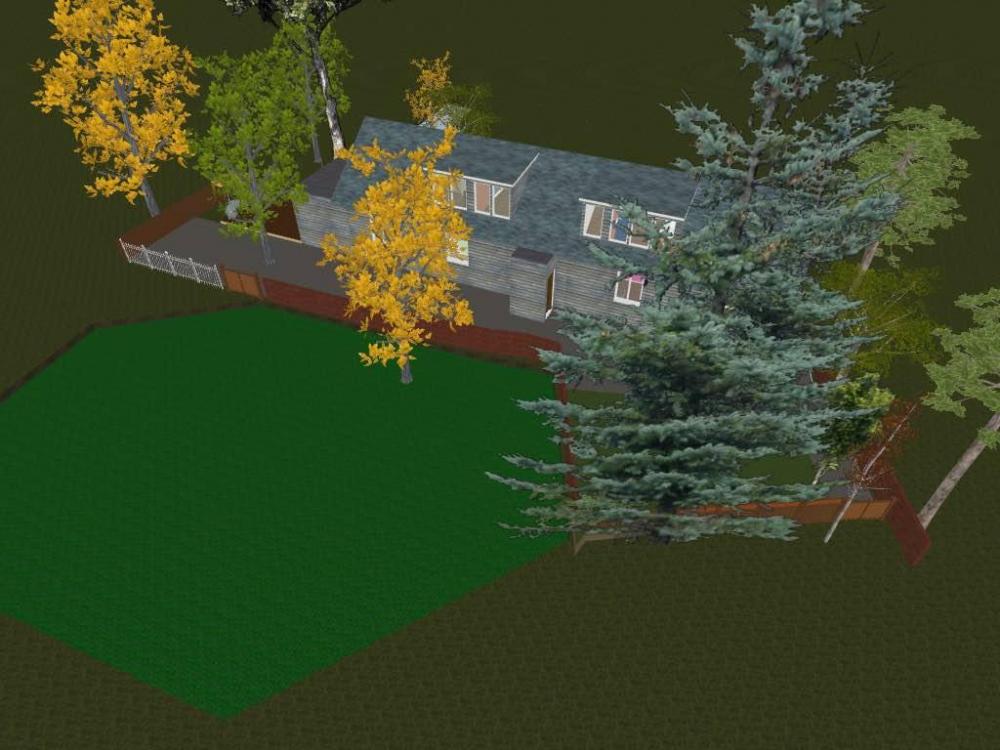
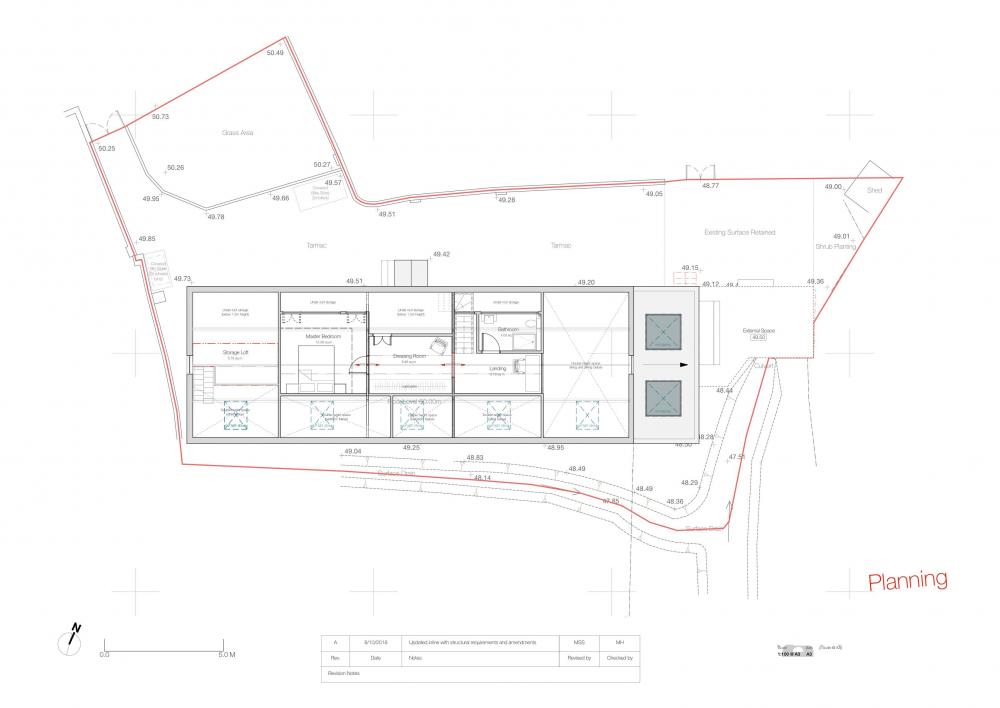
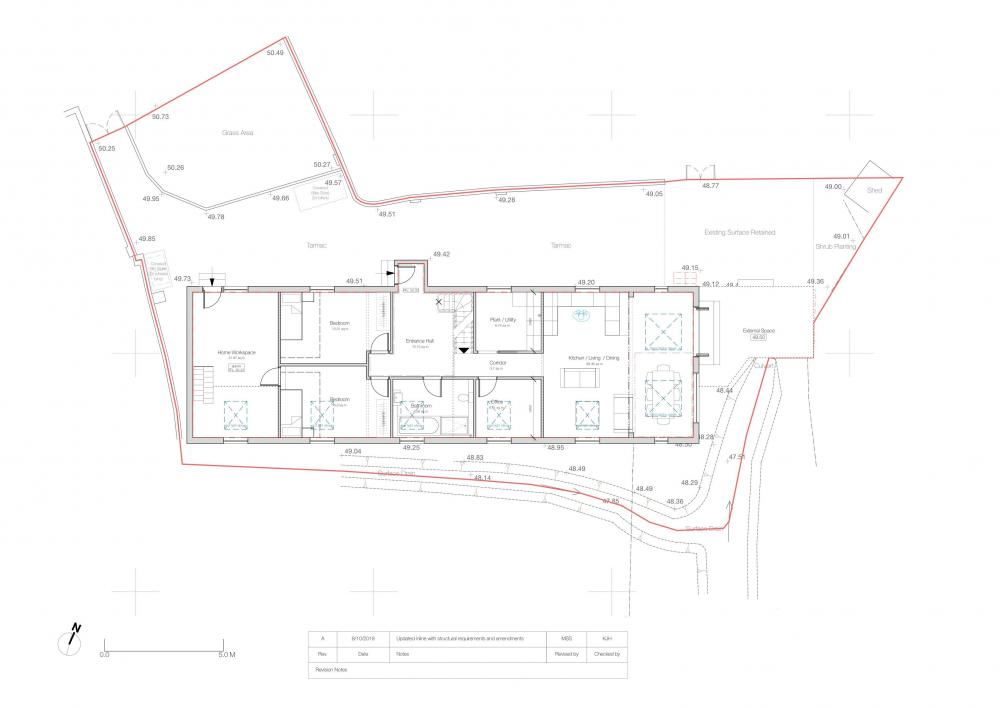
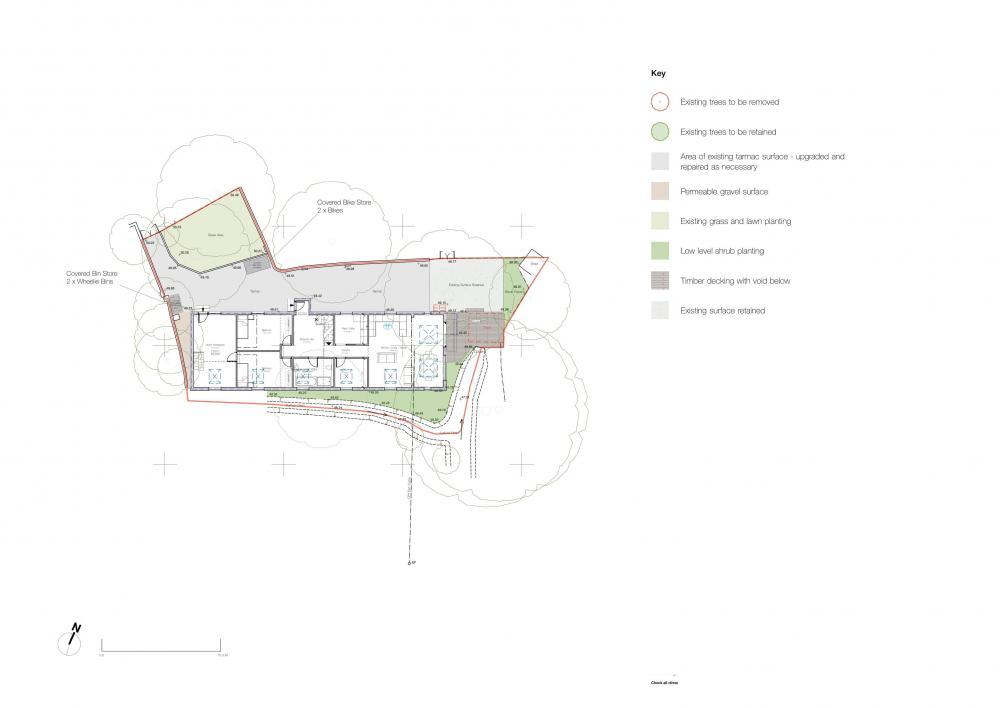
Hello everyone, I came across this great Forum through JSHarris Blog (which was quite an amazing read to me). The first time ever that I found really usefull information in bulk, as a lot of the Info about so called "self building" is really just customised building (I tell the architect what i want and how it should look like at the end and then just empty a wheelbarrow of cash in front of his office every week) . My approach to building my own home is a little different, as I am German and as far back as I can remember I never heard about anyone buying an off-the-shelve home ( whats the point of someone else building YOUR house ) . That s until I moved to the UK, where it is the other way round (why would anyone go through the stress of building their own home if you can buy it off the shelf) . I hope I can learn bits and pieces here and also ask a few questions, as a few of you seem to be quite experienced and knowledgeable. It is always good to have advice from people who have done similar projects as there is a chance of avoiding costly mistakes here. So here I am , bought myself a plot of Land (came across it by accident, driving through the countryside in Wiltshire) with an old Timber Shed on it.(Shed is not quite the right word, as its footprint is around 130sqm) Wanted to renovate the Timber buidling (It s an old Assembley Hall ) and planned everything until I discovered that the foundations are too poor. So now I will have to knock the old down and build new. Which is an advantage somehow as I dont need to stick to any restrictions from the shape of the old building , but unfortunatley this will cost a fair bit more money (apparently Foundations are really expensive ? ? ) . The House going to be a 1 1/2 Storey Bungalow-Type 3 Bedroom with approx. 160sqm which we will try to build as energy efficient as possible on our tight budget.(We meaning Wife and Kids , although not planning to use the Kids as Labourers just yet ?. It will be Timber frame, but unlike so many of you, I do not have the option to use a Kit (or SIPs ) , as there is no access for a Lorry, Crane or even a Van within 50-60 meters from the site. So it will have to be built on site (oldschool) . I am now looking into the details of how to get construction Plans together (not really Building regs, as this is not that difficult to figure out) for the actual building to start. Most guys here that have done a House themselves have used a Timber Frame KIT and where provided with Construction Plans by the company or, alternatively had these done by their architect. The Problem with Architects is(as discussed elsewhere) , that they are quite expensive and on top of that rely on others to work with them (Structural Engineer) to make the plans work. Quite a bit of information for an introduction post so i stop here and just leave it with some drawings and models of the House .1 point
-
I would assume worst case and work on the basis of 9 inch solid walls. graphite EPS is the way to go, better R-value than rockwool. And I agree with @gravelld , rockwool below DPC I think would be a bad idea, not sure I saw any systems which specified it. I reckon it would not like getting damp and would hold water in damp conditions which EPS would not. I remember the wool batts i left out in the rain, went all soggy and took weeks to dry. EPS needed a whack to knock of the water off and wipe and was dry, didn't seem to absorb or hold water to any degree. I think the retrofit standard in EWI work is 90mm or 100mm enhanced EPS to give a BC acceptable u-value of 0.3 over 9 inch solid walls ( you would need thicker wool to achieve the same). But it's relatively cheap to go thicker with the EPS if you can. Where it gets fiddly is at the eaves and gables if the roof doesn't overhang sufficiently to allow the walls to be built out. Also there's a point where the window reveals start to get really deep which might affect visibility and light. I re-roofed so fitted new gable rafters and extended out to allow for the thicker gable walls, and my eaves overhang was already sufficient to allow the EWI.1 point
-
1 point
-
I've no probs wiring it up just this thread made me question whether Honeywell is wired/ported different to the Tower one in at the mo. I tell you what you can tell the quality of Honeywell compared to Tower. Streets ahead right down to the tinning on the wires and documentation. I'm a convert!1 point
-
1 point
-
1 point
-
I am just about to pay for our Eclisse pocket frames. Planning on fitting them ourselves - there is a you tube clip that makes it seem so quick and easy. I bet it isn't but by the time we get to the fifth one we ought to be alright at it. ?1 point
-
This quip from @jack deserves to be crowned champignon I think.1 point
-
1 point
-
The ASHP will modulate down, then turn on and off as required to maintain the flow temperature at 40 deg C. In practice this isn't a problem at all, as there is hysteresis on the ASHP flow sensor, so it won't turn back on again until the flow temperature has dropped a bit. I don't have any controls on mine - if the UFH is calling for heat the heat pump is just switched on and runs at 40 deg C, modulating or turning itself on and off as required to maintain that flow temperature. It's no different to a combi boiler, they control temperature in a heating circuit the same way. If the room stat calls for heat the boiler turns on and heats to the set flow temperature, then modulates down to try and hold that as the heating demand drops, then turns off until the flow has cooled a bit before turning back on again.1 point
-
To get things “going” I forced it into DHW mode but because the three way valve works backward it successfully charged the UFH buffer tank! And finally appeared to get hot. ?. I have changed the water temp (heating) to 35’ and manually set the three way valve open so will see if it heats the buffer when it’s temp drops. I am leaving the DHW tank on immersions as I will get it in the neck if SWMBO has a cold shower?. its the three way valve working backward that has foxed me, I have asked my plumber friend if he can spare me an hour next week to get his take on this. i am relieved however that my Ebay special ASHP is working and it’s just the controls that are playing silly buggers.1 point
-
?. No offence with the little comment about the Architects. I used one and he was excellent to do the Plans , but I feel like that architects use there time better in doing big projects then small self-builds. Not really a market here in the UK for this and therefore quite expensive(often) . In regards to the section-I do not have quite that- but got Elevations (see in this post) . We abandoned the Kit route not only for access - it is price as well . We will be sourcing our own Materials as Friend runs a Sawmill in Poland (quite a long transport-but then there is roughly a 50% discount compared to UK prices ?) Views are none existing. It s in the centre of a Town within a Park -Trees around it everywhere that can t be removed (TPO) and the restricitons to the building come also from Conservation officers and the location. So not quite "do whatever we like" but I m happy with the result . Also important - "Standard Glazing" cost standard money , while large Glass Fronts, windows and sliding Doors cost a fortune if you want them triple glazed with decent U-Value (already the Standard Size Windows with Triple Glazing make me cry whenever I see the quotes from UK suppliers) Main thing is that I will have a nice cosy, warm house not a drafty carboard paper box like the houses that your average Developer builds.1 point
-
I have Eclisse I am told they are fiddly too but was recommended to have this brand as they are better than others and the last thing you want is it going wrong in situ. There was also something about access if needed afterwards without having to take the wall out but would have to trawl back to find that detail.1 point
-
1 point
-
1 point
-
Work fine - take a bit of time to fit as they need fettling to work perfectly before you fit the outer panel work or plasterboard.1 point
-
Yes, you can wet spray cellulose to open panels fairly easily. Doesn't seem to have caught on here, but it's used elsewhere: I've used DIY spray PU foam to help a friend insulate the inside of a steel boat hull years ago. Not that difficult, but it does require a fair bit of practice to judge the expansion level. It's pretty temperature sensitive we found, so that when we were getting to the end of the job, when the interior had warmed up a fair bit, the foam started to expand a bit more and we needed to speed up the application rate. Even then we had to cut off loads of excess foam, we had dozens of sackfuls of trimmings where we'd cut the foam back to get it level with the battens that the lining was screwed to.1 point
-
You could do either but I think 2 skins with 100mm cavity would be simplest. With single skin you will probably need 140mm blocks and you would need to insulate internally or externally.1 point
-
Hi Ben I stick built our self build, about 300sqm. Biggest issue is time. With a TF company I gather you can be watertight within weeks but that comes at a cost. Ours was 95% watertight within months but over a year later still not done final cladding. Much pleasure to be had in stick building and easier to adjust / alter. Other factor is cost. My kit frame would have cost in excess of 85K where as half that for stick build. Have fun.1 point
-
1 point
-
Plenty on this but it’s pretty much you can bridge it regardless of what you use as none of them will promote damp1 point
-
@Big Neil with ICF the walls will be propped, usually from the inside, to ensure alignment during concrete placement. If you are intending to cast your joist ends into the concrete core all your joists will need to be propped as well. This could get very crowded! The other issue is ensuring no concrete leaks where your joists penetrate the inner leaf of the ICF. I've only seen a handful of ICF builds, they all have fixed joists after the concrete has been poured.1 point
-
1 point
-
Perhaps take the truffle to read the earlier posts next time?1 point
-
There’s not mushroom for many more comments before this gets locked .....1 point
-
1 point
-
1 point
-
I haven't read the BRE document mentioned above but there seems to be layer on layer of BS and ISO standards that cover this whole area. Googling eventually led me to ISO 13370 which in turn says that ISO 10211 has a "numerical method" for calculating the heat loss through the perimeter, and that ISO 14683 has a method using "tables" for doing the same (I think). I'm afraid I lost the will to live when I got that far.1 point
-
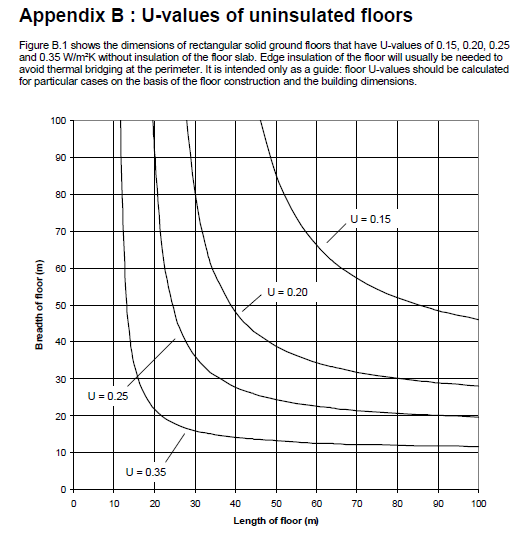
As stated the heat loss from a ground floor depends upon the size, shape, edge conditions and soil type. Best analogy I've heard is consider a ground floor like a bowl of hot soup - it will be cooler at the edges (=greater heat loss) and warmer at the center (less heat loss). This table from BR 443 may help - larger, square floors having a lower inherent U-value. With current levels of insulation in the general floor area (>100mm PUR or equivalent) vertical edge insulation has little effect on the overall U-value but is important to minimise the linear thermal bridge at the floor/wall junction (which is where BR 497 comes into play as guidance and standard conventions when using BS EN 10211).1 point
-
25mm of peripheral insulation will help a tiny bit. Thermal blocks still have a higher thermal conductivity than insulation, so don't wholly mitigate the heat loss. Adding perimeter insulation that extends below the slab level helps a fair bit, by increasing the heat loss path length as well as decreasing linear heat loss radially outwards from the floor. You're right in that there are a lot of variables that impact the real-world performance, but the BRE put together BR 497 to try and produce a standardised way of modelling heat loss paths that is "good enough".1 point
-
@Ed Davies is right, to get a true figure the interface thermal resistance needs to be accounted for, although for a well-designed slab with an insulated perimeter it's highly variable, depending on ground conditions, and in practice it doesn't usually have a significant impact. I did model it for our slab and found I had wasted my time, as the edge loss only changed the third decimal place of the total U value, and the tolerance in thermal resistance for all the elements is greater than that. The same may well not be the case for a slab with very poor perimeter insulation though, and there are a lot of those around. In our case, the entire perimeter of the slab has 200mm of EPS outside it, and 300mm of EPS underneath it, so the perimeter loss, even using the worst case thermal conductivity figure for concrete, and assuming that the edge of the slab would be the same temperature as the centre, was tiny. If you want chapter and verse on it then get a copy of BR 497 (it's expensive, though!) as that details all the BRE conventions for modelling heat flow for just about any possible building related component.1 point
-
The reason is that the thickness of one of the layers, the soil, varies across the area of the floor. The heatloss path is floor surface - soil - external air. Therefore at the edge of the slab there is little/no soil and the local R value is approximately the higher one. The area at the middle of the floor has the thermal resistance of a considerable thickness of soil and thus a higher R-value. The 0.14 U value is the weighted average of the whole floor. If you try using floors of the same area but different P/A ratios you will see the effect, since higher P/A ratios imply less 'square' shape which have greater exposed perimeters for a given area, e.g. the common perimeter of two adjoining semi's would not be included.1 point
-
The point is that the earth under the floor will provide some resistance to be added to that provided by the materials you lay on top. How much is very dependent on the properties of the soil (dry sand will insulate a lot better than wet mud) and also on the geometry of the house because heat loss has to go sideways. A round house (or, more likely, square one) will lose a lot less through the soil than a long thin one. This could all be calculated using finite-element analysis or whatever but in practice is it's approximated based on the perimeter to area ratio, as @PeterW says. Sorry, don't know the details of the calculation. But, I'm not sure that chart you quote is quite right. It gives “Ext surface” R = 0.040. That's the value for an external surface to air, I don't think it applies for an interface to mud and I think the value should be approximately zero. However, it's a tiny fraction of the total resistance anyway so will not make any significant difference.1 point
-
You need to use the P/A ratio which is the perimeter and area I expect the worksheet does that behind the scenes.1 point
-
1 point
-
Hi @kaygoo We are about halfway through a self build on Skye. Probably the hardest bit for us has been the delays in getting materials to site. I would imagine being in Jura this will be a little more difficult. Are you able to benefit from the Croft House Grant Scheme?1 point
-
I had 212m2 @ 350mm thick and 74m2 @ 250mm thick of Icynene which cost £9950. The 74m2 @ 250mm thick was in the ground floor ceiling. This works out at £107/m3 which is a little less than bissoejosh at £110/m3 but in the same ballpark. The installers had never sprayed a thickness greater than 100mm before so it took them a while to adjust. There was a lot of excess foam which I removed and disposed of. Icynene and the external 15mm OSB3 racking were the only airtightness layer used and we had an air test result of 0.47ACH. The effects of decrement delay and whether it is is important in a build requires a lot of thought. It is very difficult to model decrement delay and the effects of heavy shading by trees, windy weather, micro-climate or the construction of the build with vented air gaps in the structure will all have an effect. We did consider blown cellulose along with other types of insulation but weren't confident all the problems with sagging had been addressed.1 point
-
Relax. You'll know soon enough. Be yourself. Home ownership does not automatically confer a valid opinion on surrounding plots. Application for Planning Permission is one of the best ways I know of finding out what people really think. @JSHarris tells a simple story of how he did everything a reasonable person could do - consulted, listened, adapted ideas, spent a significant sum. But didn't know that one of his neighbours was just trying it on. How did he find our? Years later the neighbour told him. ( I cant remember where: probably here on BH, but maybe his own site ) My story is simpler. They hated the design, they objected (sometimes vociferously and very rudely), they wanted a duplicate of the other houses all round. Here's the whole story. Follow guidelines, consult professionals, and just do it.1 point
-
We are around 2.5k for 285 mtrs Like NHBC warrantees Unlikely to be able to claim As self builders they would just put it back to the builder ourselfs But As has been covered on several occasions a nessesary evil i had this conversation before starting our build With a friend who was just finishing his build He always intended selling But didn’t bother with a warrantee As he could get one retrospectively for around 3k Hes just sold and said it never came up and was only asked for the completion notice and SE reports I think when we last discussed this Russel pointed out what a waste of money they were If I was to do another self build I wouldn’t bother with a warrantee and add one later if I ever had to sell in the next ten years But then I wouldn’t have nice piec of paper telling me everything was perfect ?1 point
-
1 point





.jpg.c21f3ac78c9b7efd90cbdcb312744dc5.thumb.jpg.7adcad4c0e384f5ecd7d56b0618df6e5.jpg)

