
Leaderboard


Popular Content
Showing content with the highest reputation on 04/03/24 in all areas
-
Once you get to low outputs and flow temps below 30 or so you cannot notice. I didn't go under any kitchen fixed units, showers or baths, kitchen islands or beds. A Lot of the, "you better do this or that", only really applies to UFH installed in very high heat leakage houses and/or with little or no insulation below the pipes. Well insulated with heat output of 15W/m2 and below, you can do just about do any centres, any pattern, flow temp varies only by a couple of degrees.2 points
-
I think a combination of grinding and leveling is the best bet.. I did similar with mine. Where I had some edges of the slab needed grinding and then leveling out.2 points
-
All I can say is don't use Baumit. You can search the forum for my threads if you want to find out why.2 points
-
I'd echo getting a planning consultant to argue this for you and do it at the planning stage, rather than leave it to appeal. I think point 10 from that appeal is helpful to you ... note that an extant planning permission is in place, which I consider is a realistic ‘fall-back’ position. You'll want to argue that the semis were acceptable to the council and also to the appeal officer, and what you're doing now as a single dwelling further reduces intensification (fewer cars etc). A planning consultant will help you strengthen the argument to the planning officer that if they refuse now, they will lose at appeal. At least the officer is engaging with you so seems somewhat open minded - give them policy backed reasons to approve. At first glance I missed you'd lowered the eaves, perhaps lower the ridge correspondingly and give the bungalow to your left a bit more room - that would emphasise how much you've reduced the mass versus the outline of the original permission.2 points
-
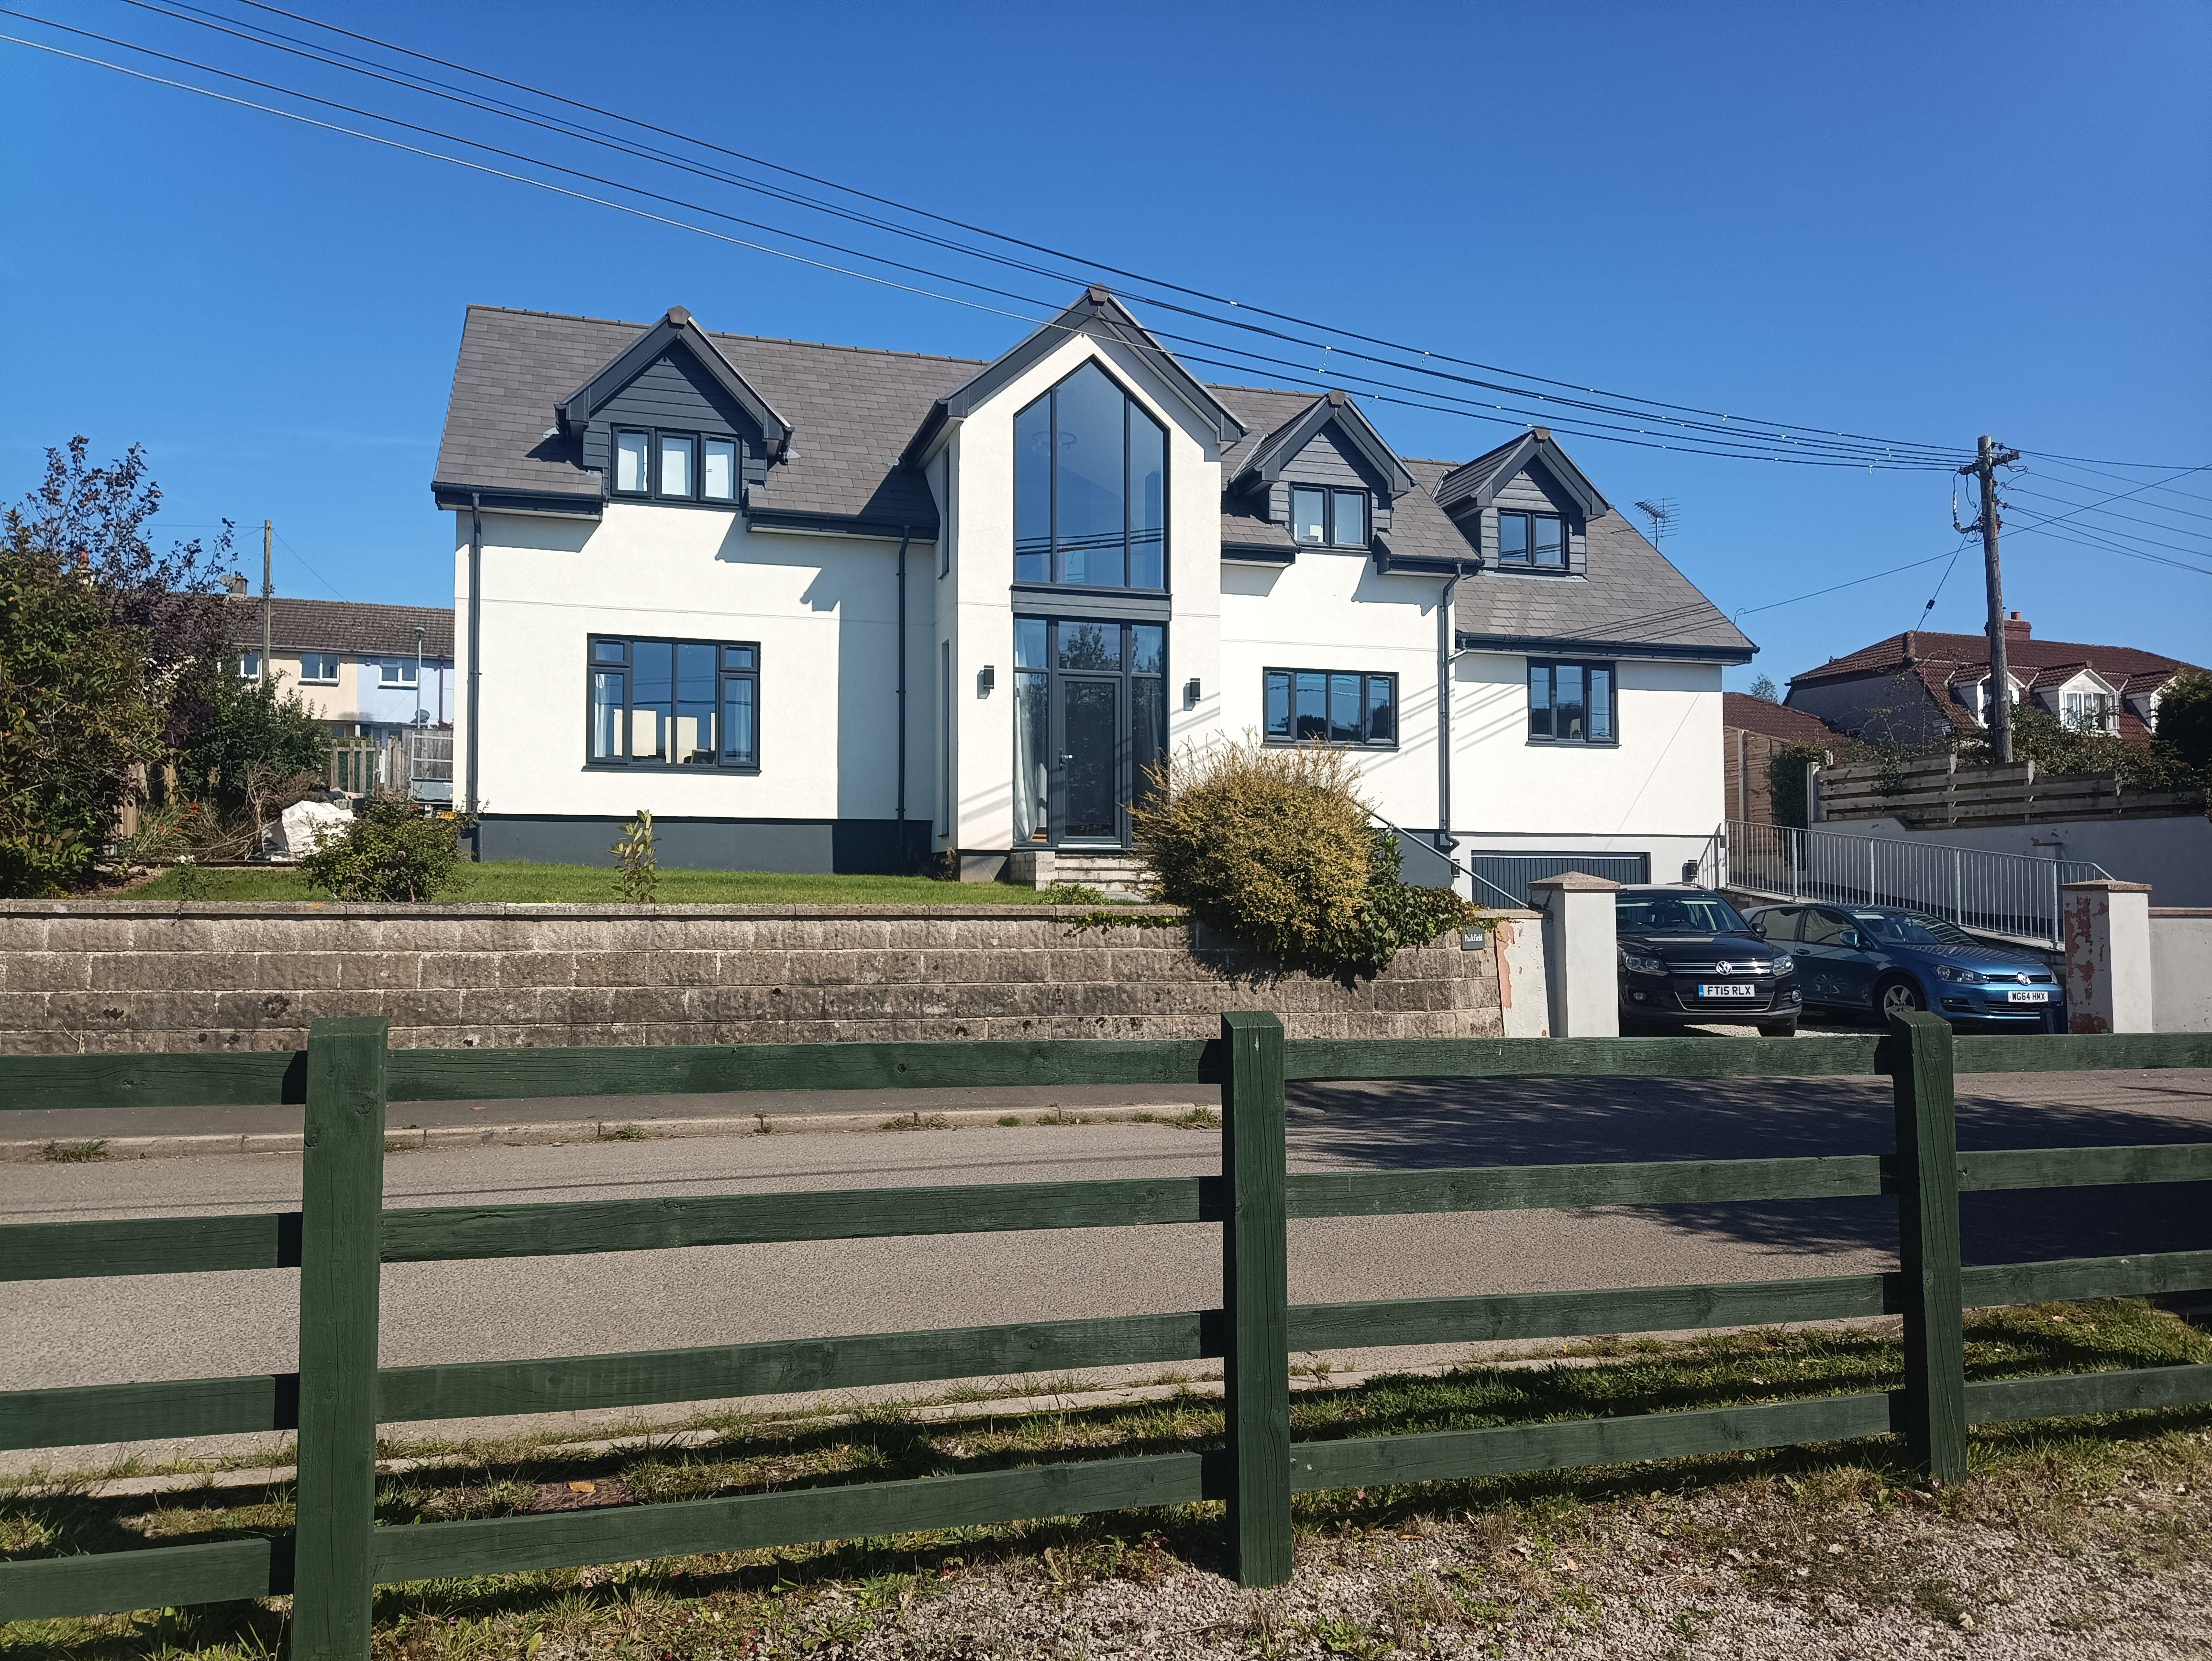
I used DJP Finishes based in Tiverton/Exeter area. They made a very good job of our house.
 1 point
 -
We used these guys, visit the showroom, they will accommodate modifications. https://harvey-george.com1 point
-
I have a Brink Flair 400 servings 5 bed house in a fairly highly polluted part of London. Although we are in suburbia we have several dual carriageways near us, and not far from a triple carriageway. When I inspect the filter, usually every 6 to 7 weeks, it is pretty dirty with the black stuff. I hoovered it for the first 8 inspections , and tried washing it with warm water once. I’ve just installed a new one, it being my third, meaning I had the first two for about 10 months each. How often should I: (a) clean; and (b) replace, the G7 filter though? What is best practice in a high pollution area?1 point
-
Can't remember. Renderer supplied everything. The part acrylic part silicone one. Bright white, thin coat, smooth finish.1 point
-
Yep, no delivery, and at the time I used the app and got extra discount but this is no longer available on solar.1 point
-
My plasterer used to cable tie a couple of plastic milk crates to his boots to reach the ceiling 🤷♂️1 point
-
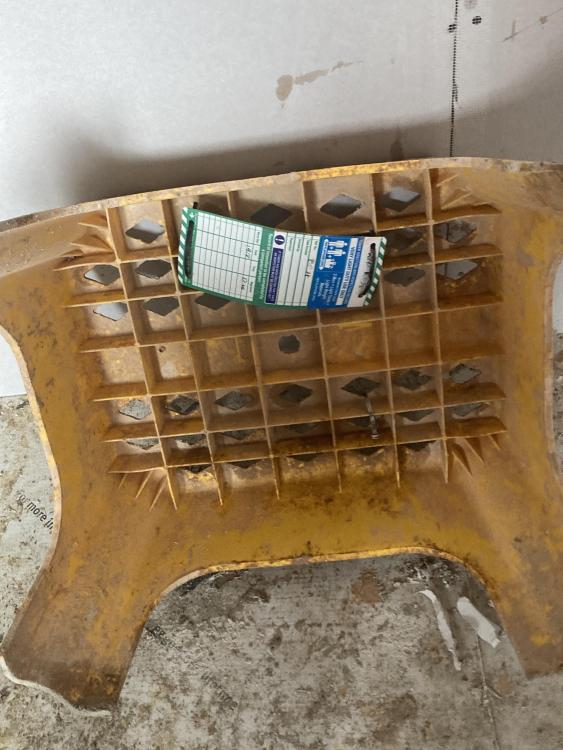
Since the photos were taken there has been a lot of traffic and debris on the floors and now its all been swept up the cracks are no longer noticeable. The cemfloor had fibres in it so I am confident it will hold together ok. When I get my laser back from the lads I will do a survey of the floor and if there are only a few high spots I'll try and grind them out with a stihl saw and see if I can get somewhere near.1 point
-
Members can petition @Andrew Jones directly via PM, please feel free to do so.1 point
-
The current bungalow As of now the planning officer has not shared what elements of the design are of a concern, he simply referred to PI comments and in favor of rejection. We have asked for more detail so we can address the concerns and compromise.
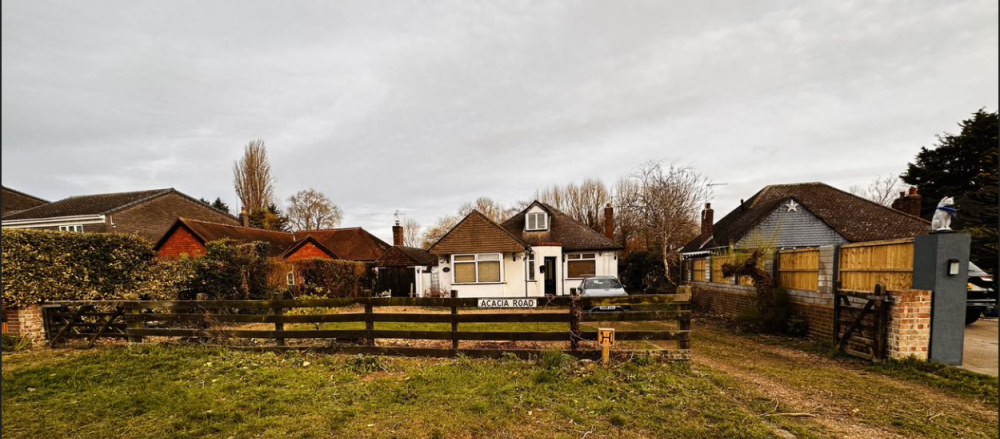 1 point
 -
Worthy endeavour IMO What is they say, Every Little bit helps.1 point
-
We have Sto and we're very happy, 2.5 years later still looks like new.1 point
-
I used a floor grinder to grind back the spalled surface in our garage before I laid an epoxy coating. It was surprisingly expensive taking into the account the wear charge on the diamond cutters. I want to say it was something like £800 for the weekend, half of which was wear, but I could be wrong about that. I'd have a word to a grinder hire company to find out the cheapest way to roughly remove high spots. It's not like you're after a polished finish. Also, some of those cracks are a bit unpleasant looking. Would you consider drilling the ends to stop them spreading, and filling with something like epoxy to stabilise? Another thought: are you certain you can't just cover the entire thing with self-leveller? Does it matter if the finished floor level is a bit higher? Are there any dependencies on that level that can't be adjusted to account for a slightly higher floor? Might be cheaper and easier than lots of grinding and localised levelling.1 point
-
There is quite a gap where the door opening is. Maybe it should have handrail and toe boards either side!1 point
-
Gravel grid will reduce the migration about 90% and is much more secure to walk on. It really needs to be crushed stone rather than beach gravel.1 point
-
Small round topped kerbing (sometimes called round top pin kerb) between the driveway and the gravel, installed so only the round top is above the level of the driveway - probably won't stop all of the gravel migration, but might reduce it.1 point
-
FFS. so glad I've moved to the Highlands where no one can see what's going on. This country is doomed1 point
-
Hi, we have just completed an extension, completely DIY with no previous experience. We used a building notice (it was permitted development) We read, interpreted and followed all of the new building regulations and we recorded every step on video so we could share the experience. We have video's on foundations, up to DPC, walls, cavity trays, wall plate, roof, doors and windows etc etc. It is all on our youtube channel with detailed explanations about building regulations. Have a look and let me know your thoughts and if you are a DIY'er like me let me know if it helps. Real DIY build - YouTube That is the channel 'Real DIY build' Here is one of the videos where we build a warm roof. Let me know what you think. Terry1 point
-
3 trestles and 4 planks.1 point
-
Also remember you'll need a good substrate to adhere the render to. Can't just go straight on the timber frame board.1 point
-
That’s H&S gone mad. The risk assessment should have highlighted that the risk of injury moving, erecting and dismantling that scaffold is far greater than the risk having a much simpler staging.1 point
-
Does seem a little excessive and expensive, nice to work from though1 point
-
I believe the most important aspect is who's applying it, the best render in the world aint worth s**t if it's applied incorrectly. Find a local firm and see what they recommend, they should get a specific spec from suppliers for your particular job. and by the way its K-Rend, who make different types of render eg Silicone, acrylic, monocouche etc1 point
-
Have you used a planning consultant to read the planning runes yet? Looks like the various decisions needs some subtle-ish interpretation. I also think that LPAs get a bit more real when they see a consultant, who is ‘one of them’ get involved.1 point
-
If anyone is in need of a good ecological surveyor in the area between Birmingham, Cotswolds, Milton Keynes, Oxford, Swindon, Worcestershire & Gloucestershire, PM me. I found a good one.1 point
-
Hello, plant room is 1.9m x 3m1 point
-
I would, and under the kitchen units too.1 point
-
Or, as @ProDave mentioned.. The permanent live for a smart fitting. Or like my fittings in the hallway and above my consumer unit, an emergency fitting that charges the battery up and when the permanent live drops out, allows an exit route, or lighting over the fuse board to flick the breaker back on1 point
-
It allows for 2 different switched lives and a neutral (plus earth) in the same cable this can then be bounced to the start of each string of switched fittings, or along all of them and just picking your fittings depending on choice. My living room has two central fittings on a dimmer and perimeter spots along the back and window walls. This gives 3 different moods from the same cable1 point
-
I agree it's very clear what the issue is............ Establishing if the issue affects CH is quite easy - just park yourself in front of the boiler when the house is up to temp and most of the TRV's have shut down. Observation is often the key to seeing whats happening - it's almost certainly doing the same - it's just with a massively elevated flow temp the recovery time for the boiler from the fault timer isn't taking a long enough time to cause the house to cool down because the rads that are still in use have to cool down from 82 deg flow temp and that'll take a while....... So the engineer has given an option that has been demonstrated to stop it happening - you don't want to take up that idea. The "agreement" of the engineer that is shouldn't need you to change your house heat behaviour and the boiler should be able to cope with how you want/need to live is because he recognises you aren't going to change no matter what he says, You are convinced it's the boilers fault - it's his "get out of the situation" because he is unable to educate you out of the issue. He knows full well WB wouldn't entertain replacement of the boiler for the situation you force the boiler to work under. To be blunt - it's a situation of your own making.1 point
-
Only if the beam contributed to the overall stability of the building, if it just supports the roof then no fire protection is required.1 point
-
Just did a DuckDuckGo search and clicked on the link1 point
-
I had originally taken that as 'walls with a 4" cavity'. I suppose it could also mean ' 2 skins of 4(and a bit?) inch brickwork, with a cavity (width unspecified)'. What age is the house? I don't *think* I have ever come across a 4" unfilled cavity. They tend to be around 2" or even less. (I accept that anomalies exist. If you do have a 4" cavity then with graphite EPS bonded beads blown in you could possibly achieve a U value (unadjusted for (e.g) bridging at cavity closures etc.) of under 0.27W/m2K, which is none too shabby.1 point
-
Hello! You might find you need planning permission for external wall insulation (EWI) as it will have to go under something, which will change the appearance. All of the window reveals would need adjusting. Cavity wall insulation would be ok, with caveats. Someone will be along to advise as I only have experience of 1970s retrofit which caused damp.1 point
-
If using only 6mm I would make sure ply edges between joists were supported (I.e. scrap wood screwed to both edges).1 point
-
And I thought the 2 lift scaffolding staircase I had was posh! (and very useful for getting stuff up to the top) Is it just me, or did they spend all the money on scaffolding so couldn't afford labour to mix the brick packs up thoroughly?0 points
-
No trestles allowed or ladders even have to weekly tag 450 mil hop ups 😁
 0 points


.jpg.c21f3ac78c9b7efd90cbdcb312744dc5.thumb.jpg.7adcad4c0e384f5ecd7d56b0618df6e5.jpg)


This leaderboard is set to London/GMT+01:00