
Leaderboard


Popular Content
Showing content with the highest reputation on 01/06/25 in all areas
-
I've two last major areas to details for air tightness and insulation - this post relates to one of these - a single rear Oriel Window, an architectural feature that juts out from the rear of the building and is finished externally with a metal standing seam. The plan agreed was to create a 20mm lip of metal for the window to sit against. I was right about to commence work when I noticed dampness and beads of moisture and sure enough despite the window being surrounded by a later of insulation, because I didn't think through this detail on the inside, the 2mm metal is bringing in the cold outside and condensing - even though the inside is only 5-7 degrees or so! It's happening all 360 degrees around the window and dripping down to the bottom of the frame too. Obvious in retrospect why this is the case now and lucky I'm aware now due to the time of year so I can address it. I have other metal in the form of an I beam supporting the side of the porch cantilevered outside (80% inside, 20% outside) but this is dealt with by the timber frame company using a thermal farrat - the beam is in two parts and bolted together through the farrat reducing cold bridging immensely. I'm keeping a close eye on this internally during this cold spell to satisfy myself. Anyway, if anyone is to blame for the detailing it's me, it just happened and I had considered angle grinding off the lip to get a better seal as the 2mm metal meanders a bit making it hard to pin against the window frame with rigid insulation or squeeze sealant / spray foam either side of the metal continuously. The window company didn't recommend the angle grinder as the lip provides a water barrier if the external sealant fails. The company I buy my gutex and air tightness products from were confident that covering the metal lip with insulation and using tape would prevent air circulation and address the issue. So, onto the fix: I'm working with Gutex for some areas of the build, a wood fibre board. Messy when cutting (accumulates inside my circular saw) but easy to work with. Not cheap but I'm trying to stick with breathable, natural products and gain experience in their use. I've used Multitherm which is a T&G product around the windows, this time I wanted to use Thermoroom which is a non flexible flat product (no T&G) that I could stack up around this opening. I plan to finish off with a fire rated (A/B) oak veneer rather than plasterboard so needed batons to attach to (main use for this ply is around the internal picture window separating the kitchen from the bedrooms, hence the fire rating but it will match nicely if use in this other area too. I'm going for an air tightness test soon so my current finish is intello plus only so I can inspect and pinpoint leaks. I packed out the Moy Metac flexible insulation and then cut a few Thermoroom boards to size. The board is a lot smaller than the Multitherm so I cut them in half minus 20mm to get the width I wanted and they stack at 50cm heights on top of each other. Battons to secure although I'm finding it hard to get 150mm screws through the baton at times and then through the gutex to bite into the wood frame beneath. When I could get my weight behind it it helped but overhead was a nightmare. Ended up drilling 5mm holes as the top 50mm of the screw was unthreaded and I just wanted it to bite the wood 120mm away and clamp the baton, this worked fine but I've 180mm structural screws to use under the vaulted ceiling later! Drill was set to 15 but still rapped out a lot of time, any suggestions?! SDS with a clutch?! Needed to get a lot of speed up and push force to work. Once the batons were on I filled out the spaces with 50mm rockwool and stapled on the intello plus and tescon vana joined them. The lighter blue tape is tescon profil which has a separated backing allowing you to seal onto the intello first and hinge the tape 90 degrees before removing the 2nd backing to seal to the window. So all 4 sides are now done. I've 11mm OSB on the floor of the opening rather than batons, this sits on 60mm multitherm on top of 25mm bosig phonotherm, a structural insulation board I had spare offcuts for. As this will be sat/stood on a lot I wanted something more secure to sit the plywood on. Now, it's just a case of monitoring and checking if any evidence of condensation still occurs, maybe peeling back the tape in one or two areas and quickly checking but I'm happy for now! Lots more to do. I've to figure out the 6 x Velux openings next and box out about 400mm of splayed / insulated / air tight spaces and close off the last part of the roof. More tower work for me so!!3 points
-
WC = Weather compensation.2 points
-
France, acknowledged as one of the leading nuclear powers, has just commissioned its first new plant in 25yrs. It came in about four times over budget and timescale. And these are the guys that are so good at nuclear that the the UK is getting them to build new plants for us. I'm not against nuclear, but the cost and time just doesn't seem competitive at all.2 points
-
I'd have to dig through 10 year-old files for this sorry. Our plant area all fits in a 80 × 150 cm cupboard that is along one side of our downstairs loo. The UFH pipes and the two pipes come up into this. I use the 110 mm foul-water push fit OSMA pipe for these -- the same as my FW runs running under the slab in the crushed MOT 3 layers. (You need slow bends to turn up into the slab to make it easier to pull wiring and pipes through them.) As far as the MBC crew was concerned these were just prepped and laid the same as the two FW runs that lead to my 2 internal FW risers.2 points
-
If you want it internal y then he should have run a pipe already and a concrete lintel over the top of it where it goes through the walls.2 points
-
They're saying that the entire inside of the house will be covered in foil faced insulation, and the joints of this will be taped, and that this forms your airtightness layer. (a vapour control layer is not so critical; but it also forms this) Airtightness is bloody difficult. Throw in windows, doors, internal partitions that need to hang off walls, cable and pipework penetrations, battening to hang stuff off walls etc and there's loads of detail to get right. I think they're not doing this; they're just offering to pop up the insulation and tape the seams. (the easy part of the job) Airtightness is essential with SIPs, as any air that does leave he building carries moisture with it that will then condense on the external OSB layer; turning it into wet Weetabix. Most common at the ridge of the roof.2 points
-
To answer your bricklaying question. Im ment to be back at work today but wont be going in. I won’t be laying a brick at all this week. Temps are not getting high enough and don’t let anyone tell you otherwise. mortar will freeze and blow. Blue bricks can take day to dry on a good day. Cold weather they won’t set. Seen it many times. The standard was 3c and rising but with the lows we be having there’s no chance. If they think it’s acceptable to carry on, you need to have a chat with them.2 points
-
Welcome on board Alex. I’ve no idea what a DYI guy is (ok, maybe I do) but you’ll surprise yourself with what you’ll be able to achieve with the help of all the talented help available on here.2 points
-
I’m sorry but installing insulation takes time and I always charge for it. It is not something that should be included in the rates the same as feature bands, cutting up gables and cutting the bottom course of blocks where others have lost the ability to use a laser level correctly. I won’t take on projects with tongue and groove insulation because it’s not fit for purpose. Cutting and installing full fill insulation requires the following skills. 1) be able to use a tape measure 2) be able to use a long sharp knife and a cutting slot. 3) be able to think ahead 4) checking each junction as you go. 5) protecting work properly as brickwork progresses Gaps in insulation is my pet hate and the lads who work with me know it and have known it for years. I can guarantee that there isn’t a single gap in any of the cavity insulation on the 2 houses that I have just built for myself. Like I said it’s not rocket science but it does take time to get it bang on. Time should be paid for. Some of the bricklayers that have worked for some of this forums members were most likely used to working on a ‘rate per 1000 all in’ to include all the sundries. I stopped giving my time away for free 30 odd years ago. You pay peanuts you get monkeys. I do agree that there are plenty of poor bricklayers about but to tar them all with the same brush is pure stupidity.2 points
-
Right at the beginning of a what will inevitably be a long journey. About to move abroad for work, but we come back we will be looking to be our first self build. Having already done some reasonably sized DIY renovations in our current house, I am beginning to do the relevant research to be in an informed position to start a self build. We will be looking to make it to the PassivHaus standards, and I am big into my tech so will be looking to integrate a lot of 'smart' home features. Currently have a lot of this, with ASHP, solar, batteries, automatically controlled zoned UFH etc so not brand new to all of it, but I have been lurking and reading up on other users success (and failures!) to hopefully try and learn and avoid some of the common pitfalls. G51.1 point
-
Thanks - my first thoughts on heating/cooling is UFH downstairs and fan coils upstairs for that exact reason. I will keep reading and I am sure I will flip flop opinions many times yet - but I am starting now with a good couple of years before I break down so hopefully I can get to a good place before I begin. And yes - I have actually done two iterations of 'smart' homes, very much agree, a 'smart' home should be such that your Gran could walk in and use the house as intended without needing to learn anything, and not accidentally turning anything off stopping anything working. My lights currently are all wired directly back to latching relays, controlled both by non latching light switches and a microcontroller/relay setup for this reason.1 point
-
Small modular reactors (SMRs) don't always need to be near water because some SMRs use air cooling instead of water cooling: Air-cooled SMRs Some SMRs, like the Last Energy PWR-20, use air cooling instead of water cooling. This means they don't need to be located near a body of water for cooling.1 point
-
@qamar Ok. A Larger Homes Extension is different. It’s a halfway house between Permitted Development and Householder Planning. However, one of the caveats of the that type of application is that the proposed materials should be similar to the existing house. So if the existing house is brick, then the extension cannot be render. Some Local Planning Authorities are better and more proactive with that than others. Your comment/objection can be on the basis that the proposed materials should match existing. Unless of course you are more concerned about the overall impact the extension will have on your outlook, privacy and daylight?1 point
-
Irrelevant for the LPA and/or PI (at present).1 point
-
I rendered a very large two story garage for a good friend of mine He asked me to just get the materials for three sides As he or his neighbor wouldn’t see the side facing the neighbors due to large hedges BC wouldn’t sign it off till the forth side was rendered1 point
-
@qamar The application form and/or drawings should have something about the proposed materials. I wasn’t aware the application hasn’t yet been determined and in which case Planning Enforcement is not an option (yet).1 point
-
Update: Thanks for everyone’s thoughts and advice. Below is the reply from the engineer today. Feel much better having this in writing but still a little weary given the concerns raised on here. “I can confirm the 140mm long Rawlplug screw with plastic plug is the preferred fixing for timber sole plates to concrete up-stands. This type of fixing alleviates any excessive lateral forces within the up-stand unlike an expanding bolt fixing.”1 point
-
I used a hammer tacker in the end… really easy and quick to use… found it invaluable.1 point
-
It is legitimate to do research, research is about answering questions after all. The question I would ask is how long can this 'stuff' be stored reliably. A billion is not enough. Thing is, when the two cheapest new generation systems are, apart from manufacturing, both zero emissions (near enough), why bother to try use others that need secondary processes. There really is not need to use combustion technology these days, and huge parts of the world have better resources than us. The UK is rather fixated with 'reliability and price' while being very scared to try anything new (I still know people that have not tried a curry or a pizza).1 point
-
That would be really useful data. I often think people are over optimistic about the efficiency they can get from almost every bit of equipment they own. Reducing parasitic loads is an area I really focused on a decade ago, it is why I show two different 'means'. In my larger spreadsheet I can look at the half hourly data and see what is happening.1 point
-
3 degrees and rising is the guide for concrete. I've broken this guidance once and it became expensive hardcore....it barely hardened, and then crumbled. The same will happen with mortar. As for the type 1. That shouldn't go down thicker than 150mm per layer and be compacted by roller. I hope you have membrane under it. Compaction over mud would press the stone down into the mud and it would mix if there is no membrane or just rut if there is. Spreading with a tracked machine does not compact it, but is your best compromise for now....and don't run wheeled vehicles over it. An experienced builder should know the basics of all this, buy many don't. They should also expect to lose working days in winter. It's not your responsibility to keep them earning at your risk. It is too important to turn a blind eye. More detail of the hardcore construction?1 point
-
Hi Everyone, I've been searching the forums for opinions and solutions (of which you are all very knowledgeable) but I am yet to come across the specifics of what I am after. I have a 1920's detached bungalow on which I'm planning on doing some significant works to including a loft conversion. For the walls which will remain, i'd like to apply IWI but am unsure as to which method would be the best solution to avoid any future damp problems. I know that we do have a cavity, but it is small and doesn't have any insulation within. Am I able to put the insulation right up against the existing wall or do I need to leave a gap? Can I use PIR or do I need to use a mineral wool type insulation to avoid any condensation? Do I need to add a vapor control layer? Thanks for any advice!1 point
-
@John Carroll I can some tests on my Ecotec plus 625. I do not have a LLH installed. I do have TRVs on all but four radiators (14 rads total) but they are fully open. Normally I run this with weather compensation with a curve of about 0.65 and I had set the hydraulic operating mode to spread with a target delta of 10K. Generally the spread is ~5 between flow and return which is not surprising since the flow temperatures at that curve are usually in the high 30s. When set to the default of dP constant at a target of 200 I'd see flow rates vary from ~700 l/hr to 1200 l/hr with often a delta T of only 2-3. The 'before' stats running as above: Modulation: 12% Target flow: 37 Actual Flow: 37 Act return: 32 Flow rate: 754 l/hour Pump speed: forgot to take this - I suspect ~30% With the boiler set to a min flow of 62C: First reading after about 5 minutes of running: Modulation: 54% Target Flow: 62 Actual Flow: 62 Actual Return: 43 Flow rate: 818 l/hour Pump speed: 34% Second reading about 5 mins later: Modulation: 39% Target Flow: 62 Actual Flow: 62 Actual Return: 49 Flow rate: 836 l/hour Pump speed: 35%1 point
-
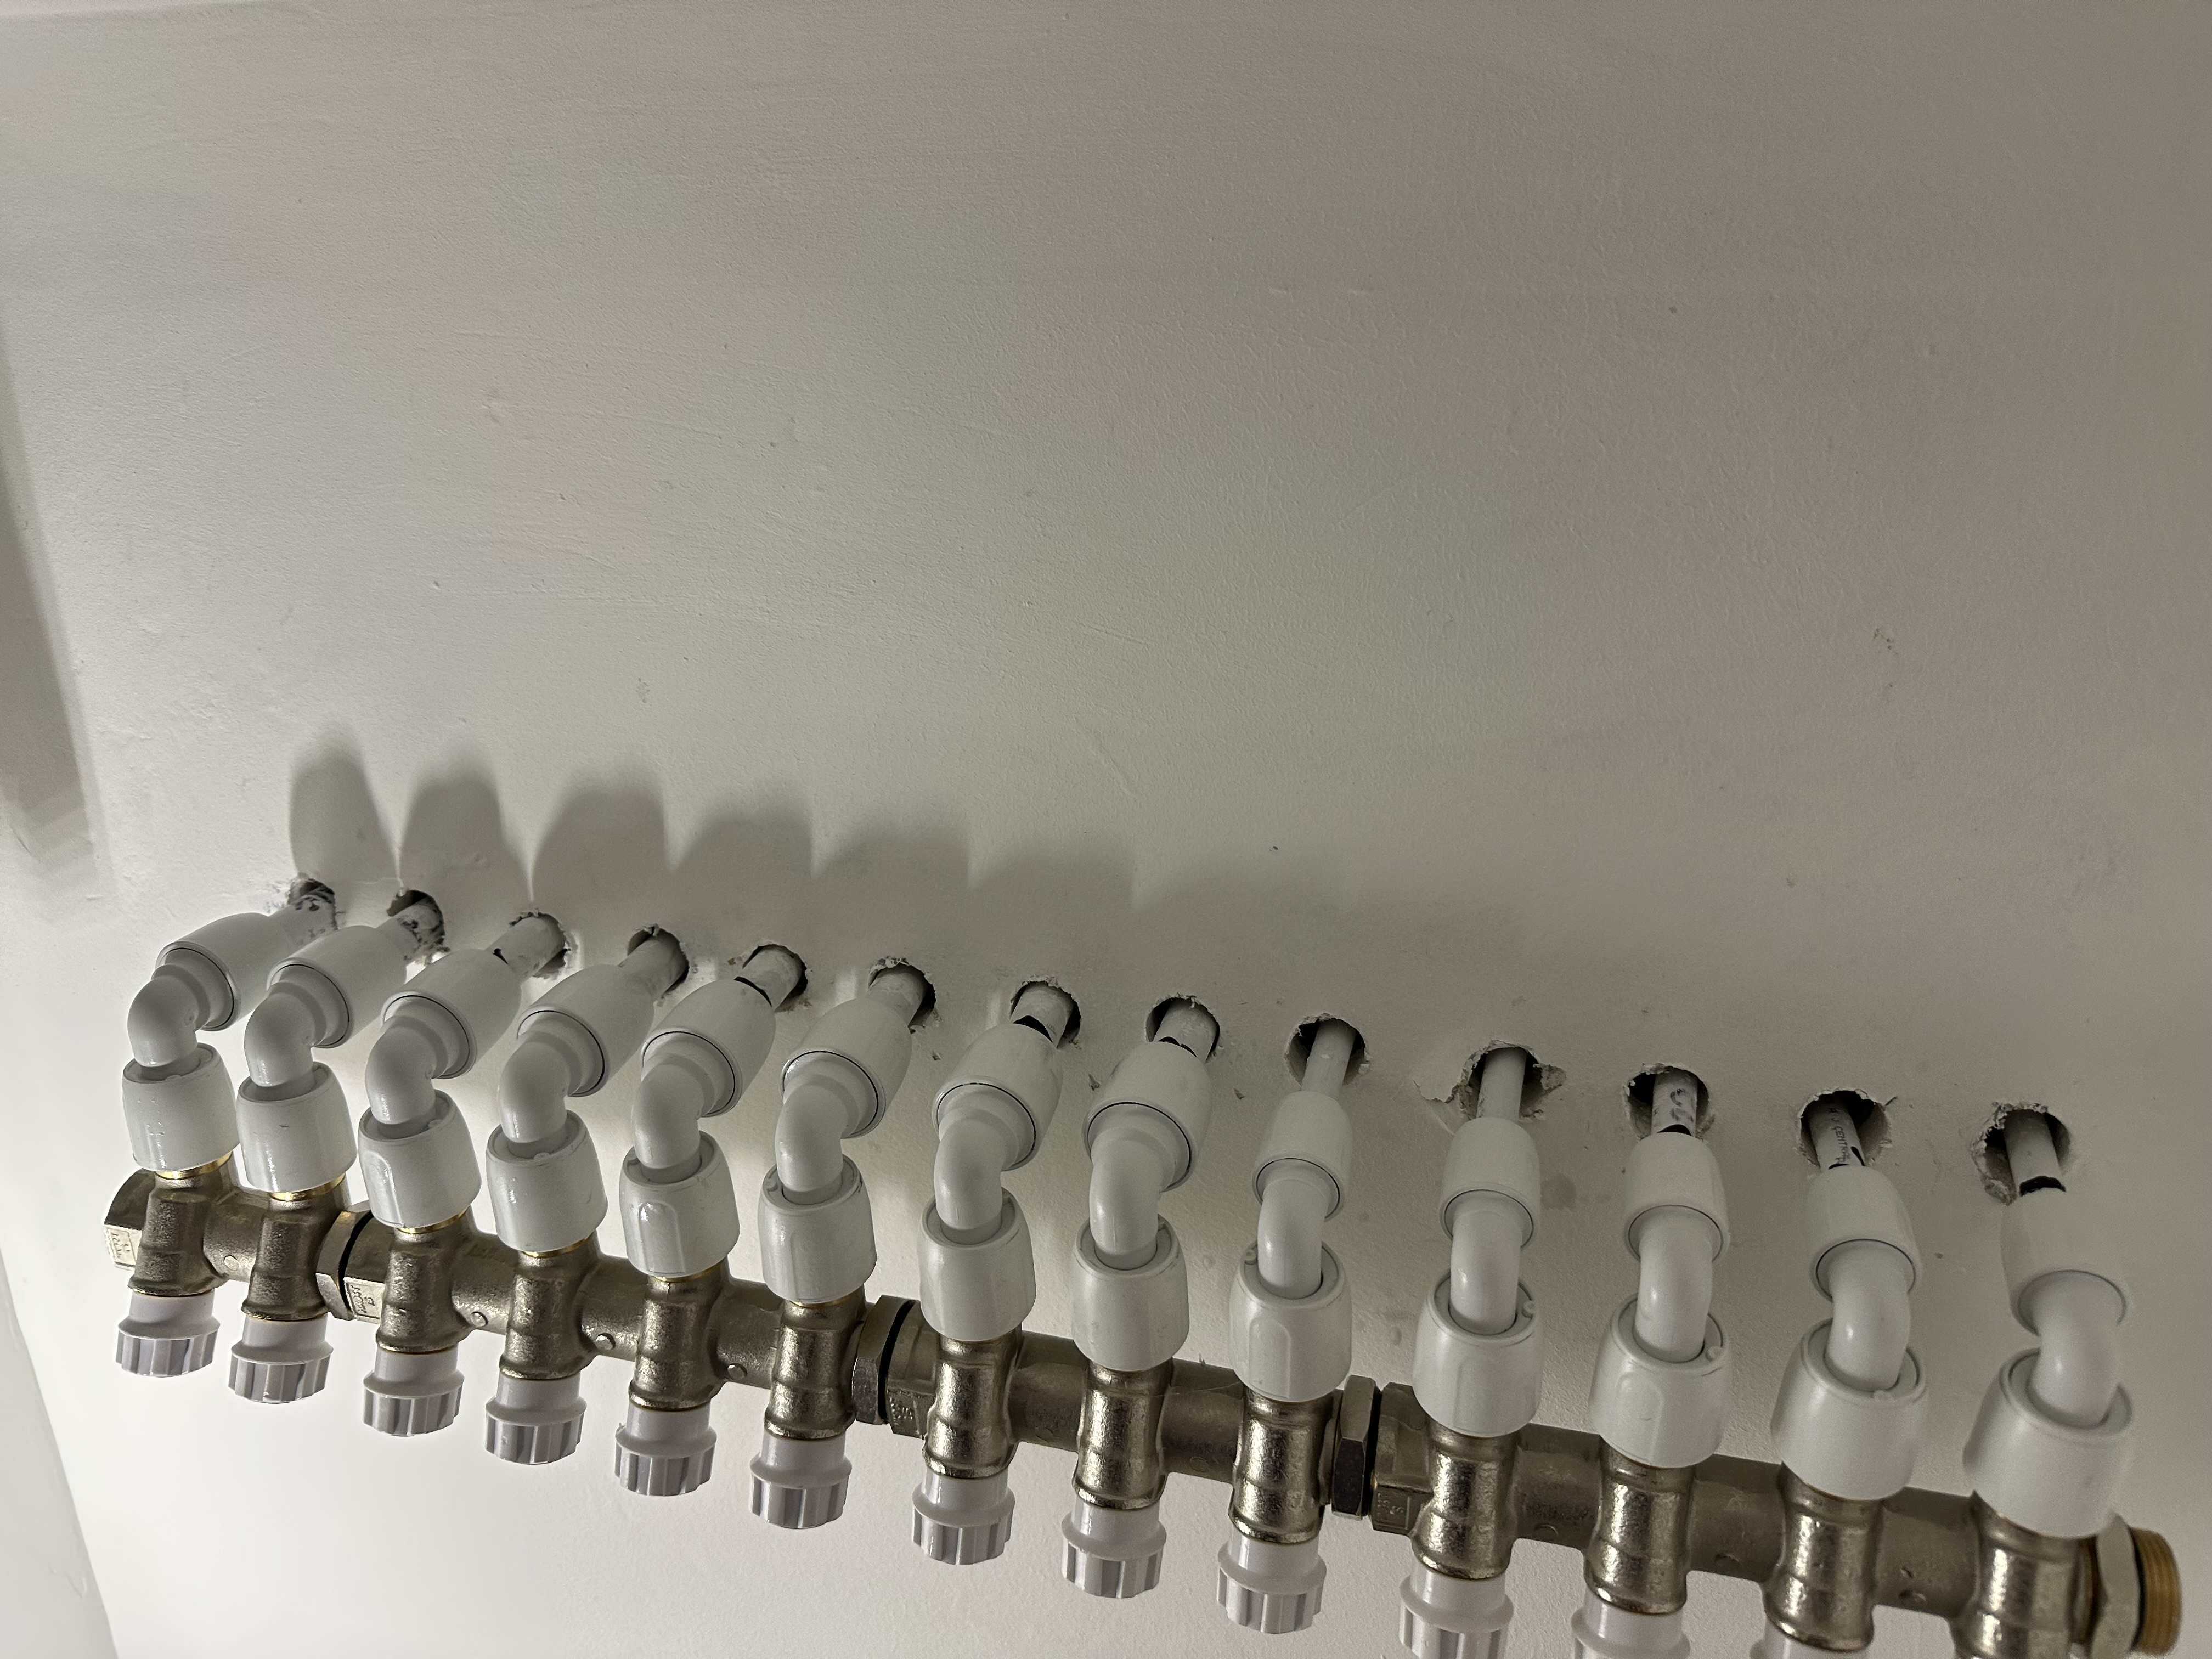
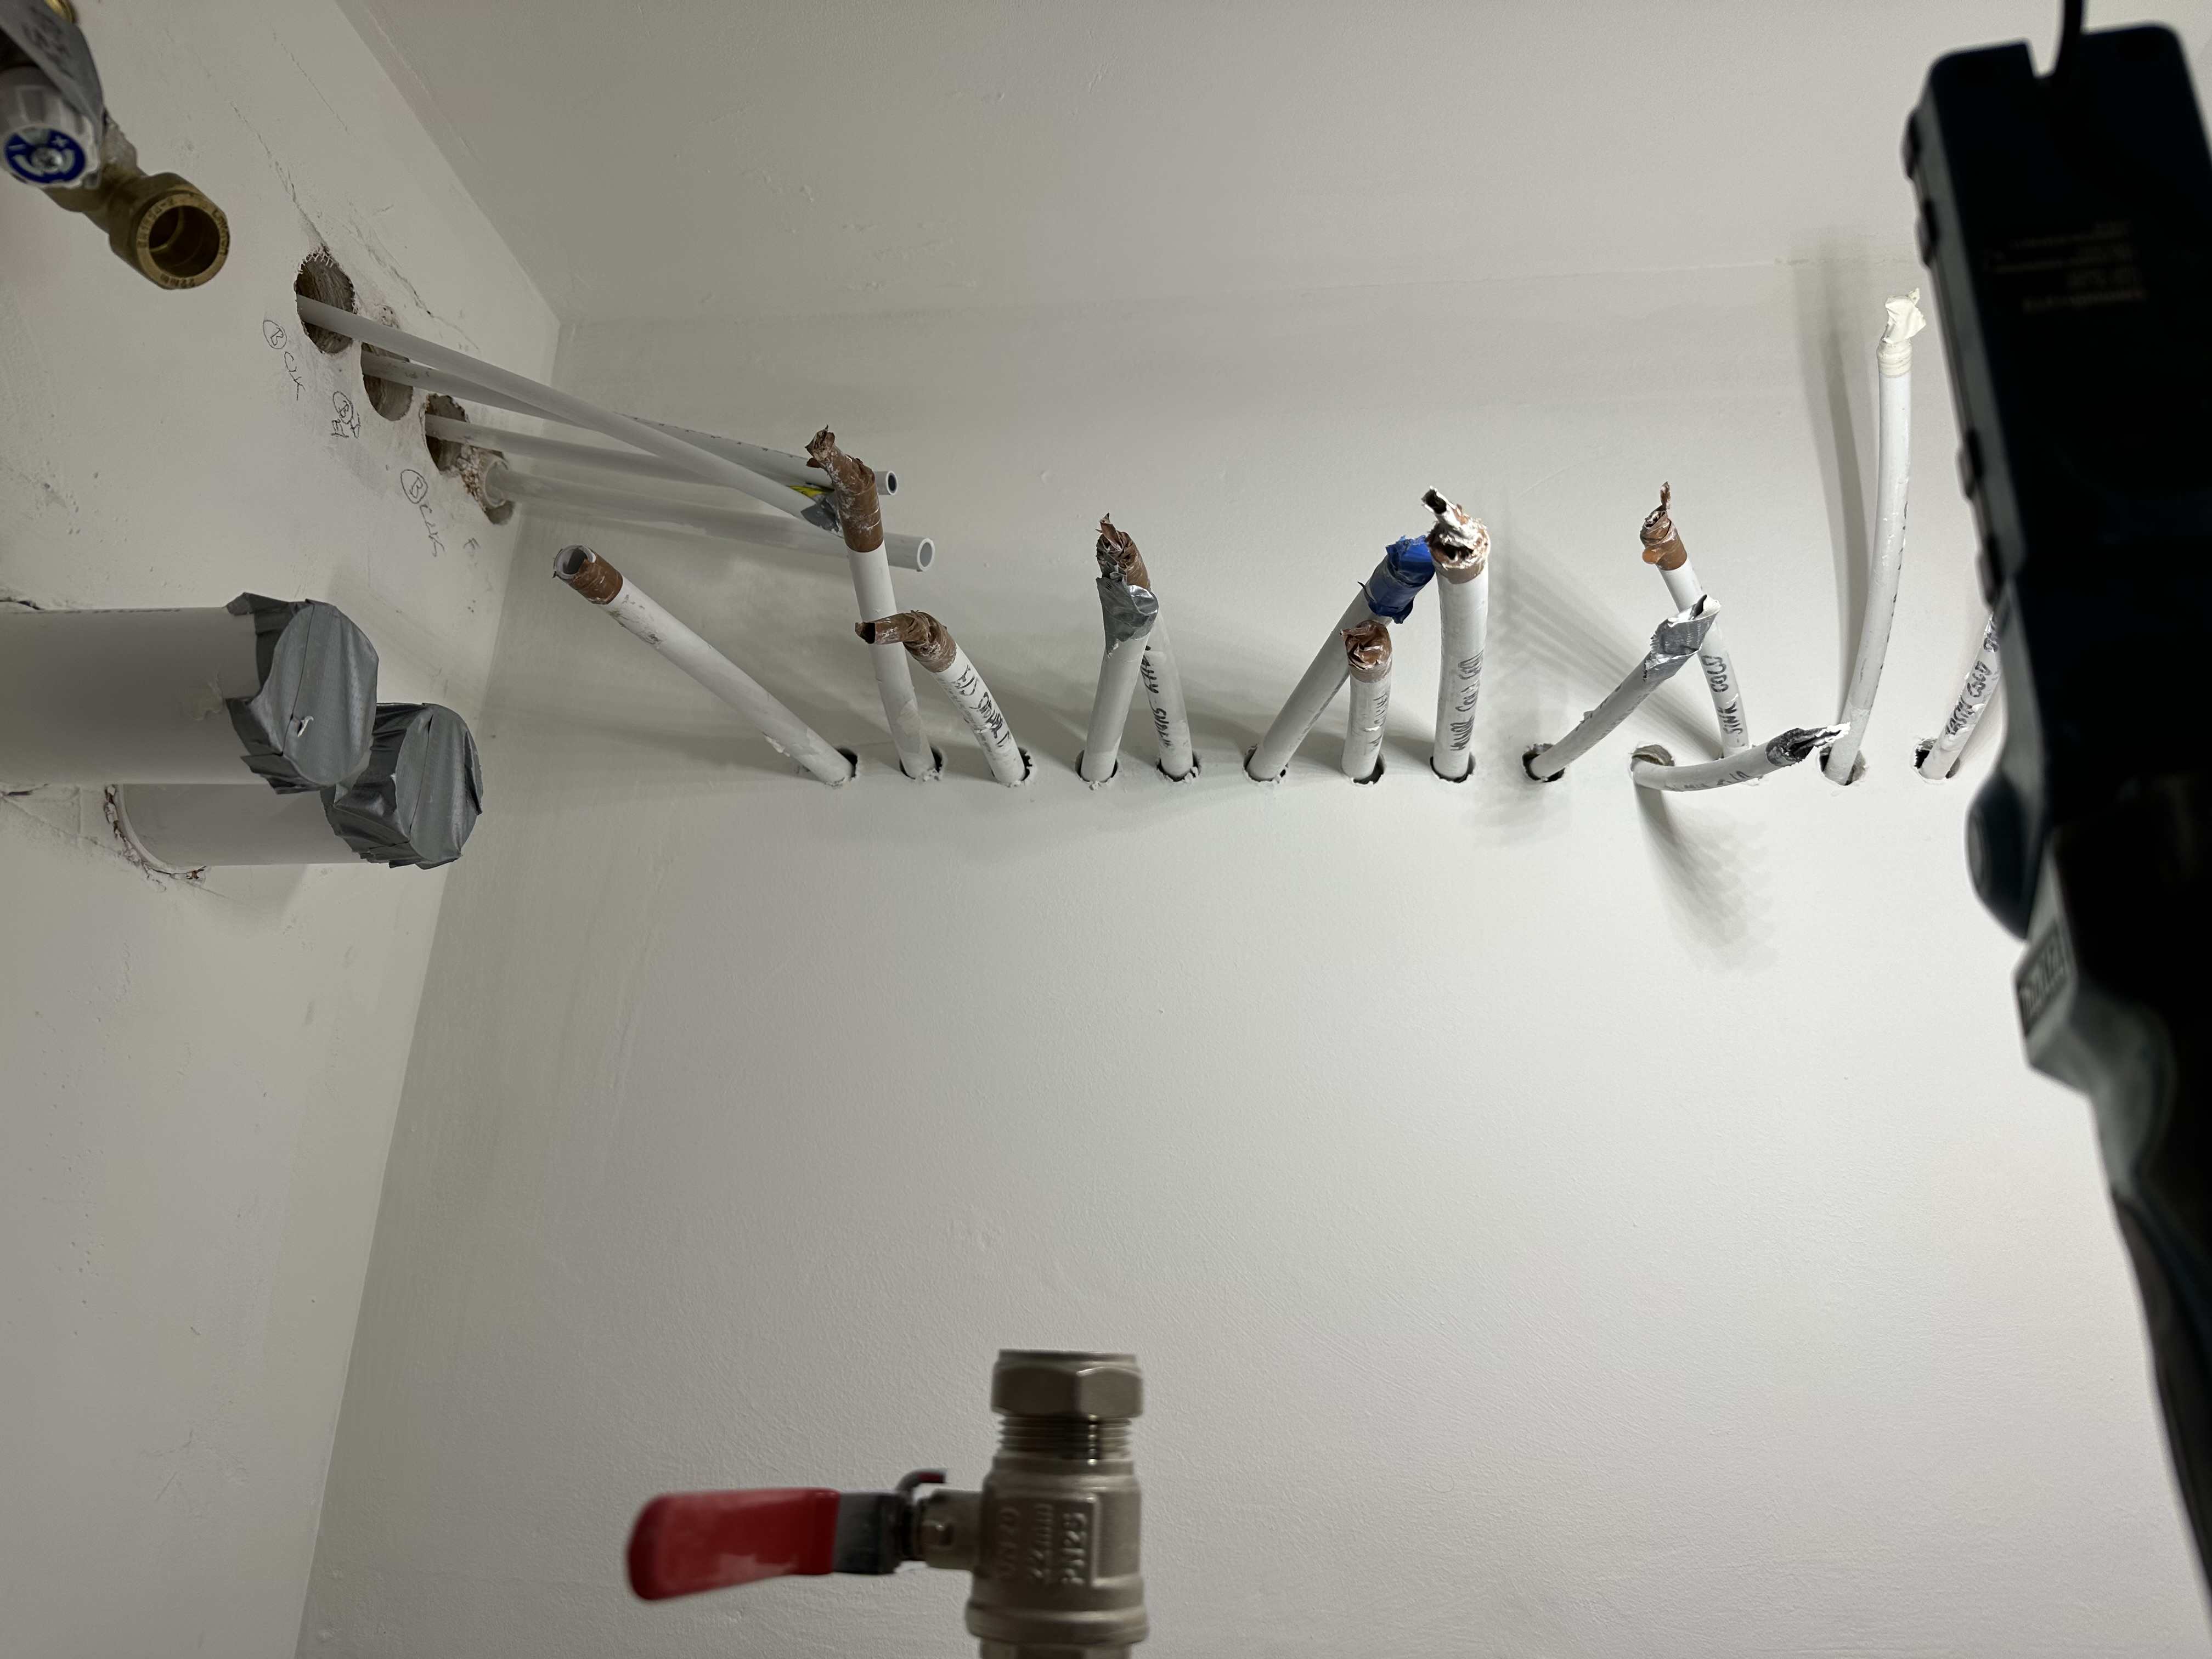
Some pics of my current project for example 👍
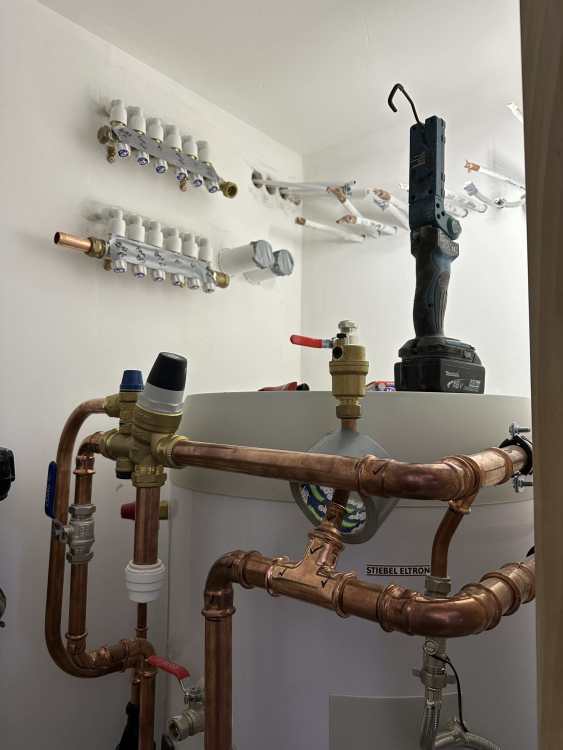
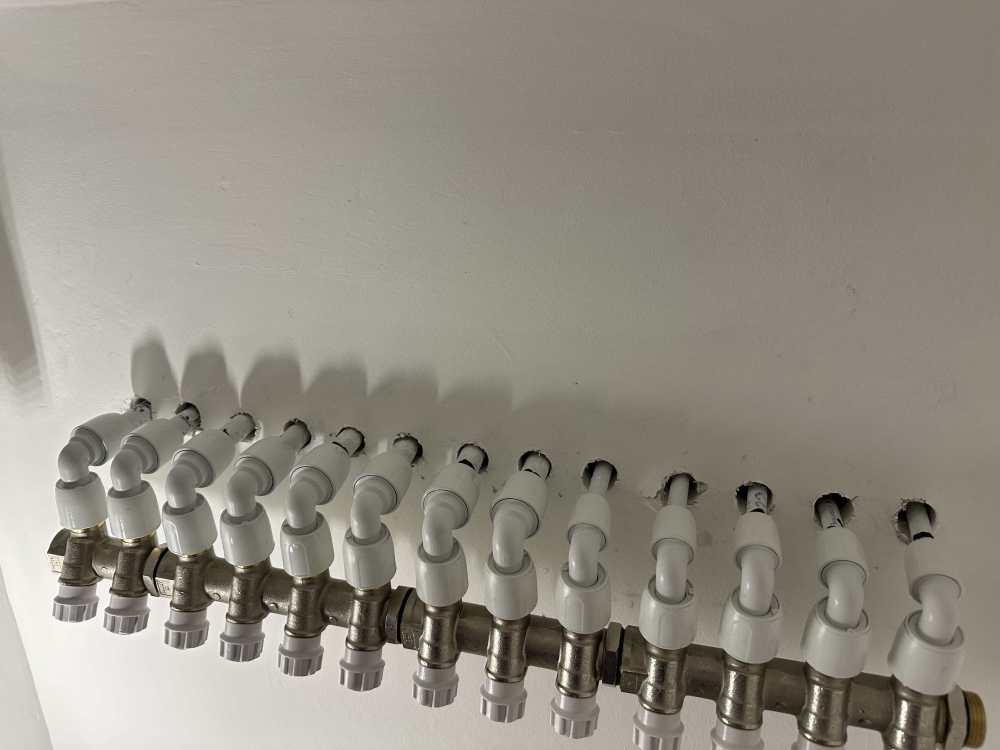
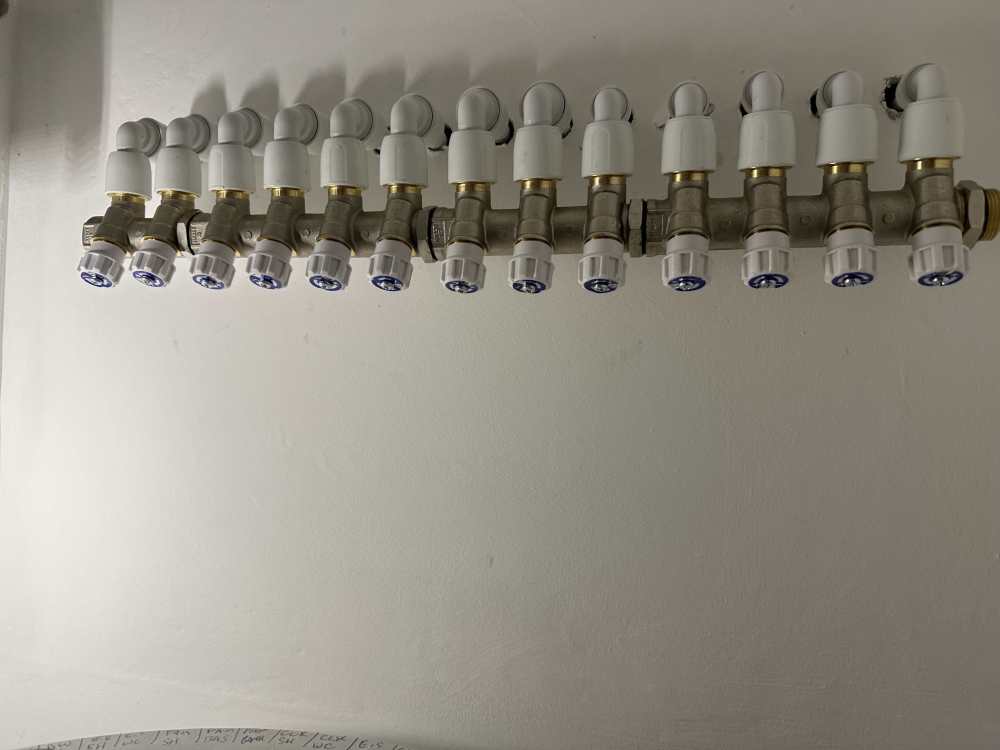
 1 point
 -
I used one of these and a p trap
 1 point
 -
The release of energy is much the same. But the release of energy is not whats causing climate change. That is CO2, methane and various other gasses that act as an insulator in our atmosphere. Our planet has at times been much warmer than it is today and some of the CO2 from that period ended up being sequestered in the ground. Releasing that today is the problem. The sun blankets the planet it many orders of magnitude more energy than all the power plants on earth so the release of a little more from a buried source is not going to change things. Releasing the buried gasses do.1 point
-
I decided against a hammer tacker because of the proximity of the hammer to the other hand, holding the membrane....my left thumb is virtually hurting even as I write the words.1 point
-
A drain at that height behind the wall sat on pea gravel will do next to nothing. The water would have to be 450mm deep before it can make use of the land drain, you might catch a bit of surface water draining from the top but water will always take the esiest route which will be past your drain, through the gravel and continue sitting on your foundation. What about lifting the level up with concrete, then allow for pea gravel to bed your pipe on then membrane to stop all the mud blocking it up, reinstate gravel, wrap with membrance and fill with soil - plenty of pics on tinternet. Your puddle in front of the wall - is that just where you dig out for foundation? would not reinstating with concrete sort that out?1 point
-
I'd guess that water sitting behind the wall is not great. Some info on this page may be useful if you've not already seen it. Scroll down a good bit to get to retaining walls. https://www.pavingexpert.com/featur031 point
-
If it is perforated pipe you can lay it in flat. Put the weepholes about 50mm above the paving level every 2 or 3 blocks. You could core drill and waste pipe instead of weeps.1 point
-
Thanks John @JohnMo but too late as I've exceeded my 30 minute window to edit, I know how to it now though!!.1 point
-
Hi all - thanks to all. We did end up screwing the gutter brackets into the end grain of the rafter tails as we couldnt see any other way of doing it and are under time pressure. Its good to hear you agree, and Susie’s have been up 20+ years! One less problem to worry about. 🙏1 point
-
I was whizzing through this on my phone when I answered and didn't realise three of them were affected, or that they'd used the wrong fixings. A one-off might be unlucky, but three suggests a pattern. No way I'd be happy just repairing the cracked stuff - the fixings need to be done properly. Can they not go back and add fixings at this stage? Leave the ones currently in place and put the correct ones in the gaps between them. These are what was specified (and used) on our house. I don't like the idea of shot-fired fixtures into concrete that has shown a propensity to crack, so perhaps you could have a word with your SE about using something like this instead? As others have said, it's the SE who needs to be your guide here. The builder is reponsible for rectifying the fixings.1 point
-
Hi, I am Alex and I am just a regular DYI guy. We recently got a house which we are refurbishing. I am trying to do as many things as possible that I think I have the chance to do at an acceptable level, which are not a lot1 point
-
Hi Alex,nice to see U on board....Frank1 point
-
The plastic plug method may well be OK, as the loads are well spread through the sheer number of fixings. 600 centres? But it is not for us to say, when you have an SE and supposedly expert contractors. There may be more damage, perhaps cracked but hanging in for the present. Something is wrong. Too close to the edge is likeliest. And/or Not the right fixings or hammered in too hard. Yes epoxy will sort it but the SE should specify it. Or the contractor present you with a formal remedial proposal which is not a cement and sand patch.1 point
-
Agree with fixing into the rafter tails, somewhere up by your scaffold board in second pic. Looks like you could use something like Brett Martin BR043Cl and screw into the end grain1 point
-
Top and bottom on internal1 point
-
My bad, I meant DIY (this is even more meaningful of my skill level 😄). 100% agree some advice from talented people will allow me to achieve things I would never be able to do by myself.1 point
-
you only need the brackets to extend out, why not just screw gutter brackets to the end grain of the renters?1 point
-
I belive that NuScale has one in the US: https://www.theverge.com/2023/1/23/23567711/nuclear-energy-advanced-small-modular-reactor-design-certified Not that it looks like any sort of game changer1 point
-
@Marvin I think I have just about done all the reduction measures I can (except baths). I intend to add a bit more insulation here and there, but it will only make a marginal difference. An EV would make the biggest difference, but at the moment it would not be practical (or affordable) for me. I could get a lodger again, which would pay for an EV, but I like living in my own.1 point
-
Hello, I am Mac and I wanted to introduce myself to the community. I am currently deciding if I can pay (and not be bankrupt) to improve Energy Efficiency or Water Flow at my property. I will shortly post an ask from the community as a guidance for my Heat Loss problem with some thermal images. Hopefully, I am not a stupid person and thinking correctly. Thank you for letting me be a member here.1 point
-
No. It can spur off before it goes under the house. Take the chance to put stopcocks in all directions.1 point
-
No because you have not provided any drawings! Fesse up and share your drawings. Folk will then chip in and in return we may also learn a bit from you. Them's the rule of the game!1 point
-
The first way to save money would be to stop buying very expensive rubbish logs from the local garage. find a good supply and buy a 2m load tipped loose.1 point
-
I wonder how many of these there are..... Maybe we need a new section for folks to upload their manuals (duly redacted) so that other folks can glean useful help/ideas, re headings, cross referencing etc. Even whole sections could be plagiarized, for example one on Sunamps...1 point
-
Thanks @SteamyTea. Your sign will go well with the current one John (referred to on the notice) is still alive. But now he only visits when there are big boys toys to play with. He can sit in the cabin, heater on Radio 3- full volume He's due (as is the digger) on Wednesday, digging out for the steps. 9:00 a.m. Sharp. He spends half his time talking to the passers by. Gets on far too well in my opinion with some of the little old dears who walk past. They bring him biscuits and cake for god's sake. Mustn't grumble. 😔
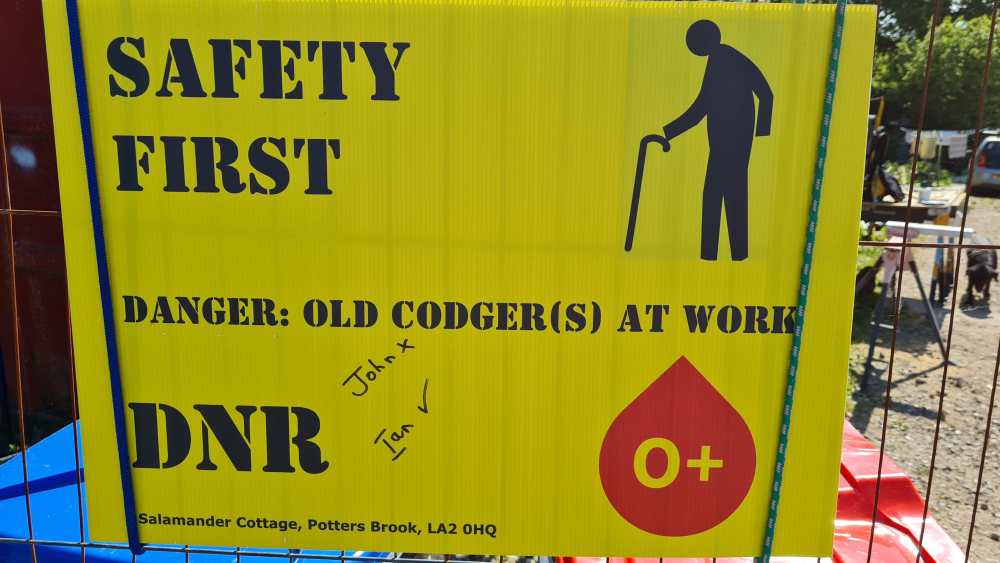 1 point
 -
Do the best you can is the only thing I can say. I used PHPP and my own spreadsheet to refine the insulation levels. In terms of money spent to improve energy efficiency it's a little further down the list than you might expect. From memory the best bang for your buck was 1.Airtightness 2.MVHR 3. 3g Windows 4. Roof insulation 5. Wall insulation 6. Floor insulation. The metric I used was payback years. EG an extra 100mm of attic insulation might take 30 years to payback and and extra 150mm might take 50 years. I started at bRegs and worked my way up year by year until everything was at 25 years payback. I stopped there as I was at passivhaus performance and a bit extra. At least I knew then I was spending our cash in as balanced a manner as possible. In the end I had 450mm cellulose in the attic, 250mm EPS bonded beads in the wall, 200mm EPS70 in the floor. I could have probably put 300mm everywhere but in our case it would have been dearer for the same result as the floor insulation was much dearer than the cellulose.1 point
-
Yes, the frames are a huge problem. You may, perhaps, be able to fix thin closed cell insulation tape to the inner face of the frame, but it may not look so good even if painted. The glazing itself would help, but may not be cost-effective, and you need to check that the hinges seem strong enough to take the extra weight, if you have opening lights. Personally I'd probably choose secondary glazing; depending on the window design you may be able to get something made up to align with the metal frame. And weatherstripping is definitely a good idea. I've seen silicone bead weatherstripping work reasonably well - where you extrude a silicone bead along the edge, put a bond breaker tape on it, shut the window while the silicone cures to a 'custom fitted' profile, then remove the tape.1 point


.jpg.c21f3ac78c9b7efd90cbdcb312744dc5.thumb.jpg.7adcad4c0e384f5ecd7d56b0618df6e5.jpg)


