Leaderboard
Popular Content
Showing content with the highest reputation on 05/01/23 in all areas
-
4 points
-
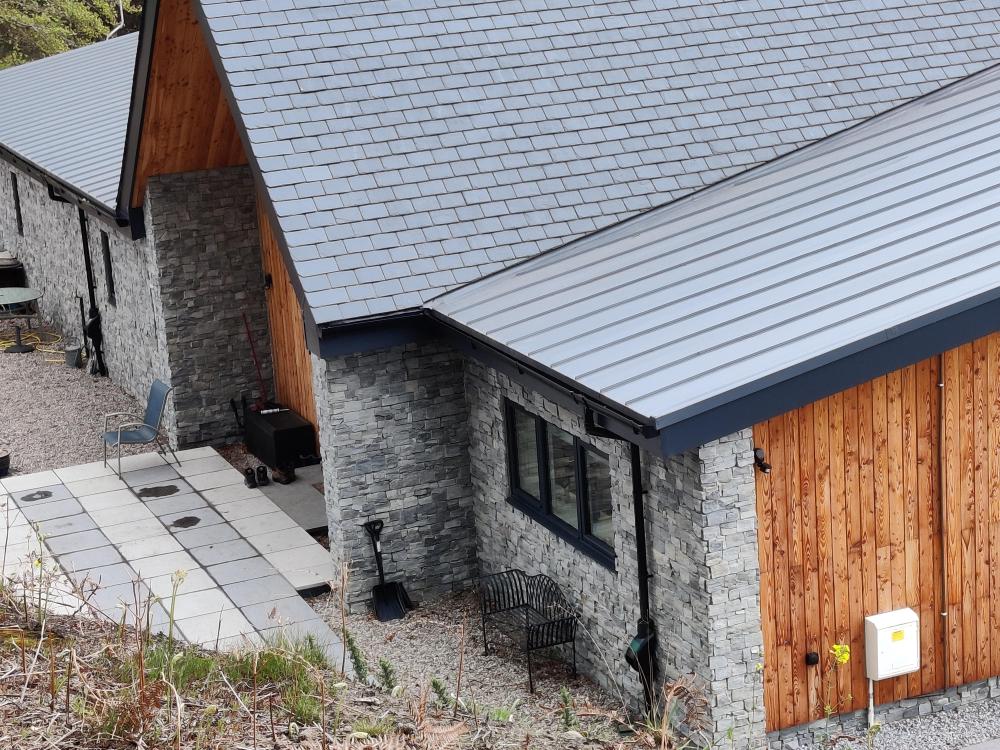
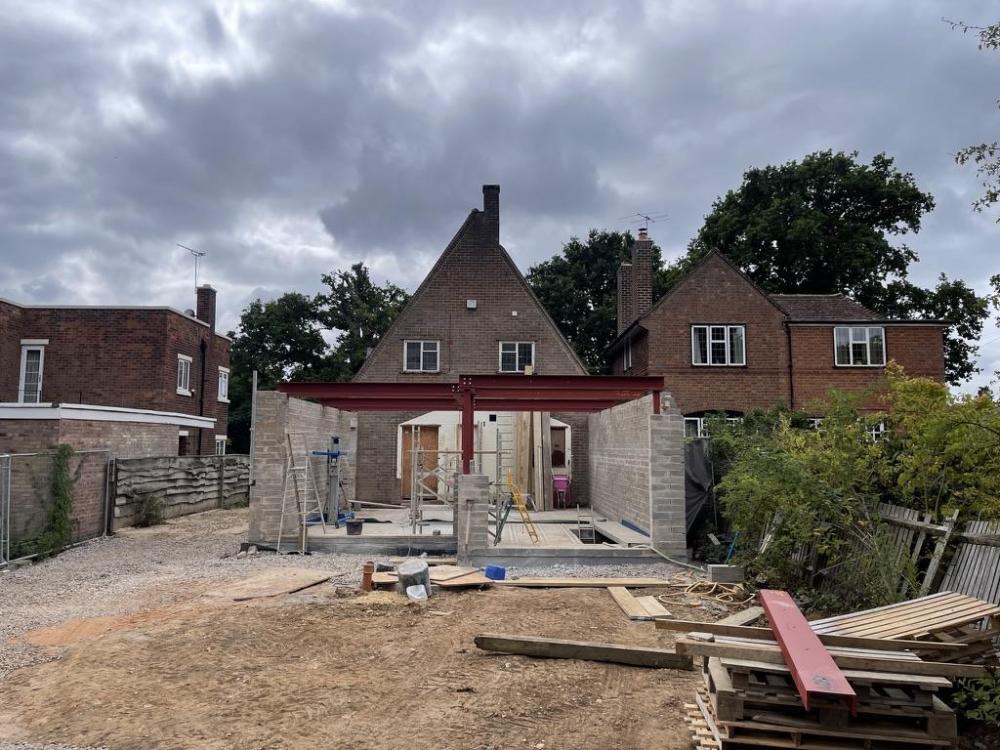
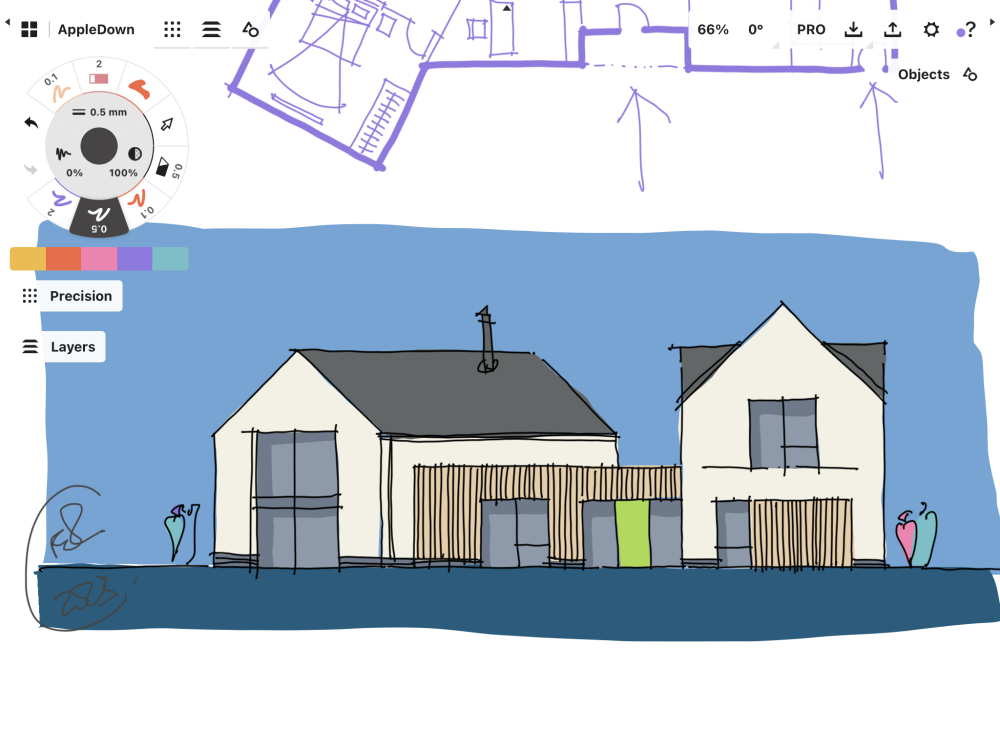
Hello! We are incredibly lucky to be building on the former site of my in-law's pig farm. The buildings had been redundant since the end of the 90's and because they are located in a conservation area outside of the village settlement boundary, our only option for planning was to apply for conversion. We gained this for three buildings to create two homes (one for my brother-in-law, BIL), including an ancillary building on our half of the site which will include a large garage, workshop and additional domestic room with en-suite (noted as a playroom on the plans!). We gained planning permission first time and made a start on site early in 2019, then ran into some problems and, long story short, had to reapply for planning to rebuild like for like. This didn't go down well and we were refused on the grounds of the location not being sustainable for new development, along with the recently discovered issue of nitrate causing issues in the Solent. Another long story, not helped by delays due to the pandemic, but we regained permission for our now new builds through a planning appeal and found our own solution to mitigate for our nitrate production created by two new homes. My husband and I have been clearing and preparing the site for many years, with our two young children in tow (now 5 and 8, but the youngest was 10 days old when we first met the architect on site) and living in a static caravan on site for a year now. My BIL lives with their parents, 2 mins walk down the lane, and (shall we say) is less engaged with the project... After being let down, we decided to take on the groundworks ourselves with a good friend who has experienced his own build and hard landscaping projects for work, and is very skilful on the digger. We worked part time on it over about 6 months, and although still finishing off a few tiddly bits, the carpenters were able to make a start on the first frame at the end of February. Because of the previous conversion history of the project, and the various professionals already involved, we decided to pursue a stick build timber frame (rather than bring in a specific TF company) which has worked really well for us, and there is nothing complicated about the shape and form of the buildings. I am project managing, estimating and ordering materials etc, as well as being very hands on alongside my husband. We are currently working on the timber cladding, having had most of the brickwork plinth around the building completed, the zinc roof will be installed in May and doors and windows to follow, so nearly watertight. The second house has come on nicely but progress will slow down on this as we will focus our attention solely on our half of the site (lets see how BIL gets on when he has to do something for himself!), with the garage to also bring on. Building control have insisted on sprinklers due to the width of our lane (and wouldn't accept that we can get delivery lorries up here and grain trucks when it was a working farm), and I'm sure there will be a few more curve balls, but given what we have already gone through I'm sure we'll find a way round any issues! When researching things, the threads from this forum have already been incredibly helpful, so thank you!3 points
-
yes we did. Hired a 9ton digger and a tipper truck for about 6 weeks. we have land at the back to dispose of the clay..2 points
-
2 points
-
I think you might be missing a trick here -you’ve a massive hall-far bigger than it needs to be, you have an internal wc the back door and the living room is facing north. The idea to have the full gable from the utility right through to the kitchen is - in my opinion a waste of the feature. If it was me I’d move the living room to the back and the bedrooms to the front and probably hand the plan so that you get morning light into the bedrooms. At the moment they face west and will only get evening light. I also think the house form - with hips everywhere and a room in the roof space will be expensive. You will more than likely need steel hips. I’d also give the Gf wc a window, create some kind of shelter to both the front and rear doors. You will curse every time it’s raining and you have an armful of groceries. I’d also look again at the location of the study - it would be nice to have it overlooking the garden rather than the driveway. ETC.2 points
-
Not sure this will do it. We need a better technical education system, properly invested in AND to change mindset about what is and what is not an acceptable profession for "middle Englands" (all other UK territories also) children.2 points
-
Always an important rule in self building, everyone has an opinion... But its your choice, and build it for you! BuildHub disapproved of our designs, for fair reasons, but our bespoke needs/wants meant we took the good ideas, but stuck with our core option. A year later, and it's coming together, and we love it!! stick with what you want, but do ensure you take counter factuals into consideration to ensure you are totally sure.2 points
-
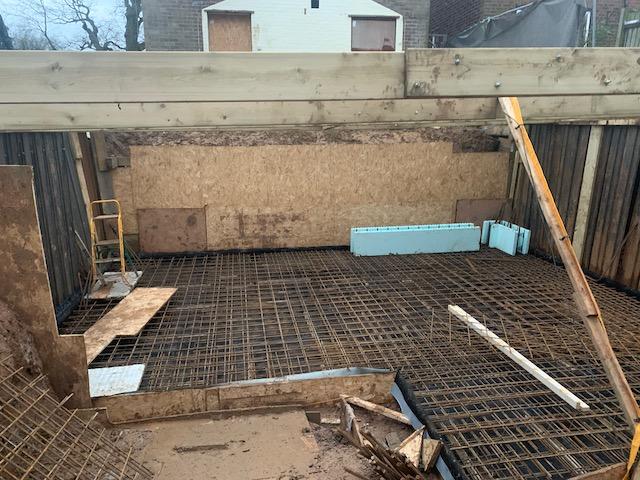
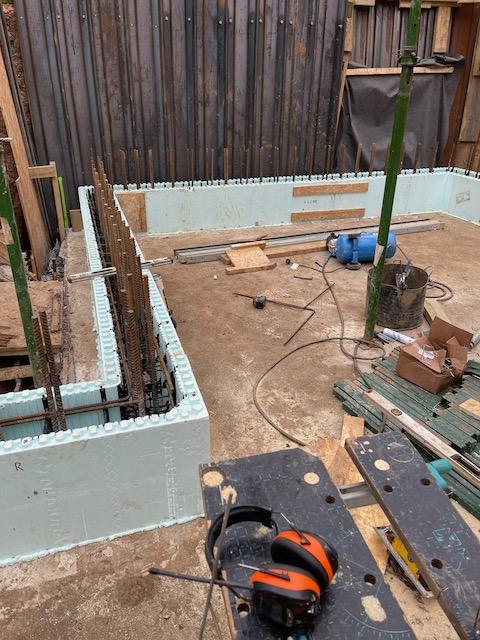
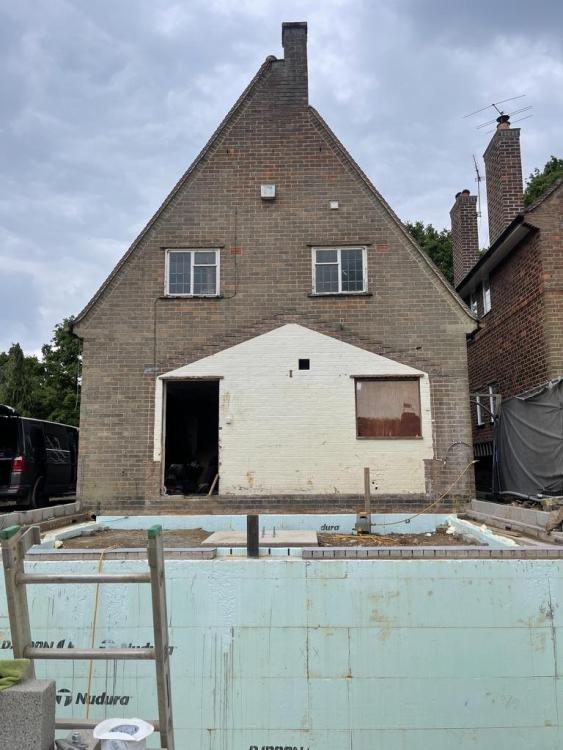
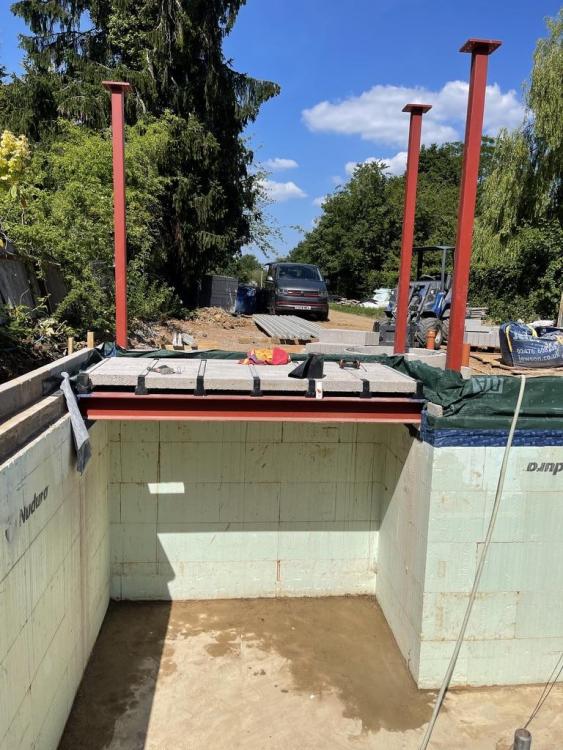
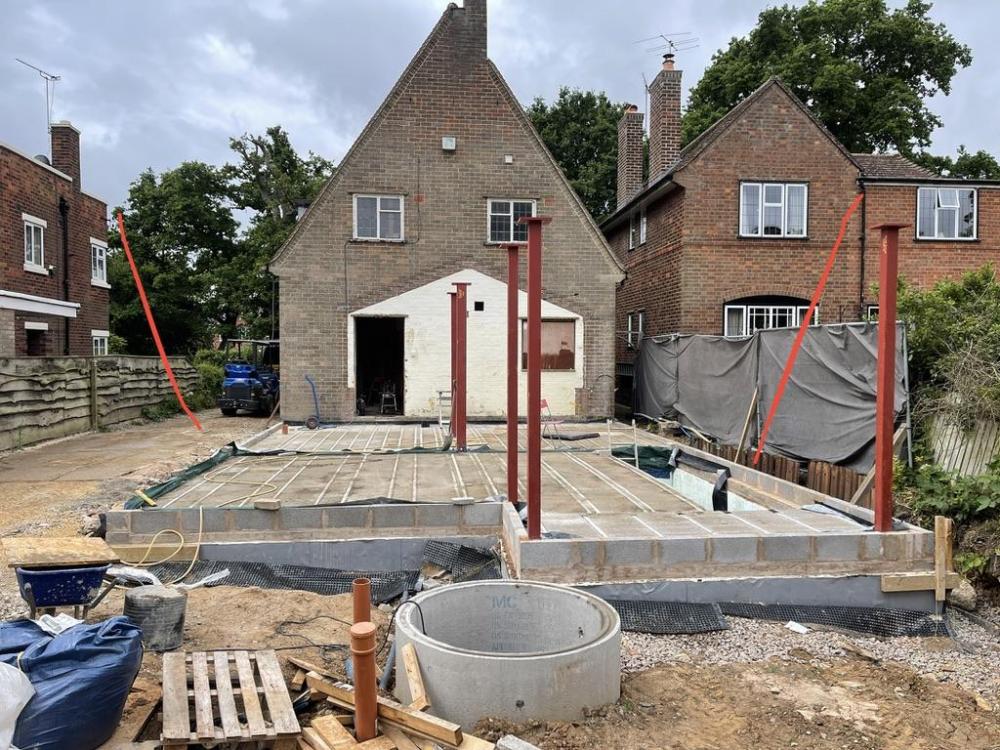
hello everyone. Here are some details on our project we started. Its a 1950 detached house 170sqm which we have extended to 240sqm with a basement and loft conversion. Just about at first fix stage now. Trying to make it as low energy and airtight as possible. Calculated heat loss so far is around 6kW. Apart from a few concrete pump drivers and a crane driver we have done all the work ourselves - me, the wife and two nearly-grown up kids..1 point
-
Question about problem while getting the exterior of a 2006 house painted. The front and back of the house are fine but the gable end has the rough finish pictured. Closer. Unpainted but power washed. Background: Just bought house and looks like first painting since ‘06. Looks like builder originally painted badly as paint peeling from poor/powery base. I’ve a guy doing the work for me - nice fellow but more of a handyman than a professional builder and I’m not certain he knows right step to continue. It’s been treated for mold/algae left then power washed before starting the paint. Stabiliser used in paint (weathershield). The lower part in pics had two coats and I’m reluctant to continue with the finish I’m getting. I don’t think another two coats will do anything except leave a well painted but still very visible/rough gable end - ruining the overall job. Wonder what the community recommends?1 point
-
That can happen any time.... for reasons you may not expect.... However we have one of the Dunster sheds/garden rooms we used as extra lounge space for the touring caravan during our five year restoration project. ( well for us and not the caravan) We had a couple of advantages at this site. a) The six to eight inches of top soil gives way to a compact sand/gravel subsoil. b) We also had access to various bits of earth moving kit that we had bought as part of our diy renovation project. So we removed all the top soil and replaced it with six inches of road planings/scalpings. We gave it a good go over with the wacker plate and using a home made water level got it to within a couple of mm. Overall this provides excellent drainage. It is a 5x6m shed. The bottom logs were specific and appear to have some sort of treatment which I suspect is skin deep. The build is easy for two or more people but two is a must. We added 50mm of insulation to the roof along with a thin layer of 6mm osb. Then the felt singles as provided in the kit. The door is a bit of messing to set up and the provided hinges are crap. We used 25mm insulation under the floor with T&G as provided over the top. Electrics by myself were done in conduit on the outside all at the one level then through the log/plank to the steel socket box on the inside. Flexi conduit was used on the corners and for the verticals to the 3 way consumer unit on the outside under the eve. Two mistakes were made nine double sockes was not enough and I had to change the vertical conduit from the light switch to a flexi one as the logs settled / shrunk nearly two inches in the first year. Now I would say there is an inch of movement over a year. The incomming feed is by way of a plug in connection similar to those used on caravan sites and boats etc. This means that the power can be removed without doing anythin in the main building and the shed becomes an extension lead. Obviously isolators and trips etc are rated to the supply cable. Part P is not needed for an extension lead. Having poked the bottom logs with a bradawl and sounded them with a 1lb hammer there is no singn of any problem with these logs yet. With a bit of care it should last 20yrs plus. If it does, that would be an all in cost of £342 per year for each of the twenty years. So with perhaps some improvement in the doors they are not bad value and can be put up in a couple of weekends.1 point
-
Well done! Keep going! You've done brilliantly. It's great you have the whole family helping.1 point
-
1 point
-
Thanks for kind words..at this stage we just need some encouragement to keep going and finish it, possibly the hardest 18 months of my life. I'm a plumber and solar thermal repairer by trade, but right now I am just a broken human being!1 point
-
1 point
-
1 point
-
1 point
-
Ours was cut and welded onsite. Seemed a bit of an overkill TBH.1 point
-
Your better just folding it in on itself I’ve seen them done both ways it and taped looks neater But it’ doesn’t need to look pretty Just be airtight1 point
-
I'd contact Illbruck. I did so recently to confirm that FM330 is still a/t when trimmed back (it is) and they were v helpful.1 point
-
One of my window openings isn't square so I don't have the gap to use TP600 on it. I plan on doing exactly this for that window.1 point
-
Cut it back, I tend to use a liquid thread seal, don't trust the PTFE, as you can not see the joint, ideally the female boss will be flush or just below the tile.👍1 point
-
I'm not quick enough to lay blocks, adding external labour definitely doesn't make the sums work, then you still have to add the additional steps to make it airtight. It's all a balance, but for me the sums and time ICF seems to work. Only time will tell.1 point
-
Never mind the energy savings or comfort. Airtightness is a big issue with building fabric decay as moist internal air gets carried out on air paths and causes damage to the structure.1 point
-
Standard blocks are about 70c here inc vat and aerated about €2-3. What's the price difference there?1 point
-
If it's an 11KV cable there, then you will need a transformer, and the size of that will dictate the amount of power available.1 point
-
Is there a pole transformer or a "substation" in the vicinity?1 point
-
Why would you agree with him? You'd rather pay unnecessarily high heating bills than require him to do a good job? What other corners is he cutting?1 point
-
Over 3M you will need a fall, and Flexi pipe is just asking for problems, it will sag, and that means solids will separate from liquids and it will block. Don't do it.... Why not join smaller lengths of pipe and ensure all joints are supported and the fall is correct.1 point
-
What you need to know is the power rating of the supply, usually expressed in KVA Which is thousand Volts times Amps which for all practical purposes the same a kW (thousand Watts) Ask them.1 point
-
I think it shows that almost all moisture problems come from air currents through the wall caused by bad airtighess. Normally in heating climates we put our air barrier inside most or all of the insulation. It's considered safer but I think that only applies when you are planning on doing a poor air sealing job and air will be moving through the build-up What's almost always neglected is the importance of a windtightness layer that stops air blowing through the insulation at the outside. Moving the airtighess layer to the outside takes care of both of these and as the wall can dry properly both inwards and outward it's a good solution. It'll be difficulty to change people's thinking though. @IanR has a unusual approach. Plasterboard, ijoists with cellulose,and a woodfiber racking board taped for airtighess. It's a nice system. Minimum components. Airtightness layer away from the trades. Plenty of service space. The wall can dry both directions and he got an phenomenal airtighess result.1 point
-
Yes. Installs must be safe. Regulate for that. As per any other trade. MCS as a condition of permitted development is the ridiculous one. It should be a simple objective technical requirement to obtain planning. As per any other trade. Rather than making it conditional that a member of that particular union installs the unit in order for the nose rating on the certificate/noise calculation to be valid.1 point
-
1 point
-
Yes this is a really good point. There are four types of objections generally. 1. Technically wrong so don’t do it. 2. Complex design so expensive to build. 3. Inefficient design so expensive to heat/cool. 4. Opinions on style. 1. Definitely change it. 2. Make sure your financials add up and you can afford it. If money no real barrier crack on. 3. Take it into account and try and mitigate or not. 4. Take on board or ignore.1 point
-
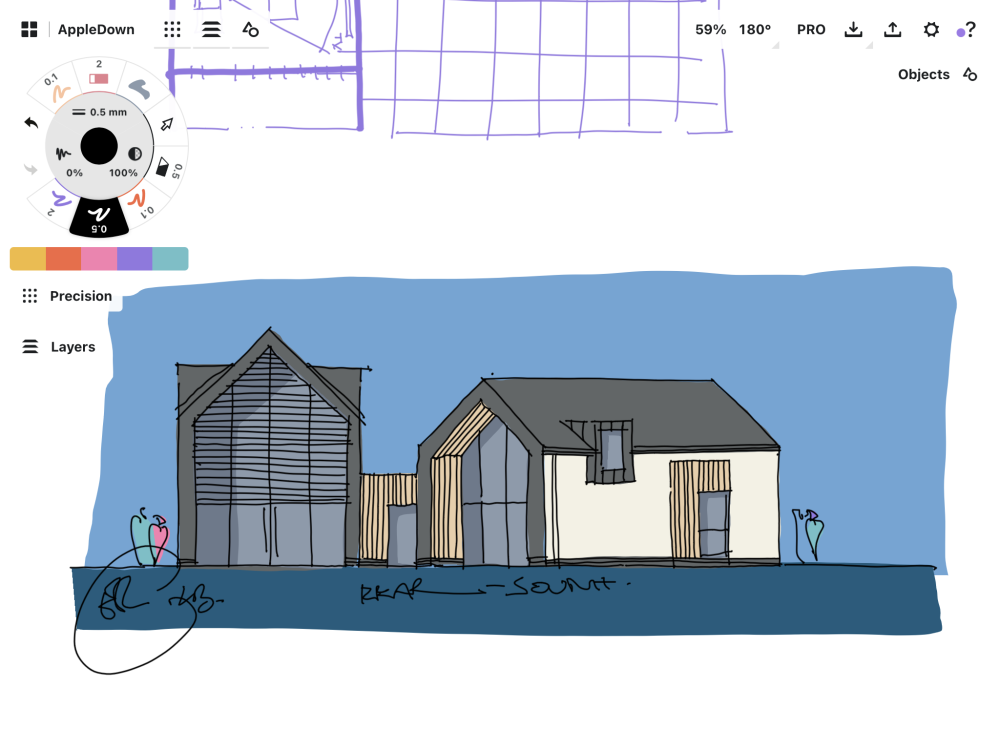
The elevation I drew was one for the bin. I might try again if I get a moment. @AppleDownHow about the adjusted layout? Any thoughts? Maybe tell us more about the style of this conservation area. Some pics might help.1 point
-
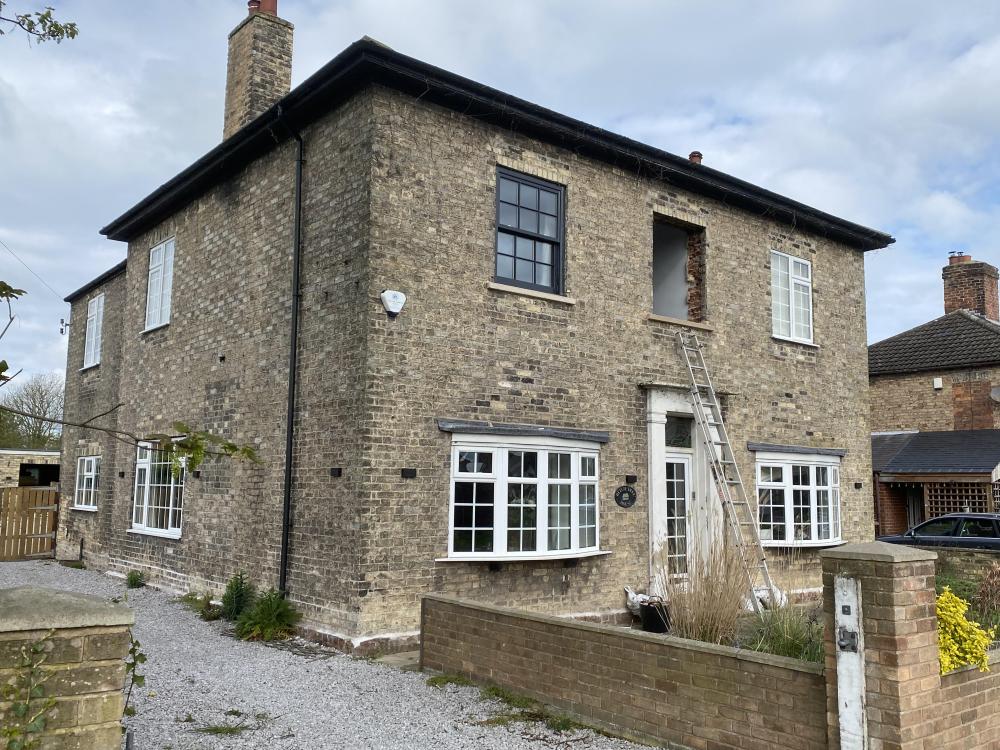
Every third row should be nailed so in high winds you don't say goodbye to all your tiles. I agree with Big Jimbo that's not been done by a real roofer and as you've stated you don't have felt underneath your roof you going to come into trouble there. They should of bedded the last tiles, im not a roofer by trade but have been around enough building work to see that's not right.1 point
-
I'll get one tomorrow. 2nd, of 3 windows, is out and cill poured so it will be a nice before, during, after shot.1 point
-
We will never see eye-to-eye on that theory. Being dry on the inside stops the building from being saturated, and the effects of that saturation cause issues for MONTHS after the externals are rain / weather tight. If you're building through the summer then not so much of a prob, but during and after winter it is an absolutely royal PITA, just like prince Andrew, lol.1 point
-
The thing about a practical SE is that they are quite likely to say that the dead tree is irrelevant, where a bco might not. I see where the worry about engaging an SE comes from..the nhbc implies that you need an SE for deep founds and that an SE will design piles. Not so. An SE will specify only what is required, and that is probably mid depth standard footings.1 point
-
The neighbours new roof is going to leak. That cut tile nearest the guttering is tipping up to the point that any water ingress is never going to reach the gutter. The neighbours new roof does not look like it has been done by a propper roofer. More like somebody chancing it. I am not a roofer, so i dont know if your tiles should have been mucked in.1 point
-
Really they should outlaw S and Y plan, and make hot water priory or X plan mandatory for all new gas installs. They should also make low temp emmiters run on weather compensation and 3m2 cylinder coils mandatory, so all gas installs are HP ready, but make gas boilers condense in all conditions, to give efficiency over 100%.1 point
-
1. DO NOT waste your time and money laying UFH pipes on the upstairs landing. The WILL NOT ever get used, more than enough heat from downstairs. Yet the professional designers still show this. Just fit a normal programmer and individual room thermostats. It will tick a lot of boxes for building control and SAP assesment. Many will say you don't need individual room stats but that really only works with a very well insulated house and if you take the time to balance the rooms properly. As above wider loop spacing, and even wider upstairs as that will need little heat. If you are fitting mvhr, don't aim for ACH 3, aim for ACH < 1 Why not aim for the best you can get? to do it properly at build is little cost, it is all in the detail. I would put the downstairs manifold under the stairs then just rely on the heat from the pipes passing too / from the manifold for heating the hall. The hall has so little external wall the heat loss is tiny.1 point
-
I would also add that in our drive to reduce carbon emissions, a chimney - even a fake one - sends all the wrong signals into the future. I only mention this to assist you in 'letting go' of the idea.1 point
-
@Shaun McD, Using the 1st floor void for distribution, then drop or rising the services vertically through the service void is a very common approach adopted by many here. We did all of our own plumbing, largely under the inspiration and remote guidance of @Nickfromwales, a.k.a my hero 🤩. This saved us a load of money, and honestly we ended up with a far superior installation than if we've used our builder's preferred plumber. It was all relatively easy stuff. There are loads of threads and blog entries from members on their individual implementations, so it is well worth getting a glass of vino, and doing a few hours browsing of these for hints and examples. This will get you started and save you loads of grief. I did the central plumbing in copper. I had done some copper / end-feed work before (about 25 years previously), but you just need to watch a few YouTube videos and have a few practice attempts. I did very little soldering in-place but instead used the valves, etc. plus the odd compression connector too break up copper-work into sections that I could bench solder/assemble, and since these sub-units ended in compression tails, I could add a few temporary end stops to allow me to pressure test the sub-units before assembly. The basic topology was hub and spoke using brass manifolds and Hep2O 1-1 to the whitegoods, etc. Jan and I split the Hep2O 50:50, and she'd never done any plumbing before, but soon became proficient. Have a browse of content here. Brilliant solution. 🙂1 point
-
ICF hidden benefits? Here's a thing.. sometimes rather than comparing each individual element try if you can to look at the design in the round. It's hard to do but just have a look at the house you want to build and trust your intuition.. never be afraid to ask questions at the early esign stage as you are doing. Take a two story house with big open plan spaces on the ground floor and lots of glass... especially looking out to the back garden. When the wind blows it wants to push the house sideways.. we call this lateral stability. If you build a brick / block house then you end up often on the rear elevation with lots of glass with not much length of masonry wall between the glazing panels. You have a series of piers that want to not "topple over" sideways in the plane of the wall.. part of the problem lies in that masonry can't take tension forces that well. When you push a masonry pier sideways you get compression at one side.. and often undesirable tension at the other which can "burst the ball" SE design wise unless you have a lot of load above. If you start to push the amount of glass and fix some of that to the masonry piers you invite the problem where the masonry has to carry the wind pressure /suction loads from the glass.. it can go horribly wrong here as an SE and you then need say to say.. we wind posts etc... you go from hero to zero! In summary masonry is good at carrying vertical loads but not so good when you need to rely on a small length of wall to resist the sideways wind force or suction / pressure loads from glazing. It can / does work well when you have a good length of masonry wall though. Traditionally when faced with this problem we introduce a steel goal post which works to resist the sideways forces, take some of the vertical load and the pressure suction from the glass. We do this lots when folk knock the back out of an existing house. But there is a cost attached.. you need to fix the steel goal post to the rest of the structure and you need often to do some work to the underbuilding.. it gets messy and expensive. Now ICF has hidden advantages that can potentially save loads of cash. Imagine you have a wall with two large glass panels.. 5.0 - 6.0m of glass and 700 - 900 mm of wall each end, 700 -900 mm between the galss panels and say 500 - 700 mm over the top of the glazing.. this 500 - 700 mm could extend up into the second floor (you need to sequence the pour if you do this). The concrete core is just say 150mm thick. You do your ICF wall but around the openings you add a bit of extra reinforcement. Here what you do is to create a concrete portal frame (goal post) all hidden in the wall and in the concrete you are going to pour anyway.. the goal post all for a few extra rebars.. Another gem is that you can sometimes get the extra rebar that form the goal posts hidden in the concrete to resist the pressure / suction loads from the glass. Hope this helps. If you fancy post some drawings and I'm sure we will all chip in with further thoughts.1 point


