


Kelvin
-
Posts
3143 -
Joined
-
Last visited
-
Days Won
34
5 Followers


Kelvin's Achievements
Advanced Member (5/5)
1.3k
Reputation
-
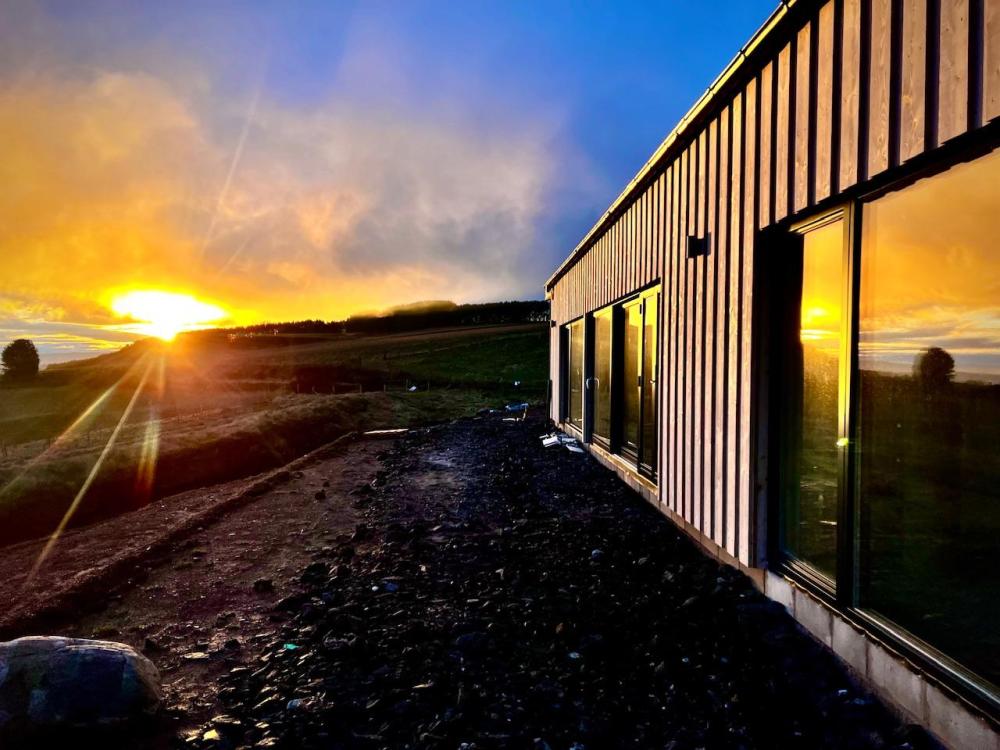
These are from 6-9 months ago. It’s lightened since then. I’ll add another picture tomorrow. Fortunately Board on Board was the profile we wanted. We’ve not done the decking yet. The thermopine decking is lovely and it does go a darkish silver.
-
-
Very nice. There’s a Dan Wood bungalow near us that went up in 6 months.
-
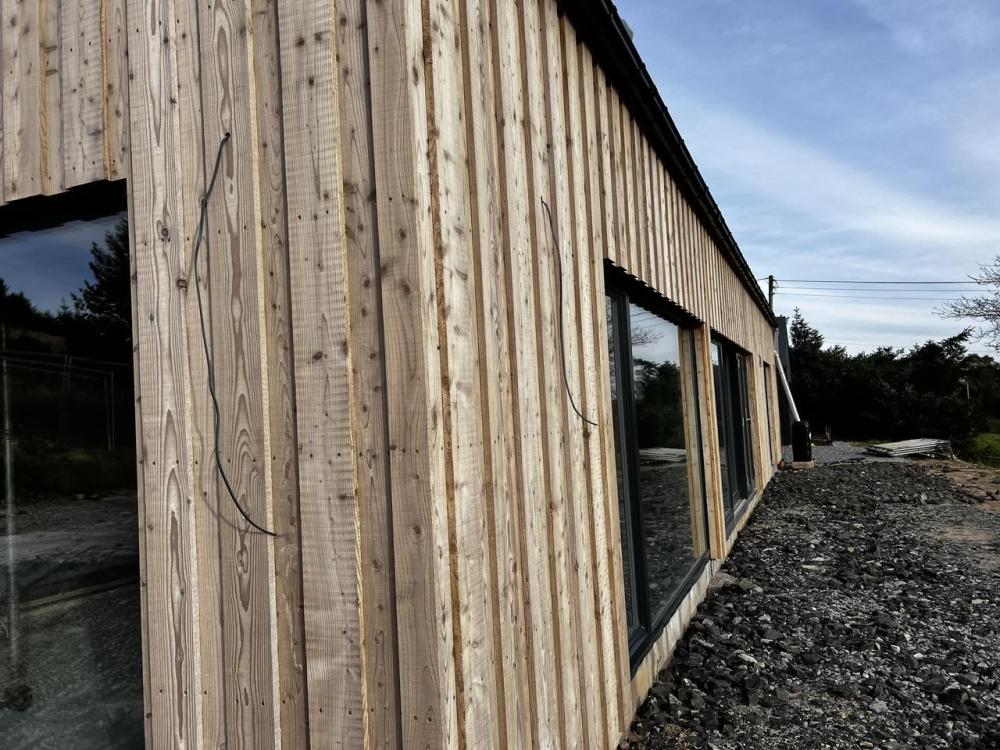
Be mindful that if left to go silver naturally it won’t be uniform. It’ll mostly retain the orange stain under the windows and eaves. The silvering is beautiful, ours looks like golden driftwood. It’s also completely uniform top to bottom and on every elevation. Untreated larch left to silver naturally can look pretty awful quite quickly.
-
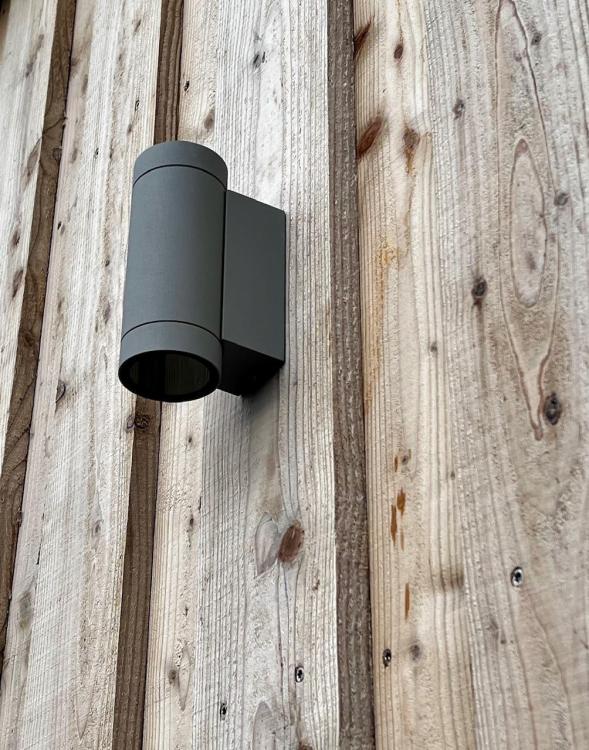
Russwood are expensive but we went with them. Scottish Larch treated with SiOO:X but not treated with fire retardant. We couldn’t be happier with it but it is very rustic. You can see the planer marks on it albeit it’s very uniform and adds a lot of character especially at night when the lights illuminating it. It’s very knotty but we also love that. Russwood also had a quantity of Siberian Larch left in stock. This was a year ago so likely gone now. You also need to factor in intumescent cavity barriers that allow air to circulate behind the cladding but then fill the cavity if there’s a fire. These are not cheap especially for vertical cladding as the void is typically deeper. I have a quantity left over.
-
Columns into concrete with no thermal break seems to be common practice. I’ve seen many builds like this. However, I did insulate all the steel beams including the two that are inside the thermal envelope of the building.
-
Mitigating Risk With Upfront Payments To Timber Frame Companies?
Kelvin replied to thefoxesmaltings's topic in Timber Frame
We didn’t have any trouble getting a quote. I never went with it. -
It’s the curse of the self-builder. You want to micro-manage every detail because you understand just enough to make you think about it but don’t have the technical knowledge and experience to know when to back off. For example, on the steel beams into concrete footings. Mine are too and I planned to fit thermally isolating blocks under the steels to separate them from the ground. However there were too many things happening all at once at the time that I didn’t get around to ordering them ahead of the steels going in. I fretted about this for ages!
-
Do the stairs need to be finished before you can move in? BCO came to visit us and said verbotten until I either mocked something up or finished them. We had a glass panel to go in and the handrail although I used plywood while I was waiting on the glass to turn up.
-
Managing building control in a non-standard way…
Kelvin replied to Omnibuswoman's topic in Building Regulations
I thought the only thing BC is interested in re electrics and plumbing is the safety certs and the final drain test. What is there to inspect at first fix electrics? It’s cable mostly. If you don’t have enough funds at this early stage you really need to do a cost analysis. -
New shower base slightly uneven
Kelvin replied to jimbo789's topic in Bathrooms, Ensuites & Wetrooms
It’s easy enough to calculate. Divide the rise by the run and multiply by 100 to give you the %. Get a straight edge and place it at the edge of the tray pointing towards the drain. Measure the gap (rise) from the tray to the straight edge at the highest point then measure from here the length of the run back to the start of straight edge. Multiply the answer by 100 to give you the fall as a % -
New shower base slightly uneven
Kelvin replied to jimbo789's topic in Bathrooms, Ensuites & Wetrooms
Yes there’s a variability in the built in draining depending on the type of shower tray. Typically it would be 1% -2% which is a fall of 14mm - 28mm. Work out what the actual fall is. As far as making a ‘claim’ do you mean raising it directly with the builder and hoping he refunds something and eventually going to the smalls claims court if he doesn’t? It’s obviously bothering you a lot so calculate the actual fall you have then raise it with the fitter. -
New shower base slightly uneven
Kelvin replied to jimbo789's topic in Bathrooms, Ensuites & Wetrooms
The shower will have no impact on the value of your house. They won’t notice it until the new owners have a shower. Even then they might not notice it. What I suspect they’ve done is introduce a slope for draining without taking into account the built in slope of the tray itself. On very large trays a slight slope keeps the water from sitting on the bit you stand on to dry yourself. One of our trays is almost 2m wide for example so we installed it with a slight slope as per the instructions. Not noticeable at all. -
New shower base slightly uneven
Kelvin replied to jimbo789's topic in Bathrooms, Ensuites & Wetrooms
The likelihood of it being ripped out and made good with no damage or other new problems is relatively high unfortunately so you could introduce different problems trying to fix this one. Have you paid them? -
Here’s an in depth study that covers it. It’s by Pro Clima AUS so not exactly independent. It might require you to register to access it. https://proclima.com.au/wp-content/uploads/2023/04/Pro-Clima-Australia-Study_2023_3.4_online.pdf


