Leaderboard
Popular Content
Showing content with the highest reputation on 01/16/19 in all areas
-
Beware mould release agent on the underside of the tray ( from the manufacture process ). I use the tile adhesive like Ajax and scrub the bottom of the tray until I can see the adhesive wanting to stick to it, and then sponge it off. Apply a bit more as a bed for the tray to set into the adhesive you've applied to the floor.2 points
-
2 points
-
2 points
-
I would be building that of 4 by 2 minimum with 2 straight runs across the top. Might also line one side with OSB before the plasterboard.2 points
-
We are looking at putting in shower recesses into our showers. Are these prefab boxes worth it? https://www.kerdi-board.co.uk/shower-niche.aspx https://www.pureadhesion.co.uk/marmox-niche-300x400x100mm.html If so, anyone got any preference? Thanks1 point
-
Forget sand and cement, its the worst advice given by far Ideally you should be gluing and screwing at least a 6mm layer of plywood down and then sticking the trays down into a bed of flexible tile adhesive. Wet / prime the ply first and then it'll stick like shit to a blanket.1 point
-
This is only temporary. @Onoff definition of temporary may be a bit longer than mine.1 point
-
If its sat directly above the 'buffer' and needs no lengthy pipework ( wasted time and fittings / pipe ) then yes, will do the job. You should know by now that I hate header tanks / open pipe systems ?1 point
-
Surely only if it is designed as an unvented cylinder. A header tank, even without a ballcock would seem better. Just keep an eye on the level if you do that.1 point
-
1 point
-
For a total layman, the Housebuilder Bible was absolutely fabulous read, before that I had no idea at all what it means to build a house from scratch. Obvioulsy, thing change in real life faster than they publish *th edition of the HouseBible (as DH came to call it), but some ground rules and a bit of insight into how the industry works is great. Mine copy of HB is now all feathered with sticky notes for future reference.1 point
-
1 point
-
Vile digs on here today must be all the brexit sh$t bringing the worse out in people ?1 point
-
New tile. OTOH if this bathroom was 20k, if you could gut it and start again for 10k, perhaps you could persuade yourself that you have saved money...1 point
-
1 point
-
Insulation boards cover the whole floor area but the heating mat only covers the area that you'll be standing on, don't forget to go a little underneath the wall hanging toilet to save on cold toes for the boys Then you latex over the whole lot to get a flat surface for tiling - and tile under bath ensuring you have made allowance for drainage - the flex connector we got with our freestanding bath was not sufficient so plumber had to rip a big hole in the newly tiled and tanked floor to make space for a proper u bend. Thankfully we dodged hitting the UFH mat - heart was in mouth that day. Our tiler did the whole thing - I have the alarm box for the mats that warns you if they get damaged during laying, if you want to borrow. You need to take multimeter measurements when they're rolled up, unrolled and installed and record these for the warranty. Used 150W Warmstar mats off eBay - work a treat.1 point
-
If only I'd have known... ...I'd still have made my own probably!1 point
-
1 point
-
The render is the SAS ProWall Rainscreen system in white. Had render board, base coats, mesh and top coats - still not finished. The cladding is the Cedral Click cement board mounted vertically. In "Dark Brown". We chose this because it is low / no maintenance and wouldn't weather like a natural wood. Should hopefully look like this for a long time to come. The joint between the render and cladding will be siliconed I believe but I will post more on that as things progress.1 point
-
That's alot of insulation - over 600 bags of the stuff. They cut a load of holes in the MBC vapour layer ply. More holes than we ever imagined. Then they pump the insulation into the holes to fill up the walls (300mm deep) and ceilings (400mm deep). Some of it escapes. Easy to vacuum up though. Then they put the ply discs back in and tape over the holes. They have left us with some patches for areas of the ceiling they can't reach and for any they might have missed. Only found one so far. Sean and his firm - works subcontracted for MBC for alot of the pumped cellulose insulation for them - was fantastic. The house is definitely warmer inside now, and the echo is now deadened. It is so quiet in there. Can't wait to move in........1 point
-
Yes, a hot return. On advice from plumber and @Bitpipe who is pleased with his.1 point
-
Google says https://www.jewson.co.uk/tool-hire/power-tools/fixing-equipment/products/3301/paslode-ppn35i-positive-placement-nailer/1 point
-
I ended up moving the stud wall slightly and running it under a joist. I insulated the wall with rookwool slabs and I also put rockwool either side of the joist. I didn't do with the design as shown by @Temp above but did double board on both sides.1 point
-
1 point
-
I think smash off the tile and start again. You don't really want a cut edge at the bottom anyway.1 point
-
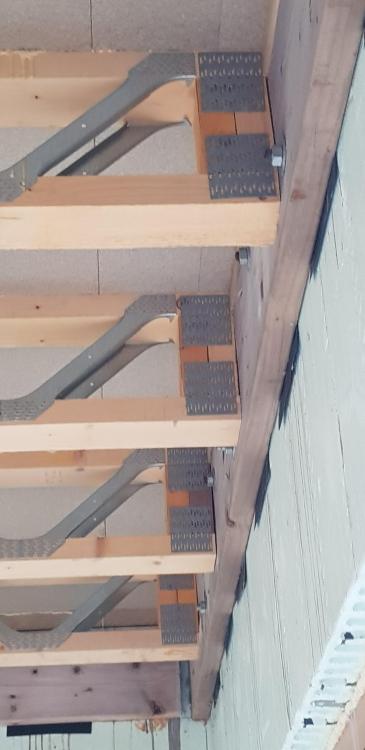
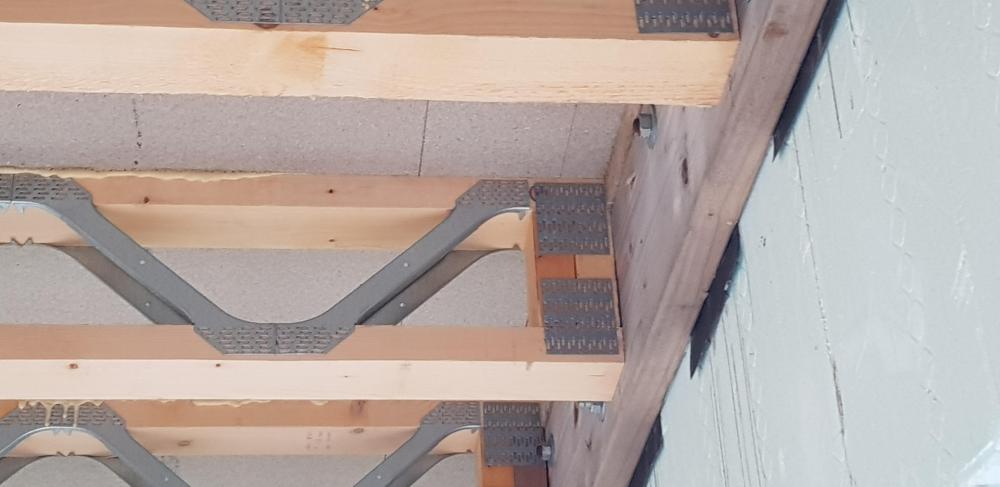
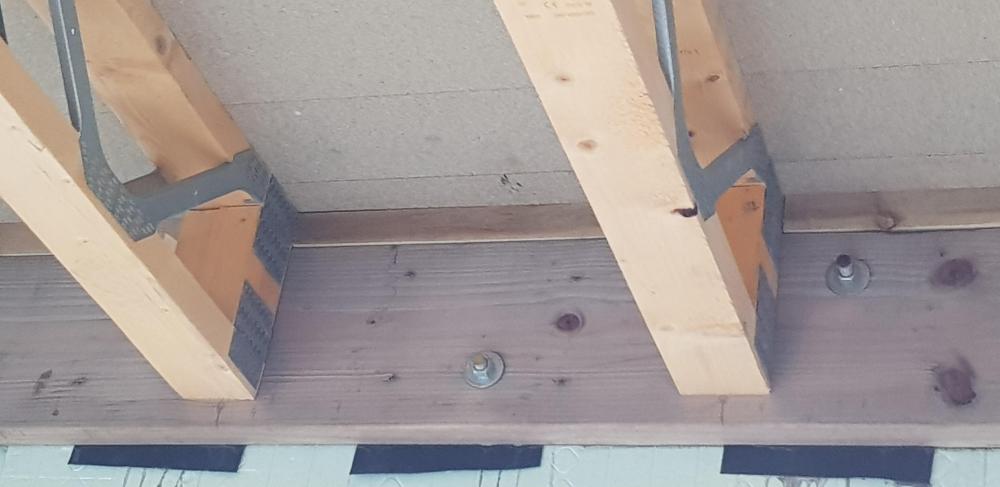
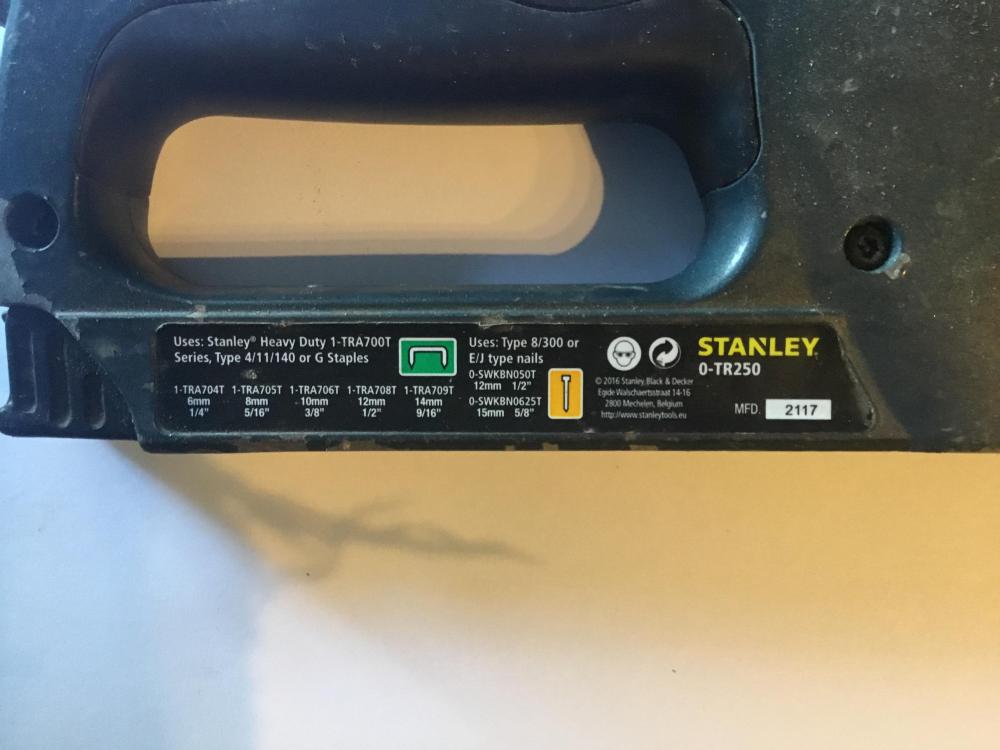
It’s not just that it fires into the hole precisely, it also fires the correct nails, don’t be using framing nails to fit your hangers.1 point
-
The upstairs cladding looks similar to mine - vertical slate. Watch out for lead times if you use Marley vertigo.1 point
-
Oh well backwards Britain strikes again ive been doing it like this since 1865 ??1 point
-
Just the one. IIRC the result was 0.43 ACH @ 50 Pa, so massively under the Part L1A maximum allowable. This included some known air leaks at the door locks (easily fixed with the injection of some very thick, aerosol-applied, motorcycle chain lube) and leaks at two doors where the hinges and catches needed some adjustment (again, easily fixed, although a bit fiddly to do in the case of our French windows). I'm certain our airtightness is now better than when the house was air tested, but whether this makes any measurable difference to performance is debatable. I'm inclined to think that once you get down to below 0.6 ACH variations from changes in the wind speed outside impacting on the MVHR are probably a greater influence. I found that when balancing the MVHR there was a pretty wide degree of variability in flow rate as the wind gusted outside, presumably due to local small dynamic pressure differences between the external intake and exhaust. Not worth worrying about, but it was clear that this variation probably swamped any variation from air leakage.1 point
-
This, gently chase, understand that they are stretched and act accordingly. Case in point when i had a meeting with a planning officer, i asked what there timescales were to receive a formal response. They said 2 weeks, and if i hadn't heard anything after that time, feel free to call and remind them about it.1 point
-
1 point
-
1 point
-
If space available build out of 6 x 2 and line with osb. When fixing to floor stagger fixings so they do not run in straight line to counteract the wobble factor. Belt and braces.1 point
-
1 point
-
1 point
-
1 point
-
You could consider a red door and garage door. Needn't be a bright red, but something with some colour will tie the two parts of the house together while livening to whole thing up imo.1 point
-
I've found a small dealer locally with 3 x 2.5t kubota machines. KX61-3 and UR25-3. These seem pretty well regarded so going to go and have a look. Also, by bizarre coincidence, a bloke knocked on the door recently who it turns out grew up in our place (well, in the timber shed we demolished). He was passing and just wanted to have a look around. It was then 50 years back a full blown small holding and was very interesting to learn about the history of the plot. And it turns out he's a semi-retired machine operator and he gave me a load of contacts including a local plant engineer who will for a small fee come and inspect any machine I am thinking of buying, which was nice.1 point
-
Whilst our planning application was in process there were three changes of staff, i’d chase them as it may be sat on someone desk in the “to do” pile!1 point
-
Putting a restrictor on the outlet of a mixer tap increases the pressure in the tap. That can cause the seal between the body and the movable part of the tap to leak more. If you have an isolation valve under the sink to make changing the washers easier perhaps just shut them off a bit until the flow rate is within limits.1 point
-
Our sole plate is a single 300mm Steico I-beam which has OSB3 web strengtheners bonded underneath at intervals where the plate is bolted to the slab. The 300mm Steico I-beam studs are nailed to the sole plate.1 point
-
Nobody can ever know whether or not any applicant is in 'bad books' ; there are too many actors in the play. Professional, polite, persistent works well - mostly.1 point
-
We have this and ours is 300mm FJI joist studs on top of two parallel sole plates of 75mm x 50 and 150 x 50 with 50mm x 75mm thick PU infill in the gap. Every so often the stud is fixed, via the web, to the concrete with a strong tie angle bracket in the PU trough which is fettled around the bracket. All on top of a DPC. PS this is as our SE detailed.1 point
-
K-Rend that would often be used doesn't come in dark grey, most houses I see with that sort of colour on them it is an area of dark stained wood or some other cladding, not render. I do like the aspect of the upstairs windows. Not sure the grey works on the end, I think the issue is the grey gable, it might work better hipped, but it would be more expensive and the hip would cut close to the main roof. Or maybe the end could be white and the area around the garage clad in dark grey rather than rendered. A personal thing is I do not like a door flush with the front of a house, I like it to be set back a little ideally if you can or some sort of canopy to keep the rain off. I think in this case if there is space I would like it sunk into the front a little.1 point
-
I'm not sure what external texture you have in mind (render?), but if you are keen to maintain contrast (I can see the point), I would probably take this contrasting a step futher and do a WHITE garage door to the left side of the house, to contrast to the dark entrance door on the right. Also the left-hand blind wall (neighbour-facing, I assume) can be rendered white / light (same as the righthand part of house), so you would have some sort of interplay between the two. White window frames to the dark side. A bit like Alice in Wonderland, but with correct materials it can be made fun and attractive! You can then take it even further by planting contrasting soft landscaping elements to blend it in (e.g., white flower shrubs / baskets) against the dark wall and darker intense colours (e.g, plants with dark foliage) againts light-coloured wall. Then it makes the whole lot look conceptual1 point
-
Right, think I found the problem. In the return part of the manifold is a sprung plastic valve that I believe gives preference to heated water entering the manifold but if the TRV head says “no more” it allows the return water (cool) to be circulated instead, this valve had come loose and so was allowing only coolwater to be the circulated rather than incoming warm water. ASHP back on (with immersion to help heat the buffer quickly) and will report if it works or not.1 point
-
This bit of the Building Regs is nonsense. All that needs to be done is a letter from you stating "Notice under regulation 37 that water consumption is less than 125 litres/person/day using fittings approach”. Spend no more time on this!1 point
-
Hi, we just wanted to introduce ourselves and our Red Kite mascot. Our Kite is a life size steel sculpture made by a blacksmith in Pembrokeshire - started out bright steel but is now rusting nicely to a lovely red kite colour. We love it, and its carefully mounted on a temporary post in anticipation of the demolition of our scuzzy 60's bungalow and moving to our snazzy self-build. Well now at last we can join the ranks of the Self Builders - after a 4 year battle we FINALLY won our second Appeal and have Planning Permission (we just can't stop grinning). We can't tell you what a relief this is: 4 years of 'life on hold' and at the whim of an inordinate number of stupid Willy Wonkas who seem to have either egos the size of a planet or brains the size of plankton. Planning has been a complete nightmare and is worthy of a blog post in its own right - a combination of a painfully slow and inconsistent LPA (6 planning officers and counting), being surrounded by some truly VILE neighbours (105 letters of objection!) and vicious local politics with an 'interesting' planning committee ( we made three appearances and vowed 'never again'). So a combination of 1 pre -app (complete waste of time and money), 3 CofL's , 4 Planning apps and 2 Appeals (both with officer approval and rejection by committee), we are there and we can finally move from Dreaming the Build to Building the Dream. It is, as they say, water (and a lot of money) under the bridge, and we are trying to put it behind us but as anyone out there who has been through it will know, it has been a truly unpleasant experience. But now this is where the really EXCITING whirlwind starts - the pace just seems to accelerate, and sure the storm is just starting to build up. So far lots of meeting with Architects, SE's, Timber Frame vendors, Window makers, Money men, Accountants, Services, Groundworkers etc etc. As yet no decisions on build route or construction method but accumulating lots of information, reading this excellent Forum, picking brains and thinking a bit. The plan is to build two contemporary, lowish energy houses and live in the bigger one. The challenges are a sloping clay site with tricky drainage, building into the slope, and a bungalow that we are itching to move out of and demolish! We will try and keep up with a few progress posts and a pose a few interesting questions to the knowledgeable community out there. We are on the Gloucestershire / Wiltshire border so if there members nearby we would love to see what you are doing. Oh and by the way did we say we are just so EXCITED to be building!!!!! We am sure Self Building will have its lows but its hard to imagine it being worse that 4 years of Planning misery.1 point





.jpg.c21f3ac78c9b7efd90cbdcb312744dc5.thumb.jpg.7adcad4c0e384f5ecd7d56b0618df6e5.jpg)


