Leaderboard
Popular Content
Showing content with the highest reputation on 05/14/24 in all areas
-
Both skimming and taping is likely to look bad if done by an Amateur Once the lights go on or the sun hits it It’s one of those jobs that your better paying someone to do I’m 62 and skimmed our six bed room house out in a week with the help of our son It could tie a novice up for weeks and still look rough4 points
-
What the Spanish municipal authorities would do is build this in brick or block, then rough render it to shape, then render or tile it. There are well designed kit systems for retaining walls , with stone effect as an option. Your photo is an example of spending someone else's money.2 points
-
I run a dry lining company around half of our jobs are tape and jointed the other half skimmed Tape and jointing is slightly more expensive I’ve skimmed my last two builds Personal preference2 points
-
The Americans tend to not skim, just “joint” and “nail” cover, I have done this in an office environment (huge wall) but I prefer a proper plaster skim (and wet, not D@D) but I am old school. 🥸2 points
-
For transparency - LZOH/LSZH is about 20-25% more expensive on a quick internet search2 points
-
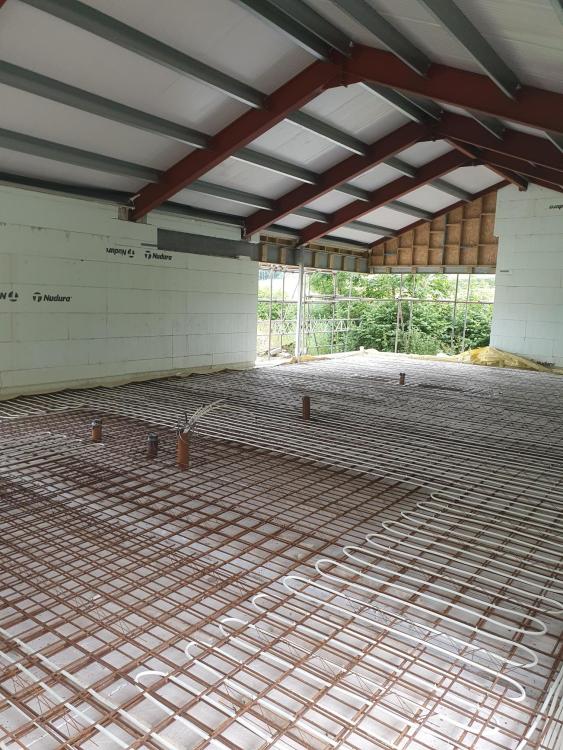
Just about to do this myself. Using metal boxes with conduit running through the EPS (Nudura in my case) then an adapter to hold the conduit to the metal box. The key thing is the cable must NOT touch the EPS.2 points
-
Not sure how it sets flow temp or if it can? Optimised start and stop is available on a several thermostats (Salus SQ an WQ series for example)g, so not really seeing any advantages over a £60 thermostat. It saves x% is meaningless rubbish in rubbish out, with facts to back it up. Weather comp or batch charge on time of use tariff, for good running costs2 points
-
Would recommend 47mm deep plasterboard boxes and all chases hot knifed and conduited between webs.2 points
-
1 point
-
This is all that matters. It is the force of the cold mains pushing hot water out of the cylinder that gives you the 'high pressure' (aka balanced) supply you need. I would not fit an electric shower here at all as it completely wastes the saving from all the expense you have gone to installing an energy efficient heatpump that will produce hot water. 100% use the cylinder for the showers, but my worry is that your plumber may not have plumbed this for "balanced" supplies (all mixer outlets like showers fed from the cylinder multiblock (aka control group)). Do you know anything about the install?1 point
-
What on earth is your foundation supporting? 4 rows of mesh…..😳😳😳 Whoever specified the mesh should be able to tell you exactly where it should be located.1 point
-
1 point
-
1 point
-
Polypropylene lined. Get a great finish at a low cost. (I used to make concrete moulds, Reigate junction on M25 was one of mine and a flood defence in Swansea)1 point
-
Just so you know, you will not get what you're after using the EasyControl. Re how EasyControl does zoning and modulation, read this: https://www.worcester-bosch.co.uk/professional/news/smart-heating-gets-smarter-with-zoned-heating-control It only does zoning with the smart trvs. How is your plumber going to implement Worcester PDHW with the optional diverter valve kit and zones using motorized valves? Ask him or her to explain it to you in detail before parting with your money. Get them to show you the wiring detail in the boiler installation instructions and the EasyControl instructions and the diverter kit instructions. It's not about the wrong decision as such, it's about whether you're actually going to get what you think you're going to get.1 point
-
It shoudn't be in anyone's mind in my opinion. Their publicity is good. They have their own defintion of insulating performance. I'd maybe use it in an attic or shed if it was half price. I went to a presentation they did. They shouldn't have invited knowledgable people, and so they concentrated on their other products.1 point
-
Using fancy plywood for reuse and a good finish. Then pour 0.5m3 each pour? Site mix. And adapt for corners. Or forget the municipal look and go for a rustic board finish.1 point
-
1 point
-
1 point
-
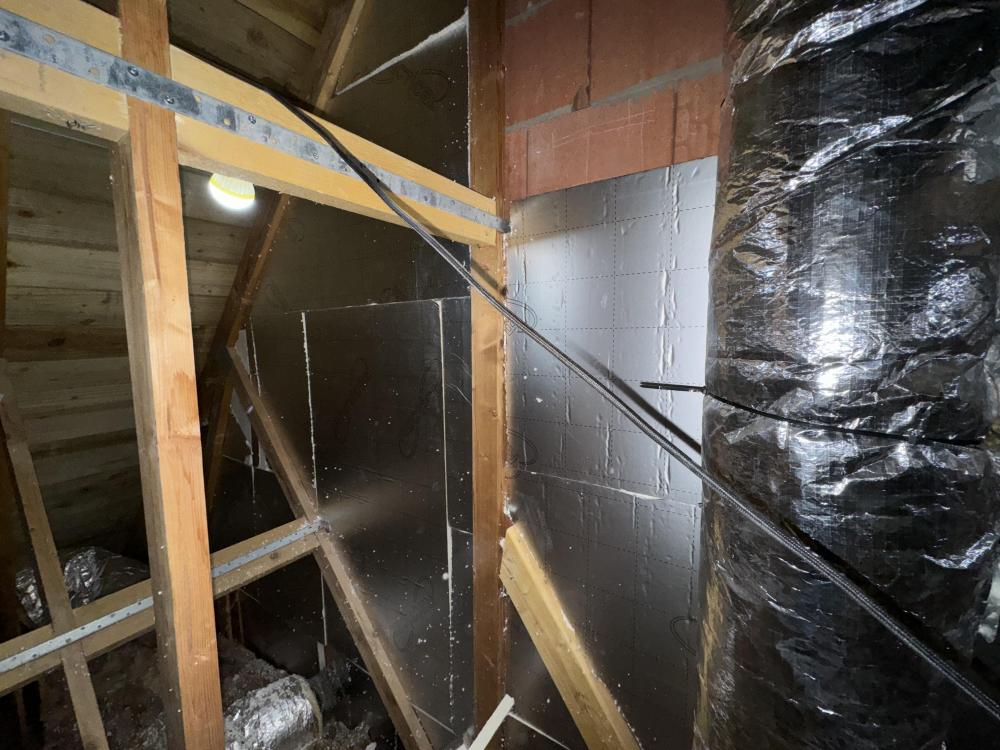
Forget superfoil. Certainly in this context. It depends on adjacent air gaps doing half the work. Might as well use bubble wrap. 20mm of insulation would cause most heat to go up into the room. The waste is still in the house as others say.1 point
-
Yep! They look very close to some precast benches we were asked to lift in. When the guy said they were around a grand for each 2m block he was told to “drop them in place” his self.1 point
-
1 point
-
I am not keen on tape and fill. It doesn't seem to give such an even finish when painted. That said, it is what they have in almost all commercial areas you see. I hate the dust from tape and fill and the mess from plastering, so take your pick.1 point
-
1 point
-
Right. Then should be OK. Will loose about a watt per degree temperature difference, and as you say, will stay mostly in the building. The MVHR will suck it away and redistributed it.1 point
-
My thoughts are that even if there is no insulation on the first floor, and the heat travels downwards in to the slab, does it really matter? The energy isn't lost, it is still heating the house through the materials under your feet. It might just be a bit slower to react, but if you are running an ASHP low and slow, then the effect will be lessened even further. If I am incorrect, then please let me know.1 point
-
I bought a new built, estate house many years ago that had an unskimmed drywall finish inside. I was surprised, but it wasn't too bad. The joins were all taped and filled and the paint finish was pretty good. It was in the early nineties recession and house prices were dropping so I guess the builders were saving money.1 point
-
1 point
-
Sensible. A look at my posts about ecologists will show that I have form with that particular breed of human. Maybe the two or three ecologists I came across were Albino , Melanistic perhaps - whatever, they were deviant, sloppy, expensive and over-qualified in the technical sense: underqualified in the common-sense sense. Apart from my aversion to paying their mortgages, if Permission merely requires builders to take advice, or simply follow guidelines, we can do that without needing someone to do it for us while being paid £200 an hour on our dime. I forgot to say, you can easily do a Bird Survey by using any Bird Call Analyser (App). There are a good few available (Here) The thing about them is they will list and make recordings of the bird calls for you - and thus give an independently verifiable record of what is likely to be found nesting around your place. Give that, you can make a good stab at where they are likely to be nesting by consulting any of the many online resources about the species nesting habits. For example the app may detect a seagull. You can be sure that one will not be nesting in your hedges or trees (because they don't nest in that habitat). But most importantly, if anyone asks for evidence of your survey, if you've used the app, you have time, place date and species identity records right there on your phone. Ian1 point
-
Reading the original post again. The simplified method of dealing with glazing in an extension is 25% of the floor area of the extension added to the area of the original openings which are now enclosed should be equal or greater than the total new glazed openings. So, you have a 28m2 extension so at 25% that is 7m2 which is nearly equal to your 7.5m2 of doors. If your original openings equal at least 6.0m2 (3 x 2m2 roof lights) then you're ok. If not then as mentioned by Redbeard you can do an area weighted calculation where you offset the extra glazing with higher levels of insulation to compensate. If after all that, you can't show it works then I'm afraid it's the SAP calculation if BC insist on it.1 point
-
1 point
-
Either will work at a push, but the male leaves the threads exposed within the box which makes pulling cable more difficult and prone to damage. Female is best.1 point
-
1 point
-
Any Subcontractors invoices for qualifying items will be zero rated. So I don't understand where the delays will be, they send you an invoice with no VAT - job done. You don't need to worry about those items, or their VAT returns.1 point
-
My wife really wanted me to pay someone to do it but I knew they wouldn’t take a lot of care over it.1 point
-
It is only PVC jacket cable that is a problem. LSOH/LSZH jackets do not contain PVC and will not react with EPS. The only cables I have that are not LSOH/LSZH is the special coms cable from Panasonic to add LAN to my ASHP. You can easily get electrical cable, speaker cable, hdmi cable, cat6 cable, etc with non-pvc jackets.1 point
-
As long as a vibrating poker is used while the pour is going on you shouldn't get any voids.1 point
-
Thanks @ToughButterCup yeah I'm really not willing to pay god knows how much for them to tell me there are birds there and then shut the site down. One option I think we might pursue is not to start any work on nesting areas at all until september, so crack on with the groundworks and some underpinning elsewhere which would negate the need for a bird survey as we wouldn't be working on areas where they are nesting. Then come September start the roof strip off at which point the ecologist will be there but birds will have gone.... all depends on there being enough for the builders to do for 2 months though...1 point
-
Politely tell the ecologists that in this context, ( non dischargeable..... no evidence) you will do your own survey and subsequently follow published guidance on building and wildlife. Cue mini explosion from the ecologist Sit tight. And there's nothing the ecologist can do - nothing that is enforceable. Demonstrate how you have followed guidelines : evidence the process. Images, notes, photos.... Cost £ 0.1 point
-
Reinforcing is tied together so it acts as a continuous piece, overlap and wire together.1 point
-
We had three quotes ALL came back with the same calcs Like many things They seem to use the same software1 point
-
1 point
-
Yeah so I think I’m going to have to speak with him and tell him he needs to put this right not gonna be a fun conversation and I’m sure as hell he’s not gonna be happy with it but it’s too much of a risk especially after getting confirmation from the manufacturer just not prepared to take this risk I would like to thank everyone who has helped me I really appreciate it and hopefully he does it right this time around otherwise I’ll end up back here 🤦♂️1 point
-
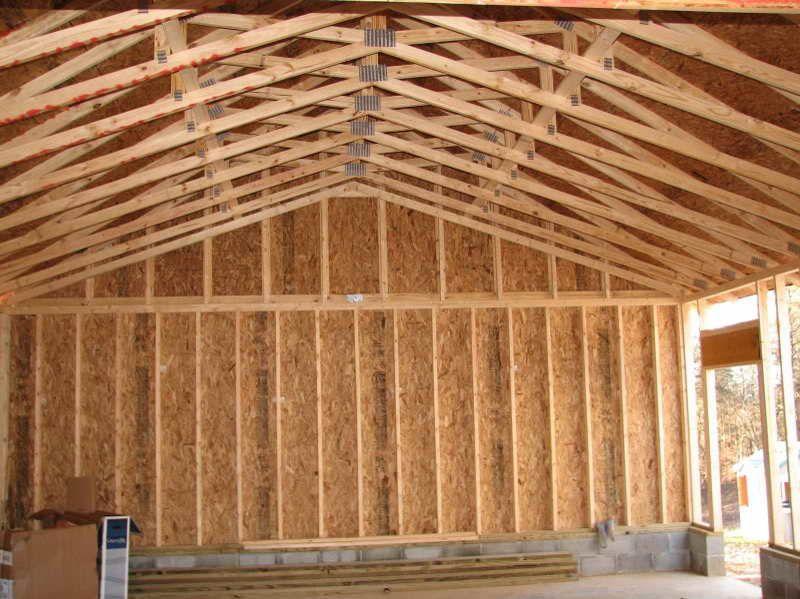
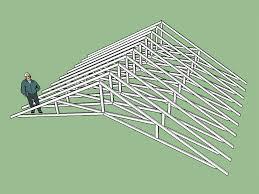
You cannot built a vaulted roof in the same way as a traditional or truss roof. You should talk to a structural engineer about what you want to do. Essentially you need a ridge beam (not a ridge board) to carry the rafters to prevent lateral thrust on the walls / reduce it to a manageable level.1 point
-
It really is simple. Run an ASHP at a COP of 3 or better and the cost is comparable to mains gas heating. I expect very few people actually save money by switching to an ASHP. The problem with retro fitted ASHP's (boiler replacements) is to get a reliable COP of 3 or better you need low temperature heating which really means UFH or vastly over sized radiators. And that is where the problems start. Who wants to rip the whole house apart to fit UFH (and the under floor insulation that would be needed)? So most will stick with radiators, perhaps a bit over sized, but I bet they will still be running what most of us consider to be "hot" and with a poor COP. ASHP's should NOT be sold to the general public as a way to save money. Yes a way to reduce CO2 emissions but not a way to save money. That is just asking for lots of people to complain very loudly when they do not save money. When I chose an ASHP for my new build, it was not because I thought it was going to be cheaper. I am happy to settle for similar running cost. It was because there is no mains gas here and I did not want an oil tank in the garden.1 point
-
Chase out with an electric foam cutter https://hilltop-products.co.uk/tools-cutters-machinery/hot-knife-rope-cutters/hand-held-hot-knife-rope-cutters/hand-held-kd-7x-premium-hot-knife-foam-cutter-groover-kit-with-case-accessories-230v.html1 point
-
With any self build, unless you can afford an Architect/Builder to oversee the whole project, you're going to be chasing people, materials, answering questions and more. My own project is up to roof stage, timber frame is finished, roof finished but outer brick/block leaf is next, then soffit, fascia, gutters, then porch, then windows & doors. Each have their own challenges. On top of my day job! I've a delivery of lintels tomorrow and I only thought to ask what size rigid truck is it to find out it's a full Articulated Truck with a moffet (look that up in goggle!!). Won't fit in my housing estate!! cue plan B, C and D !! We're going to offload it to a footpath outside my house on the other side of a council wall and I'll use a hand truck to get them one by one into the site through a gap some teen made wider last year and it was never fixed by the council! I'm sure each self builder has a raft of such stories. My house needs 2500 bricks and 1280 blocks. The brick supplier I'd booked and paid for in full, was meant to deliver this Friday along with the block supplier providing all the blocks, sand, cement etc. They gave away the bricks to another (assume larger) customer and it's 2 weeks to get a new order in from Belgium. I tried the other supplier I found in google for the same bricks and got through to the same woman I'd been dealing with, same company, one's a shell I'd say. Tried the supplier and they only supply to this one company in Ireland. Anyway, as a one off house they can bump you down the list so I tend to like to get things onsite a week or two early to avoid this added hassle. I've very tight for storage but if you have a brick layer onsite and no bricks you'll be forced to buy something, anything and have to live with it forever. Time management - getting answers to questions is one thing, learning on the job is another. I want to nail in about 200 nails by hand but after realizing my initial attempts were leaning tower of Pisa'esque, I purchased a first fix nail gun, my first! Wow! 200 nails in 3 hours, all batons attached to the window openings. I can sell it later but the right tool for the job for sure! I've to install my first express nails tonight after learning about them from a neighbour - fixes wood to concrete. The roofers left 6 Velux boxes behind with BBX on them. What are they for? An extra? Do I need them? I think they are to act as a vapour barrier and possibly air tightness according to initial google searches. Something else I've to figure out later on. The roof has turned out well hasn't it! They had to finished the Oriel Window Metal / Trocal flashing before they finished roof tiling. It has a ventilated ridge and those plastic covers at the edges all the way along the roof line instead of cement they used to use. I've about 40 spare tiles stored away! The outer brick/blockwork is my next major hurdle. There's a few items I need to buy, figure out and get onsite: 100mm DPC for above 1st course of blockwork above foundation 18" DPC for around windows Expansion ties - Ancon PPS200 ebonded Safety Tie - box of 250, at least I have spares! I can return the unused ones. Wall vents - using Timloc Cavity Wall Drill Vents - you drill a 25mm hold angling upwards and then plug this into it. This absolves the brick layer from having to install them as they go Wall ties - the timberframe supplier provides 4 boxes of these and marked up where the studs are to get good purchase Stop Bead and Drip Bead (plastic) for render, Weber OCR, Weber paint (I'm doing this job once the blockwork is finished), Mitre bond glue (2 part glue) Gutter Brushes for later Expansion Joints - I've two 10 meter gables, each require two expansion joints. There's an awkward window and ESB box on one end of one side so thankfully we're putting the expansion joint past both of these even though you should have one every 6 meters and within 1/2 of this distance from the corner, ours will be 3.8m from the corner. the timberframe amazing team marked up the best positions for expansion joints and identified this one before the Structural Engineer signed off on it. I've taped up all the Solitex on the outside of the Timber Frame, plugged the side door up with timber, OSB and more Frontex WA. We're still installing a lintel in the blockwork but will ignore it otherwise for the block course and if someone wants to open it later they can with an angle grinder! It saves wasting a lot of space in the utility room having a door there with no purpose. There's no sink = reason to not make it a boot room really. I'm lining all the window openings with insulation over the next week or so and adding batons to take the window straps. They want a strap within 100-150mm of any corner and no more than 700mm apart. The Straps are 1mm thick and come inside the window about 100mm. I've sourced wood to exactly match the insulation thickness which can be hard but avoids trying to plane / table saw wood onsite. This Friday I've to hope everything fits onsite as it's delivered and we've room for a telehandler afterwards for when the brickie's start! That's a snapshot of my week! I'll do a post about powering electrical devices onsite without a generator using an Electric car & Anker 2kW battery soon I think, some lesson learnt there!1 point
-
Modern houses end up with a bit of wall and ceiling acne. You’ll stop noticing it pretty quickly. Our kitchen ceiling is a bit busy.1 point
-
Tufty’s plant room definitely looks the business..I definitely would go as big as is comfortable to. We had 1.8m x 2.7m and it has ended up a touch too snug because we originally did not plan for one and split our generous utility room to create ours. All our MVHR equipment, Solar PV set up and batteries, Hot water cylinders, Buffer cylinder, Water softener..blah blah..will be lucky to get a little space left over to put the rechargeable vacuum cleaners out of sight.. Fermacell sounds a brilliant idea for maximising wall placement… as does making sure that there are good heat smoke alarms installed .Earlier on in our design process ..researched Plant rooms as I had this same question and there was precious little info out there..Really informative thread!1 point
-
0 points


