Leaderboard


Popular Content
Showing content with the highest reputation on 02/11/24 in all areas
-
@Kelvin , @windaes. some other ideas on the same theme, this company are around the highlands and build a moveable one with the same principle, and DIYABLE. https://ukpolypods.co.uk/2 points
-
A well known user here @Jenki built his own version of a rigid polytunnel, have a look at his blog.2 points
-
If you are lining with OSB, then noggins are redundant. Noggins are there to stop the studs twisting and deflecting from vertical load. The OSB will do this instead, and then some! Find him something else to keep him busy!2 points
-
We have a 3m slope building an upside down house with 5m doors on a floating patio at the rear. We originally thought about building a first floor overhanging by digging into the slope but with a timber frame it’s as cost effective to extend the foot print. We had to float the patio to allow airflow around the building. our architect told us that it would be really expensive and said a cantilever would be cheaper but dealing directly with the SE and TF company we got to a cheap solution (including sacking the architect). So what I’m saying is don’t assume you can’t cheaply build on a tricky site. Engage a good SE.2 points
-
I really hoped that now we are progressing after our suspended floor saga that things would get better, but something somewhere is determined to make sure that doesn't happen. The only change is that this time the things that have gone wrong are not build related. Firstly, my brother, only 63, died of a heart attack with no history of problems. I spent 5 days with him and his wife / kids in intensive care hoping against hope that he would pull thorough, but at 6am 6th Feb his heart gave way for the last time, no more restarts, RIP Alan 😞 Just before that, 6 days before, I got told that I've been made redundant, as the only breadwinner that's another major blow, the build funds are sorted, but we still need to eat and pay the bills and run the cars. So, forget build PM I'm now looking for a job that offers enough for us to live on. The only snifter I've had would be a 20k reduction in pay with an hour's drive each way and 24hr on call once every 4 weeks. I may be desperate, but I'm not that desperate yet. The trouble is I'm in my 60's so although age discrimination is illegal you can't prove it's happening. But, with ALL the experience on my CV it shows that I'm not just out of uni. Right, back to the build. In December we had just got the details about our suspended floor. It had to have a bearing of 130mm, plus 20mm expansion foam, plus shear links. After much huffing and puffing it was prepped and ready for inspection. The BCO came out and just said yes with no hassle and went on to talking about the other parts of the build and our future under pinning of the back wall. He was really helpful and has even sent a message to the SE saying that he feels that 2.5m deep foundations is over the top with our sandy soil. He wants us to dig two trial holes of 1.5m deep and then have a site meeting with BCO & SE to discuss what we really need. He feels that the SE is being over cautious bearing in mind we are converting the barn into a single storey bungalow when there have been no issues with the existing barn over the last 70+ years. This will all happen about March as hubby is going to build this 'room' first. This will actually be our hall and snug. The above is the inside wall of the cavity wall up to DPM. As I speak the mostly external wall is finished although the bit nearest stays internal as that borders the kitchen. I wanted a 'proper' wall for hanging a sliding door and kitchen cabinets. It was already a separate space when it was a barn so it is a bit like an extension. The long awaited concrete pour happened, at one point it looked like they might not make the slope as it was raining, but after a lot of slipping and sliding they got there. bit of a wet day for it, but all dry now The only other thing we did this month was buy a block saw at auction (for not a lot of money), it needs a new engine as it's been stood outside for years, when hubby took off the old casing it was obvious just how long. This is how it arrived and this was what was under that casing. I wonder how many years the birds were nesting. We actually got 2 for the price of one, when we got to the auction to collect they said, oh there were 2 of these in a lot. So, hopefully we can make a bit of money by cleaning, replacing the engines and servicing. These beasts are seriously expensive to buy working at about £750. Hubby has worked with a company in the paste who are going to do the work for us and refurbish so we should end up with at least one working machine for less than £250. I've not been able to work for over a week on the build and we stopped for 10 days over Xmas so a very short month. Once again, I'm just hoping next month will be better, but somehow I'm losing hope on that front.1 point
-
Depending on the condition You may get someone who will want part of it or all of it for free Advertise it online If your left with a concrete base Your digger will make fast work of it when you start your build and use it on site1 point
-
Properly chuffed with myself how far i've progressed this year, but its a good time to take a break i feel, before the last huge job of doing the new bathroom, hopefully next year. Finished the external wall insulation off in the courtyard area, and got my new set of water butts all connected, should provide enough for the front garden and car washing (when i have the energy!) during a prolonged dry period. Just got the silicone to do on the corner and the join. Probably the most important job was the lower parts of the roof, to ensure the insulation was all good, and to stop any mice from getting in, which has been an issue the last couple of years around this time. Took off 3 rows of tiles and pushed the 4th row up, which got me to the natural overlap of the second row of felt, allowing me to take off the old battens, and put a new layer of felt under the overlap and down to the bottom. Also replaced the end of the dry valley, with a correct formed end, tiles need a little tidy up at some point, but its watertight. This was the mesh i used. It was then fully packed with insulation and overlayed with some ventilation trays which i didn't take a photo of. And the front was even worse, including the weather, of course it decided to pour it down the second i had the old felt off. Front existing felt was in very bad condition, and one of the battens appears to be fire damaged, no idea how The valley needs repointing, still on my to-do list. And a small indulgment, a bit of colour for the driveway, also filled with spring bulbs so hopefully will remain colourful right through to next summer1 point
-
Thanks Nod, As the area is small, I was thinking of maybe getting him to remove the bonding and just sand cement it instead. Would that be better than skimming or is skimming the way to go? Thanks1 point
-
If you can get the material covering off, I would splice a new section of wood in the damaged location. At least it won't have to be matching wood if you can get the material back on again to cover it.1 point
-
I think @windaes is a legend in the making1 point
-
with procrastination like that you and @Pocster will get on well!1 point
-
A cavity tray is there to. Force any water collecting on a cavity bridge outwards away from the inner skin, if your cavity is deep enough for the box not to reach the inner skin it shouldn’t be needed, but, boxes taper towards the back so any condensate or water running off the top of the box would be directed towards the inner leaf and the wrong side of any insulation.1 point
-
My experience of the county court is that it is, like planning, a bit of a flaky enterprise and depends a lot on the individual judge. So, don't read a single data point as gospel. The judges are, apparently district judges (i.e. junior) (rather than lay magistrates) and therefore qualified as either solicitors or barristers. But a single person makes the judgement and they might not have any practical skills or relevant experience or know how to read a drawing. But...these are low monetary value cases, often with unrepresented members of the public or maybe one side represented by a solicitor, often done and dusted in 1/2h to an hour or two. They're most unlikely to go to appeal, so not much oversight. I think there's a lot of scope for the judge's personal opinion rather than a strict reading of contract or consumer law. Also, don't underestimate the impact of the 'final notice' or 'letter before action' and the initial court papers with shortish timescales for reply. Those concentrate the recipients attention and they therefore force the recipient to decide (a) do we want to contest and (b) do we want to invest the time, energy and money required to contest. I think that 50-75% of recipients will fold or negotiate a mutually agreeable solution at that point. Tick the box for mediation to demonstrate how wonderfully reasonable you are and how much you are trying not to waste the judge's time. And that's then another hassle for the recipient and another few hoops for them to jump through. Meanwhile you want to get your job done. Give the supplier one last opportunity to address the problem for free or cheap, then order from another supplier and start the court process with the original. Unusually for UK red tape, the process is about as painless as it can be. You can file your case in 10 minutes if you've done it before, 25 if you haven't. It'll take a while to conclude, 6 to 9 months, if it goes the whole distance - but it often doesn't need to.1 point
-
You would do your block and beam and slab as normal Treat the polished floor as a screed to be done when you are fully watertight just before first fix You will also need to budget to protect the floor with ply It doesn’t tend to workout much different in cost than a good quality tile1 point
-
We want a similar floor finish on our project, but I haven’t got as far as contacting concrete flooring contractors yet so can’t help with the polished concrete per se, however have you considered alternatives such a microcement? As markc says, it depends what look you want specifically, but this might give you much more control over the finish and be logistically simpler? We’ve been quoted £8,000-9,000 for 80m2 from a local, relatively high end, contractor. Sure others could do it for less, but as I understand proper polished concrete is also very expensive. We’re definitely moving towards this over polished concrete, but I’ll be happy to pass on any information I get regarding the later when I get round to enquiring!1 point
-
It was. Because we are classed as rural.1 point
-
Depends what finish “look” you are thinking of, structural slab generally has large aggregate, others prefer the ground surface to have much smaller and/or coloured aggregate and much closer together (less sand/cement) so a screed layer (but concrete) over the structural slab1 point
-
It just depends on the particular design and the loading. There are no rules. My two storey timber frame build inside an old stone-walled building had noggins (at mid height) in the ground floor walls but not in the upstairs walls. BUT that is probably because the roof structure rests entirely on the the existing stone outer walls. The mid-floor joists rest on top of the ground floor timber frame stud walls so those needed to be much stronger. Both upper and lower level stud walls had a single 11mm OSB sheet for racking and to retain the wood fibre insulation. I'm talking about the outer walls only here - not the internal partitions walls. I'm no engineer but I'm pretty sure that plywood is there to prevent racking and noggins are there to support the vertical studs from buckling under compression. The ply will also help stop the verticals failing but only to a limited extent but that might be enough, depending on the particular overall design. I had one contractor who helped a bit with the work refuse to do some ceiling insulation in a lean'to a particular way (no SE drawings to refer to, just my own past experience) and so I had to tell him to leave it to me to do.1 point
-
More importantly the OSB is there to give the wall racking strength, i.e. it can't fall over sideways like a pack of cards. A very important feature of a supporting wall.1 point
-
Plus 1 I do loads of these If the walls are lined one side or both with ply or OSB You don’t need noggings As Conor as already stated There sole purpose is to stop the studs twisting If you get the original builder back to inspect there work In sure he could find fault with there’s1 point
-
Thanks for posting this. That is perfect for us and solves the problem of what to do about a greenhouse.1 point
-
Based solely on my very limited experience building "stick" outbuildings from 4x2 and 11mm OSB2, I find that if you've only got OSB on one side, then noggins will add noticeable stiffness to the structure, and reduce any tendency to twist. If you've got OSB on both sides, then it doesn't seem worth it (as long as there's sufficient fixings for the OSB) But I'm just a DIYer!1 point
-
Welcome and good luck with your projects. If you don't already know about Polycrub, this might interest you. https://www.polycrub.co.uk/ https://www.youtube.com/watch?v=GKgCyvjay9Q1 point
-
Welcome to THE forum for people like us. Sounds like interesting project possibilities and lets face it the journey of 1000 miles starts with the just one step!1 point
-
You get 0% loans and 75% cashback up to £7.5k for an ASHP, 25% for solar PV and different rates for other renewables. Cashback on a max of two technologies and a loan for anything else (but MCS requirements mean any additional technology will be dearer than you could get buying yourself and paying for installation).1 point
-
Configure it so it’s one big zone on the ground floor operating in weather compensation mode for a while and compare the consumption to now and the room comfort. We have a fairly even temperature throughout the downstairs rooms. That said, we don’t have any doors fitted yet nor is the MVHR system on or any other appliances bar a few lights. We have planned for a Loxone system but it won’t be controlling the heating, DHW, or MVHR as I don’t see the benefit.1 point
-
Well, I only have a little one 🙄 But of course it's how you use it that counts, isn't it?
 1 point
 -
Thanks, I just get a bit paranoid about being chased by salesmen, but i have looked and am going to seriously consider this. Particularly when the weather gets better and we can actually do something. Currently our 'room' resembles a swimming pool as it's full of water and builder hubby isn't keen on wading in it to lay blocks. I think he's being a wimp, but then i don't have to do it 🙂1 point
-
PV, battery and ASHP can be a good combination, if the heat pump does cooling, summer cooling is free. In winter depending on the angle of the PV you can offset some running cost of the ASHP in the late part of Jan, Feb, March, Oct and early Nov. But paying someone to do it, even with grants, costs can stack up. You may be better concentrating on insulation and airtightness to reduce size of heat pump. MVHR for ventilation to reduce your ventilation heat loss and recover the otherwise lost heat.1 point
-
This is a huge big bear for me. Our glazing spec was 17 pages, to the layman, gibberish. Buried somewhere, was an incorrect RAL number. Also three units that should have been toughened, but weren't. Nobody spotted it. Luckily we had email correspondence requesting the colour and confirmation, and drawings showing need for toughened units. Window company didn't argue and sent somebody out to spray the frame the correct colour and fit replacement units. To the OP, I'd argue back saying it's unreasonable to confirm technical details beyond your knowledge, and that the error is gross and obvious that suggests incompetence!1 point
-
You appear to be leaving the existing flooring in place? If so and you’re ok with the flooring on 600mm spacing the easiest solution is the sistering by @Gus Potter which will take any bowing from the floor. The party wall appears to be concrete block (so not donkeys years old crumbling brick wall!!). If you prefer 300mm joist spacing then noggins close to the party wall and extra joists on hangers on that wall and resting on the internal wall the other end.1 point
-
Yes. Trimmers between the existing joists and supported on the existing joists with joist hangers as tight as you can get them against the wall at each end. Then new joists supported on the trimmers with joist hangers half way between the existing joists. You might need to double up the trimmers between the existing joists and you should see if your SE is ok with this. Saves having to bolt anything to the existing walls.1 point
-
You just have to keep the Final Completion certificate from Building Control filed away to produce as proof to any future buyers of the property (and their solicitors) that the work has been inspected and signed off as complying to the current Building Regulations. House sales often get held up due to the lack of a Final Completion Certificate which is not always easy to obtain retrospectively. The council should also have a copy kept on record but usually charge for any new or replacement copies. The Planning Dept are not usually interested in the Building Control side of things and you rarely hear from them after completion unless a nearby neighbour complains that something is not to the original planning drawings.1 point
-
I can only answer about the VAT claim that’s all online now and you have 6 months to claim and they are a lot quicker at getting the money out to you. congratulation’s moving in soon then.1 point
-
Nice, congrats.1 point
-
Nearly done. The low ceiling balls up by the builder has caused a problem with finishing above the cabinets. It was supposed to be open but because of the narrow gap it now looks unfinished. Options are to fit an LED light (I cabled for this) or frame it with a decor panel to match the doors. We’ll probably go option two and frame it. Really impressed with the kitchen fitter. I couldn’t have fitted this myself. The handleless shadow gap design needed an awful lot of work to get right. He’s been here two days longer than planned which I’ve offered to go 50/50 on.
 1 point
 -
What we found, was it was a LOT easier lifting ALL the plasterboard for upstairs, up an empty stairwell before the stairs went in.1 point
-
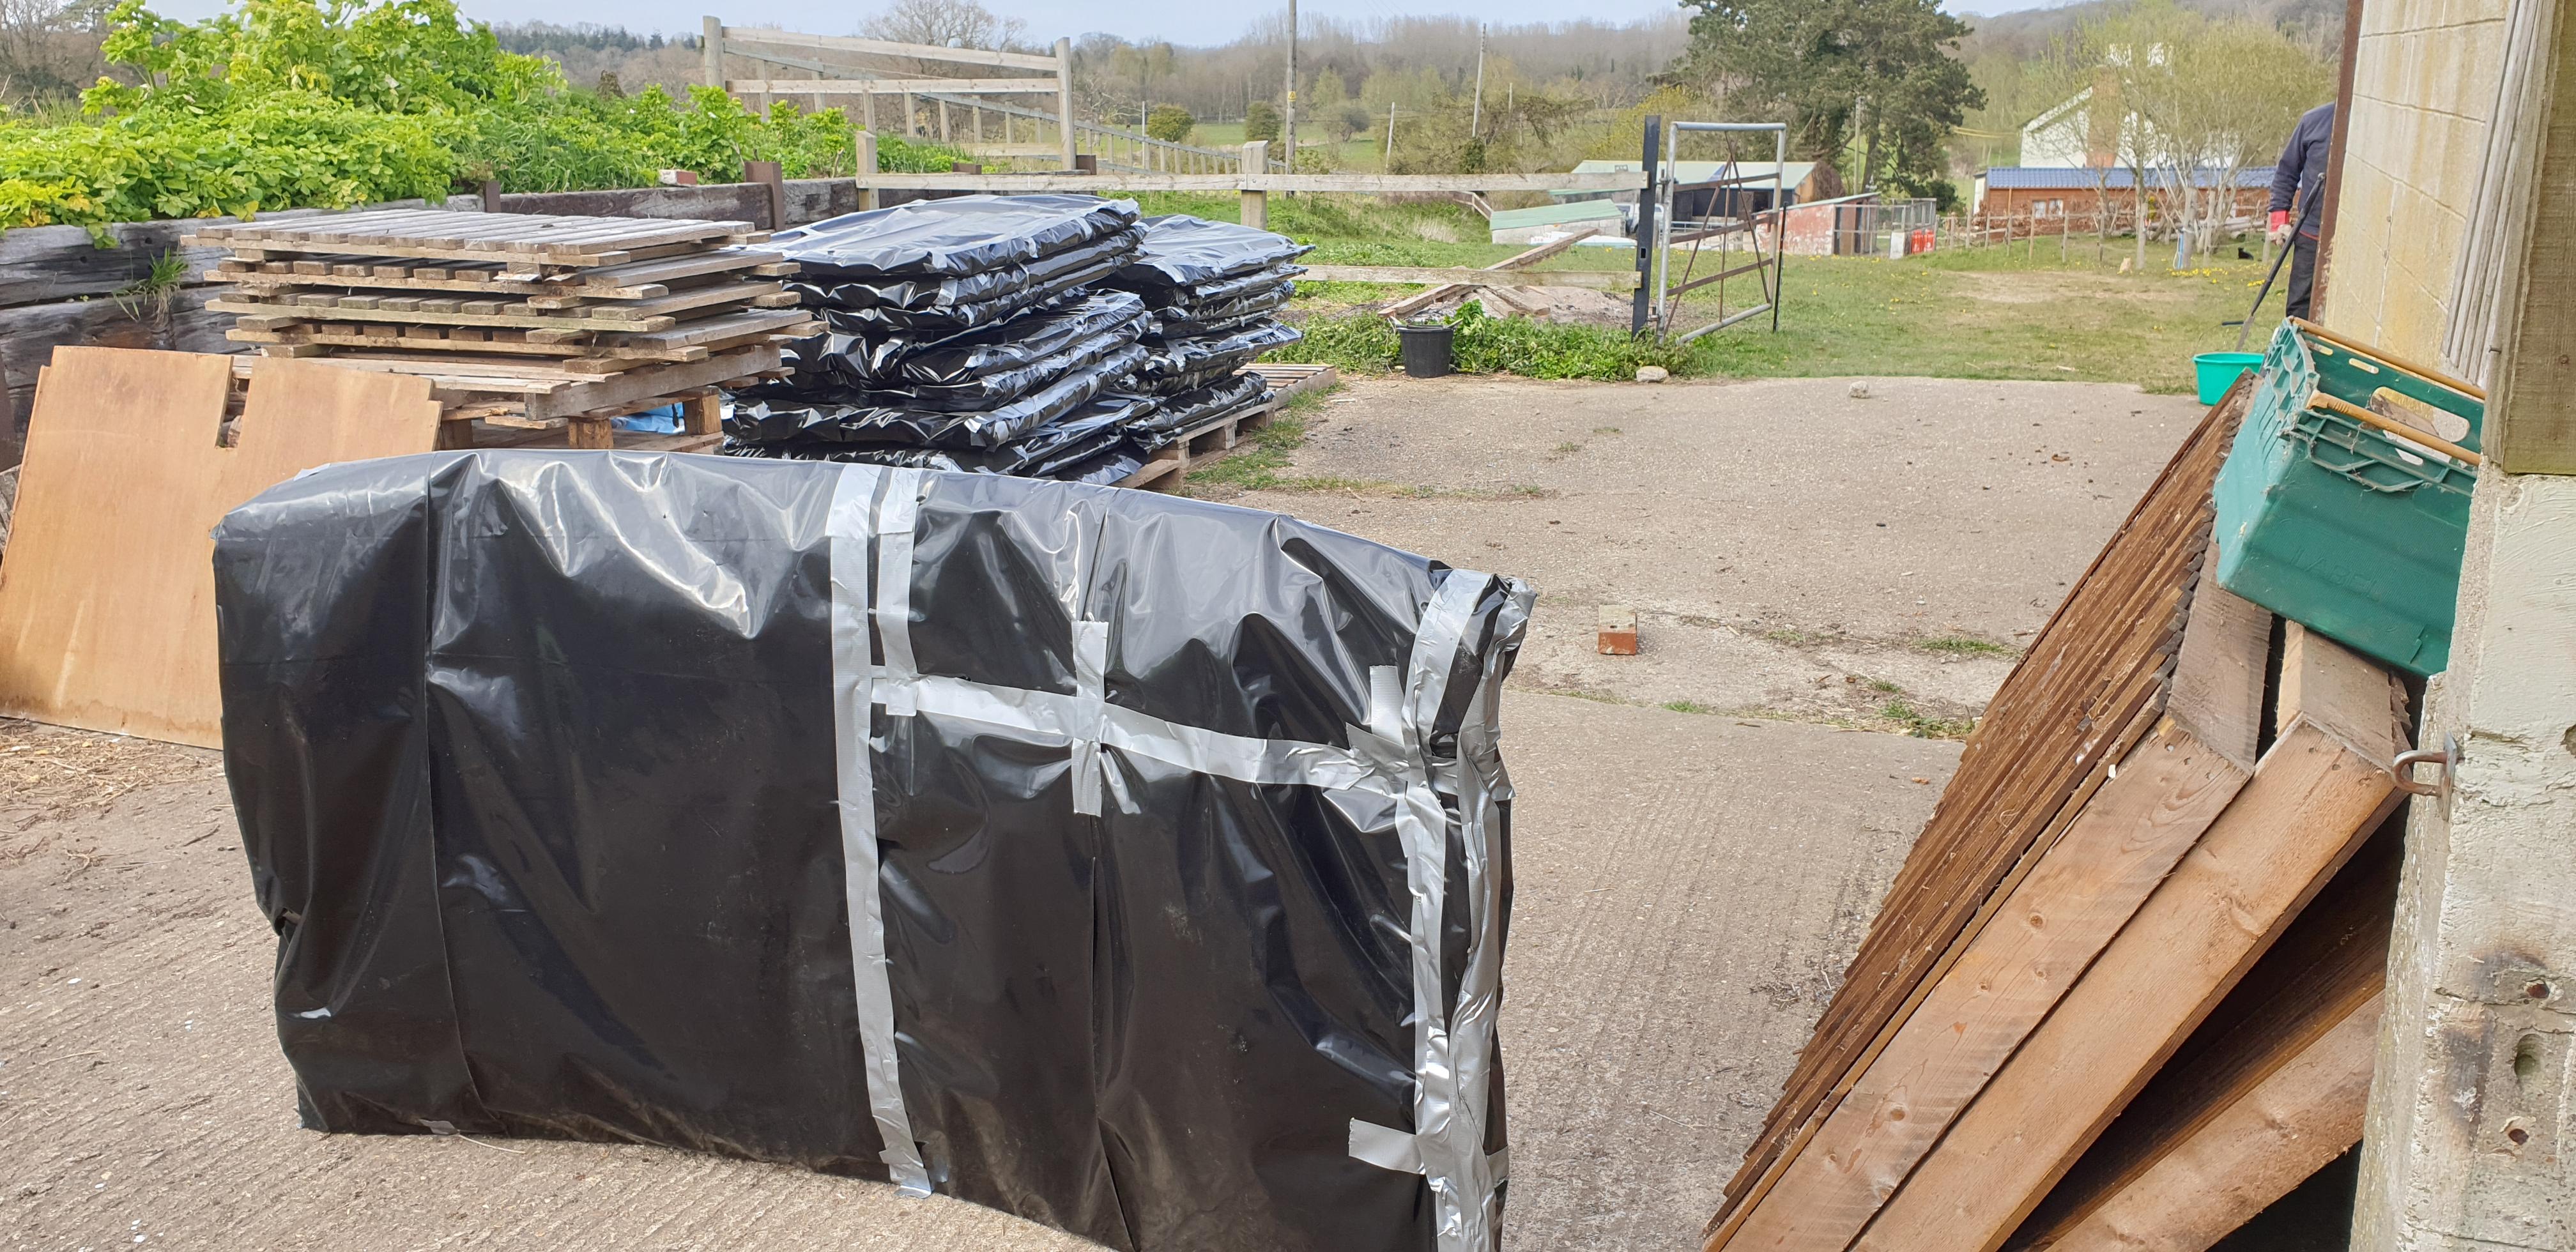
we removed ours and hired a skip. All double wrapped and skip wrapped and covered, total cost of 8m * 6m was £800 All suits disposed off after use.
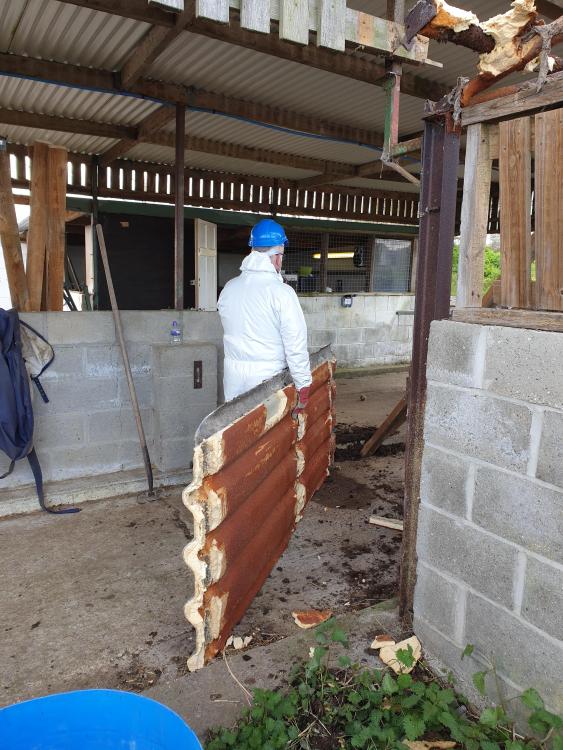

 1 point
 -
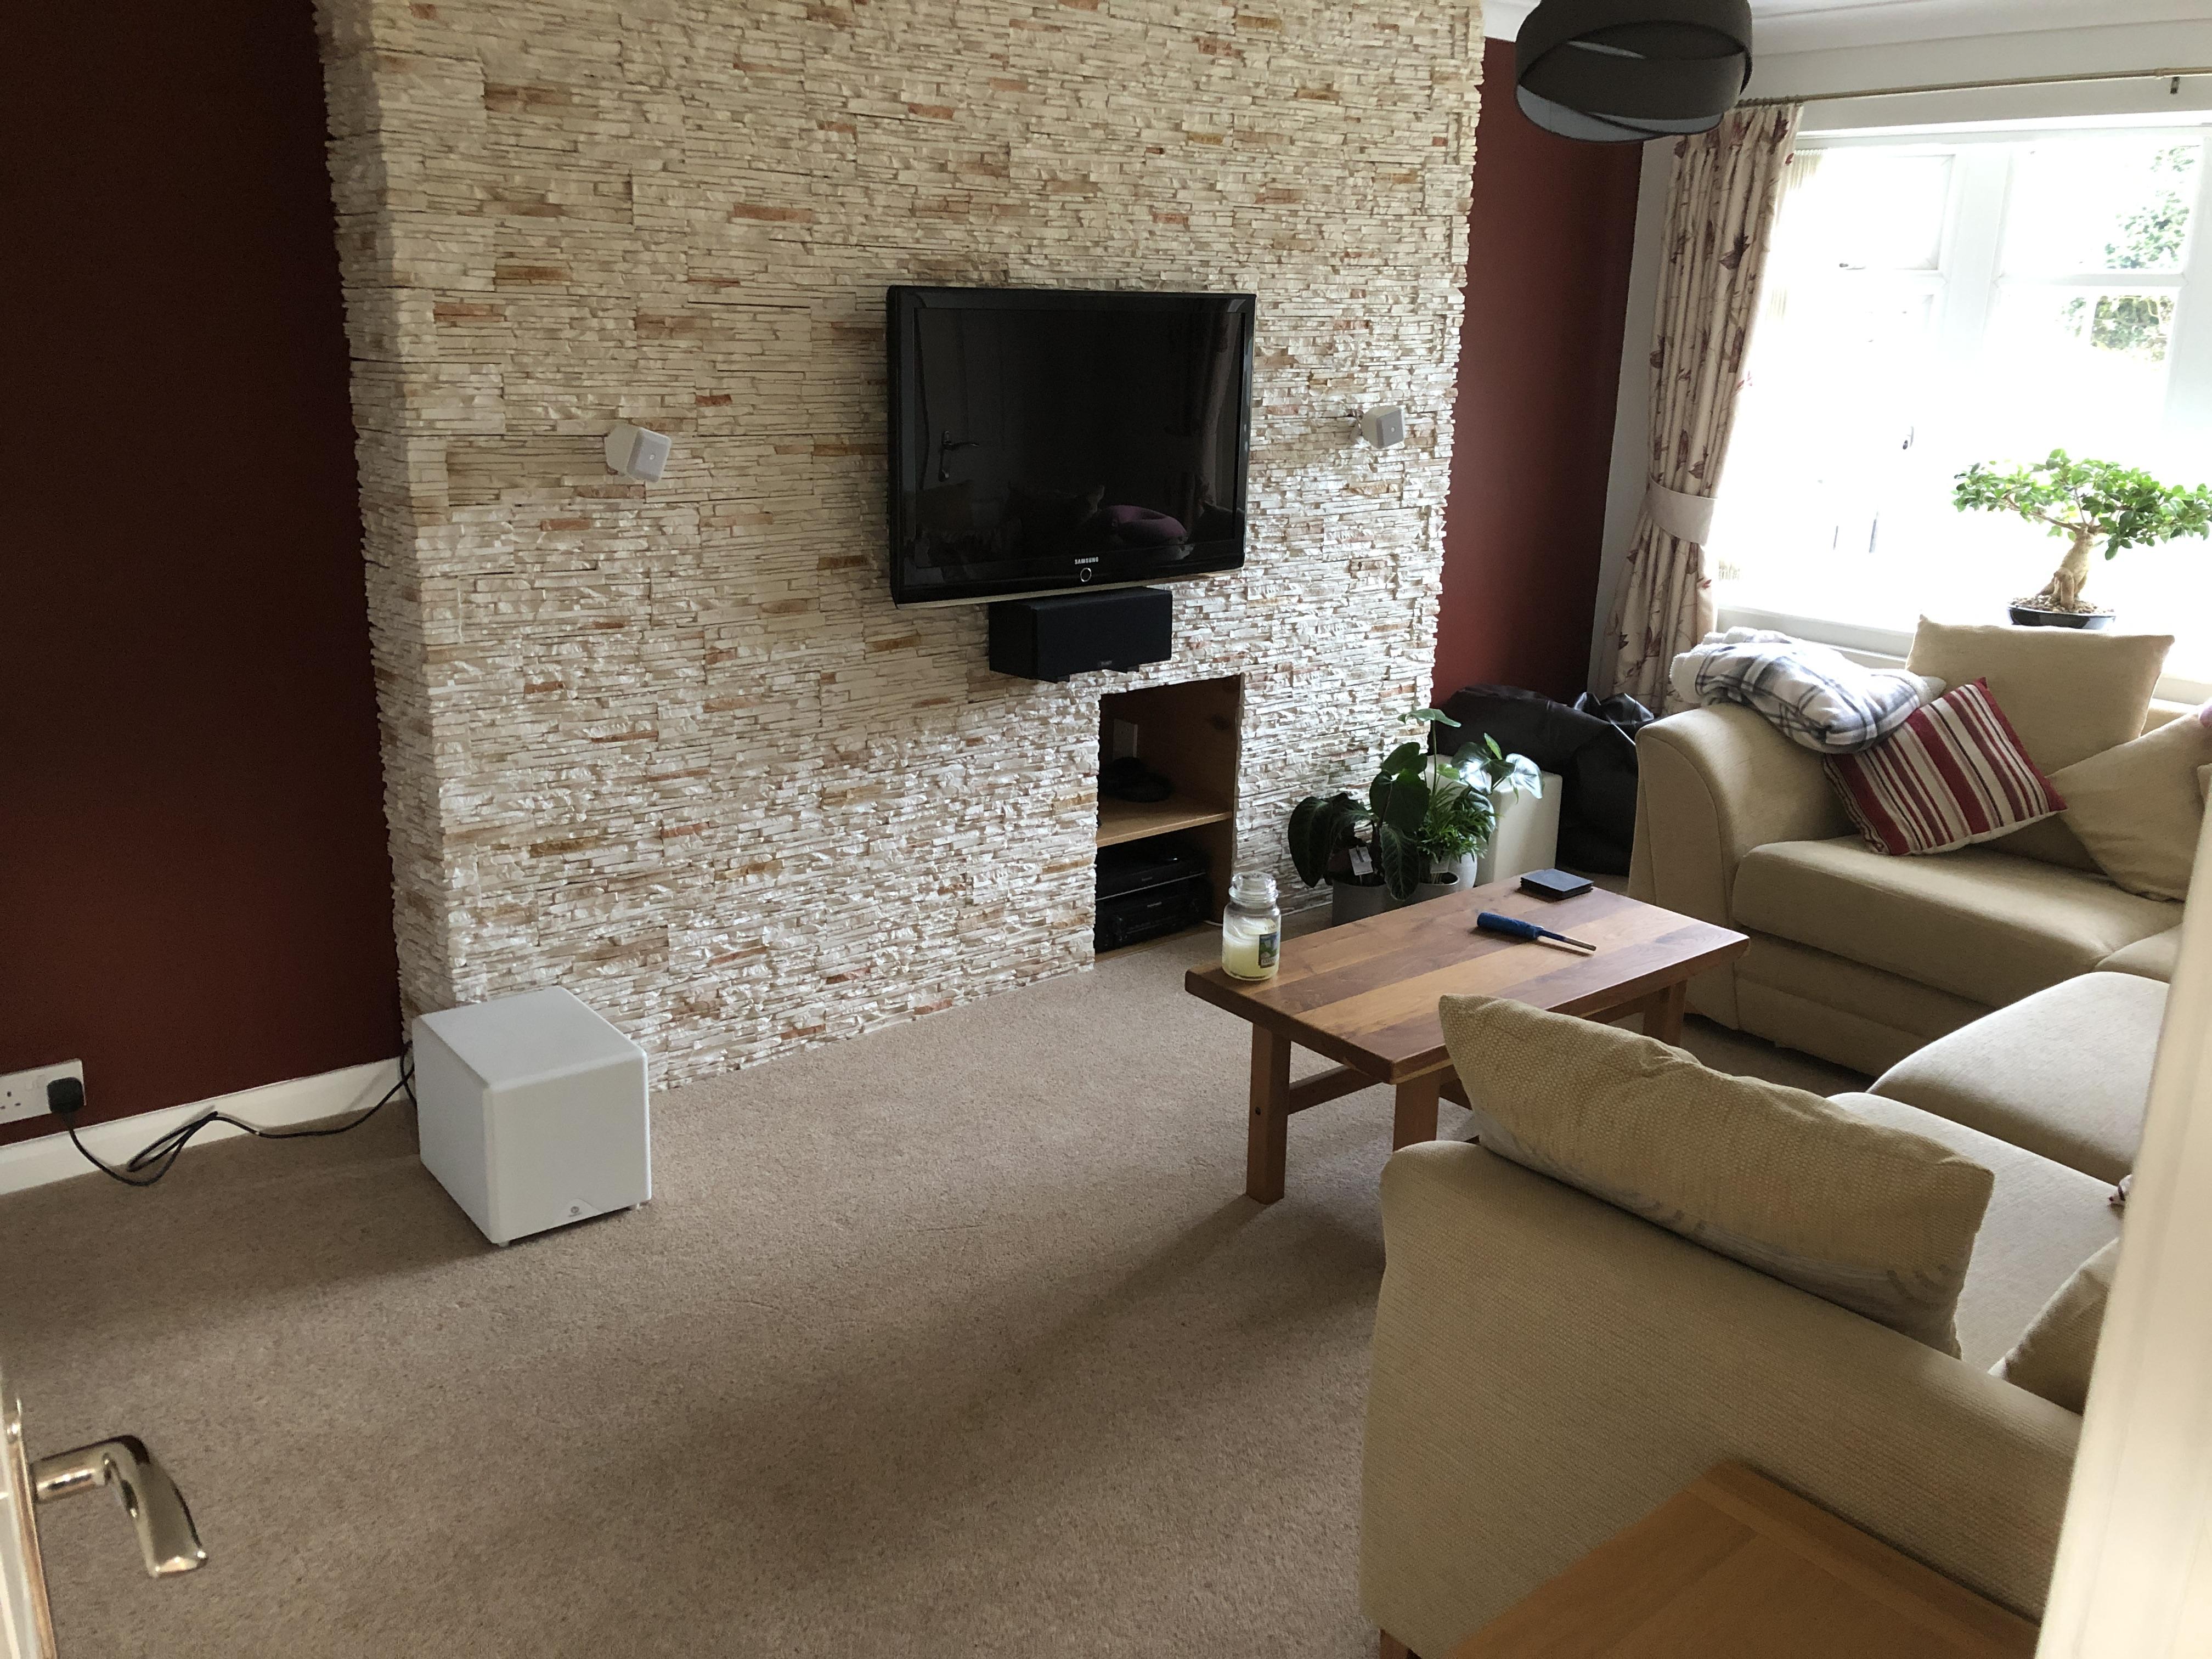
I'd forgotten just how nice it is to have carpet!! Just one more piece of furniture and some shelves to go in the left hand alcove. Also decided to drop the coffee table in favour of the nest of tables...may sell it later down the line as i've not got anywhere else for it to go
 1 point
 -
So this one has been 10 years in the making, which is when I originally built this extension, and not long after i'd built it, the outdoor bunny became an indoor bunny! So the glorified rabbit hutch has now become the kitchen it was intended to be. Worktops just been installed. Will crack on with tap, dishwasher, hob, and oven later this week. Really pleased with it all, just need to choose some paint, but will sort that in the autumn, as I've got the old kitchen to rip out and the room to bare brick, and floor to replace first!1 point
-
I had exactly this . The drawings in my opinion were conflicting and contradictory. Took the company to small claims court and lost . The judge said I “ must of known” - yet she needed the drawings explained to her . I argued that was my point I.e not obvious to a customer - but she wasn’t having any of it . Apparently according to her I realised *my* mistake once they had been delivered .0 points
-
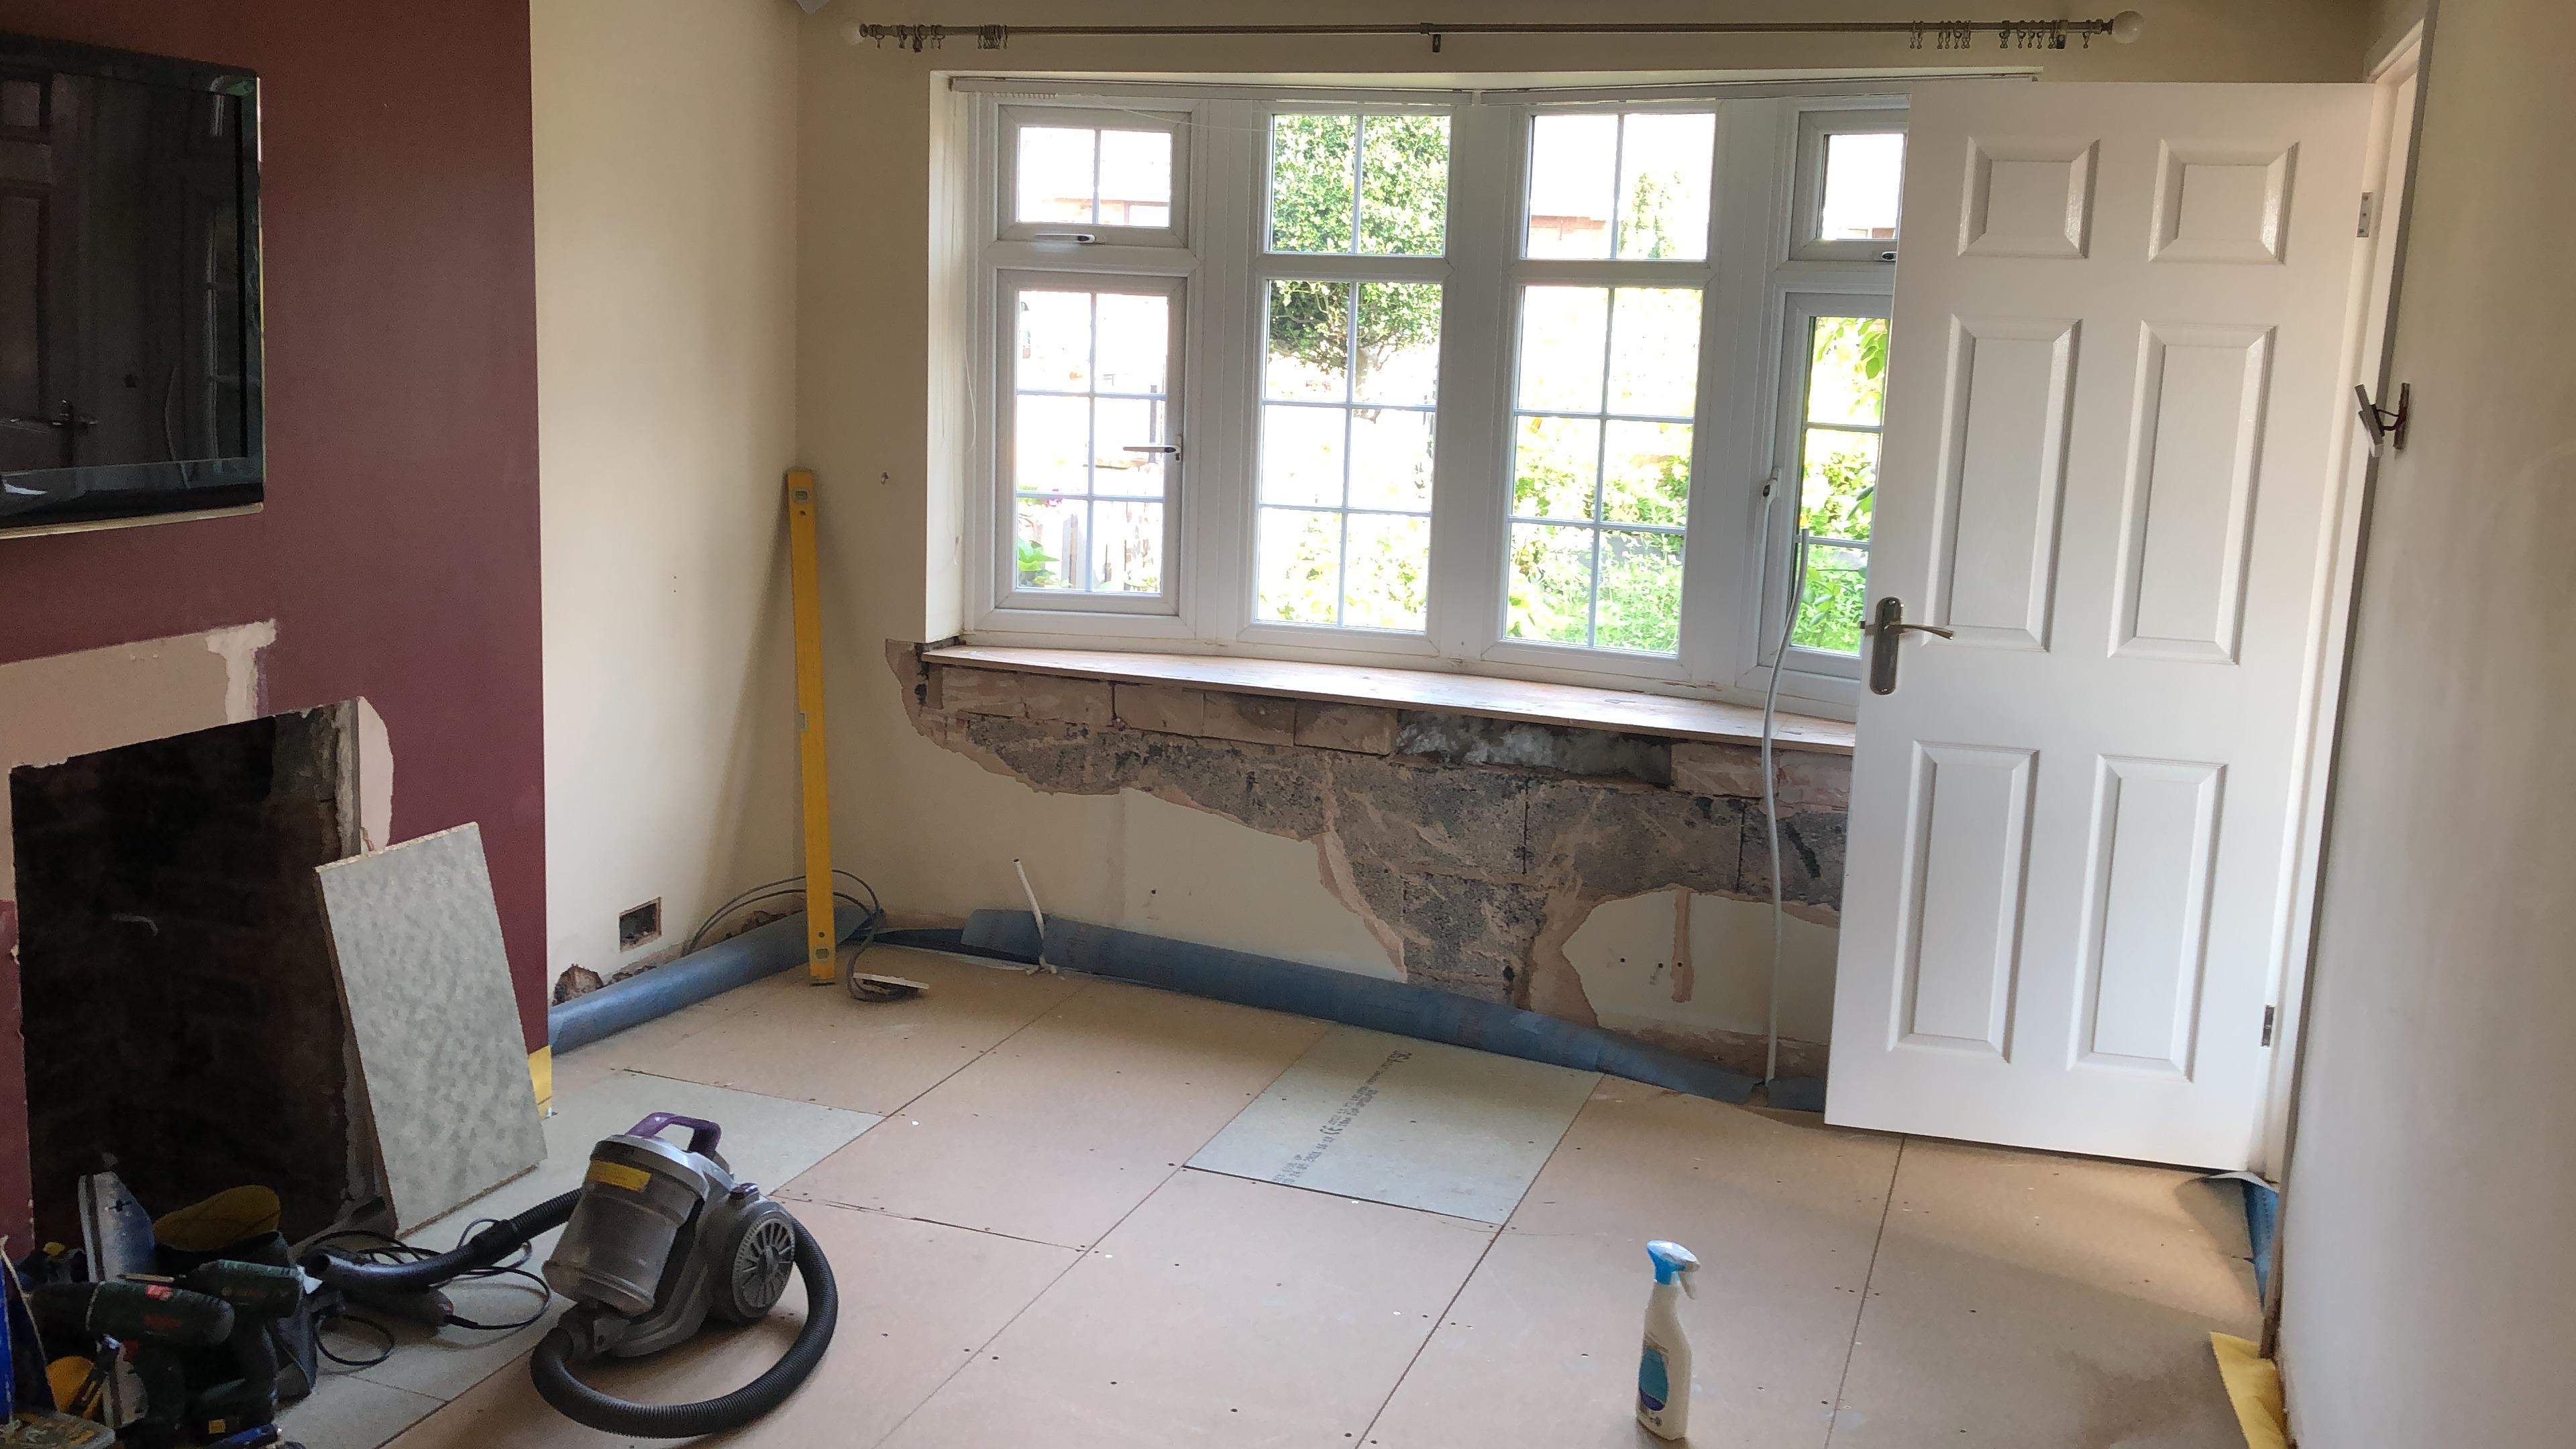
Main floor practically done, just two tiny boards to put down but I’ve ran out of screws ? also taken the window board off ready to repair the wall, just need to stick a bit of wood to support the window from the outside whilst I do it. This window is getting replaced when the extension gets built with a flat window. more importantly I’ve got the TV hooked back up!
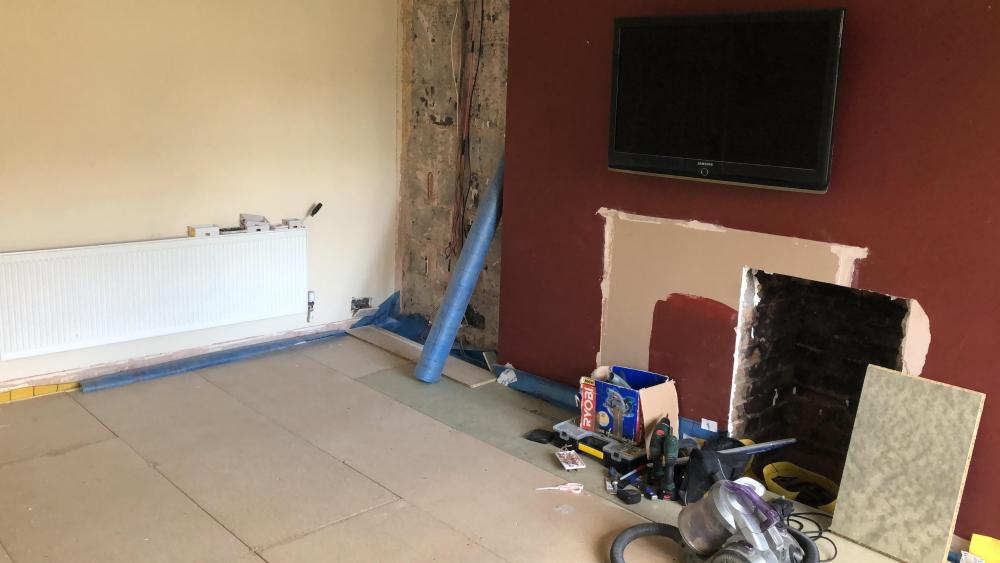
 0 points