Leaderboard


Popular Content
Showing content with the highest reputation on 01/15/24 in all areas
-
1. Not builder's comfort zone looking at spreadsheets. 2. You can get a bit word and number blind after a few iterations. It's scary as well as time consuming presenting quotes, especially binding ones. Estimates not so much, and maybe run off without too much thought.2 points
-
I've been living in this minefield for the last couple of years having bought an 1850's house. A couple of points; - There's certainly something in "thermal mass" we have 2 rooms of similar size, both have 2x external walls, one room has 2x 220mm external walls, the other has 2x 330mm external walls (it's almost like a solid brick wall using cheap reds and then a single leaf facade of nicer cream bricks in front of it, and I haven't found anywhere it's tied in yet...) the room with the thicker walls was always the warmer of the two before any insulation. - Because of the external looks of the property, EWI was a no go for us, we couldn't hide the original brickwork. We opted for IWI, having spent months researching "breathable" solutions we couldn't justify either the cost of additional build up. For the most part we opted for PIR adhered direct to the existing lime plaster, mechanically fixed battens through it and PB finish, which BCO was happy about. We came to the conclusion that moisture does get into "traditional" brickwork and the best remedy is two-fold - fix the source of moisture; so ensure gutters, ground levels, etc are sound and if moisture gets in, it has to be able to get out again, so at least one side of the wall needs to be permeable; so lime mortar/render on the exterior, no cement. 2 years in and it's worked well for us, we did have a damp patch showing on an external wall last year which was caused by a cracked drain near it, we fixed that and the damp patch is slowly going away again, so the logic we built to, seems, to hold... There are so many horror stories out there, but they come without full context. We were pretty OCD about foaming and taping all gaps, to avoid condensation, we also have MVHR so internal humidity should be managed well, both of which likely contribute to our (early) success.2 points
-
Try turning on and off the whole unit, to see if it resets itself, similar to a computer reboot.1 point
-
Would also look at why there is a need to run the immersion (booster) to get hot water? Unless planned during a cheap rate period is really a waste of money. If you are not 50 Deg water from the heat pump something could be a miss. As said the over heat protection on the immersion has tripped.1 point
-
At the top of picture 2, where two wires terminate in yellow crimp connectors, to the left and right of that are red dots in the middle of those black blocks. Push those with a screwdriver to see if they push in and go click.1 point
-
.... But just to be clear, don't tighten the nut until the resin is well and truly set which takes a few hours.1 point
-
Use resin and screwed rod, and put nut on it once bracket in place.1 point
-
My comment was based on this:1 point
-
Sorry I am 60 and not American, so don't use imperial units (BTU) and prefer to use kW. So let's step back a little, a gas boiler at low flow temps is in operation mode pretty similar to a heat pump. So when you get down to low temps, the dT across the flow and return is about 7 to 8 degrees. Your ring main is more likely to be the limiting factor not the 10mm tail. At dT 7 10mm pipe can carry 1.61kW 22mm does 8kW. Have read here https://www.heatgeek.com/does-my-pipework-need-upgrading-for-a-heat-pump-with-cheat-sheet/ You need to understand the heating requirements of each room, and the radiator duty. From there do the flow required through part of the system to get best pipe size for the flow required.1 point
-
To make a nail gun work reliably you need to be able to strip it down completely, lubricant and reassemble. Plenty of YouTube video to help you and you tne correct lube, not just WD40. Gas can be an issue in cold weather, pop it in a mug of tea. I have a Paslode IM350. They are not toys, don’t lend to anyone and where safety glasses. They are noisey so wear protection if inside or doing a lot of nailing. They will save you hours and build up the arm muscles.1 point
-
If you don’t want to split thin battens, 3.2 for everything apart from high quality cladding.1 point
-
I did this on Saturday, with my second fix nailer, took ages with double slats i cheated a bit and needed to get sign off from the end client (wife) so put it into CAD to get my head around it and work out how much materials i needed
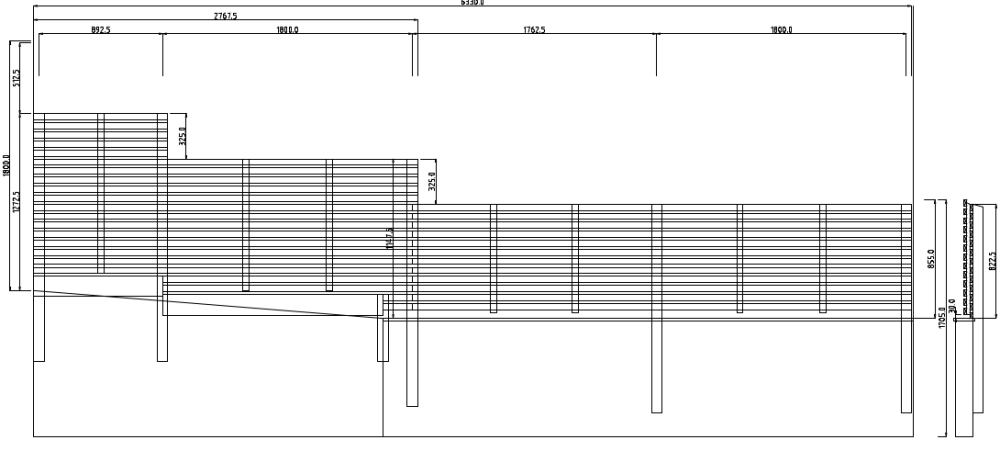 1 point
 -
Yes the 2.8 is thinner than the 3.2. And in fact the 3.2 are fatter than 2.8. 😂😂😂 For your framing nailer you want 3.2 x 34degree minimum galv, for outside hotdipped galv.1 point
-
capping was very easy as it was rebated so it just sits on top its just the setting that determines how far the nail is driven into the wood, and set by the tip of the gun which is held in space by to serrated plates which are tighten together by an allen bolt on the top of the gun. On mine the serrations on the plates are worn so don't hold in place very well. the thickness of nail is dependant on its length, 2.8mm for about 50mm nails and 3.2mm for longer nails, e.g. 90mm1 point
-
Yes. For the portion the "Additional Heat" is being used you're achieving at best a COP of 1. ie. 1 kWh of electricity for 1 kWh of heat into the house. If you can leave all your heating and DHW requirements to the compressor, you'll be achieving 2, 3, 4 or 5 times that - depending on the difference between outside air temp and flow temp.1 point
-
Explain please? Where does that very small number come from? It is the 5 sigma on the normal distribution chart. It is the point where Physists agree that the change it is something else is so small that it is if no consequence. There is Physics, the rest is stamp collecting. It used physical attributes of materials, just at a lower level, probably around 3 sigma. So 99.7% your designs are correct. That does not mean that if you build 1000 columns and beams, 3 will fail. Just that you can be confident that the chance if failure over a design life is too small to worry about i.e if you design for a 60 year life, and your materials are good for 100 years, you won't have a failure. Not really, there are still proper scientist trying to find holes in well established theories. It is often said that a Doctor of Philosophy spends 4 years proving something, then a lifetime trying to disprove it. (I am just doing a little experiment to see if something I think will not work, may work. Much of it is to do with my own bias, but I may uncover something useful)1 point
-
Spot on, Thankyou.1 point
-
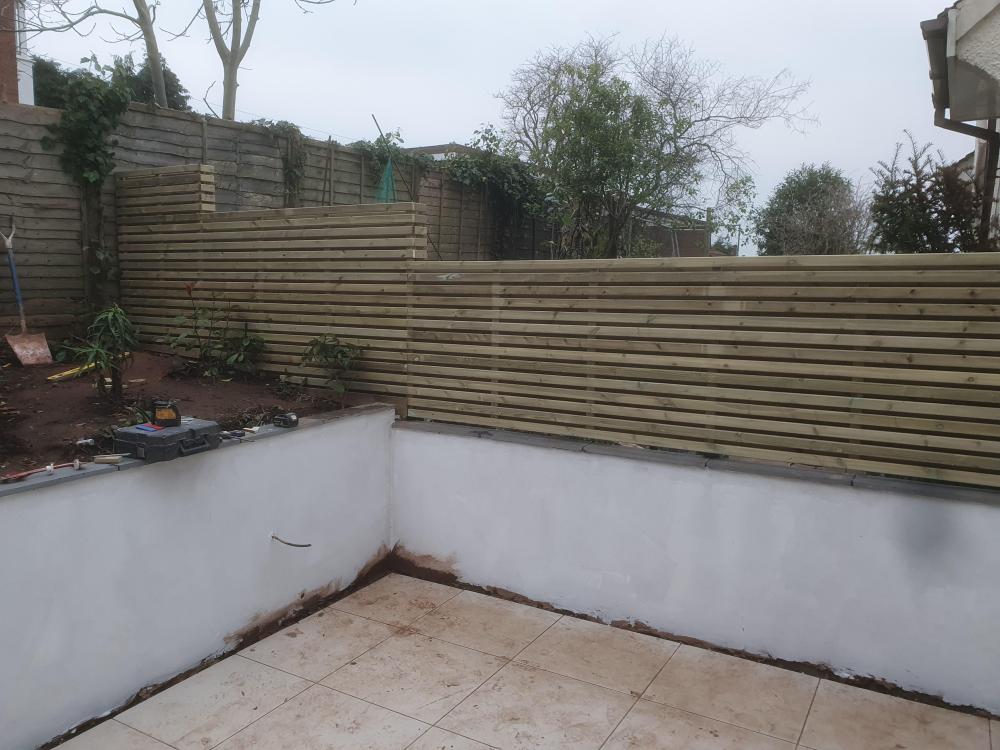
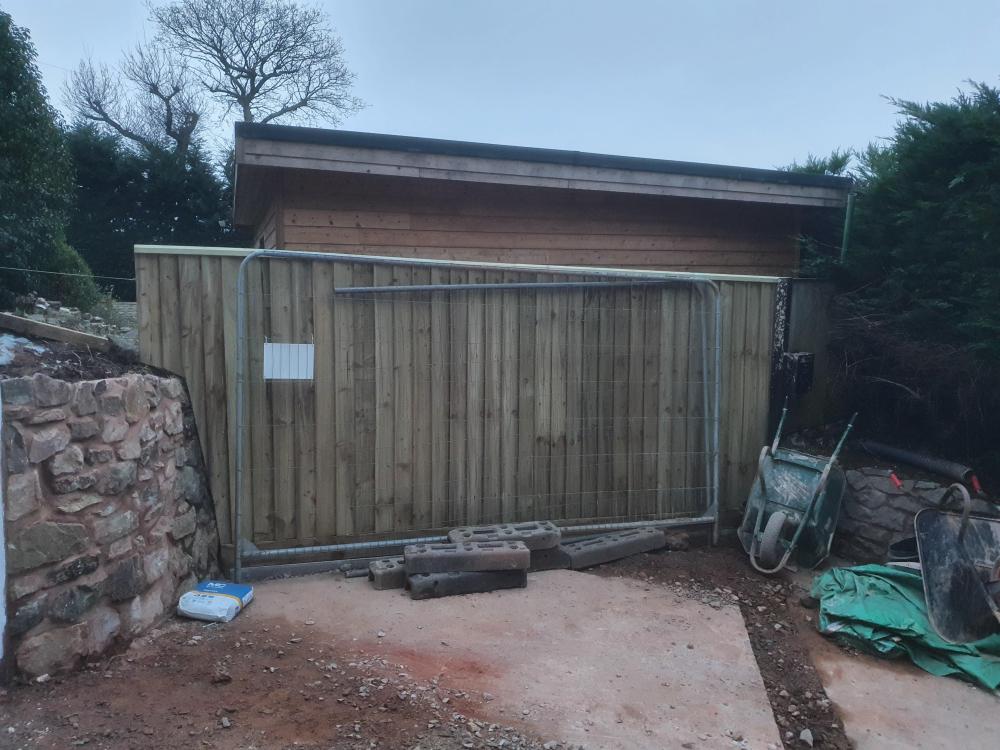
Looks a very neat job. It takes a bit more work to do the capping, cut the pales to the slope and shape the end few around the wall but it looks good.1 point
-
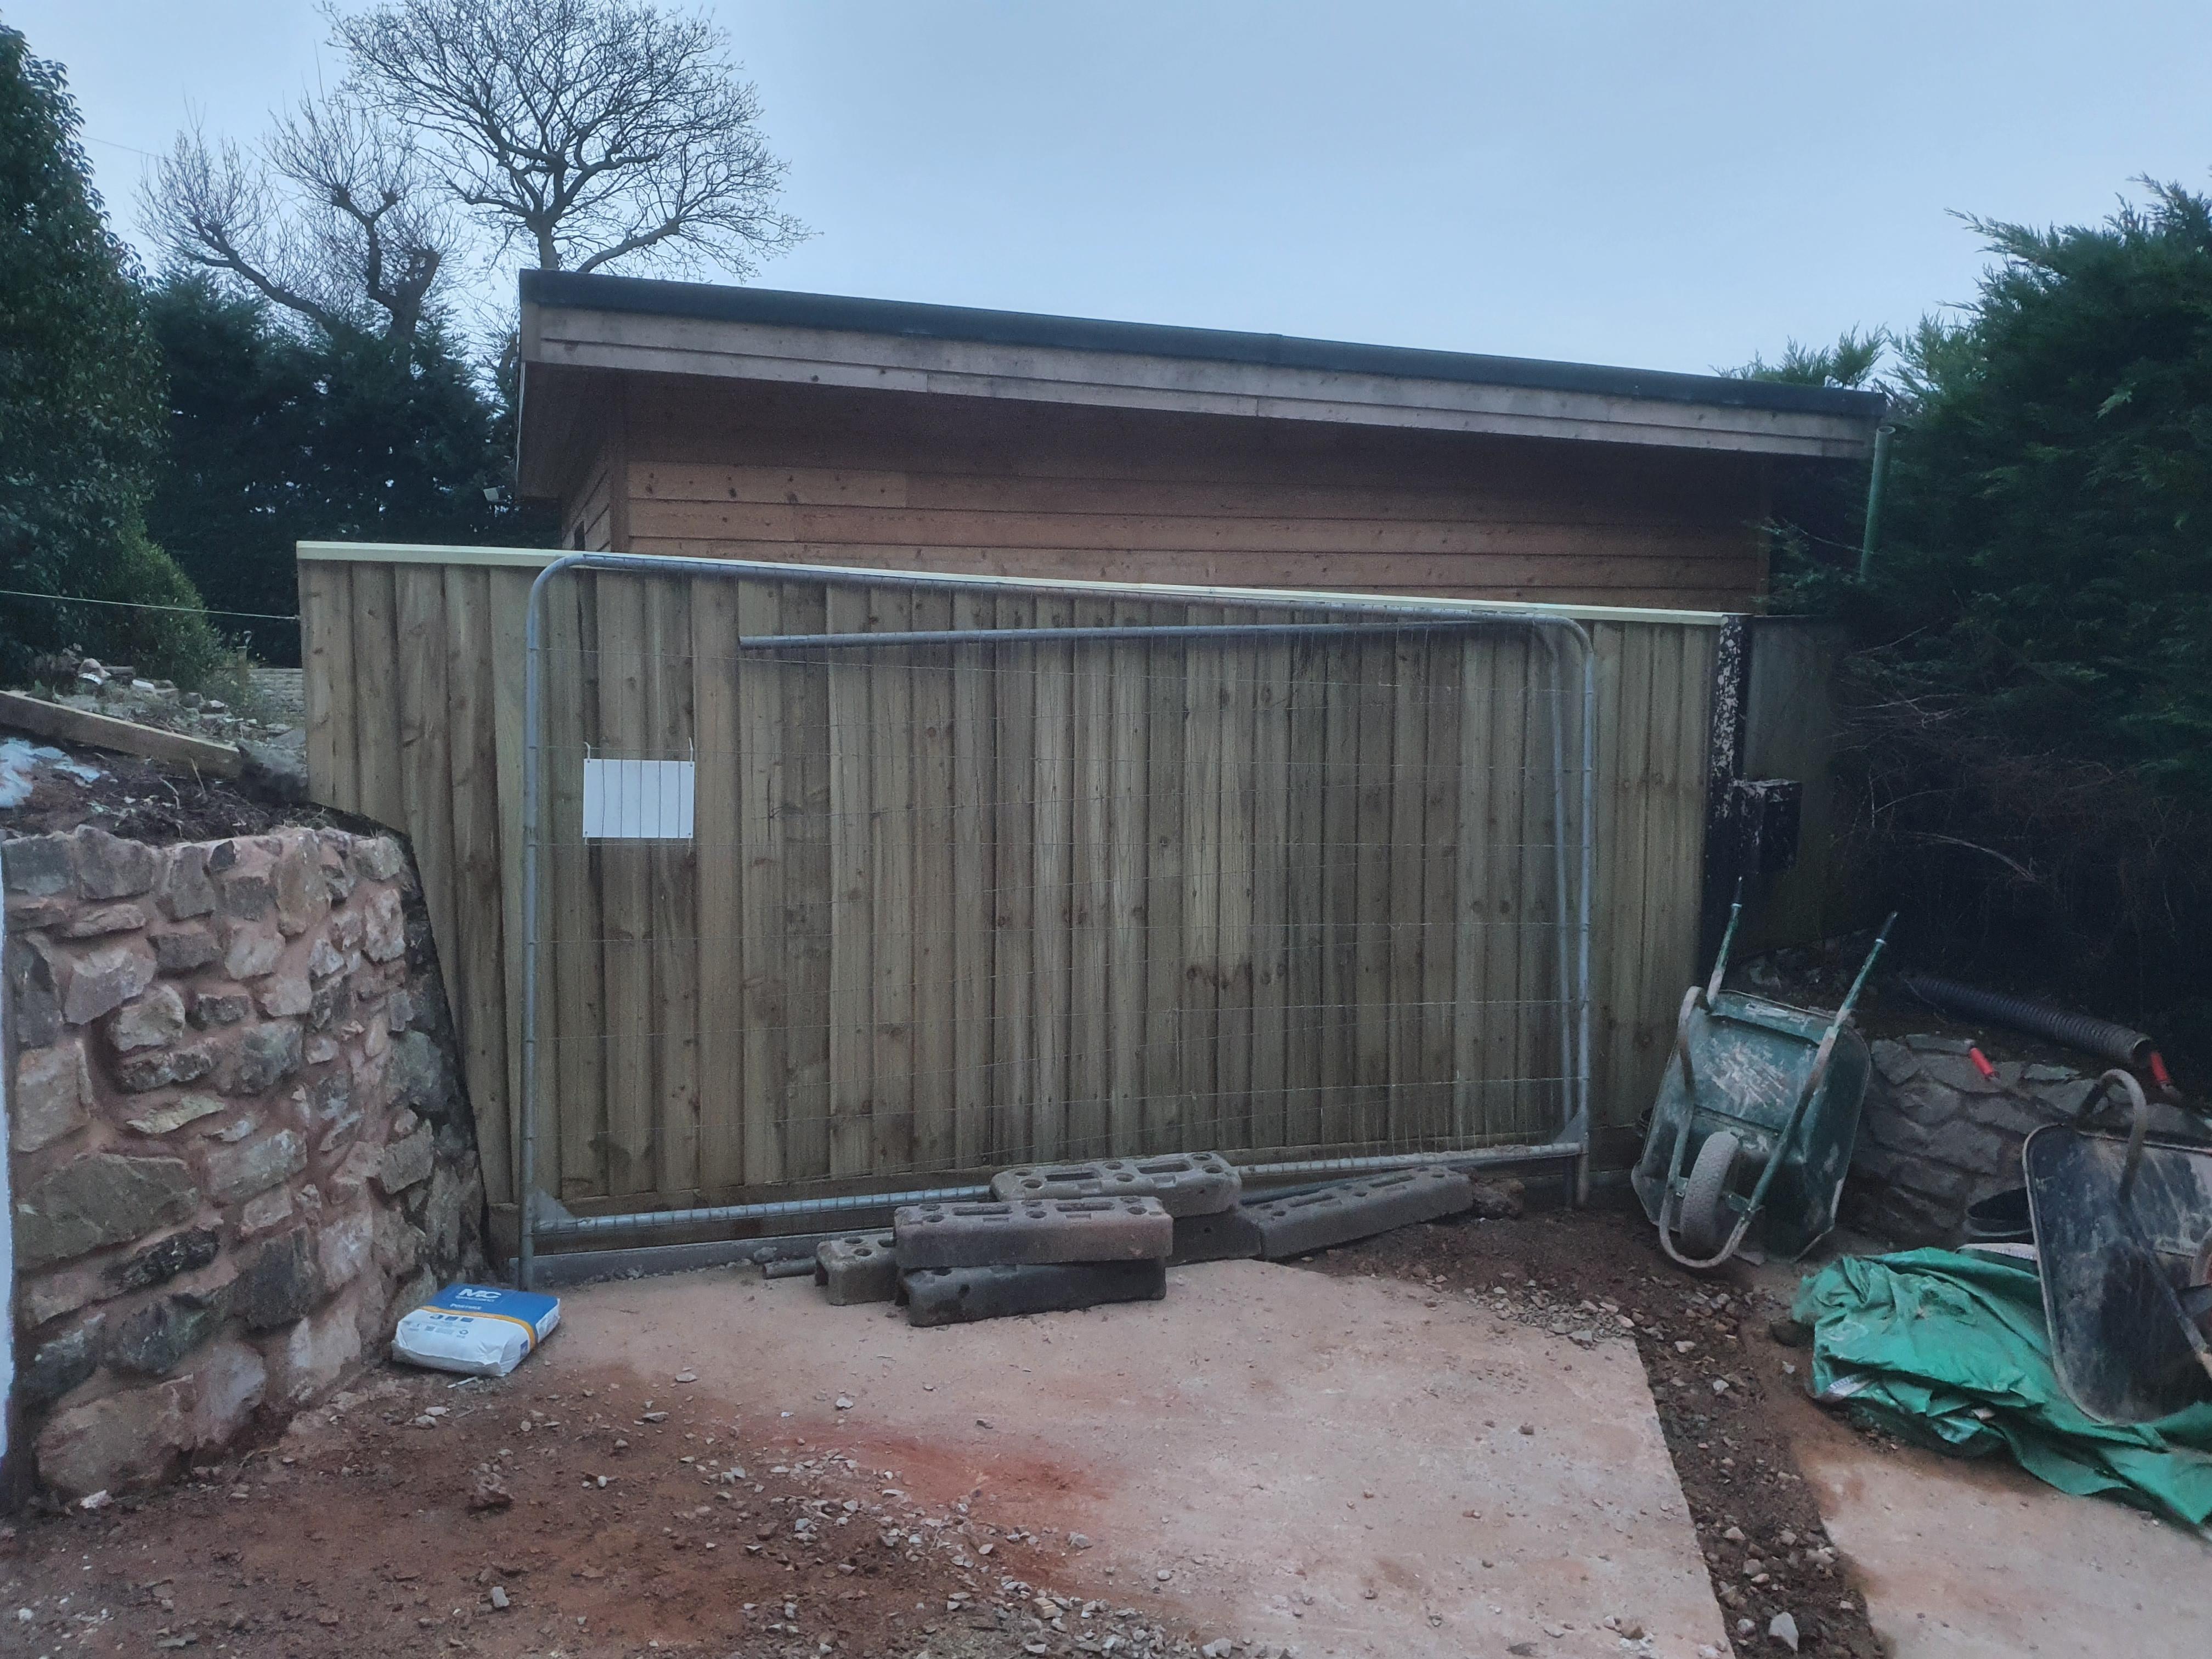
I did a bit of close boarded fencing on the weekend (first time I have ever done fencing). Paslode was invaluable. Though with my the depth gauge kept slipping which was annoying and something I need to sort out. Probably saved myself £250 labour doing it myself, and it took about 6 hrs inc digging the holes and setting the posts
 1 point
 -
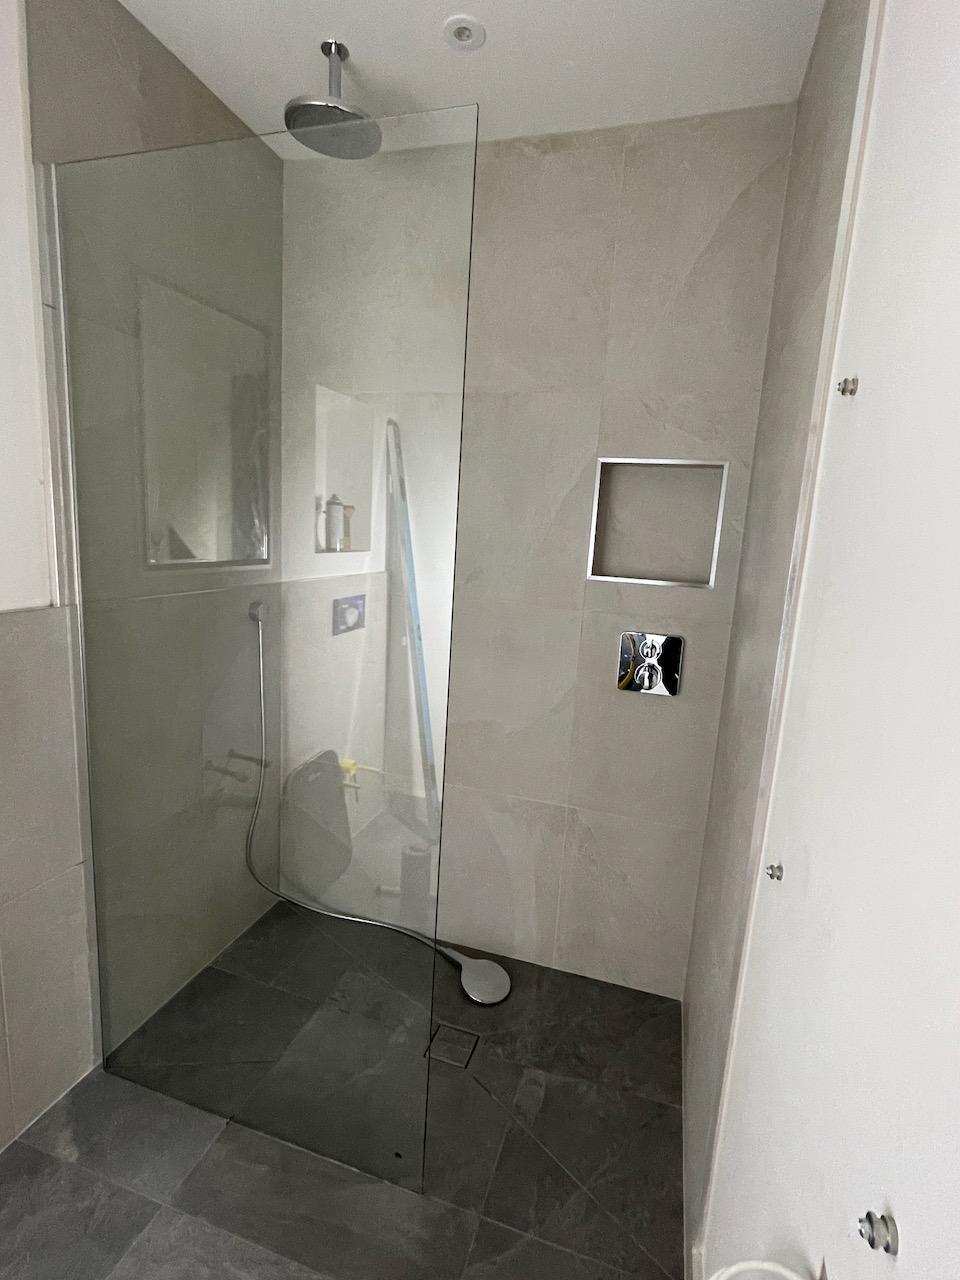
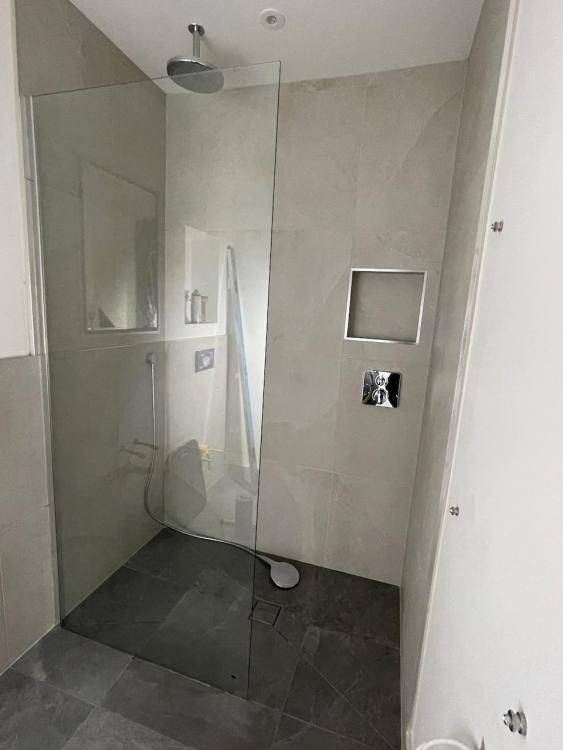
ended up just a smidge over 1400mm long and 760mm wide after tiles and shower screen.1 point
-
if you've already bought the tray then it's a no brainer. fitting the former wasn't hard at all. i bought the Impey Aqua-Dec former which was incredibly easy to fit and is cuttable to trim to size. i put 6mm ply on top of the posi-joists and then the former on top of that and screwed it down. then the tiler came along and put 6mm Jackoboard down so everything was level.1 point
-
just another perspective here, we cut out the caber deck and fitted shower formers so that the tiles went directly onto the former and everything is level with the rest of the bathroom. we love the sleek look of it. might be something worth considering? unless you specifically want to step up in to a shower that is. 😉
 1 point
 -
This is how science works. Something is observed, a hypothesis (tentative explanation about a phenomenon) to explain it, then an experiment is created to either, and this is very important, falsify the hypothesis, and be able to repeatably test it. The falsification is the really important bit as that is where the statistical data comes in. All falsification does is reject the hypothesis, it never proves and alternative (which is where we are at in this discussion). This may seem like a binary choice, but it is by reducing a problem to either, yes or no, that the truth is found. This area of science has allowed us to delve incredibly deeply into problems, while also getting rid of the rubbish. Hypothesis are often referred to by lay people as guesses, this is very much not the case, they are based on existing knowledge i.e. which is more porous cement or lime render, how much liquid water, as a fraction of existing mass, can the materials absorb, is the render applied correctly. Once a Hypothesise is has passed the above tests to the desired significance, it becomes a theory. If there are no known exceptions, then it comes a scientific law. This is where science and mathematics diverge, in science, you can have a theory that holds true only 80% of the time as it is considered 'good enough for most cases', medical work is at this level, Physics works to a much higher standard, usually 1 in 35 million that it is not chance. Mathematics has to hold true, with no exceptions, in all cases, no matter what.1 point
-
When I renovated my parents bathroom last year I replaced the chipboard floor but put ply down where the shower was going, it was a very heavy stone resin tray and the chipboard was just basic B&Q stuff. I had tanked the shower area so just tanked the ply area too as had leftover tanking paint. My plumber nephew advised that they would normally do this (put down ply) but if the floor was sound and new chipboard they would just lay the tray on that, so this corroborates what others have advised. The top tip he gave me was that to make sure that the floor is proper level if the tray is big and heavy, as mine was. If slightly out use cement or if just a mil or two out flexible floor tile adhesive down first to feather to a level, then let it dry. He advised it’s a nightmare trying to level a heavy tray purely with silicone etc as a base adhesive as clearly it will just compress. soz if you knew this, just passing it on if you didn’t.1 point
-
Not me. But I'm guessing the builder ( or a consultant estimator) has copied an old estimate spreadsheet and repopulated it. Or it could be a spellchecker howler. You'll get his attention by saying you'll just have one trapdoor please for £115 and please deduct the rest and confirm.1 point
-
Caberdek is sound for laying the tray on. The joints are susceptible to water damage, however looks like they have been jointed with PU glue so that largely negates that risk.1 point
-
I do think that there are so many variables (construction, orientation, ground conditions, etc etc) that no one answer is correct for every situation.1 point
-
It could be a simple typo or they meant something else. With 70 trap doors you’d have more doors than roof.1 point
-
And the depth of the damp into the wall.1 point
-
You still haven't read the paper have you? You said it was a fact that Lime was breathable, or whatever. The paper quite rightly highlights that the materials behave differently due to their pore structure. As a result, gypsum is both hygroscopic and vapour permeable whilst lime is only vapour permeable. I merely corrected you to highlight the facts are more nuanced and that the term breathable is meaningless. From any perspective of building, you need to select the correct materials for the job. In some instances, due to the behaviour of the materials, it may be better to select one material over another and it's down to the local context. Therefore, clearly lime may be better in some circumstances than gypsum, and in other gypsum will be more preferrable to lime. However, there is also the fact that there are many buildings without a DPC that perform absolutely fine without damp problems so for me it remains the question that the priority is to investigate the excess moisture first and then, if not practicable, take measures that mitigate against the excess moisture. Unfortunately, I get to see many older buildings suffering from damp that have used lime where the lime plaster is also cracking and peeling off the wall due to long term exposure to excess damp, even far up the wall. But then we get back to the issue of layers such as paint, or even wallpaper and the effects they have on the ability of a wall to regulate moisture content. But even in cases where these layers do not contribute, it has been shown that it still takes years for walls to shed excess moisture following remedial works and if there is a continuous supply of moisture the dampness will remain. The only way a wall will be drier is if you remove the supply of moisture and provide it with adequate time to dry out. This is one of the reasons why @SteamyTea 's point about numbers and measures is so important because otherwise you end up going round in circles in conversations because the reference points are unclear and ambiguous, not really helping anybody - what are we referring to specifically here when we speak of a damp wall? How damp?1 point
-
They do seem it, and It'll be a shame to carve a big hole out of them...1 point
-
I'm also curious to know the best approach to this too, as i have the same job to do this year. Those grey coated chipboards are pretty bomb proof, i used those in the latest extension.1 point
-
Think it does support all the connectivity you need on the ECO B models - best to call their technical help line - great advice and the unit is made in the UK I think.1 point
-
Tapo smart plugs on amazon You get the energy version, lets you see power used at the current time or energy over the period it’s switched on. youbcan set schedules for in and off times, has manual override great kit less than £15 each used mine to switch on heaters in an off peak situation for 1 year now, no issues1 point
-
A quick comparison of different solutions to humidity control. To give people an option, as MVHR can be difficult to install as a retrofit. Two solutions implemented - MVHR and dMEV. Outside currently is 0 degs and 82% humidity. House has MVHR, inside humidity currently is 41%, and 21 degs. Summer house, dMEV, inside humidity currently is 40%, and 19.3 degs. MVHR isn't the be all, end all solution, different solutions are sometimes easier to implement and give similar results, especially in less airtight properties.1 point
-
Removing internal walls in a listed building needs permission too.1 point
-
I'm pretty new on the mvhr scene and while I am researching, I am running a temporary set up which is not powerful enough, but better than nothing. My house, I thought was quite leaky but RH and co2 levels were much higher than they should have been so obviously more air was needed. I think my mvhr won't have to work as hard as one in a tighter house, but is still necessary.1 point
-
It’s listed but you’re knocking internal walls down and there’s a shed load of asbestos. Sorry can’t square that circle from a historic building viewpoint.1 point
-
It’s a listed building, so that might be very difficult or expensive.1 point
-
70 years is a long time for a thatched roof to last. Has it been well maintained? I know their lifespan can be extended by replacing the top layer.1 point
-
Can't really help, but have you considered adding extra insulation to other places. Doing that may get the thermal losses down to a reasonable amount and leave the thatching unaffected. Alternatively, improve the airtightness and run a large MVHR unit to get the moisture out, then you should be able to add insulation anywhere without worrying too much about where water will condense. I thought it was usual for thatched places to have roof fires when new owners took over.1 point
-
Ideally stick to one of the models independently tested for the Passivhaus Institute: https://database.passivehouse.com/en/components/list/ventilation_small. The 'efficiency ratio' is the overall measure, taking into account heat recovery + electricity consumption. Passivhaus certified units come with a more realistic measure of their performance compared to non-certified units (Paul have a short explanation).1 point
-
Simple but effective Check List from the Vent Axia Installation Manual More to it than that, such as the ducting should be rigid with a small section of flexi and that trap shows a wet trap. Flexi creates more turbulence which will affect performance / electric efficiency and more noise, also more likely to cause duct build up. Also more prone to damage.
 1 point
 -
I did ours at the weekend, a few bits in there….. well worth taking the time to check/clean.1 point
-
I DIY'ed it. I had house cavities done just before, but guys injecting the beads said they 'were not allowed to' inject flues, even if capped off, 'in case somebody wanted to use them in the future'. I was about to have the roof replaced, so I bought a few bags of eps beads (sadly not grey, but an individual cannot buy them for some reason) off ebay, climbed the builders scaffolding, and poured them in. They flowed easily, and it was quite enjoyable!1 point
-
Do you know how many litres of kerosene you use each day? Know that, and the local weather, you can get a good idea what size you need. Is your hot water stored in a cylinder? What size oil burner do you currently have?1 point
-
Hmmm I think that may be an offence in the UK. We have just put ours exactly as you have on the Caberdeck glued down and sealed everywhere.0 points
-
We just laid the trays on to the 22 mm caberdek. ours were quite flat on the bottom so a good layer of sticks like sh*t and siliconed all around the edges. The aqua board will be siliconed at the bottom on to the top of the tray and then the tiles. If that leaks I'll eat my bats.0 points