Leaderboard
Popular Content
Showing content with the highest reputation on 06/19/20 in all areas
-
using tigerseal will be a good test on if you can remove nitrile glooves in a manner that would keep @Jeremy Harris happy if it was a virus and not black glue get it on your hands or anything its there for a long time if not permanently It would be my go to adhesive for anything virtually stuck car body panels and door skins on windscreens in with it and everything else you can imagine repaired rubber engine mountings +exhaust bobbins if its clean it will stick it if using on glass you need a primer first ,cos glass is so smooth it curesfully at about 3mm per 24hrs --so if its something you need a big thickness on,like a 10mm thick gasket (webber carb mtgs) --then you must give it time to fully cure -2 points
-
Thanks everyone for the warm welcome and to Russell especially for the heads up about TBC; it's always good to know who the big cheese is and who one should be deferential towards! ? Peter, some pic's for you - nothing very interesting I'm afraid. Currently, the whole structure is wrapped in a breathable membrane (a cheap version of Tyvek) and looks dreadful. The chap one can just see in the corner of the final image (pic #4) is our local village chippy who helped with the main construction of walls and roof. A great bloke, a good carpenter and super quick. From the base frame, (pic #3) to the main structure being completed - including two windows - took just eight days. It would have taken nearer eight months if I'd been working alone! Tim. #1. Studio Site Diseased apple tree and Leylandii hedging subsequently removed. Just behind the figure (my wife, Pam) you can just make out the corner of the summer house which you can see in pic #2, below. #2. Concrete Piers 24 concrete blocks used in total - much cheaper than using bespoke products. #3. Base Frame This is secured to the concrete blocks with steel angle brackets and 80mm long 10M concrete screws. The 200mm long battens at the bottom of the 5" x 2" joists are for the 100mm insulation to sit on to ensure it doesn't fall out. #4. OSB Sheathing Going Up The large aperture on the end elevation is where the entrance door will go (currently the entrance to our bungalow which is due to be replaced). The openings in the right elevation are for two windows bought from a supplier of misfits for £190 including the glazing and VAT! So, that is in fact the total cost of windows and doors - which is often a big chunk of the budget for a project like this.2 points
-
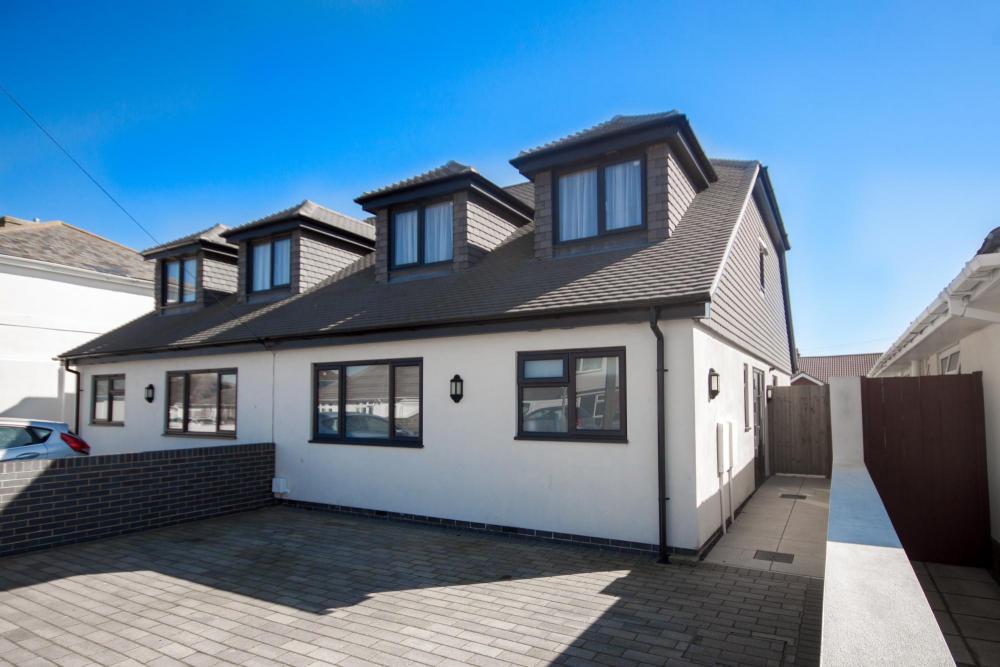
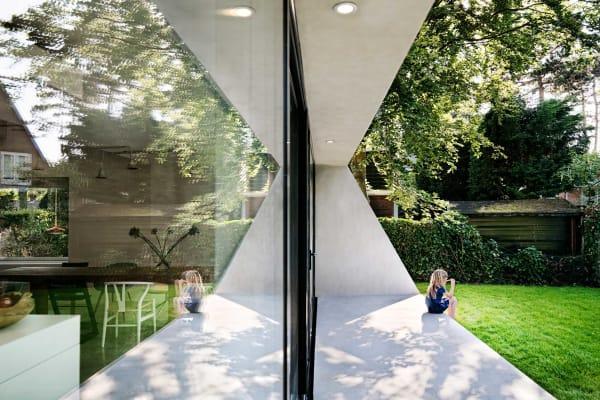
What is your ‘limited’ budget? The most sensible thing would be to render over brickwork at ground floor level, rendered timber frame or dark tile/slate hung dormers, maybe grey aluminium windows and then a similar contrasting roof tile or slate. It’s quite common, is modern and very effective. Obviously the image below is showing individual dormers as opposed to one large dormer, but a similar look can still be achieved.2 points
-
2 points
-
dug first 4m of 20m run by hand, the easy bit cos it slopes uphill from here so gets deeper. ground rock solid. hired digger from Monday, have I wimped out ?1 point
-
Glue them on and wedge them using chocks screwed to the floor. I put a bead of adhesive about 1/2 to 2/3rd down and a bead of decorators caulk half an inch from the top and just wipe the excess off as it squeezes out and you get a nice clean line.1 point
-
I would use 100mm square box minimum, 4 or 5 mm wall, galvanised and concreted in at in least 1m. A 6' gate is not that big a load but you might prefer the aesthetic of 150 or 200 box. A foot on the box is optional , you could plonk it on a pad stone.1 point
-
I’m not convinced containers is the way to go, I think they are constricting in size and require a huge amount of work to insulate, all they bring to the party is a box and it’s not hard to build a box. I would think a simple steel frame with timber panels installed in between could be far simpler.1 point
-
1 point
-
I know they are for HMO but they will be based on what the council think is a reasonable minimum. If you need planning permission and the planners think it's too small you could also point to that guidance and say if it's good enough for an HMO then it should be acceptable for a single dwelling.1 point
-
Whilst I would only ever do my own tiling, next time I'll use a levelling/spacing system. Still, the dimmer switch and pretty lights detract from my tiling errors.1 point
-
1 point
-
There was a previous long thread a couple of years ago where we all weighed in on one of these, but I can't find it. I think the way you will get some good ideas is to play aournd. Try this: 1 - Get a Google streetview or a photo. 2 - Put it through an edge detect filter, which will give you a thing that looks like a quick pencil sketch. 3 - Print out ten copies. 4 - Make like Picasso with your pens or crayons or felt tips for your different ideas. Only spend 2 minutes on each one. Works surprisingly well.1 point
-
1 point
-
This stuff that @Onoff suggested https://plasticsuppliesdirect.co.uk/polypipe-gap-filling-cement-clear-140g.html Is this horizontal or vertical joins and how much pipe do you have showing..??1 point
-
1 point
-
1 point
-
1 point
-
... intended for ... ? A small Euromodule light. But I was persuaded to change the layout of the shower: and now the lighting point is directly in line with the shower flow .... ? I did ask the tiler no to cut a hole there.1 point
-
Depends how good the screeder is I’m the past I’ve done 4-5mm adhesive under the Ditra, then, whilst still relatively wet, butter the top of the Ditra and then lay 12mm notch over the top. 2-3mm butter on the back of the tile and away to go. Main thing is to roll the Ditra out straight and evenly so it doesn’t quilt. If you get a couple of mm quilt then the adhesive cures underneath and you end up having to add way more adhesive up top or cutting the Ditra to remove the ‘ripples’. I mop the dry screed with 75% water / 25% flexible primer, immediately prior to laying, so the adhesive under the mat doesn’t go off so quickly, a real problem when putting a thin coat of wet adhesive over a bone dry ( often dusty and porous as hell ) screed.1 point
-
1 point
-
I've done it but it stemmed from my ignorance really. I built in a length of brown soil in the wall from the wc instead of specific black/grey solvent weld. Imo the brown doesn't melt as well as the black/grey. The black grey also feels a bit more brittle. Get both surfaces clean with IPA or similar. I roughed up the brown to get the shiny surface "glaze" off and give the solvent something to key to. Tbh I had a few sleepless nights over it so backed it up with CT1. Anyway, I used this instead of the standard brush on solvent as it was also a bit loose for my liking being two different makes. https://plasticsuppliesdirect.co.uk/polypipe-gap-filling-cement-clear-140g.html1 point
-
1 point
-
No connection or endorsement, but some ideas of what you can do with 60s houses: https://www.backtofrontexteriordesign.com/1 point
-
Most of the jobs I quote for aren’t built So we are quoting off plan I always say allow 30 40 mil Tile to be agreed Easy to come up a little1 point
-
The adhesive and Dura 9mil If you can get Ditra at the same price Better to use and performance 10 mil adhesive Flexi Plus 3 back butter 6 mil notch for matting 10 mil notch for adhesive1 point
-
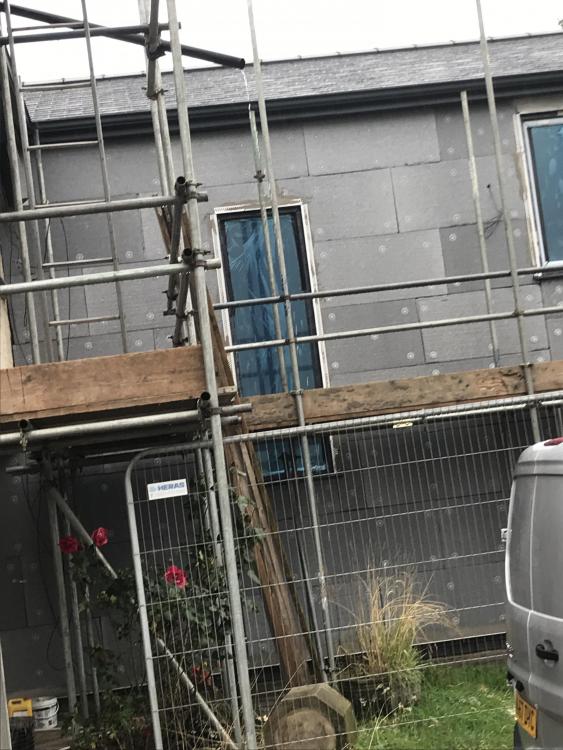
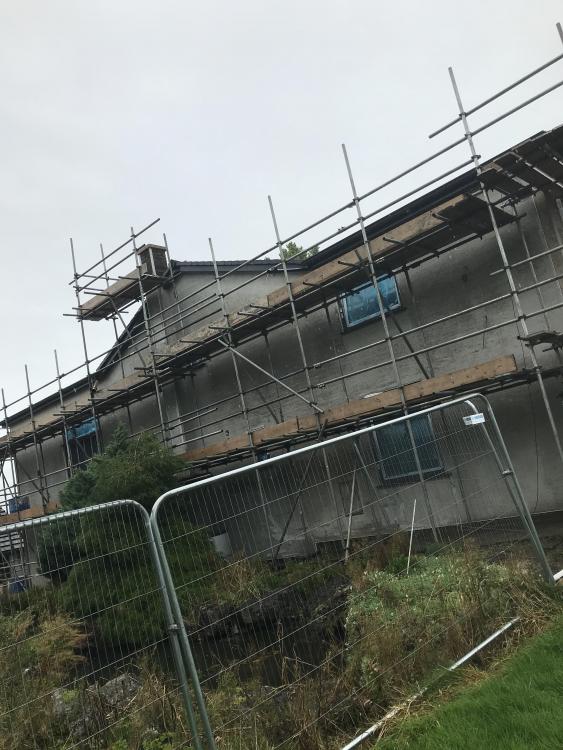
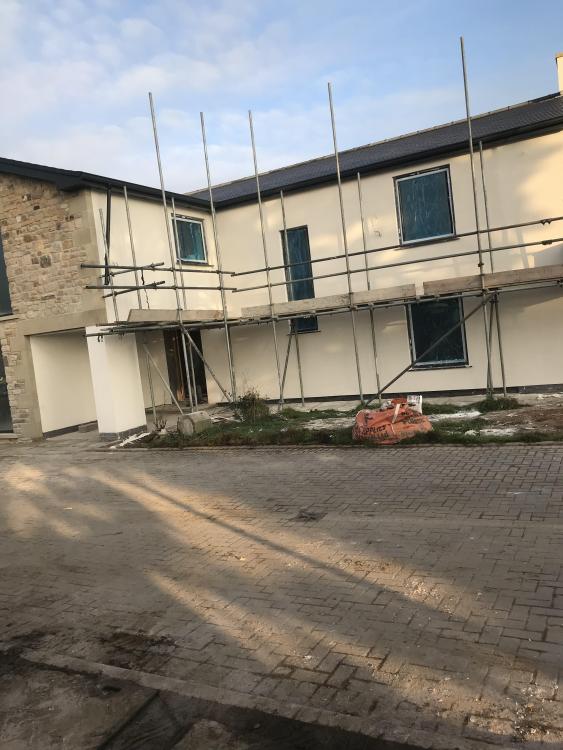
I'm slightly stumped. Damo's idea looks to have potential, but even that looks expensive. Perhaps I'm just not feeling creative enough this morning. The underlying thing jumping out at me is the proportions, but I can't think of an overall form that I like that is practical. It's too horizontal, unified, and one colour. Even the paving is the same colour. The two that come to mind are long, low bungalow and ranchhouse. Perhaps there is value in breaking up the outline, which could also be done using planting as an element, or a climber such as a virginia creeper, or vertical elements or a substantial pergola or something projected forward for part of the length. My limited thoughts. (Update. Another long, low form which is found attractive I am reminded of is Orangery or Garden Pavilion - is there potential by also thinking about the immediate setting. Thought experiment: how would that appear if the block paving was a law or a parterre?)1 point
-
I've done this quite a bit with B22 bulbs, in principle GU10 should be very similar Tips: - I flash all mine with custom firmware that connects to Home Assistant locally rather than use the stock images that have depend on a Chinese server - unless you enjoy a lot of disassembly and look for devices that are known to work with tuya-convert so they can be reprogrammed over WiFi E.g. this review (different bulb) looks promising https://www.amazon.co.uk/gp/aw/review/B078XD699G/R3T8W4VM4IVU62/ref=ask_dp_lswr_rp_hza I've had good success with Teckin https://www.amazon.co.uk/Dimmable-Multicolor-Required-TECKIN-Equivalent/dp/B07K1J1RDS - if you already have Home Assistant, ESPhome has a really easy learning curve and is frankly brilliant. Having originally set out to connect everything via MQTT I've now switched to avoiding if at all possible! - the quality of light from the bulbs themselves is so-so. I find it fine for "accent" or secondary lighting, table lamps etc in portable fixtures where wireless control makes a lot of sense, but for my primary wired lighting I'd avoid them both for quality of the light emitted and general dislike of over reliance on wireless - just yesterday I wrote an ESPhome extension that allows me to control them directly from loxone too, no other bridge or server needed. I'm very pleased about this as if means I can have one system control all my lighting (wired and wireless) from one interface.1 point
-
It looks like a good candidate for external wall insulation which would work well with you render and new window aspirations. Was the back insulated or just rendered?1 point
-
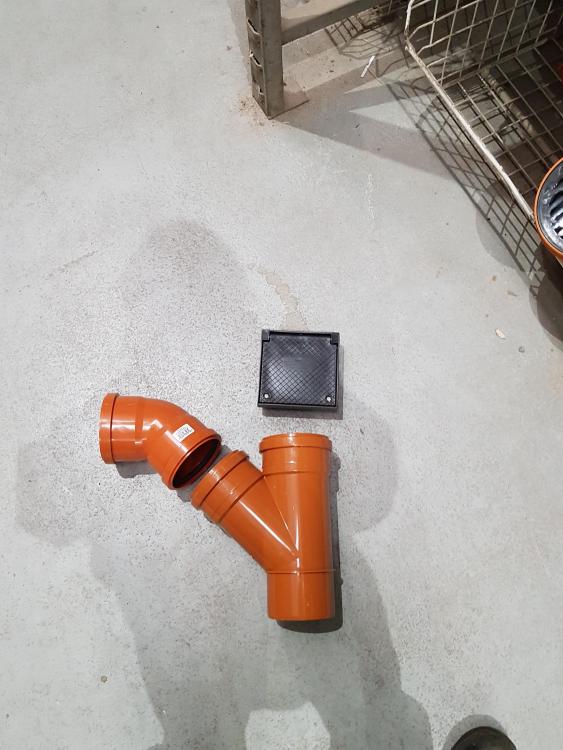
Yes - cut a piece longer than a branch fitting plus a length of pipe that will hold two slip couplings - which is about 300mm. Mark the pipe where the tee needs to sit, taking into consideration the length of the socket on the pipe. Cut the length of pipe out with enough space to slide the tee onto the stub. Chamfer, lube well and slip the tee onto the fixed pipe. Now measure approx 300mm from the tee back along your second fixed pipe, and cut and chamfer. Accurately cut a length of pipe to fit the gap, chamfer both ends and mark the pipe where the slip couplings are mid point. Lube up and fit both slip couplings. Put it into the gap and then slide the couplings into place to the marks you've made. Time for a cuppa and a chocolate digestive...1 point
-
Our PV system provides a fair chunk of our hot water for free, we really only need to boost it from off-peak for around 4 or 5 months of the year. No need for any Legionaires stuff, as it's a sealed system, using a Sunamp thermal battery. The problem I have with charging the Tesla is that it refuses to play nicely with a timed charge point. There's a software glitch with the Model 3 that disables the charge port when the car goes to sleep, so if the charge point starts to advertise power when the car's asleep it refuses to accept it. It's very, very annoying, as the only way around it is to take a massive security risk and allow a third party to have full control of both my car and Tesla account (both use the same security credentials). There's no way that I'm going to do that, not least because Tesla haven't officially released their API to third parties, and giving my Tesla account login and password away to an unauthorised third party seems like madness, just like give a complete stranger the key to the car. Other EVs are fine with charge control via the charge point; the BMW i3 I had would happily start and stop charging, and vary the charge rate, under charge point control, as did the Prius Plug-in I had before that. This made it dead easy to charge the car up largely from excess PV generation for a large part of the year.1 point
-
No, but I talked to our plumber about it (he plumbed in the ASHP as well as the rest of the house) and he said it just wasn't worth the cost and paperwork hassle. Perhaps he hadn't considered the potential installation premium?1 point
-
That's right, I had to go into service mode to access this setting. The installation manual didn't describe what you had to do to get into service mode, but I found out how online. From memory, the unit also came with a slip of paper in the box telling you how to access cooling mode, but I couldn't find that when I went to do it!1 point
-
Right, that's it. I WON'T be seeing you up the car park tonight.0 points
-
Harsh. I'd have accepted half really well done and considered. ?0 points
-
The bathroom is still not finished,. Unless I missed it, I don't recall the body dryer being comissioned?0 points
-
That's below the belt @pocster ... I mean at least his grouting is clean0 points
-
0 points
-
They're like kids. You: Don't do that Also you 2 seconds later, watching the kid (expletive deleted)ing do that: FFS... Like when you tell your wife those 3 little words. On any given day I never know whether it will be WTF? or FFS. If it's ever I love you, you've probably been drinking.0 points
-
0 points
-
0 points
-
Chrome USB blanking plate so you can charge your phone whilst on the bog...0 points
-
Got a pic taken further back? Bespoke stainless bog roll holder? Just a flat plate with a capped tube welded on & sticking out. Stick it on the tiles. A Quinetic switch and use as a disabled call button? Ash tray? A bit of walk on glass to forever remind you of you & @pocster's mistake...0 points
-
You are very welcome @timsk. I can see that, from your skills list) I will be asking you for advice in a couple of months time. I had a happy few years in the Cotswolds, and so visited many of the Roman villas that have been found there. Couple that with a visit or two to Herculanum (?spelling) and that got me very interested in how mosaics can exist at all sorts of levels. So now we have two experts on whom we can call .... excellent. Ian PS we are asking Matron to up @Russell griffiths medication .....?0 points
-
0 points
-
Spend week talking to brokers and trying to compare costs and second guessing how long you need finance for. Find a good solicitor (if one exists) who knows what they are talking about. Have a really good breakdown of your costs - you won't get a loan if the numbers don't stack up. Dot all the i's, cross the t's and hopefully get a mortgage offer. Hope your solicitor (who has otherwise been very good) doesn't sit on the land registry application for 6 weeks before sending it in. Hope the land registry don't take more than 6 weeks to sort things out and that you can complete your mortgage before the money runs out. We have enough funds to pay for work already done (to soleplate); for the timber frame - due in 10 days, but might struggle to carry on after that if the land registry still delays - 6-8 weeks is really all we have before things get sticky....0 points






.jpg.c21f3ac78c9b7efd90cbdcb312744dc5.thumb.jpg.7adcad4c0e384f5ecd7d56b0618df6e5.jpg)


