
Leaderboard


.jpg.c21f3ac78c9b7efd90cbdcb312744dc5.thumb.jpg.7adcad4c0e384f5ecd7d56b0618df6e5.jpg)
Popular Content
Showing content with the highest reputation on 05/05/19 in all areas
-
Apologies for the lack of updates on the blog. Things have been quite taxing over the past couple of months, coming to terms with my Dad's unexpected passing. I have struggled to find my feet, and to get anchored in the present again. My beautiful wife Kim and my (mental) kids have been amazing, and I think that I am ready to carry on in earnest. Long story short, I am getting my mojo back a bit now, so expect a big update in the next 48h - there might even be a bit of skin on show! ?8 points
-
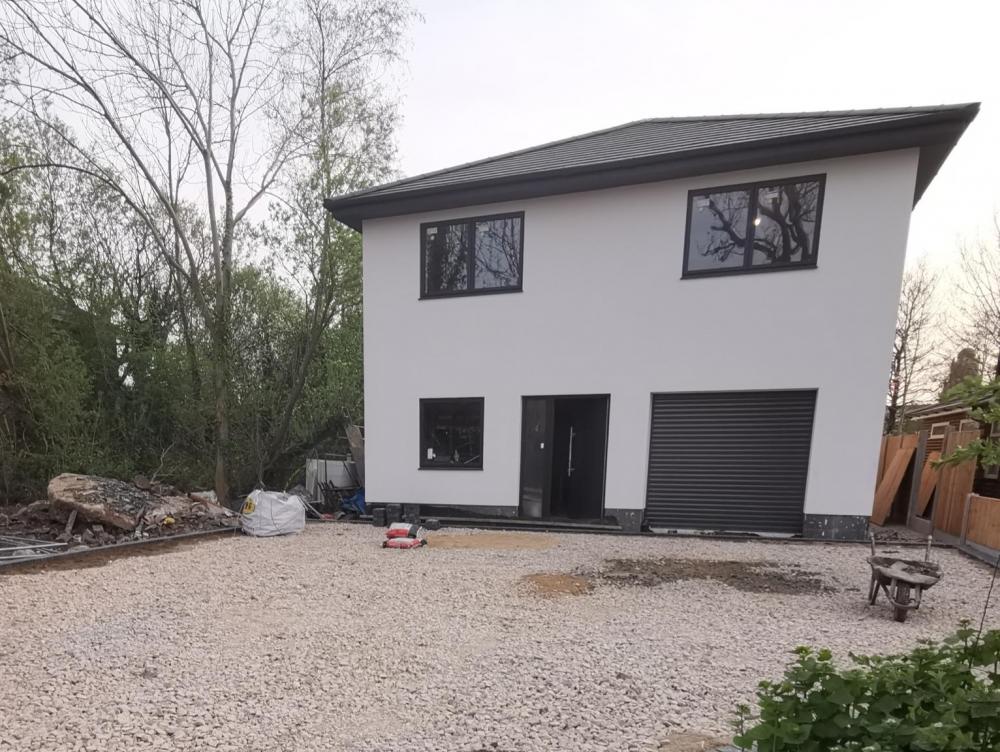
With our final concrete pour over last Friday, we breathed a sigh of relief. The worst of the messy work was done and it we could start work on the roof. It was a heck of a week and loads got done, on a very busy and noisy site. Good for us but not for our neighbours. It’s a problem every build faces, maybe worse for a self build where you have known your neighbours for years and been on good terms. We’ve done what we can to keep noise down and not to work antisocial hours, but sometimes you just can’t avoid it. Our last concrete pour should have started at 11am, the concrete lorry didn’t turn up until 3:30pm and as a consequence we were still working on site at 8pm. Then two days of incessant hammer drilling didn’t help. When you already feel like you’ve been put through a mangle, being confronted by an angry neighbour telling you they are at their wits end and that you’ve got to stop is not a good feeling. I think we are now past the worst of the noise but there is plenty of sheet to be cut and nailed down before we return to relative peace. Our plan for the week was for two experienced roofers to start work on Monday and have the roof done by Friday. As always it didn’t quite work out the way. First problem, the steel purlins (the beams that span the roof to support the rafters) were not in place. The sockets for these should be cut in the nice soft ICF and shuttered prior to the last pour, in our case this did not happen as the builders ran out of time preparing for the pour. With the concrete being new and not fully hardened we were told it would be a straight forward process to cut the purlin sockets. Good news as the lifting gear to place them was scheduled for Tuesday. At the same time as the purlin sockets were being cut work was being done to get the pole plates in place to take the floor joist for the loft. Getting the floor in place would make working on the roof much simpler and safer just by reducing the working height. To their credit the roofing team Jimmy and Sam did not sit around but worked with our other builders to get the flooring down on the first floor. To do this all the bracing from the pour needed to come down and the temporary 9mm OSB floor removed along with all the shuttering bits from the pour. Lifting the beams into place on our site is awkward, the front of the house is less than 5M from the pavement making reaching into the site difficult. We had thought we would need a crane to cover the angle and distance rather than a tele handler. Cranes are expensive, over double the cost of a tele handler even if you have an unsupervised lift. After a bit of phoning around we found a HIAB lorry with a massive reach. This turned out to be a very good option, far less disruptive than a crane as it did not block the road. Our beams are all less than 150kg so well within the full reach capability of the lorry. The lorry turned up on time mid day Tuesday, and what a lorry it was. It turned out to be a show vehicle with stunning paint work, apparently it’s been on TV on multiple occasions. There were still two purlin sockets to cut. While work continued on those, the HIAB lifted in the other three beams into place. We only hired the HIAB for half a day and we were running out of time. After a bit of discussion the remaining two beams were lifted onto the gable walls by their sockets, so they could be manhandled into the sockets later. With the purlins in their sockets it was pretty obvious that they needed packing to bring them to the correct levels and set them straight. It had already taken a day and a half to cut them out, so still more work. Our lesson from this is that while it seemed reasonable to cut the sockets after the pour it really is NOT. The sockets are much rougher and cutting their depth with a hammer drill is far from precise, noisy and time consuming. It’s quite surprising just how quickly the concrete hardens of. By close of day on Wednesday we had the floors done ready to start work on the roof. With just two days before the lads headed back north it was agreed they would also work Saturday morning. Just to add to the entertainment we had two very large 2400 x 1200 roof lights each weighing around 200kg scheduled for delivery on Friday. The roof lights sit on OSB sheeting on the rafters not a complex fit but the roof aperture needed to be constructed. Our builder wanted to stick to the schedule, but by late Thursday there was still a lot to be done and we decided to postpone to the next Wednesday. By then we should have a decent chance of being ready and have hired the HIAB again so we can get them into place safely. Work on the roof progressed at a pace and by 11am Saturday we had most of the rafters in place, just one complete section untouched. Our builder does not have any joiners or roofers, so we are now scrambling to find help to finish the roof next week.3 points
-
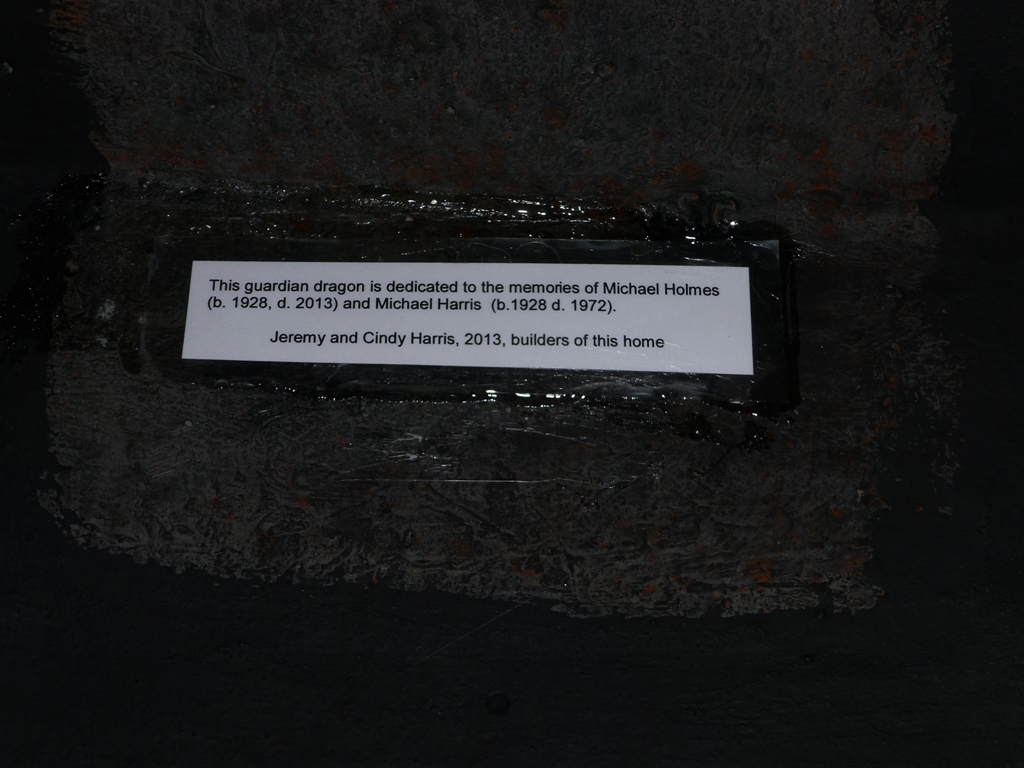
I can empathise with your feelings. Part way through our build my father in law died. We were both hoping he'd live long enough to see our house finished, but it wasn't to be. I did put a small memorial to him, and my late father (who died back in 1972) right up at the very top of our house:

 3 points
 -
And why am I not surprised? This design was common in Germany when I was a kid : less so now. No matter what your reaction to the design is - it does make you clean the bowl. As an aside, I had German relatives ask me in all seriousness how to use a UK design loo without getting a wet bum. The design nickname was Splash Loo (Plumpsklo). I took great delight in telling them that - to keep their bums dry - they had to sit facing the wall and aid the straining process by holding the downpipe with both hands. I explained (lied) that high level cisterns were provided for that very purpose ; I offered to fit a spare bike handlebar to the downpipe as a 'training device'. (Ubungsgerat) Yes, the inevitable happened. One relative completely missed the pan.God, I was in bad odour for a while. I'm almost sure my mum stopped my pocket money for a while after that incident.
 3 points
 -
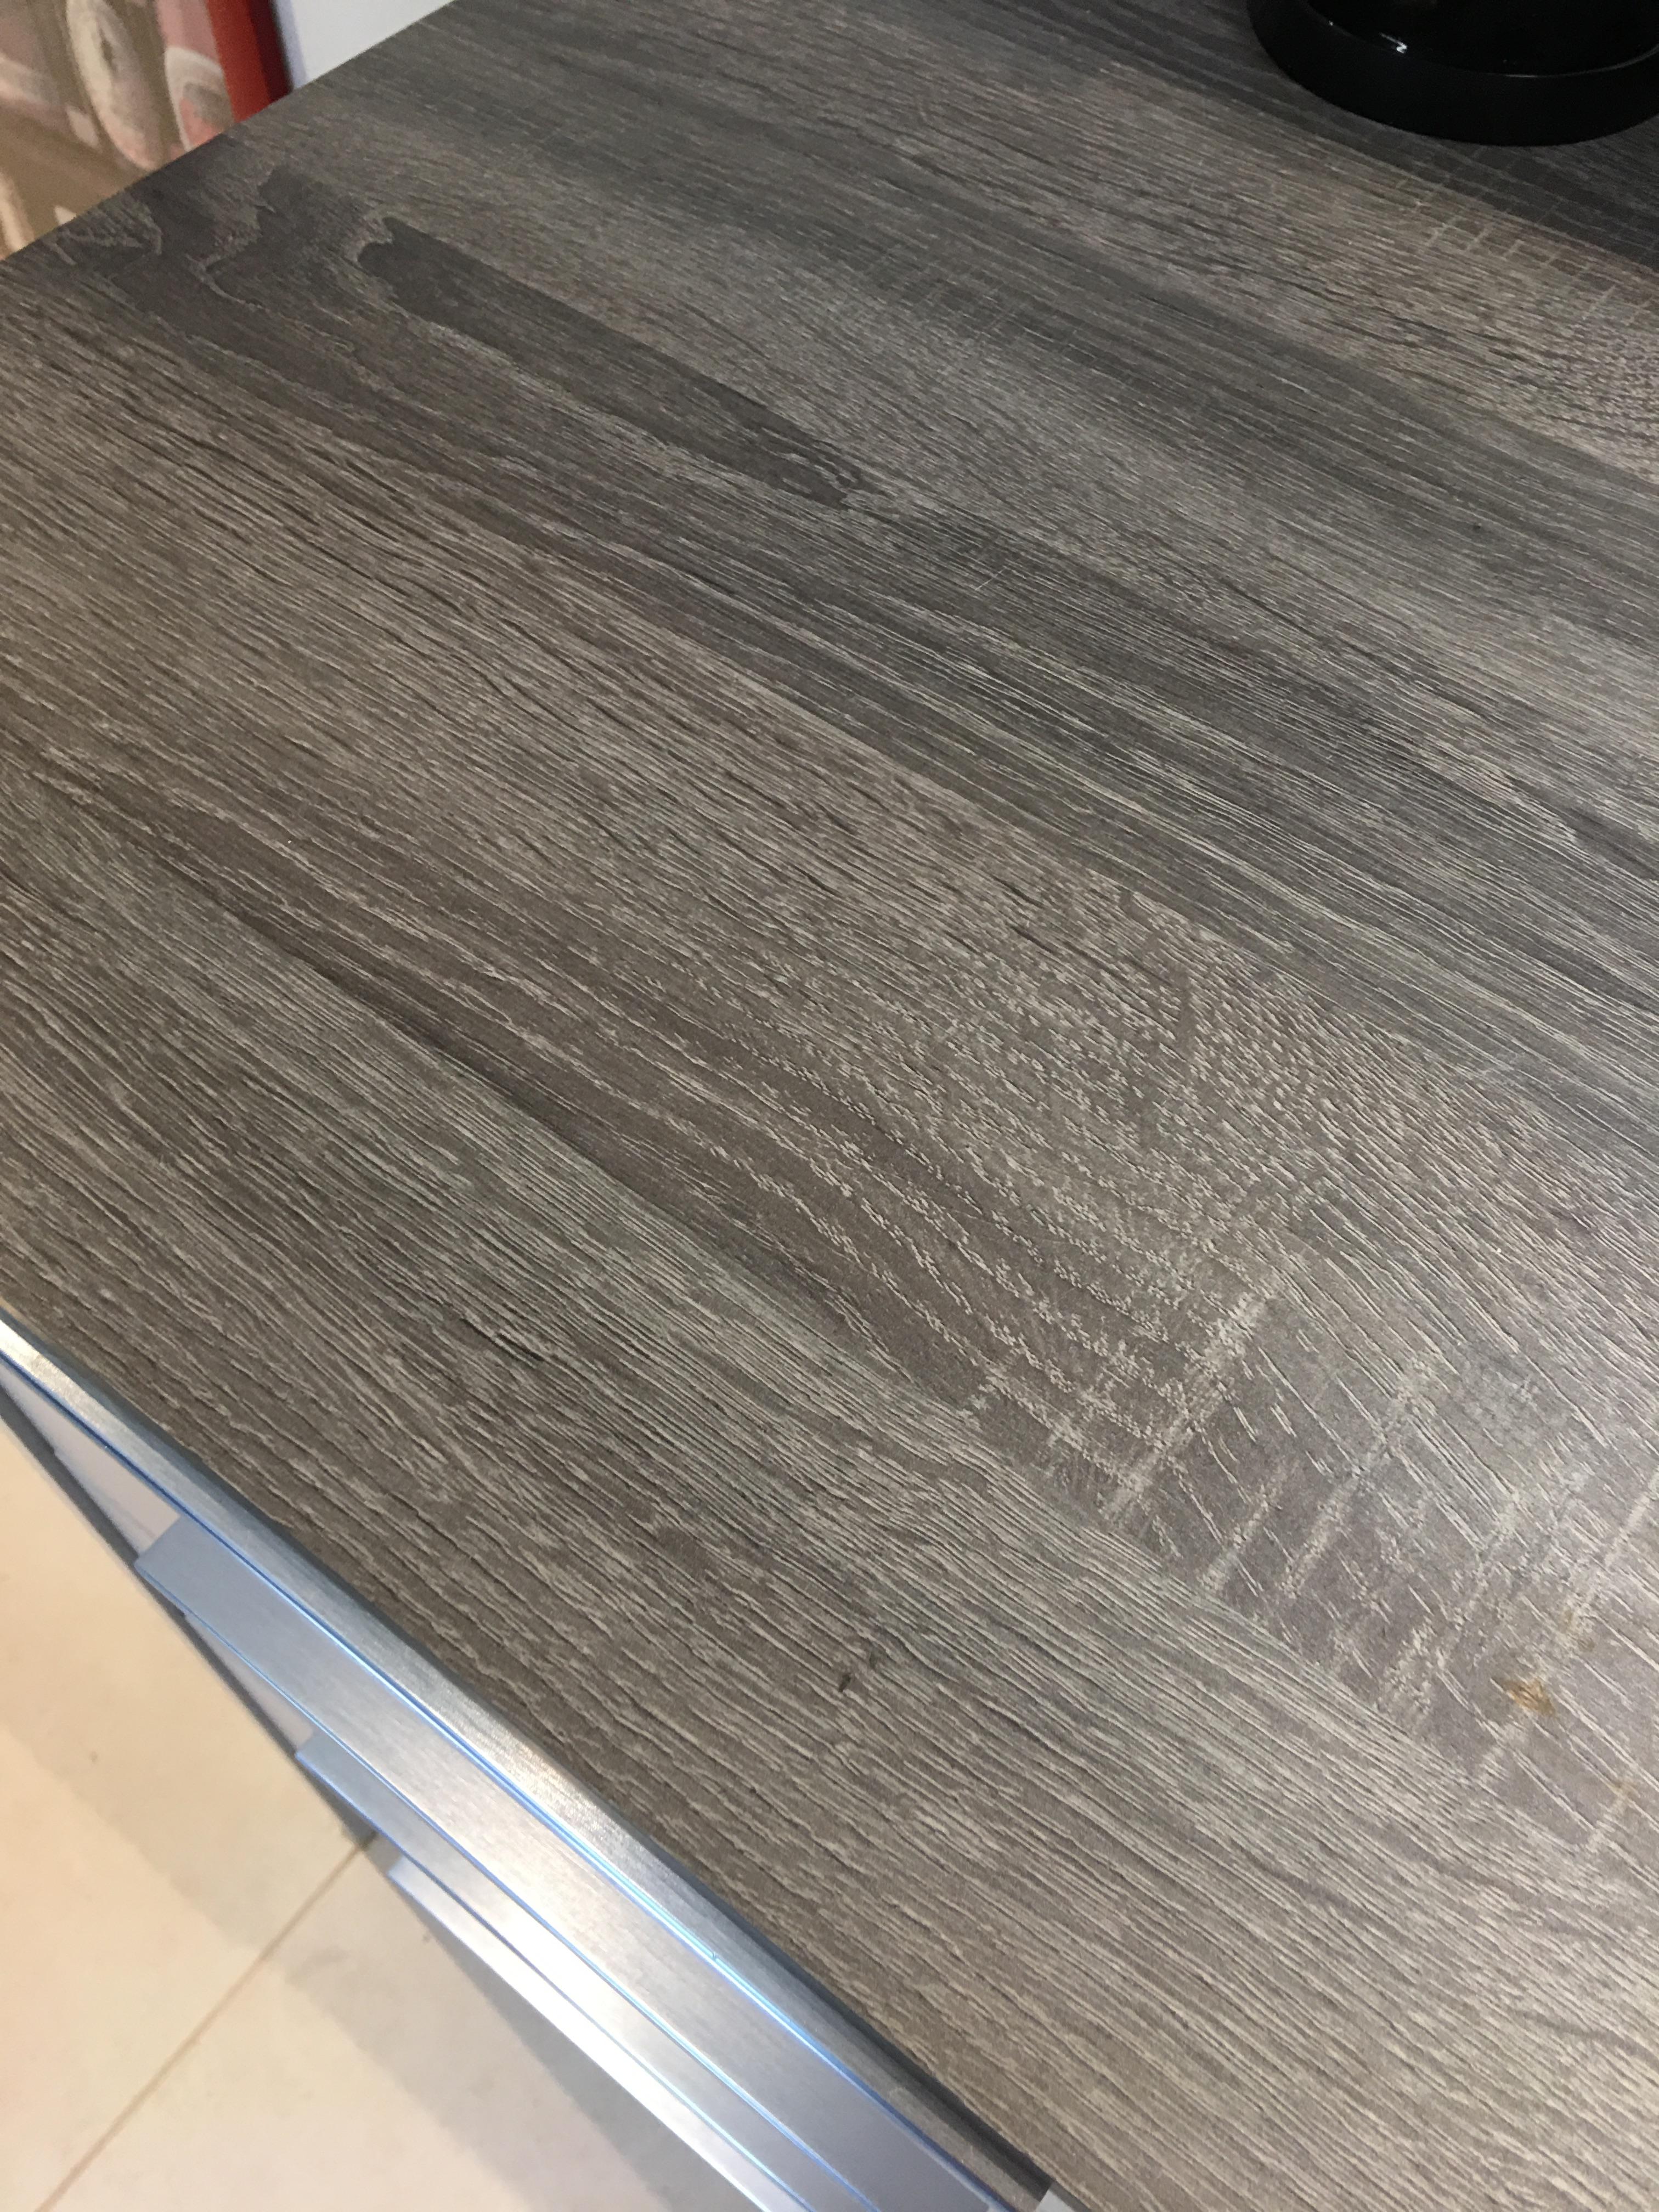
In my utility room I used Howdens units. I wanted a waterproof top not just a standard laminate but granite was overkill. I found a product called Zenith. It is completely waterproof wont lift like laminate and is scratch proof and pretty bomb proof I think. I had a 12.5mm thick one so nice and modern and slim. I had it to look like my oak in the kitchen so it reflected the style of my kitchen without the same cost on natural materials. Zenith comes in all sorts of colours and styles. I had a piece 3065 x 650 x 12.5mm for £190 plus vat. Matching up stands 4065 x 95 x 12.5mm £40 plus vat. So got the lot for £230 plus vat (and delivery if you need it). It looks amazing and is so durable. I would use it in a main kitchen without hesitation. I got mine from www.solidsurfacekitchens.co.uk


 2 points
 -
Why not do all of it in Eng. Bricks. They only cost about 20p extra each.2 points
-
You can make brackets out of track cut a piece of track 300 long measure the distance from the front of the vertical stud to The wall Then cut the track on either edge to the base of the track and bend the track in on itself Forming a righ angle You can either use a crimping tool or screw a couple of pan heads into the side to stop it opening out Make sure your stud is set at 400 or 600 Then shot fire or screw it to the wall fitting snug against the flat side of the stud Then fix it to the stud with two pan heads Alway two fixings Worth purchasing a couple of Irwin welding clams (Small) Clamp the bracket when fixing Doorway heads are made out of track also 900 opening cut a length of track at 1500 Cut through at either end at 300 and instead of folding it in on itself Fold them both up at right angles and press them in the 900 door opening and simply slide the head up and down to the correct door he’d height Then a couple of pan heads in either side Great system once you get going I studs will stand independent No bracing neede When you are boarding C studs Alway have the open edge facing away from the board your fixing Stop it twisting When you are boarding both sides of a wall start with a full board on one side The start with a 600 rip on the other side2 points
-
After my slab was poured all of the load bearing stuff (sole plate upwards) was inward of the eps upstand and laid according to a line marked from one end of the slab to the other. The thin edge of the EPS just has the membranes draped over it once everthing is done, so I don't think the damage to yours will make any difference. Where our lift and slide doors are located, the upstand was cut away there and a void shuttered out so that the windows would have a level threshold when they went in. We wouldn't have been able to do this if the thickness at the top of the EPS had to remain uniform. Deep breaths, Russell, in and out.2 points
-
I've started the plastering the office is finished and the oak for the doors and kitchen is in their1 point
-
This page has some useful guidance. At one point I thought it was an actual British Standard, but it's just a company name but seems fair enough. https://britishstandardcupboards.co.uk/design/process/design/1 point
-
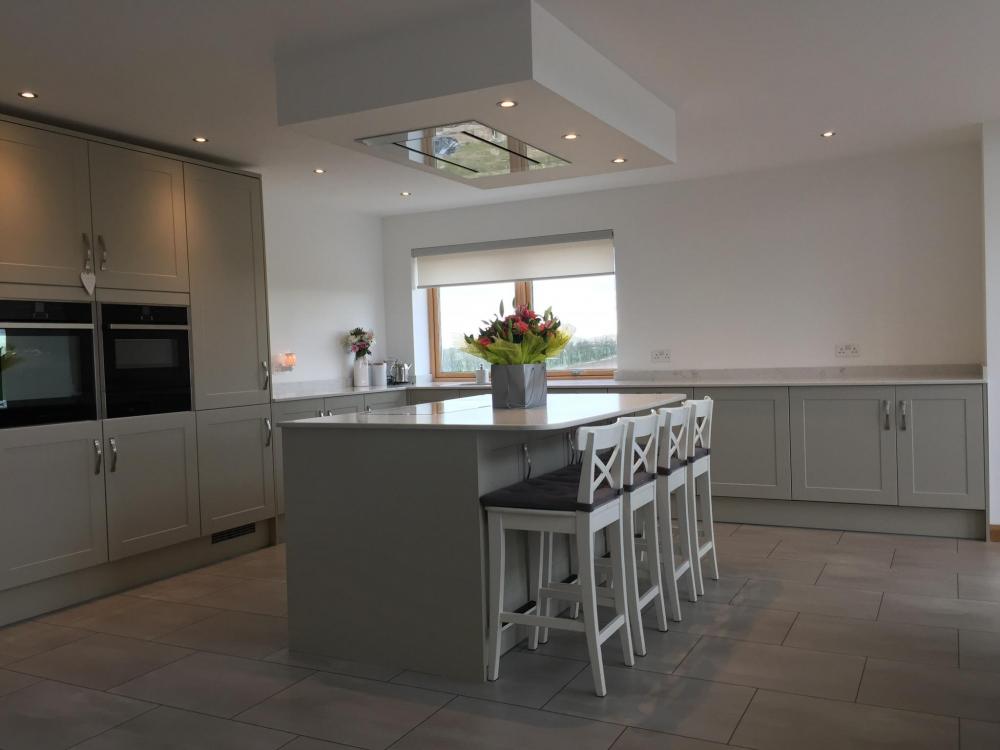
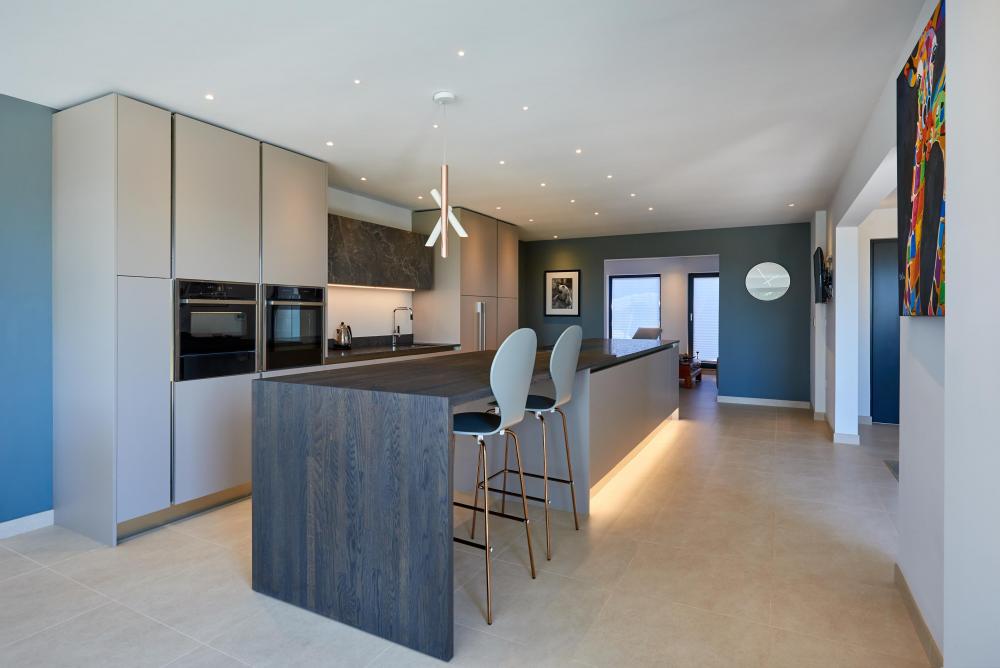
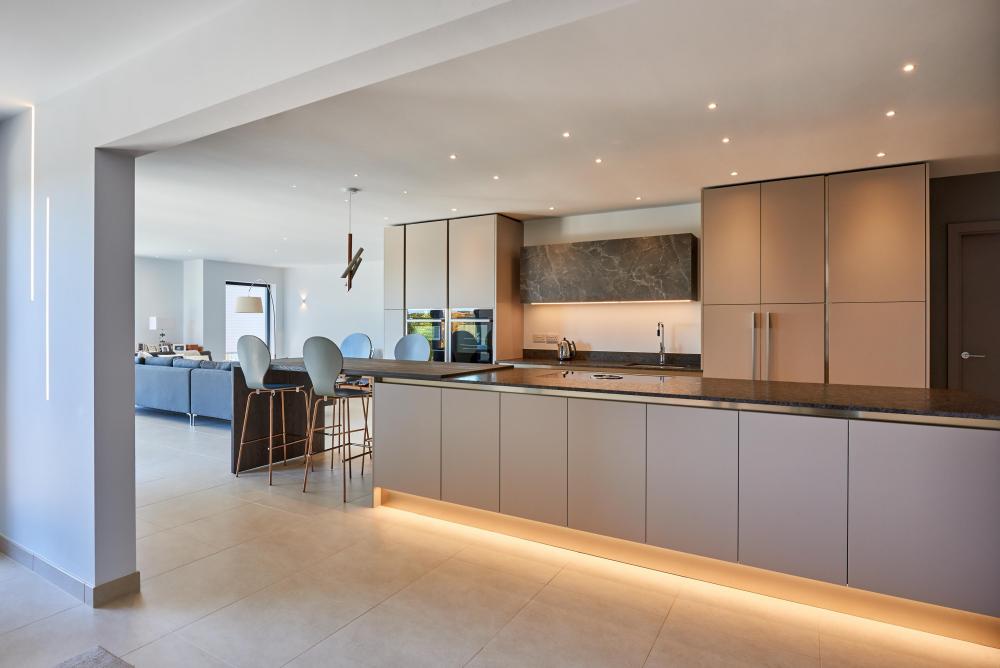
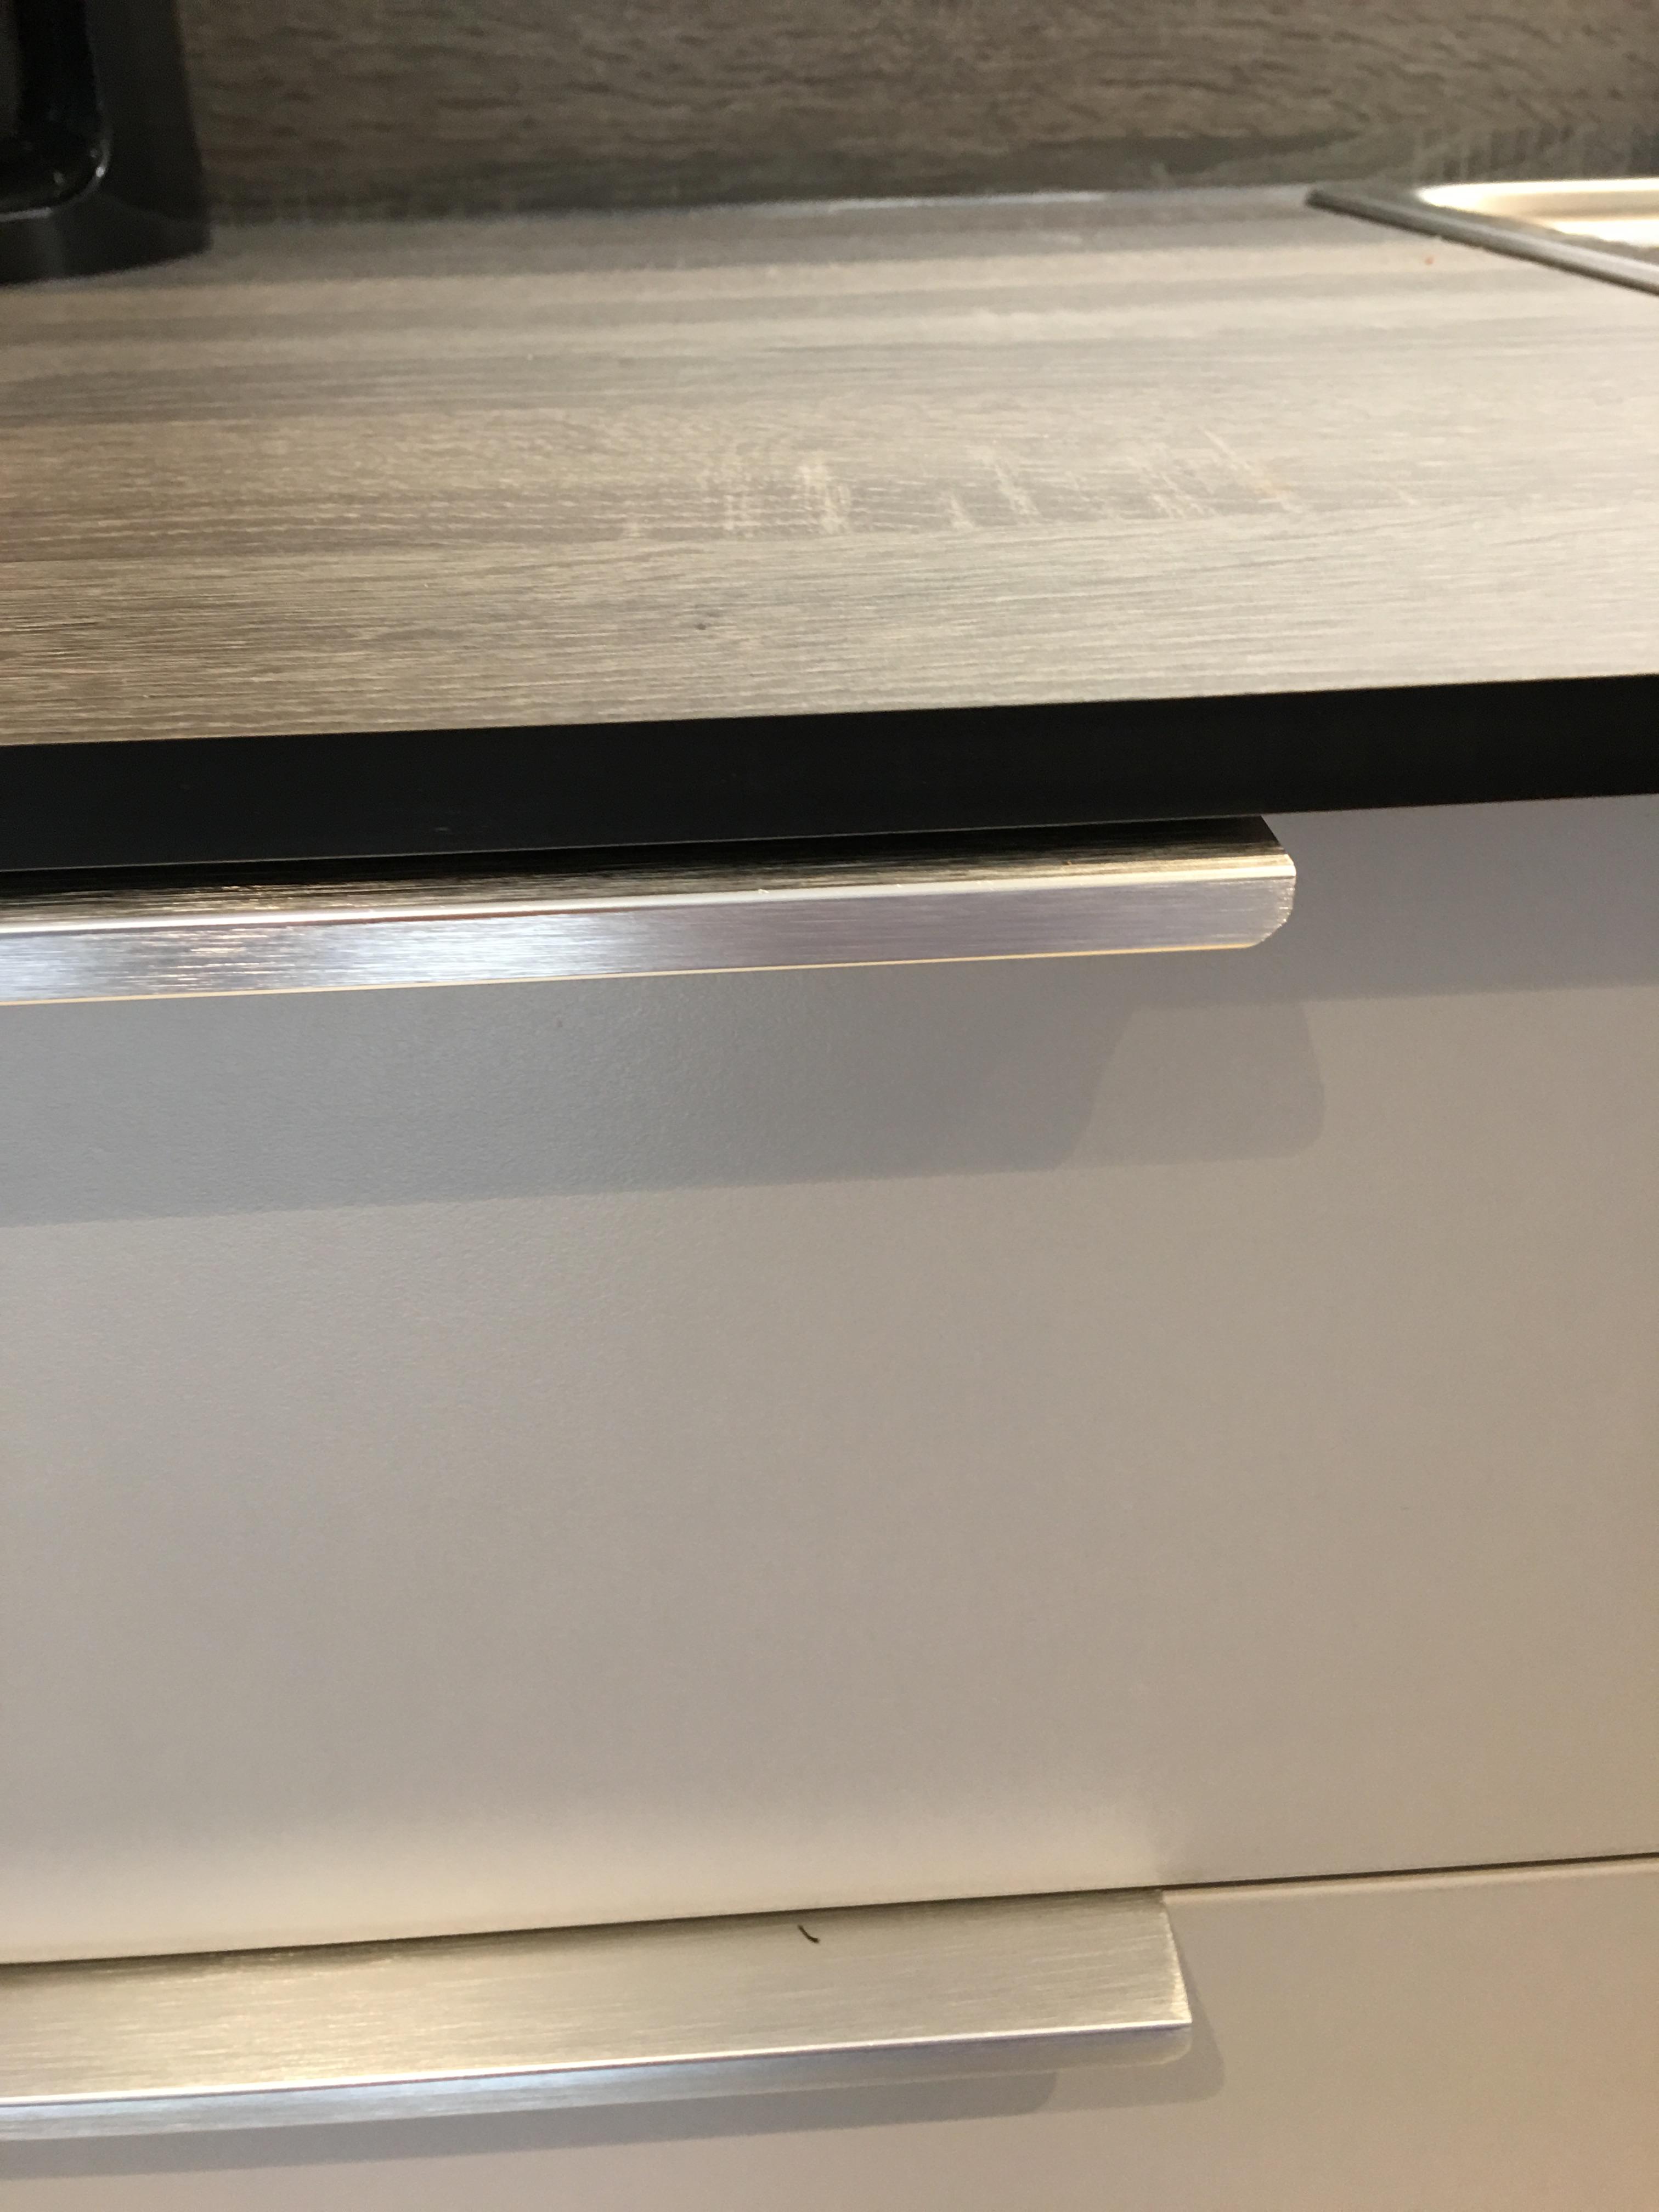
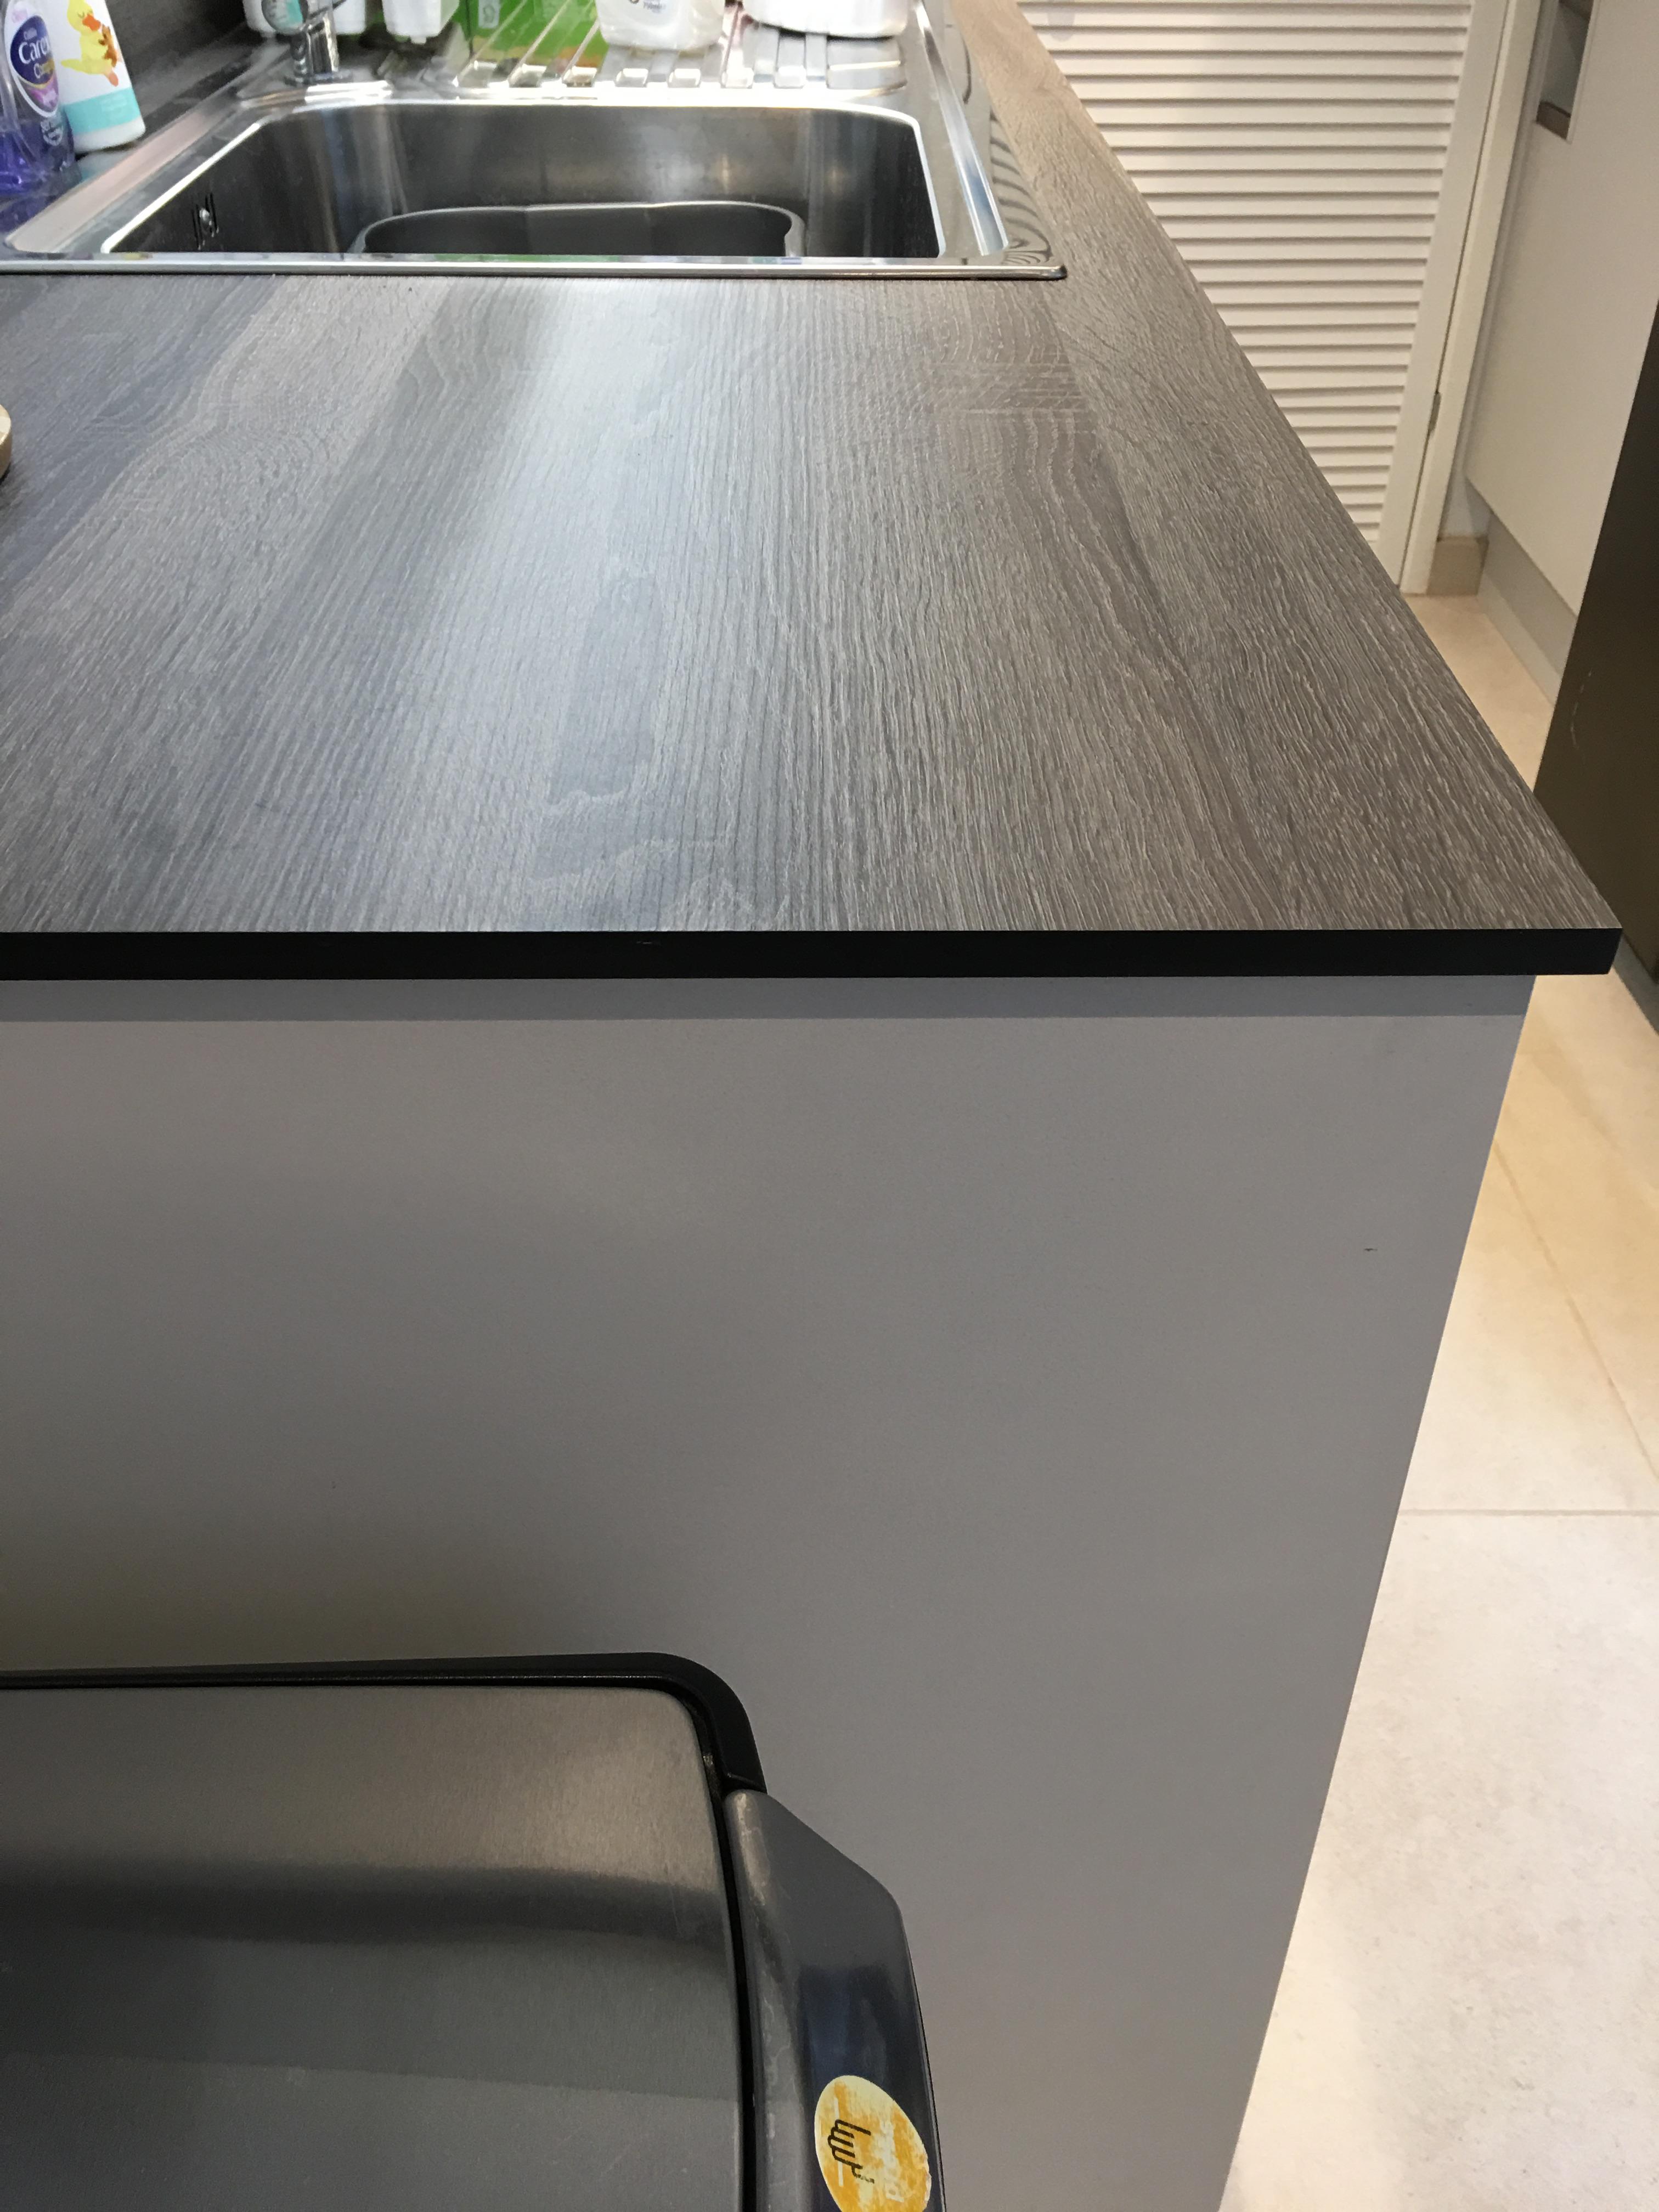
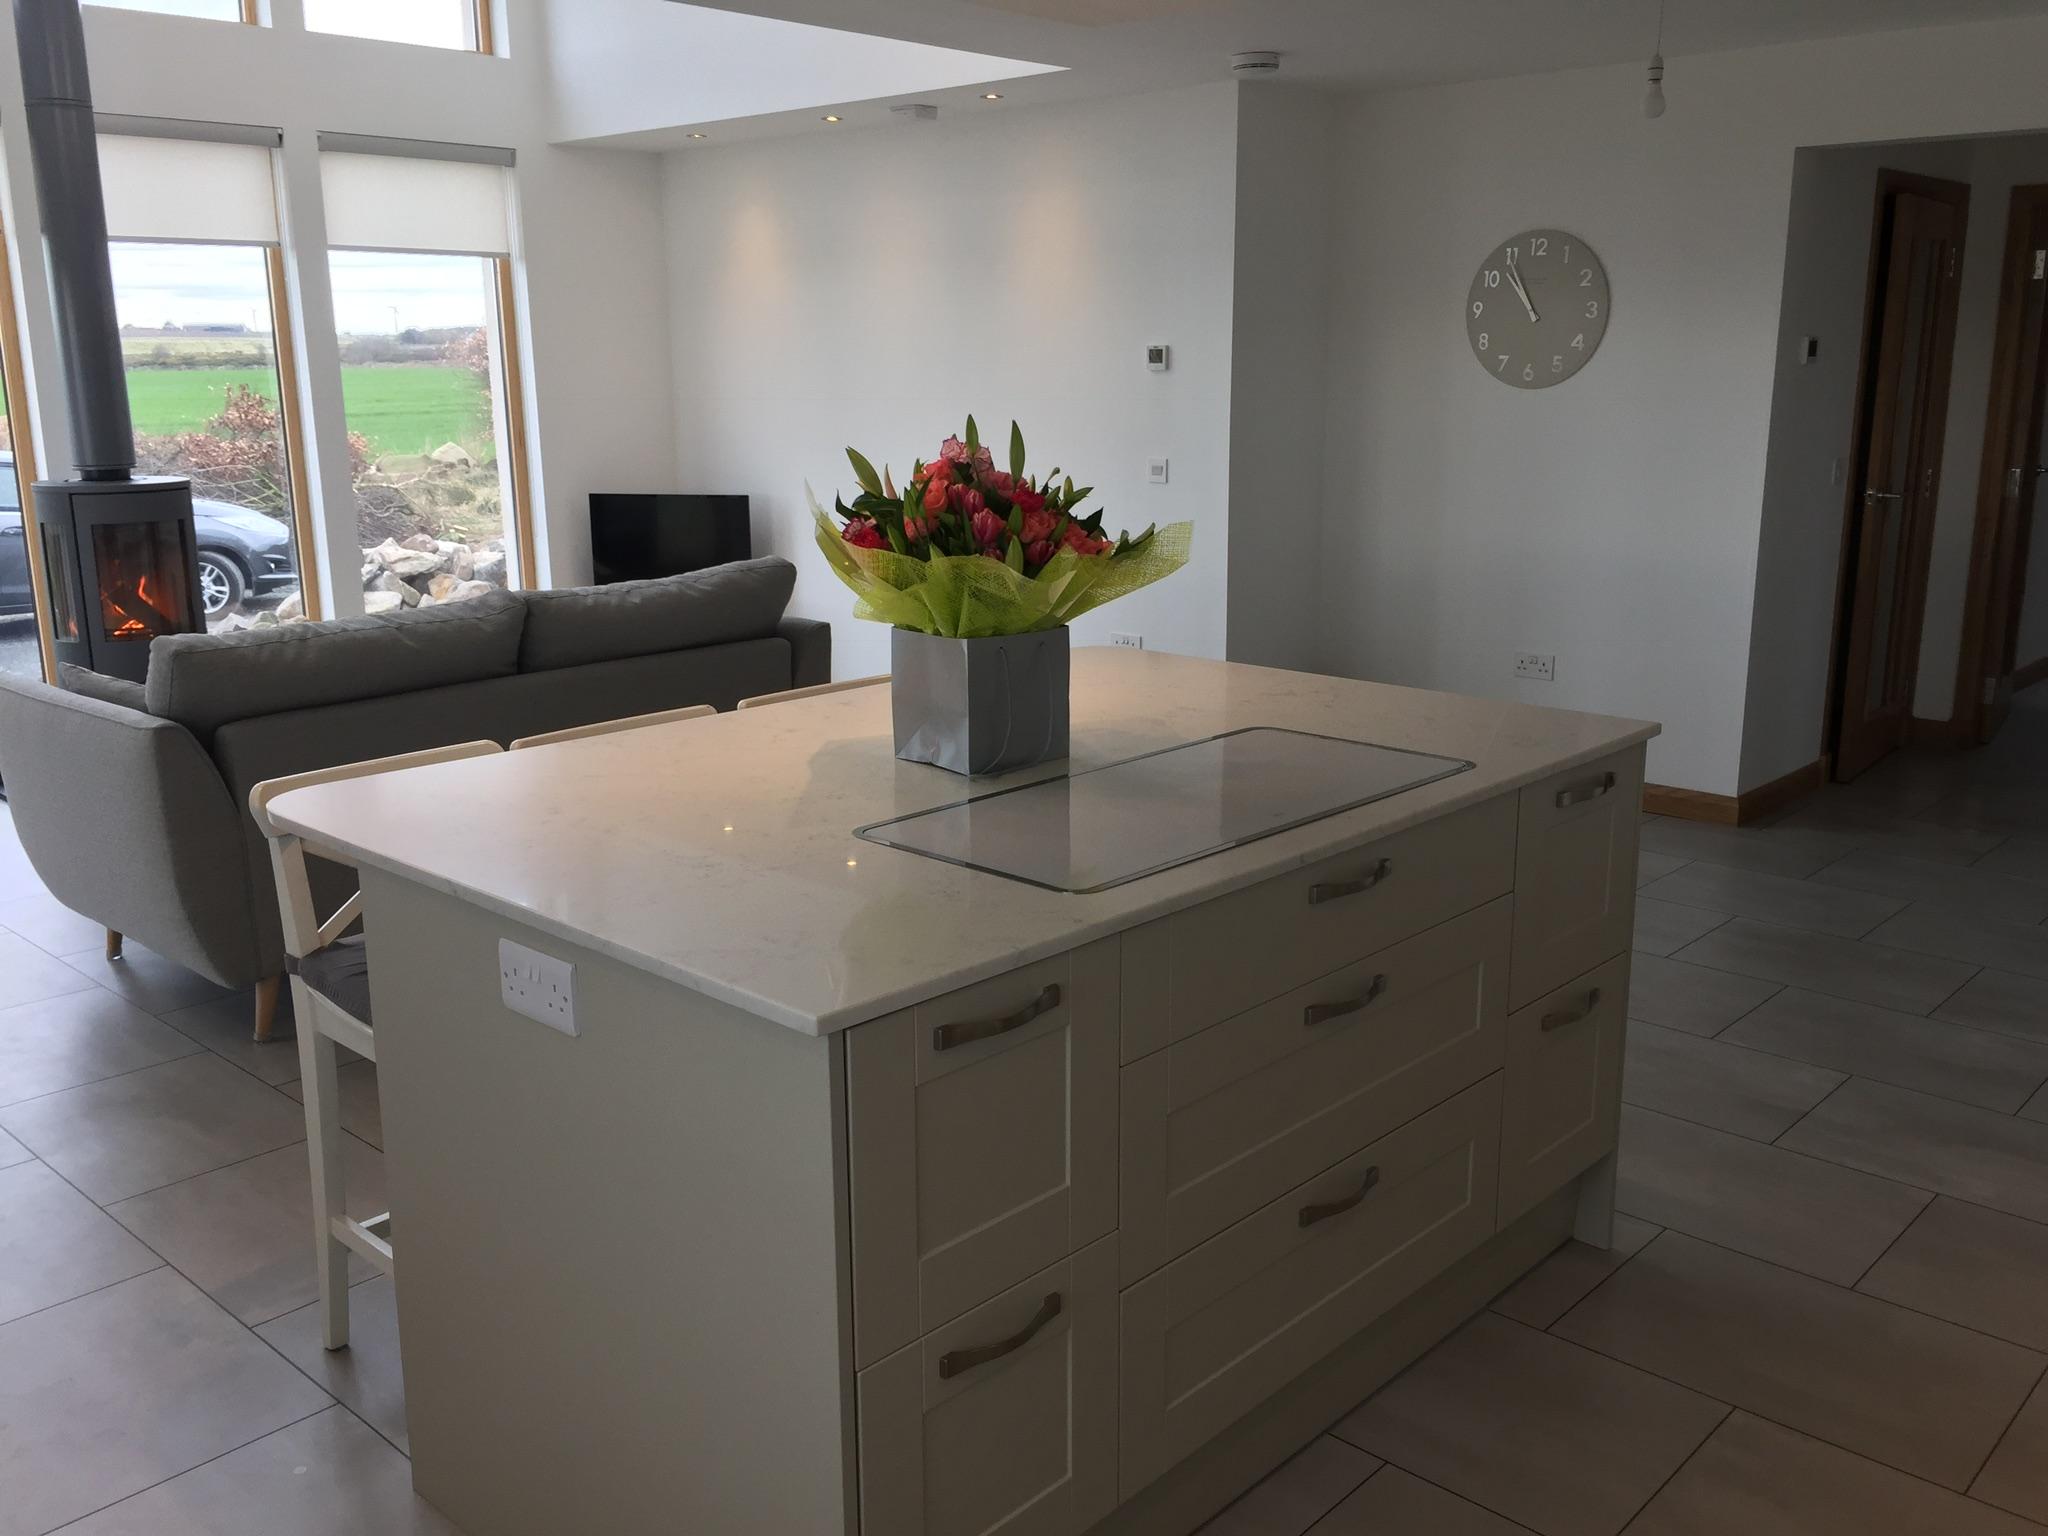
Love our kitchen island, our last one didn’t work too well and had put me off a bit but now we have our hob set into it, and sockets on the furthest away end panel like someone else has mentioned making it easier to wipe surface. One thing i would change is a separate cutlery drawer somewhere else as ours is under the island along with pan drawers and i constantly need to step aside to allow folk to get things. I would also have chosen/made better end panels as underestimated how much i would be looking at them. We also have 1200mm space around island and intended pushing it back to 1/1.1 once building control signed off but now really like the space as is. The silkstone worktops are really easy kept, and nice and cooling as our kitchen is prone to overheating from the glazing. I like the worktops kept clear, so small appliances are in the adjoining pantry and no kettle as have Boiling water tap.
 1 point
 -
I think ours are 700. The little bit extra makes a difference imo.1 point
-
I had a 750mm in the last house and that worked well. Shallower could probably still give some benefit.1 point
-
I prefer to go a little deeper whenever possible (ie assuming availability of the chosen worktop) as it allows for greater worktop area when you've got things sat on the top at the back. It can also make plumbing at the back a little easier.1 point
-
If this is for your basement and you have waterproof membrane you need to use 50mm I stud and it can be independent of the wall. If you wedge a bit of insulation behind them it stops any rattle.1 point
-
In that case you will be cleaning the walls, not just the Shattaf.1 point
-
That's pretty, great tip I will be sure to consider, thx!1 point
-
The male toilets at work are apparently disgusting. From the tales I’ve heard (no aim, no attempt to clean up, lack of hand washing etc) if toilets become gender neutral I am retiring!! I’m surprised that the cleaners don’t refuse to clean them.1 point
-
Thought for a minute we were going to have Dorset's answer to Rooster Cogburn on our hands... This subject is beginning to get interesting.1 point
-
Ours are extraordinarily good at keeping the sun out. We have several large west-facing windows with external (uninsulated) aluminium venetian blinds. When they're down, there's no perceptible radiant heat, even with the western sun beating on them on a hot day. I don't doubt that some heat gets by, but it isn't particularly noticeable. Even fully closed, there're 5-15mm gaps at the sides, plus the holes for the guides and small gaps between the slats themselves, which I'm sure allows some of the heat between the window and blind to escape. Another thing is that they're quite useful for privacy. We very rarely retract the ones at the front of the house, because they help stop people seeing in. Something I didn't expect is that we quite like the look of the house when the blinds are down but open. They add to the look of the house imo. One thing they aren't at all good at is blocking out all light. On east-facing windows particularly, enough of the early morning sun in summer gets through the gaps at the slat edges, and even the holes for the guides, to make the room noticeably bright from very early in the morning. We mistakenly made no provision for recessed internal blockout blinds or curtains, thinking we wouldn't need them. This is the main disadvantage of this particular type of blind imo (that and the fact they provide literally zero security, since you can just lift them up like ordinary venetian blinds.1 point
-
I'm seriously thinking of buying a 3D printer now, and looking around it seems that you're right, the Creality Ender 3 does look to be good value. Having been reading up as much as I can on these things over the past few weeks, it seems that there is a pretty large user base for the Ender 3, and consequently the few issues that seem to crop up have what look to be fairly easy workarounds or fixes. I have a couple of jobs for it that will, if they work OK, pretty much cover the cost of the printer. The first one will probably be a couple of ABS holsters for my car charge point cables. These are around £25 - £30 just for a pretty simple bit of plastic: https://www.amazon.co.uk/Remote-mount-IEC62196-charging-holster/dp/B078HMRFLN Be interesting to see how the printer copes with ABS. From what I've read it should be able to print with it OK. I'l start off with PLA, though, just to get a feel for how the thing works. I need to make up a couple of custom project box enclosures, too. With luck it will be easier to 3D print boxes with display apertures than mess about milling out holes in a standard plastic enclosure.1 point
-
I've tried cutting a left over bit of 20mm Silestone. A carbide tipped saw wouldn't really touch it. A diamond blade on a Dremel cut it OK, but I'd guess you'd need to use a diamond disc cutter to slice through it cleanly, used wet (it doesn't seem to like being cut dry).1 point
-
I’ll experiment with what you’ve suggest ! Got to run now ! Literally , Bristol 10k ?1 point
-
You will need to come up higher than 3 course of engineering bricks as in that pic you ground slopes. so the 3 courses need to come up 3 courses above that high point of ground, no point putting them or a damp course lower than finished ground level. Why not not just go 600mm high engineering bricks and then your face bricks, no damp course in garden wall, don’t over think it they will be covered in green mouldy shit in a years time.1 point
-
I have a German pan though not with the "inspection shelf". It's a Bernstein and the wc frame within the wall is Geberit. Pan is now £195 delivered. 3 videos: Soft close: Number 1 flush: I've not yet tried it "for real" with a proper, big number zwei, seems quite a good flush? Not adjusted any flush rates all settings just straight out of the box:1 point
-
@Ferdinand @joth Quote I had for Sapienstone was from Rock Revelations from Brigstock, Northants.01536 373253 £1830 for 12mm Urban argento for my kitchen peninsula 3100 x 1200 with cut out for induction hob & undermount sink & tap. This was last November. I still am nowhere near getting a kitchen.1 point
-
There are two types of fittings, one is built in and one which can be retrofitted but I am not sure if these would be suitable for most UK windows as continental windows have larger inside and outside sill We had the ancient wooden version built-in. They were very heavy and had a manual pulley cord. The cord outlasted the house, which was demolished a couple of years ago. The electric version of the blinds are more problematic as the blind can get stuck inside the cassette. A big tug on the manual blind solves the problem. See https://avosdim.com/uk/roller-shutters.html
 1 point
 -
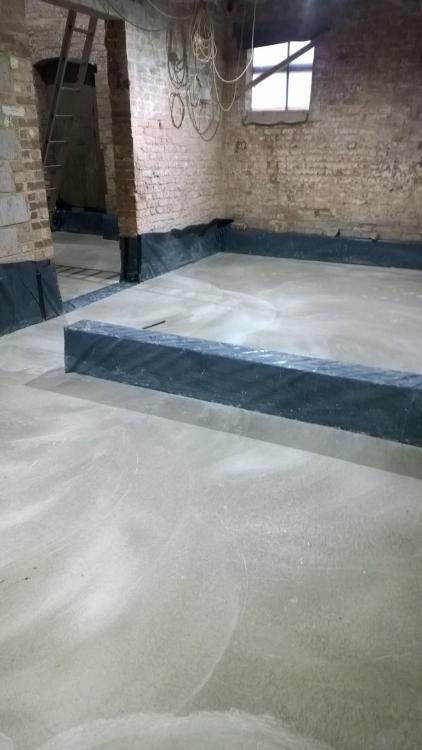
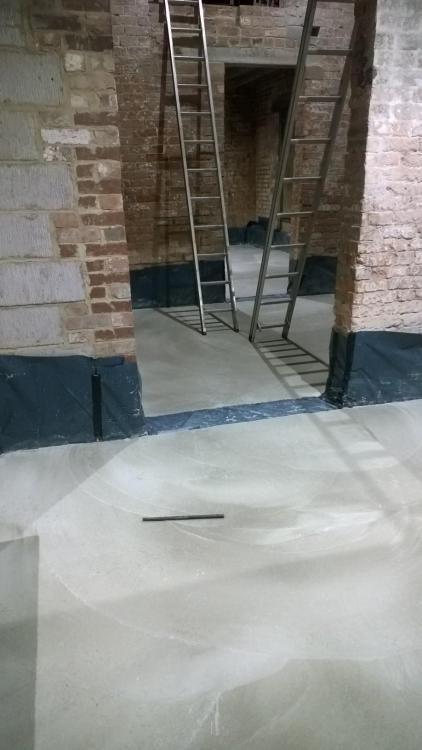
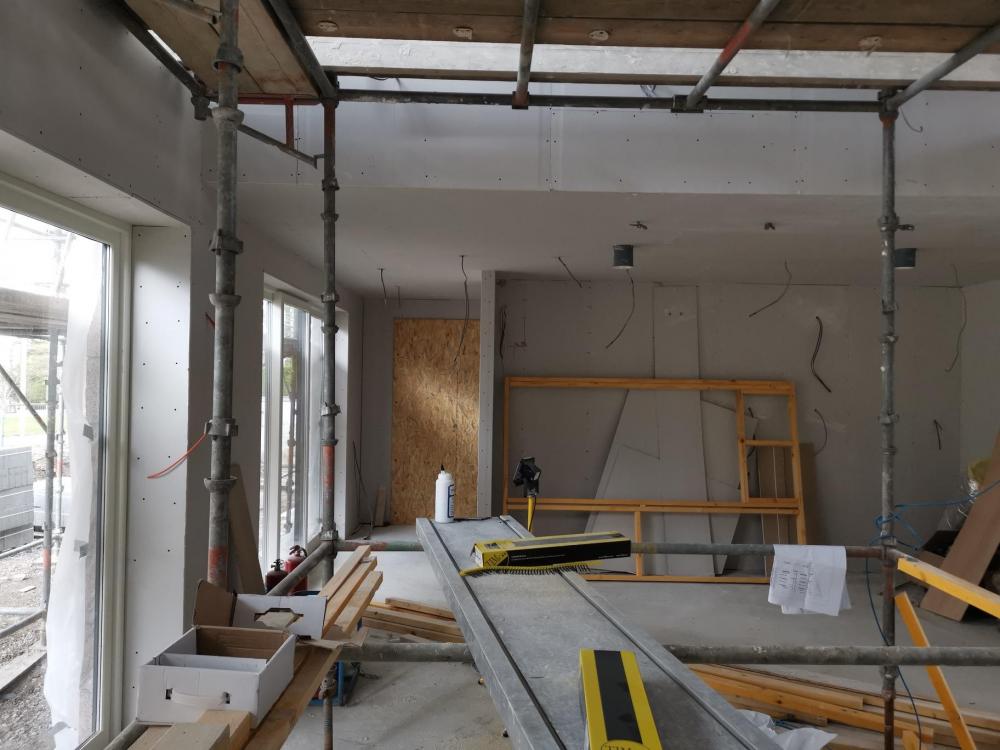
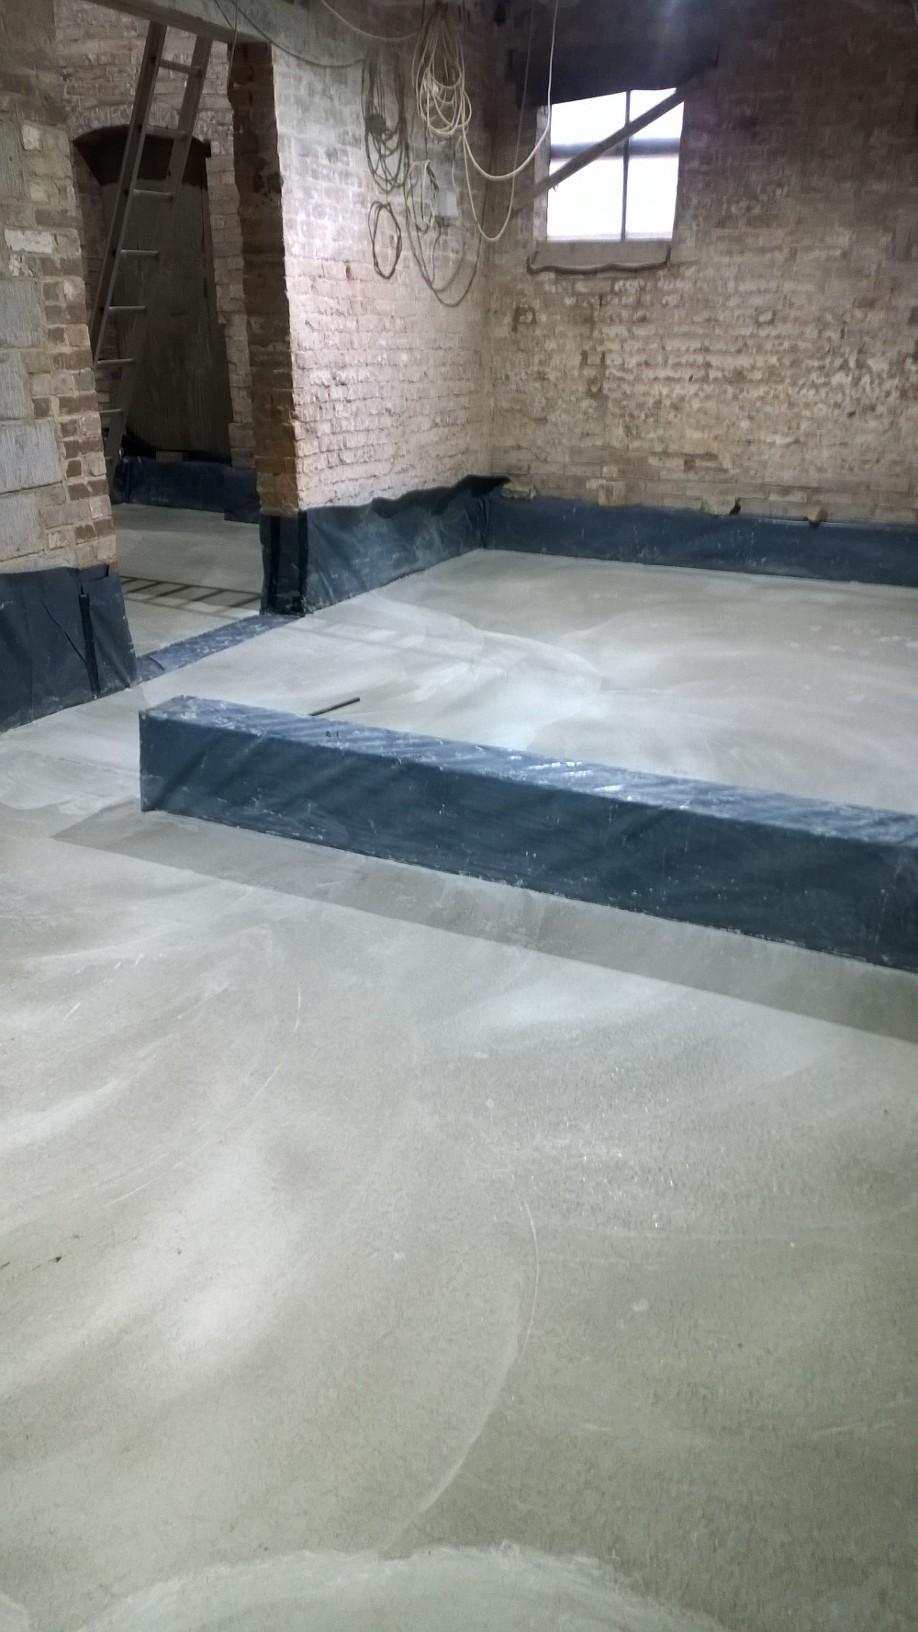
I think i've been at this conversion for too long. I'm quite pleased at seeing plain concrete and i needed to share. Behold
 1 point
 -
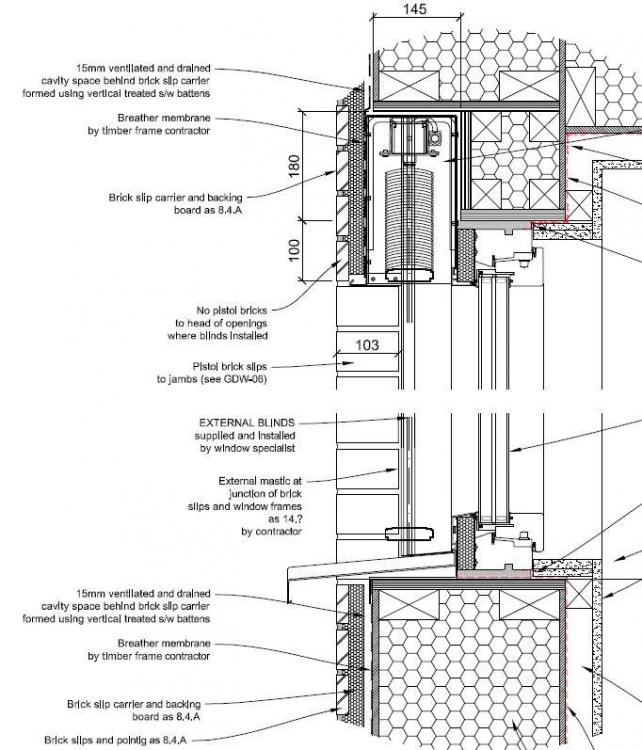
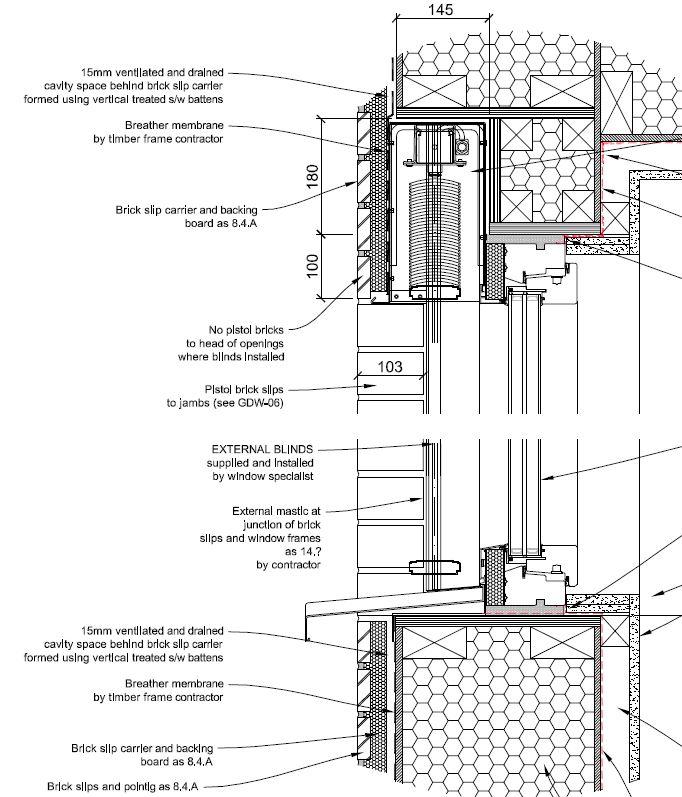
Ours aren't Gaulhofer, but the detail is probably similar. This is what we have where the house has brick slips on render board over a timber frame with cellulose insulation, and external venetian blinds:
 1 point
 -
The repair isn’t a problem, just make sure you fix a temporary timber brace behind it during the pour or else it might bow out, being a bit on the thin side!1 point
-
I am going for sapienstone worktops. Porcelain & non scratch, non porous1 point
-
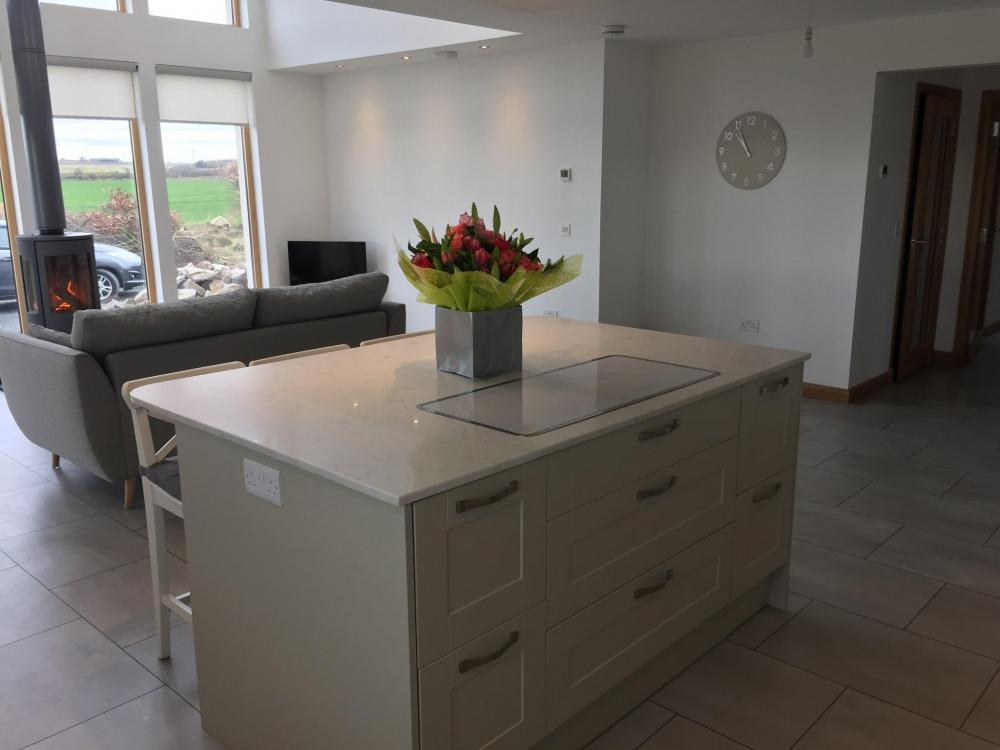
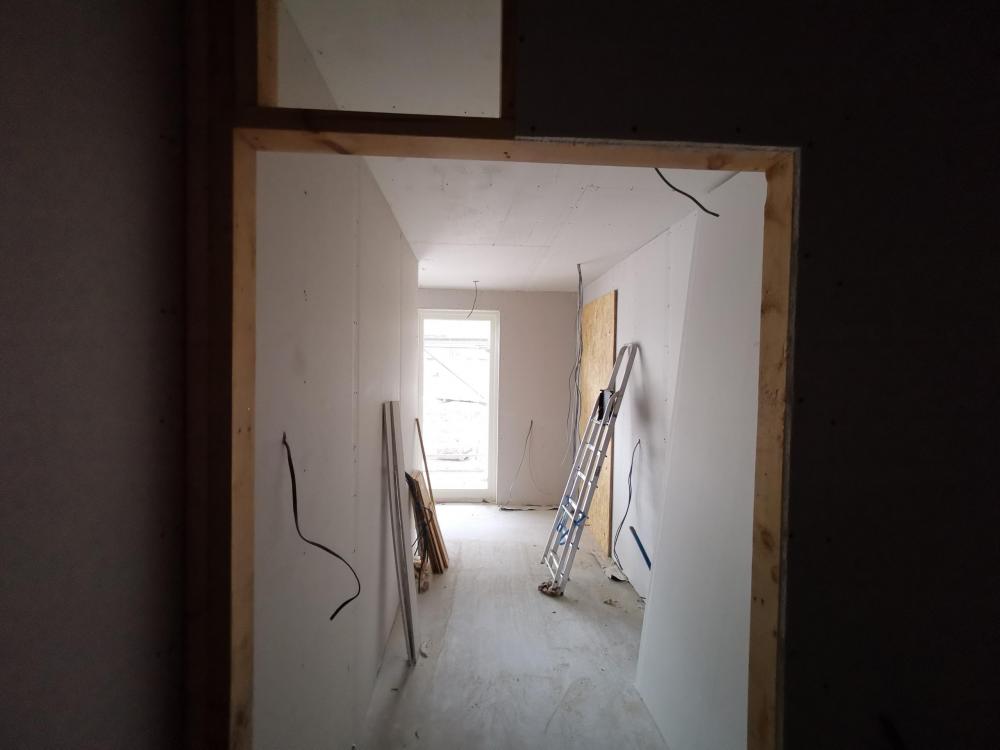
The worktop is Neolith Nero https://www.neolith.com/en/collections/nero-3/, we have chosen this as we wanted a thin quartz type solid surface worktop with no joins. This is the longest worktop we could find as close to the dark grey colour that we wanted. We don't need a huge sink as all dishes go in the dishwasher, the sink is only for rinsing and filling cups etc with hot or cold water. If anything does need to be soaked we can use the larger sink in the utility. We are doing it mainly for the aesthetics of everything been as minimal and flush as possible, however as a direct consequence of this it also means less space to have stuff/junk/clutter lying about. Also less clutter lying about means the house is easier to keep clean and tidy. We are going for the Ligne Roset Togo in Grey, I wanted a funkier colour, however wife wouldn't let me https://www.ligne-roset.com/uk/modele/living/upholstery/togo/37 The sofa has got slightly larger compared to the one on the plan, it will be a kind-of U shape made up of a 2 seater, corner, 3 seater, corner, one seater and foot stool. The utility, is very close to the kitchen and garage and to an exterior door. With it's current position it still gets natural day light. The utility is also sort of hidden away and far(ish) away from living areas. Also in terms of fitting everything into the house, the utility size, shape and position were less important than some of the other space. However having said that I am really happy with the utility room. The cupboard in the utility is not 1200mm deep, so it's now a walk in cupboard, leaving 3000 for a single run of worktop. Photo was taken before the end partition was erected. The door will be positioned to the left, meaning there will still be lots of natural light. Also I took this photo standing inside the 1200 mm deep cupboard.
 1 point
 -
Think my 125mm one was about £12.1 point
-
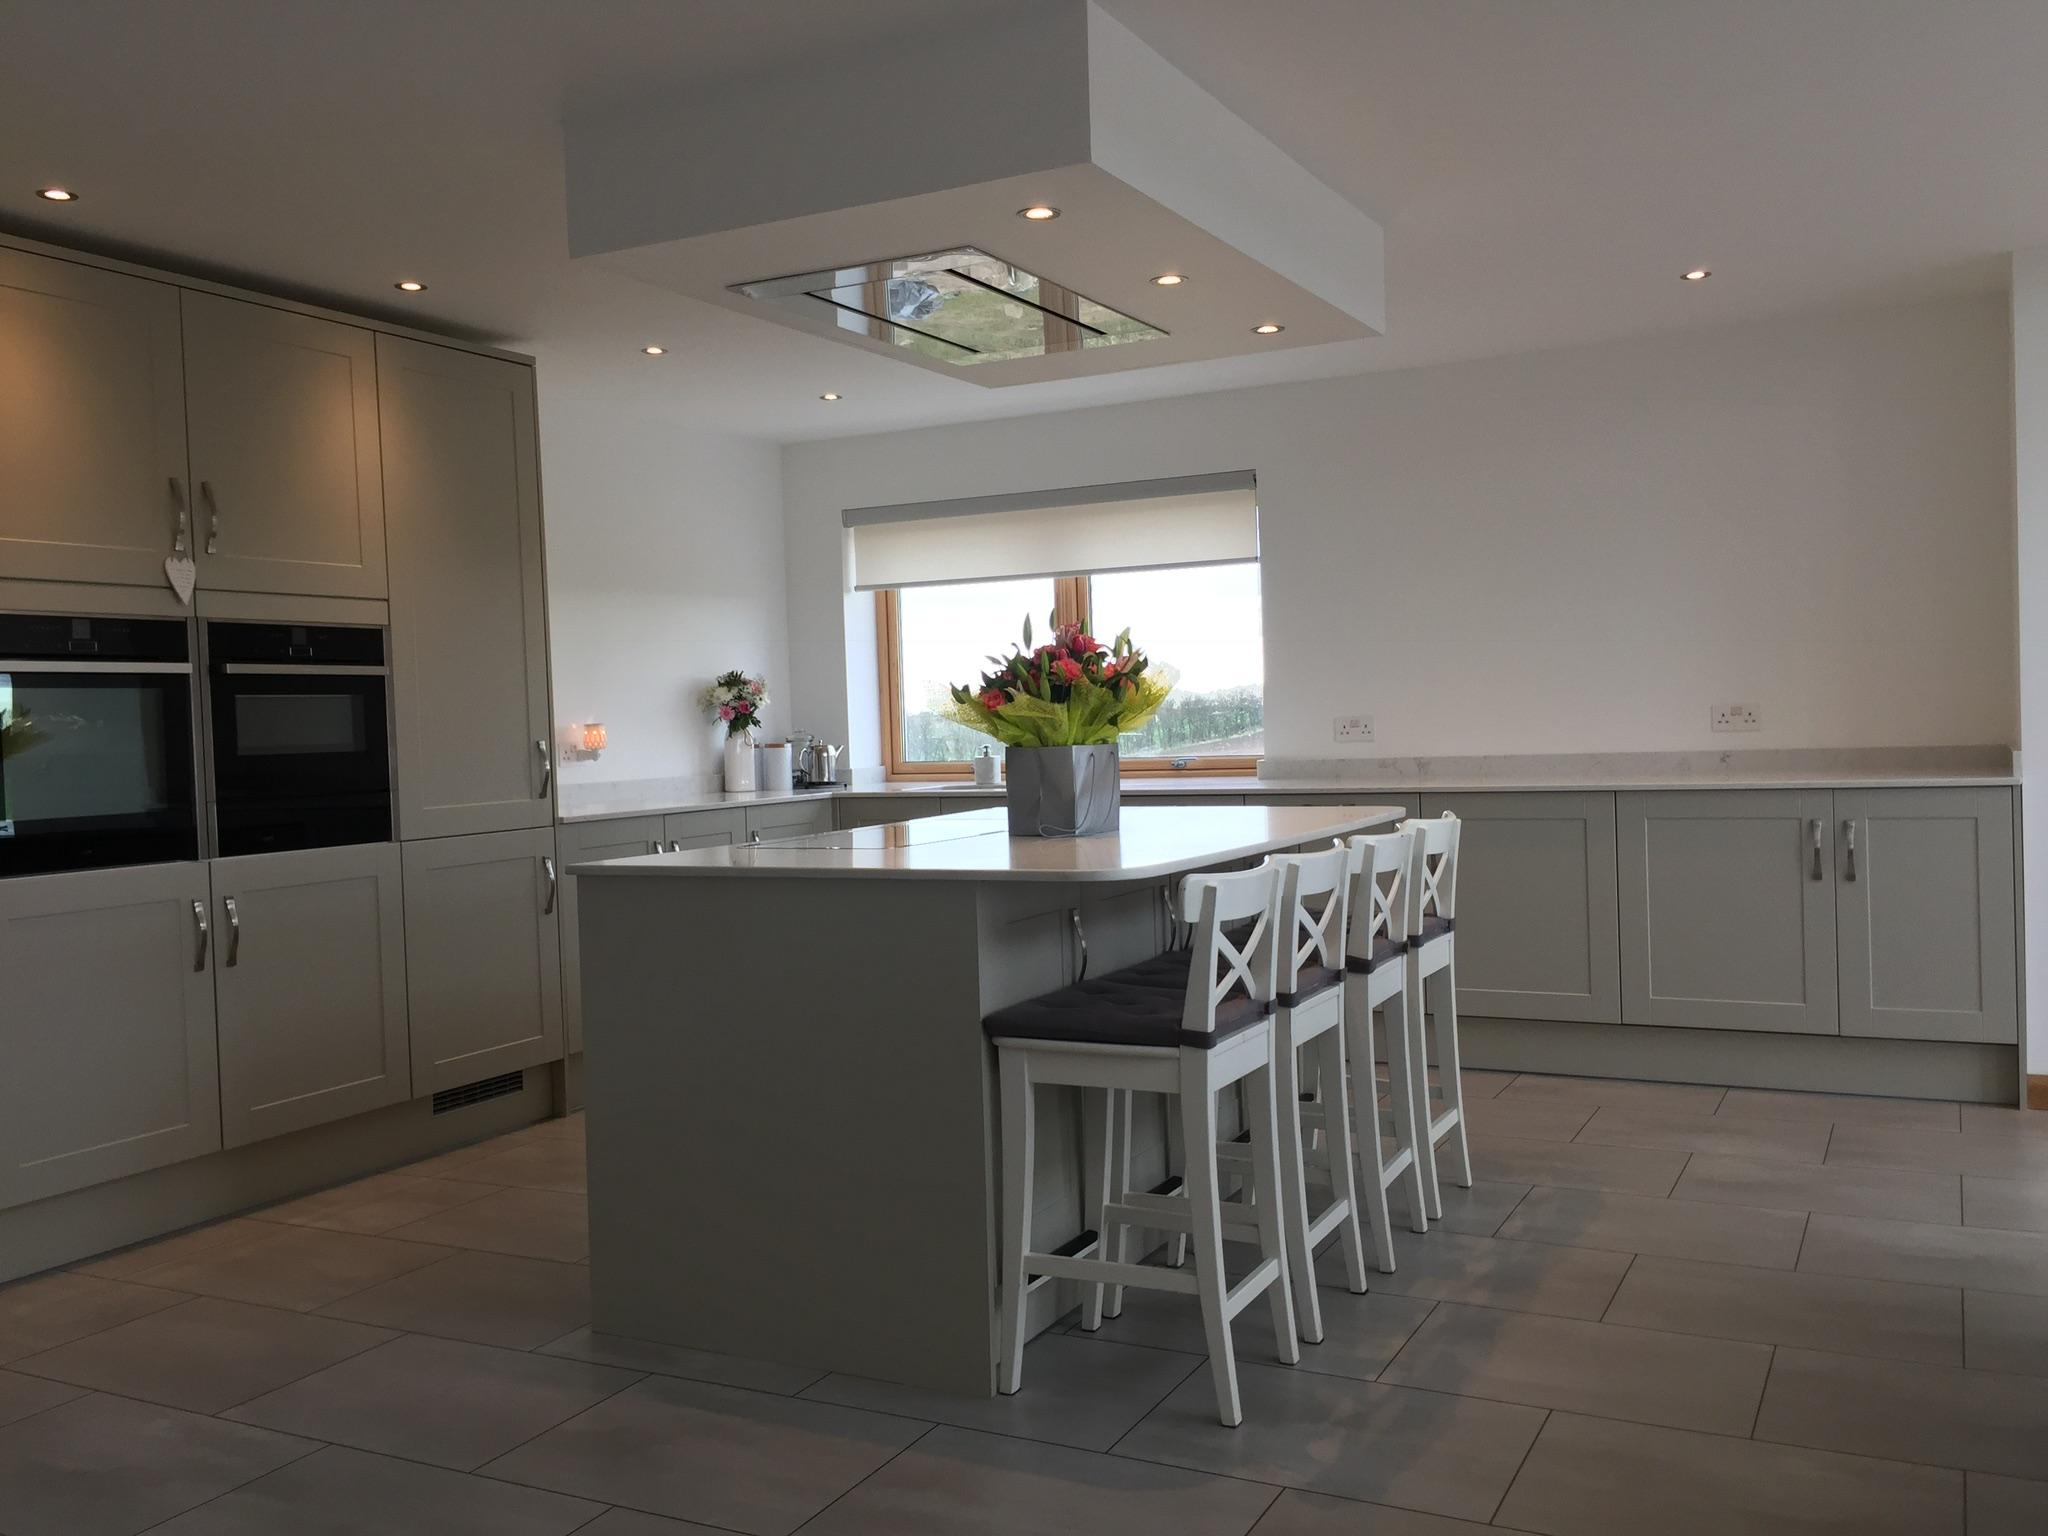
My island which incorporates a seating area similar to @jack is 5.2m end to end. I have split the surfaces to delineate eating and working. I have honed granite on the working end (where the hob is) and river washed oak on the seating end. I have my sink back against the wall slightly offset of the hob so its not cramped if two are there. Usual ovens, fridges, dishwasher bins etc are on the sink wall. Very happy with my island and kitchen as a whole
 1 point
 -
Or you plan a space and ask the pump guy to use it, he says yes, then the moment your back is turned he just dumps it where the truck was parked while pumping.1 point
-
I'll have a large doner if you like tonight then video how effective the Geberit/Bernstein combo is at shifting the results...0 points
-
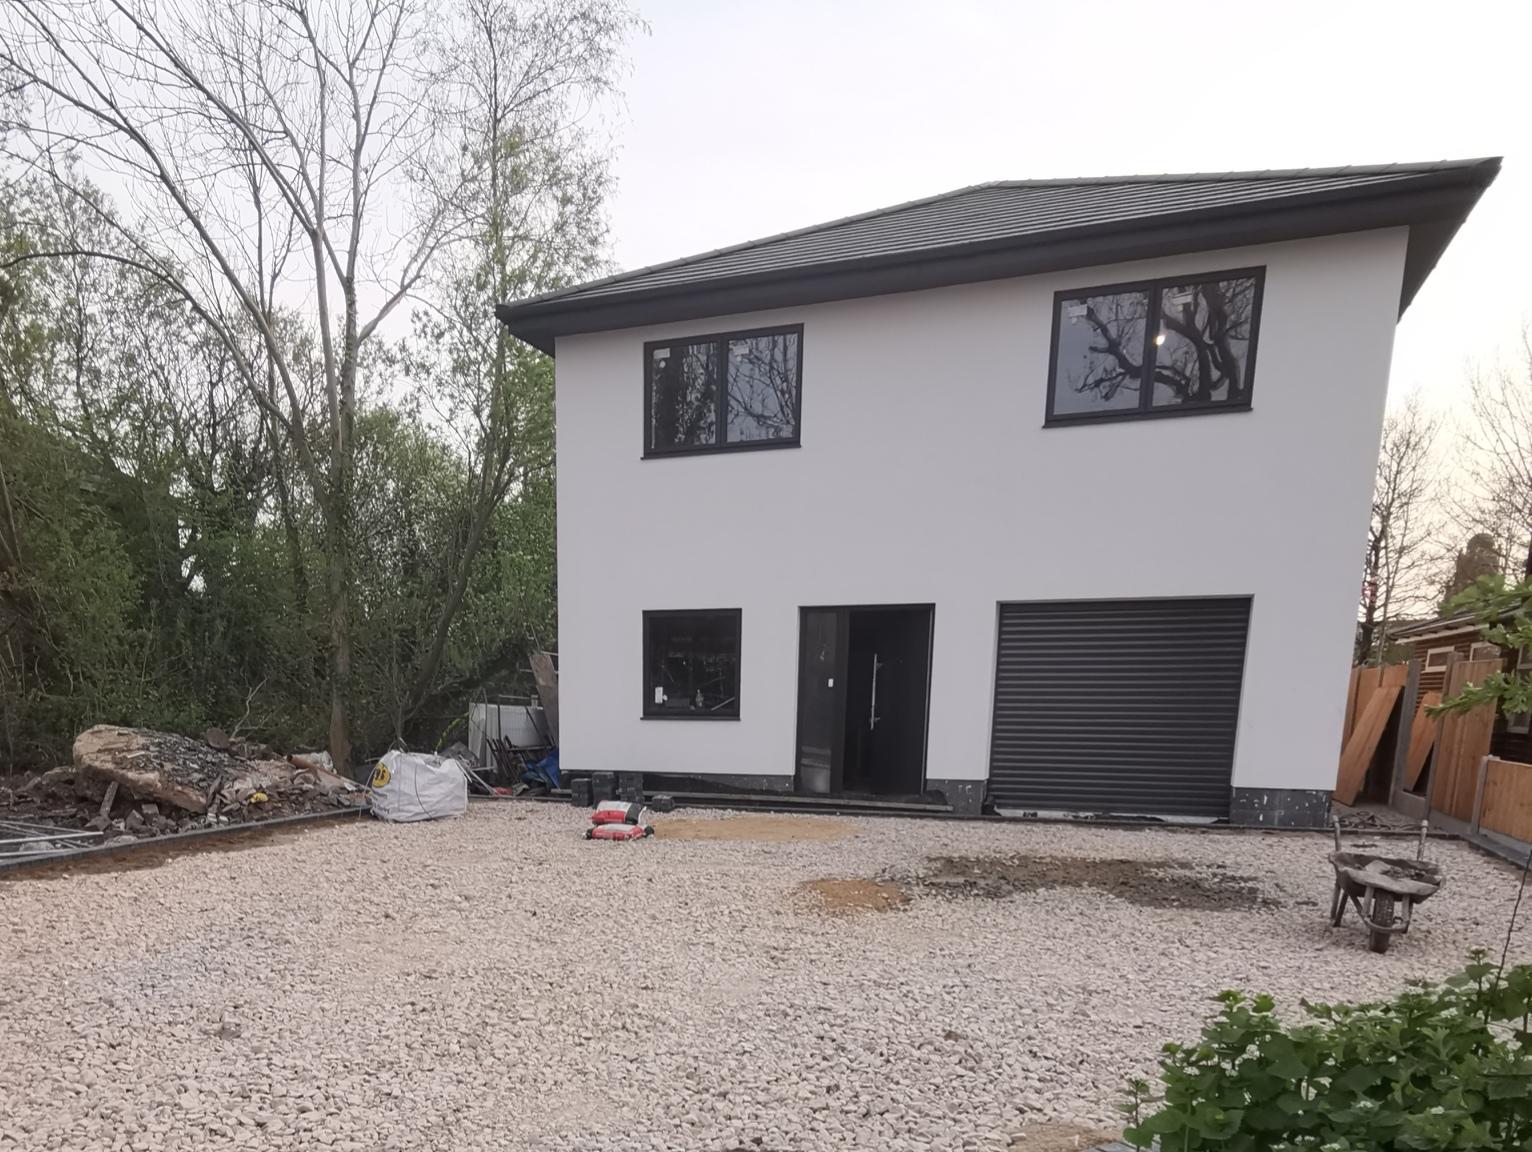
Lol, we had an excess delivered, and I said to the concrete truck driver "just hold off on tipping all of it into the pump while I check with the crew if its needed"... ... But the driver decided to dump it all in the pump hopper as quick as he could, and chuffed off back to the batching plant. Here's a recent pic of the front of our house... The observant among you will notice something that looks remarkably like a scene from "The Lion King" to the left of the picture. We call it "the Monolith". The 13T digger we had on site couldn't move it, so we have decided to make it a feature! 1/3T pump line, pah! Try 3m3 of C68 concrete being dumped where you wanted a lawn! ?
 0 points


This leaderboard is set to London/GMT+01:00