
Leaderboard


Popular Content
Showing content with the highest reputation on 11/09/18 in all areas
-
@Weebles I got all my internal doors - including the Eclisse - from doors on line. Alan and Ryan are are brilliant cant speak highly enough of them and their products and service. I had oak door sets, pocket doors, plain doors sprayed to my own colour, plus all the hardware....all excellent.3 points
-
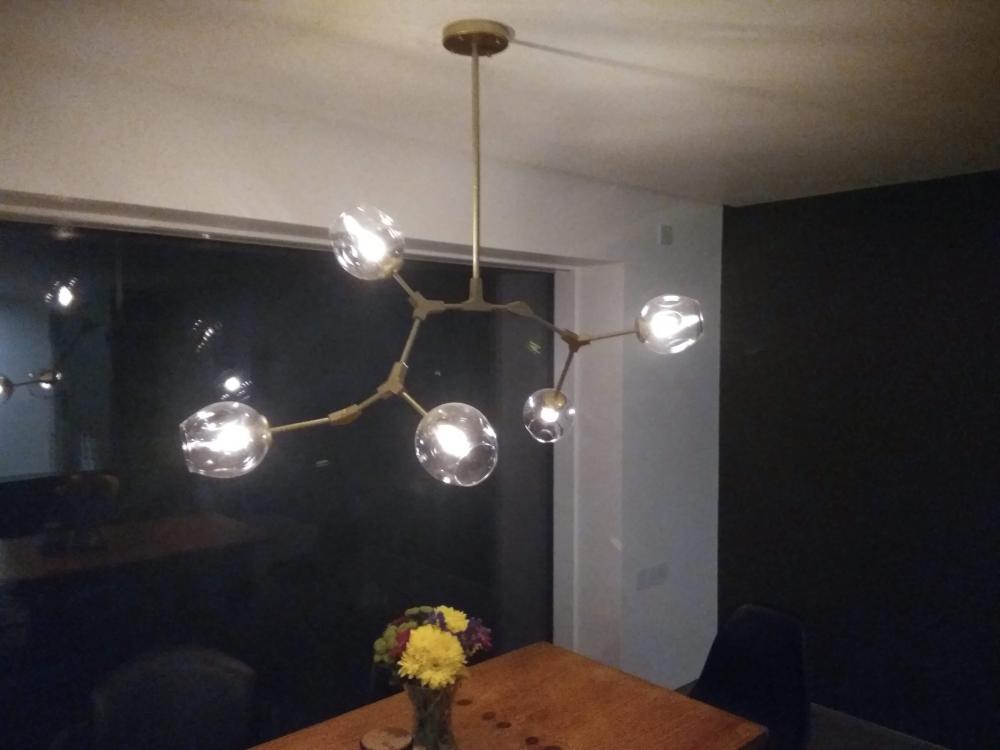
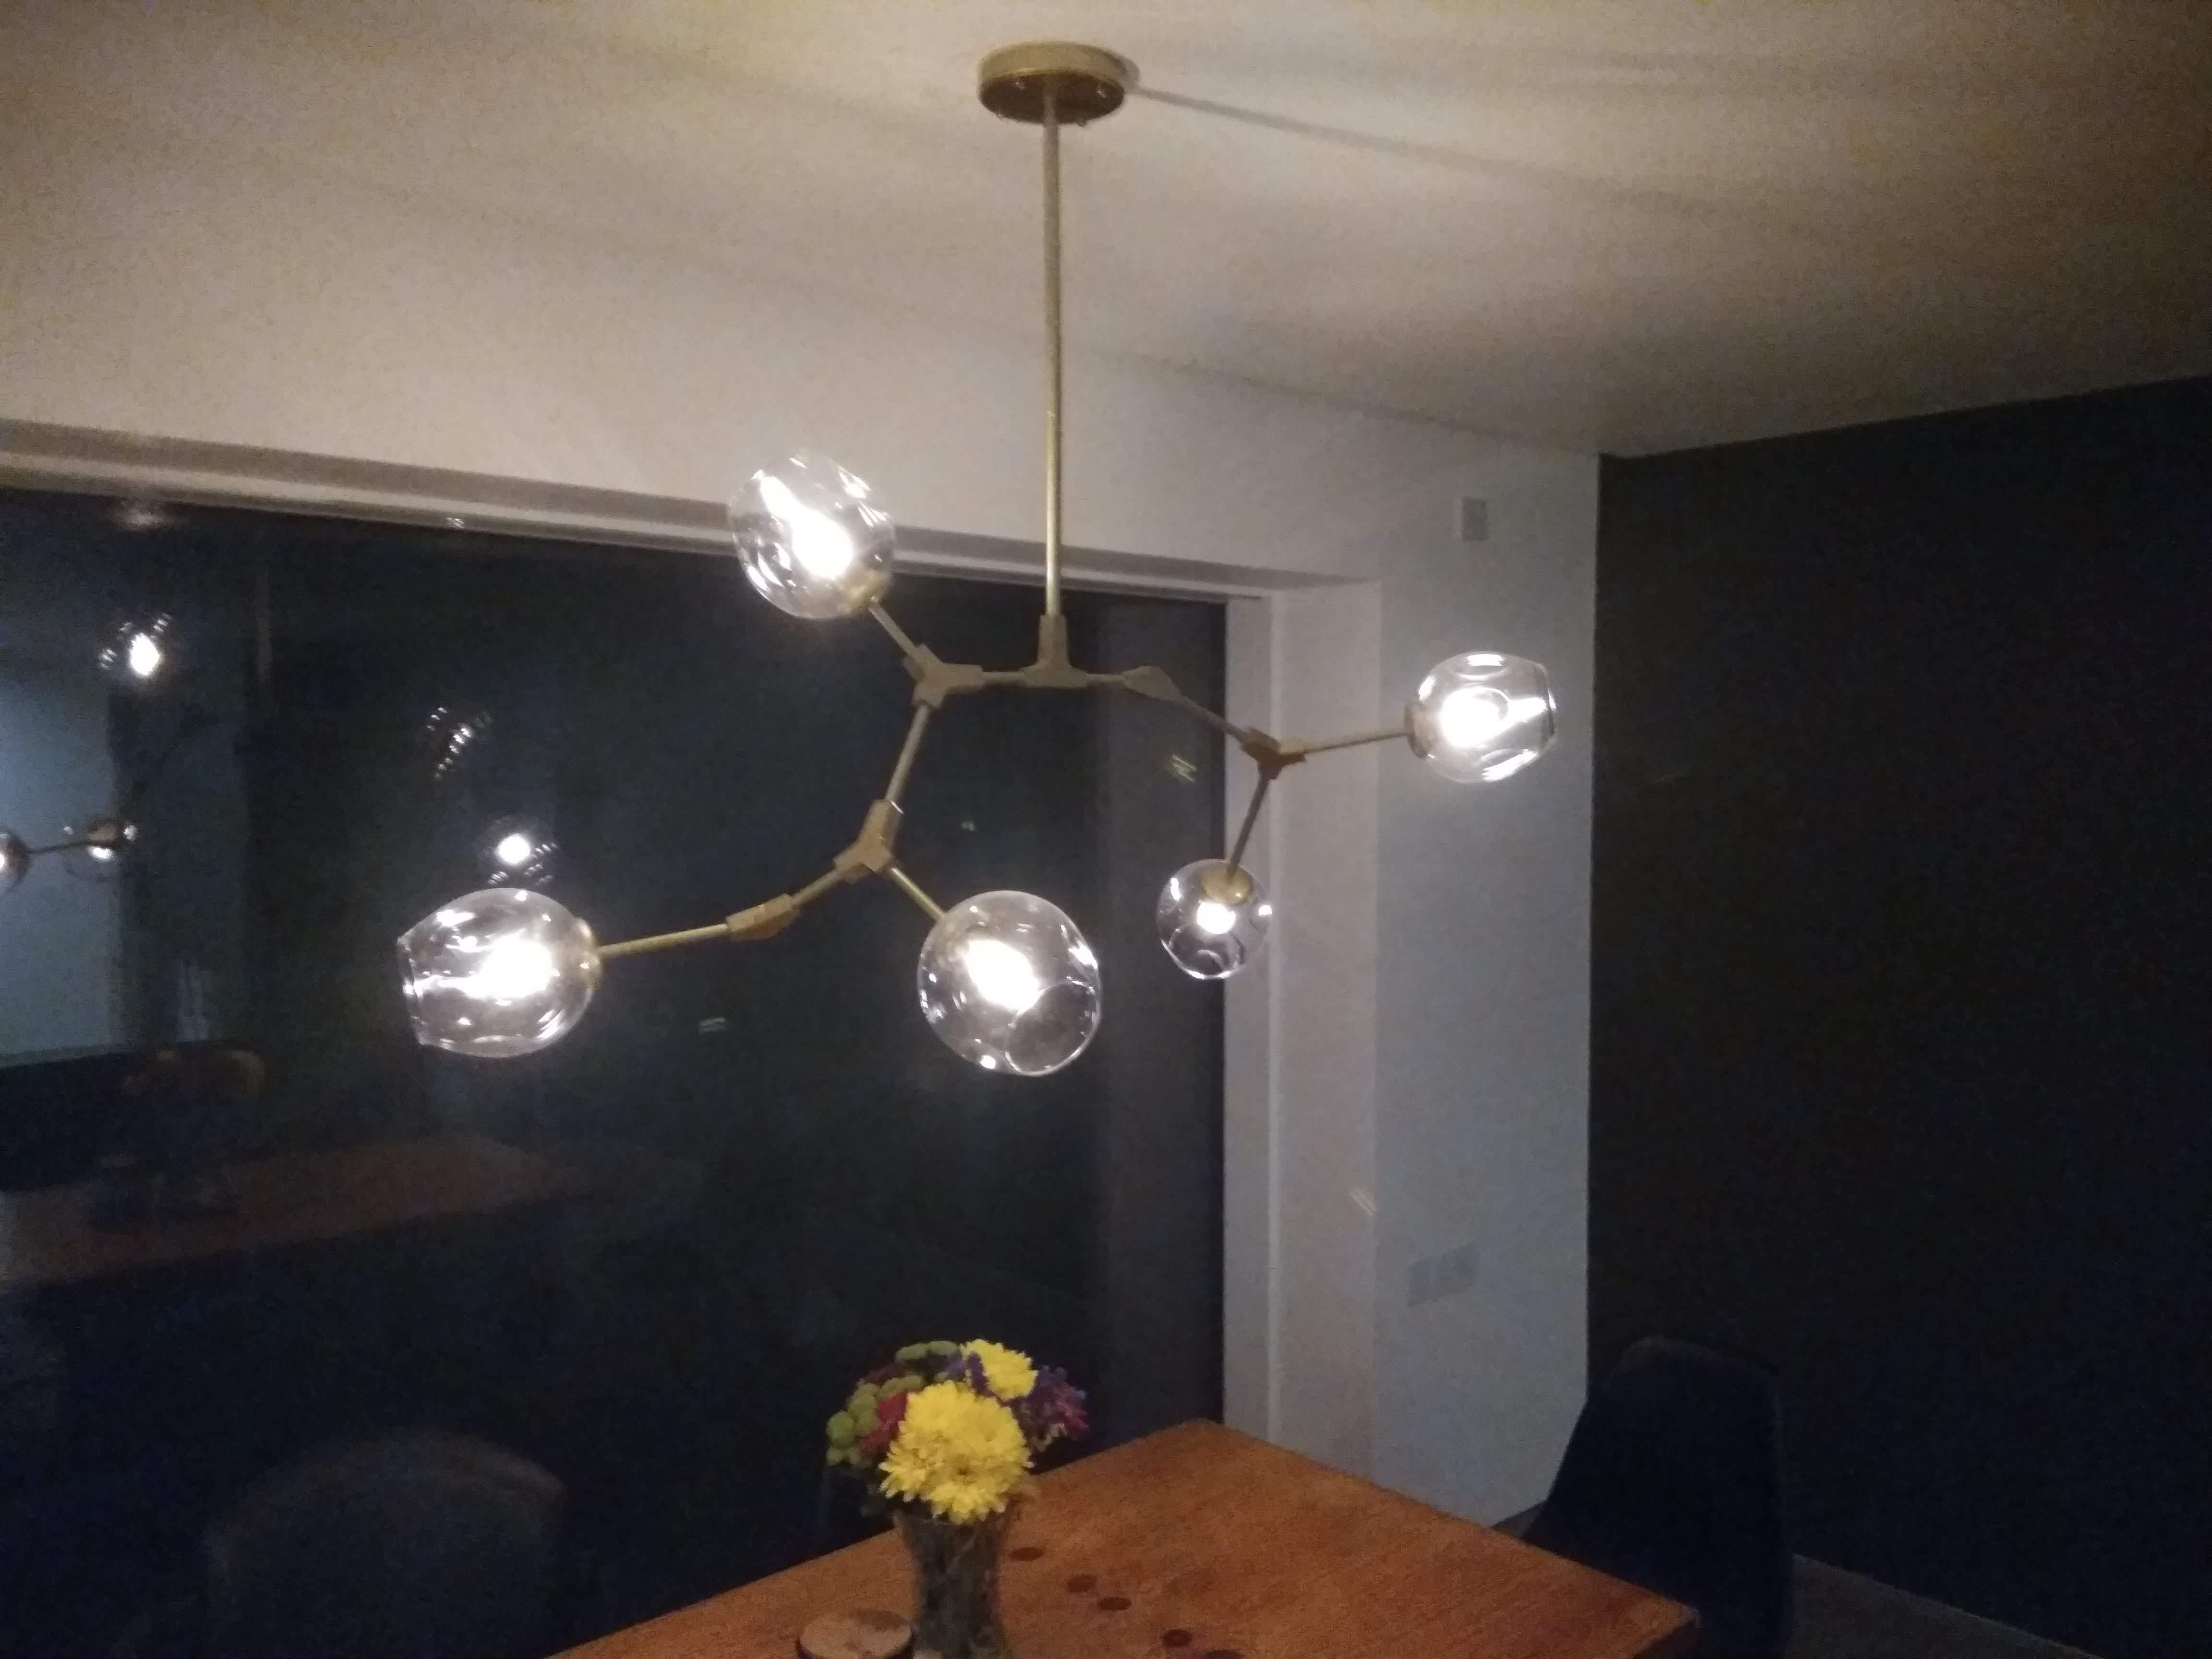
This light cost about £27,000.00 for the original http://www.lindseyadelman.com/bb0939#1 I purchased a reproduction for about $130.00 https://www.aliexpress.com/item/Designer-chandeliers-in-the-Nordic-idea-branches-pendent-lamp-glass-ball-lamp-droplight-of-post-modern/32692080299.html Sorry it's a poor quality photo attached but I really like the light and very happy with my aliexpress purchase. I'd have no problem recommending this website and you may find a reproduction of the light you're wife wants for a fraction of the cost.
 2 points
 -
Knob...not a mushroom variety, just what my wife called me last night when I told her about this thread!2 points
-
If heated by the immersion, the thermistors look for the heating sequence to be 'bottom > top', but if heated by an external wet heat source via the Hex then the thermistors needs to be told to expect heat to arrive from the top > down. Therefore this is critical to ensure the correct thermistor is selected for fully charged 'status recognition'. This is the difference between each model sent out, as in the universal PCB is program 'pre-selelcted' to suit the application, given Joe Bloggs may be fitting it so it would need to be 'plug and play'. The boxes are essentially all the same, with the same Hex and same porting, just the electronics ( software ) differ. Quite handy to be able to reconfigure these to run in different applications later down the line without having to change the original unit tbh. NOTE : Once primary ( heating ) water has run through a Hex for any device or equipment it CANNOT be later utilised to convey potable ( drinking quality water ). eHw PCM58 / 9 = £1963 HW PCM58 / 9 = £1821 both +vat +del. For 12's its £142 less For 6's its....guess what So additional immersion costs are £142 across the range by the look of it. One consideration is the units aren't as tall with the immersion removed so are physically different eg more compact ( 45mm of less tallness-ness )2 points
-
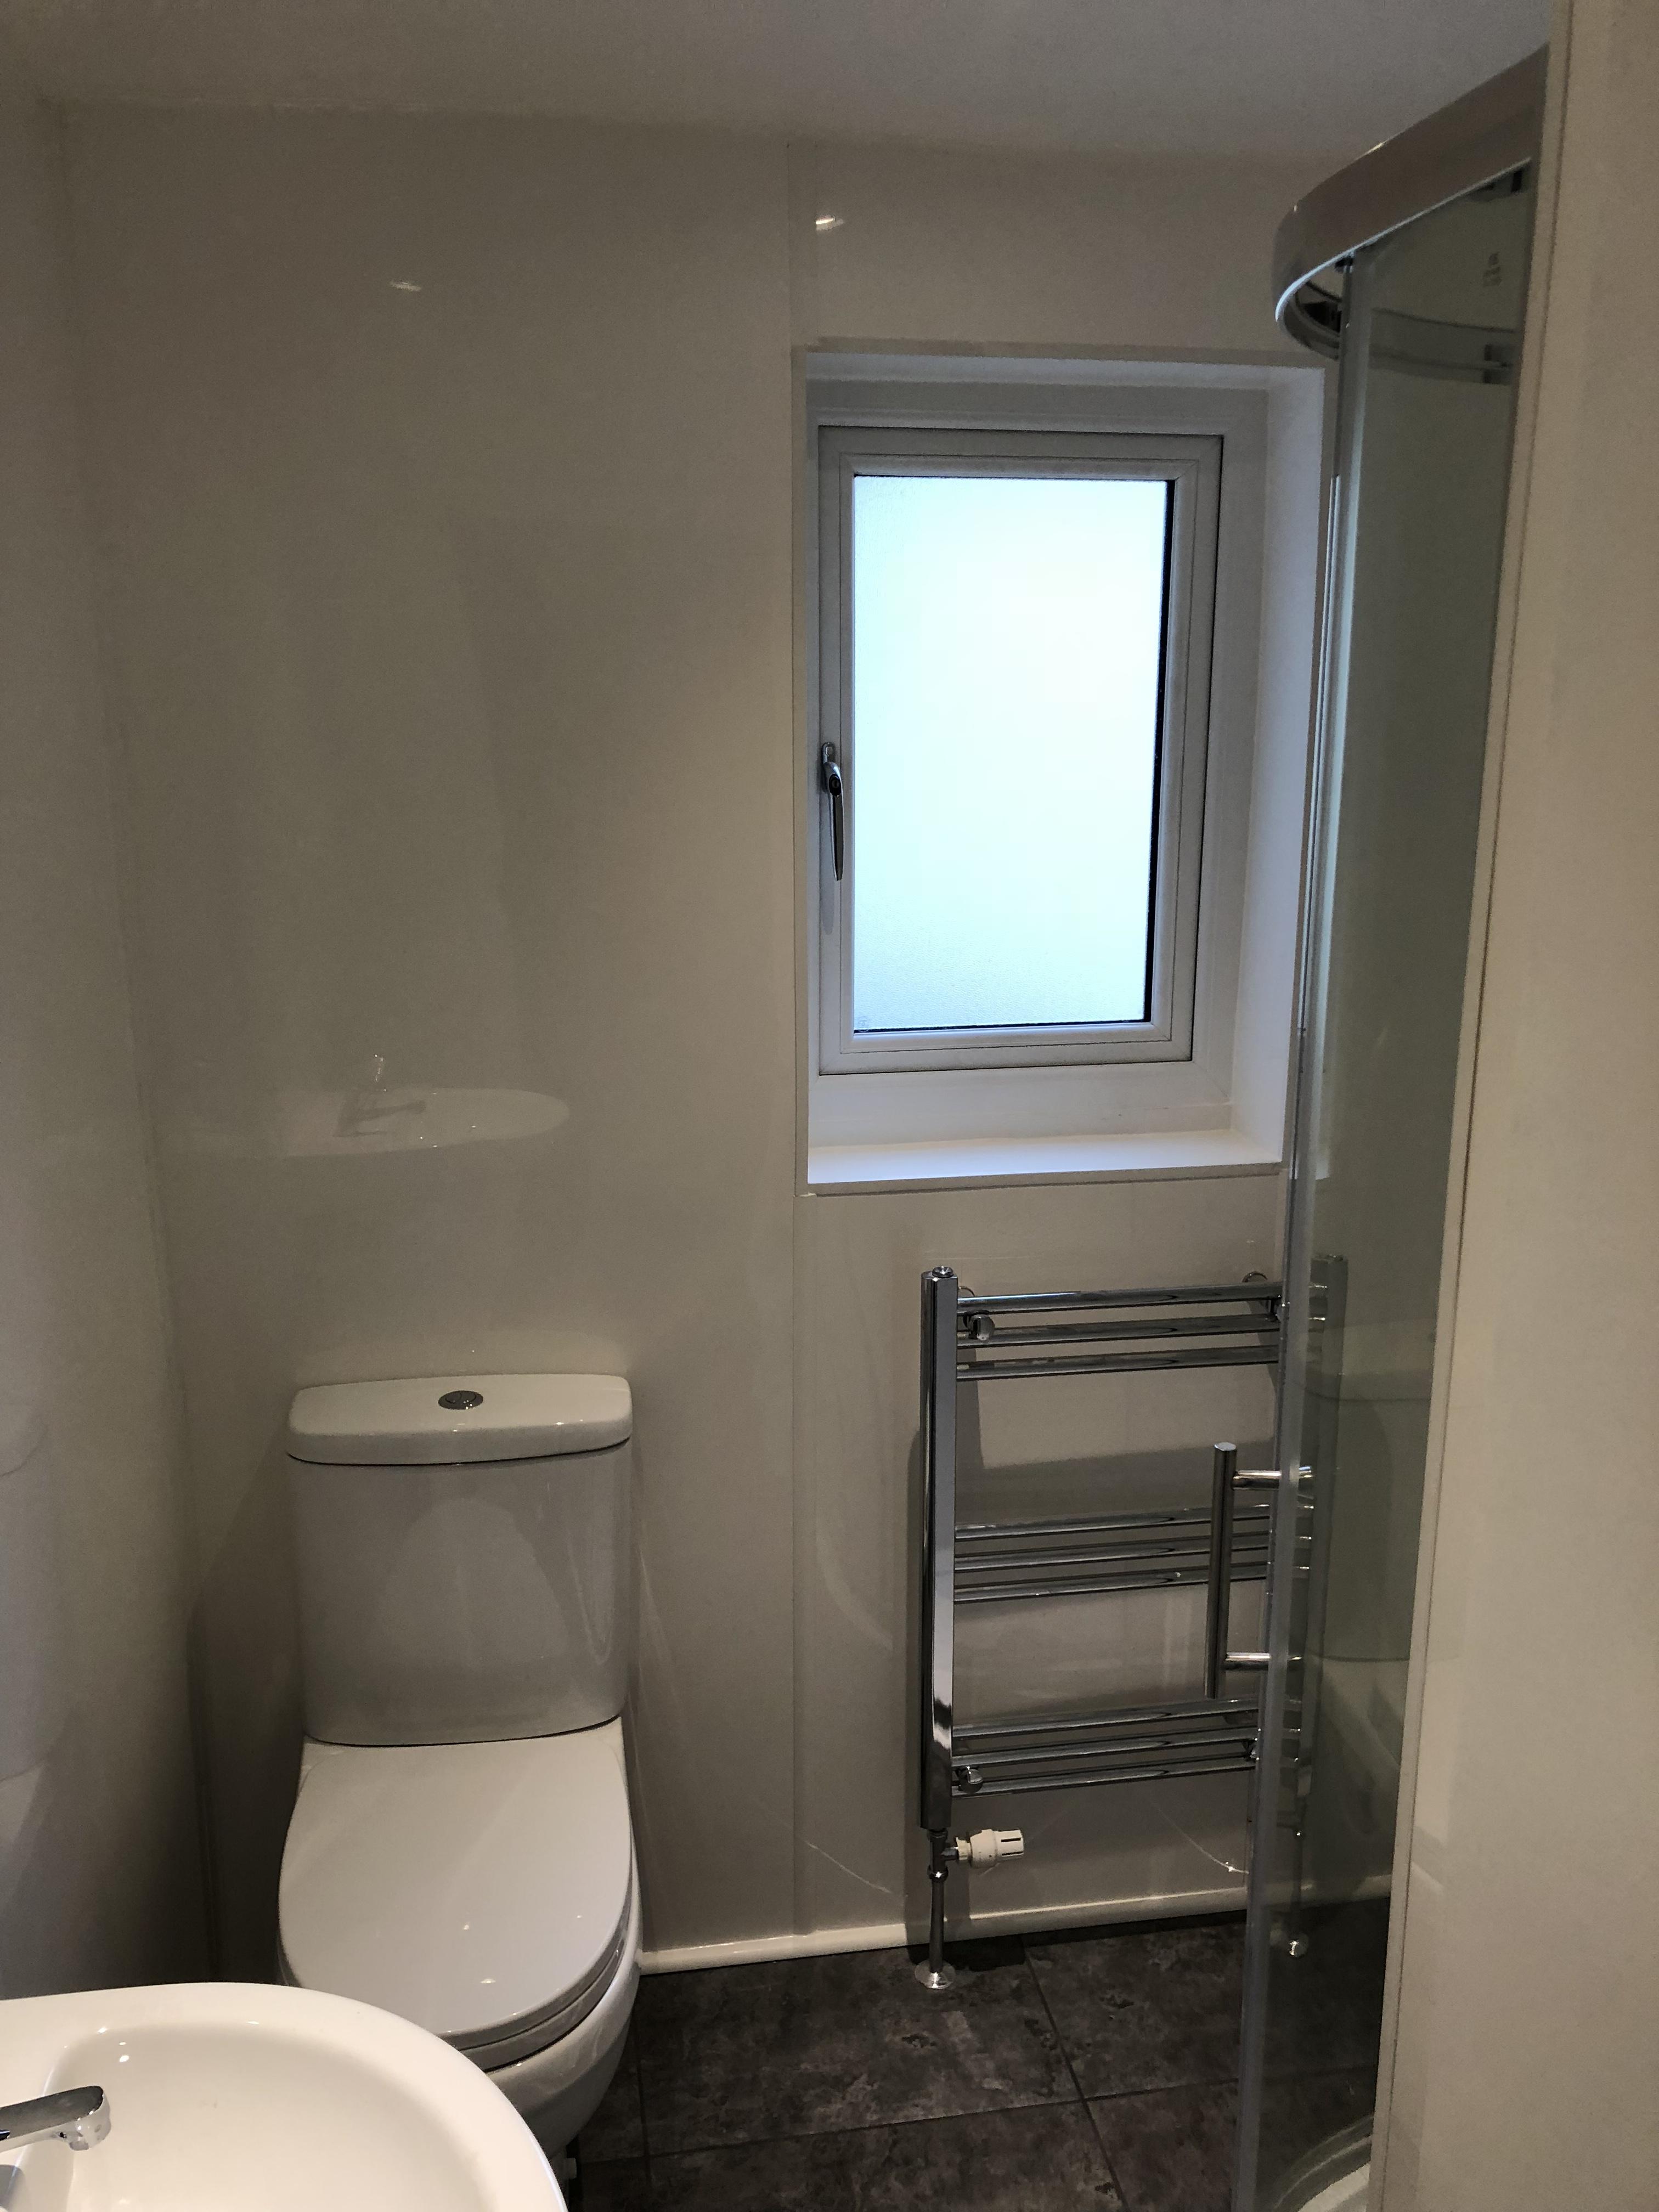
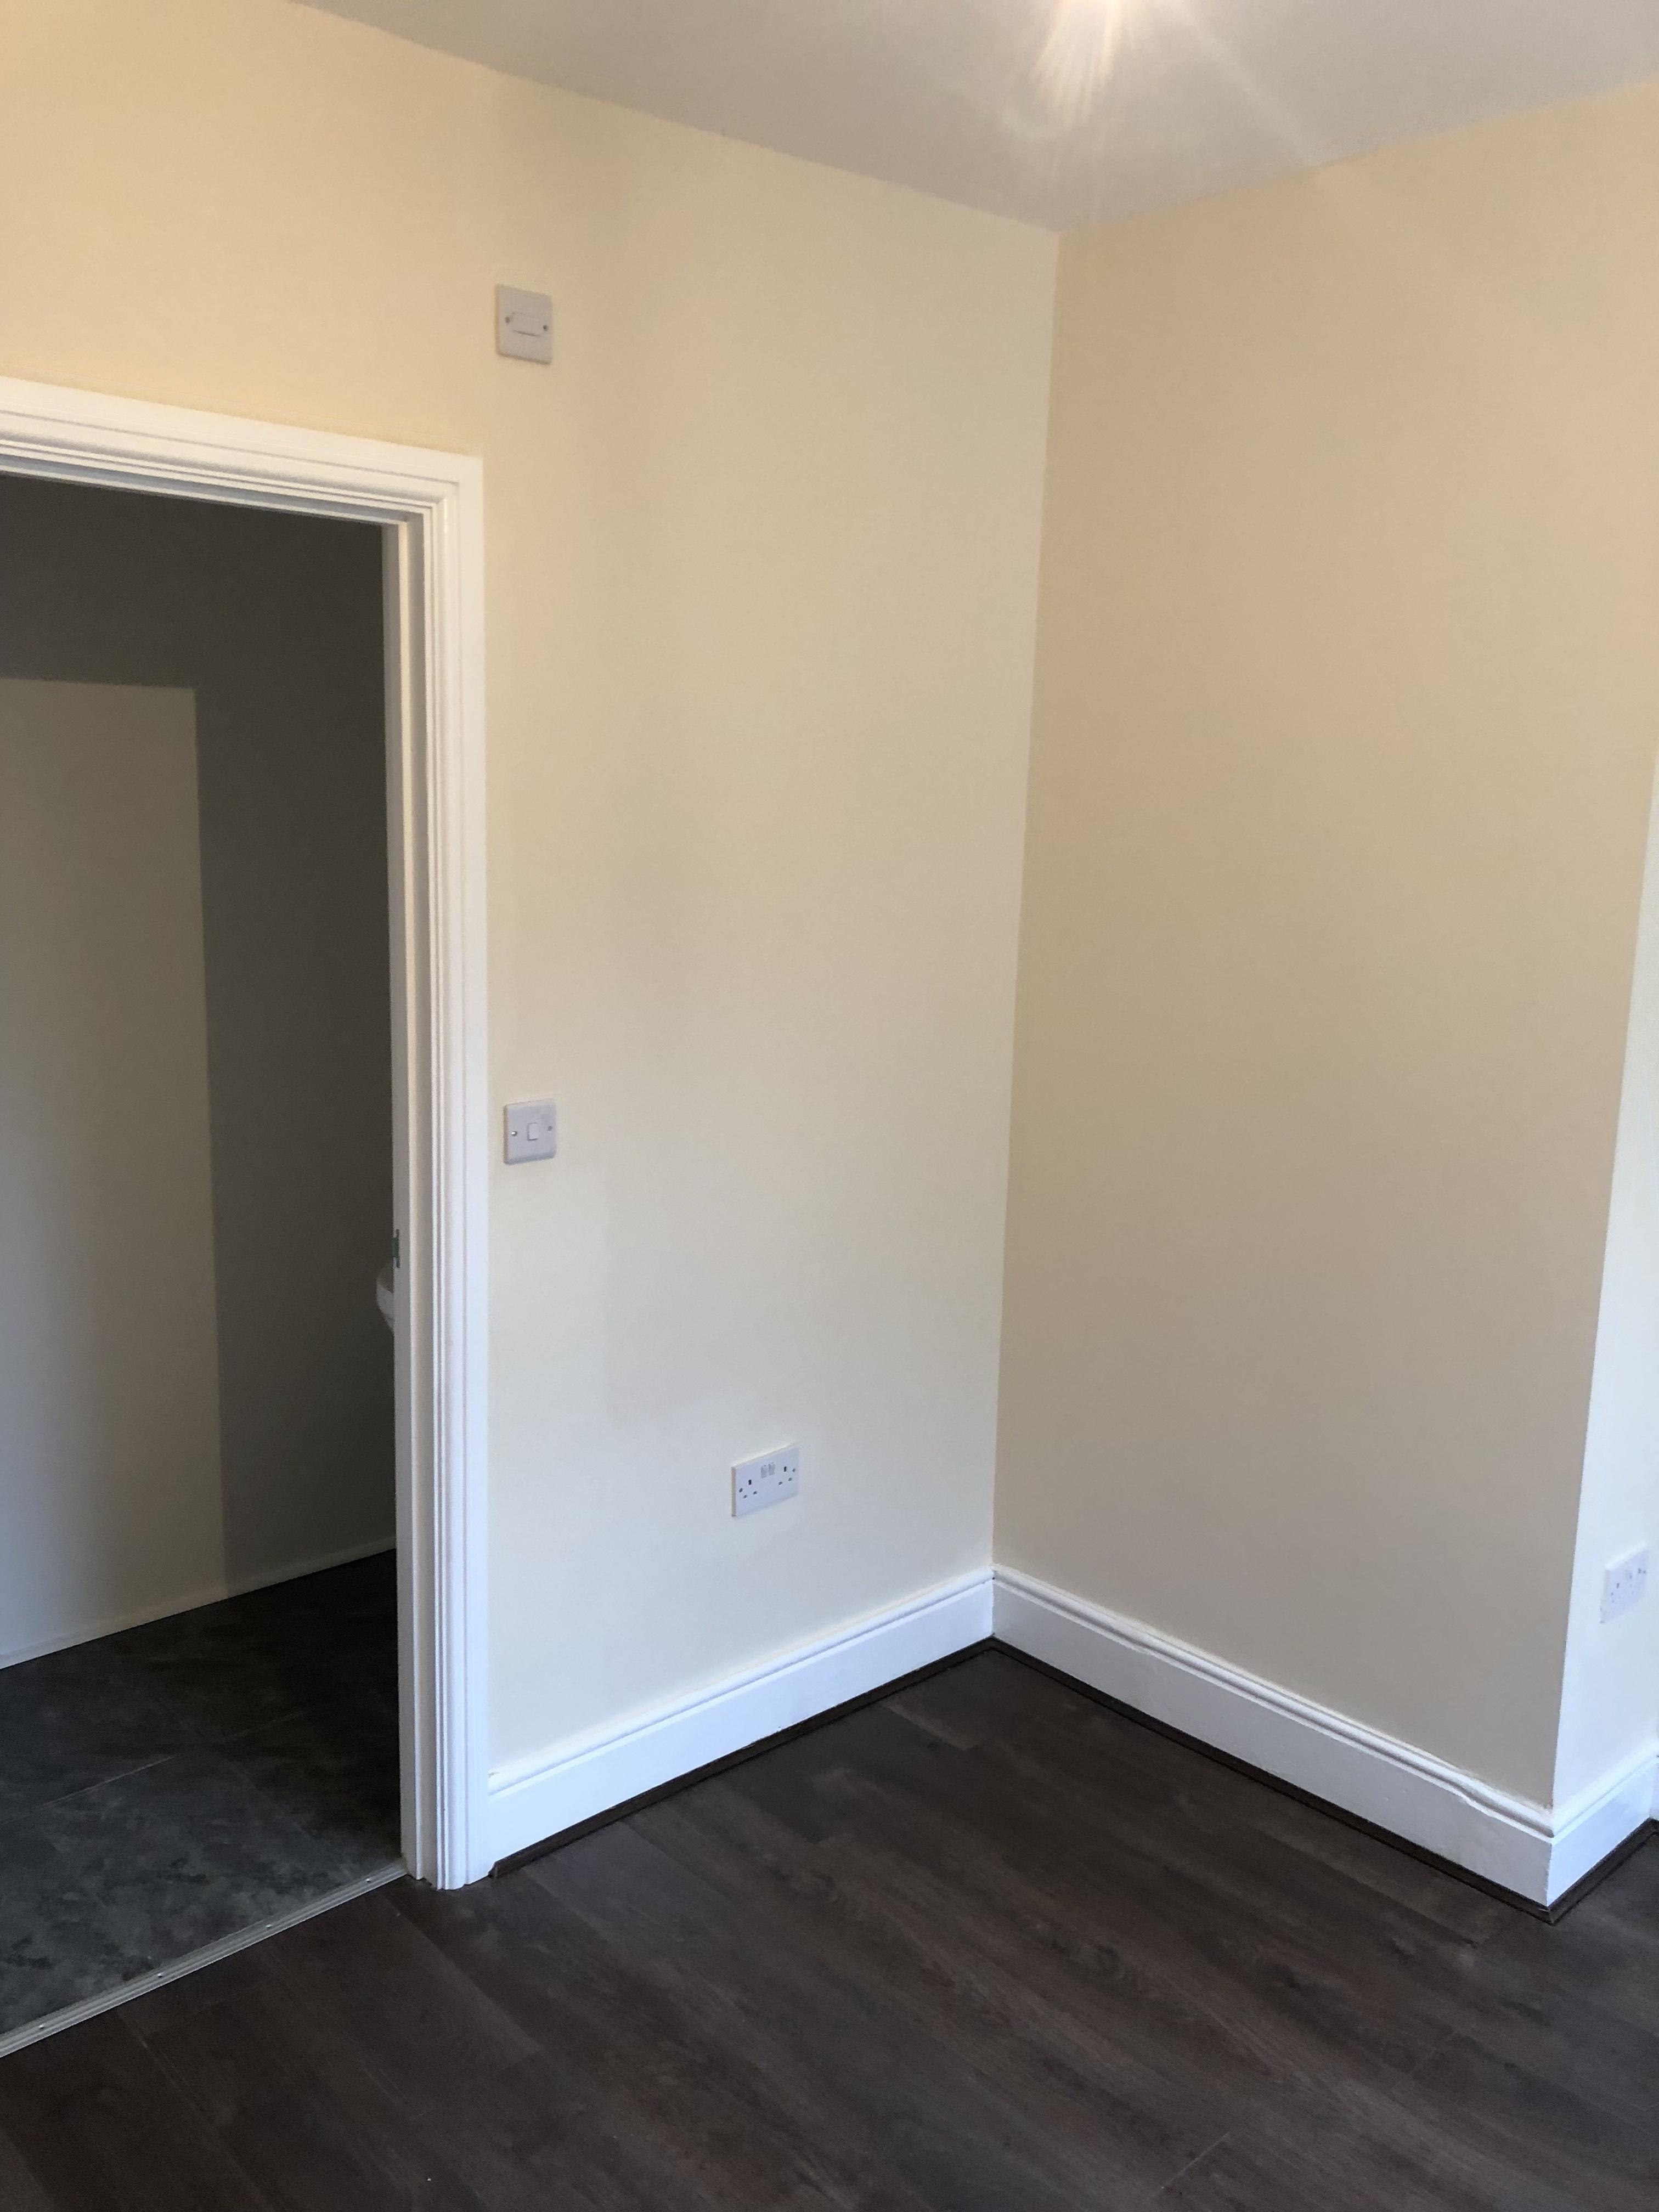
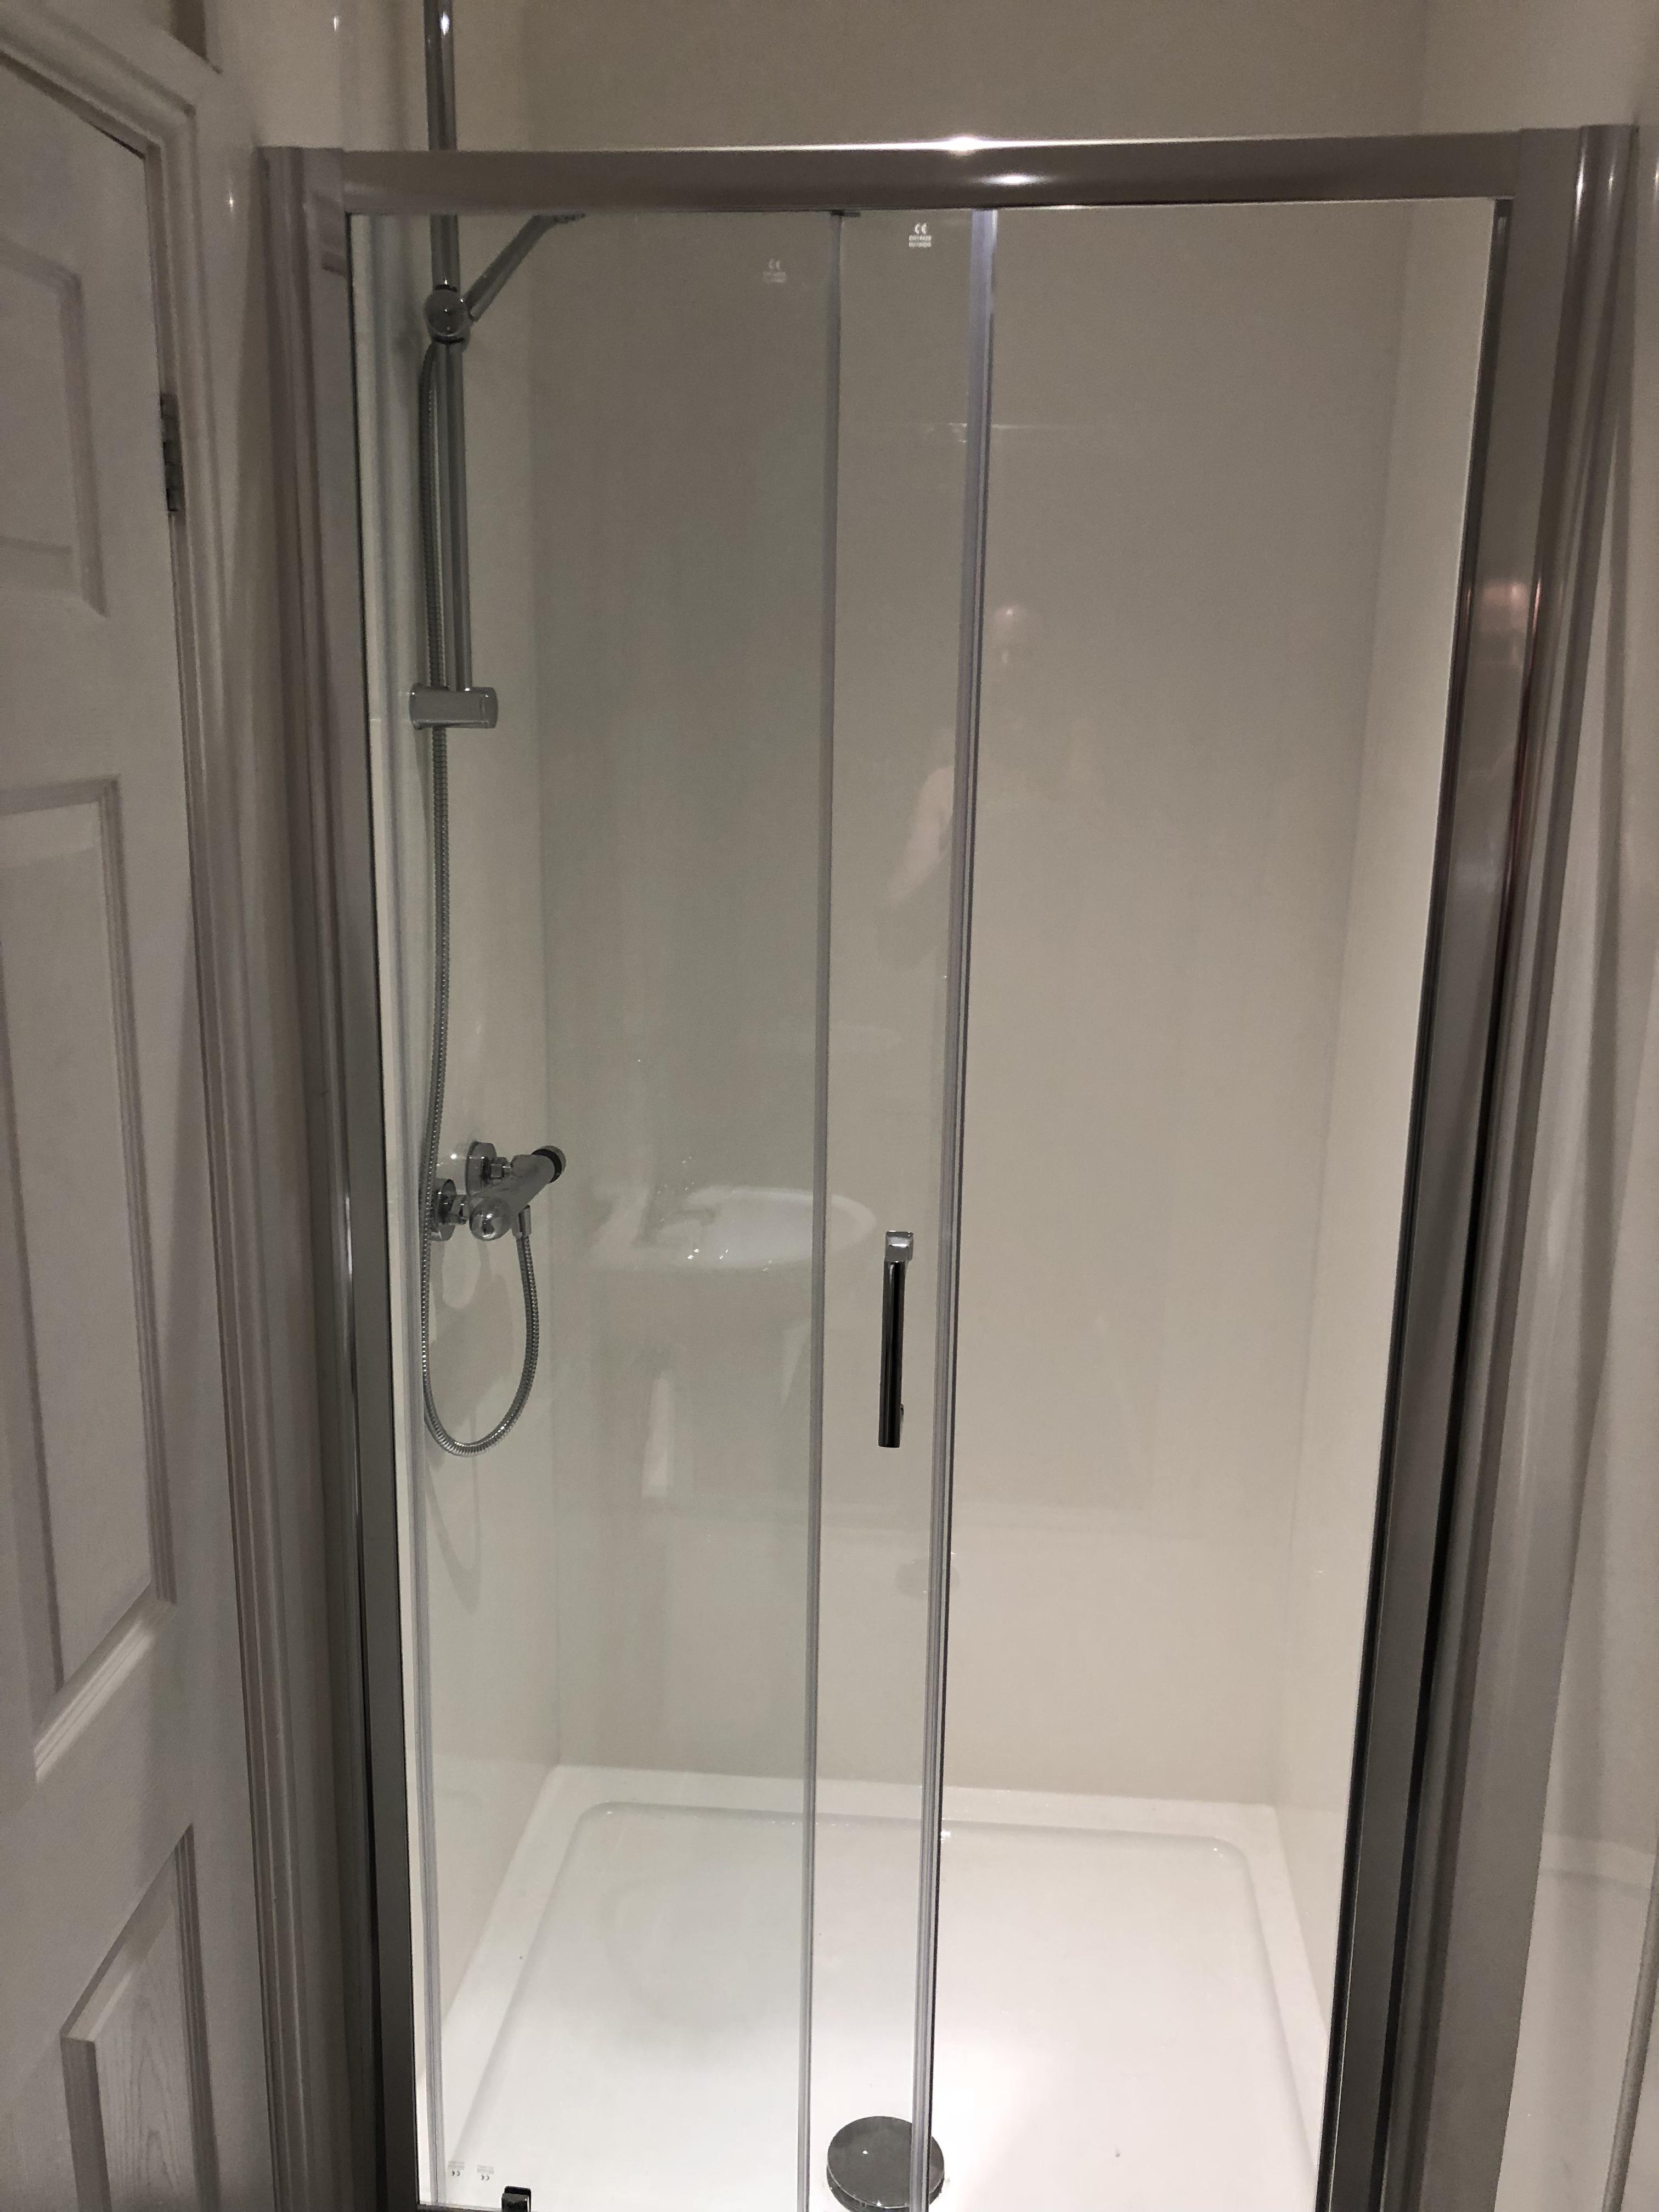
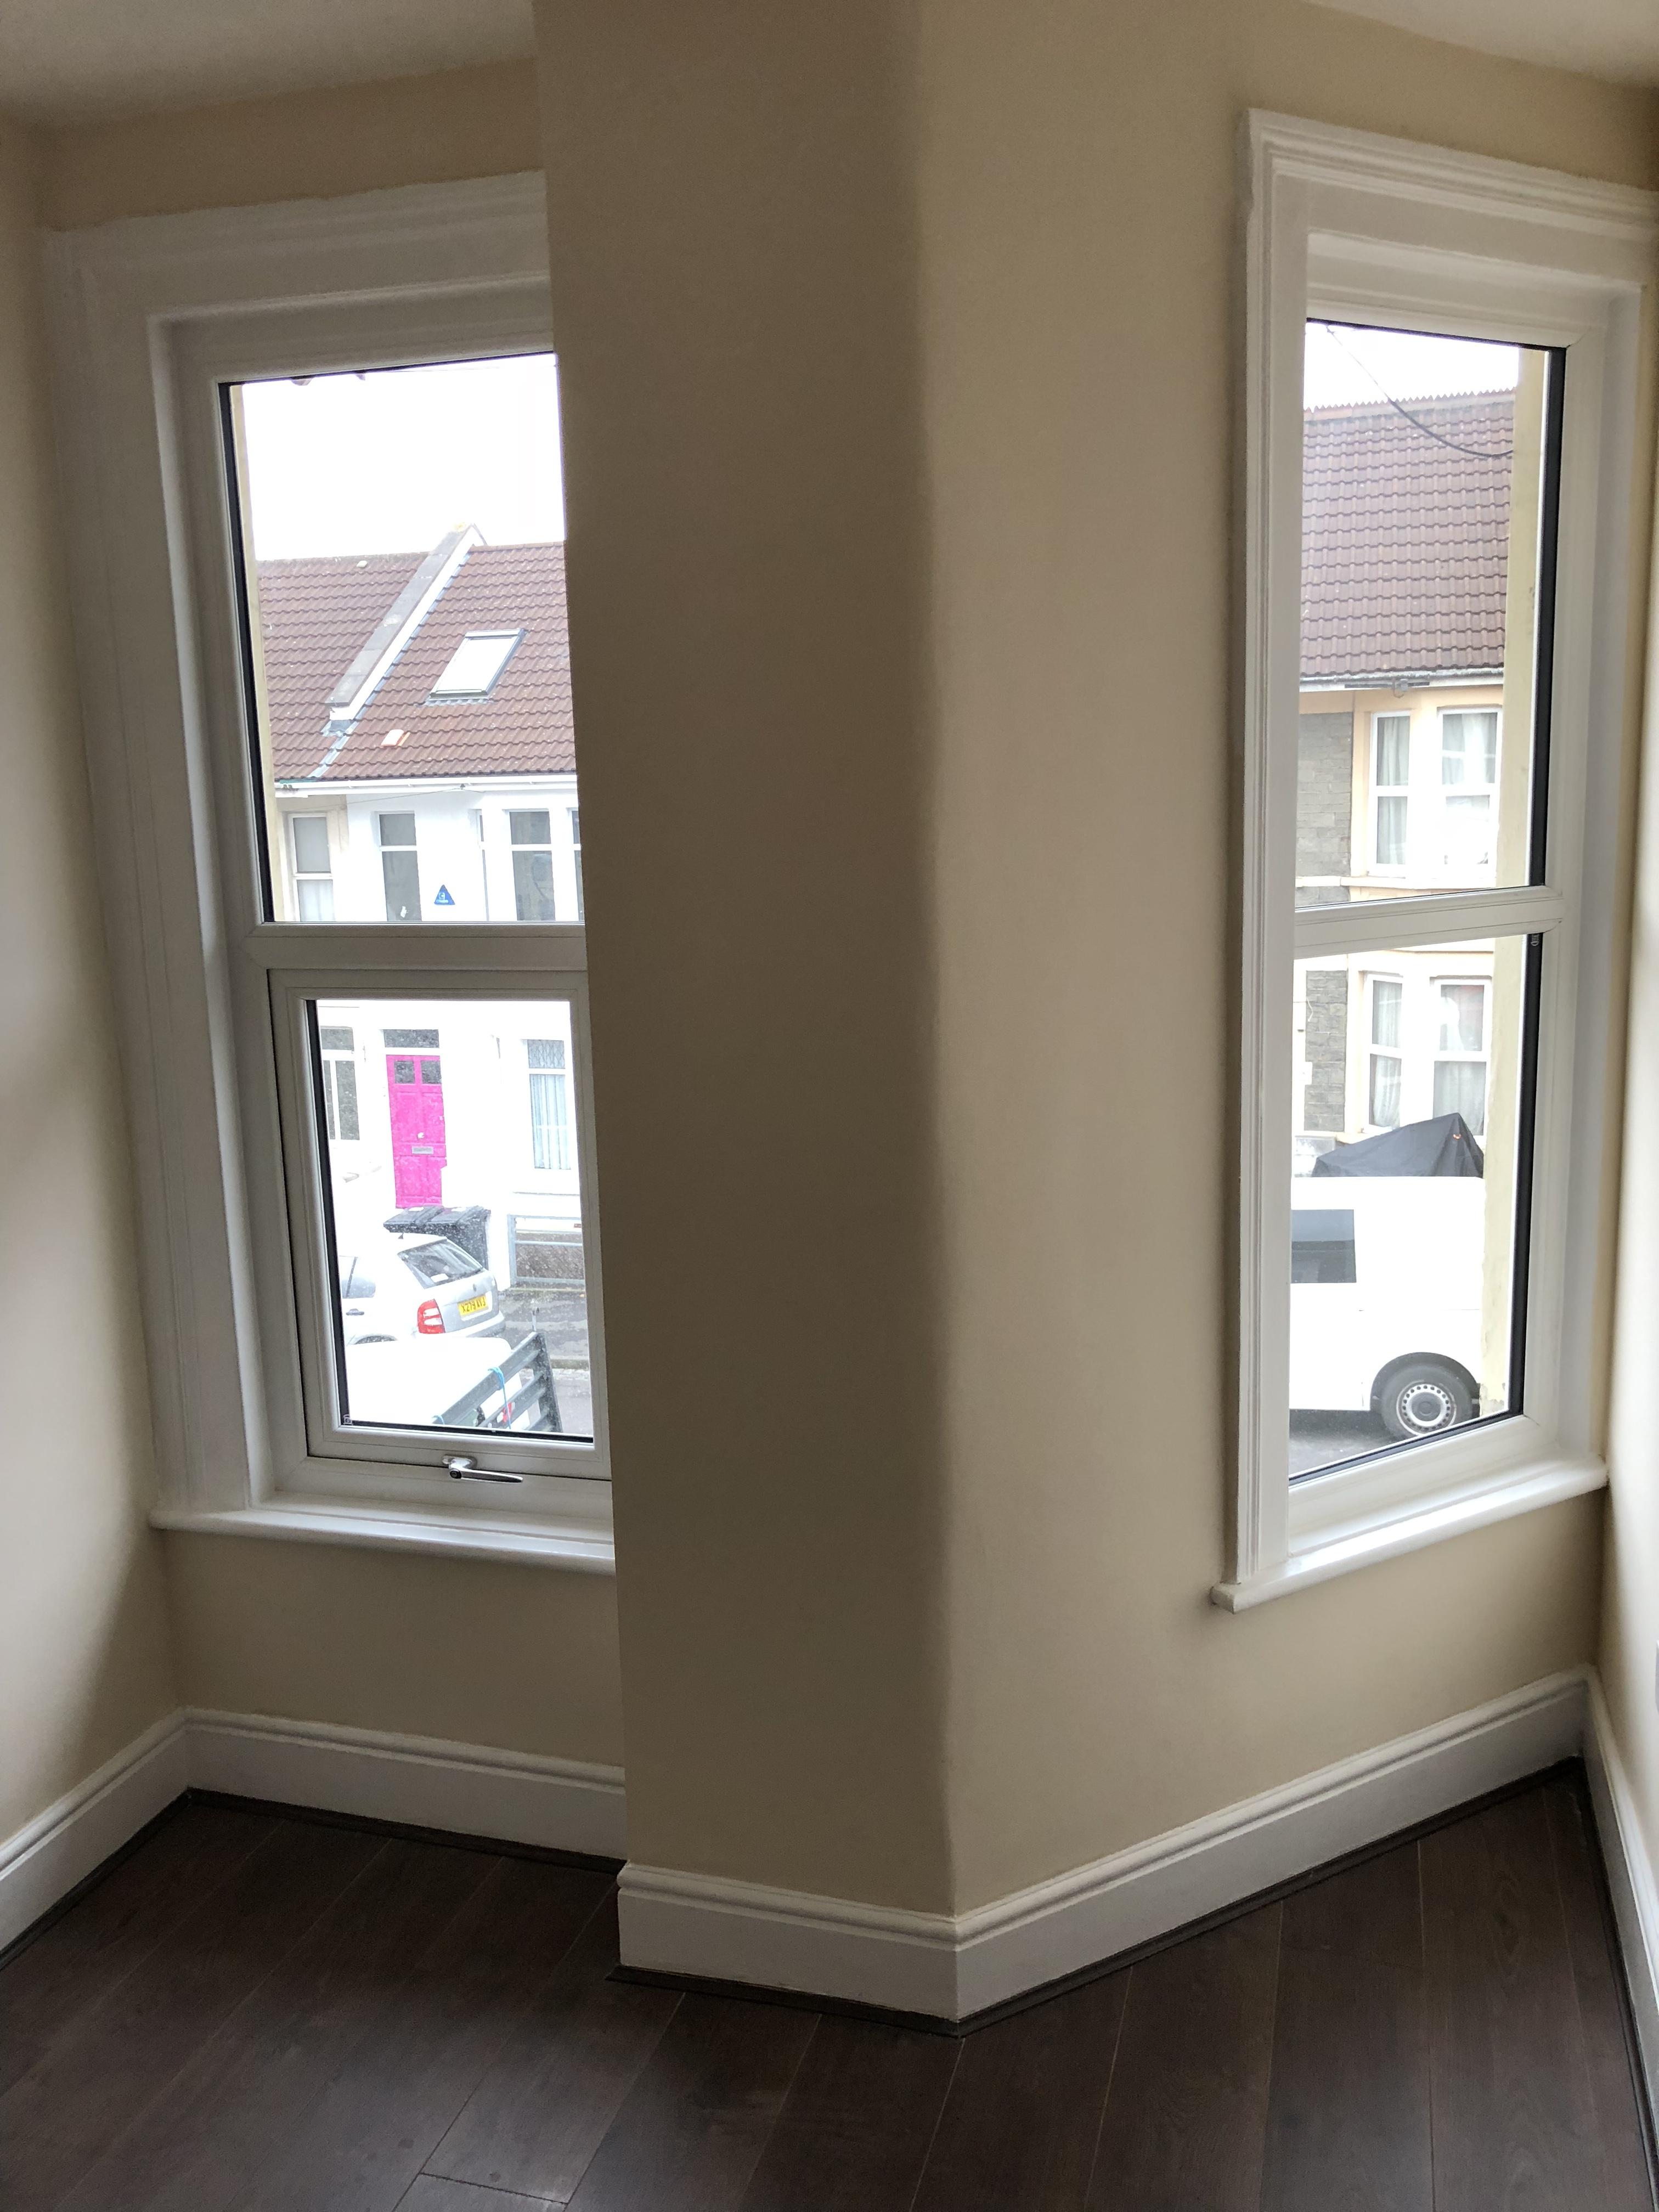
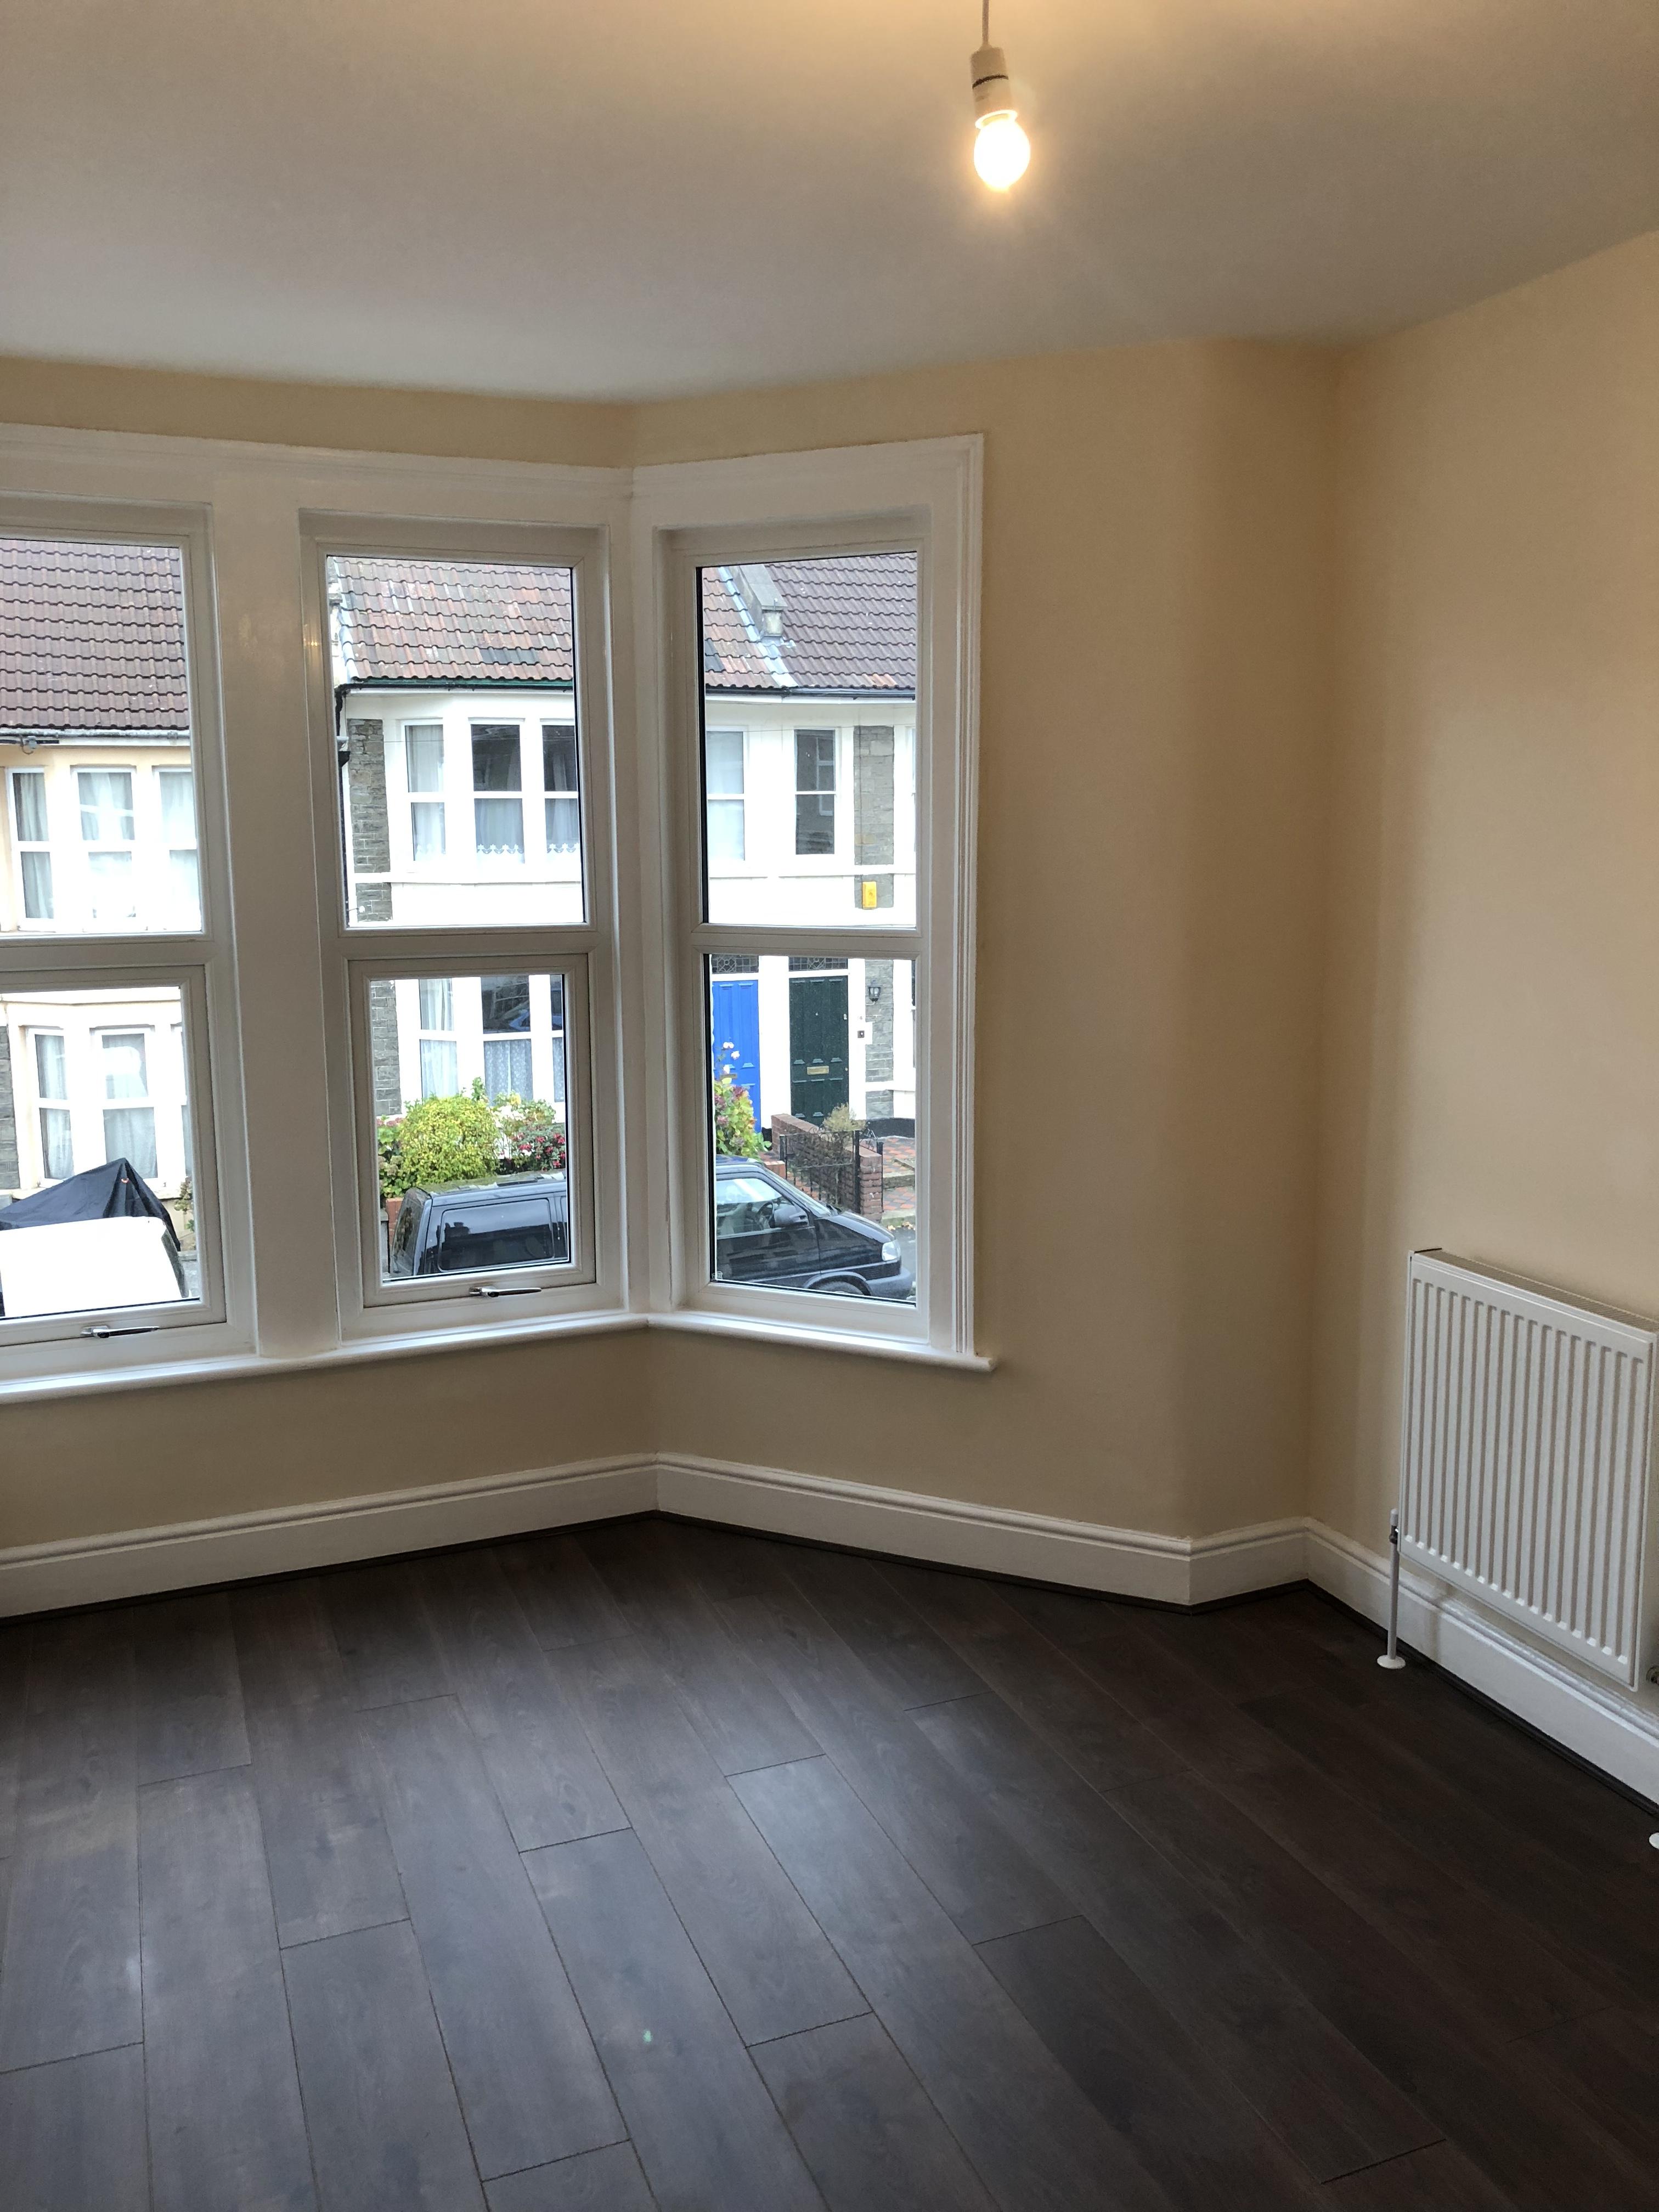
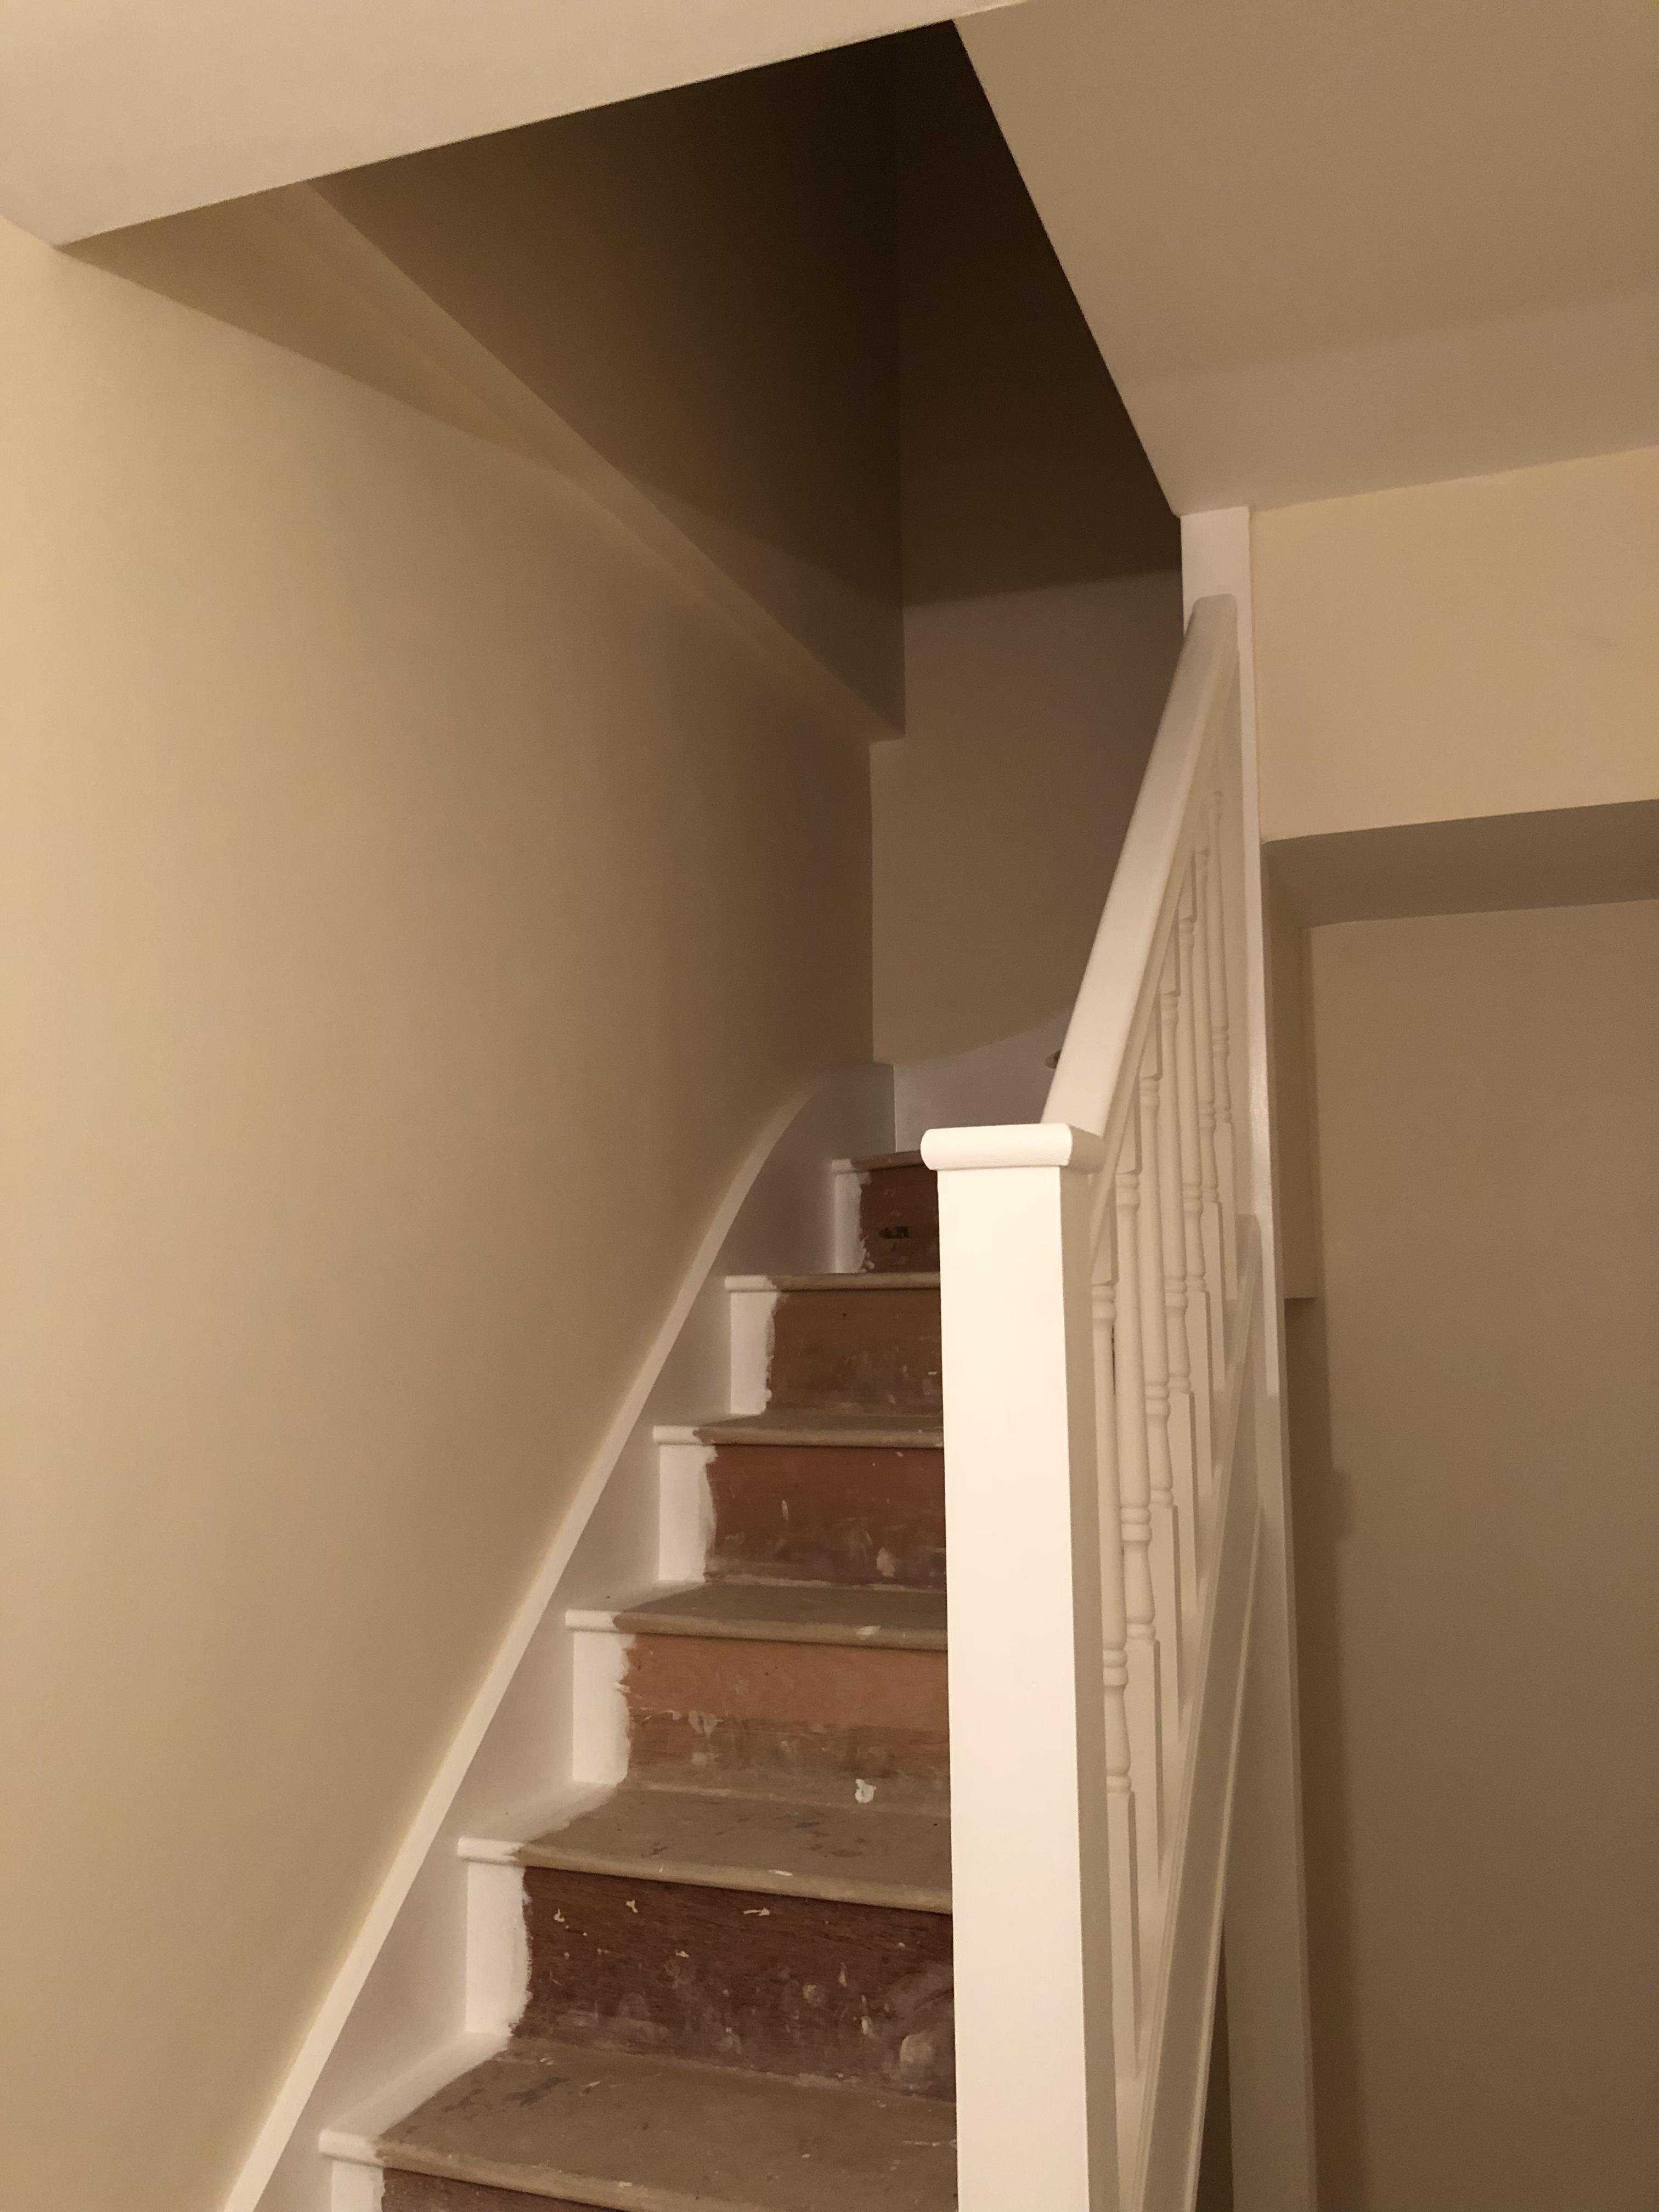
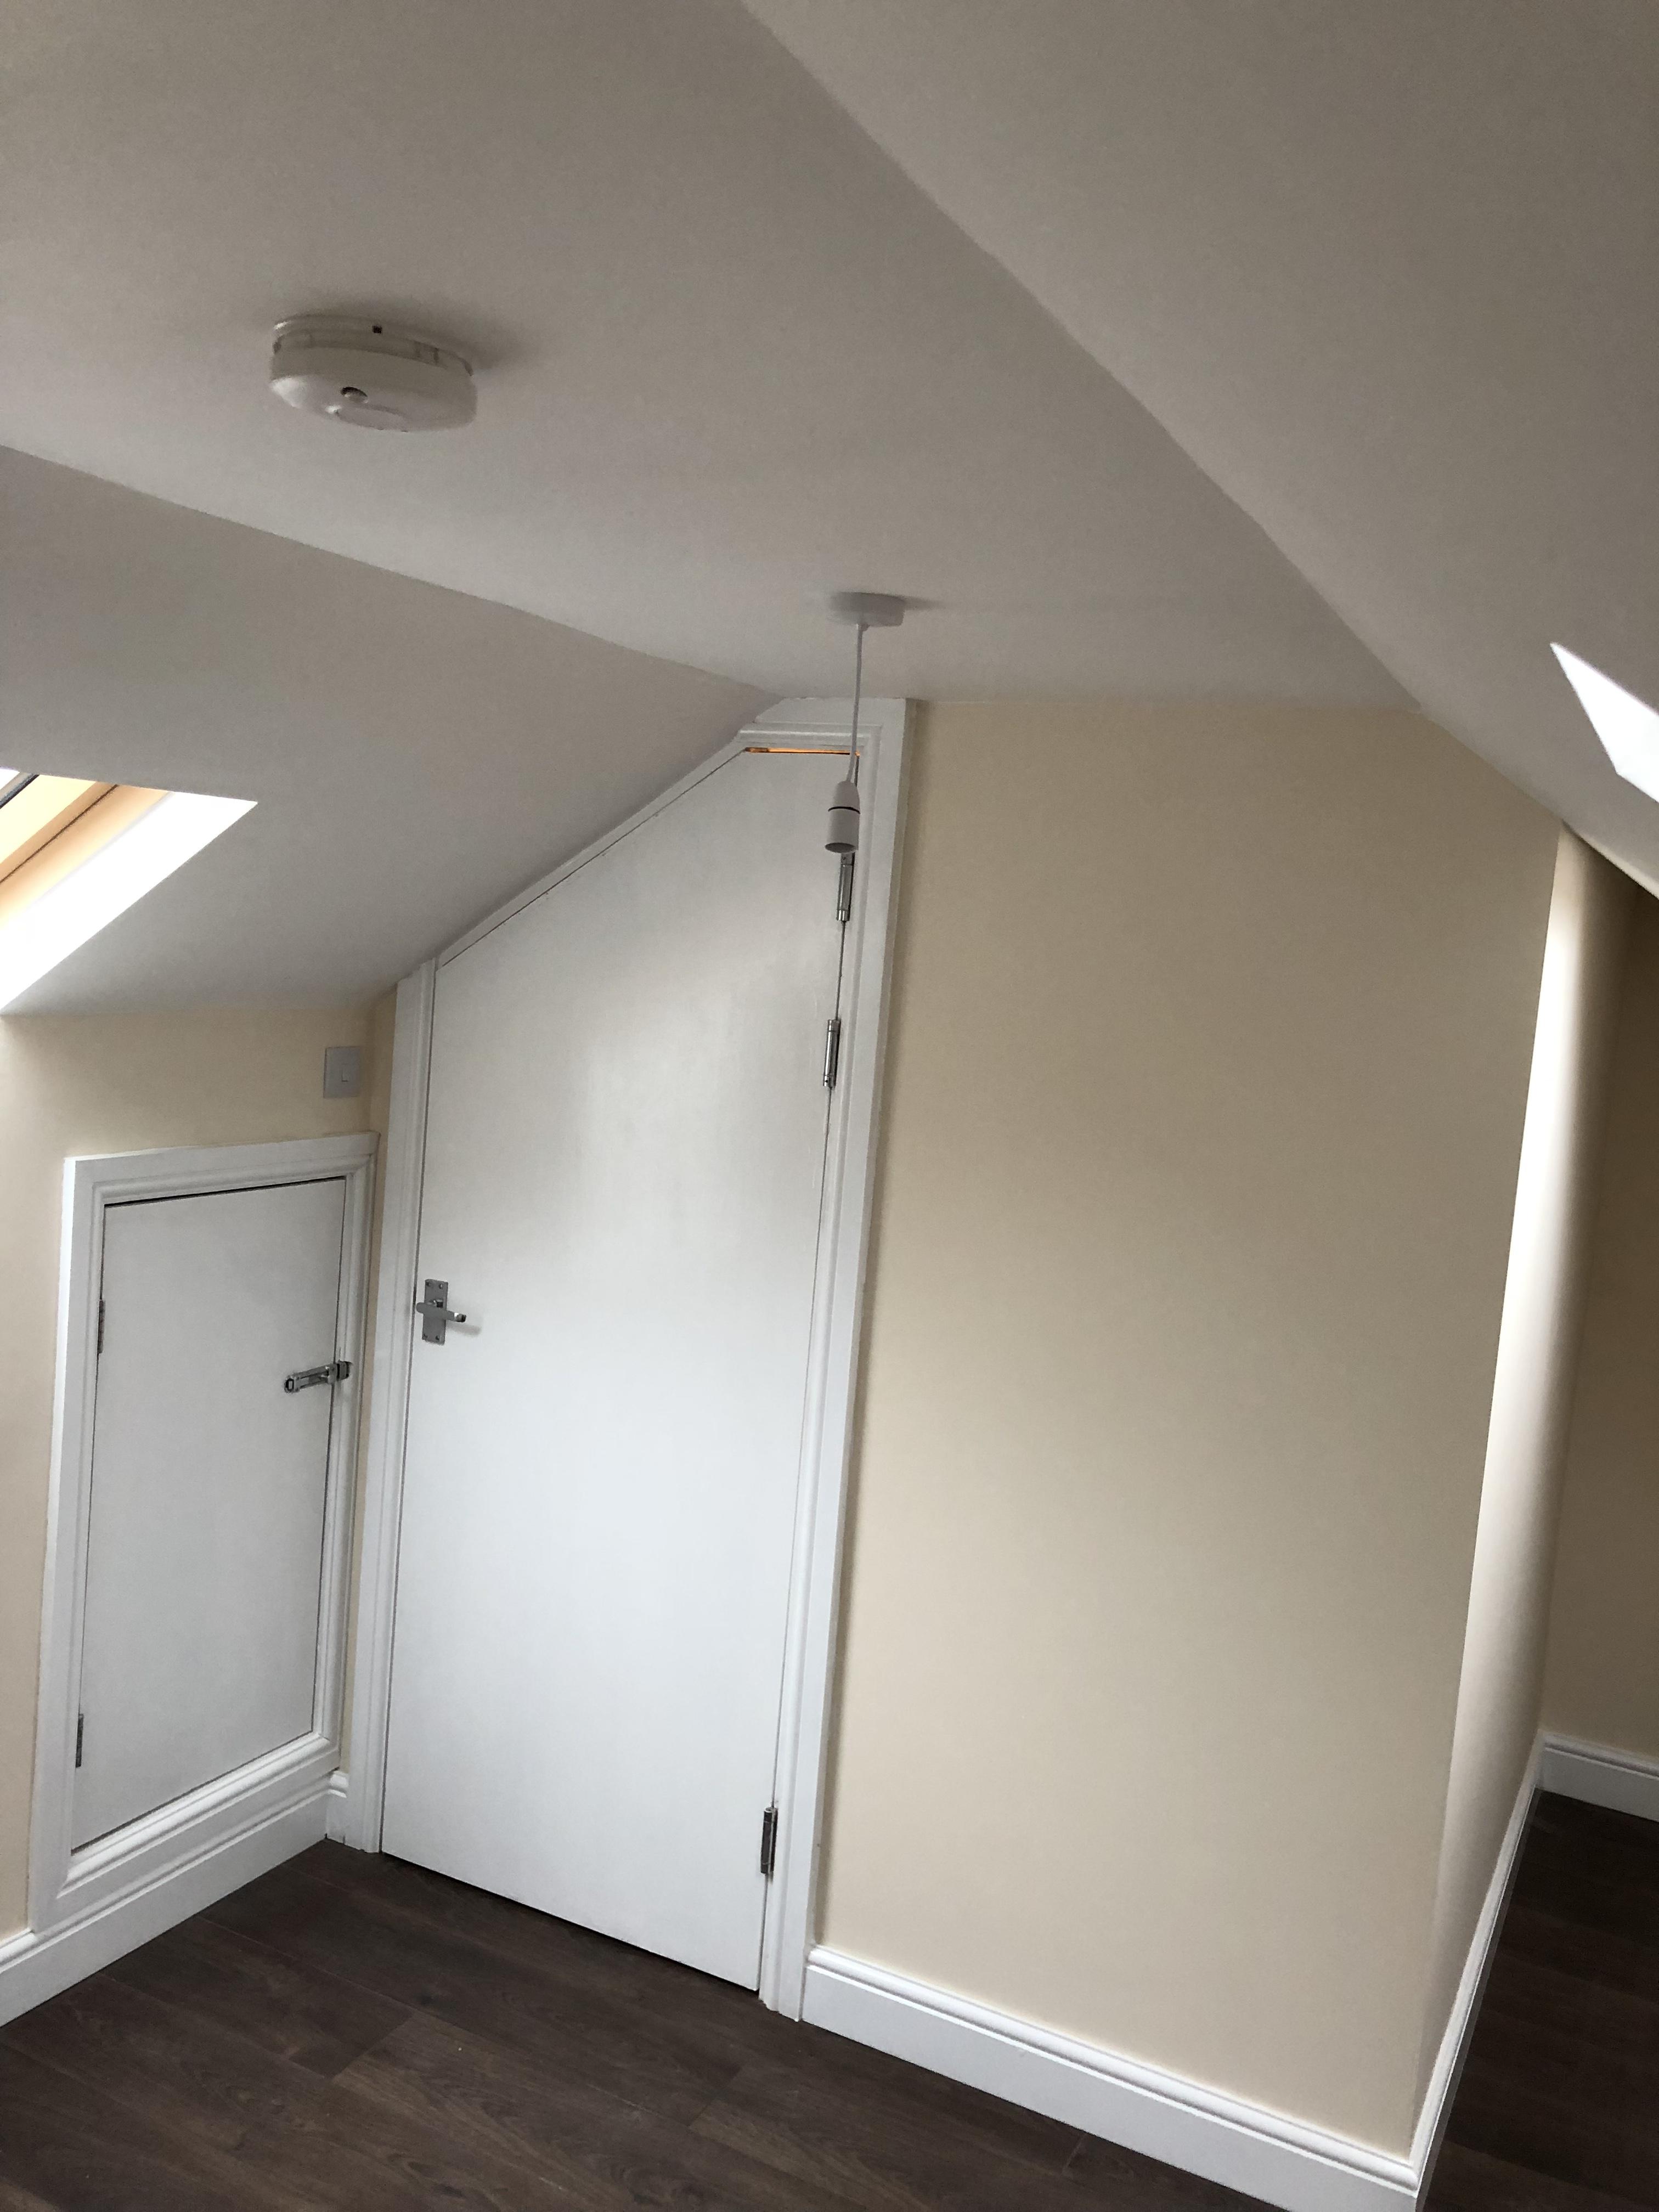
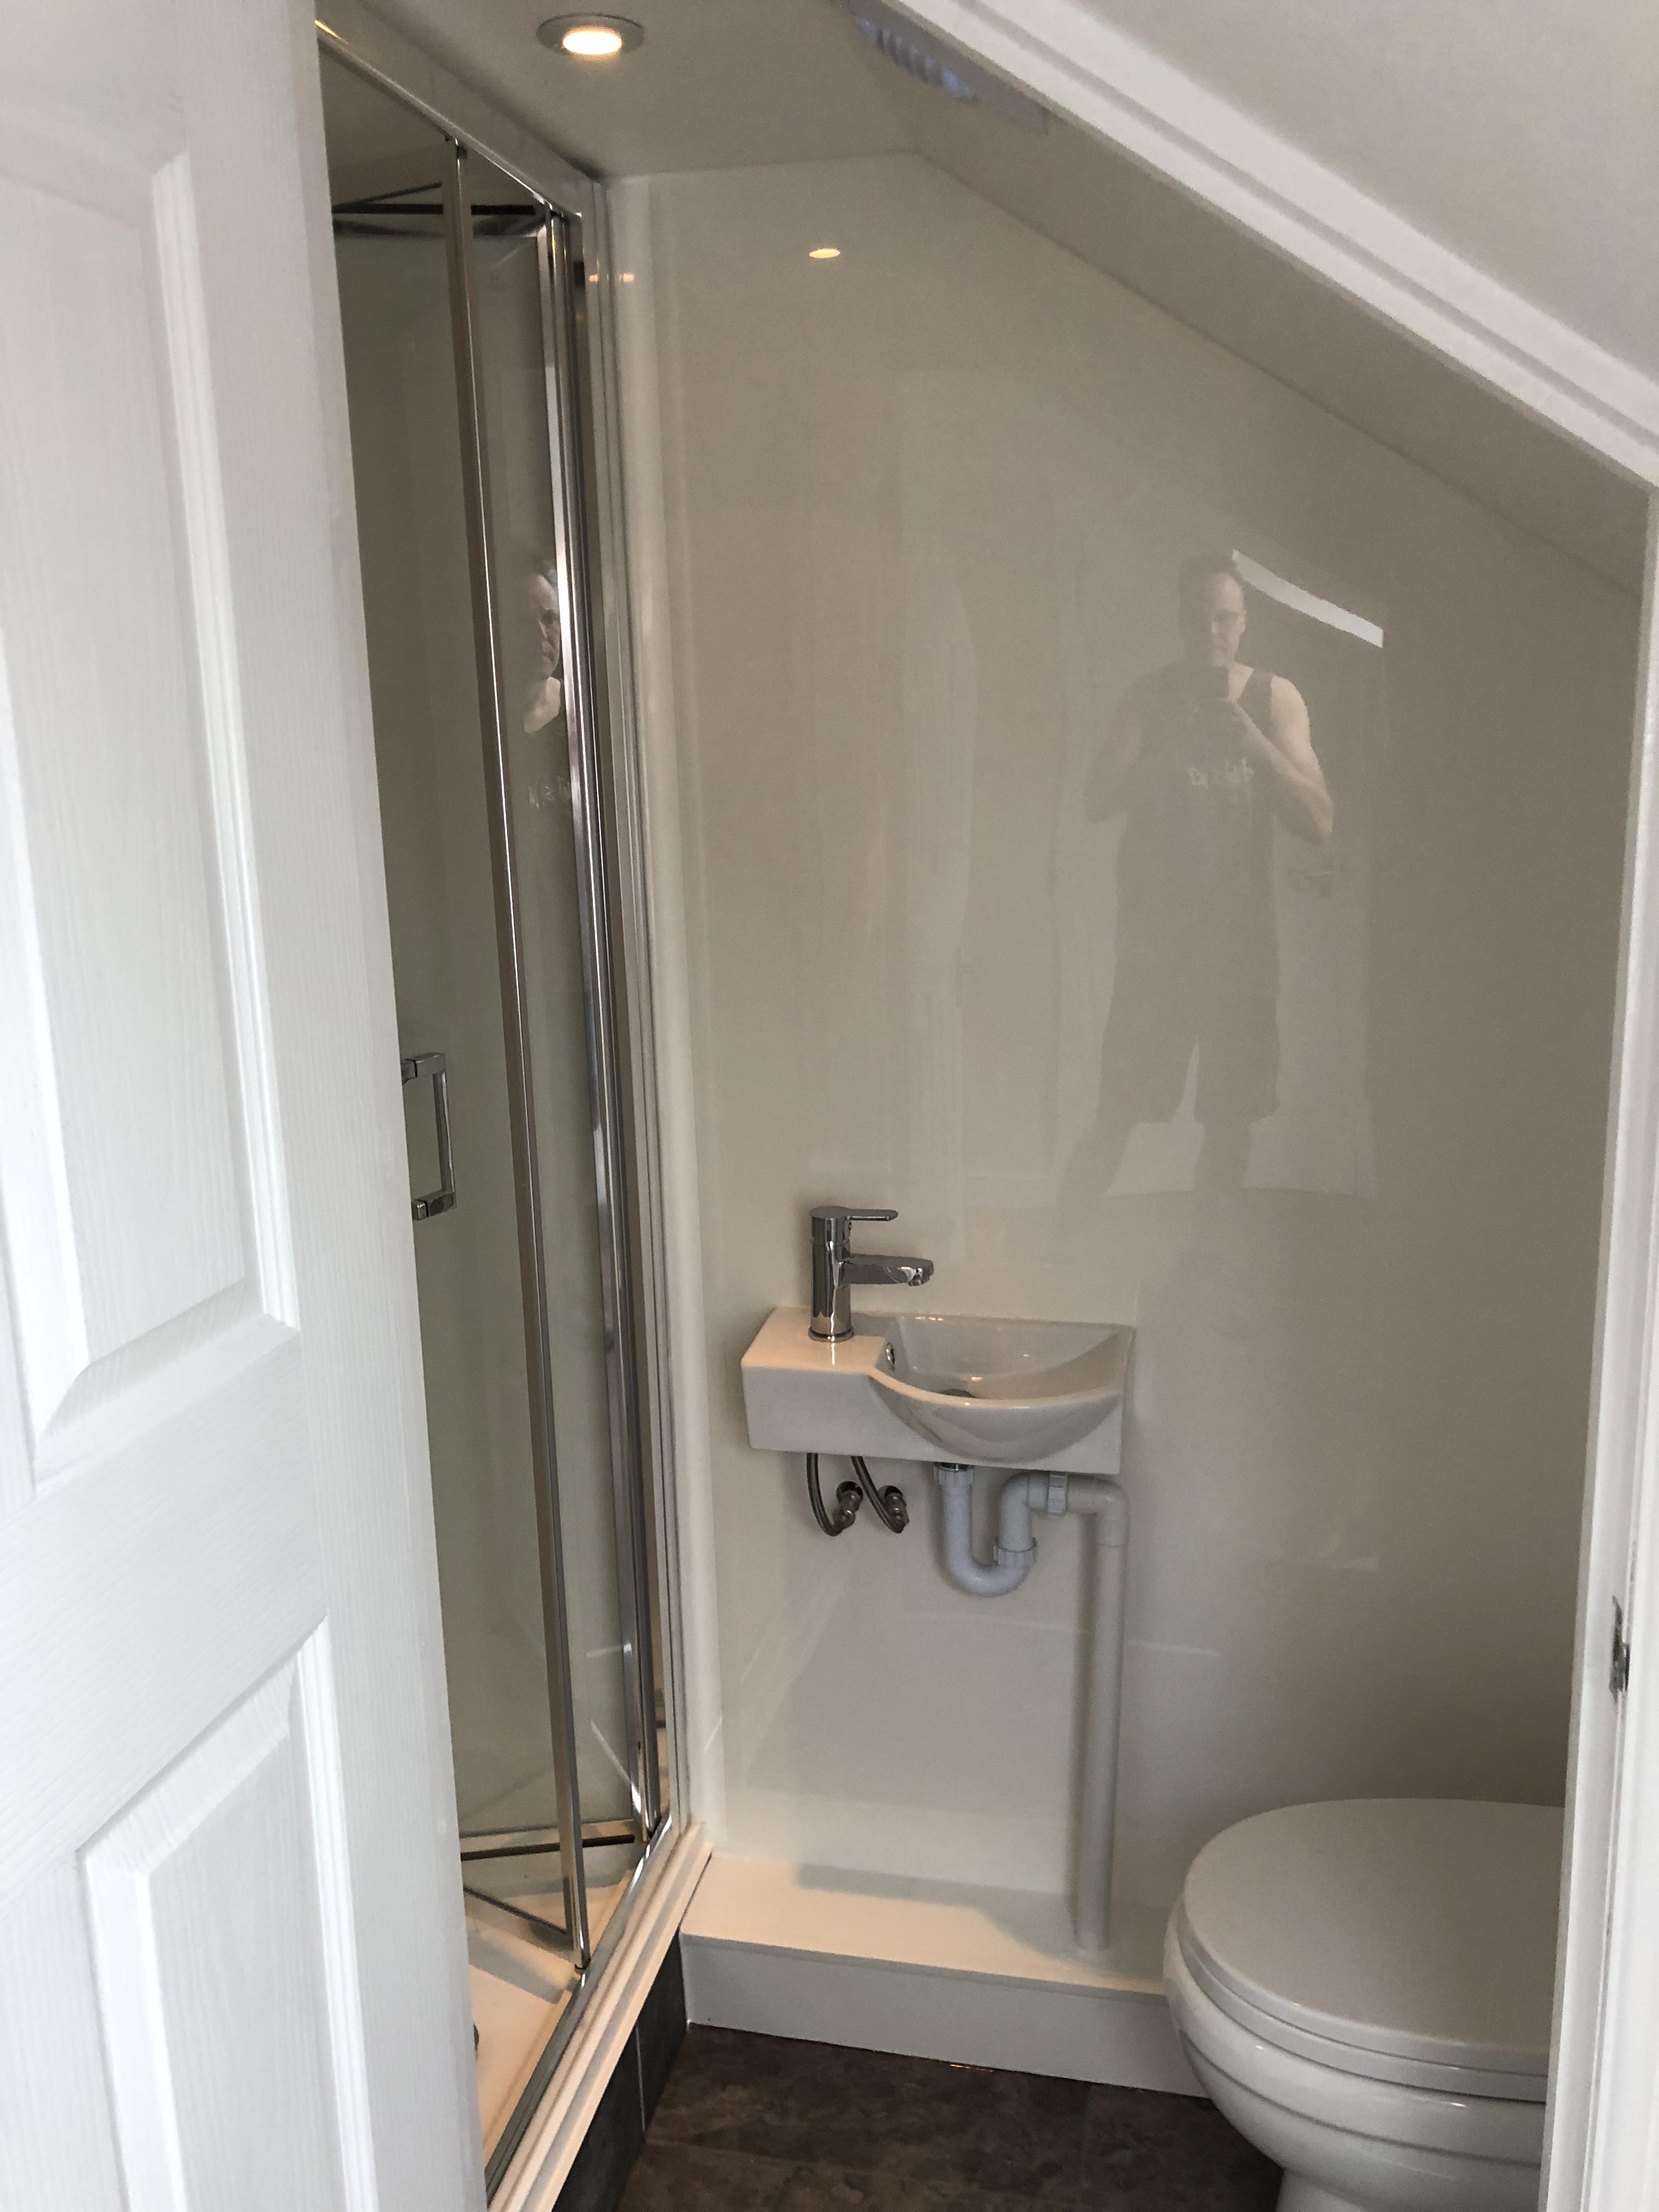
Well ! It’s finally just about finished . Complete over haul 4 new ensuites new kitchen new bathroom new glazing loft conversion re wired re plumbed emergency lighting mains and battery fire alarm laminate flooring in bedrooms skimmed and decorated Too good to rent TBH Piccys tomorrow!!!!!1 point
-
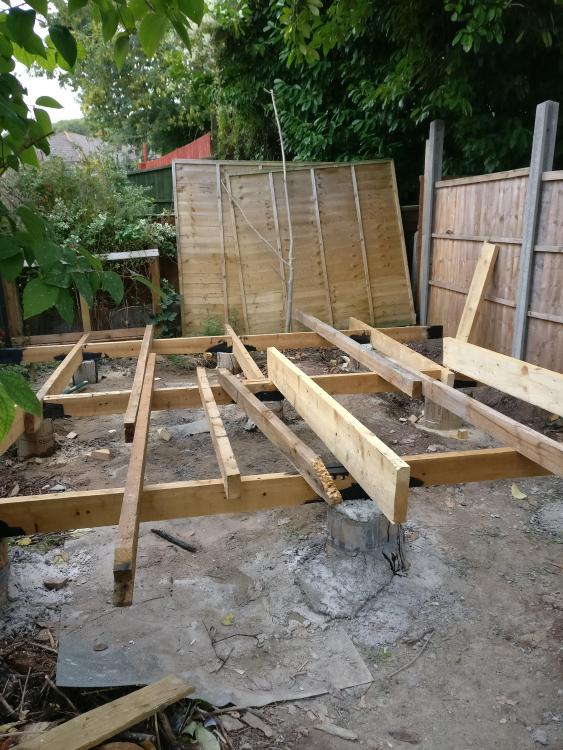
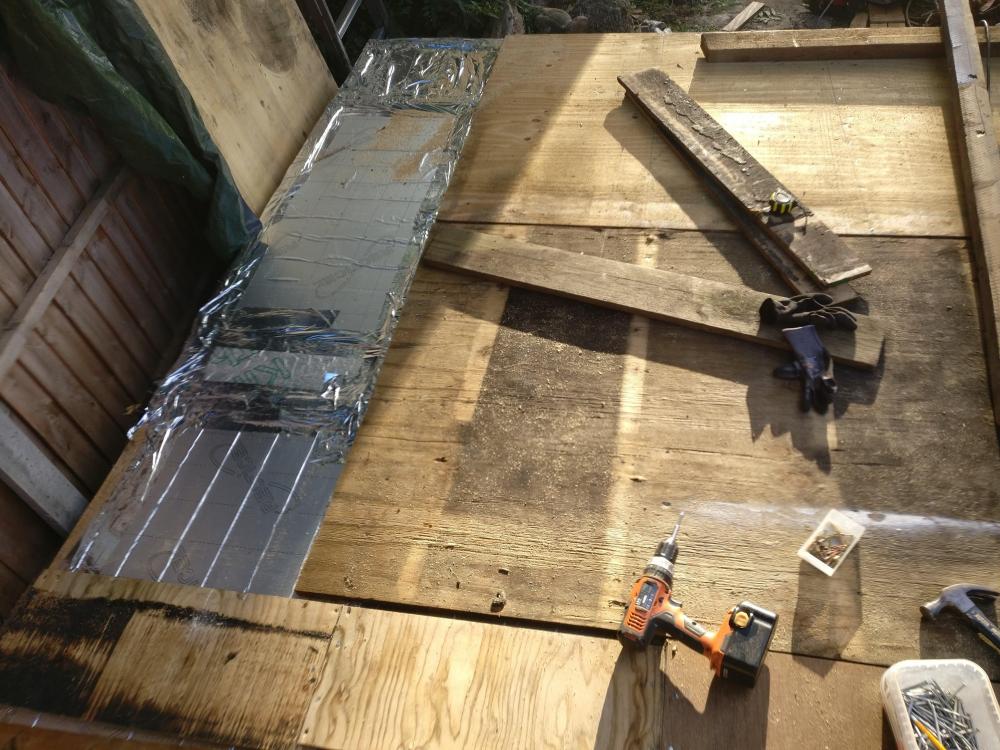
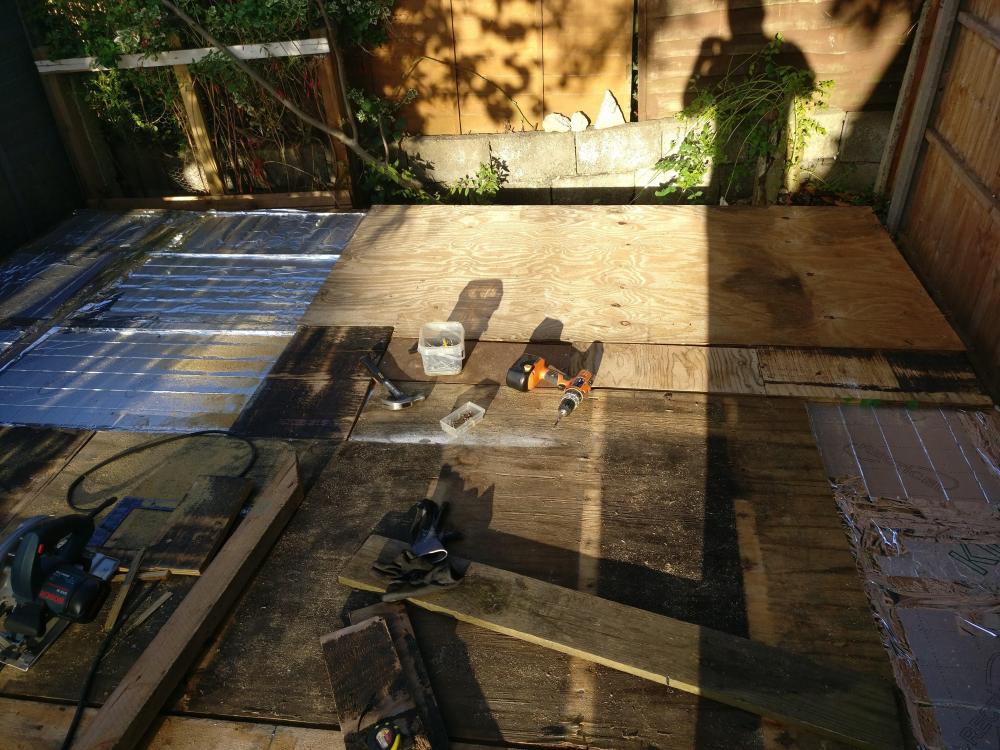
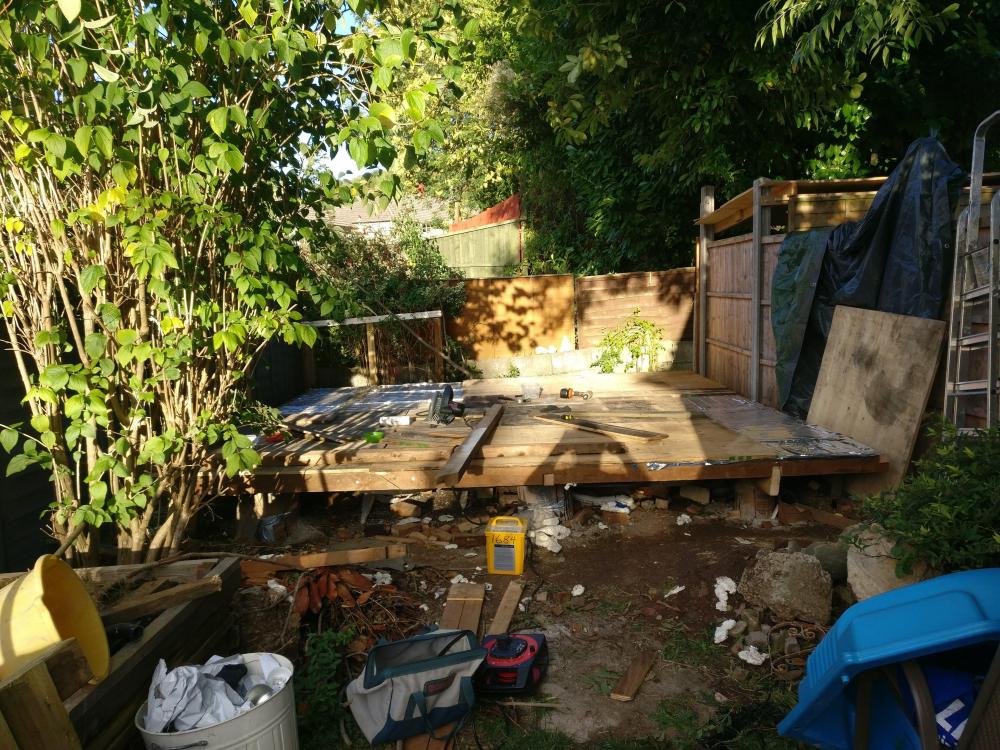
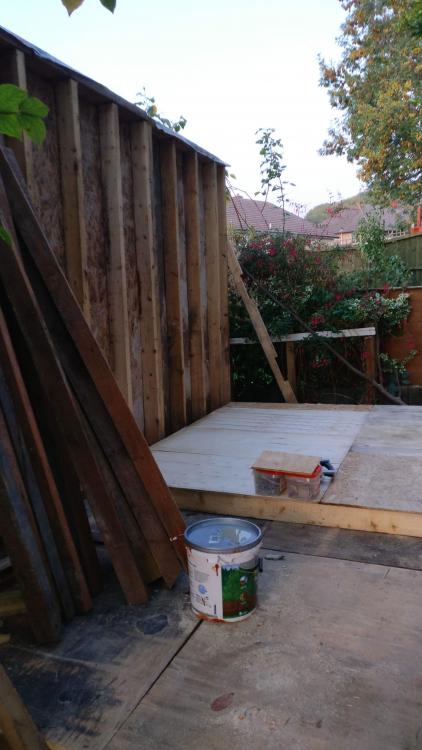
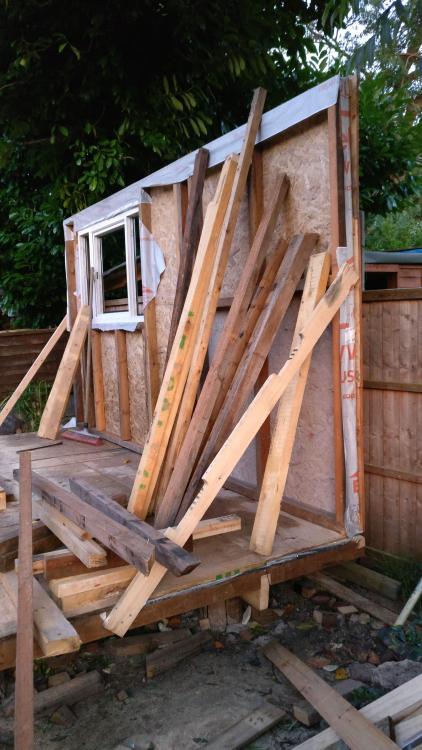
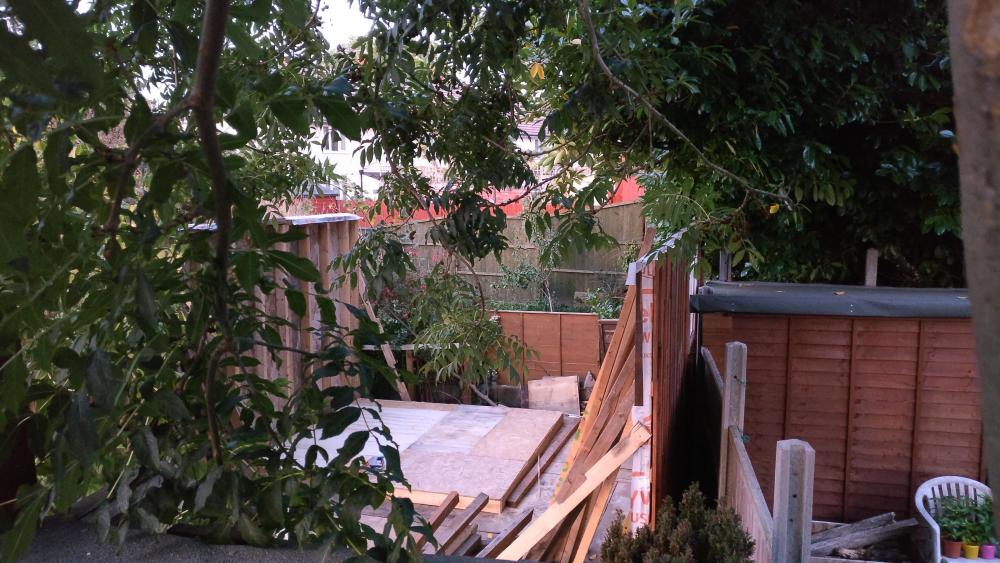
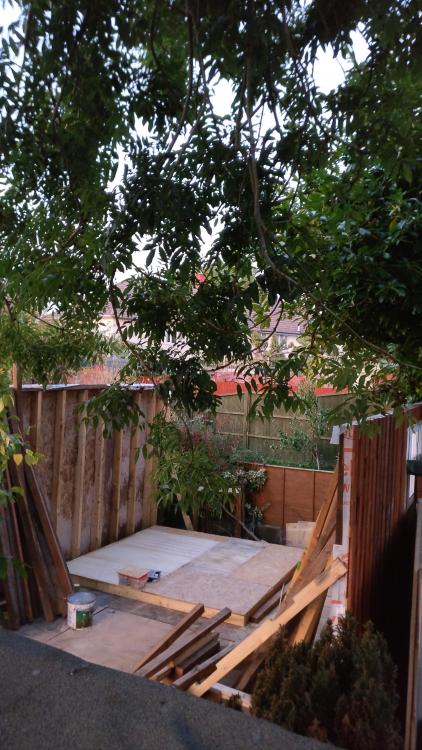
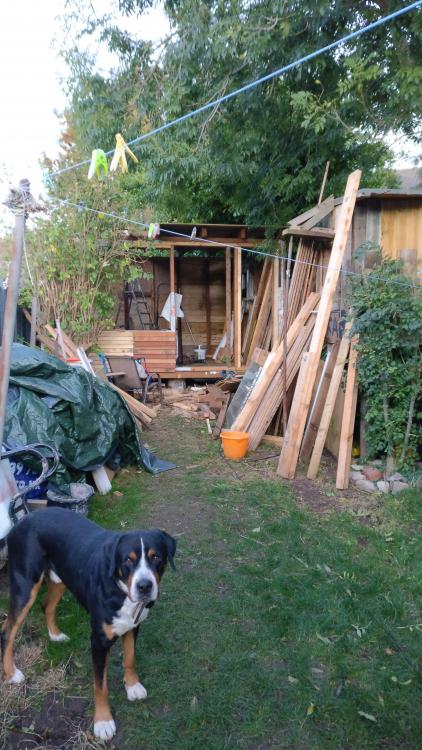
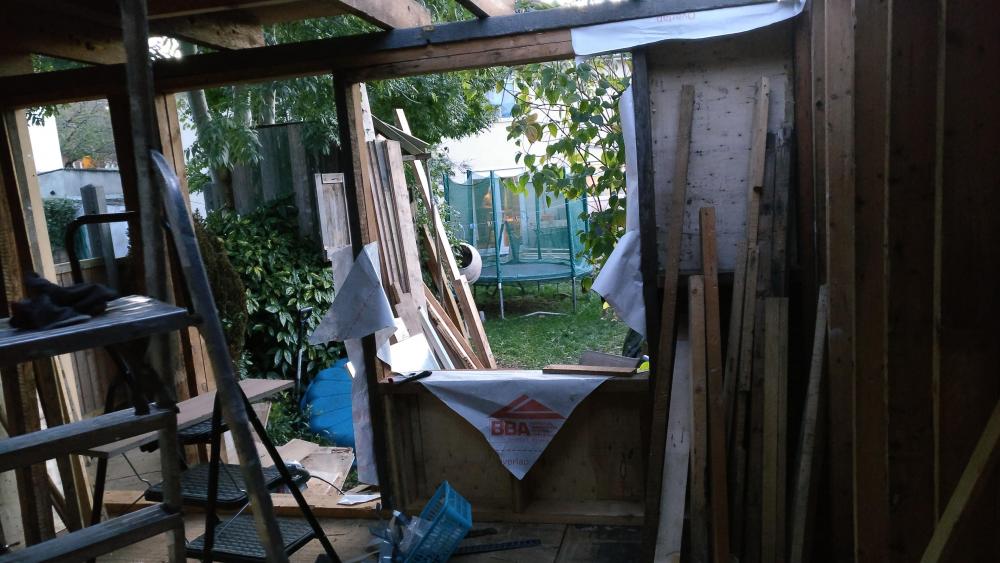
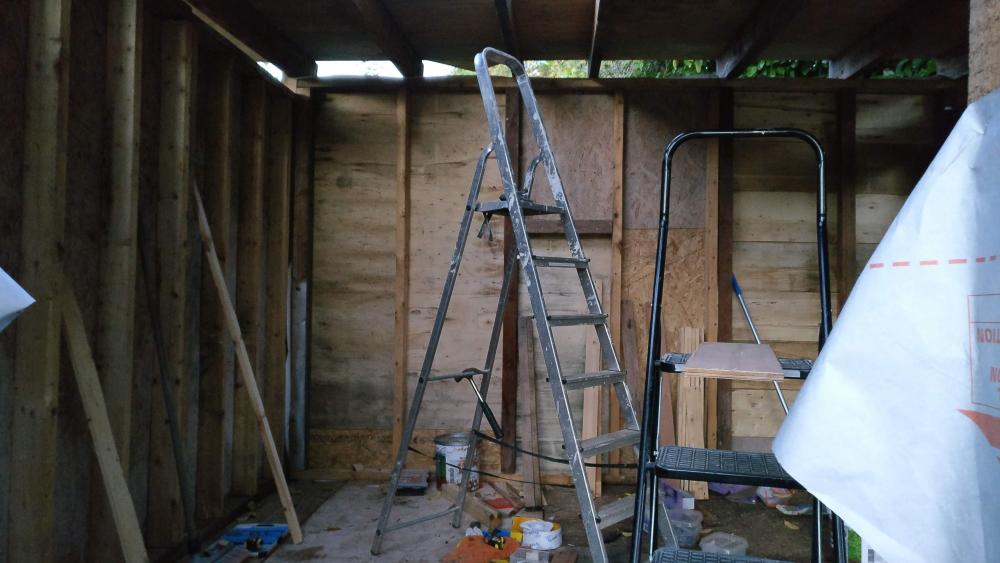
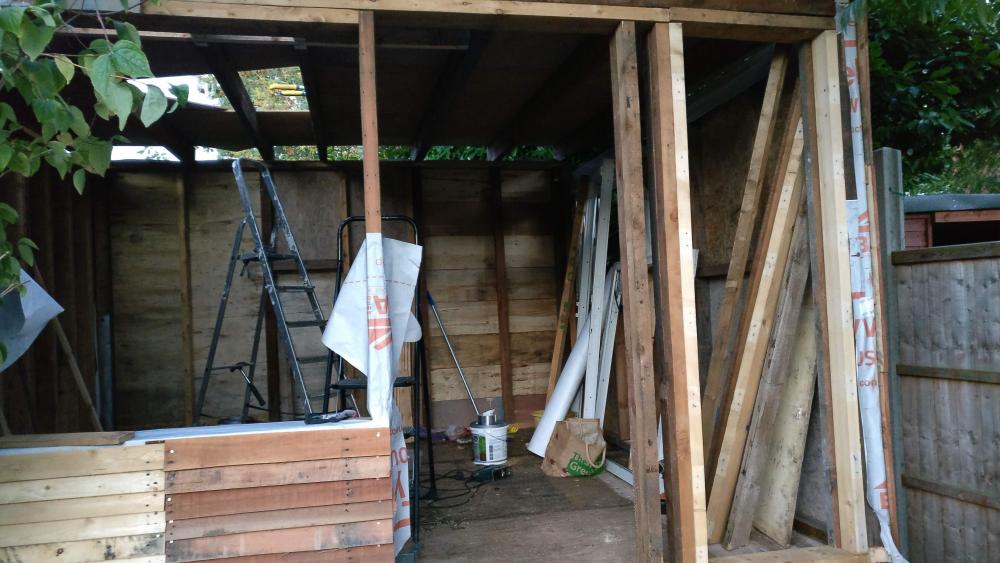
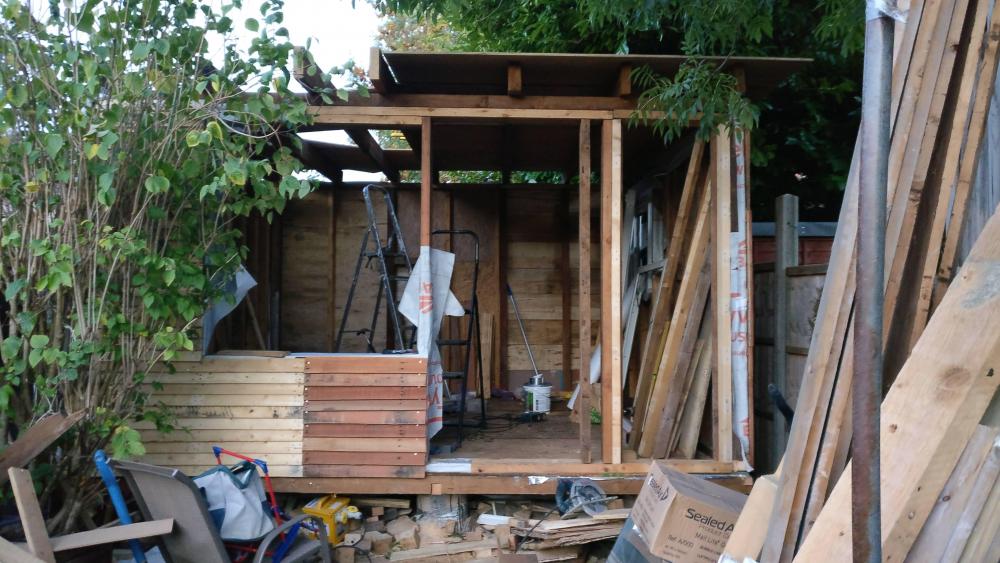
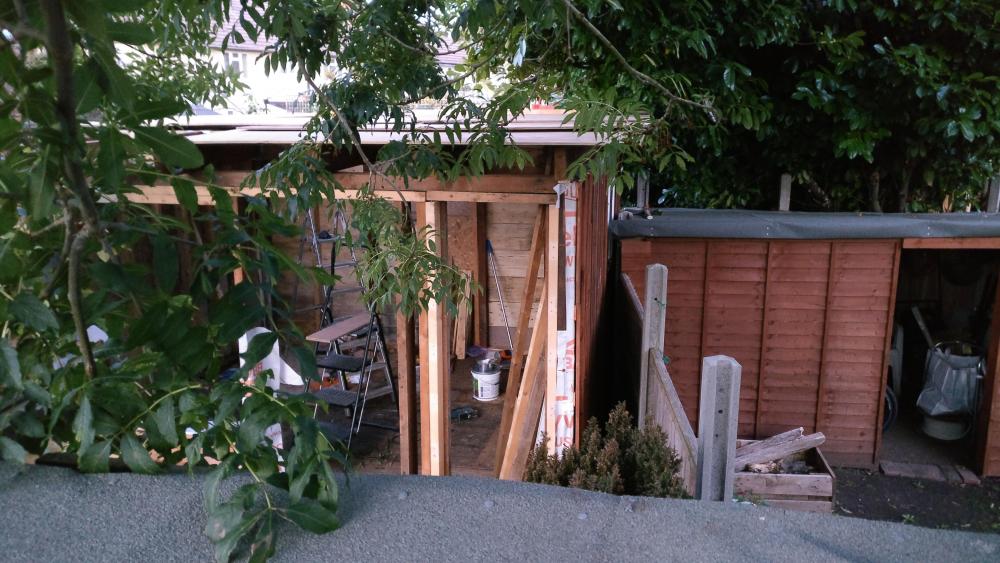
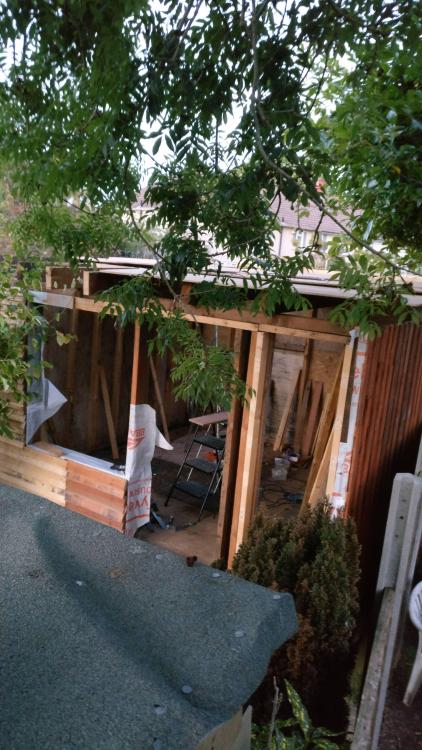
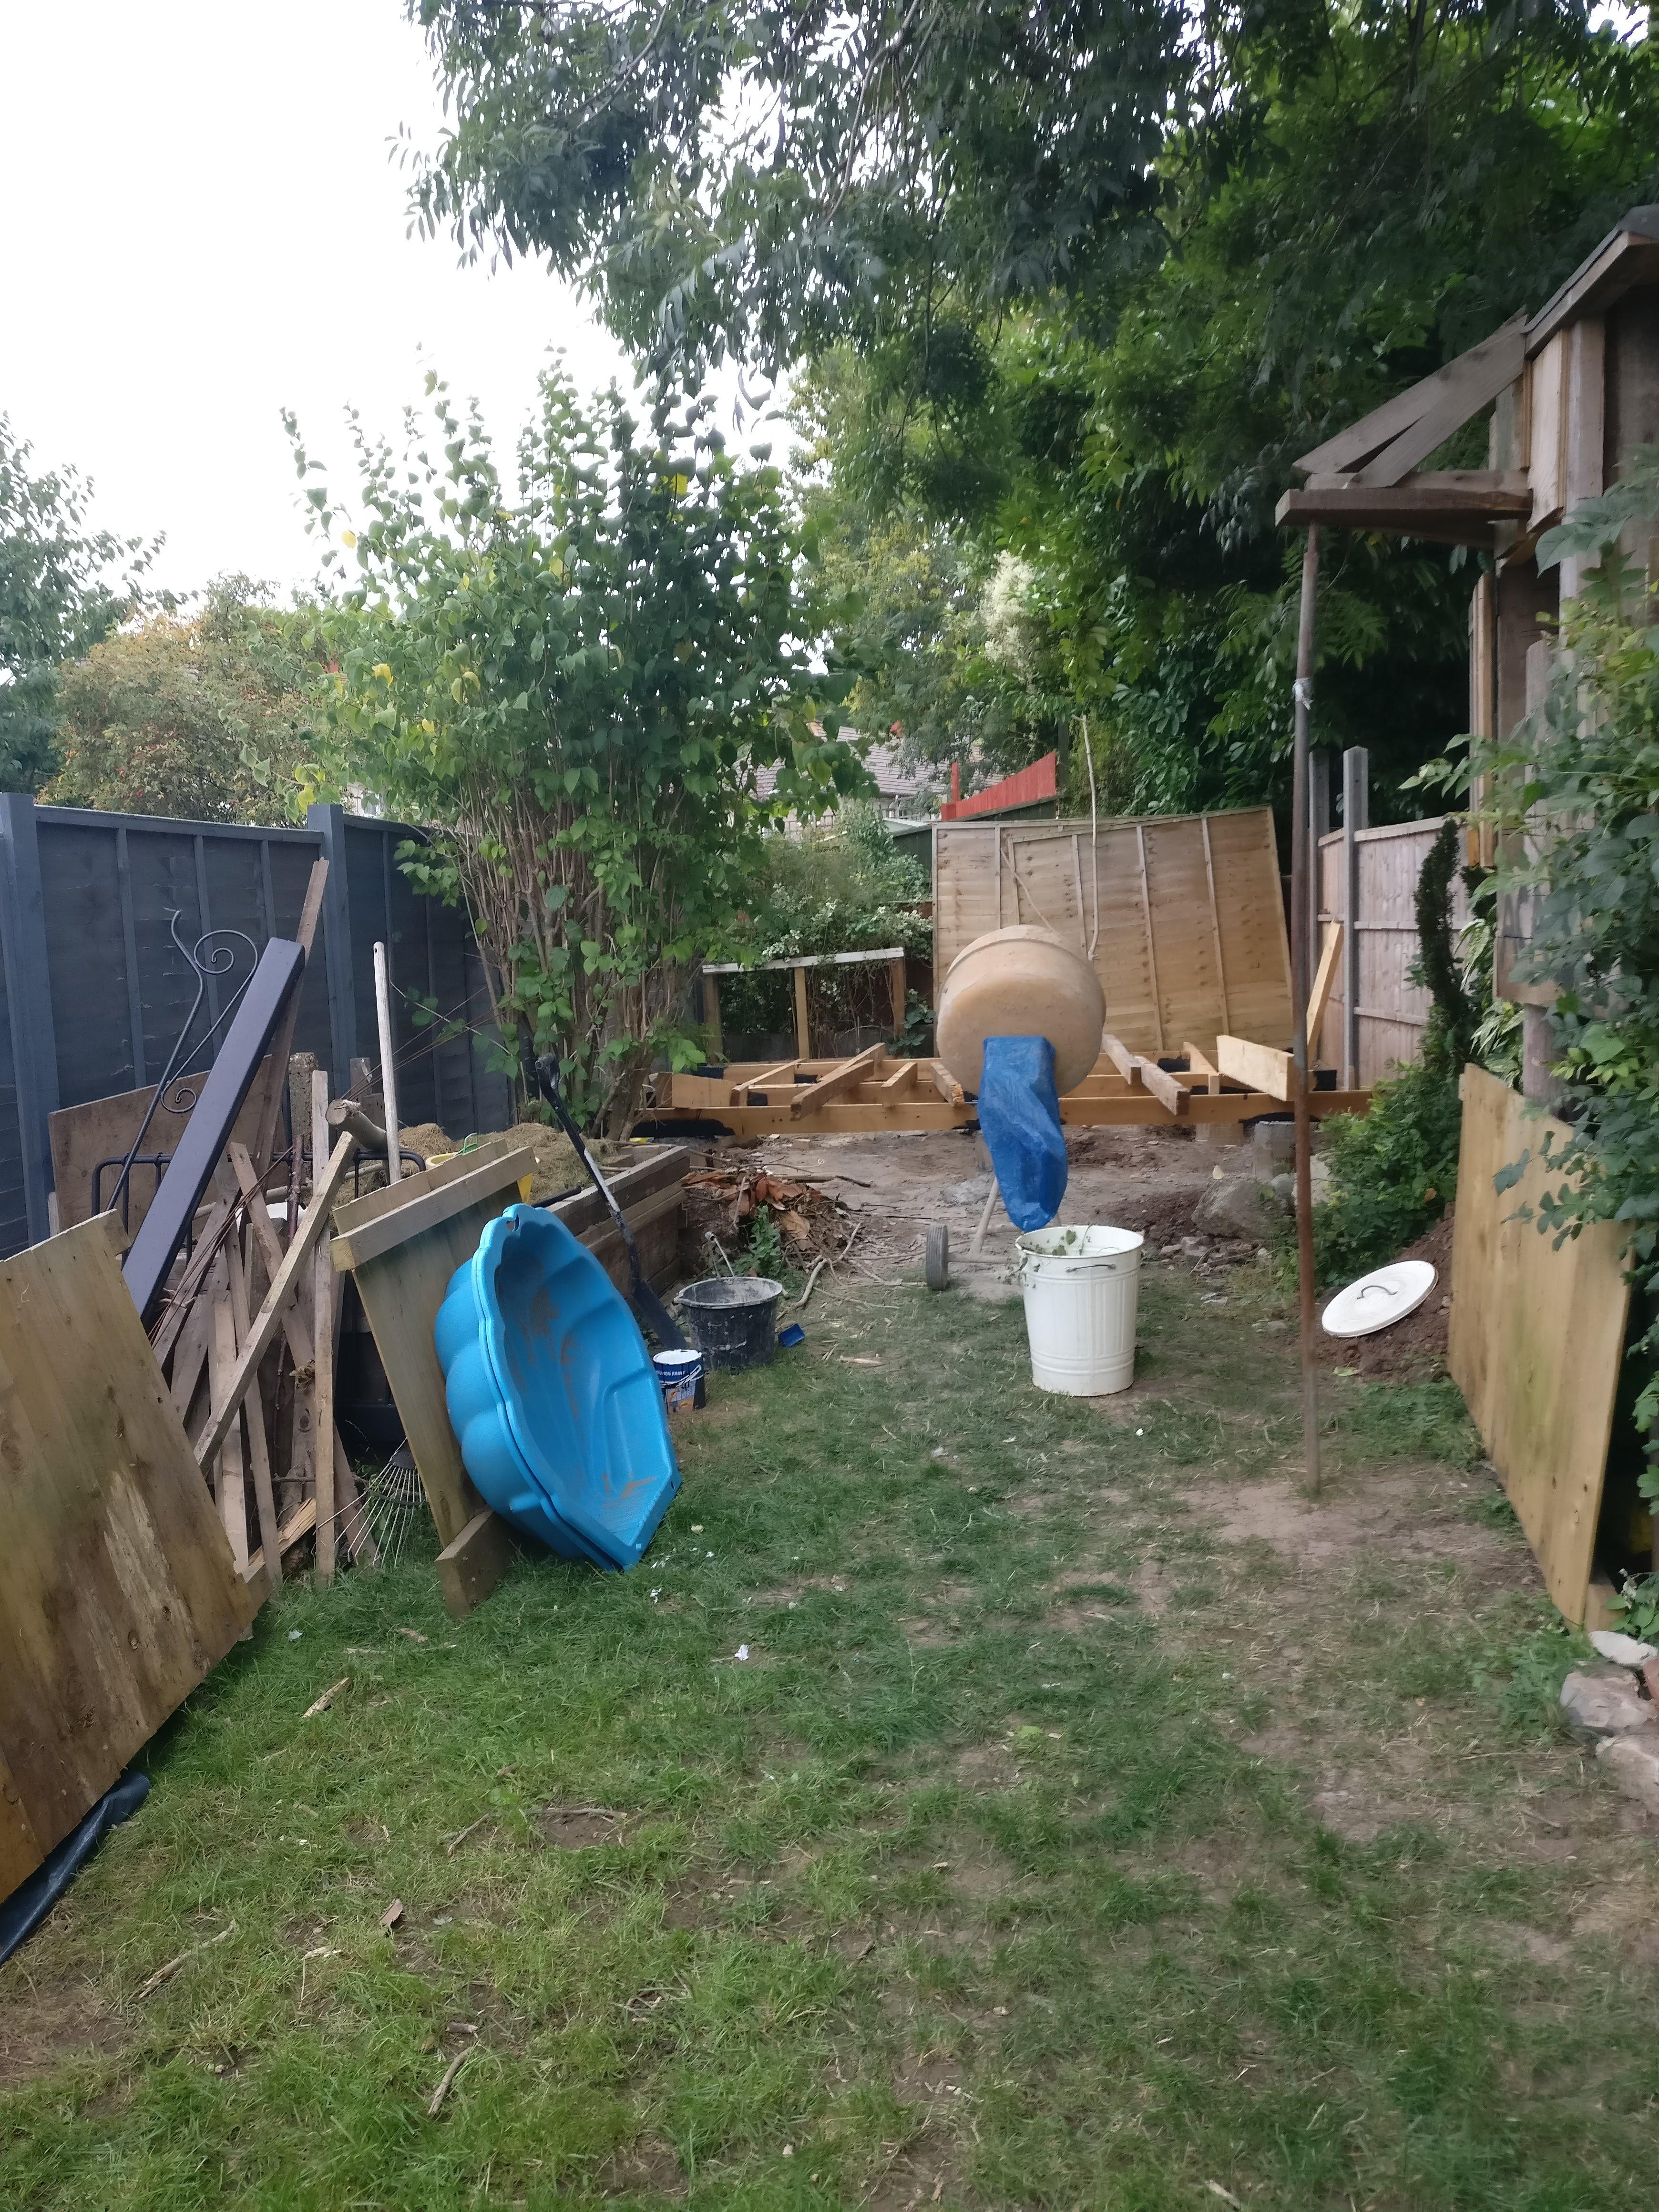
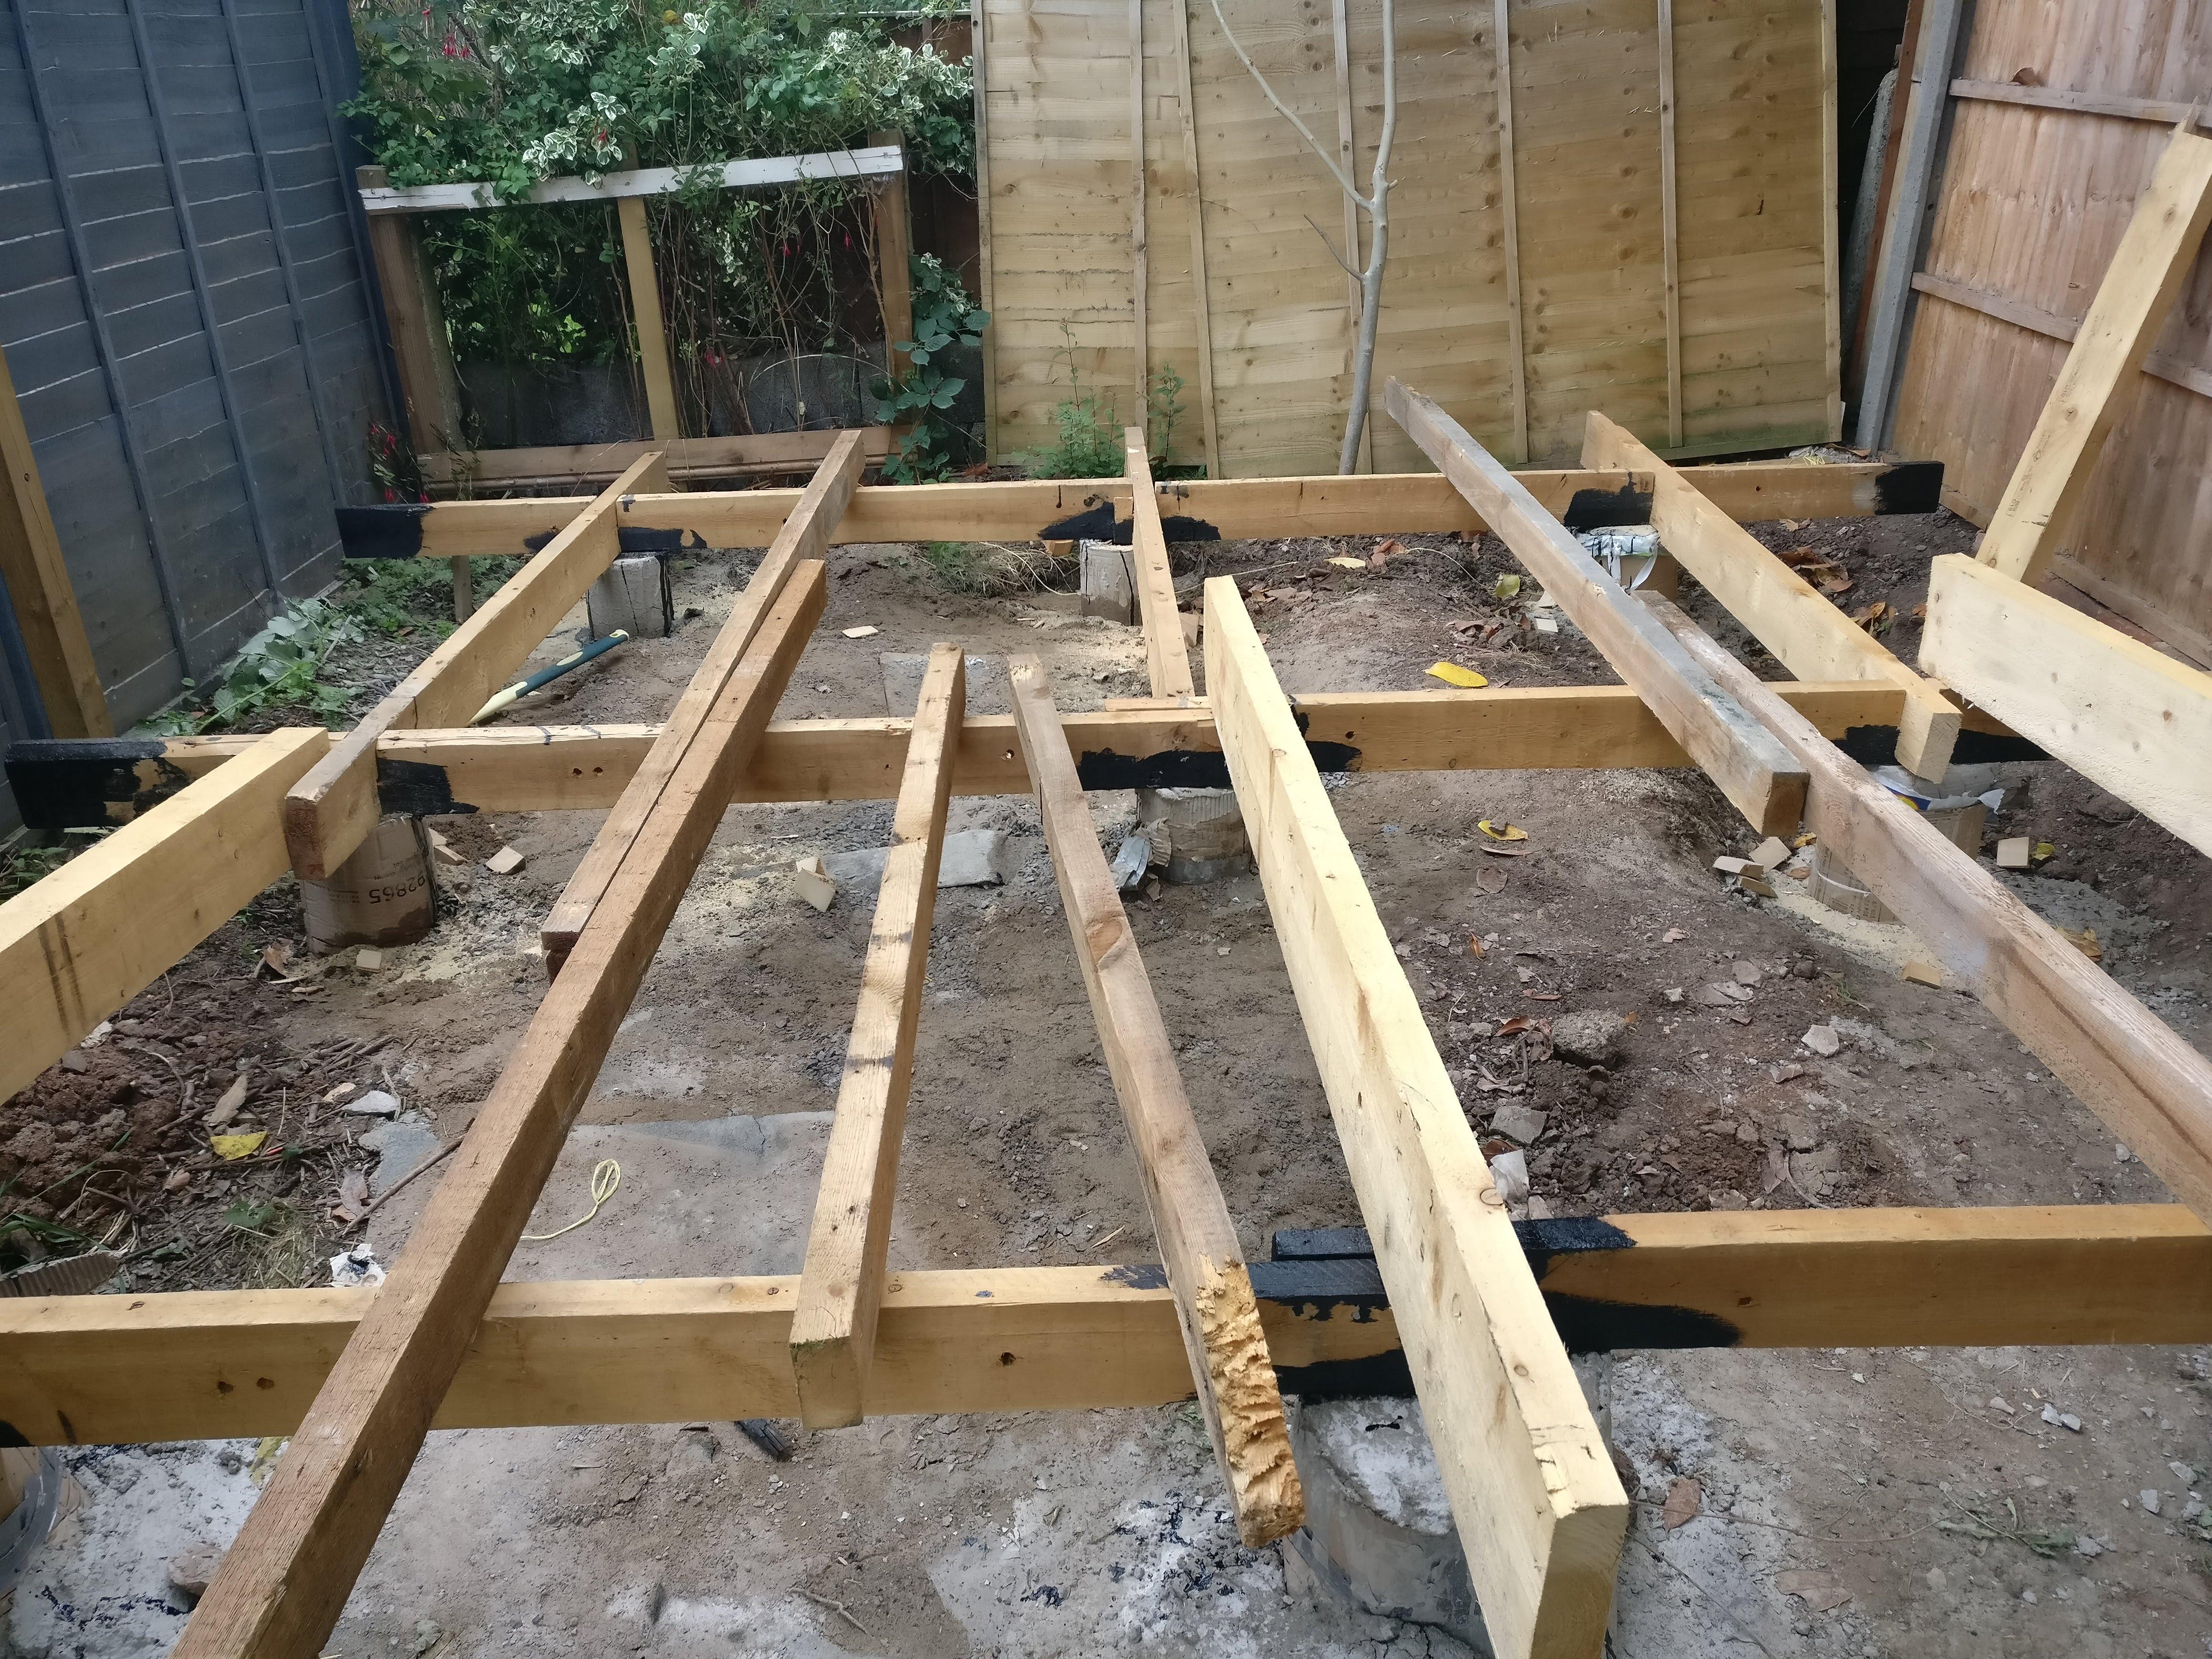
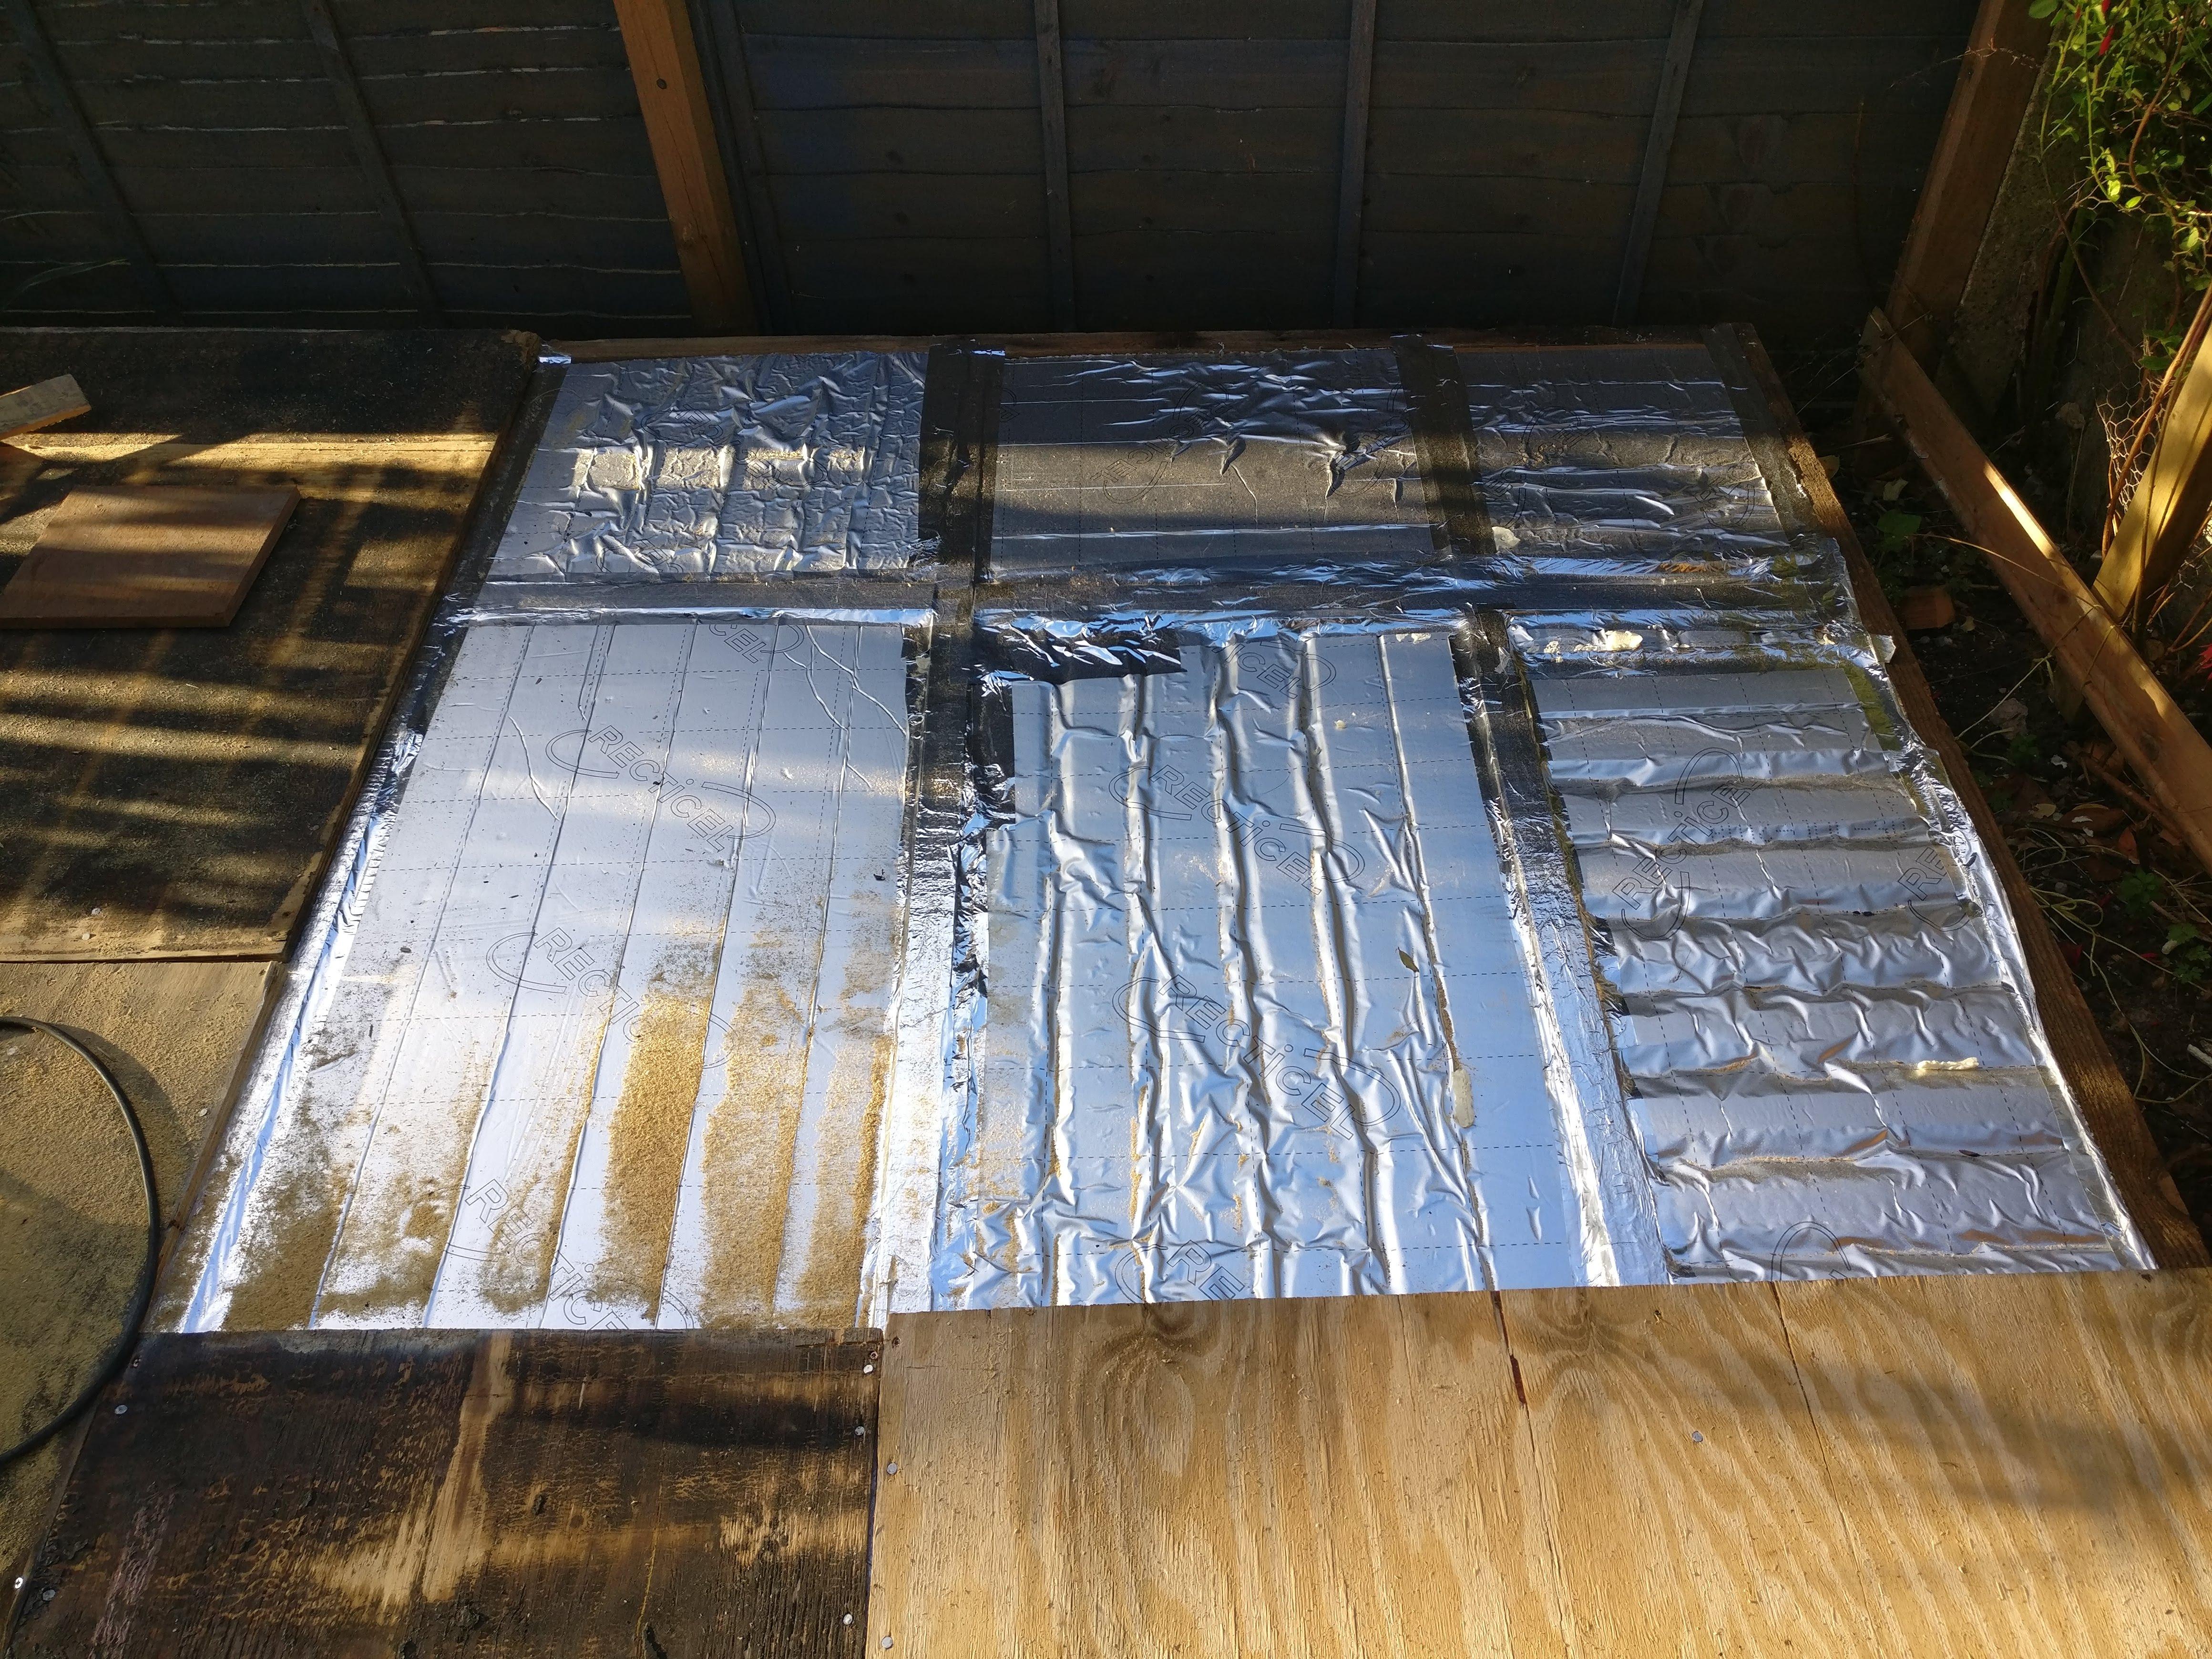
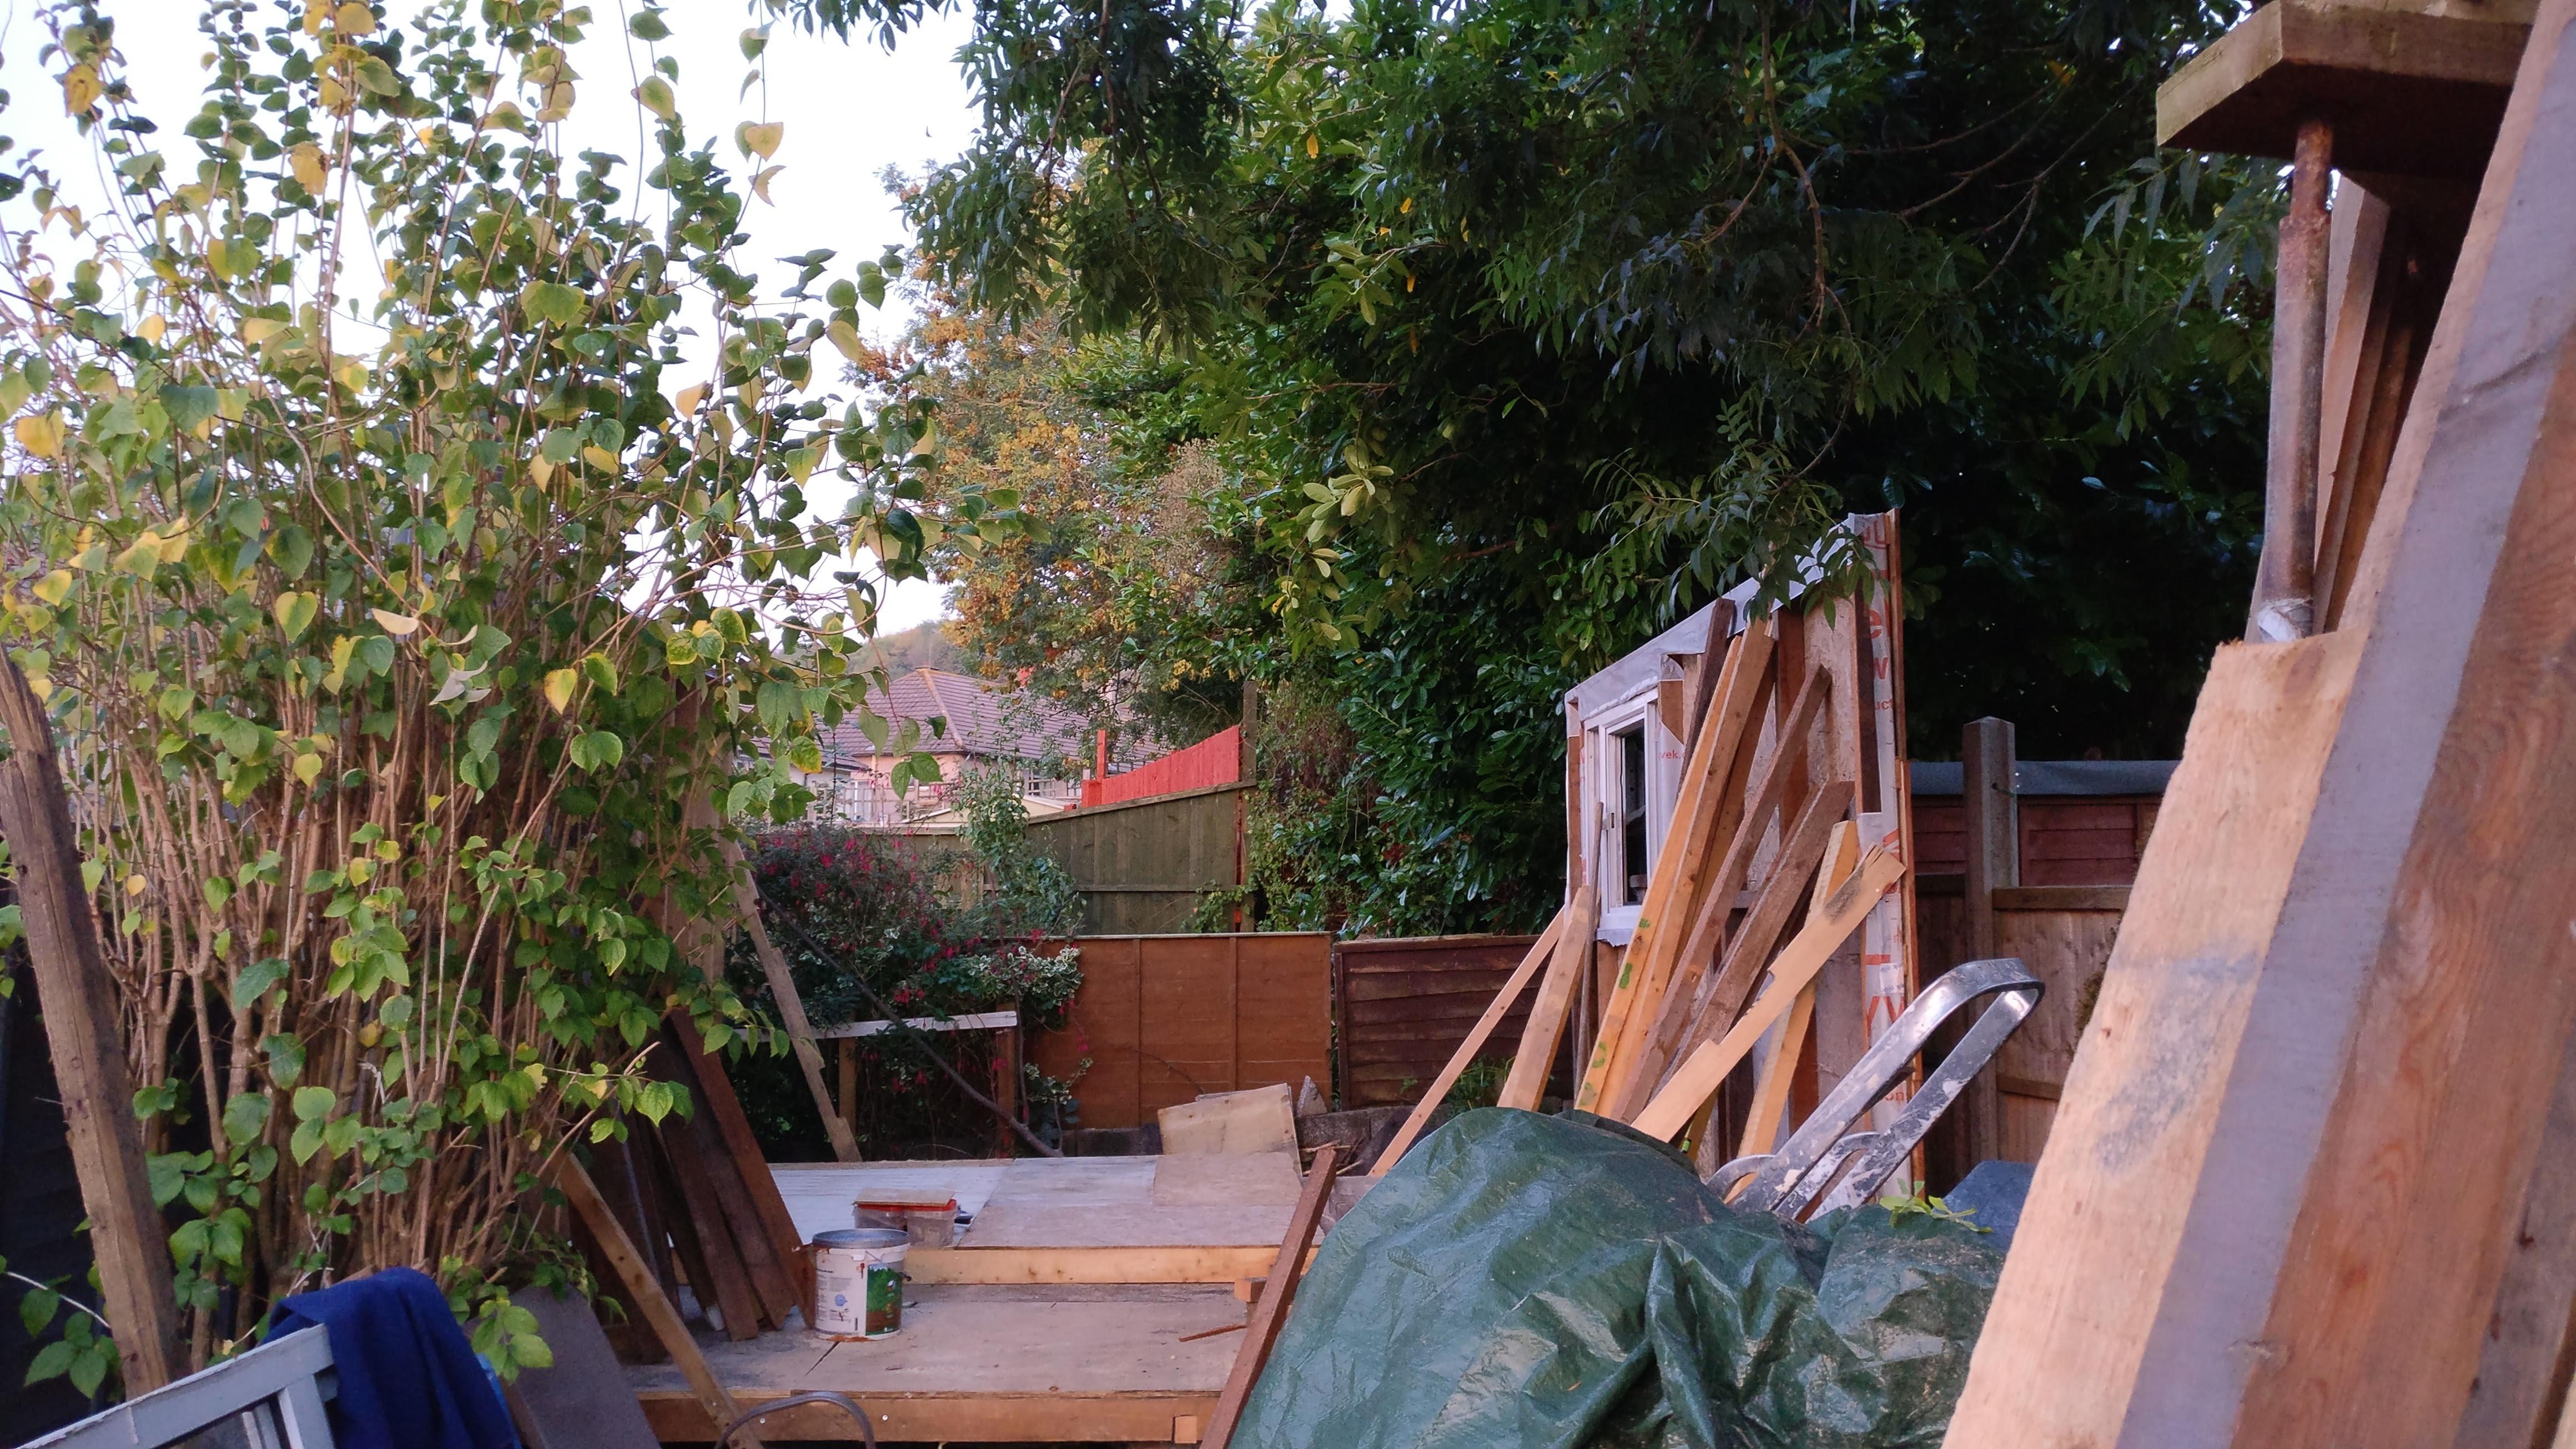
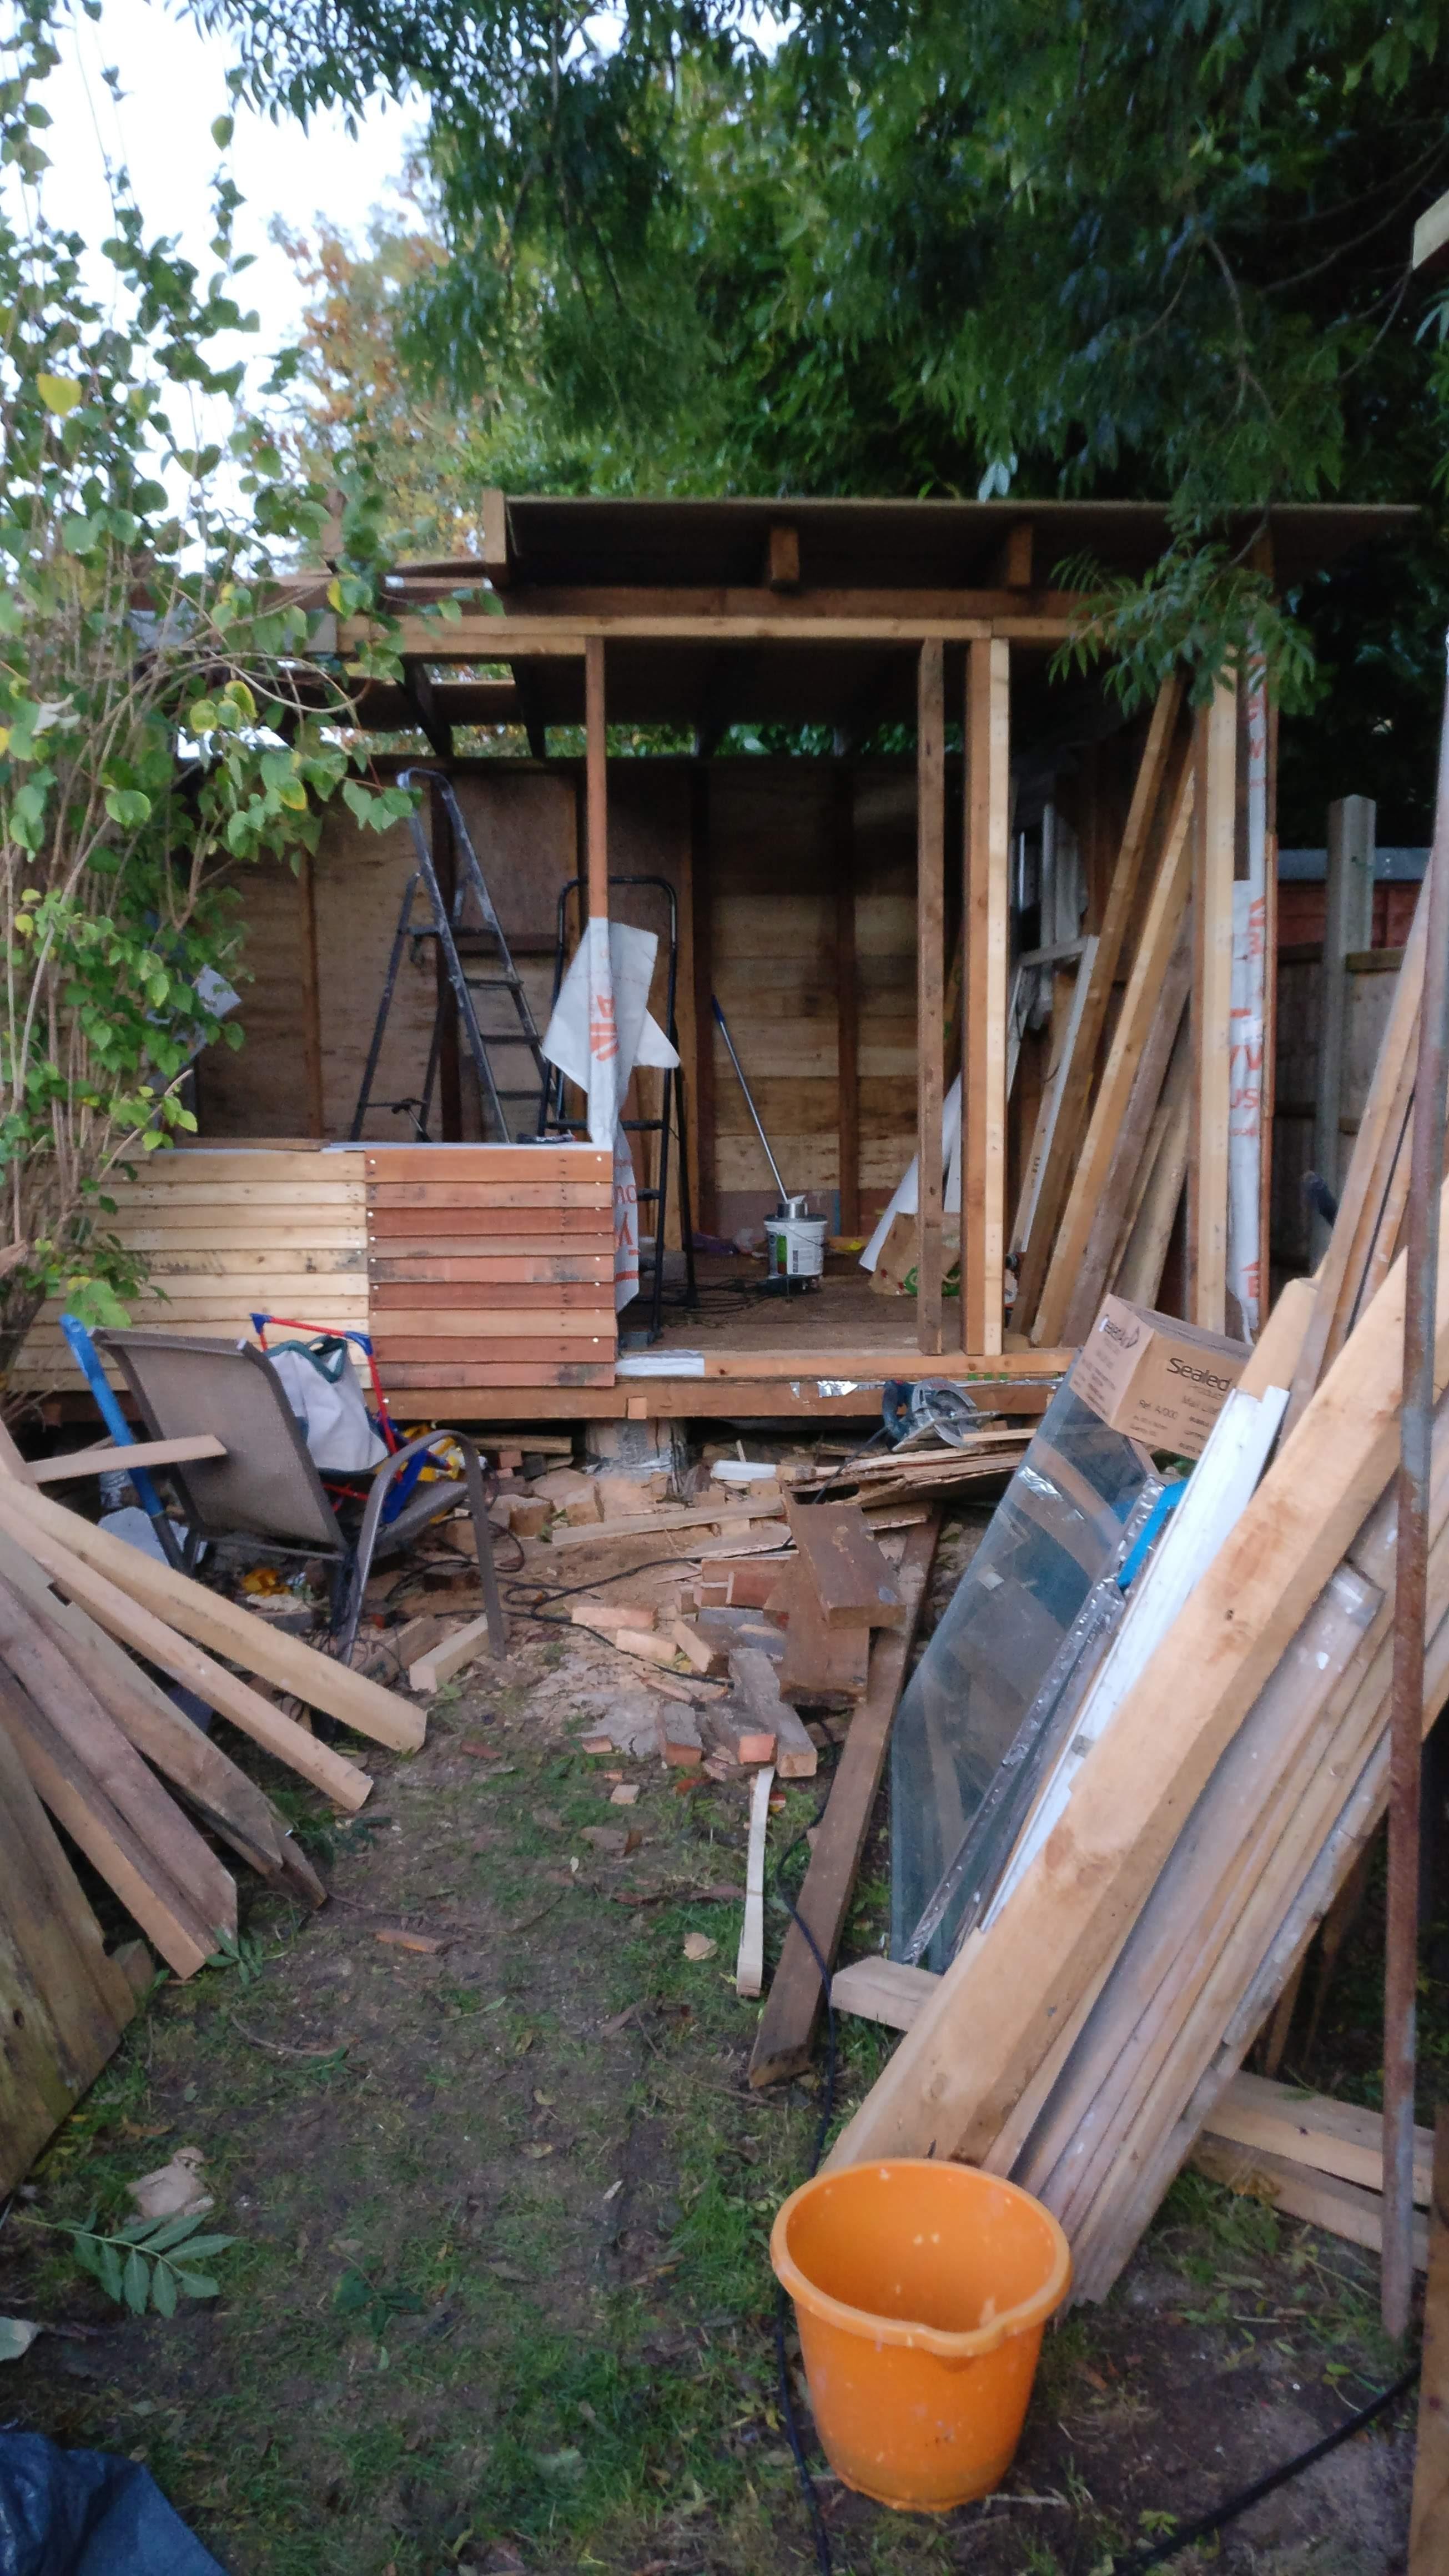
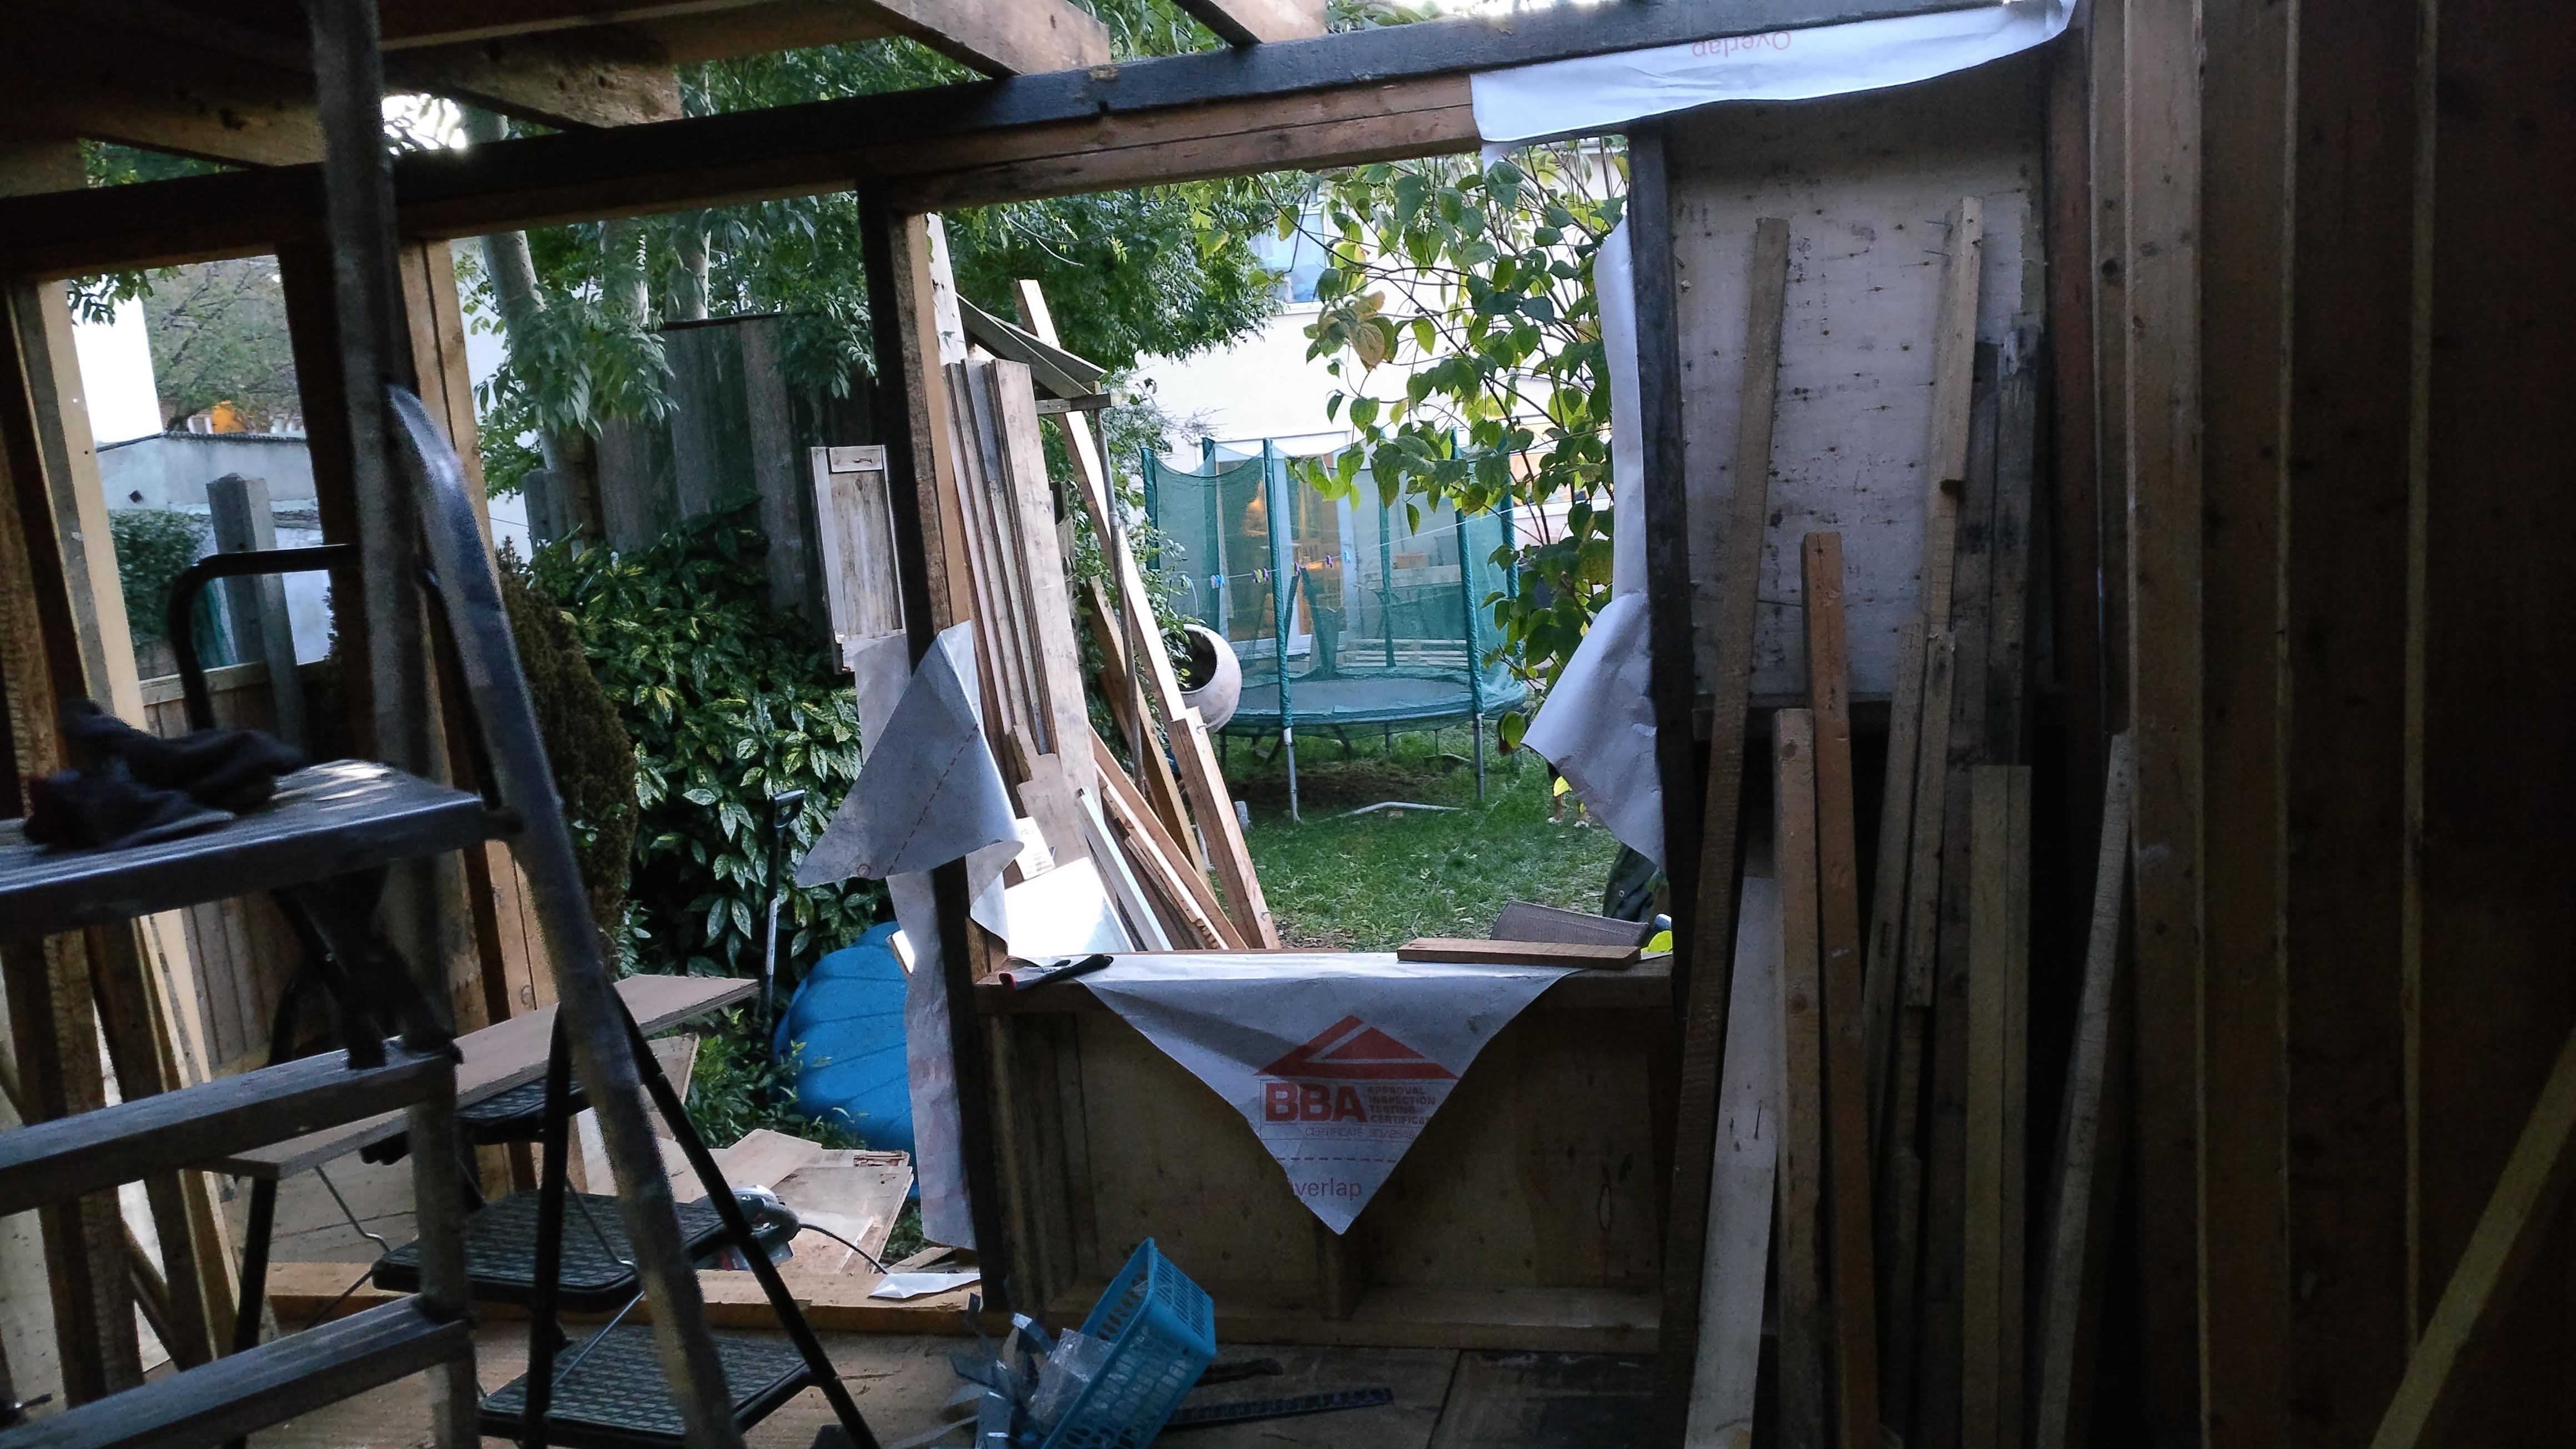
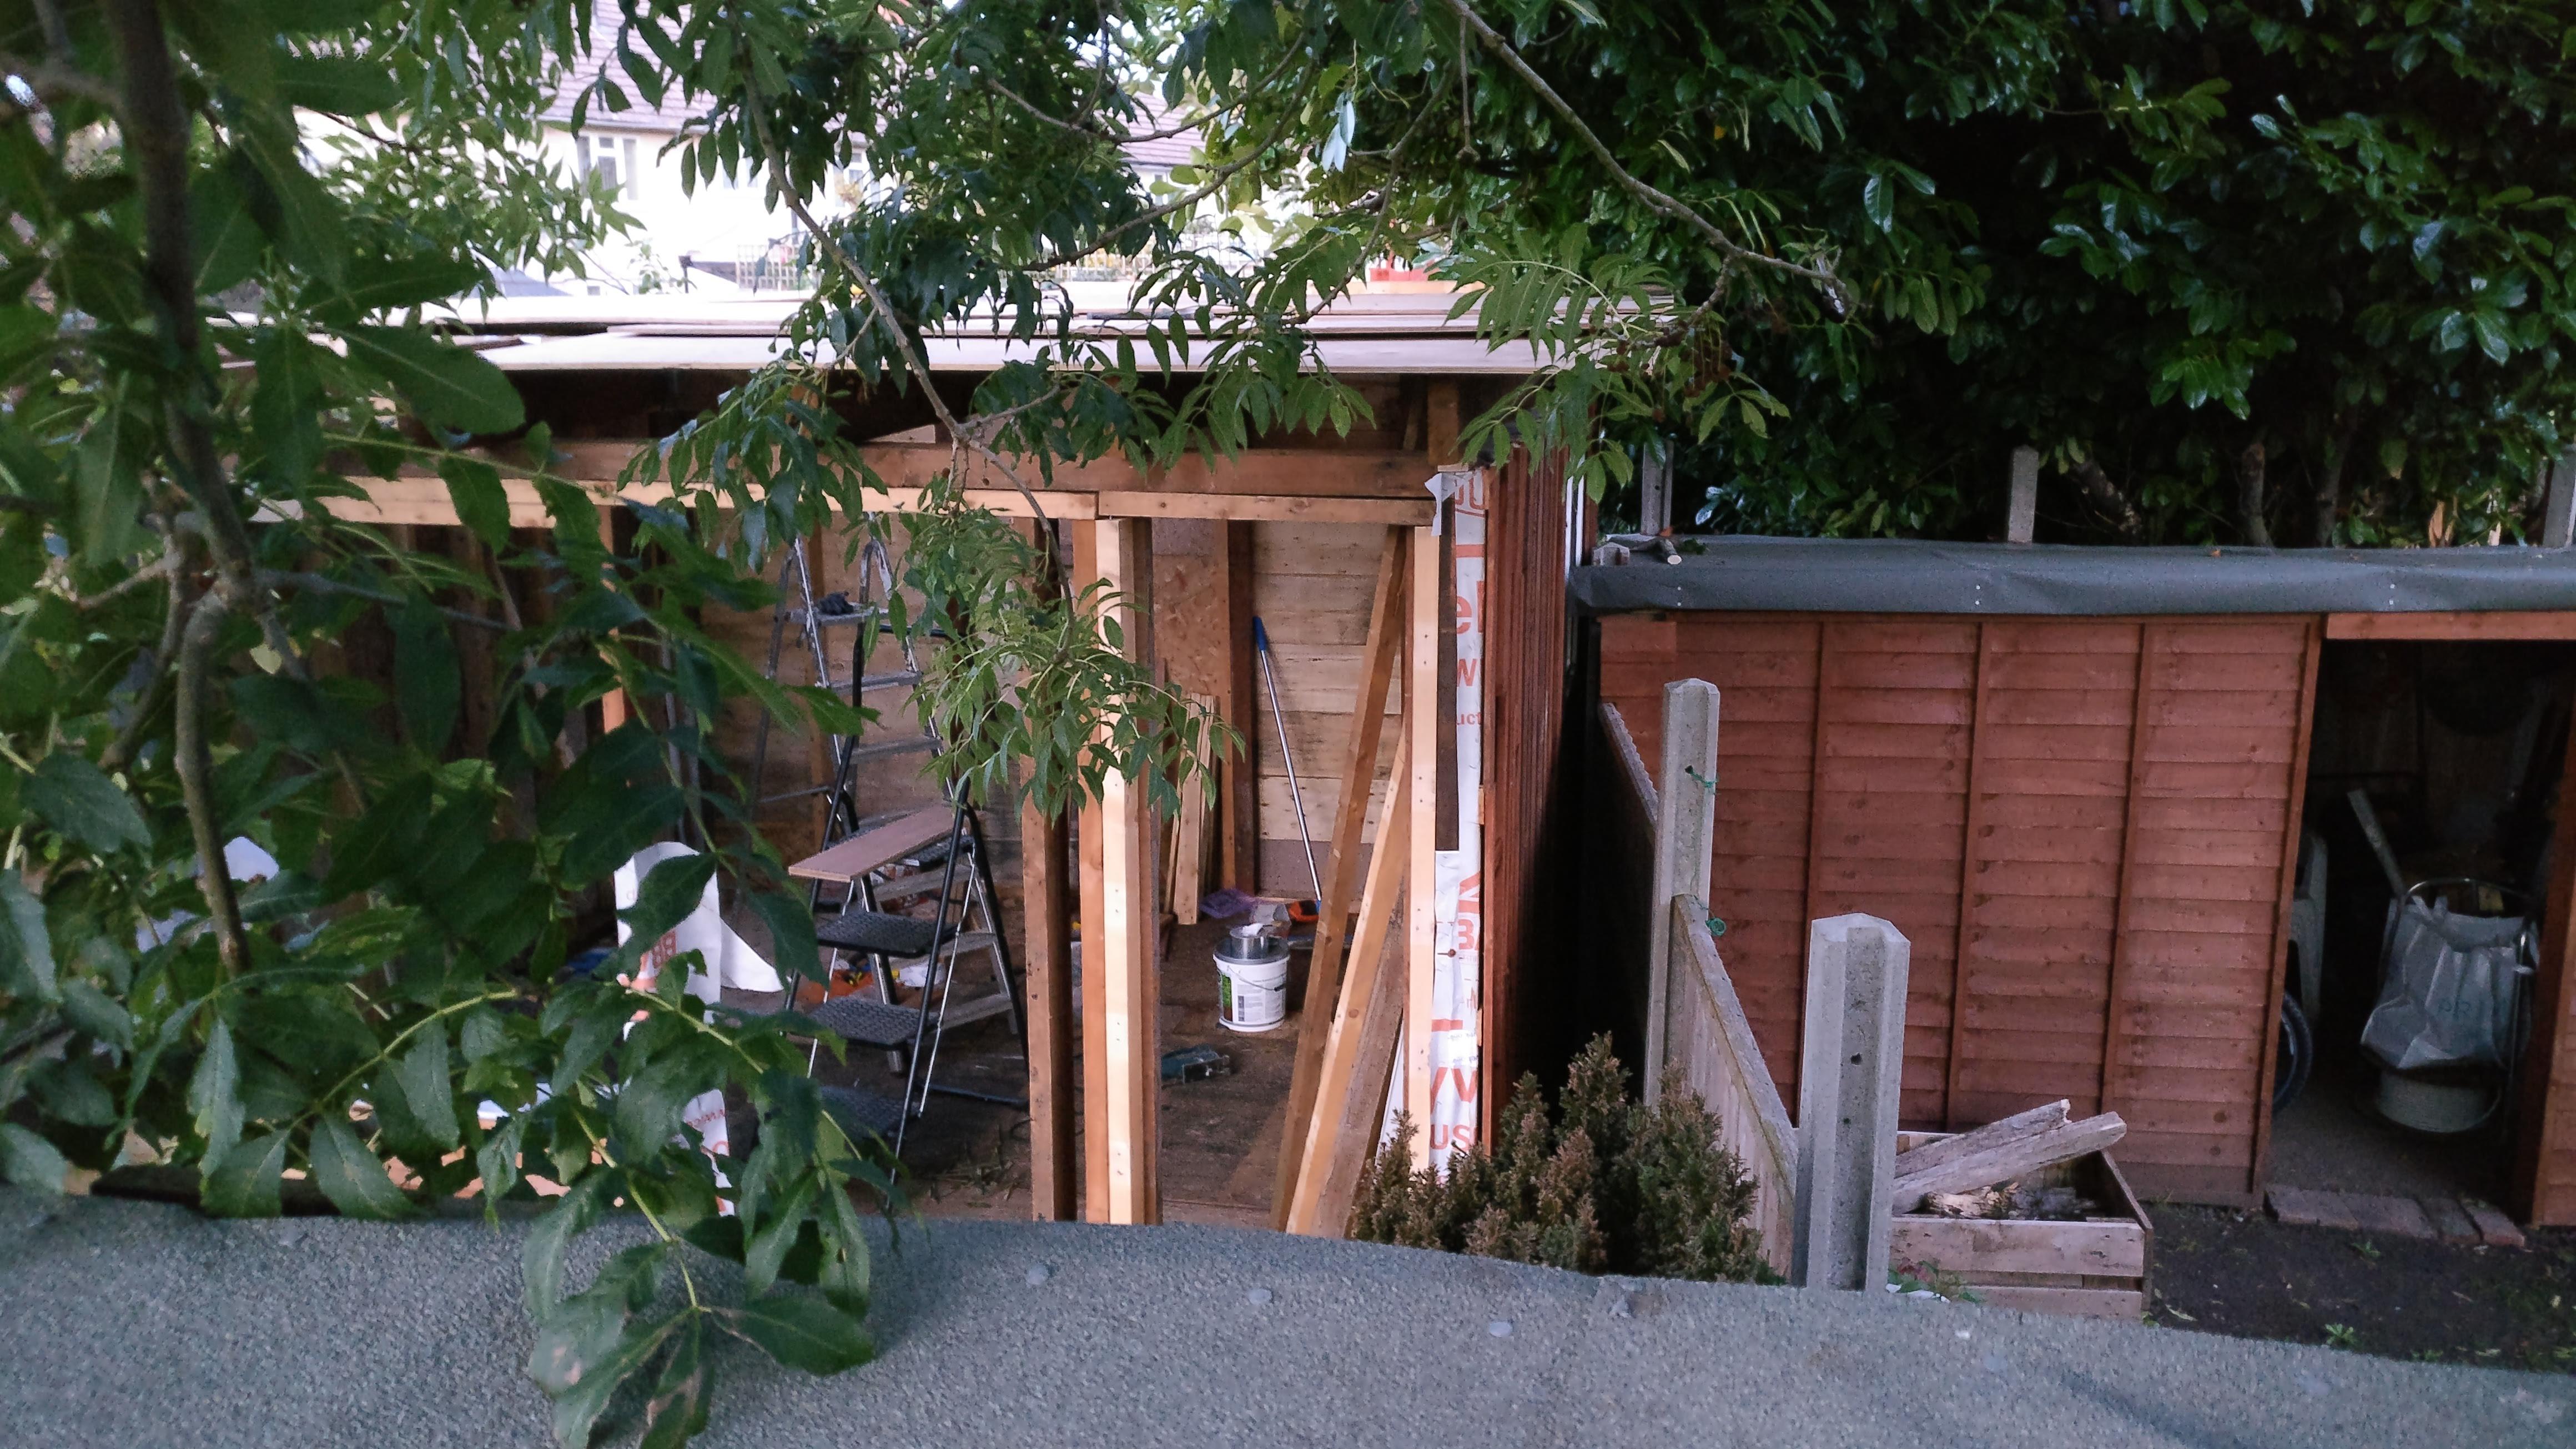
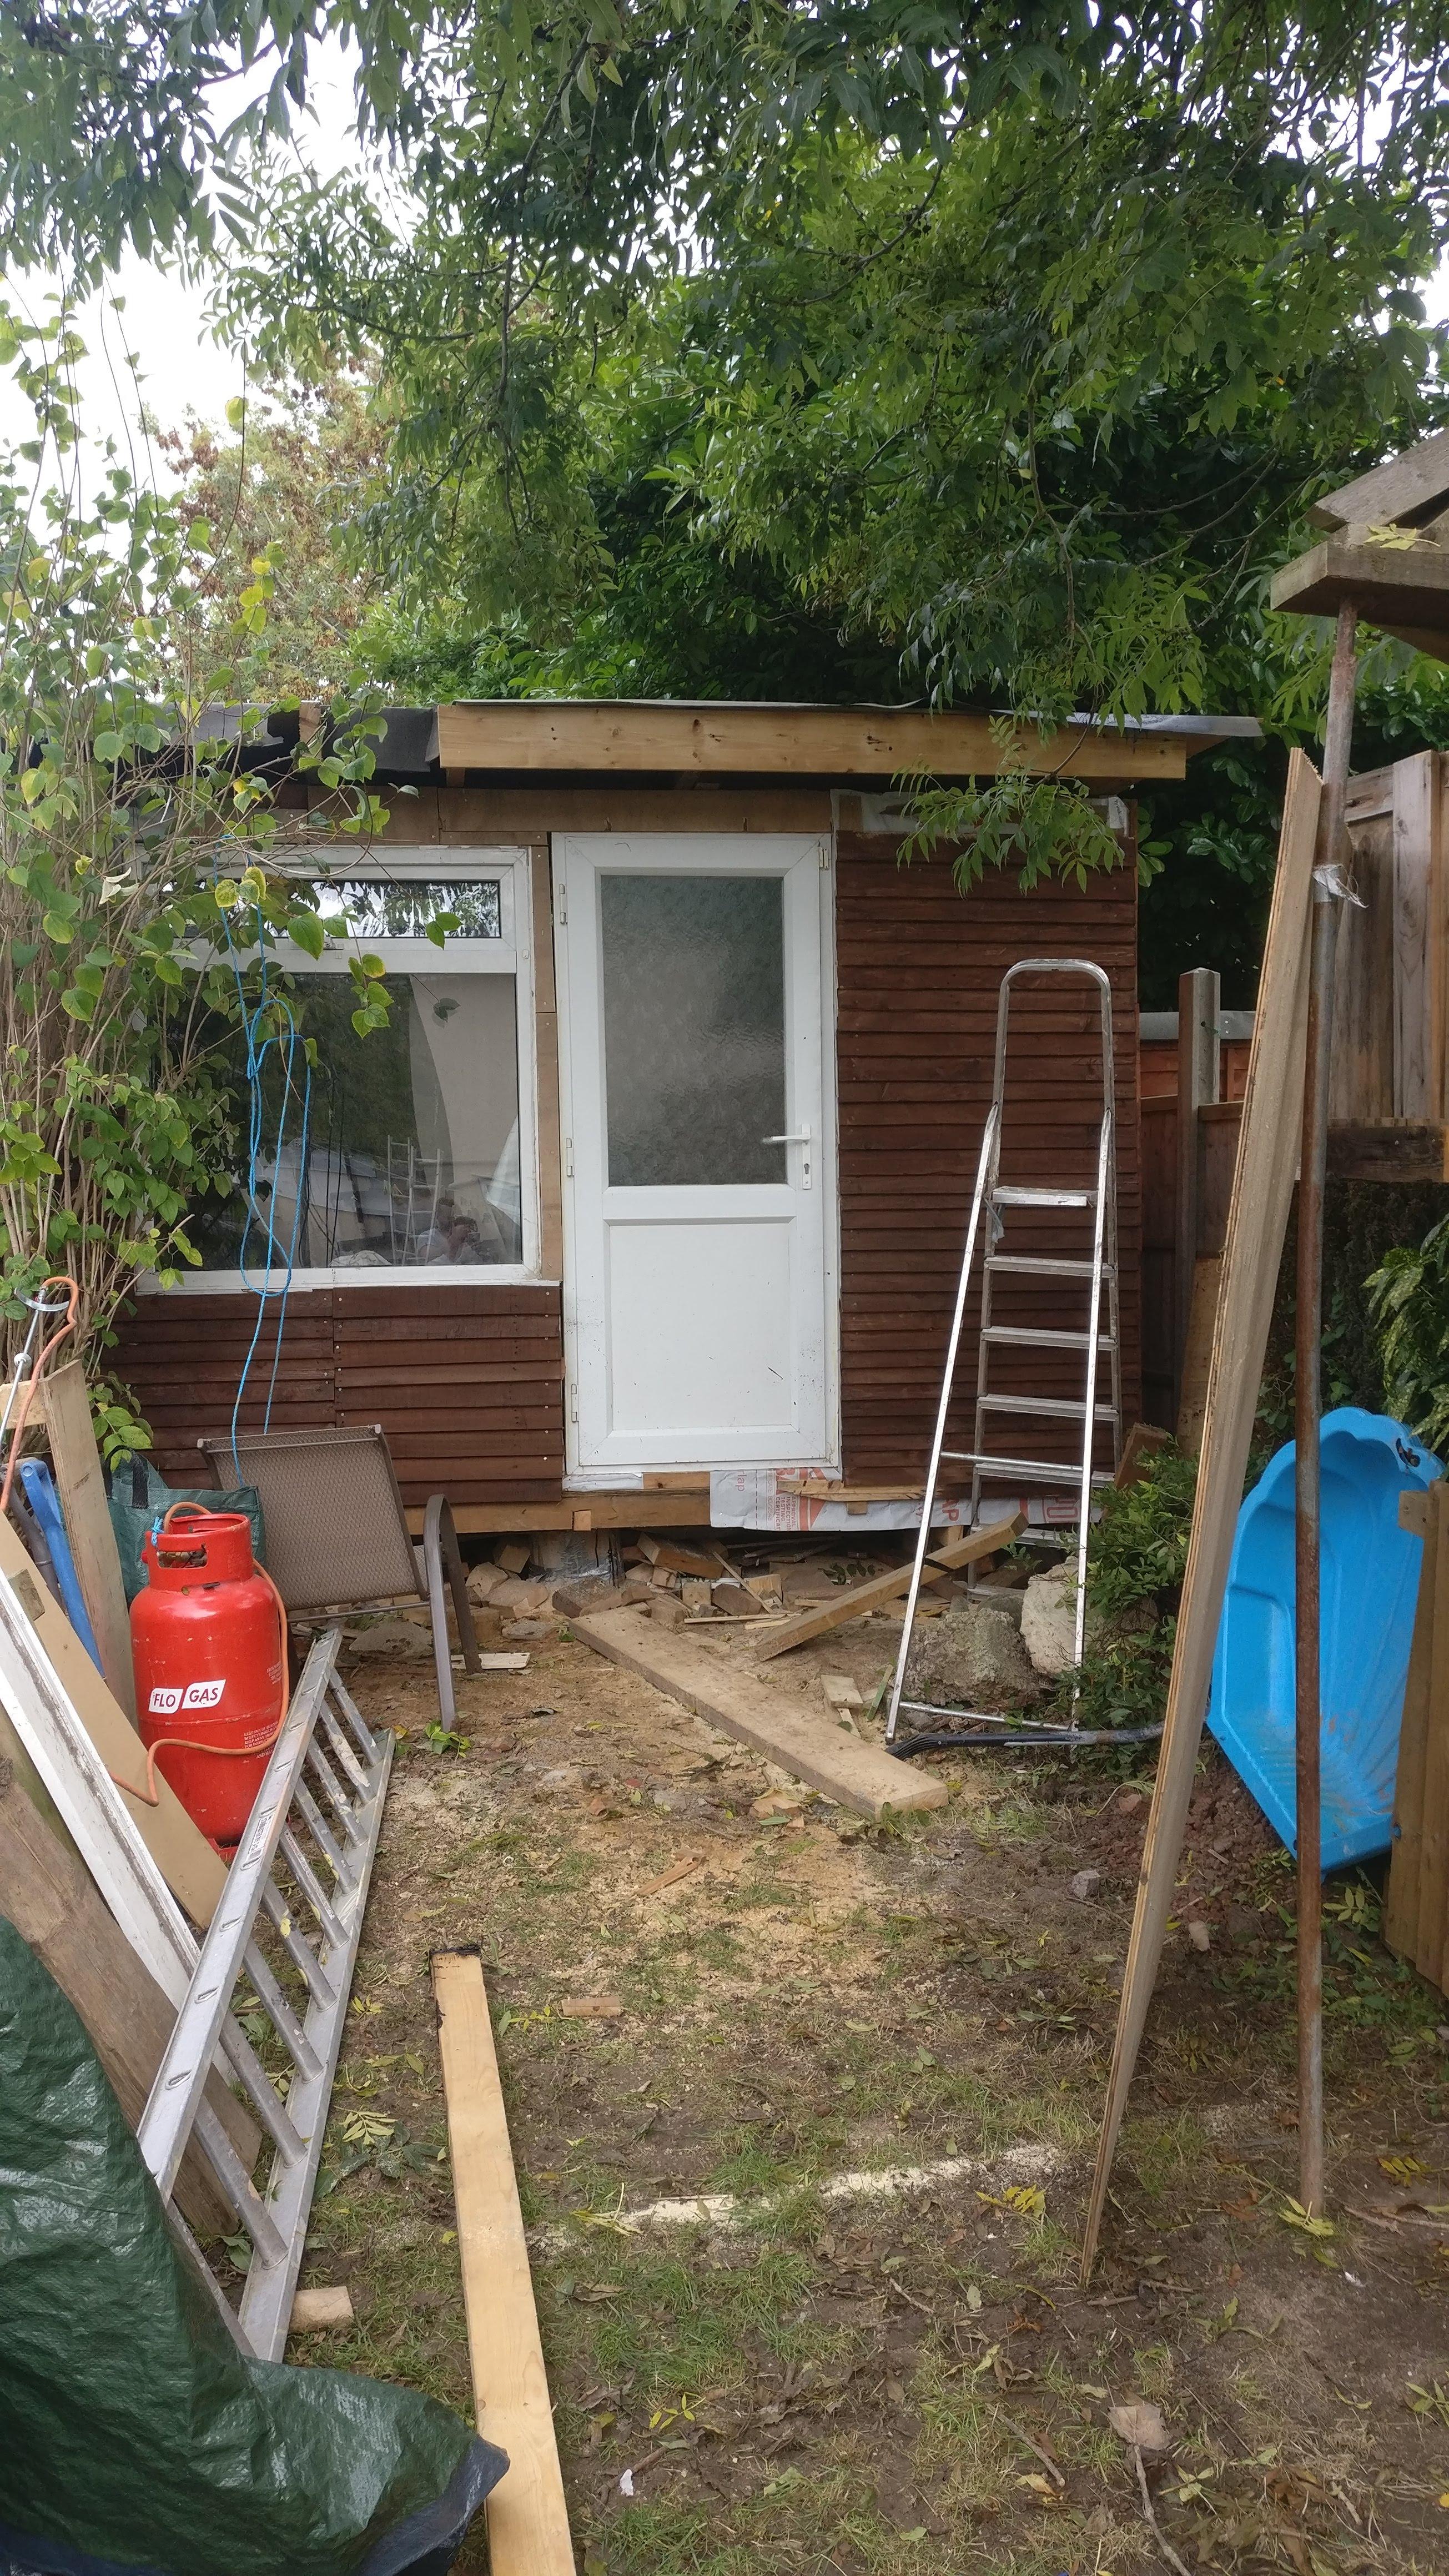
Hi there I thought I quickly introduce my Garden Office that I am currently building. Most of the shell is done , needs a inside finished . It is on a Pile Foundation (9 Piles that hold up a suspended timber floor) I tried to not spend any money at all (wanted to do it for free just putting my work in) but there are things you can t get second hand - for example concrete ? So My Timber I got from a House demolition around the corner- asked the guys if I could load the gigantic Pile of old 2x4s and Joists into my van and just spend 4-5 runs to bring it to the house and 2-3 days to denail them all. The Timber Boards are all dismantled Pallets (given free from Industrial estate nearby) INSULATION I got seconds from gumtree , same with roofing felt. Nails I bought Bulk on ebay (10er for 10kg) , also bought window insulation foam, Silikone and Tyvek Tape on Ebay (leftovers) Tyvek Housewrap I had to spend a bit of money on as had to buy a new roll. Windows and doors where from another Demolition Site . Same with the Plywood. OSB Boards for outer walls I had to buy from second hand place (6.50 per board 9mm) Paint is the cheapest Fence Paint for 9£/25litre bucket I started off with digging 9 wholes , approx. 1.20-1.30m deep at the end of my Garden Filled them with concrete and used old cardboard boxes wrapped in Plastic bags as a mould to form the Posts (around 40 cm out of the ground) Had some old Metal wires (5-6mm thick) lying in the garden for the last 6 years which is used as rebar. Unfortunatley I forgot to take Photos of the Foundations, so first Photos start when the Floor Joists down on the Poles. I know they all not been straight and whole building is not really 100% square (kind of and also level-) , this is partley due to my lack of experience and partly due to not working with new timbers- everything was kind of a puzzle to put together this is the suspended floor from far this is closer and even closer Floor insulation in and Plywood on top and more Insulation and Plywood First Wall Up second Wall up with Window in Photo from my Treehouse (with 3rd wall framed on the floor) The Front Wall and bits of the Roof is Up: My dog wonders WTF? Photo frominside to the outside Back wall And now just quickly the rest of the front wall, cladding , doors in before I have to leave to continue working on it


 1 point
 -
I'm at a loss to understand why so many vents are really needed under a beam and block floor. I've heard tales that it's to allow gas to escape, but having had to rip up the concrete floor of an old Cornish cottage nearly 30 years ago, and fit a radon sump and vent, I really cant see why more than a single vent is needed, maybe two at the most. Our radon vent was a 110mm soil pipe coming out the side of the house from the sump and running up the outside of the house, and that was deemed to provide adequate ventilation. Similarly, covered refuse tips will just have a few pipes around the same size poking up as gas release vents.1 point
-
Welcome. Can't beat a pallet shed!1 point
-
If your going branded, I'd recommend some Fairly Platinum for a luxury pad.?1 point
-
Sorry, but how is the edge of the floor secured to the blank wall on the right, should there not be some edge support running along it, is that what the gap is for?1 point
-
Brighton introduced an article 4 direction for certain areas that they thought were overrun with students, so you need planning consent for HMOs https://www.brighton-hove.gov.uk/content/planning/planning-applications/planning-permission-houses-multiple-occupation1 point
-
A rice steamer? ALWAYS ask for this???1 point
-
No idea on cost comparison just too many differences for me to compare i am working on my own most days and felt it was easier to chuck about a block of eps rather than a bloody great 6x2. So far it’s a breeze I think I could possibly get the wife doing it with only a couple of hours training.

 1 point
 -
No, if anyone asks just say it’s to stop it sucking damp through the wall. Or expansion. Just make it sound convincing1 point
-
1 point
-
We had this problem, a partially completed build where we needed to re-insure but we didn't need full self-build insurance and a normal buildings policy wouldn't have been possible. I went to GSI who negotiated a policy with an underwriter based on property renovation insurance and it was a great deal cheaper than Buildstore wanted to extend our self-build insurance.1 point
-
Most 'normal' companies won't cover work in progress on a not yet signed off house but specialist companies should, like GSI that I posted before. For £200 for 3 months I reckon you'd be better off contacting GSI and getting a quote for buildings and contents for a year. I'm not sure about the GSI policy as I didn't have one but I had a similar policy sourced through a broker and the thing they wouldn't cover whilst work was ongoing was accidental damage (for both buildings and contents). I was ok with that though and converted to a standard policy with accidental damage included at the renewal.1 point
-
@newhome, yes. We have drafted plans what needs to be done. @Dreadnaught I am based between Cambridge and Newmarket .1 point
-
Two screws and the head comes off. Set the ASHP to come on and rotate the spindle to check you get warm water both sides..... then realign the spindle the way you want and put the head back on ! on your other point about temperature, ASHPs work by incremental heat rise so they will basically take the water temp up by 3-5 degrees per cycle.1 point
-
That's not really an over-heating indication, as the spreadsheet doesn't account for incidental heat gains at all, so just ignore the negative numbers.1 point
-
You may find the JCB 516 would fit down that lane and if it does it will be a godsend. They are the agri-spec telehandlers but can be fitted with a variety of front attachments including a bucket, forks and a short crane jib. They also have a 4m reach so would be able to sling (with care) 6m timbers from the forks in bundles.1 point
-
Thanks all for the support. It helps.1 point
-
The heavy one is 260kg and 2.2m diameter so that is the problem one. The others are around 90-135kg so not light either. With time now also being against us we are where we are. As has been said here, a series of trivial decisions (mistakes) accumulating into one big issue. Quite correct and interesting how it compounds. Will post again after installation. In the meantime off to work to keep the money coming in (not faster than we spend it at the mo!!)1 point
-
@vivienz we have just paid for 5 pocket door systems from Door Supplies Online. Good knowledge (guy called Alan) and they do a lovely range of doors to go in them). And do the architrave and skirting if you want all that. Cheaper for Eclisse than ironmongery direct. Might be worth a look?1 point
-
Depends on several variables. First off, you need to know the heating requirement, which is derived from the house heat loss, as that determines the temperature that the floor surface needs to be in order to adequately heat the house to your particular target temperature (some like houses warmer than others, so that's another variable). The floor insulation contributes to heat loss more with UFH than with other forms of heating, so that also needs to be taken into account. Once you have a feel for the heating requirement, and hence the floor surface temperature, you can start to work out the heat loss through the floor, and this is best done by not always focussing on the percentage heat loss, as that tends to highlight the inefficiency of UFH in a low energy house in a way that can tend to cover up the fact that the actual heat loss power is pretty small, IMHO. I put together this rather simple spreadsheet to calculate floor heat loss etc that may help. Save the file and rename it, changing the .txt suffix to .xls and it should open in most spreadsheet applications OK: Floor heat loss and UFH calculator.txt1 point
-
It could be worth having a look at aliexpress to see if you can get the same or similar thing. I'm waiting for the feature light I'm putting over my kitchen island to arrive at the moment; according to the tracking info it's just arrived in the UK. I had previously seen it in the Conran Shop for just under £1000 but got if for $250 on aliexpress. Even with import duties and handling fees, it will come in well under £250.1 point
-
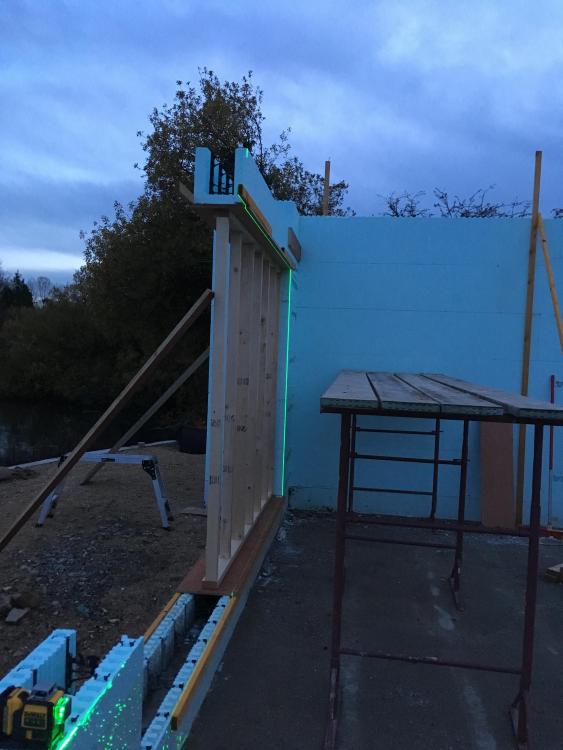
I have edited my post to re name the Larsen truss wall panel to be known as a trussed wall panel. @Ed Davies1 point
-
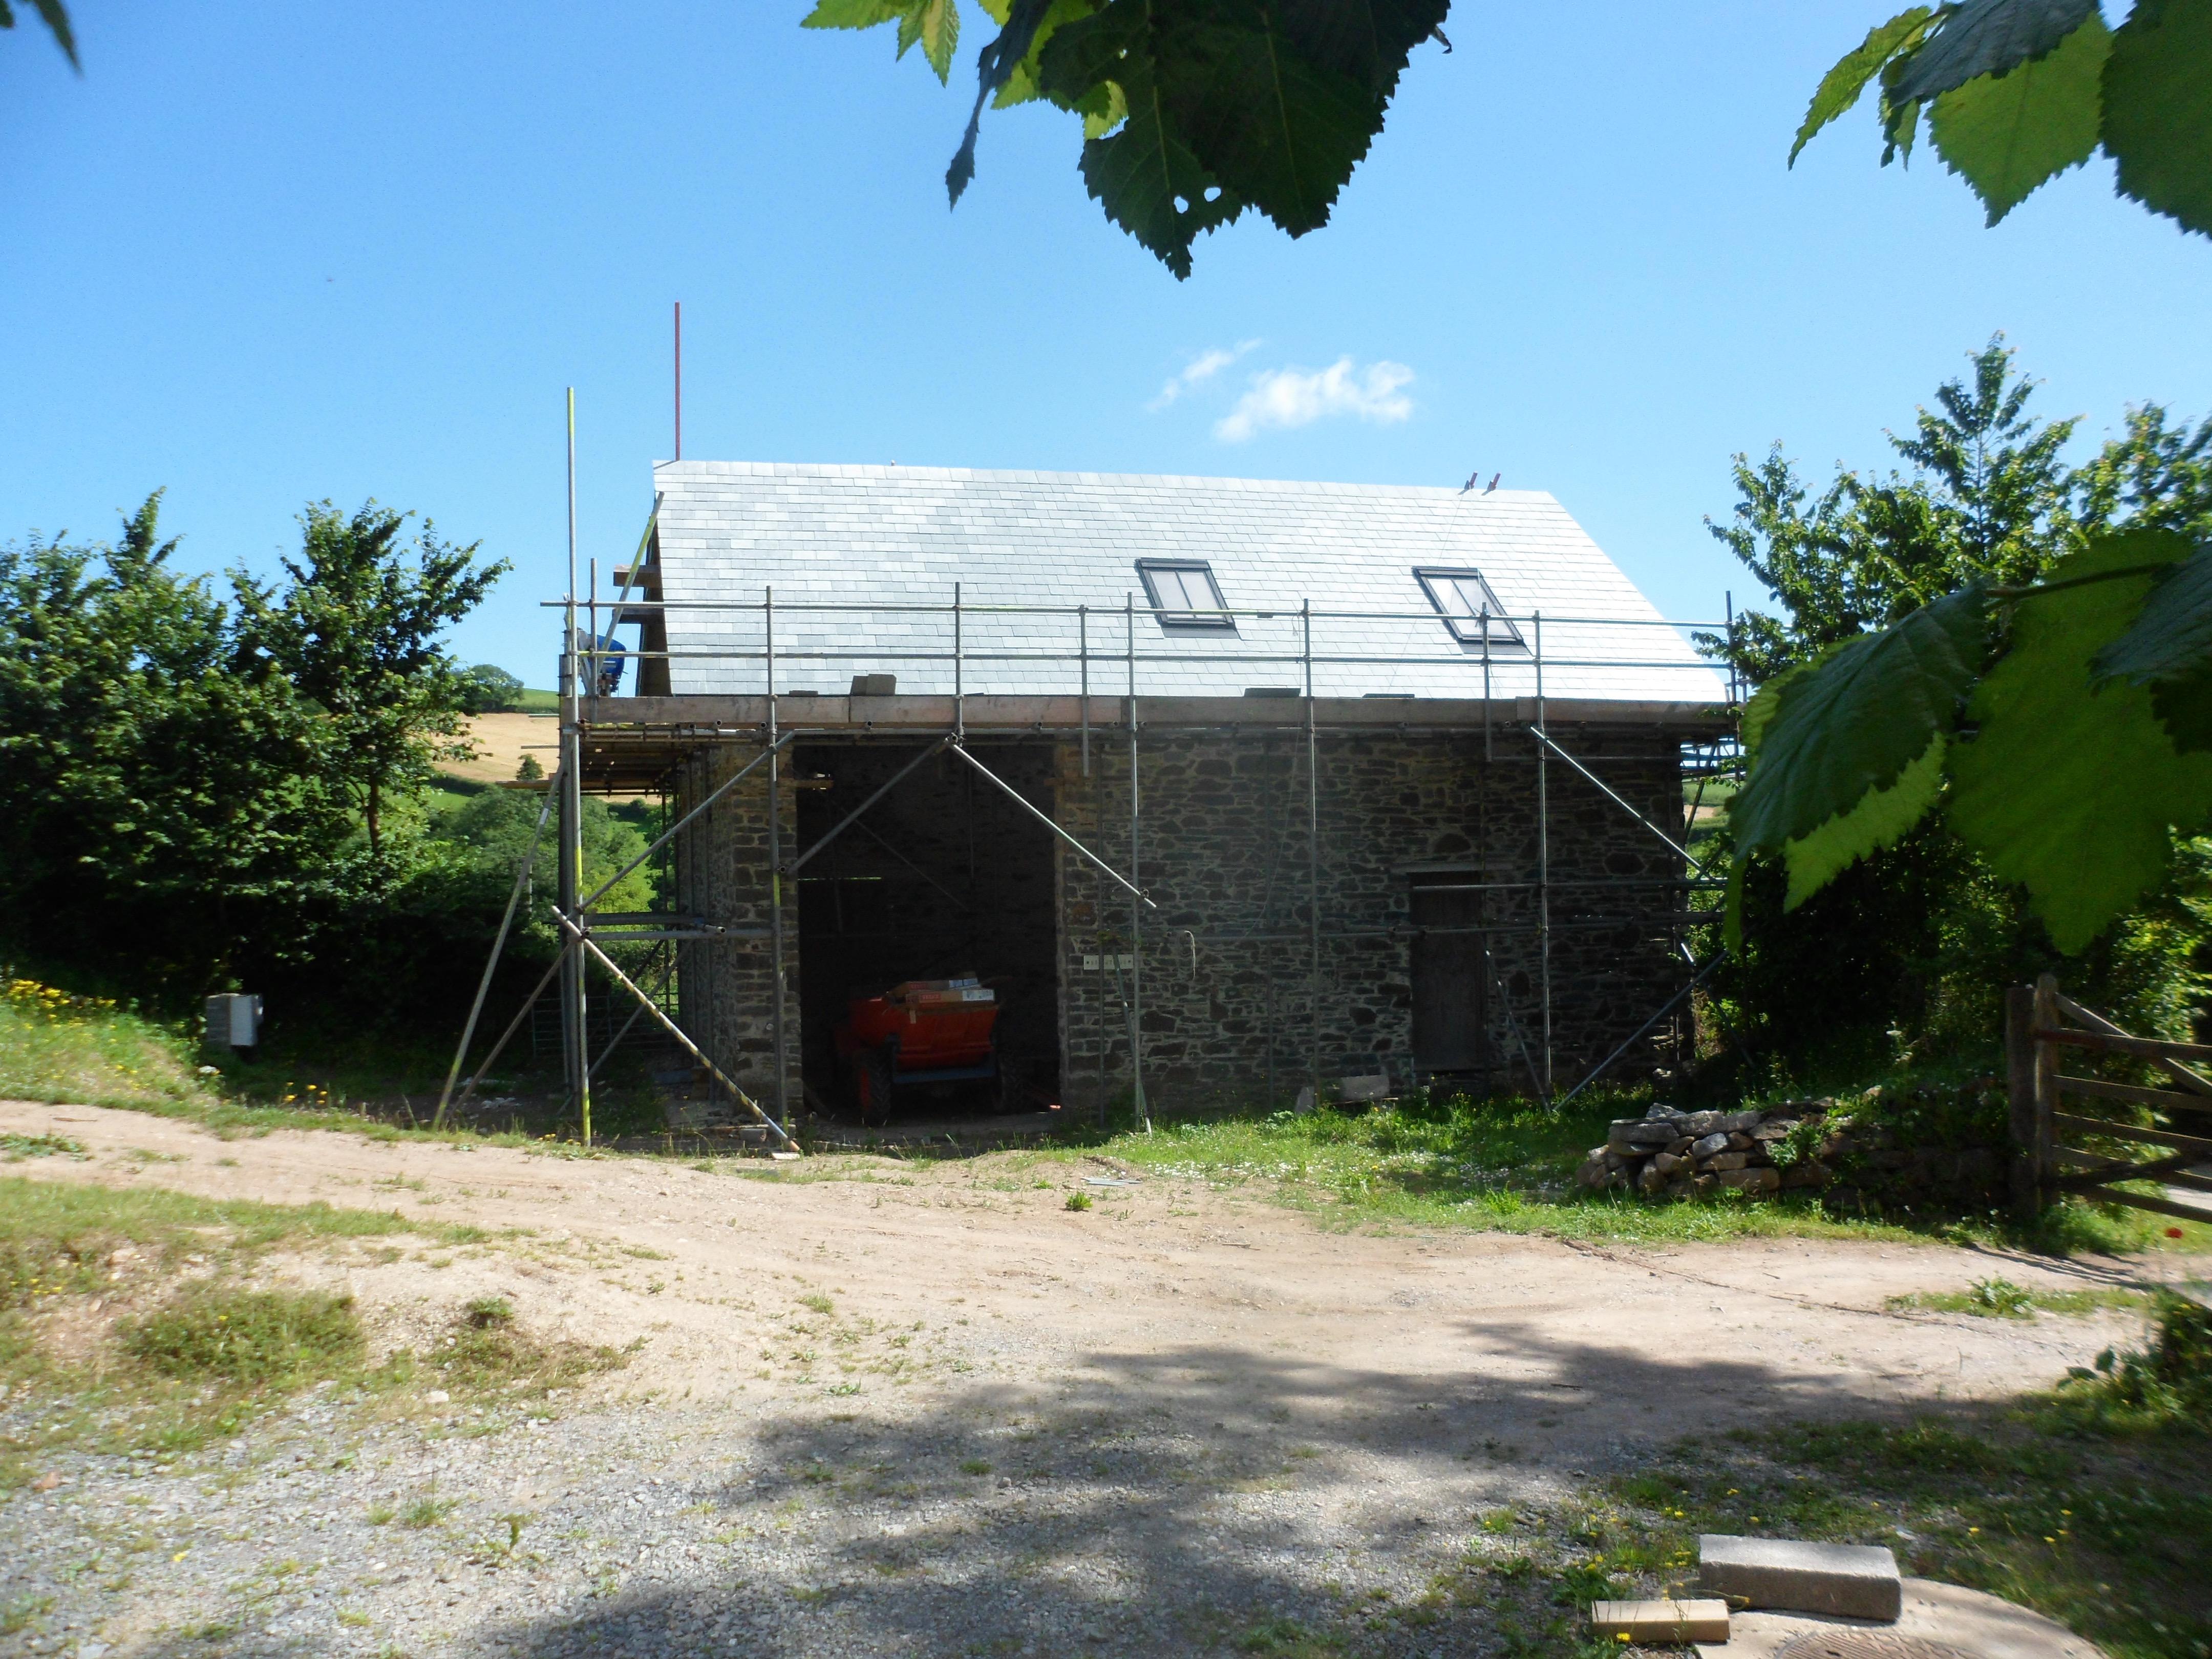
Hi, pic attached of what I'm on with, intending to do everything myself, tho increasing years and lack of hi ab meant i outsourced the oak frame for the roof. am currently about to start internal wall insulation using wood fibre with lime plaster over-coat... a route fraught with many pit falls, not least of which the crooks that sell the stuff!
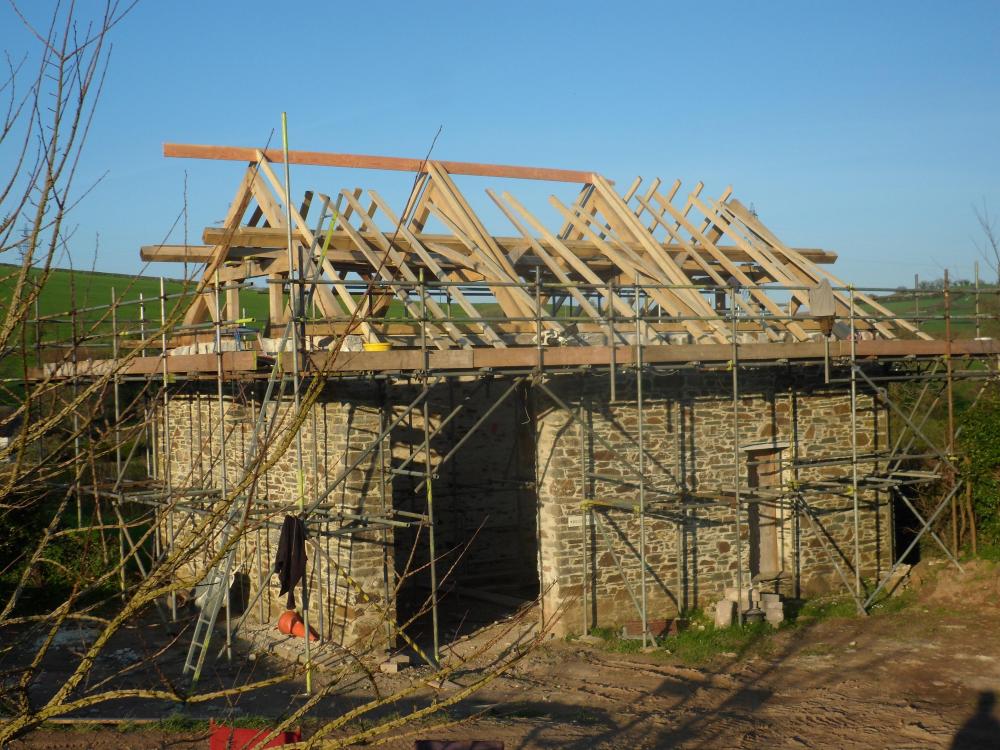
 1 point
 -
Do you ever sleep Gary? There's that really stupidly expensive lighting shop on the A6 just North of the Blackpool road ( before you get to the Petrol station). Been in there yet?1 point
-
Have way down the page you will see a table of mixing amounts. http://www.schundler.com/plaster.htm1 point
-
no, I don't think so. The warranties are completely worthless in any case. I don't have a warranty, my EWI is fine.1 point
-
I would assume worst case and work on the basis of 9 inch solid walls. graphite EPS is the way to go, better R-value than rockwool. And I agree with @gravelld , rockwool below DPC I think would be a bad idea, not sure I saw any systems which specified it. I reckon it would not like getting damp and would hold water in damp conditions which EPS would not. I remember the wool batts i left out in the rain, went all soggy and took weeks to dry. EPS needed a whack to knock of the water off and wipe and was dry, didn't seem to absorb or hold water to any degree. I think the retrofit standard in EWI work is 90mm or 100mm enhanced EPS to give a BC acceptable u-value of 0.3 over 9 inch solid walls ( you would need thicker wool to achieve the same). But it's relatively cheap to go thicker with the EPS if you can. Where it gets fiddly is at the eaves and gables if the roof doesn't overhang sufficiently to allow the walls to be built out. Also there's a point where the window reveals start to get really deep which might affect visibility and light. I re-roofed so fitted new gable rafters and extended out to allow for the thicker gable walls, and my eaves overhang was already sufficient to allow the EWI.1 point
-
Lets be clear here. @Onoff has a MID position valve which is normal for a boiler central heating system. It can feed water to either port or BOTH at the same time (there is a clue in the name) What @joe90 needs is a 3 port 2 way valve. It feeds water to A or B but never both at the same time. They are VERY different animals. The 2 way valve is simple, by default it feeds one way, energise it and it feeds the other way. The mid position valve imho is the work of the devil. It is both very clever and very complicated (and somewhat of a fudge) in how it works and it's wiring is very different and more complicated. A mid position valve will NOT work in this application. If yopu want to understand how the mid position valve works, take a read here http://www.diyfaq.org.uk/plumbing/controls/midpositionvalve.htm So for @joe90 lets not complicate the discussion by talking about mid position valves.1 point
-
I suspect that is a case of rip out a boiler and fit a heat pump in an old house. Do they add extra insulation and make it more air tight to reduce heating load? Do they fit UFH so it can run at a low temperature quietly and efficiently? Or do they run it at high temperature into the same old radiators in the same old leaky house?1 point
-
Our flat roof guys have been great. Though they worked very short hours compared to MBC (doesn't everyone). With a flat roof you apparently need at least 18mm OSB to lay the roof membrane onto. The standard MBC spec is less than that for a flat roof so we had to stump up some money to upgrade the roof deck to 18mm. We have three different roof decks. Here is one roof deck with the roof lights (more on those in a separate post one day). The upper roof deck And a view of the lower roof deck and garage Some lessons learned: OSB is not weather proof despite assurances from MBC that it would be OK. It holds out for a short time and then water floods through the joins. It was a pretty sunny summer. But the downpours were bad. Wish we had plastic sheeted the whole roof. To be fair to MBC, the house is fine (as they said it would be) despite being flooded more than twice. However, the stress for us, and the clearing up, could have easily been avoided. We insect meshed all the gaps before the roofers started. The parapets are edged with this smart design. We drilled some drainage holes through the parapet walls for the roof drains. Burned out the drill. Got that as a wedding gift 18 years ago so him indoors was delighted to upgrade. This is the membrane going down, on a felt underlayer. And the finished look (though the front of the garage isn't finished and can't be until the render is done). Learned from the building inspector that we don't have a high enough upstand on this roof / door combination so it will likely not get included in our warranty. That was news to us and is one of the issues caused by not keeping on our architect. We have definitely missed stuff like this so could have probably avoided a few problems. So that's it. Probably one of the easiest bits of the build so far. However, we still made some cock ups like not allowing enough space to fit a window into an L shaped corner area. This is the view from above and the window has to sit on the OSB bit. Unfortunately that bit of roof sticks out a bit far. We had to trim it on site and the roofer guys are going to come back and fix it another day....... A big lesson for us has been the ability to fix things on site. Doesn't stop me losing sleep over them, but I think I am losing less sleep than I was over the "problems".1 point
-
I think that you need to decide whether you want a warm loft or a cold loft. If a cold loft then you may also be able to get free rockwool added to 250mm, but you would need to remove the existing such that there was under 100mm there when inspected. I would suggest putting the 100mm you remove under your suspended floors downstairs as underfloor insulation, if they are suspended floors. Messy but not difficult, as you only need to lift a floorboard every 750mm or so, then reach under with a staple gun. And a cold loft will need adequate ventilation. If a warm loft, then you will need teh rockwool out anyway, perhaps to use in the same way. Loft Legs can add up quite quickly if you cover a large area, even though quite cheap each. I hve used them successfully for part boarding out a loft or two, You also need to make sure that you have addressed air leaks from house to loft - far easier to do before insulating ?. Ferdinand1 point
-
hello and welcome, Do not put celotex on the cold side of the existing mineral wool insulation, it has a relatively high vapour resistance and particularly if it has a foil face is liable to cause the interstitial condensation you refer to later. For any given thickness Celotex will have about 2x the insulating effect of wood fibre board and both will be relatively expensive compared to mineral/fibreglass wool rolls. 200mm of loft roll wood give the desired effect without the expense of sheep's, wool. If you are using a membrane to reduce 'wind washing' it must be vapour permeable to prevent condensation. Putting above two 100mm layers and below one layer puts out of the way while still having the desired effect. It need not be 'airtight; windtight is sufficient, e.g. Tyvek Housewrap or equivalent. Loft boards will reduce heatloss but the extent will be dependent on the insulation backing. Do not use Celotex or Steico across the joists unprotected, the compressive forces from standing on it are to high. Reasonable storage with board on top would be O.K. Your first insulating task is to fit bonded bead CWI, try the Energy Saving Trust for local subsidised offers.1 point
-
We are just commencing our second self-build (started onsite last week). In both cases we have used Architects and in both cases have been very happy with the results. We have outlined how in both case we selected and worked with our architect which we hope will assist other people starting out on their self build journey. 1) Start thinking about which architect you are going to use when you start looking for land and not when you have found land. 2) Draw out a requirements list. My approach is to provide a brief / framework for the architect to interpret rather than prescriptively dictating to the last detail. Requirements should be no more than 2 pages. By making the requirements generic, you can apply them to most plots of land. Include in the requirements why you are building as well (develop and sell, house for life etc) 3) Checkout your architects previous designs. There is likely to be a common design pattern and if that is way off what you want then maybe the architect isn't for you. Also go and see a couple of houses - just viewing from the outside can tell you a lot. 4) If you see a plot that is a potential candidate, email architects on your shortlist for feedback. Most architects will provide feedback for free within reason and the reply will help you to decide if the architect is thinking along the same lines as you. Also, meet with your architect before you engage formally to check that they are a person that you can work with. 5) Be completely upfront with the architect about your budget, put it in your requirements list and be very clear what that budget includes and doesn't include. 6) Be completely upfront with your architect about their fees. Fees based on a %age of the build cost are OK as long as the build cost used is your budget for the build at the outset (fixed) rather than the actual build cost (variable). 7) Good architects are in high demand and don't need to advertise so you will need to research (a lot) and do your legwork. Be prepared for the fact that you might need to wait for the architect you want to become available. 8. Check whether the architect has any experience in the build method you want to adopt and the energy standards that you want to achieve. Find out what the build costs have been on recent build projects and how these compared to budgeted costs . 9) Check with the relevant boards that any claimed registrations are correct. 10) Fees may seem expensive, but for the amount of work that goes into a design I have always felt I got good value for money. In the context of the cost of the project it is a small percentage much of which can be quite easily recouped with a little restraint on the fixtures and fittings. 11) If you use an architect local to the build, it is more likely that he will be able to advise on securing good contractors based on experience of previous builds. My architect has more than recouped his fee by drawing up an attractive house that is straightforward to build. Insulation is what we need to get to passivhaus but no more and the size of the house is what we can build to meet our budget (based on his previous build costs) and requirements. Listed below are the requirements we drew up which may assist others going through a similar exercise: Build Budget: £325K (House, Garage) excludes landscaping, external works and professional fees. The Plot There were a large number of objections to the development from residents but planning permission was granted on appeal. Plot width is around 16.7m. Plot length is 44m. Electricity, Water and mains sewerage (but not gas) available at the plot boundary. Functions of the Building Home for ourselves and the dog. Enough room for friends, grown-up children to stay and family get-togethers. Building a house for life as we can’t get what we like on the open market. We love cooking and the outdoors, so it should support that. Combine open plan living combined with a segregated quiet room downstairs Provide a comfortable and healthy interior environment with a stable temperature and no drafts. Design Direction and Requirements Good natural light to rooms is really important with dual aspect windows in as many rooms as possible but not too keen on huge oversized windows that require complex and expensive shading solutions Designed to Passivhaus standards in a cost-effective manner but don’t over-rely on technology that has high cost to install and maintain. Downstairs Open plan kitchen, dining room and seating area Utility room (able to dry clothes in using pulley) Lounge Small Study if possible WC / Washbasin Good Storage – larder cupboard, cloakroom and cupboard for cleaning utensils Somewhere to sort out a muddy dog and muddy boots (A covered porch with a stone floor and bench maybe). Sliding doors or similar out to the garden from the sitting area. Bottom of kitchen window to be level with the kitchen worktop. Back door into the utility room No large step into front or back door WC away from front door if possible Upstairs 3 to 4 double bedrooms. Small study if not room downstairs (or 4th bedroom) Built in wardrobes Cathedral ceiling. Master bedroom should be able to comfortably take a king size be. En-suite in master. Separate shower in bathroom. General Heating / DHW – no mains gas. Solar PV with a diverter? ASHP (noise?) Consideration given to some acoustic insulation between rooms and between downstairs / upstairs. Doesn’t need to be completely soundproof however. LED lighting throughout and up the staircase Point for charging electric car. Ability to use battery storage in the future should it become more cost-effective. No requirement for chimney or wood burning stove. Agnostic about whether the garage is attached or detached, but should have storage for bikes and a little workshop area. Could be modified for easy access upstairs in the future (Straight staircase maybe). Point for charging electric car. Low maintenance exterior for windows and wall facings. House to have a more contemporary feel inside. Outside to tie in with planning / design code. Window frames recessed into the openings. Other Stuff Recess in shower wall for soap etc. Built in bookcases Lots of sockets Sockets in cupboards for charging hoover etc. Room in utility room for dog crate Built in water filter Water softener Lighting on dimmers with switches that gradually turn LED lights on so they don’t blow. Good outdoor lighting (pathways) Outdoor power point / tap Phone point in every room1 point
-
Our designed house has 5 rooflights. 3 rectangular, 1 small square one in a bathroom and a large circular one above a two storey entrance hall, making it, I guess, the "feature" of the house. Our plot is surrounded by trees on two sides so getting light into rooms is an issue, hence the rooflights. Here is our rooflight story (part 1) We got some quotes in from companies and decided on our roof light manufacturer based on price and reasonable service. MBC agreed to make the upstands as part of our contract. The rooflight company quoted for the upstands also. We opted to let MBC do the upstands as they were already paid for effectively. MBC couldn't make the circular upstand so designed an octagonal one. We thought that would be OK, and that we would get an octagonal rooflight or make a circular finish inside later. We didn't mention the octagonal upstand to the roof light company. Not deliberate. Just didn't think anything of it. BIG MISTAKE. MBC put the frame up. They did the upstands whilst we were on holiday. The upstand finish wasn't great. Our roofers came on site and said that the finish would need to be better, otherwise the roof membrane wouldn't sit well over the upstands. We decided to sort them out ourselves so didn't approach MBC. No complaints about MBC on this issue as it was our decision not to ask them. Hubby had acquired a multi-tool and was keen to use it. You can see on this image that the edge of the upstand is not vertical as there is a bit of board plus the blue membrane sitting proud of the top edge. So we ripped the outer board off, cut new bits to size and then planed and sanded for a level smooth finish. We then filled all the gaps so the roof membrane could fit nicely. So far so good. Then mid August the roof light people come out for the survey (paid for by us, having at this point put down a 50% deposit of the total expected cost on 26 July). They like to measure the actual upstands in situ to make sure the rooflights will fit. Makes sense. Whilst on site, the installation manager notes that the octagonal window will likely be a little more expensive and it will be included on a revised, final quote which adjusts for the as-measured dimensions. He also informs us that the installation fee does not include lifting the rooflights off the lorry, lifting the roof lights on to the roof and that there needs to be additional health and safety such as a roof man anchor set. We ask him to get the revised quote to us asap as the roofers are back on site to finish roofing over the upstands. Two weeks elapse. We chase the quote. The roofers finish. We chase the quote again. The quote arrives. The cost of the octagonal rooflight is 100% more than the cost of the circular one. Mmm, that's a bit more than a "little bit more expensive". We lose sleep. We speak to the roof light company and say that is unacceptable and what can they do about it. They suggest adjusting the upstand. We inform them that this solution would have been easy had they told us 2 days earlier but now our roofers have roofed it over and are off site so it can't easily be changed. If only they hadn't taken more than 2 weeks to update their quote..... The roof light company decides that they can come up with a design solution so a circular rooflight will fit on an octagonal upstand. We ask to see it. Several weeks pass. I chase them. The lady on the phone is rude. I explain our situation, again. They send the drawing. We approve them. No choice now. We are 50% paid up. Let's hope this works. We have to pay the remaining 50% for them to even start manufacturing them and get us in the delivery queue. We do that on 10th October. 2-3 weeks lead time apparently. All goes quiet. We chase them. A delivery date is arranged for next week (13th Nov). We contact their contract lift suggestion who visits to quote for the crane needed. We had been hoping to put these in with our other windows (sharing the crane) at the end of September. The delays have made it impossible to do that. This comes in at £1350 plus VAT. We are horrified. Unforeseen costs. Am trying to be pragmatic but I am hating these rooflights more and more and we haven't even got them yet. This has been our worst experience so far with a supplier. Really disappointing. Couldn't possibly recommend them. And there is rain forecast all weekend so those bloody holes in our roof are going to let more water into our house (the are covered in plastic but it always finds a way in). Part 2 (next week, after they are fitted) - are they worth it? (gosh I hope so)0 points


This leaderboard is set to London/GMT+01:00