Leaderboard
Popular Content
Showing content with the highest reputation on 05/28/24 in all areas
-
It may have been you I got this from. This makes you a guru. Having had groundworkers make huge mistakes with lasers I added this to my other lotech methods. Battens bashed into footings showing pour level. Nails in sides of trenches ditto. Golf balls to show falls on slabs and check drain runs. All highly recommended.3 points
-
Huws Grey Whitchurch, Shropshire (the builder said he spends a lot of money with them)! They probably want to keep him happy.2 points
-
As I discussed above, our ground floor slab and room layout was on a 3×2 grid with the slab dressed to flat within a few mm level across the entire slab. The TF was then erected on the set slab. We decided to tile the entire floor with a dressed slate before second fit. Our slater said that he'd never tiled anything like it in his career. He started out at a gable side of our living room and worked through the internal doors to the gable side in the kitchen and out of the rear kitchen patio door. He only used parallel cuts, and everything was square to the mm. It took him more than a day less than he'd estimated because everything was so level and square, so he threw in slating all our external door plinths gratis.2 points
-
There is none of the same batch... the whole lot is coming up and the builders merchant is sorting out another order of them all from one batch and taking the others back. I understand they are compensating the builder.....2 points
-
Here's the list from my Foundations "note" in my PKM system. * MBC Passive Foundation, which is based on the patented Viking House Passive Slab * Kingspan Aeroground, which is based on the Swedish Supergrund system * Kore Insulated Foundation * Castleform Raft Therm * Isoquick * AFT Passive Building Foundations * Greenraft Insulated Raft KORE: https://www.kore-system.com/ CASTLE FORMS: https://www.castleforms.com/ GREEN RAFT: https://www.greenraft.co.uk/ MBC TIMBER FRAME: https://www.mbctimberframe.co.uk/ VIKING HOUSE: http://www.viking-house.ie/ ISOQUICK: https://www.isoquick.co.uk/ ICF BUILDING SOLUTIONS: https://www.icfbuildingsolutions.co.uk/ PASSIVE SLAB: https://passiveslab.ie/ JACKON: https://www.jackon.co.uk/ THERMOHOUSE: https://thermohouse.co.uk/ ECONEKT: https://econekt.co.uk/ ASPECT NUBUILD: https://www.aspectnubuild.com/ AFT: https://www.advancedfoundationtechnologylimited.co.uk/2 points
-
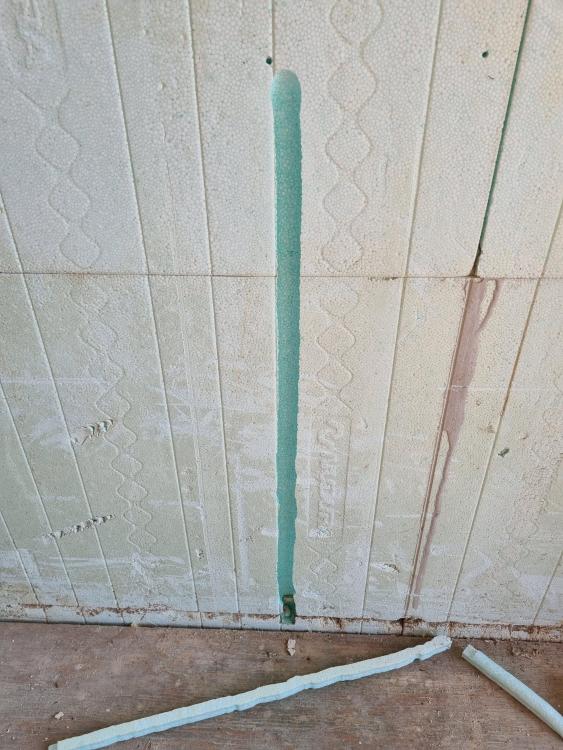
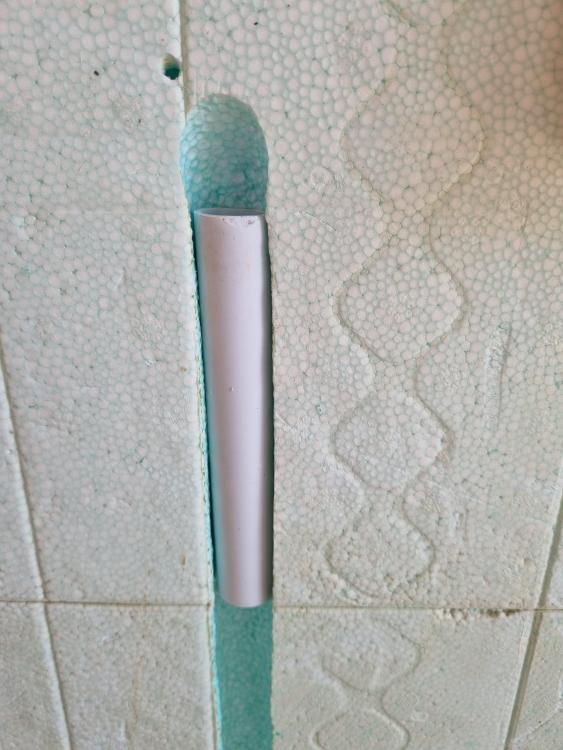
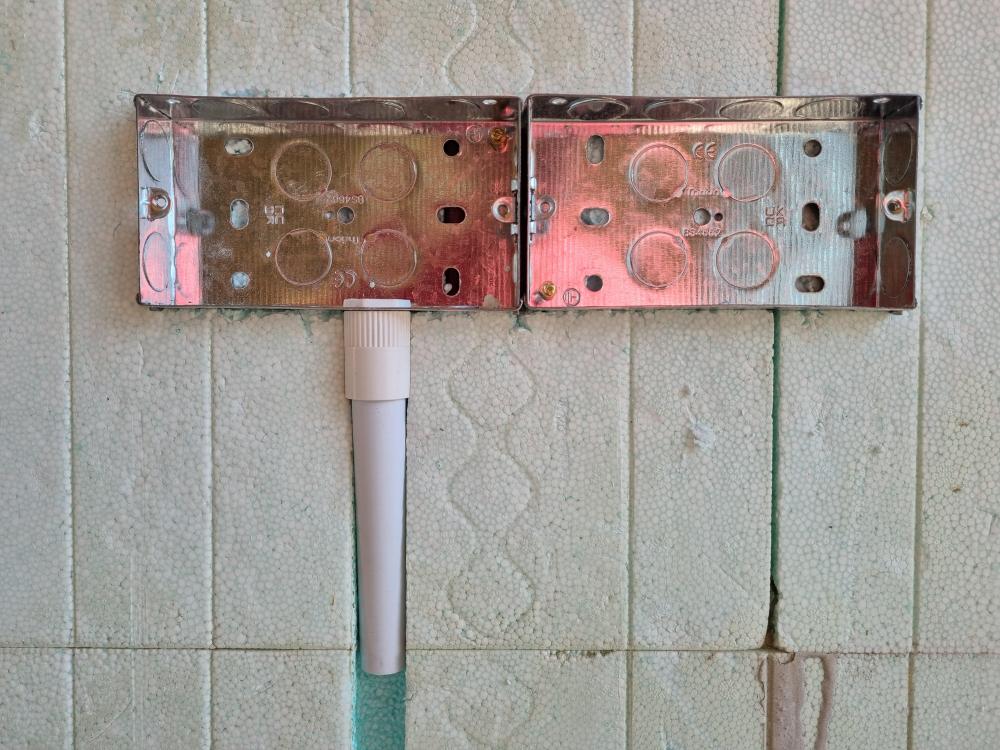
Several months ago on a thread I can no longer locate, I committed to donating the location to create a short video of installing conduit for running electric cable to sockets in EPS insulation, specifically in this case Nudura. Well, finally, I bought a roundtuit, and we have results. For those who don't know, if you are not using the low smoke insulated cable (at 20-30% more cost), then using conduit is the way to go. Why? If the cable heats up, it can melt the EPS which turns into a glass like substance. This in turn can then cut the insulation on the outside of the cable with potentially devastating consequences. First the video (sorry, can't seem to resize this): 20240519_162745.mp4 Link for the hot knife - https://www.amazon.co.uk/gp/product/B07F8LFRCF/ref=ppx_yo_dt_b_asin_title_o01_s00?ie=UTF8&psc=1 No extra videos, just a few follow on picture of the conduit in place The sockets have since been cut further back into the EPS so the conduit sits flat1 point
-
https://abbeypynford.co.uk/products/treesafe/ The above do an engineered footings and slab when building close to tree's1 point
-
Yes EPC's are an unreliable measuring tool. The biggest problem is that, it needed to be simple enough to complete in a short amount of time, so if you have a non-standard property your stuffed.1 point
-
We got an A94 on the as built sap that I am happy with. BC told me it was the first A he had seen. I have often speculated if we want to sell in the future it will be almost impossible to replicate the same EPC. but no plans to sell.1 point
-
A few days off - to see the Tall Ships in Gloucester Dock - and fantasize that I could, in a hoolie and 50 years later, still run up the ratlines and furl the down-wind half of a thrashing topgallant. Nope, the bloody gang plank was enough. Tempus fugit. But oh was I cheered by the AirB+B. Doors hung upside down Who painted that ceiling- and with what - an old sack? Staircase - Building Regs ppppffffffff. That purlin - is it really just held in with just two bolts? Thats not a door threshold, its one of the jumps from Cheltenham Races To open that door (sweetheart) you need to push the top of the door -in- and pull the handle -out- at the same time : look I'll show you What wattage are those recessed LED lights? 100 ? And why 16 of them in a 4meter square kitchen? It did me good to see building ferkups more tightly packed together than my in my own Comedy of Build Errors. "You're here on holiday - stop mithering on about another builder's , .... erm (unlady-like word) " says she. You might be able to keep your own council about other peoples' building errors - but once a self-builder you cannot un-see them. They hurt They rankle They amuse They provide light relief For me, most of all, they reassure.1 point
-
We were away at the weekend in a log cabin. ASHP heating which was nice to see, and intermittent fans in the bathrooms - forgot how noisy the fans were. ASHP seemed to run well, and nice quite, but the plumbing was so needlessly complex. The friends we stayed there with were looking everywhere to find the air outlet for the heated air - completely confused when I said the heated water just like a gas boiler and really didn't believe me.1 point
-
1 point
-
We used The Home Insurer for land and public liability when we completed (empty barn structure and one acre) - 12 months <£150. Currently getting quotes for the build insurance which is over 10 times the price (£1800 for 12 months was the latest).1 point
-
I don't think anyone apart from most self-builders care about this stuff. So before you throw good money on some numpty one to carry out a survey why don't you use one of the online companies. You give them the info, they put it in with no arguments and voila !1 point
-
@joe90 Sounds a good shout that with the metal trim. Just slid between the battens and undercloak then tacked to the ends of the rafters.1 point
-
Velux 1600mm x 942mm. Top hung and 3G. They are very heavy. 500mm and 1390mm from floor to where the ceiling starts to curve. We are building a full height/width wardrobe on the gable end wall of the bedroom which is partly why we did what we did.1 point
-
@scottishjohn It's never really about "warmth", it's more about maintaining a consistent temperature at whatever temperature you want that to be. In the summer months, at least some of the time, that's going to be less than the outside temperature. As the climate gets warmer, maintaining a cooler, consistent internal temperature will be even more important.1 point
-
In normal use an ASHP is not noisy. No more noisy than say the roar of an outdoor oil boiler burning away. I do have a problem with mine at the moment, the fan motor has a failed bearing that is whining whenever it is running. That is a fault and is on my "to do" list to try and replace the bearing. EDIT: there is a common theme here. Why do people complain about the noise of an ASHP, but not the roar of an oil boiler burning (and the smell of those)?1 point
-
Great minds think alike (I am a Luddite )1 point
-
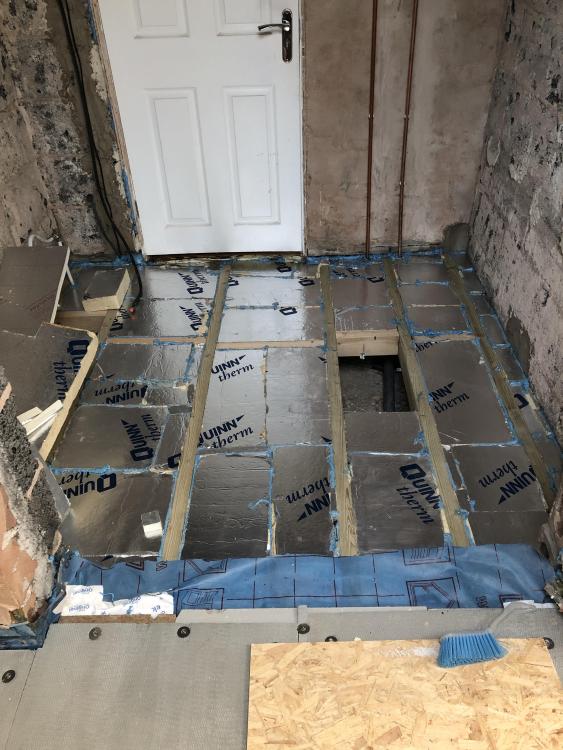
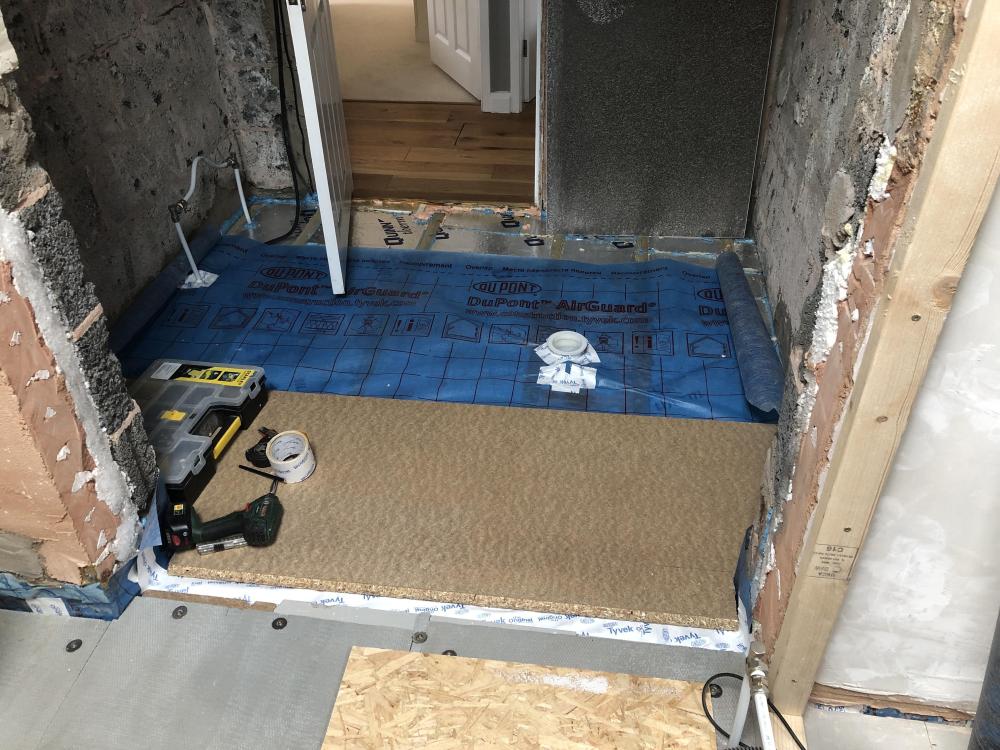
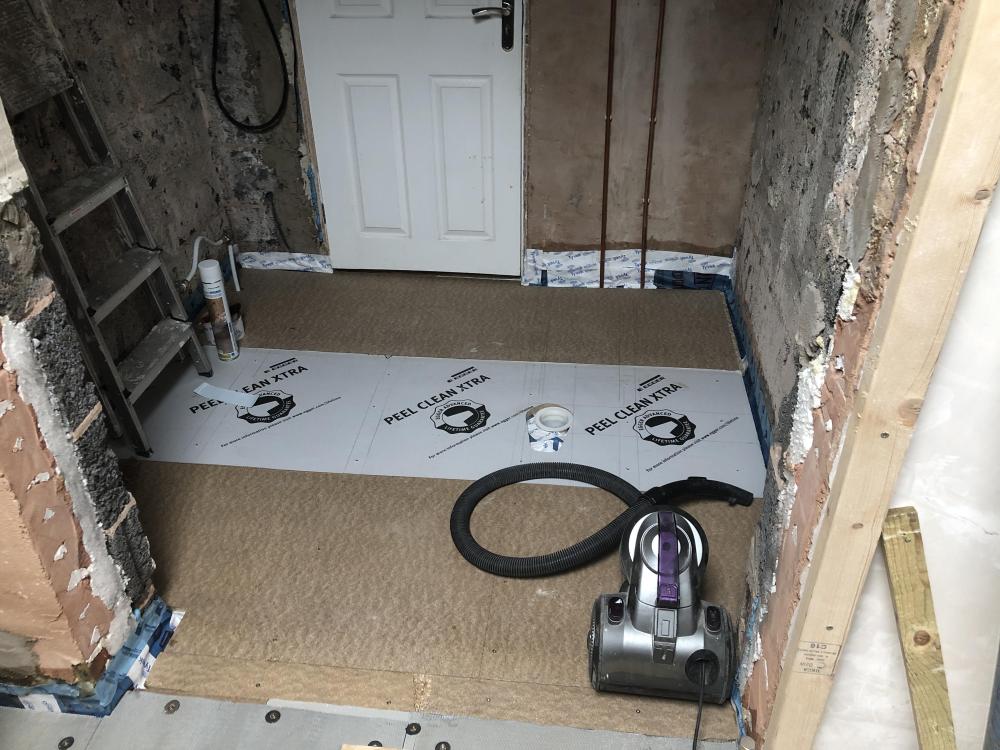
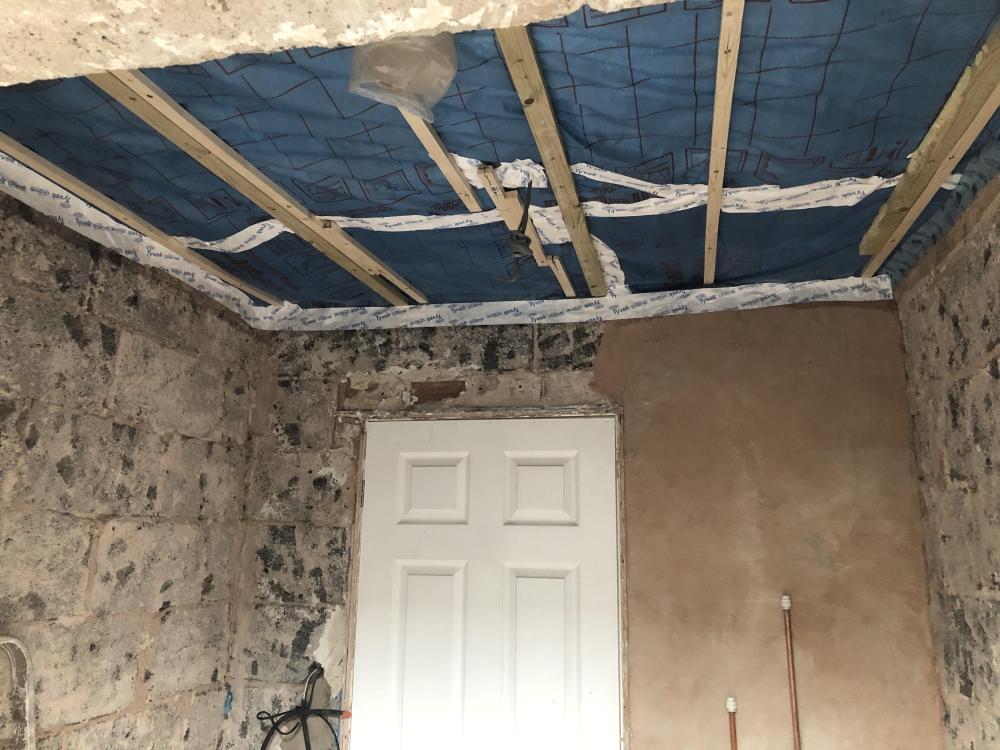
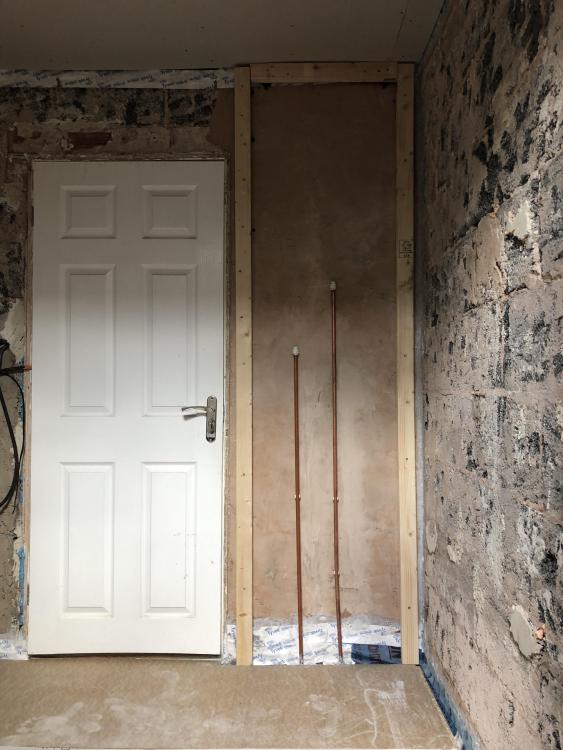
Swear I’m getting slower at this DIY lark! been a very turbulent month and a bit, about a week after I last posted in this thread my dad passed away, and with funeral and starting to sort the mass of stuff in his house, the days have zipped by at a rate of knots. coinciding with what I always find the most difficult part of these jobs, getting the floor structure down, balancing definitely isn’t a strong point! cut out the last of the woodwormed joists and decided to replace everything under there again even though quite a few were new from around 10 years ago, it was the first room I’d done and wasn’t prepared for what I found so the ones I took out were untreated, now replaced with treated. topped up the floor insulation with another 20mm to go with the existing 70mm, new 22mm chipboard, and sorted both heating and supply pipes along with drainage for the shower. be a few weeks now til I get some time to do the first batch of plastering, but I’m just happy it’s starting to look a bit more like a room rather than a building site. Stumbled across a brilliant airtight primer this time too, Tescon's SPrimer, which is a sprayable primer. Saves killing a paintbrush, and is so easy to apply, but its a little smelly for a few days. I've still got a bit of the paint on primer, but don't think i would have had enough to complete the job, managed to get a can off ebay from someone who had finished their works and was selling excess off.1 point
-
1 point
-
Apologies. Things like kitchen islands or peninsulas are typically 600mm / 900mm / 1200mm deep or wide, so not installing UFH under these is pointless as the heat will get into the 'unheated' area anyway. Where there is a kitchen, and it can only have units on one or more wall, then I do not populate all the dead under cabinet space there as it will never be an emitter, per-se, but also there is always an unheated perimeter around a room with any good UFH design so I simply exaggerate that where kitchen units are always going to be located for the life of the dwelling. Islands and peninsulas come and go with design changes during re-modelling, so I just keep all such areas populated with pipe there.1 point
-
1 point
-
Rather like underpinning, cutting through the full depth of a wall, to fully replace a DPC or all the bricks should be done in short sections, so that the rest of the wall remains supported, with several days between sections. It's not something that can be done in a morning... ...so if they also used an angle grinder, rather than a disc cutter, I guess that the just did something superficial on the outside. In which case, how - if at all - did they join the plastic DPC to the portion of the slate DPC that they left deeper in the wall? I fear that they may have made the damp situation (if there ever was one) worse. I'd be looking for a different builder.1 point
-
Apunsa like you've got a good builder, fair play to you both trying to resolve. As for why he didn't spot it.... Damp bricks in a pallet would change the colour strongly.... They could have just put the colour variation down to dampness.1 point
-
Yup. I’d rather the extra pipe / volume / storage tbh, particularly if it’s not a huge house. Not running pipes under things like kitchen islands etc is just a complete waste of time and effort in a passive type setting, as a) the temp is too low to cook your cornflakes lol, as you’re only ever getting the floor to a few degrees about room target temp so just entirely moot tbh, and b) as the heating is on ‘long and low’ the omitted areas will warm up anyways! It’s in an insulted basket, so the heat will eventually get there folks, and there’s nowt you can do to stop it. I will leave a pipe at the start of the run of fixed kitchen / other units, stopping about 150mm into the dead under-plinth space, leaving an unheated perimeter of around 450mm in the slab, and then it’s ‘fill yer boots, matey’. I’ve been installing / or been in and around / specifying M&E for these types of (PH style) systems for over a decade now, first ‘taste’ was an MBC PH TF, and not looked backed since. These Pert pipes are 1000% kosher to attach near to / directly to steel reinforcement mesh and the results are always excellent. Damage to the pipe must literally be malicious to get it to the point where it’s a total loss. “People of Buildhub, go forth and zip-tie”. 🫡. El Presidenté.1 point
-
Iwould be happy to be paid anything per hour -with all the time i have put in and damage to the old body if money is an issue and time is secondary then anything you can do yourself will be like getting paid -or not paying out £25 an hour so if you have somewhere to live while you do it crack get stuck in1 point
-
Sounds quite a lot of mesh but unless there's a good reason not to, I just revert to the hollowcore manufacturer's detail.1 point
-
This seems to be a recent fashion, promoted by developers. That could well kill the tree. The roots normally extend to or beyond the canopy. The big ones for stability and searching for water. Lots of tiny ones near the surface for water, nutrient, and air. Advice on trees and foundations shouldn't come from planners, other than 'dont harm the tree'. An arboriculturalist told me the rule of thumb is 1/4 of the roots being cut or stripped or buried will likely kill it, 1/3 almost certainly. It's also going to be less stable in gales.1 point
-
I feel you've had lots of good advice on this already. Are you hoping for a different answer this time? Engineering apart..bdcdusd yes if czn bd done.....have you drawn a cross section through the proposed finished building? With the trees to scale as they are now. Then draw on the trees as they will be in 50 years, 25m tall with 1m trunks, and hanging over the house.1 point
-
Wouldn’t a pile foundation do it? I’ve got trees nearby (not that big, though) on clay. The piles went down an unbelievable 12m. It was affordable, but there was a big variation in quotes, so ask for several. Also, which way is the prevailing wind…? Best speak to a structural engineer, possibly more than one…1 point
-
Yes - you need to bind the slabs together to form a two directional diaphragm. This is similar to the grout on beam and block - hollow core slabs always have an upwards deflection. It's fairly minor on short spans but still too much for tiling. The cost of floor leveller would be eyewatering1 point
-
Where is the insulation going?1 point
-
The ends kick up because the gable is masonry so doesn't settle. Sometimes changing from clay to concrete tiles can exacerbate the sag or it just happens over time. So long as there's no signs of distress in the timber and the roof is watertight, it's usually not a problem .1 point
-
I used to use plaster beading nailed to the ends of the battens to act as “rebar“ in the mortar and stop it cracking and falling out, never had a call back.1 point
-
Although it is not unusual to see slates laid onto the barge board with no undercloak and mortar, you should bed all tiles or slates on an undercloak or use a dry system. I agree dry verges made up of individual caps do not look nice. A wet bedded verge isn't that much maintainance if done correctly. Make sure the undercloak is bedded, projects the right amount and tiles are bedded on a min 100mm wide bed of mortar. Often tiles are bedded and mortar is left recessed and pointed up after, and then that falls out. If done right, by the time it needs looking at plastic dry verges would be faded and looking poor. Bear in mind if, you are considering interlocking tiles each will need to be clipped at the verge which effects the aesthetics of a bedded verge. 1. There are continuous dry verges available for tiles. I would avoid darker plastics to delay the fading. 2. With slate, if you don't want to bed them just use a continuous dry verge, they look very neat imo. 3. At the eaves? Why don't you want weight on the fascia? You can use an over fascia vent to provide ventilation between the fascia and tile/slate. Some roofers still use tilt fillets with 5u felt but eaves support trays are generally more popular now. This is to support the underlay not the tiles/slates though. If you don't have a fascia you would need a tilt fillet to support the tiles/slates.1 point
-
1 point
-
I don't think this is true. My stone walls have lime render (as flattening layer and airtight layer), wood fibre board, lime render, limewash. Breathable both ways and airtight. I also went for a concrete floor with 200mm EPS below with a DPM under this. Also some French Drains around the perimeter. Initially I had looked at limecrete floor (and in fact did install a small limecrete floor in a small outbuilding) but was persuaded not to. Seems to have worked well.1 point
-
So I have an old stone cottage with 700mm stone walls and 1000mm gables. I dug up the floor down to just above the footing base , dug in various land drainage systems to allow any water to escape should it get in there, filled the area with the stuff railways are build on (200mm) (golf ball sized stones.) compacted as I went but still allowing full drainage over the whole area. Capped it of with cement, but left a 50mm gap around the outside. put two layers of DPM down, the first was semi sacrificial but in reality it will be fine. Laid 100mm of reinforced concrete (BIG MISTAKE) as I should have put insulation down...... again I left a 50mm gap round the edge and filled with pea gravel. Insulation will be 90mm PIR, I am hoping to put WUNDA - Wundatherm Premium+ Board – Underfloor Heating boards down and then final floor coverings. The DPM will go up the wall and join up to whatever I have there. I will frame out the whole house and there will be a vented void between the stone wall and the framework. Insulation between and over stud-work, battens and plaster board. The building is bone dry with absolutely no sign of water coming up or into the walls even though there is no damp proof course. The 50mm drainage gap filled with pea gravel around the walls was a precaution as the exterior ground level is higher than my final floor height. However because it’s a 700mm double stone wall with a rubble middle it was not an issue as any water that does get in goes down the middle of the wall and then can exit through the huge drainage area. I regret not going deeper and if I knew then what I know now........ but hay ho. I don’t think 90mm of PUR is good but it will one day be a holiday rental and the losses in heat downwards will be compensated for by it making money. (limited head room means a MAX of 90mm PIR plus the WUNDA board) I am hoping that UFH run from the ASHP will provide a really nice level of comfort. There will be a WBS for the caveman enthusiasts. Upstairs will be either fancy radiators run of the ASHP or just a couple of electric heaters on the wall for top up. Did not know this, I have assumed it was so poor I did not take it into consideration, however it really does help with stability of temperature as the house even unheated and with just the upstairs insulated stay very stable. I have no issues with glazing as the house faces east so only gets a bit of sun in the morning due to a hill. anyway a bit of a ramble but just another perspective.1 point
-
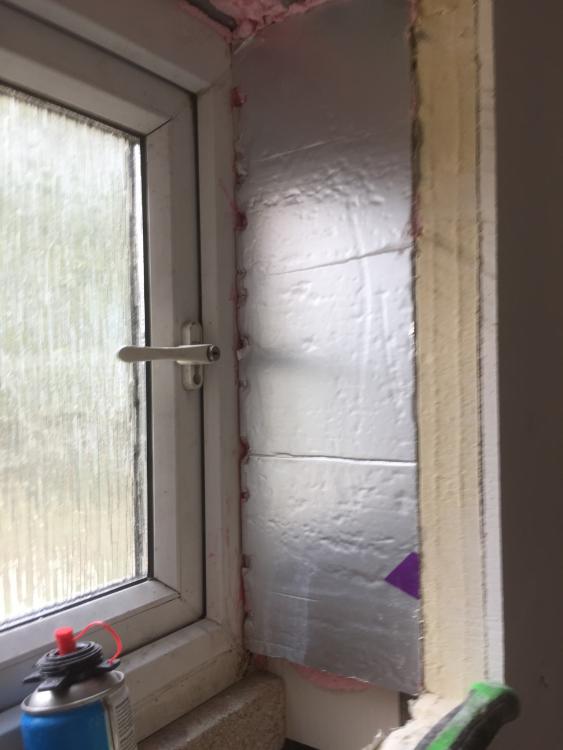
For belt n braces I've lined the reveals with 25mm cellotex too This job has IWI ( 62.5mm thermal PB ) so I wanted to be double sure there was no significant shift in 'temperature' in the window or door reveals. That just gets PB bonded on then for which I use the foam and bracing to keep it flat whilst it cures.1 point
-
Just ask the door supplier to give you the metal fixing brackets needed to set the door wherever you like whilst still being able to fix into masonry / other. As above, if Bco is involved you'll have to install a vertical damp course and insulate the cavity. My preferred method is to get some 18" DPC, wedge it against the face brick with small offcuts of polystyrene spaced every 300mm or so to keep it taught and in place, then fill the gap with low expansion ( LE ) foam, applied to obtain a depth of no greater than 150mm. Have the DPC showing in the opening about an inch or so, so that when you fit the cavity closers you can fix over the DPC ensuring no break. The closers are plastic / PVC ( ? ) anyhoo so the damp cannot bridge . If you get insulated cavity closers you'll need to trim the factory fitted insulation to suit your cavity ( they're marked for cutting at the correct increments so a 1 minute job with an old hand saw ) but you'll then need to rake out a little of the foam in the cavity to accommodate the extra depth. For good measure, as I've done on my current job ( garage conversion with new knock through of a cavity wall ) I pumped a hefty bead of LE foam into the cavity and set the cavity closer into that. Brace with a piece of batten or 4x2" for 30mins whilst the foam cures to stop the closers from bellying out with the foam as its expands and cures. When ordering the door, make sure you allow for 25mm of cellotex to go at the head, bonded to the internal section of the catnic, to eliminate the cold bridge. Catnics are factory insulated but it's still not great.1 point
-
0 points
-
You are probably right. But given it is a fire suppression system, and given my house is by far my largest asset, I probably shouldn't be doing anything that will invalidate the buildings and contents insurance.0 points
-
As long as the level is used the right way round. 😀0 points
-
that's on the list. but they seems to go for just 1/3 less than on Marketplace, then there is transport, so barely worth it. at the recent sale a 'box of drainage fittings' sold for £40 for about 100 bits. some were very obscure though. I would have to design the drainage around the bits. I'm looking at some cls and ply that I was about to order anyway. but if it isn't well under half the best new price then somebody else is welcome. I am using Wickes for the cost comparison. less 10% discount, less VAT. Then as you say add VAT sometimes and there is 10% commission. I will have every lot costed first and won't budge over my figure. A mixer will be the biggest risk I may take. They don't seem to let you do much with them here. You can't run an electric mixer in the middle of a field. Viewing is same day from 90 minutes before. I might be on here again next week asking how to get it going.0 points
-
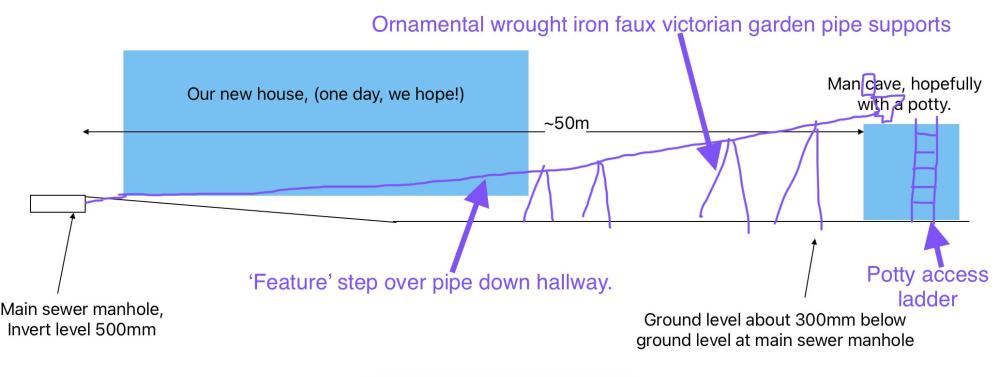
Set it up correctly for the house, the static doesn’t matter as it will be raised up on stands or blocks, you can also have a fair bit of pipe above ground for the static to get a good fall, install a rodding point at the static end and jobs a gooden. word of warning when connecting to the static make sure you strap the pipe up securely, I know a chap who used his toilet for months without knowing the pipe had come of, poo mountain under the caravan.0 points


