
Conor
-
Posts
4138 -
Joined
-
Last visited
-
Days Won
12
Everything posted by Conor
-

Smell coming from external sewage pipe occasionally
Conor replied to mfmcdonagh's topic in Waste & Sewerage
That's underground pipe. It's not UV stabilised and should not be used above ground. You want to replace that pipe with either the same type and cover it, or black PVC pipe to ground level bend and cover. It wouldn't be hard to pull those apart and replace. Likely the seals have pulled out or the pipe has become porus. You need to make sure the bottom bend has a duck foot and is set firm, and the vertical pipe is clipped to the wall or a support. Finally, is there a vent pipe or air admittance valve on that branch? From the description it's just servicing a single toilet then presumably connects to the sewer outside. -
Building regs and sign off one application or two?
Conor replied to bluebellcottage's topic in Building Regulations
We didn't include the garage on the BC drawings as knew we wouldn't build it. A second application for a garage is pennies anyway. -
Got it from my architect's store in Ballymena, https://ecohomesstore.co.uk/products/products/varafluid-blowerproof-liquid-airtight-membrane/varafluid-blowerproof-liquid Tho the one I had was smaller ended up buying a second one so reccomended you get the big tin. So much handier than tape for likes of door blocks, window sills, wall plates etc.
-
You need a gap, for our 70mm studs we used 50mm isover and for the 150mm ceiling void we used 100mm. So 70mm would be bang on for you.
-
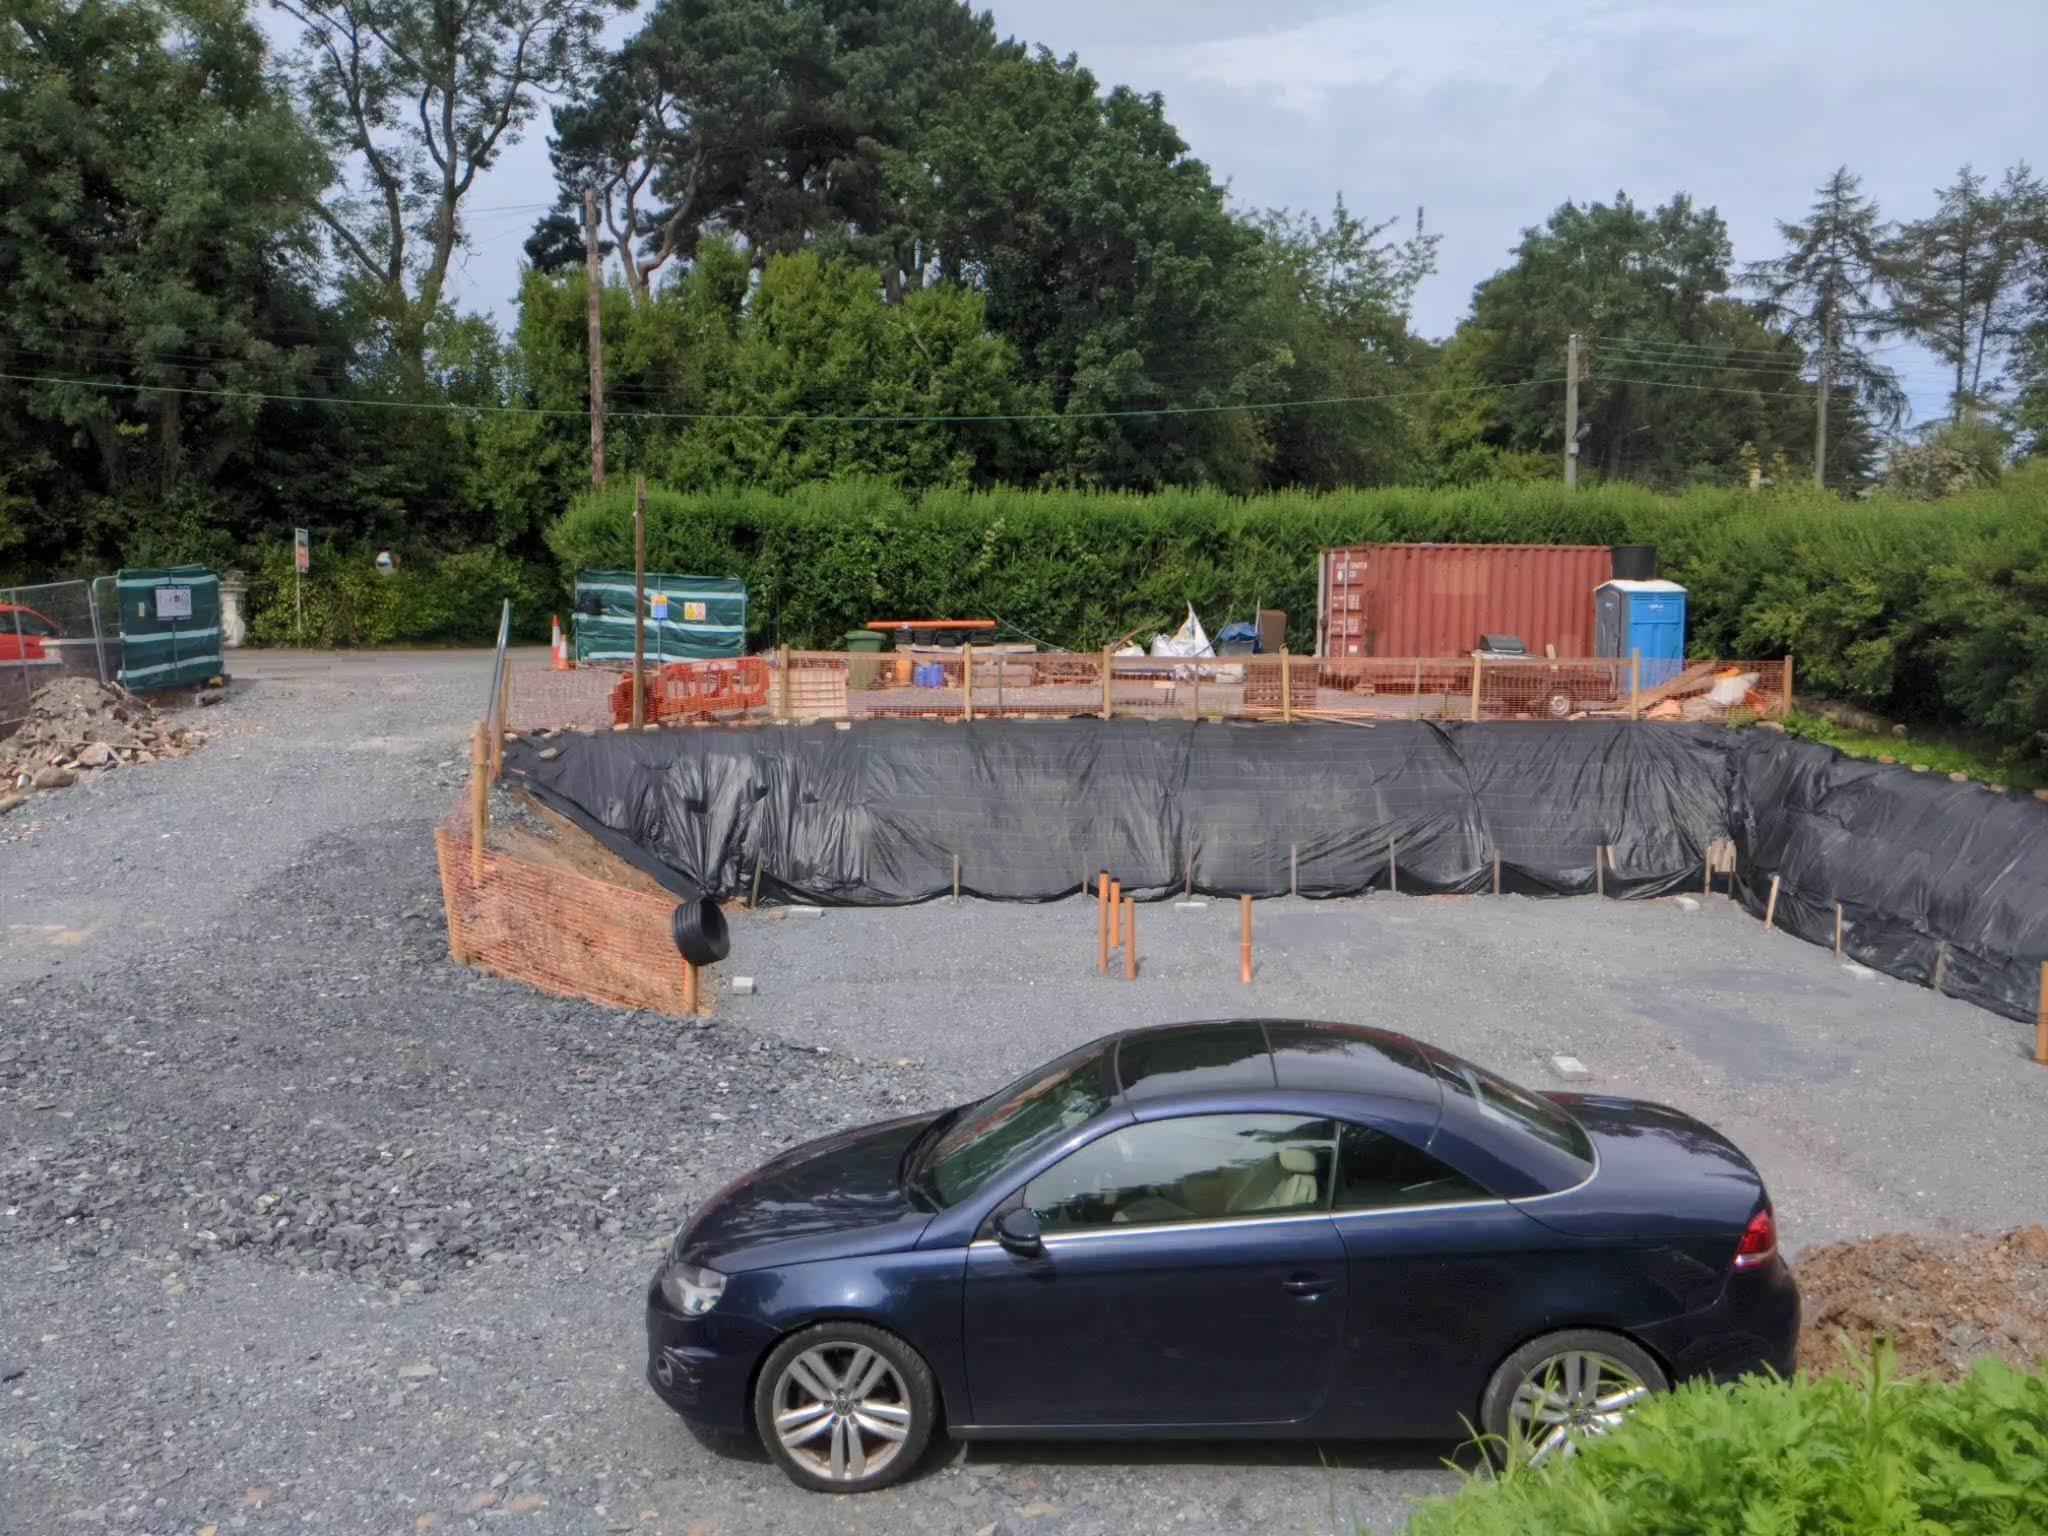
Advice on Foundations/Retaining Wall/Semi-basement
Conor replied to jimmyharris80's topic in Foundations
You'll need to go back to planning as you're increasing the habitable area. Same for building control. I'd suggest you start looking at muck away options. You can save thousands of you can find a local farmer etc that can take the earth (assuming only inert soil and stone) and a local man with digger and dumper lorry. You do not want to be paying for landfill. We were looking at in initial £250 per load to landfill but found another guy with inert waste licence that took it for £130 per load. Saved us nearly £3k. For perspective, our 115m² partial basement excavation, drainage, foundation hardcore and site stoning cost just under £15k
-
We used liquid air tight paint for the door block / floor/ wall junction. Tape wouldn't stick properly to the rough surfaces.
-
BIG shed
-
-
There's no point, it'll all end up the same temperature. You can tune the flow rates of each loop if you find some areas are too warm or too cool. We've the ground floor as a single zone.
-
Advice on Foundations/Retaining Wall/Semi-basement
Conor replied to jimmyharris80's topic in Foundations
We have a sloping site. Looked at all options, no basement, patrial basement, split level. Went for full basement with slab raft foundation. Worked out more expensive but we got much more floor area and a simpler build. And extra £19k for an additional 50m². Either do the same or at least get rid of the roasted bit adjacent to the dining. And speak to your SE sooner rather than later about foundation and retaining wall options. They will be able to advise on the best methods. -
Detail for base of wheelchair accessible door frame
Conor replied to mac the knife's topic in Doors & Door Frames
I had a nightmare sorting our door block / threshold details. The best thing to do is speak to a technical person from the window manufacturer and get drawings and if you are unsure about anything send back a markup and ask them to clarify it. They told me the wrong heights for one doors and ended up with an obscene amount of Packers and expanding foam under it. Luckily, the front door is bang on. -
I did the sums and there is little or no saving. You're talking £100m² + for the finished polished floor. Think insulation plus screed was about £35m², then £50m² for your tiles and it's still under the cost of the polishing.
-
If it wasn't so bad it would be funny. That's not even close to being acceptable. Should be a flashing / saddle type thing. What's the context? New roof? Old roof but new vent pipe?
-
Spent years replacing various "sealed" bearings in my mountain bikes. From large bottom bracket and headsets to small suspension linkage bearings. Found huge differences in quality and always went back to SKF. Was hard spending £120 on a handful of sealed bearings but they always lasted longer.
-
We're putting lino (vinyl) down. £10m². No more effort than painting the floor.
-
For us, 18months. Main delays: Steel measurement and fabrication (6 weeks at two different stages) Windows (5 months I think) Waiting on our preferred renderer, 3 months, but didn't hold anything else up, just scaffolding hire. Could have done the build done in a year if it wasn't for these delays. On hindsight would have ordered the steels before walls completed and ensured walls built to meet steel spec. Couldn't really do anything about the windows or the renderer.
-
Hire a small telehandler with a block grab for the day. Will cost you about £200 but life's too short to be hauling 1000s of bricks by hand. You have the bonus of being able to keep the bails wrapped and dropped around the site to make the brickies life easier.
-
In our company (water utilities) we're adding 20% to all new contract budgets to cover inflation over the year.
-
I was sick and tired of trips to the recycling centre so hired a skip. Got it 90% full and was waiting for digger driver to come back to clear an area and get a few more bits through in before getting it collected. I'd say he put in another one or two skip loads in to the one skip by smashing it all down, layer by layer. Dude saved me at least £250 🤣
-
MVHR system in new build
Conor replied to deuce22's topic in Mechanical Ventilation with Heat Recovery (MVHR)
We've not finished yet. Boarding, joinery and second fixes still to do in the basement and two bathrooms. We're in a bit too early but had to get out of the rental! -
MVHR system in new build
Conor replied to deuce22's topic in Mechanical Ventilation with Heat Recovery (MVHR)
@deuce22 we've just moved in to our 350m² three story ICF house. We have two MVHR units but they are not commissioned yet. So we are relying on trickle ventilation from four 1sr floor skylights, and four 200mm diameter holes in the outside walls for the unit. It's nowhere near enough. Air feels musty when it's warm, there's often condensation on the roof lights, and smells from the kitchen linger though the house (recirculation cooker). ICF houses are incredibly airtight and I wouldn't consider one without an MVHR or other controlled system. Mine cost £4k but that was for two passive House certified units and lots of galvanised steel ducting. You could do it for less. You've mentioned no renewables... With cost of fossil fuels and energy going the way they are, I'd find the funds for solar PV and a heatpump. No better time. -
Cost per square metre for single story vs 2 story dwelling
Conor replied to smart51's topic in Costing & Estimating
General rule I've heard before is an additional floor to the ground floor costs approx 50% less than the ground. A bigger factor tho is economy of scale, I.e. the bigger and simpler, the cheaper. And how quickly to can build it so inflation and increasing costs don't drive it up too much. -
Final building control picked me up on one thing....
Conor replied to redtop's topic in Building Regulations
Put clear perspex sheets in front of the railings, seen it done before. -
INTERNAL WALL INSULATION.
Conor commented on Patrick's blog entry in Timber Portal Frame - but stick built
And it's nicer to work with. softer. Especially when compared to isover. -
We put network points in all the rooms but so far only used one... Everything else is on the mesh WiFi network. Are these drawings for a tender for a single contractor to do everything? Then there should be clear notes and specs for everything you're wanting the contractor to do. We went separate trades once builder was done with the shell. Not a single trade from then on (except the spark) looked at our expensive, detailed drawings and specs. It was all point and spray up on site.