Leaderboard
Popular Content
Showing content with the highest reputation on 11/08/24 in all areas
-
4 points
-
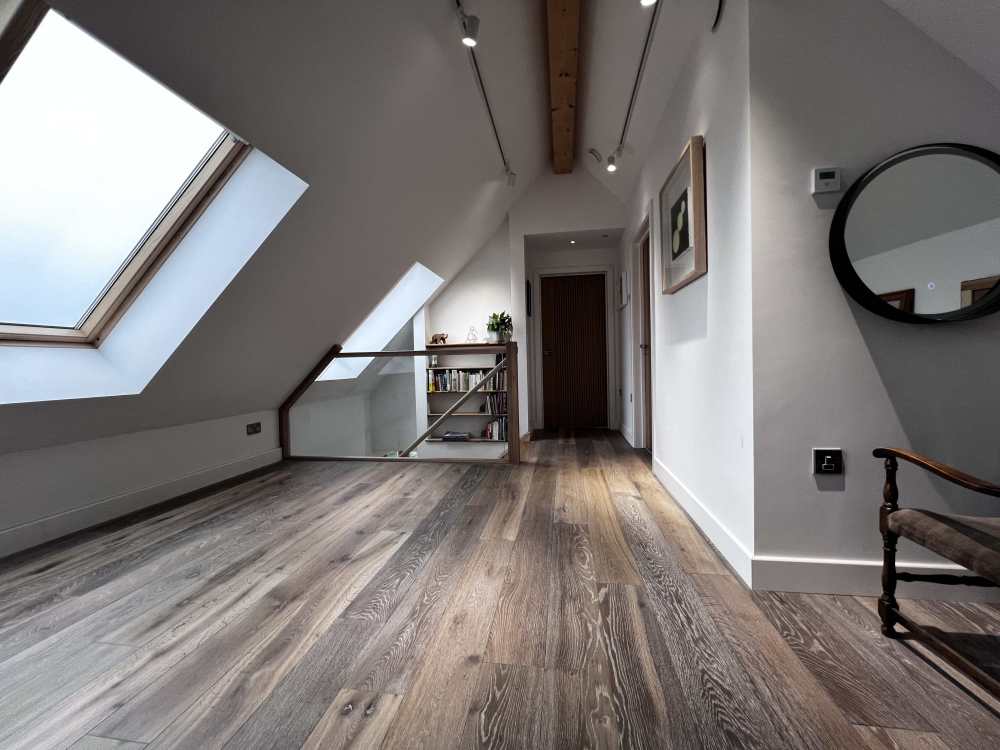
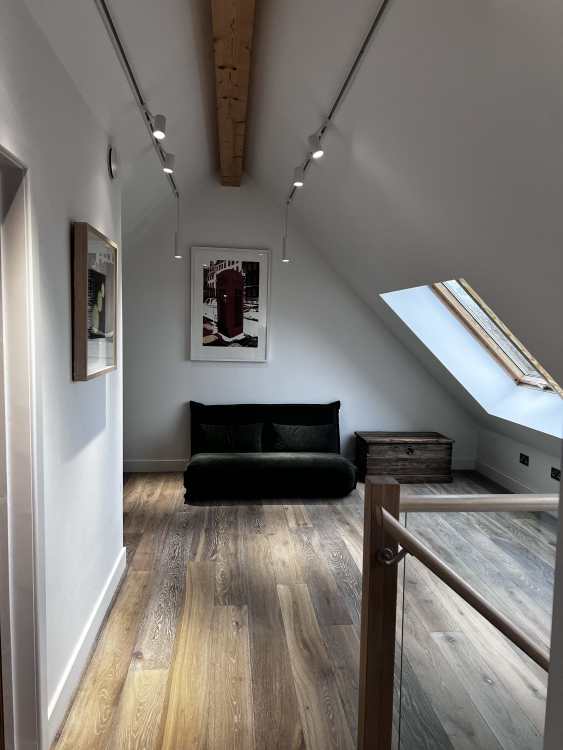
Oi @joe90 !!. Waiting on my final sap and epc and then SIGN OFF! . Doesn't mean it's complete ; but technically finished!!3 points
-
Took from about 7pm to 3am to take the tiles off and clean them and the walls. Back up at 6am for the kids school run. On fumes and a tricky conversation in about an hour. The weekend is almost here!3 points
-
@Gordo how old is your boiler and are you having any issues with it? Might be a case of waiting for something to go bang, then replace it with an ASHP. And for sizing an ASHP here in NI... A huge factor in performance is frosting. It's so bloody humid here, my pump struggles most around just above freezing. I'm in Holywood and I can count the number of frosts each year on my hands. We don't do cold and dry here. Worth a bigger heat pump just to mitigate that issue as that's when you'll be needing the heat the most.2 points
-
2 points
-
Conversation with tiler went OK so that's now closed. I'll need to find another one though. Thank you for everyone's support!2 points
-
Easy peasy. now just think if you had your own machine how much would you have saved. 😉 go and tell the wife.2 points
-
Yikes. I’ve dot & dabbed tiles more times than I can remember, but always with cementitious adhesive and never without having completely buttered both the reverse of the tile and the wall. I’ve tiled for over 3 decades, never a callback / other issue, not with grout and not in wet rooms or wet / splash areas, so the principal is fine I assure you, just this guy is too comfortable riding the luck train. Is that ready mixed adhesive from a tub? If you’ve heard sounds then that sounds like excess adhesive having the moisture sucked out of it from the porosity of the tile and the bone dry plasterboard. That usually results in the adhesive shrinking back and tiles drying in place differently than where they were ‘laid’, often resulting in kickers and uneven finish. Here the walls simply don’t look bad enough to have any reason not to have done bed & butter, plus there’s no sign of him ‘squishing’ the adhesive into the tile and board by moving them around as they’re set into place.2 points
-
Agree. I have a list of builders that I am ok.. ish to recommend. None however are perfect.. mind you neither am I!2 points
-
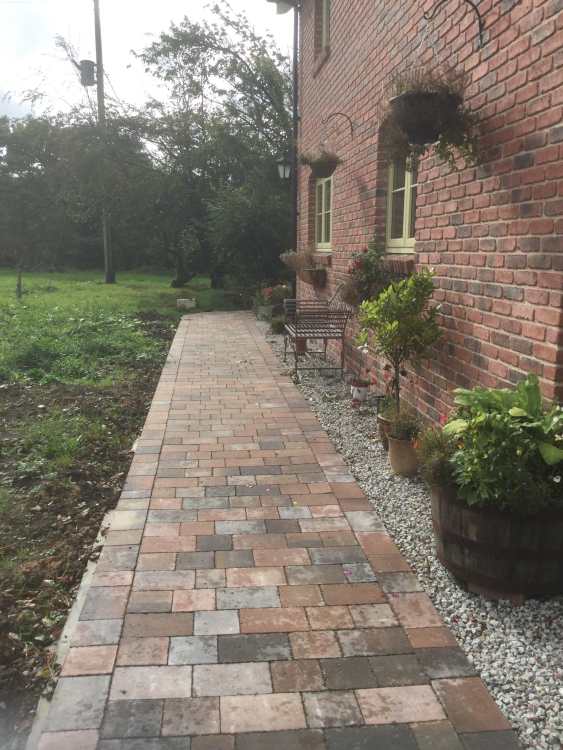
@ToughButterCup Your guidelines in the first post seem to be about right. I'd only make the following comments. These are based on my experience with the charity Wheels for Wellbeing for whom I campaign in the public realm, who promote accessible wheeling and cycling. A few links below if you want to rabbit hole. I'm not sure whether your path is "to the front door" or "round and round the garden like a teddy bear". This is a bit related to both, also for future readers. - for widths, the maximum size mobility aid you (or your friends) are likely to be using is a Class III mobility scooter, which has a maximum width of 0.85m (these are the ones with lights that can do 8mph on the roads). The biggest of these are usually Trampers (the SUV of mobility scooters), which are the ones you see for borrowing at larger NT properties and are specced for 1 in 4 slopes in steepness or crossfall. - pay attention to outer turning radius if your path has curves in it. Outer turning circle probably wants to be ~4.5m ideally if you have corners. - A 1:50 slope is great if you can do it. Or for 1:20 you would want a flat "take a rest" bit every 10m or so. Consider a seating area to the side in case anyone might want a rest (especially if you have a steeper part) or to sit with a cuppa to admire the newts. If you do, leave a space next to the bench for anyone to park their mobility aid. The recommended path width dimension 'minimum gap' is usually 1.5m between posts in the public realms. But 1.2m sounds fine in general - 1.5m is needed for more unusual things like side-by-side tandems. For the path to my front door (which is over a concrete path) I did a perfectly good wheelchair ramp by using Wallbarn Adjustable Support Pedestals and Pressed Council Slabs. Wallbarn do things like Megapads to take heavy weights, and optional Universal Joints at the top that let it self-adjust to whatever your needed slope is. I did the 10m run to my front door and platform outside, for around £400 including hiring 2 friends for half a day who have more muscles than me (2018). It wouldn't take someone doing a drag race start on a Tramper - the pavers might shift, but it has been great for what I need. I don't think I've done a blog about this. Make it hose washable to clear debris, and avoid features that will catch accumulations of leaves etc - provide a gap so you can wash or sweep then off the path. On surface, you could do something like scatter pebbles and wash it back, or just score the surface with a trowel when half set. Lots of options. But at 1:50 you should not have a problem. Finally, give a bit of thought on recovery if someone falls over, especially in the circs that they may be alone in the house - that might be having 2 handrails so they can pull themselves up, as well as things like always having a phone to hand or a rape alarm to call the neighbours. Links: Wheels for Wellbeing design guidelines for 'Inclusive Cycle Parking' Sounds off topic, but has a lot of relevant info in a small doc. https://wheelsforwellbeing.org.uk/14-features-of-inclusive-cycle-parking/ Index to their resource sheets: https://wheelsforwellbeing.org.uk/our-campaigns/resources/ Tramper Mobility Scooter with dimensions and specs: https://4zn.f0c.myftpupload.com/wp-content/uploads/2024/06/tramper_brochure.pdf Public realm recommendations: Guide to LTN 1/20 https://wheelsforwellbeing.org.uk/wheels-for-wellbeing-guide-to-ltn1-20/ Govt Inclusive Mobility standard: https://assets.publishing.service.gov.uk/media/61d32bb7d3bf7f1f72b5ffd2/inclusive-mobility-a-guide-to-best-practice-on-access-to-pedestrian-and-transport-infrastructure.pdf HTH Ferdinand2 points
-
So I spent 3 days with a 1.5 tonne excavator and a pecker breaking up the huge amount of concrete slab. Thankfully, it wasn't reinforced and all I can say is that I didn't envy the neighbours. I am just finishing off pulling up the broken slab with a 3 tonne machine and getting the concrete collected with a grab lorry. There is about 5-6 loads to collect and that is going to cost me about £700. I could have hired a concrete crusher, but I calculated that to hire a crusher, 5 tonne excavator would have exceeded this cost. I also do not have any water on site for the dust suppression, and there was a lot of large lumps, that would have not fitted into the crusher without having to broken up smaller.1 point
-
must be plenty of derilict stone buildings to get stone from build with that maybe like a drystone wall but with mortar and then coat it with render in and out and an insulted internal structure how ever you like ,with a cavity stone lasts forever I am presuming this will be a self build ,so buidling instone you can stop and start as you like and build as time allows1 point
-
1 point
-
12cm bullnose. I contemplated oak skirting and mocked up a wall with it but didn’t like it. We have a lot of exposed wood and it was just too much wood. Which was just as well as it saved a shedload of money. The floor is smoked oak with a white Osmo oil. I covered it up after it went down with ram board. When I uncovered it three months later it had turned a nicotine yellow and looked awful. The supplier assured me it would change back to its original colour after a few days. It took 3 weeks in total. Worth knowing if you go for smoked wood that uses ammonia.1 point
-
To be clear, I'm not sure that structural straw bale is the best solution for the OP's location, but is perfectly viable for infill insulation. He'd be shipping in insulation anyway, might as well be natural / low(er) carbon stuff.1 point
-
I have a variation: Figure out a job, measure up, consider options, choose parts and materials, find cheapest supplier that has items in stock, get ready to order... Get distracted by something more urgent, then return to job sometimes months, sometimes years later. Look for notes on job. Realise I didn't make any notes or I lost them. So ... start figuring out the job again, measure up, consider options, choose parts and materials, find cheapest supplier that has items in stock, etc etc You can keep this up for quite a number of cycles or until you don't need to do the job anymore.1 point
-
What is that hopper next to the boot sink and what is that black pipe discharging into it?1 point
-
Yes. Yes. Its fine where it is. My CBA affects me more on Friday than any other day of ther week.1 point
-
Despite being aware of the risks of straw bales I'm not opposed to anyone doing whatever suits them. It's a free(ish) country. But to knowingly allow someone to make a potentially ruinous mistake when they asked for opinions and help would play on my conscience.1 point
-
Are you expecting it to pick up much water? (Does the path fall towards it, for example?). I have incorporated a perforated pipe, with the gravel over it, (and a drain connection at the end) at the base of my EWI.1 point
-
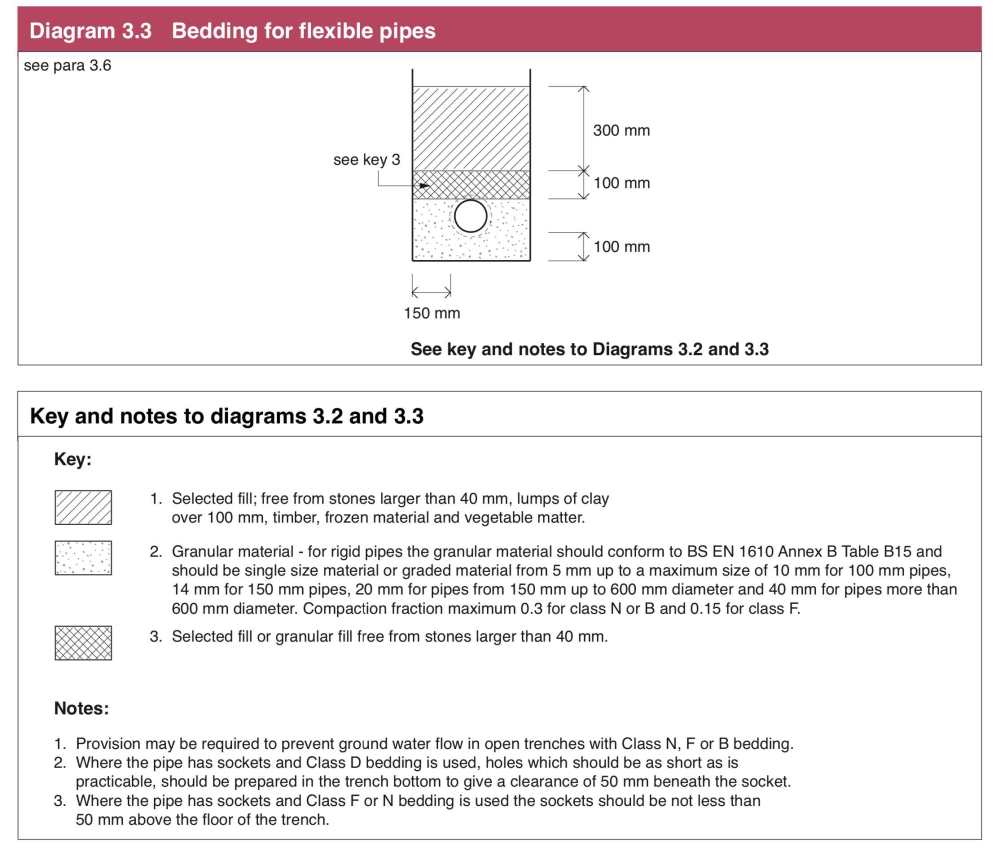
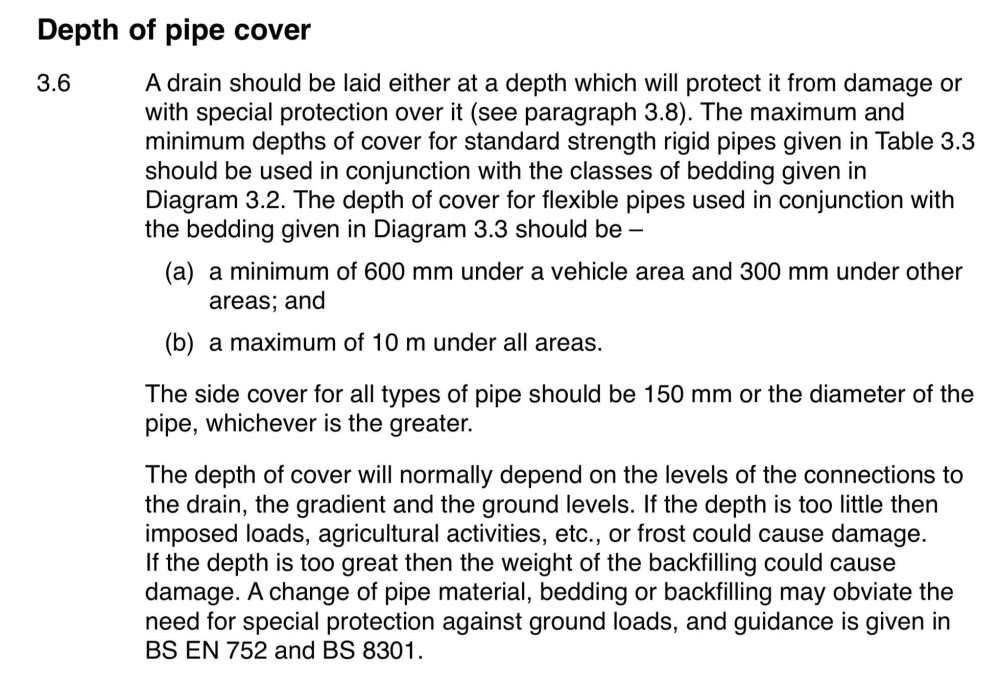
With most things in life you need to add in a big chunk of common sense 400mm below the lawn= pea gravel and backfill 400 below a pedestrian path = pea gravel + compacted type 1 then path 400below vehicle traffic = pea gravel, then a concrete covering spanning the width of the trench and continue onto solid ground. most shallow pipes are near the house, they obviously get deeper the further they travel, so being only 400 deep by the time you get around the front of the house is rare. normally very shallow near back of house, I’ve seen plenty with only 100mm concrete cover and then paving.1 point
-
I follow a different procedure. 1. Look at the job. 2. Wonder why I’ve not done it already. 3. Think about all my failings, including failing to decide what to have for lunch. 4. Realise I’m hungry. 5. Discard tools (to be cleared up much later if ever) and stick nose in fridge….1 point
-
I've a 2j Makita and a 5j Titan. The Titan is now never used. Very little the Makita can't do, unless hardcore demolition.1 point
-
Gypsum is more common in France - they even have blocks of it available to build partition walls which I wish we had here. Contrary to popular belief, Gypsum is vapour open (most materials are to a greater or lesser extent), but not as vapour open as clay or lime. In this building, it was probably working as an internal VCL which could explain the excellent performance and longevity of the building.1 point
-
Without going too deep into history, straw bales were initially used in America by necessity. It was what was easily available and cheap for people settling in new areas. Plus there was an embargo on transporting straw and hay by railway so there was much more supply than demand. Once sawmills and brickworks were set up it became easier for more affluent people to build with 'modern' materials. This set a fashion and pretty soon straw was considered "a poor man's construction method'. People even demolished their old houses and rebuilt with sticks and bricks when they had more money to improve their personal image. This had nothing to do with the quality of the original building - which by most reports were warmer and quieter to live in than their replacements. The remaining straw bale buildings in the USA are a testament to the longevity of natural building materials in the right circumstances - the fact that there are so few remaining has been driven by human foibles, not inherent drawbacks of the build materials. As with cob, adobe, and wattle & Daube buildings, Straw bales built with adequate protection and sympathetic maintenance should last as long - or longer- than their contemporaries made from 'modern' materials. Some of the oldest buildings in the world are made from earth, not bricks; I've heard claims for some as old as 10,000 years. In the UK we have Cob and Wattle & Daube buildings dating from the 1600's. I don't think strawbale will ever be a mainstream building product, but it might make sense for a Self-build in the right location. And it certainly makes sense to use it as infill insulation alongside hemp and woodfibre. It does seem that the naysayers are basing their opinions on fear of the unknown rather than evidence.1 point
-
1 point
-
Brilliant and innovative at the same time.1 point
-
Think you will struggle to get the heat transfer. The 16kW rating comes from flow temps circa 80 degs. The alternative to replacing the cylinder is to use a plate exchanger. One side goes to the heat pump. The other to the hot and cold tapping at bottom and top of cylinder. You would have a circulation pump suitable for DHW on the cylinder side. When you get a call for heat the heat pump starts and so does the circulation pump. The bigger the heat exchanger the better the CoP. So something like this https://beetbg.com/products/dhw-plate-loading-20xplate-kit1 point
-
Some options might be- Speak to the cylinder manufacturer and ask them about recovery/reheat times at various flow temperatures Turn the pellet flow temp down to 50degrees, if possible, and test the reheat time Temporarily fit a blending valve on the flow to the cylinder and test a various flow temps. Bit of work but may save your existing cylinder1 point
-
Nick (fixings) they won't commit to. This is not part of their design liability. This is completely understandable, they are just giving a representative example. Fixings are rated in two not least general ways. One is the exposure rating.. your C4 wet dry.. near the sea (salt air for example) the other is strength. The ICF folk can't be expected to recommend fixings for all the different combinations of insulation and wall cladding. For all. Most structural fixings these days are based on the Eurocode design and have what is call a European Technical Approval (ETC). Hilti et al have a link on their web site to which states how their fixings are tested and in what environment they are appropriate for. These are hard reading and difficult to navigate if you are not familiar with the terms and notation. Your easy way around this is to treat the fixings like a dowel supporting a flying shelf. The compressive strength of the insulation can be neglected for the most part. The higher the compressive strength of your insulation the lower the thermal resistance.. think of insulation like cells in the body.. the cell walls are more conductive. A higher strength insulation needs more and smaller cell walls. Now maybe you don't need millions of fixings? .. which technically could introduce repeating thermal bridges. Can you design the cladding like a curtain wall / rain screen panel where the panels are supported at the bottom ( carries the weight) and the top fixings just stop it pealing off in the wind? Maybe look at this in a different way?1 point
-
On a similar theme, a nephew of mine got a roofer to repair a leak but found extensive rot and a quote for £20k for a new cut roof. Said roofer has done good work for my nephew before and he took my nephew up on the scaffold to show him the extensive damage he found. As my nephew knows nothing of building and prices he contacted me. Knowing the size of the roof and lead work etc required I think it was a reasonable quote. On top of this the roofer could do the work immediately (before winter sets in) and has a good reputation locally and with my nephew. It can be a nightmare out there regarding trades people and when I was working ALL my work was from recommendations which IMO is the best way to pick trades people.1 point
-
Get a few tie straps in there to stop it lifting up in the wind. Make sure you get a good gutter detail to keep the rain away from the base as best you can.1 point
-
Great post. These things let folk see what a site looks like, gives them ideas.. food for thought. Well done!1 point
-
Don't miss the opportunity to install an airtighess barrier first. Then run 20*70 mm strapping underneath for a service cavity in what ever direction you fancy. The 70mm width gives you a better chance to hit roof joists and is less lightly to split than thinner timber. Then you can run your wires without any faffing in the attic and penetrating the airtighess layer. The then the plasterboard. More is better for sound protection.1 point
-
I've decided! I'm going to char the pallet cladding on the cat tree house. It seems fitting as he is part Siamese.1 point
-
Yep I was just going to settle the bill less vat and he can do the reclaim1 point
-
I've been continuously building for just long enough now for us ( well, HerInDoors) to want to change the gabions we installed 9 years ago. Annoying doesn't come close. The job of removing established gabion baskets was so much easier than I thought - shove two crowbars through the basket, digga, straps , snap shackles, normal shackles, a bit of Oomph - jobs a goodun. 4 gabions; several GCNs, a good few toads, a Jeremiah (Bullfrog), loads of snails eggs, lots (3?) of frogs and a pissed off normal newt. I should have remembered to classify our gabions as a hibernacula (newt refuge) for our Ecological Mitigation Strategy. When almost constantly wet, gabions are an excellent refuge for wildlife. Loads of mosses in the gabions that remain.1 point
-
Using stone as an external skin sounds fine, it’s the bales and lime render on the outside I didn’t like the sound of. straw bale house wrapped in traditional stone, why not, now it’s explained a bit more it seems perfectly reasonable.1 point
-
Hiya. Hope this helps. Bit of theory first and a few general comments. Excuse the spelling and grammer please! A gabion wall is fundamentally the same as what we would call a gravity retaining wall. Its weight does most of the work to stop it moving. The difference is that gabion walls move about a lot more and often they are designed for a 20 -25 year life span rather than a 50 year life span which houses are designed for to meet mortgage requirements.. Now for all. If you truck about you'll see many more developments by big house builders where they have big high gaboin walls to retain gardens, the houses themselves are set back. Can you smell a rat? The thing to take away from this is that gabions have a time and a place and much is to do with how much they move and their seviceable life.. before serious maintenance. Ok how do we design a gabion wall.. 1/ We need to know what it is holding back. @Great_scot_selfbuild it's your driveway. Now if its gravel then I would say.. how much do you want to spend.. do you mind if the gabions moves a bit and you need to level out the drive every 5 years? If you say I'm ok with that then I know I don't need to worry to much about movement (serviceability). I also need to know how long you expect it to last! The building regs can be a moot point here in terms of movement.. the regs aim to make sure it will still be safe! To design a gabion wall we often apply the same principles as we would use for a concrete or brick gravity retaining wall. Rule 1.. we need to make sure it does not tip over. Often walls have drainage behind but behind the drainage layer we also have a bit of sideways soil pressure. The drainage can avoid hydrostastic water pressure and having a "funny" effect on the soil. Rule 2.. there needs to be enough of a key and friction load at the bottom of the gabions to stop them just sliding sideways. For all types of gravity retaining wall design we allow for a surchage load ( a load applied to the top of the ground) of roughly 1000kg per square meter on the drive way in this case.. thems the rules folks! Drianage or not this surchage load causes a sideways thrust on the wall. Rule 3 / This is a biggy.. we need to watch put for a global failure (often called a slip circle) where the whole wall, driveway and soil above up the slope just takes off and moves down the slope. This can be a catastorphic failure and very dangerous. Some times to mitigate we need to drain the soil much further up the slope.. even then we are taking a risk. If you have challenging topography then I would need to know what is happening further up the hill. You may need to extend the scope of any site investigation. Now most SE's should have a grasp of these basics. But its your vegitation, could be trees an local topography that needs nuancing. I see you are using a Fittleworth stone gabion fill and probably you SE will just design these gabions as having no intelocking effect.. so the design will be standard. Theoretically the design can be realtively easy.. but for economic design.. that requires you to to identify what you expect and balance that with how much you want to spend on ground investigation. To sum up.. I've given you a few tips. Have a chat with some SE's and say.. I've read this and that, here is what I would like to do and what do you suggest would be a good balance between soil investigation and practical common sense design? Once you can get a handle on what your expectations are in terms of long term perfomance of the gaboin wall then most SE's will be able to handle that kind of design. What they will do is make sure is does not fail dangerously and if it moves about a bit, then you now know that .. and everyone is happy.1 point
-
A couple of weekends ago, my wife and I spent some time at the MBC factory and got to ask some questions of the team there. There were quite a few different people there; sales, design, windows, even Kevin Blair, son of the founder Joe Blair, who took us on part of the factory tour. We were there for over 2 hours, including a 1-1 session where I covered any outstanding questions I still had. It was an informative day and great to see how they've developed and expanded. Seems they just keep buying more and more space whenever any adjacent units become available! Great session and I took a lot of photos. A couple are attached but the remainder can all be found at https://www.dropbox.com/scl/fo/11i21jn1n6ko1uclcbrm7/AMtb-Jt48ljlTc0lPfiQeKk?rlkey=f08zqofj4l1qllgrxphtnawtc&st=uxhdqk71&dl=0 They seem quite busy and are seeing an increase in demand from people building lots of houses, especially in the social sector where they explained it is easier for a company to secure any additional funding required for Passivhaus standards as they can offset it against potential future requirements to help with heating costs etc. From a pure materials perspective, they acknowledged the challenges of Brexit, COVID-19, etc. and how that initially affected costs and quotes quite significantly but things are a little more settled now and as they expand, they're able to secure pricing for longer periods as they're able to commit to larger orders. They're also sourcing from multiple suppliers and multiple regions as costs and availability flex due to growing seasons etc. Process Pre-start meeting - they discuss design guidelines and decisions with you and get your architectural drawings if available. MBC redo the designs in their software, including the 3D roof design. This takes about 4 days and they can then be provided back to your architect (if applicable) to update anything that did not translate from your original vision into an engineering specification. General arrangement - that design is then turned into the build instructions for the factory. The full structural engineering package is provided by Adept who MBC have been working with for over 22 years. They have 20+ engineers. Once erected - cut all your holes for service penetrations etc. and then MBC will come back to tape etc. and provide their full airtight package. These teams are all employed by MBC so are well versed in airtight requirements. PHPP - standard MBC timber-frame features are available for PHPP modelling, but they don't do any modelling themselves; you'll need someone to do that. Building Regulations - MBC don't do building regulations drawings/documentation so your architect or an architectural designer would need to do those. File ownership - MBC don't provide you with the source files from their various software packages but will do exports in various formats for you. General MBC Passive Foundation - they don't subcontract this (technically) as they own the company that does it. This is the same for the timber-frame insulation - they own that company too. You excavate the ground to (mostly) a 100kn bearing capacity and backfill with MOT Type 3. MBC then come along and puts in MOT Type 1, sand blinding, EPS etc. If you're putting UFH in the slab, you need to do this, MBC doesn't. Then comes the concrete. Site access issues - they can work around most issues. They've not been able to find some way to make it work. They send someone to the site to investigate constraints and then plan accordingly. What things influence higher cost - big open spaces, the weight of things (like green roofs) and features that require hidden fixings or complicated connection details. They have not seen any issues with mortgage companies or warranties concerning their timber-frame installations. Materials and Sources They source their materials from different places depending on the market and where things are growing. All timber is FSC sustainably harvested with documentation. They secure pricing with suppliers based on estimated cubed usage, and swallow any pricing fluctuations once a price for your timber-frame has been agreed. External walls and floors are treated. Some locations require additional treatments for things like longhorn beetles. Windows They supply and install Rationel and Velfac windows. Solarlux (generally aluminium) as a gap filler when there are requirements that can't be met by Rationel or Velfac. The Rationel windows are primarily timber/ali-clad with a larger profile, whereas the Velfac are composite, aluminium/timber and have thinner profiles. MBC are of course happy for you to choose windows from someone else so long as you use an installer that is manufacturer-approved and that they are installed to MBC airtightness specifications which they will provide. Choosing MBC to design and build the timber-frame and to install the windows can save some time in some situations; MBC will happily place the order for the windows based on their design drawings. Some window companies will want a structure to measure against unless you are willing to take the risk of measurements being incorrect. Furthermore, there is no possibility of the timber-frame supplier and the window supplier blaming each other for any issues if MBC does both! Installation of windows is by NKG as sole installers. They are very experienced with housing and deliver consistently good quality installs. Their window systems manager, Jason, was at Rationel for 15 years, was an installer himself for 3.5 years, and before that was a carpenter. How can you save money with windows? Bifolds are more expensive than sliders. The taller and wider the glass, the more expensive it gets, large spans especially. Openers are more expensive, but only marginally so in the grand scheme of things.1 point
-
A Northern Self Builder has recently patented a new Procrastination Technique. @ToughButterCup, 71 , from Lancaster has been unveiling his new technique on a packed village hall carpark somewhere in deepest darkest Lancashire. The location is being kept secret on National Security grounds. A local police chief said; " Ah maaaht 'av ter kill ya if ah wuz ter tell ya where ee iz. " The technique is being called Extended Simplicity. Take a simple job like painting over some filler. All that's needed is paint and a paintbrush. The necessary precondition - and this is vital - is deep CantBeArsedNess. (CBA) After 9 years at it, tough buttercup has been in what is called the CBA State for quite some time. His supportive partner has been worried about him for some time. So she decided to bring the paint and brush in from the workshop and put them on the dining room table. They remained there for a week. From there they made their weary way to the foot of the stairs. Yesterday morning they were at the top of the stairs. This morning after a heavy sesh in't boozer last night, they are on @ToughButterCup's bedside table. Tonight, just to spite her, I am going to put them in her side of the marital repose system. And switch the lights out and fein sleep before she comes to bed. That's a genius idea don't ya fink?0 points
-
0 points
-
0 points
-
Not to be outdone, she has a variant on the same theme too... 9 years ago, "Dwahling, dearest, please put these gabions in" : Last weekend - please take them out. "Its Ok, love, I'll play the tart for you if you do..." (Damn that Penelope Kieth woman) Tell yas all wot: if we'd have paid someone else to put them in, they'd still be there. Thats fer boody sure.0 points
-
Yes ! Also ; look at job . Not understand job . Vaguely recall you did job previously . Realise job was wrong . Look at job again . Say out loud (expletive deleted) this . Stick nose in fridge .0 points
-
Dream on, unless you do a massive coil and heat slowly over an hour or two, then you may get that. 3 to 3.5 is more normal.0 points
-
0 points
-
Sorry Dave. But can I borrow her for a week please?0 points
-
Go around the outside and look for cracks or replaced mortar. Check the corners of window frames inside and out. Feel for drafts around door and window frames. If there are no signs of issues, then it just just be the house was built by someone drunk. Drink, and you'll forget about the wonky house.0 points


