Leaderboard


Popular Content
Showing content with the highest reputation on 06/12/24 in all areas
-
I spent 25 years in sector ending my career as sales director of the largest manufacturer in the UK so I can probably answer this quite well. 99% of the production in the UK comes from 4 manufacturers Forterra, MBH, Ibstock and Wienerberger they sell direct to the major house builders and the rest is sold via factors and merchants. The pricing is done on a site address hence why they want a site address as if they register the project they get a higher discount. With factories in Europe they all have distributors in the UK who they sell exclusively to, be it some of there range or all of it. These importers will also sell to factors and merchants. Therefore the majority of bricks you get shown from merchants and factors will come from the same few suppliers. If you contact factories in Europe directly they will often just forward this on to their agents in the UK but at least you will speak to the importer directly. Depending on who they are they may sell direct or sell via a local merchant who they have a rebate agreement with. When it comes to discount unless you are ordering 30000 bricks plus it’s unlikely to get a discount from the major factories as simply they don’t need too for smaller orders so any discount offered will be based on the merchant and factors rebate scheme with the manufacturer. Merchants will discount anything that they have on stock to simply shift it out the yard, especially in the current market however very few, if any, merchants will stock linear bricks3 points
-
I have some experience in this arena, for about 10 years or so I worked drawing plans for extensions etc in the Wiltshire council area. I am retired now, the pandemic basically put an end to my work in that arena. Therefore my experiences could be out of date a tad. I might add, however, that I did do a couple of planning jobs late last year into this as a favour to an acquaintance back in Wiltshire. Both, I thought, would have issues getting through the planning process but both went through relatively easily. So my take on the original post! Scale bars and pdf - I understand completely the LA view, why is it even an issue to the OP? OS based location map instead of Eastings and Northings - again seems perfectly fine to me. There is usually/always guidance as to what is expected in a planning application, was this not the case for the OP? It strikes me that the other issues are fairly minor, and anyone who does this for a living would not really baulk at the response from the LA. Having said all that, there were certain members of the planning team that I always prayed that I wouldn't get for one of my jobs. I knew that if they were the officer assigned to the job it would not be that straightforward. I had one job that was accepted and rejected four times in one week. I put that down to being overworked as she was a fairly senior planning officer. Didn't make it any easier to sort out but I sort of understood. At the end of the day, it isn't a job that I would hanker after tbh, but there you go, someone has to do it.2 points
-
They want an OS based location map even thought the planning portal allow you to provide easting and northings only 1:500 scale location plan - they already have one Elevation drawings with scale bar - they have all the elevation drawing with actual proposed measurements on them Similarly scaled floor plans To be able to measure we need PDF instead of JPG files Ecology report assessment check list - not asked for on the planning portal We don't have a record on system for "your site". If they had bothered to read the extensive accompanying document I put together they would have all the information about the current build being done. I just hate that I am having to reproduce or further annotate stuff that they already have in front of them. And if I could go and physically talk to them it could be sorted in under an hour. Muppets!2 points
-
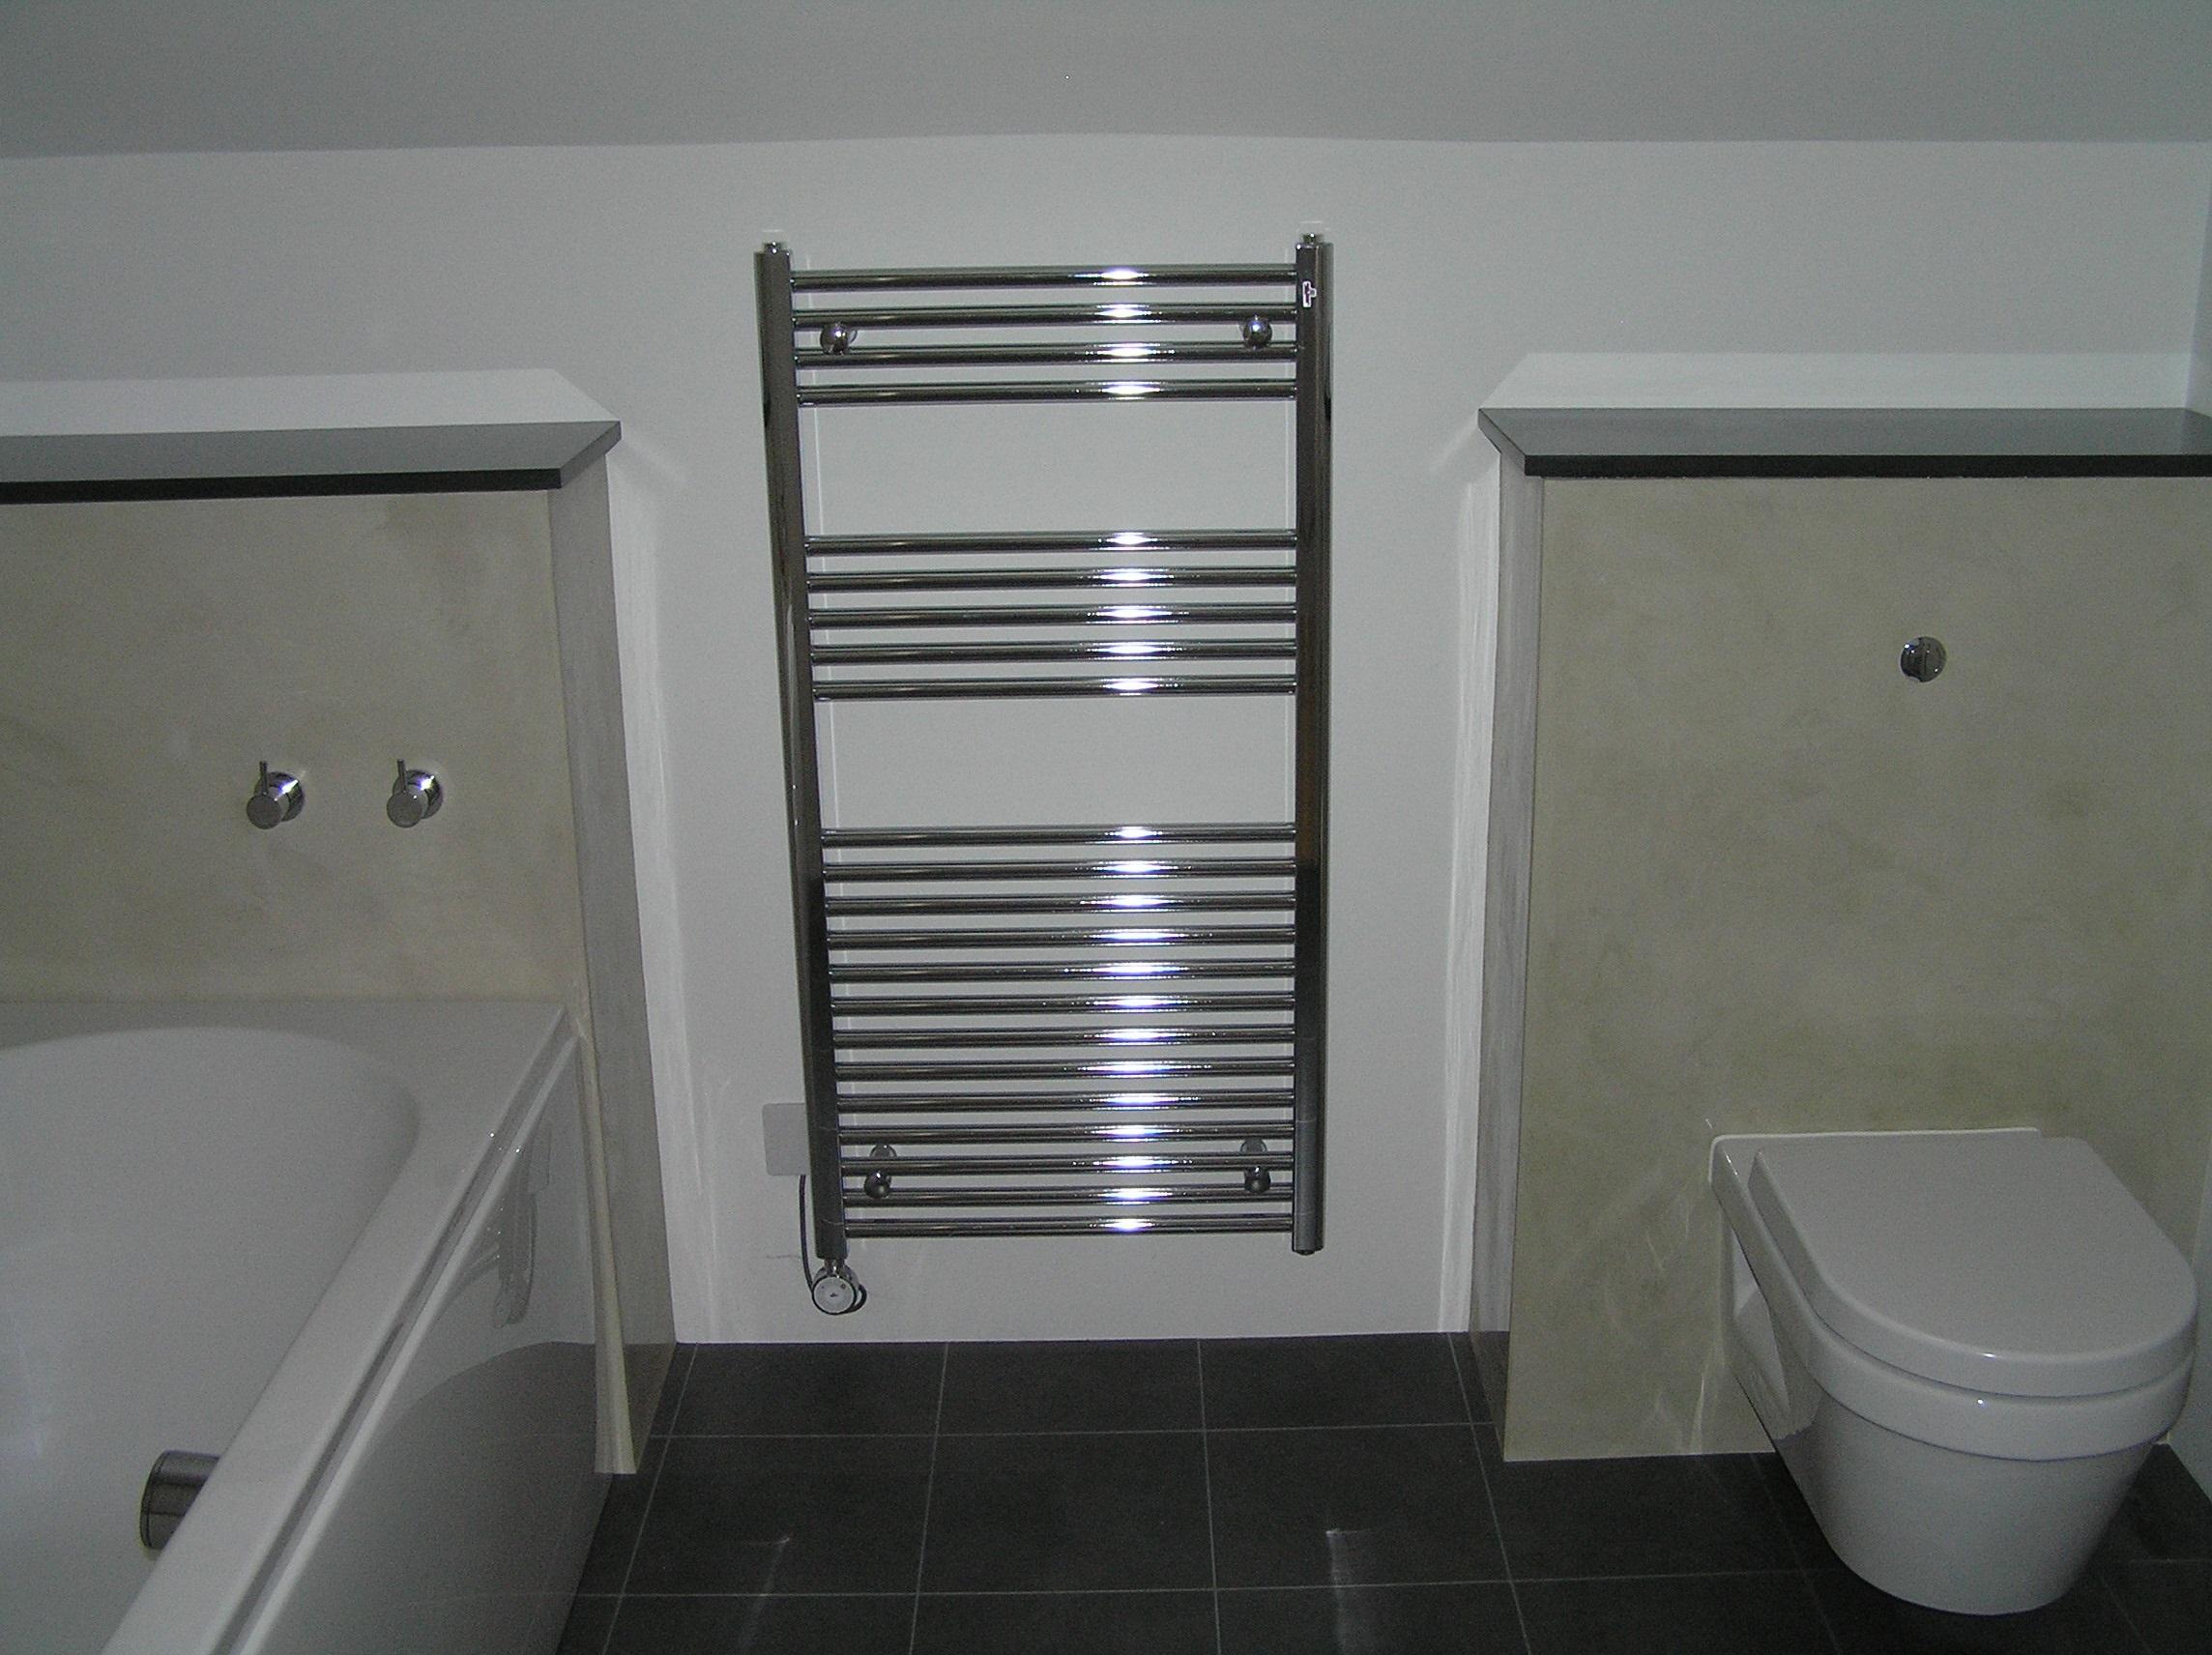
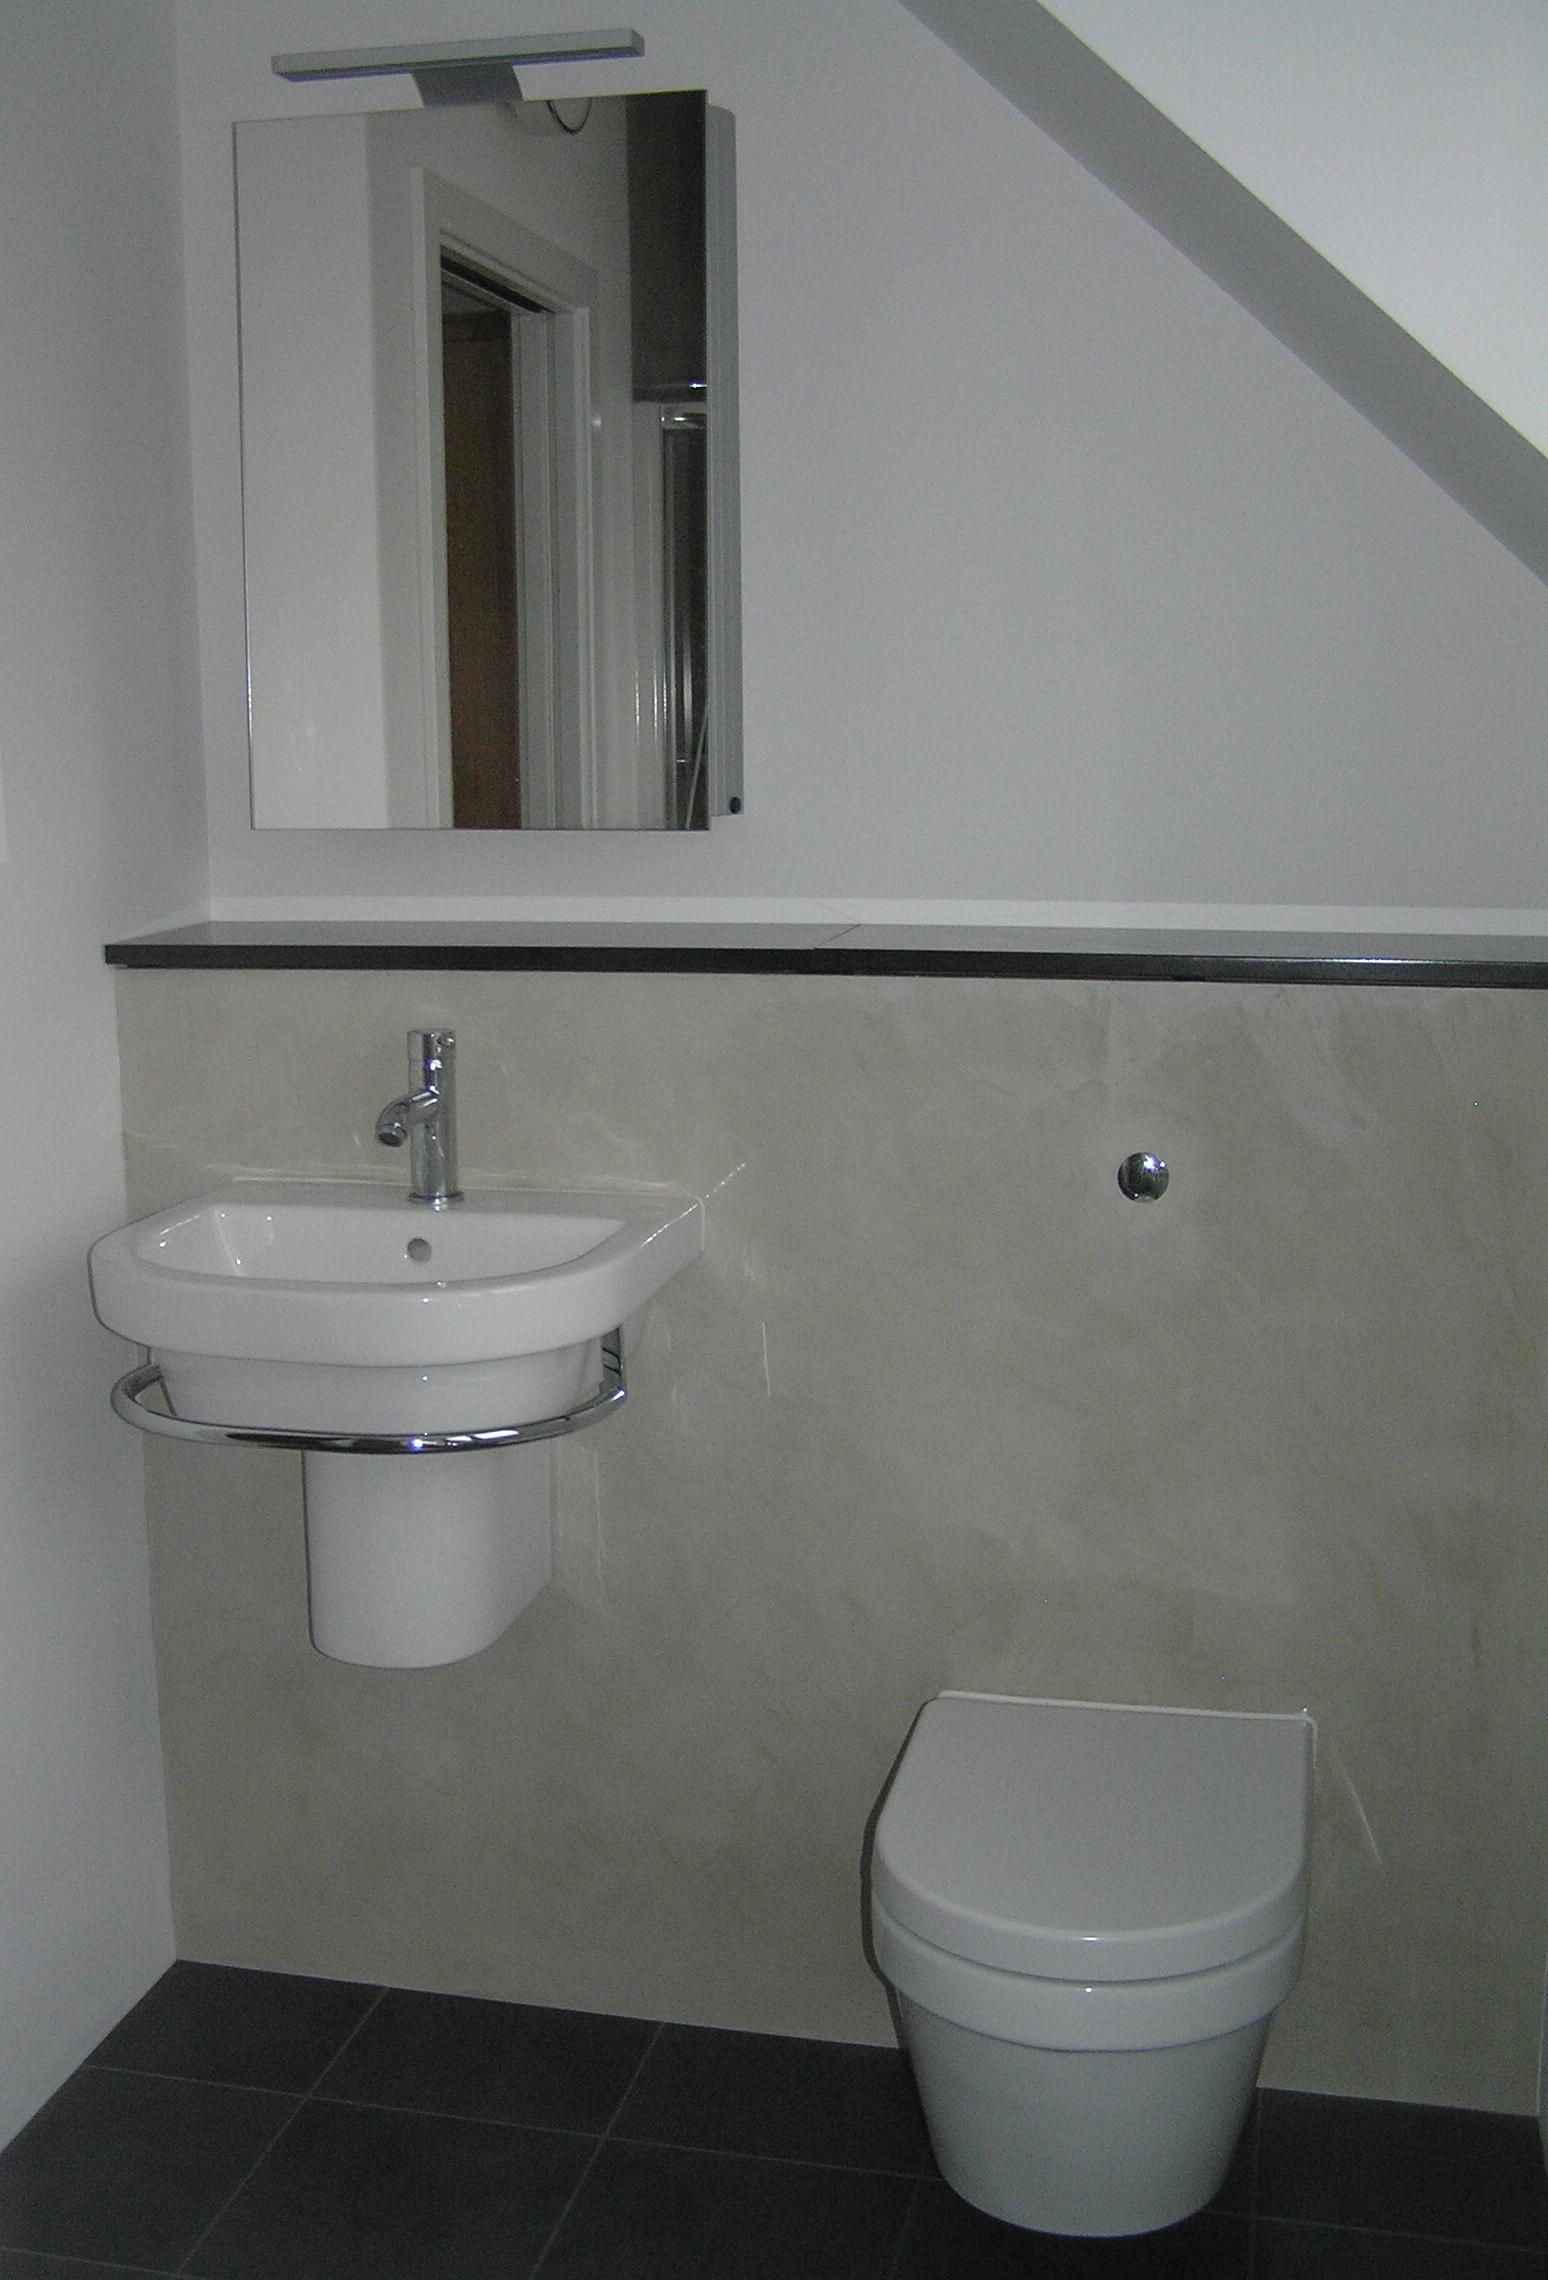
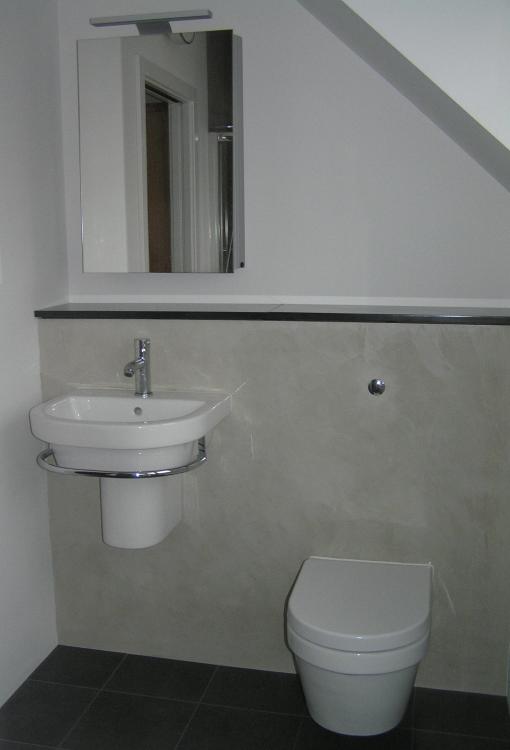
We used Venetian Plaster in all the bathrooms in our last place. Much prefer it to tiles.

 2 points
 -
Always good to understand your exit strategy, however heartbreaking….1 point
-
Couple of points. The 1.5 ton digger quoted for is not going to dig a 2.4m deep footing (if required) on the whole plot Muck away should be by grab loader and not skips, for speed and cost. I removed large stumps and back filled the holes with clay that was removed from drainage runs on the site. This was compacted down and re excavated for footings. That gave me the same ground make up through out the plot.1 point
-
Everybody's got to start somewhere... But just to spite you Mr. Griffiths, I'm going to weld it all myself. So there. Harrumph.1 point
-
I would say that is long enough for the ground to recover. so we don't consider it. A big thirsty tree in clay may need a few years for the ground to recover. A small or less thirsty tree less so. But 6 years should be enough for anything....not that I've seen any studies of this. I have built near disappeared trees after a year and not had problems, but that really depends on having a proper winter with drizzle over a long period so that the ground gets properly wet and expands to its original form..1 point
-
As mark said, it’s the wall thickness that will decide the weight 25 x25 x5mm. Will be heavier than 30x30x1mm wall thickness have a think how it’s being welded this might guide you choice of wall thickness. 1.5mm isn’t a bad place to start. remember we have seen your welding previously. 😂😂😂1 point
-
I've had success in the past jumping on to Amazon chat, telling them I was going to return the product because I'd found it cheaper, and having them refund the difference. Not always - I guess it depends on how much margin they have to play with and how good a customer you are, but may be worth a try before you go through the hassle of ordering from somewhere else and returning it to Amazon...1 point
-
I would go 30mm thin wall, 1.5mm ish for stiffness. You won’t be having high compressive or tension loads so no need for thicker wall thicknesses.1 point
-
Can you imagine how awful it would be to be a planning officer? Bet you get a lot of nastiness thrown at you.1 point
-
Gas pipes need to be buried to at least 450mm under a driveway with light vehicular traffic. If you can't reach that depth then you need mechanical protection, like a concrete slab at least 100mm above the pipe. If you've got heavy vehicles, then you may need more depth, like 600mm. The pipework should be bedded in sand.1 point
-
Because everyone in Local Government (and elsewhere) is being instructed to more with less.1 point
-
No not yet. Osmo do an oil but its quite a faff to do now we've moved in. It's marked a bit in kitchen area from drops of grease but it doesn't really show due to the nature of the natural imperfections in the finish1 point
-
I have looked at Google maps and Google earth and it appears that one was felled in 2020, the other one which didn't look healthy, was felled in 2018. As there hasn't been any mention of tree species, am I correct in thinking that this doesn't have any effect or bearing once a tree has been felled?1 point
-
I have looked at Google maps and Google earth and it appears that one was felled in 2020, the other one which didn't look healthy, was felled in 2018. As there hasn't been any mention of tree species, am I correct in thinking that this doesn't have any effect or bearing once a tree has been felled? Yes good ideas. I think it's always the cost implications, there's always a solution, but how much does each solution through the build add to the cost.1 point
-
So firstly, I can't tell you whether the design is particularly complex yet as I don't have one... 😉 It is an award-winning Architectural Practice, with more than one office, but it's not based in London. It was the most costly of all our quotes from our shortlist, but they were also streets ahead of their nearest competition in how comfortable we felt to be in their hands. All of us make decisions about where we want to spend our budget, and how much we're prepared to spend on each item. Personally, this project will be my third home ever, and my first self-build - I don't move around a lot! Many others on this site are on their second, third, and more builds and have lived in many different houses. I don't have that wealth of experience, so I've chosen to engage someone in a specialist field to help me. I work in a senior position in the IT industry, and that's what my clients do every day of the week. Sure they can do some things themselves, but they trust that our teams have experience they don't and will perhaps approach something in a way they had not considered, improving their experience, reducing their risk, and providing an excellent return on their investment. This is what I am looking for from my Architect and why I was very careful about their choice. Cost is very relative; when you look at the work they will be doing, and the seniority and experience of the people I'll be working with, then I'm very comfortable that it is good value. For those interested in the process, I have a design brief that lists all the things we'd like to achieve and the way we'd like to live, a small number of photos that show the design aesthetics we are drawn to, a list of known constraints (for example, there's a 3" PVC water main with a 6m easement that goes through the plot) and a bubble diagram that has all our desired rooms and their relationships to each other drawn on it. Our architects will take that and use their skill and experience to bring it to life for us in the specific context of the plot, its orientation, the surrounding buildings and features, the options for access, and a hundred and one other variables that all have a potential impact, many of which I would just not have had the skill or experience to consider. Of course, assuming our appeal is ultimately successful... 🤣1 point
-
1 point
-
To add to @JohnMo answer that would mean the HP has to run at least at 60 degrees all the time it is heating water which is right at the top of the range of most of them and the COP would be very poor.1 point
-
Because the material in the sunamp requires a minimum in flow temperature. Basically you have a change phase from solid to liquid and the keep heating. So if the melt temp is 55, all the energy has to be added at 55 or above. Anything below that does not add energy. A water cylinder adds useful heat in a different way as they do not rely on a phase change in the storage material.1 point
-
Wherever the CA is located it has been established to conserve and protect the historic heritage of an area. UPVC does not belong in a CA or a Victorian dwelling.1 point
-
Fees vary wildly Floor area shouldn’t make any difference We are building a much larger house than yours Its very easy to get carried away with design fees Foundations and anything structural will be done by the SE Floors roof will be pushed on to others
 1 point
 -
We knew pretty much exactly the layout and 85% of the external design and we then shortlisted two architects from looking at lots of their websites. We then met the chosen two on site and broadly talked through our plans. One was right on our wavelength and was happy to do just the parts we wanted (site survey, planning drawings and application support, then building regs level design and liaison with structural engineers). We got a quote for each bit and then went with it. We figured the relationship and matching values and attitudes were too important to shop around on price. Why not work out what you want then go meeting?1 point
-
Ours was based on the floor area, different rate per m² for each stage.1 point
-
We eventually got them down to just under £5k, we asked them to remove the pole that was on our land and they weren’t long in changing the price as long as we agreed the pole could stay! funnily enough the plots that were next to us are now getting all built on and none of the owners have been asked for anything over £3k! We did the ground work and they have benefited from it.1 point
-
I can’t remember who I bought my bricks from (13,000) but approached a lot of suppliers and when we (she) decided on the brick we wanted my builder was surprised how cheap they were saying “I could not get them that cheap” so get on the internet, perhaps I was just lucky and they had a lot in stock.1 point
-
Planning = P eople l ack a ny n uance n (k)nowledge i n n egogiations g eneral public You have no idea how hard that was !1 point
-
I would be suprised if you can put any timber outside the cement board (only because of regs I had to adhere too with a roof dormer on a terraced house which required fire proof cladding as the final finish.)1 point
-
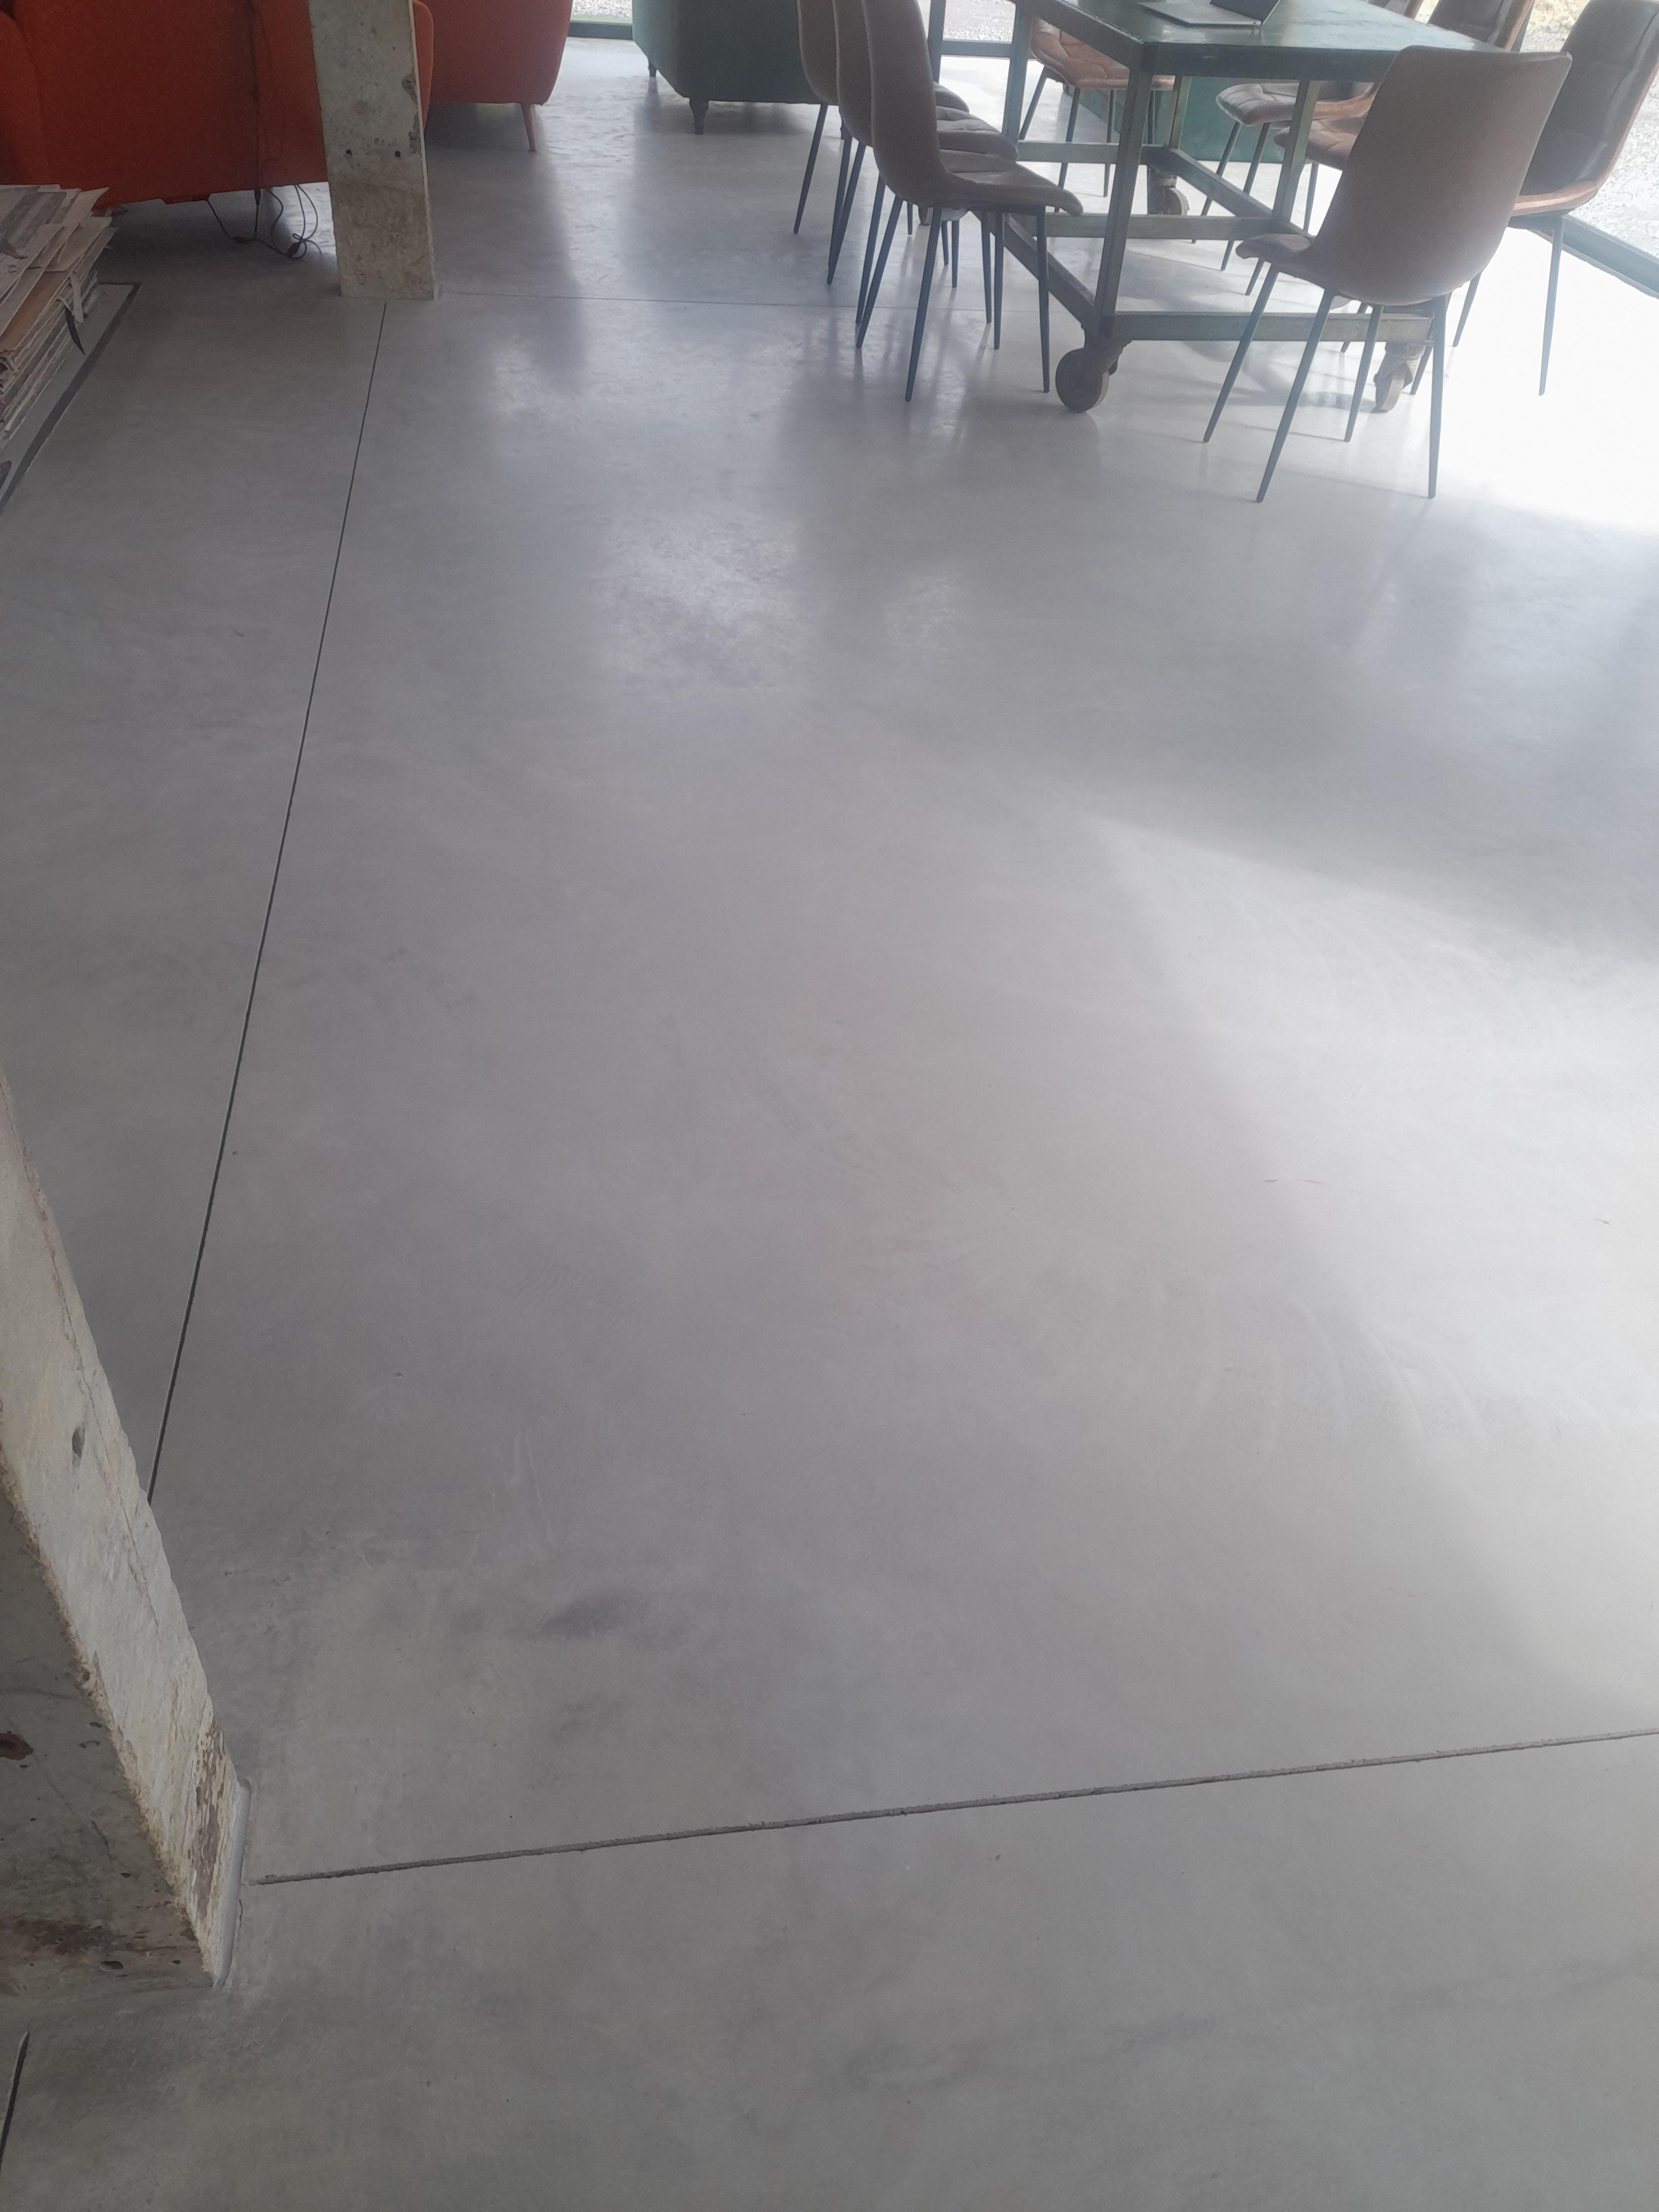
We've recently done something similar. 150mm powerfloated finish (Not polished - i'm not sure why you would?) mesh in bottom 40-50mm with UFH pipes tied to the mesh. so circa 100mm on top but some places a touch less where levels werent perfect. we have saw cuts made throughout the slab the following day circa 30mm deep, crisscorssing the whole building. we have chosen not to mastic them as quite like them, but have mastic sealed other places as we have the old concrete barn protuding through the floor. most builds probably wouldnt have as many cuts but with the fixed structure with 8 posts we felt safer to cut to each to allow it to crack in all directions we have only got one major crack not down the cut line which is right down our hallway but i think probably due to the hot water supply to the other end of the house running under that bit. although that's even under the mesh at the bottom it must have had an impact

 1 point
 -
Good air sealing is far more important than U-Value in my opinion. A neighbours new build, with MVHR and good airtighness . Excellent U values of 0.1-0.16W/m2K. However they opted for new sliding sash windows with brush seals. The house was drafty and sitting in the kitchen with the heating on in winter you would occasionally get a little shiver. Whatever you pick, make sure you have good compression seals, joined properly at the corners (not just loosely butt jointed). Preferably 3 layers of sealing and multiple locking points to ensure they squeeze tightly to all sides.1 point
-
Yes, I have the eddi Grid Limit set to 8A, ie ~2kW: https://www.earth.org.uk/note-on-solar-DHW-for-16WW-UniQ-and-PV-diversion.html#2022-09-23 When doing solar PV diversion the eddi regulates/modulates the amount sent to the Sunamp so as not to cause any import from the grid. When doing (boost) top-up from grid the eddi regulates/modulates the amount sent to the Sunamp so as not to exceed the specified 8A limit on importing from the grid. Rgds Damon1 point
-
Whats modulation please? I have an EDDI too - how, using the EDDI , do you specify a limit to be drawn from the grid ( in your case 2Kw) ? I merely press Boost and let it run for an hour. I have no idea how much that draws ..... but then I do know that two successive boosts allow us to shower and bathe from cold.1 point
-
The next stage of the setup of the site took place over the last 3 weeks. with some good progress. The trip up North, 433mile from our current rental in the NW of England. I set off on Wednesday morning in the 7.5T truck, and the 2 dogs for company. I took some materials with me, and had a gut feeling I was overloaded. I had worked out the approx. weight of what I was taking, but was unsure of the TARE weight of the truck. so I didn't take all I was planning. Luckily the nice guys from VOSA, At Carlisle (Todhills check site), confirmed my suspicions when the invited me in for a check. I was over weight, but the truck and my paperwork were all in good order, and they give the truck a thorough looking at. The upshot of this was me renting another 7.5T truck for storage, offloading the excess weight, driving the remaining 333 miles, unloading, returning the next day with the empty truck, re loading and driving back to site. 1100 miles in 38 hours. not what was planned, but you live and learn.... I arrived back on site on early Friday morning, 02.30am. and slept in the cab of the truck, until I was woke up at 05.10, by the guy delivering the Static, he was at the end of the road... Here's a screen grab of our new home arriving to site, this was 05.25 am... I hired a contractor to carry out the highway works for the site entrance, basically as he had the correct insurance and RAMS it was easier to get this stage subbed out. The idea was he would open up the site, with a 5 T digger, start the initial road and stone this up with around 60T of type 1. I would then meet on site and hire his man for a few days to assist with the pecking of the treatment plant. This didn't go to plan, they had to use a 13T machine, as it was available, so when I eventually get to site on the Thursday, due to the size of machine, the operator has completed the initial works, then pulled out approx. 60M of the road, and pecked the treatment plant hole, and I got this for free... 😁 Having a 13t machine on site, with operator for the Friday, I needed to make the most of it, as I was only paying for the rental of a 5T machine. Mikey the operator, made short work of pulling out the remainder of the road up to the location of the house, in total this road is around 90M. Next I had him strip the area for the house. The house is around 13M x 7M, so I wanted to strip back a working area around the house, my thought was we would hit the bed rock so this was the plan, we marked out a 16M x 11M rectangle, and he set to it, it took him about 2 hours to strip the land and scrape it clean. The above is the bedrock where the house will be, and the road coming up the side of the house. (I used a geotextile as a separation layer for the road, although in sections the road is on bedrock anyway,) You can make out that there is a fall from the top left falling to bottom right, this will be made up with type 1 stone, raising SW corner of the house around 700mm, I will raise the road in this section and use some of the top soil to level this out a bit and soften the impact. The last Job for Mikey was to dig me the trench for the services, he dug a 600mm wide trench about 8M short of the Treatment plant (to allow me access to move the spoil, and a similar distance short at the other end for me to connect to the water. just shy of 60M. Friday was a busy day on 3 hrs sleep. The treatment plant also arrived as can be seen above, I went for a Tricel unit, this was based on cost, treatment, dimensions and availability. Last job for the day was to move the caravan, Mikey helped me with this and we stripped a bit more land and located here temporarily for the night North / South. Saturday I decided to get the water connected to the caravan, for this I needed to complete the trench from the standpipe to the large service trench. I never dug this on the first trip as I was concerned about the electrical supply to my neighbours property. Cables seemed to run across my field at around 300/ 400 mm depth. I used my contact at SSE and he arrange to get the cable moved / deepened. This was carried out a few weeks prior and we discussed the position of the new road, and he made a site visit and we talked about me extending the water pipe trench in both directions so that I could also lay a utilities duct to the road for broadband. So to say I was a bit surprised, and p***ed off when I cut through the neighbours supply cable. The cable was as I was worried about 400mm deep, and the marker tape was next to the cable.... How to upset your new neighbours by having their electricity supply stopped two times (1 for the initial connection, 1 for the remedial works), only for me to cut the cable for a third time.... At least they were very prompt, they arrived after about 40mins, and it took him around an hour to re-joint the cable. I then removed the water standpipe and ran my new water main up to the caravan. It will tee off for the pods at some point, and then continue up to the house. SO now I had running water in the van, and gas for the water heater and hob / oven. Sunday was glorious, so I caught up on my sleep, and had a restful day. Scottish Power were due to fit the meter on the Wednesday, so I needed to get my service cables from the meter box into the service trench and up to the caravan and to the pods. I dug a trench across the road and through to the service trench. I used a 125mm Duct, and inside here I ran some 6mm SWA to supply the pods and some 50mm Duct to run a service cable to the caravan and ultimately up to the house. I pulled the cables through, and I have put a caravan hook up point next to the static. Tuesday / Wednesday, I had 80T of Type 1 MOT delivered in stages, I spread this out using the Back hoe, and vibrating roller. so by the end of Wednesday I have the base in for the road. which will give me good access for deliveries. Scottish power were a no show..... Discussing the caravan with the neighbour they advised turning the caravan 90deg, so it was end on East / West as the stronger winter winds tend to blow from the West, and being side on would ultimately be unstable. I dug out another section of land next to the caravan with the idea of swinging the van around at weekend when Mandy Joined me for the last week. It took me and Mandy all Saturday to move the van, using the backhoe to pull it around. and most of Sunday to get it jacked up off the ground and levelled. We dug 4 pits later on in the week and concreted some anchors in to chain the van down. The van in position with Mandy getting the best job of the week to squeeze under the van and start to insulate the water pipes... Scottish Power let us down again with a missed appointment on the Tuesday with a promise of Friday.... They actually turned up late Thursday and fitted the meter, so we had power on the Thursday night. We spent a couple of days moving spoil around the site to create a mound of earth to shelter and soften the impact of the pods, this was also a planning requirement for the neighbours amenity. Still work in progress and there's 10's of tonnes more to move. Last job before packing up on the Friday was to level the base of the treatment tank pit. At this point we were still waiting for the building warrant. so couldn't actually install the plant. We end the week by getting the Building warrant approved, and the certificate for discharge for the treatment plant both on Friday. Thanks for reading..1 point
-
As we are in difficult times for installing or using anything Russian-related , i obviously went full blown politically correct and installed a Gender Inclusive Austrian Cladding "Der Holzbau" but "Die Verschalung" https://tintabernacle.blogspot.com/2022/04/start-cladding.html1 point
-
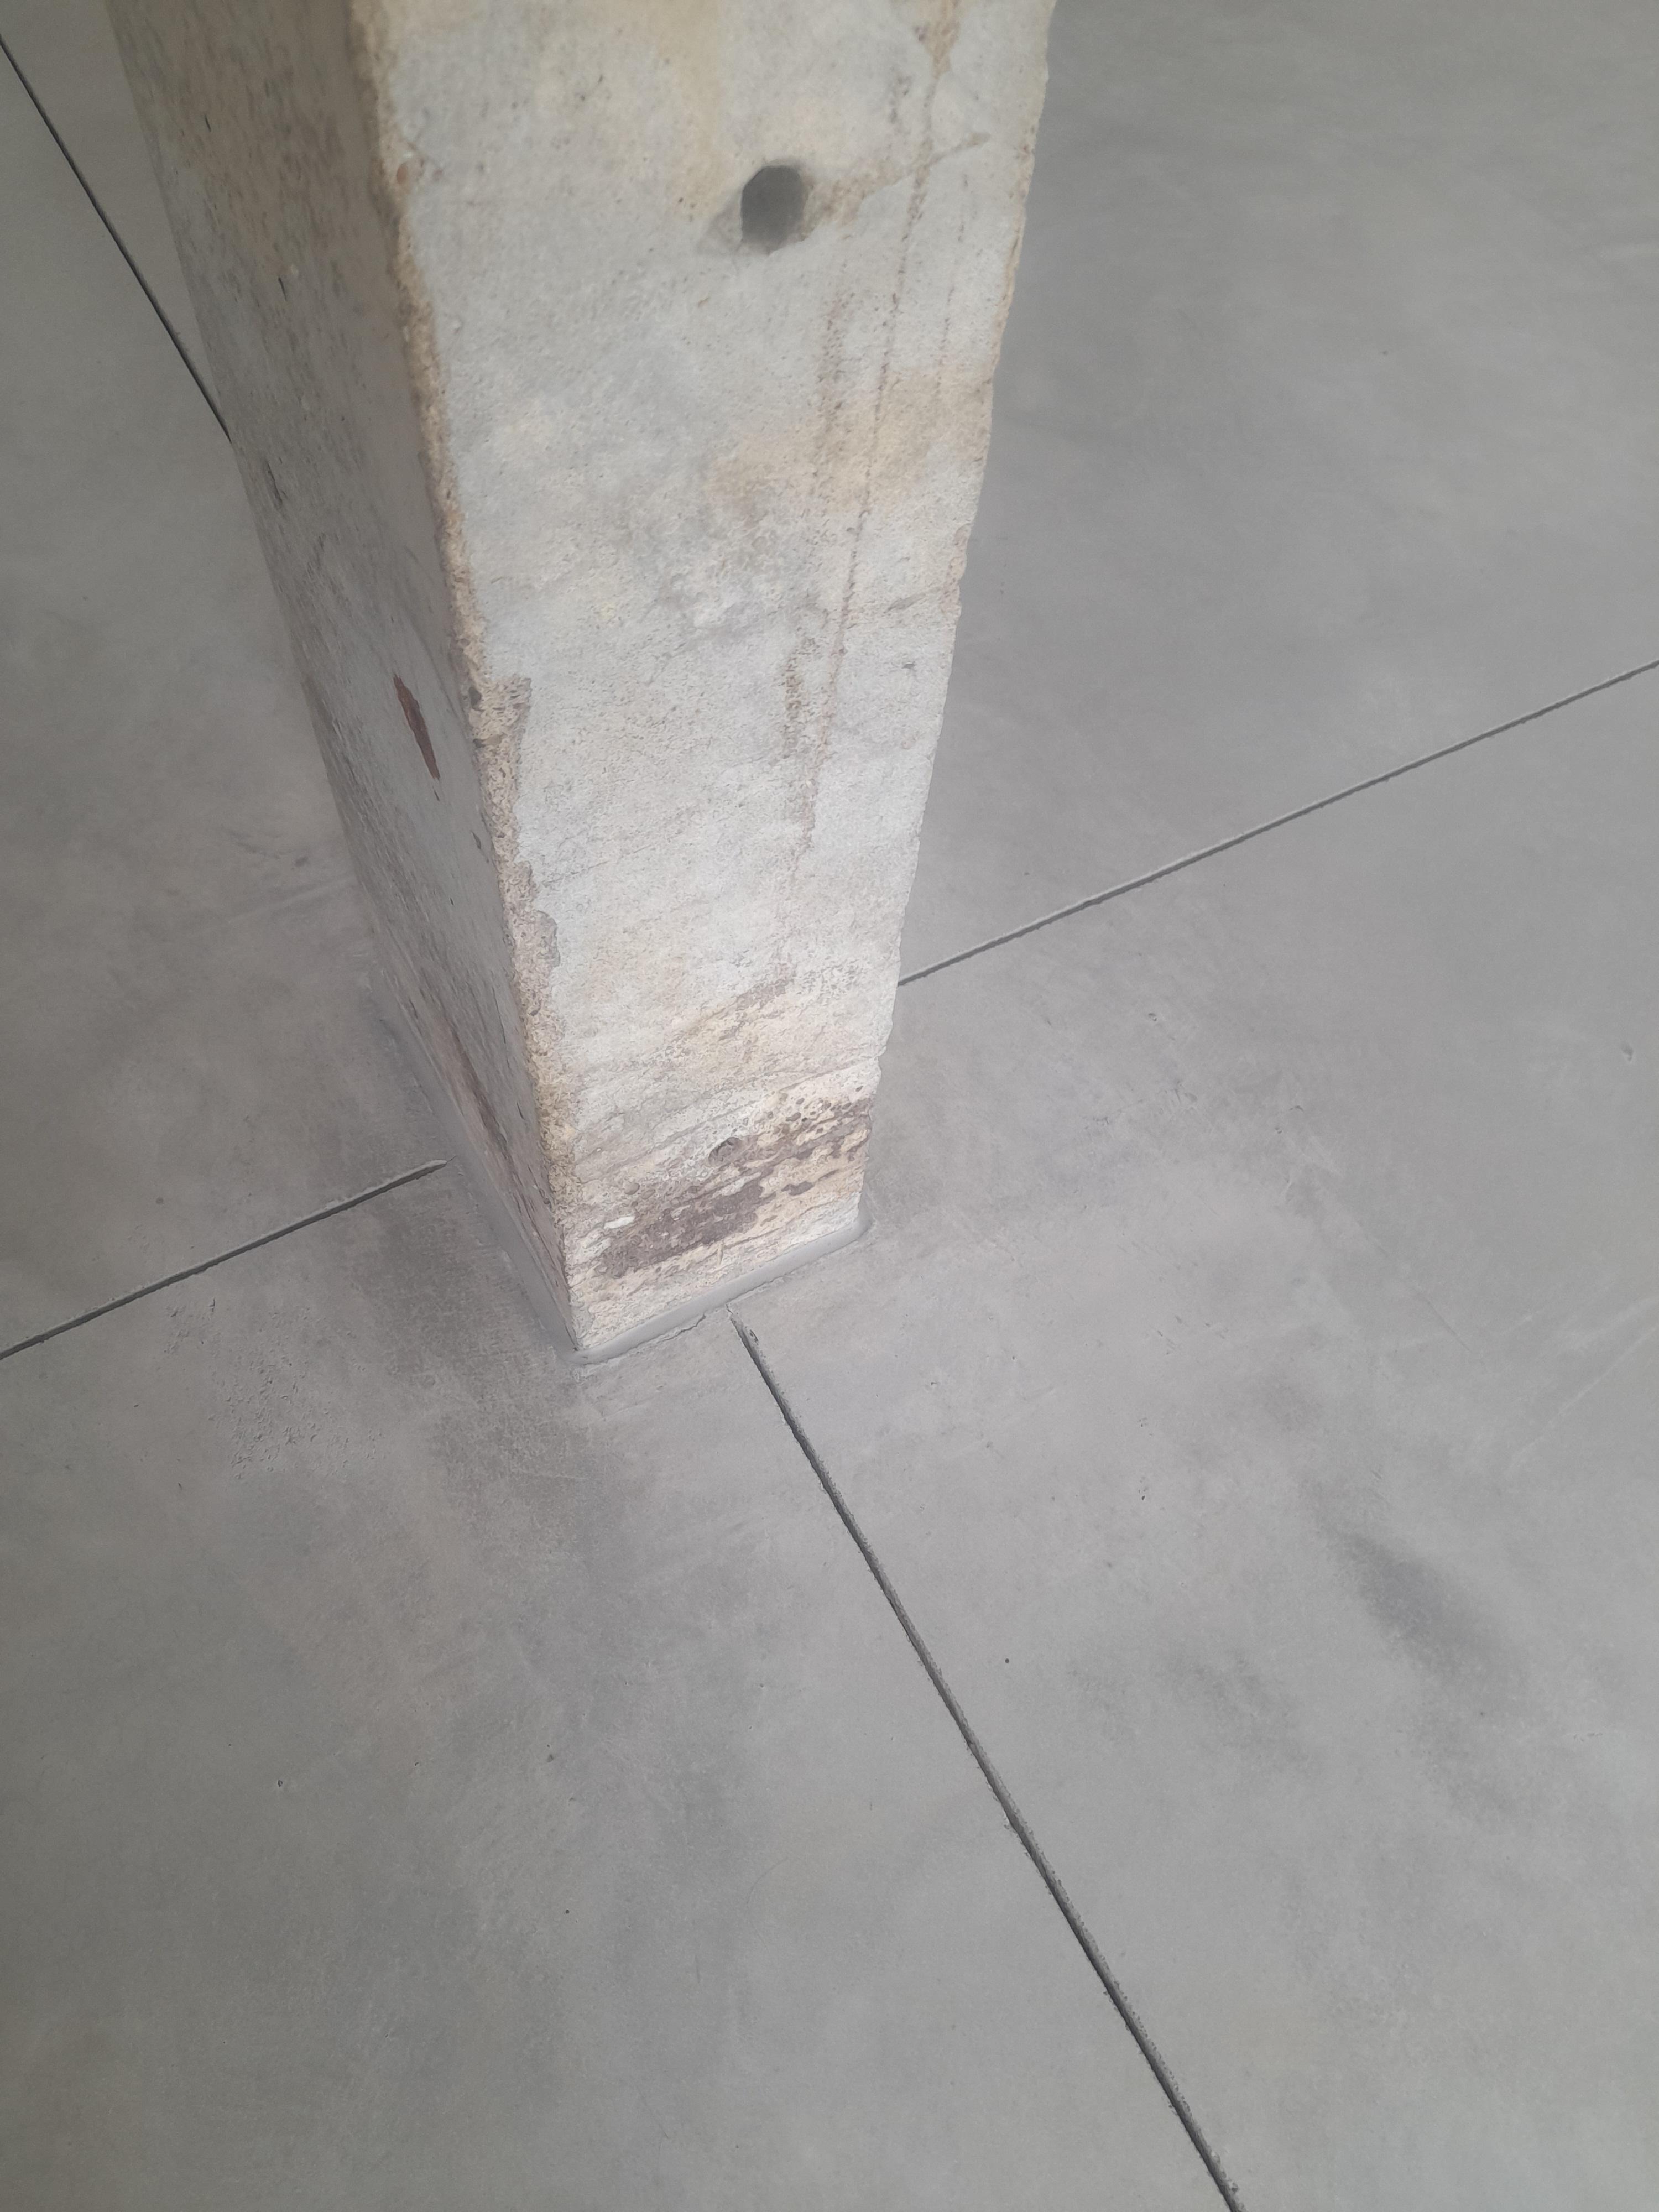
I've put polished concrete floors into a lot of projects. Huge polished floor to the atrium of a Performance Theatre, Several Universities Projects, lots of houses and even my own house. Many of the projects won prestigious RIAI Awards. I've also seen polished concrete floors by others go horribly wrong. Some put in the wrong reinforcement, some use the wrong mix, etc. I wrote the below for someone at work but is relevant for you too. If you've any questions on any parts let me know. Concrete The concrete is 35N10 which is reinforced with plastic fibres at 900g per cubic meter of concrete. As a polished floor goes in later it might need to also be a pump mix as you’ll have doors, windows and roof on. Whoever you get to do your floor will help input on this. Placing of concrete It’s not just the grinding and polishing of the concrete that’s important. The placing and power floating of the concrete is critical. Unlike a regular concrete floor, a floor poured which will be polished has to be super flat and power floated for hours after. Very few people in Ireland can do this correctly. Formwork for steps and other edges has to be perfect and have 45 degree edges to allow trowels into the corners. Little things like dragging a vibrator, shovel or rake through a floor when placing the concrete the wrong way will result in the drag mark being visible when the floor is polished. These things may not be visible to the untrained eye but are flaws in a lot of cheap or poorly installed polished floors that can never be fixed. Spend time and money on this part as a poorly poured floor can’t be fixed by grinding and could make the errors even more visible. Crack Joint These have to be around every 6 meters max and are a saw cut made the day after in the concrete about 30-50mm deep which is later filled with a flexible mastic. Don’t have any areas too small as they could rock like paving slabs. Don’t have them long and thin either as they can crack in the middle like a seesaw. If you have a few pipes in the floor, eg heating pipes coming from a manifold it’s a good idea to have a joint here. It’s also good to line these up with any columns you have. Hide them under lightweight internal stud walls and have them at all doors, etc. You have to think about underfloor heating pipes and ensure they’ve sufficient coverage before cutting the crack joints. That’s where the thickness of the floor is important. Expansion joint Not to be confused with a crack joint these are flexible day pour joints and are also positioned above expansion joints in the structural floor below. As a result they’re slightly wider than a crack joint but again are filled with flexible mastic. For a house you probably won’t have one however we had one on a larger project I worked on a major project. Coloured Stone This is optional. I’ve done it in some projects but not my own floor. Make sure you get the contractors to quote for 4-5 samples if you plan on using coloured stone as you don’t want to get a claim later. You can pick whatever stone you want and also the size of stone. Usually they’re sprinkled over the top during powerfloating. They can be mixed through at the concrete plant but you’ll use a lot more coloured stone and it will be a lot more expensive. Glass which can also be used has to be lead glass as ordinary glass can shatter when grinded. Slip Resistance The slip resistance of polished concrete usually complies with all regulations. Like any regular floor it can be more slippery when wet. Additional grinding and polishing doesn’t necessarily impact the slip resistance of the floor so thinking a shiny polished floor will be a lot more slippery isn’t right. As it’s a domestic situation I wouldn’t worry about this however if it’s a public building you’ll need to include in your specification a slip resistance pendlium test to be carried out at the end of the project to prove the floor is safe. This is a useful document to have in the safety file should someone slip in the future. If you want to get it carried out for peace of mind you can. Sealing Make sure you ask in your quotes for sealing the floor after it’s grinded and polished as the concrete is porous and will absorb tea/coffee spills and heavy traffic if not sealed. The sealing will make the floor a tiny bit darker but in my opinion is worth it. Protection Include in the spec for the contractor to protect the floor after its poured for the duration of the works. We had two layers of cardboard over the floor for three months. It dired out more in areas where it wasn’t protected and at joints but once exposed the variation disappeared. Just ensure it’s well protected everywhere particularly if its not yet sealed as any paint spills etc, will destroy it. Grinding and polishing You can very lightly grind the floor and then polish it as normal if you don’t want to expose aggerate or alternatively grind it to expose the aggerate and then polish it. Grinding a floor is time consuming and therefore expensive so include for grinding the floor to expose a lot of aggerate and for a lot of polishing. You can then later decide with samples not to grind as much or go for a reduced polish. If you don’t specify the amount of grinding required they’ll assume a very light grinding with no aggerate revealed. The floor will be grinded in stages starting at 10 grit working through 15 grit, 25 grit, 50 grit, 100 grit, 200 grit, etc. 800 grit is matt finish and 1500 grit would be a medium shine with 3000 grit a high shine. If you want lots of stone aggerate exposed they’ll spend longer at the 10 and 15 grit before moving up. Reinforcement We used a plastic fibres reinforcement. You can get thin ones and heavier ones but the heavier ones can appear if you look closely in the finish. It’s 900g per meter cubed that use used which is standard. Don’t use steel fibres and don’t use steel mesh. I researched a lot of failed concrete floors and one major issue with steel mesh is when they cut the crack joints they don’t cut through the steel mesh so the floor can’t crack at the crack joints. The joints are still reinforced and therefore crack elsewhere. Perimeter You’ll need flexible insulation 12-15mm thick around all perimeters and at columns, service popups and penetrations, etc. Don’t use rigid insulation as this won’t allow the slab to move and therefore risk cracking. Another issue is with stone walls which are very uneven require thicker flexible insulation. If you intend to dryline do this after the floor is poured and you’ll hide the perimeter insulation easily. Thickness Our floor is 100mm thick and that’s the optimum. Don’t go below 75mm as below this is too thin and you’ll risk cracking. If the floor changes thickness anywhere you’ll need additional crack joints. For example if you’ve steps, ramps or around all recessed matwells as you have a change in thickness in the concrete. Services All electrical trunking and mechanical services should be cut out of the insulation below the concrete floor. If a 50x150mm electrical trunking was placed on top of the insulation the concrete would crack over the trunking. Where we had several pipes close to each other in the floor we had to include a steel plate to rest over to ensure the concrete remained 100mm think and didn’t flow down between the pipes increasing the depth but also preventing the slab from moving. Underfloor heating This works great with polished concrete floors due to the thermal mass of the floor and the slow release of heat. It’s important to have the floor well insulated so put in as much insulation as you can afford otherwise you’ll be paying to heat the ground under the building. Another key point is to ensure the underfloor heating pipes are firmly clipped down to the insulation as any pipes which become loose or if the plastic staples become loose they can be exposed or damaged in the polishing of the floor. Also you’ll be cutting into the slab for the crack joint and if the pipes rise a bit you risk cutting them.1 point
-
Why do Cornwall County Council planning department refuse to talk to people about submitting a planning application? And why is the information on their website so piss poor? And why are they using the sh1tty planning portal system? Am I frustrated? You bet. And having submitted an application to be told that files that were uploadable to the planning portal are not acceptable just makes it all so much friggin worse. Thank you for listening 🙂 I'm off to change files to PDF, and spend unnecessary money on a map they already have. Fvckwits!0 points
-
Maybe but I like it this way . I always check it is sold by Amazon I.e 28 day no quibble returns policy exists . Also in this case it may be tricky to prove cheaper as the replacement is coming from China …0 points