
Leaderboard


Popular Content
Showing content with the highest reputation on 02/07/24 in all areas
-
You mean glass - as in walk-on-glass stairs? Oh fer fooetyfook's sake man, don't you ever learn? 😂2 points
-
No, not in a structural element unless the designer says so. Screws are primarily intended to resist pulling out, nails are primarily intended to resist shear (sideways) forces. Stick to the specified nails.2 points
-
Where on earth has that 2 years vanished? So coming up on the 2 year installation of the inverter and single module battery, and as with most things these days, the gradual improvements to firmware over time have made a huge difference. So at the last update I'd managed to get the power leakage down through an offset, and the whole system was a lot more accurate, but nonetheless still had a small amount of leakage throughout the day which was averaging around 0.5-0.6kWh, certainly not insignificant. It turns out that not long after i bought this setup, Solis released a Version 2 of the inverter, which came with an external RS485 Meter, to connect the CT clamp to, and i believe this was done to improve accuracy, gutted i missed out on it, and theres no way of adding it without swapping the inverter, so thats a definite non-starter. I got back in touch with them to see if there was anything more they could do, and it was decided that I would move away from the firmware which supported the fixed offset (A1 branch), to the generally available firmware and ended up on version 17014, which was clearly much improved as now the leakage looks like this... At the end of september I decided to move over to Octopus Flux to take advantage of the cheaper rate during the night to charge the battery up. To compare both scenarios i have taken the same December - January Period (clearly at this time of year, solar input will be minimal), last year and then this year. Neither of these include any standing charge, this is purely for energy alone. 2022 Electricity 8th Dec. 2022 - 31st Dec. 2022 - Total amount after reimbursement from goverment £44.45 Energy Used 141.3 kWh @ 48.45p/kWh £68.47 Energy Price Guarantee 141.3 kWh @ 17.00p/kWh -£24.02 2023 Electricity 8th Dec. 2023 - 31st Dec. 2023 Energy Imported 15.15p/kWh 130.2 kWh £19.731 25.26p/kWh 17.8 kWh £4.491 35.36p/kWh 3.4 kWh £1.188 Total consumption 151.3kWh @ 16.79p/kWh (Average unit rate) £25.41 So taking into account the government reimbursement from last year, the energy pricing on standard variable tariff this year is around 4p cheaper than the same period last year. I've not included the amounts for export, as they are minimal at this time of year also. Otherwise the battery has saved me almost £20 in that single month, by being able to use cheaper electricity, and in effect shift my load. Maybe another month, or thereabouts and I should be able to stop charging from the grid again until autumn, and rely wholly on the excess Solar PV to run the property. The better months of the year for Solar should be really interesting, as at the peak i'll likely be able to totally drain the battery, and still charge it up enough after peak export period to keep me til the next morning, should be able to accrue a good amount of credit from export. I shall report back in the autumn!1 point
-
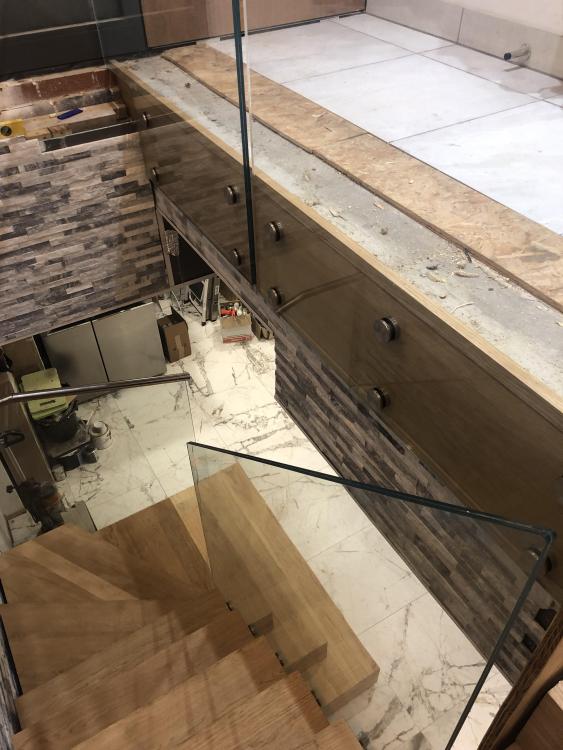
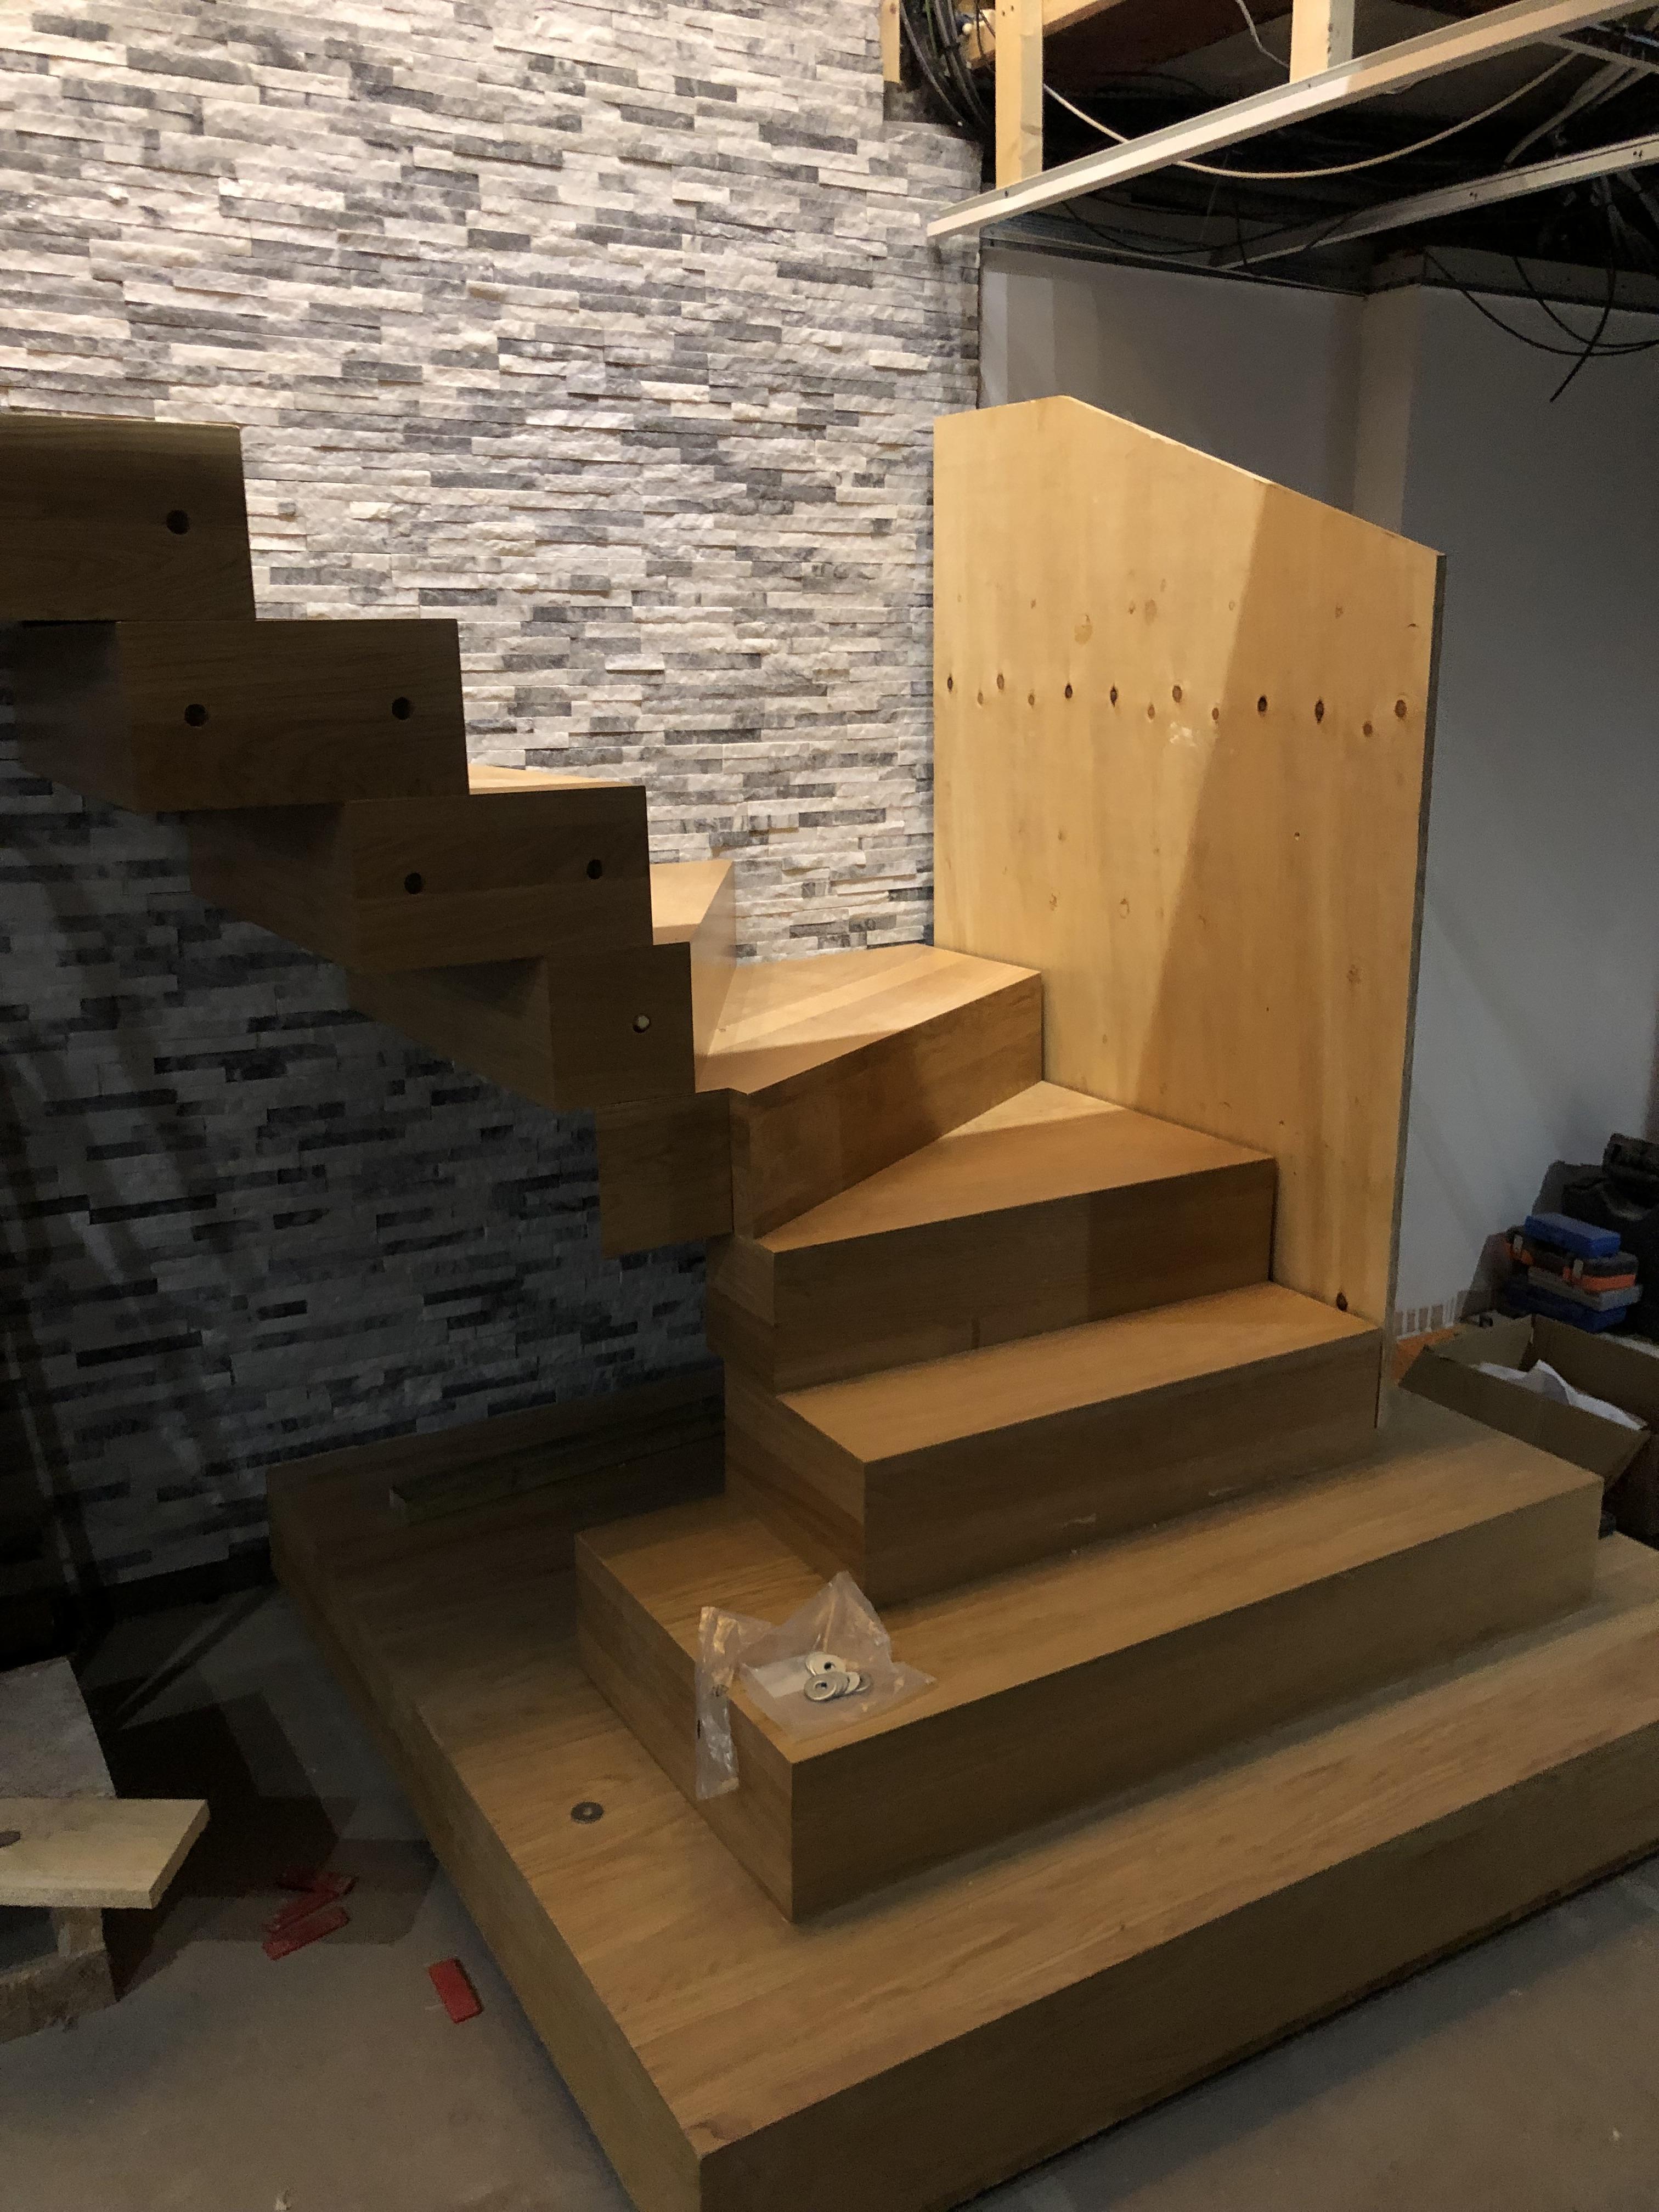
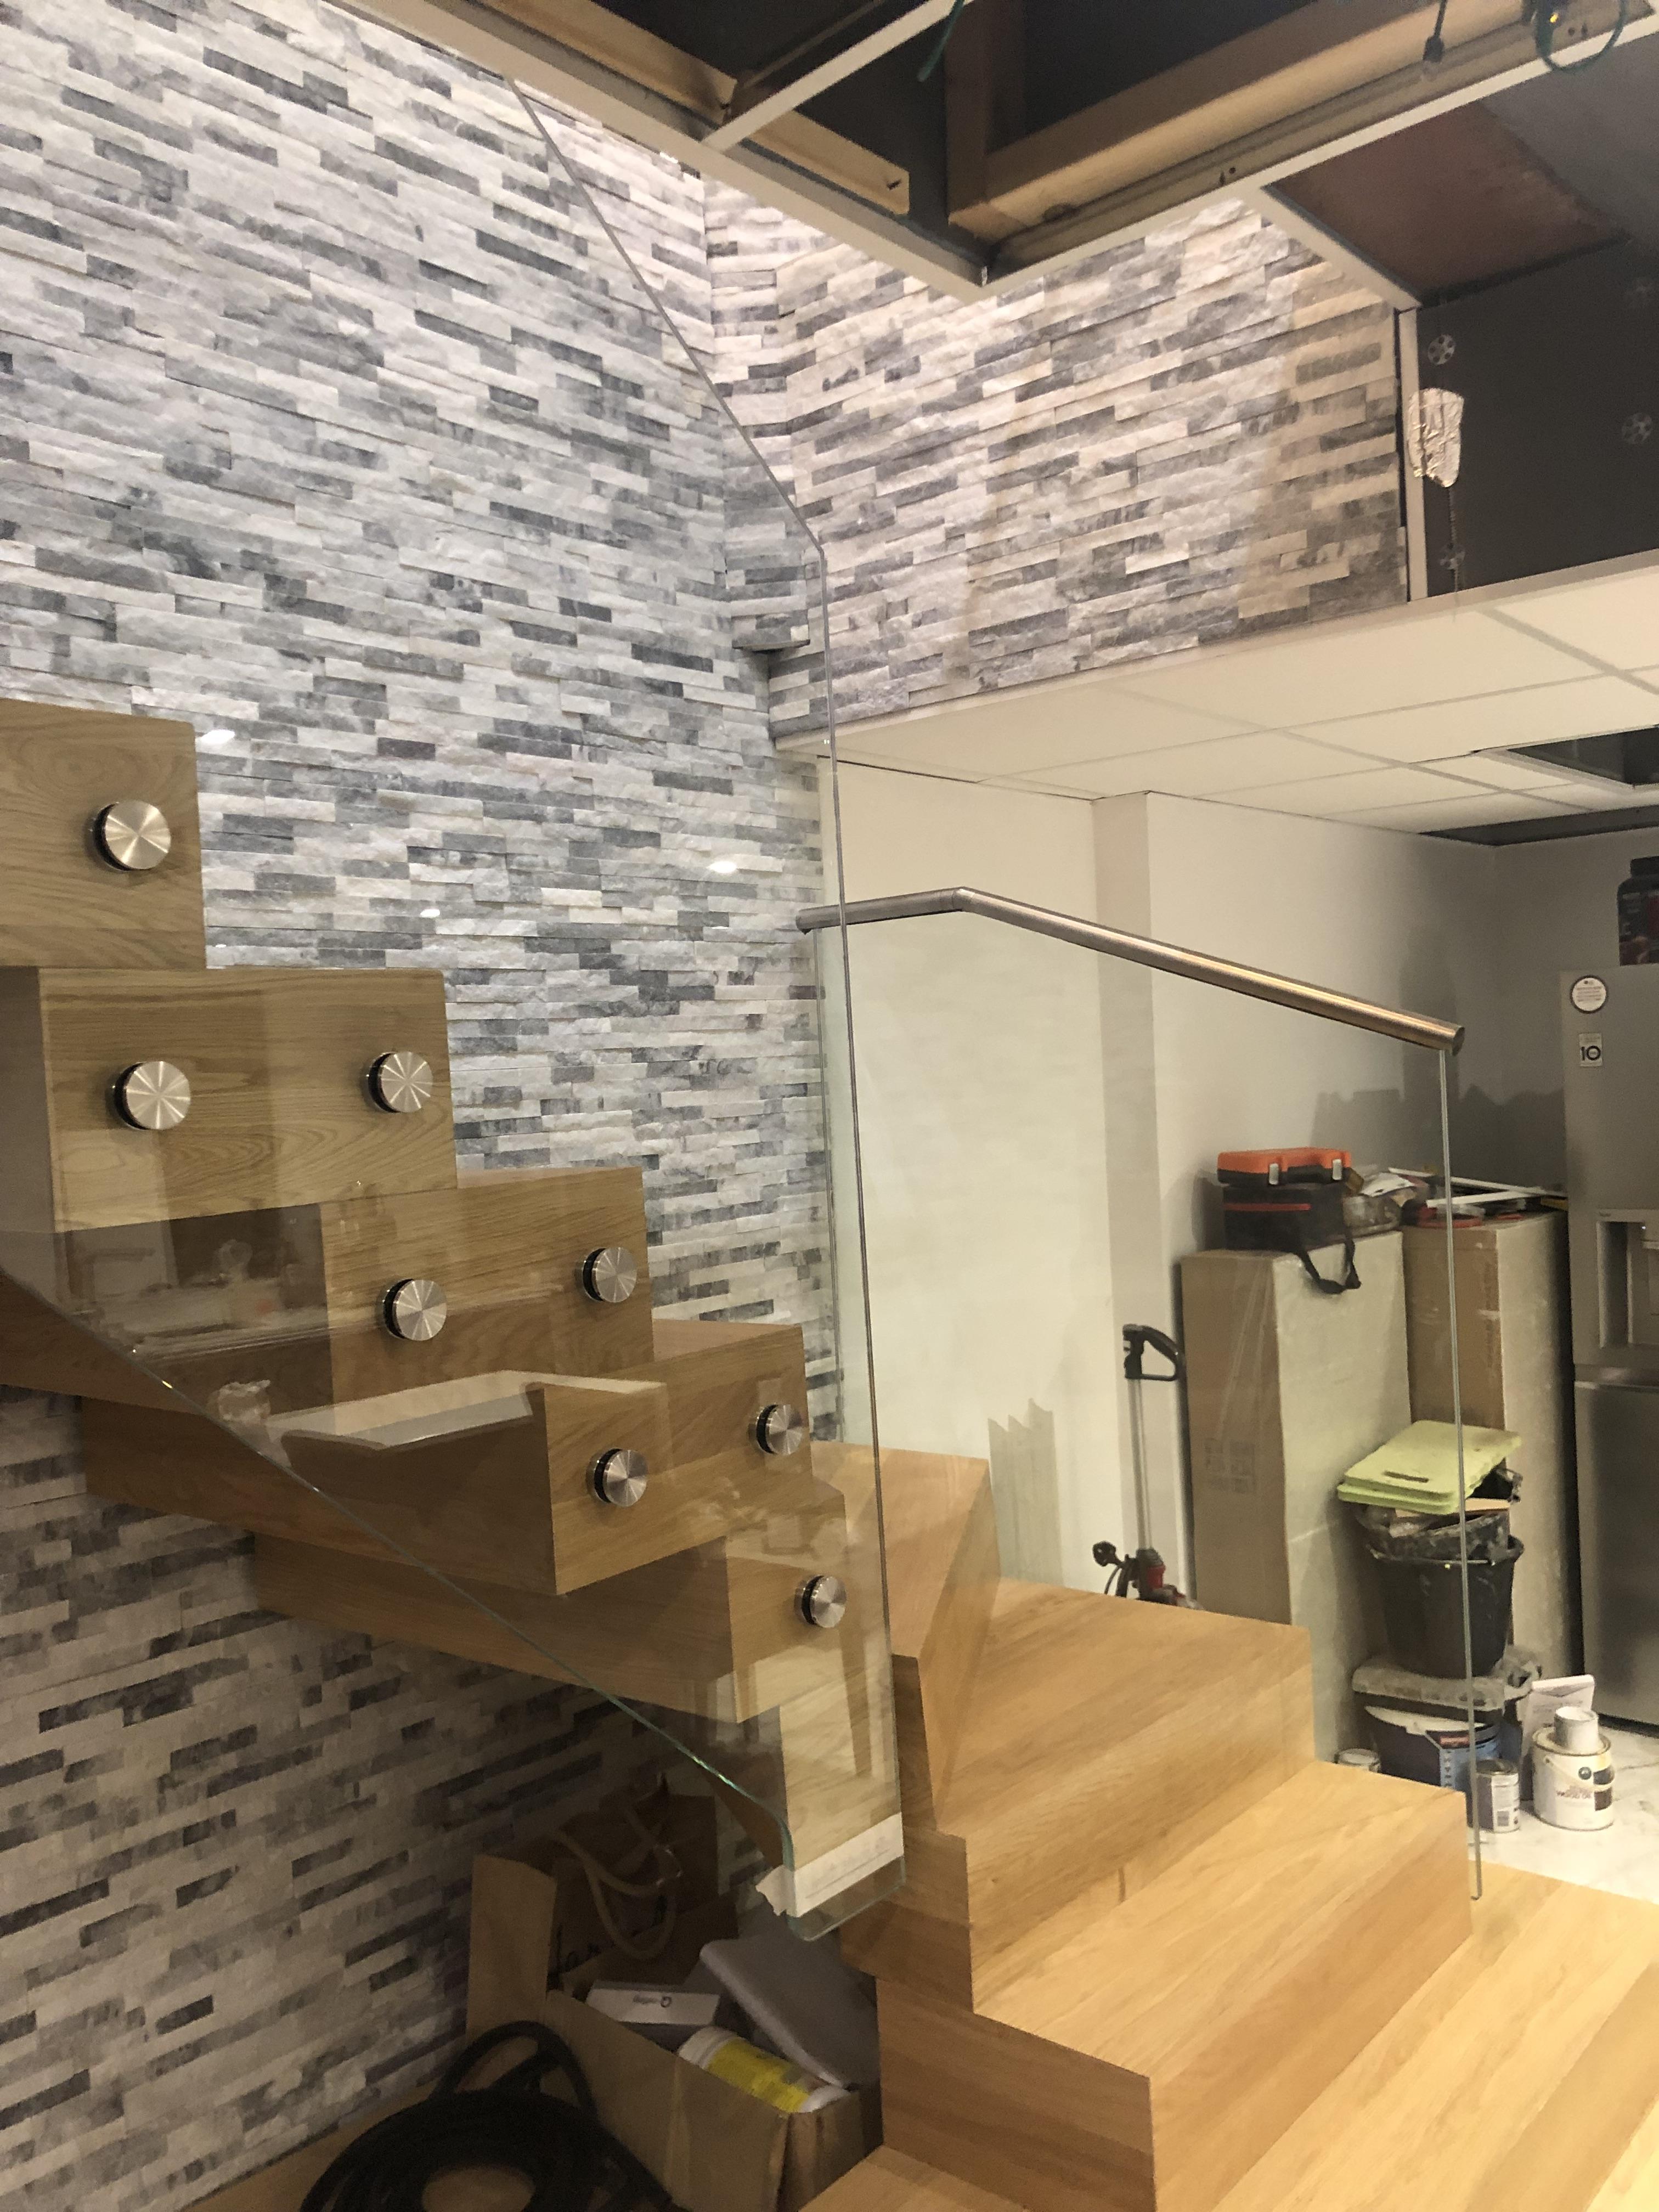
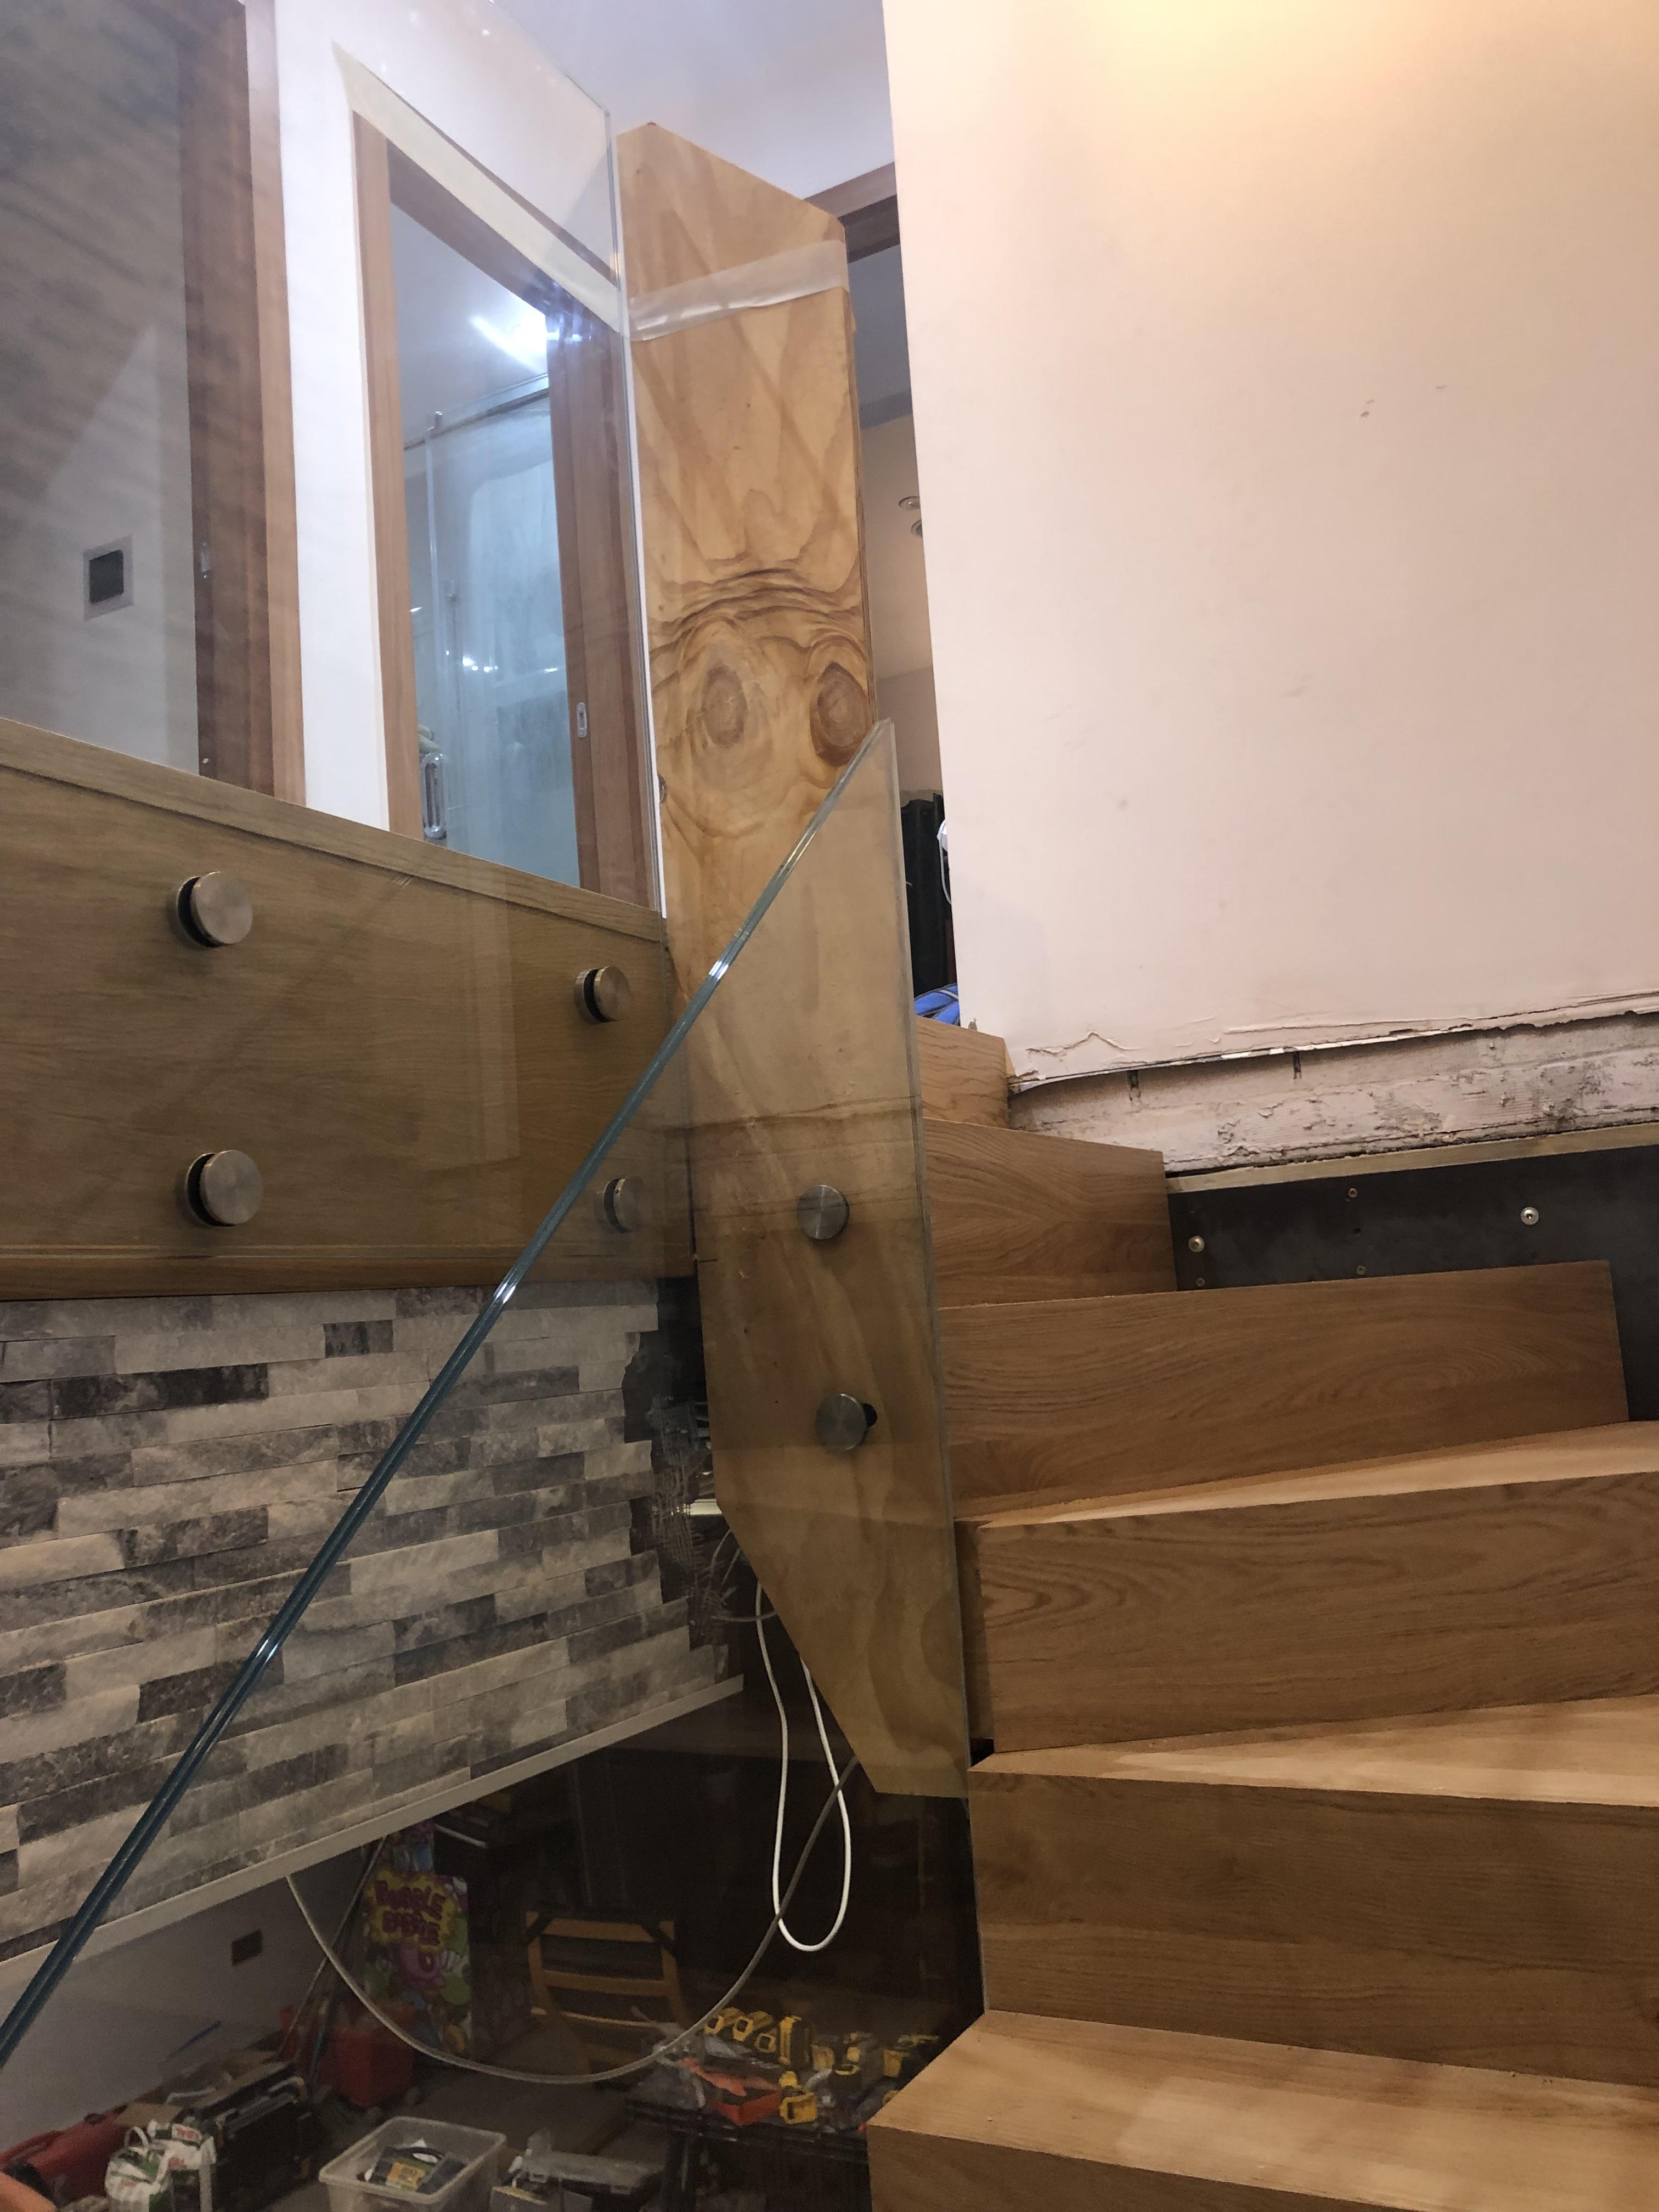
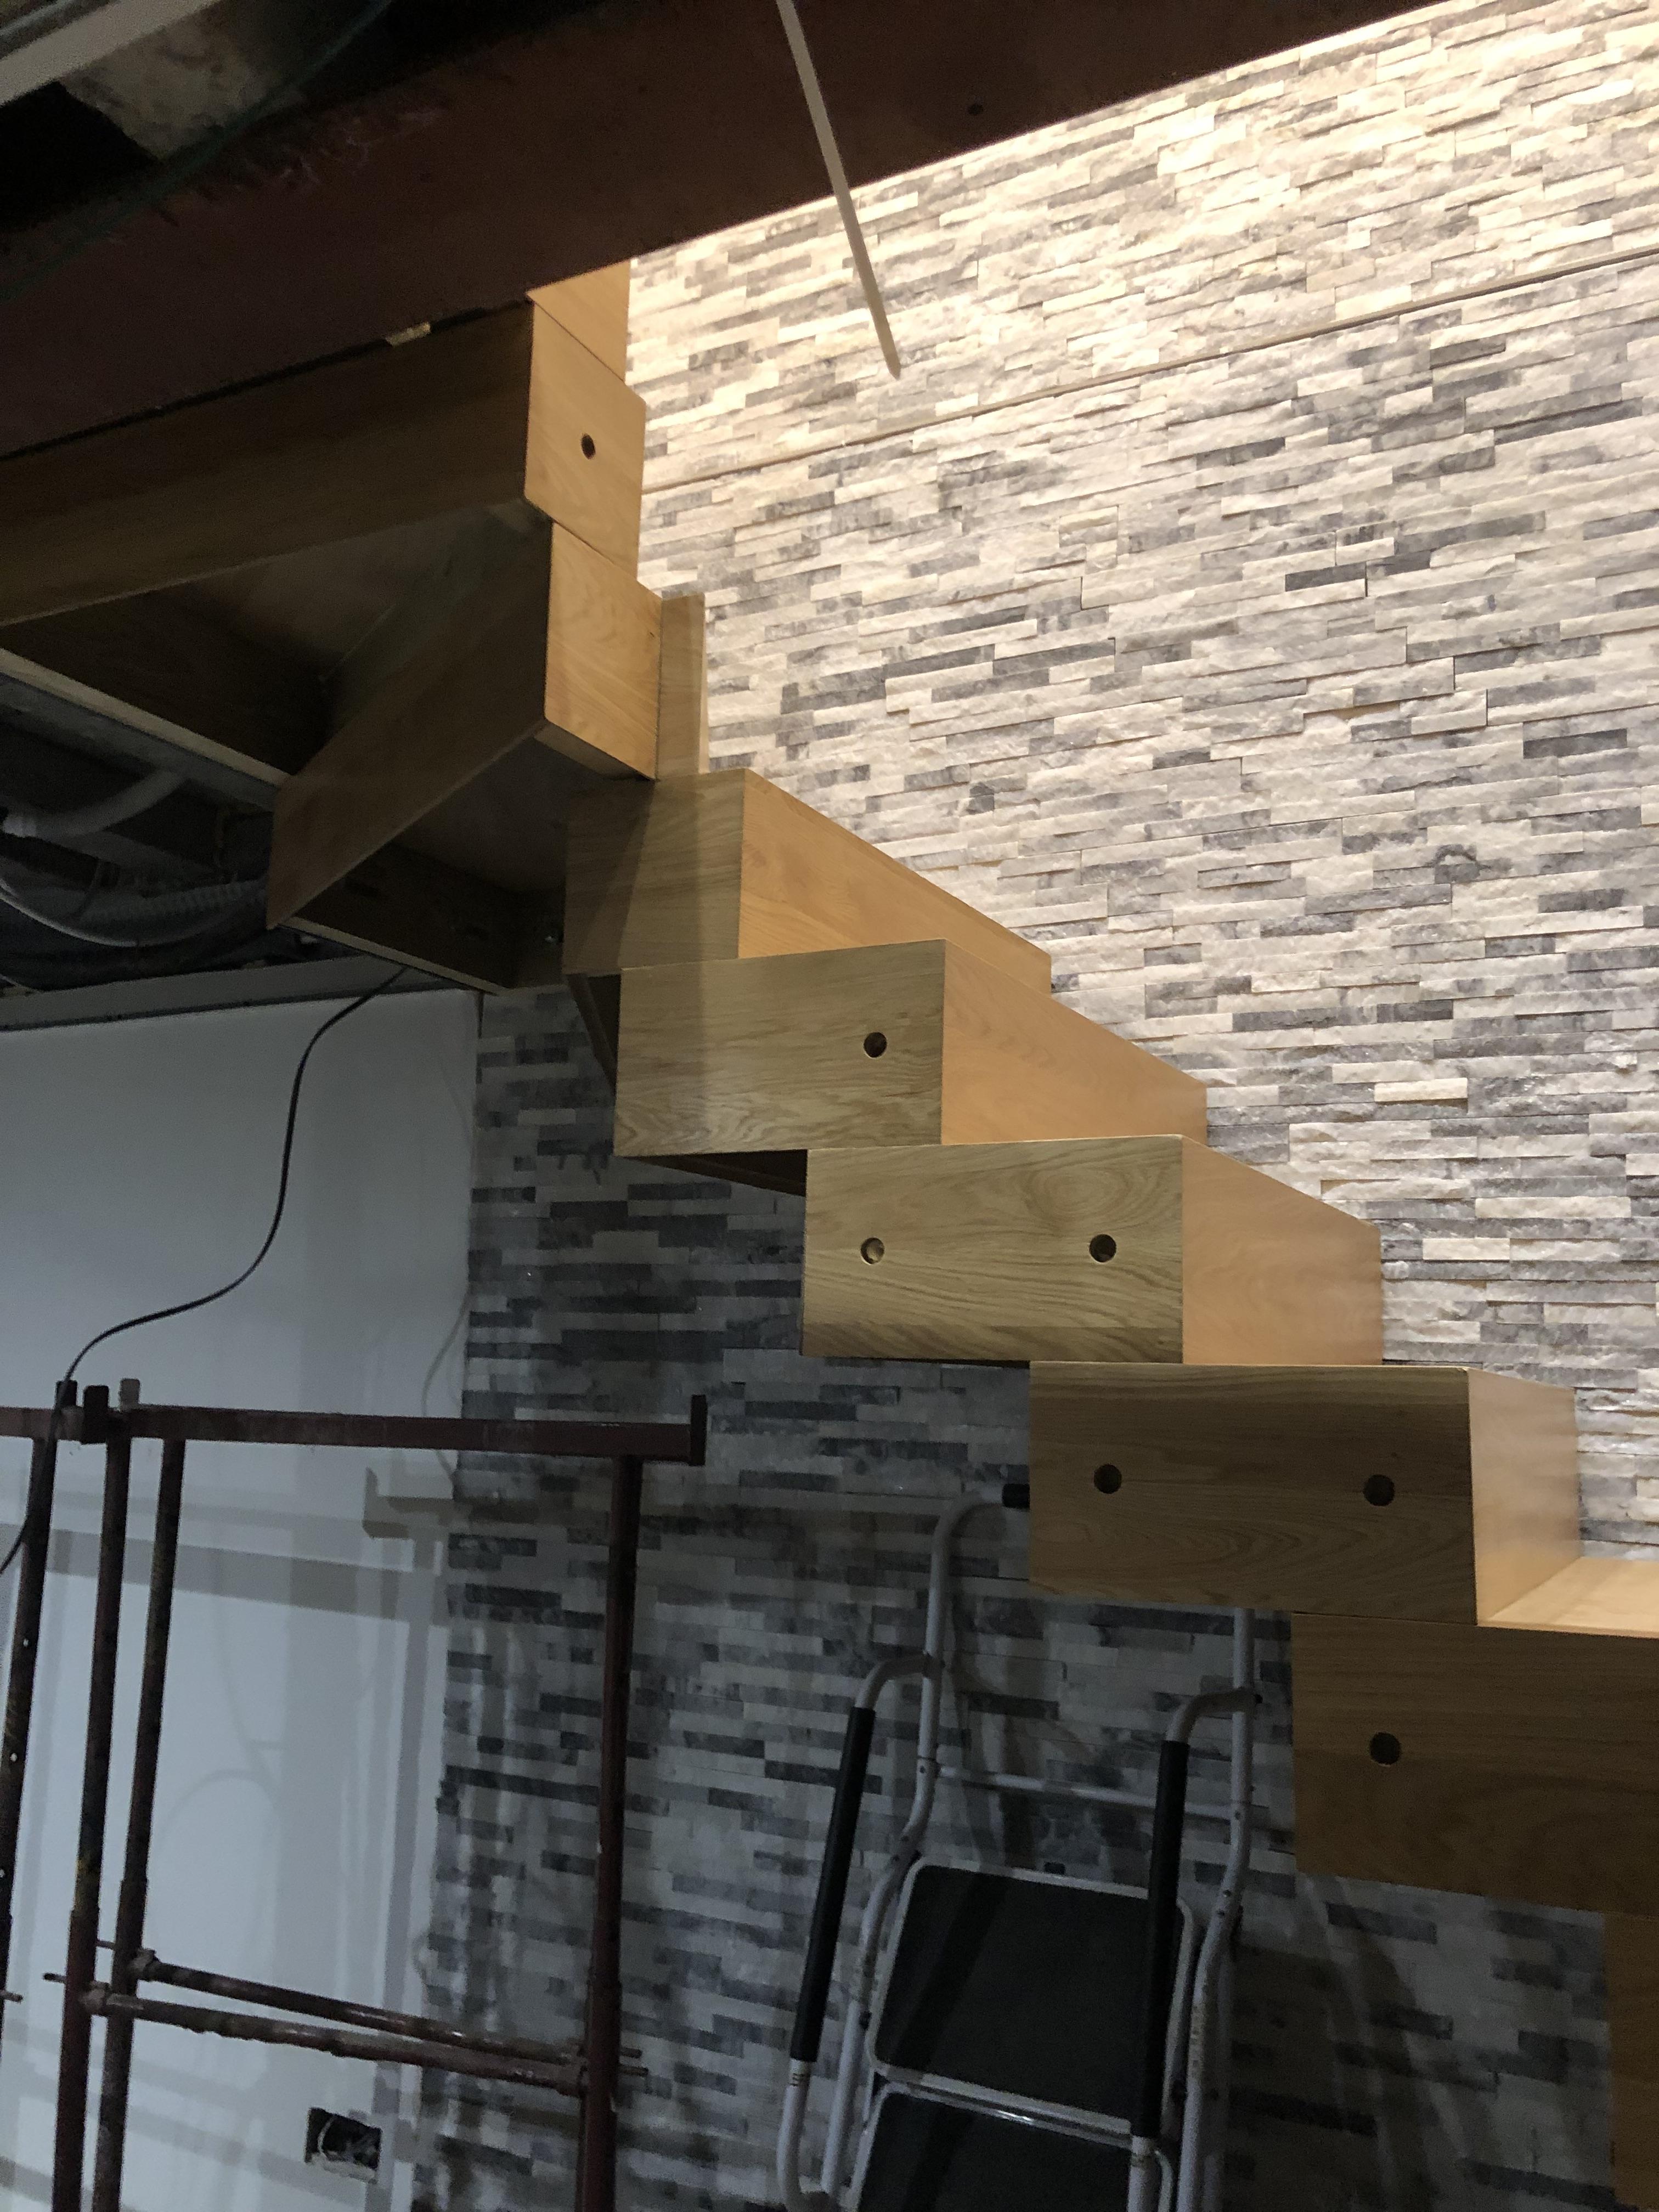
Not complete . Glazing on sides to go in later - very happy with it so far .
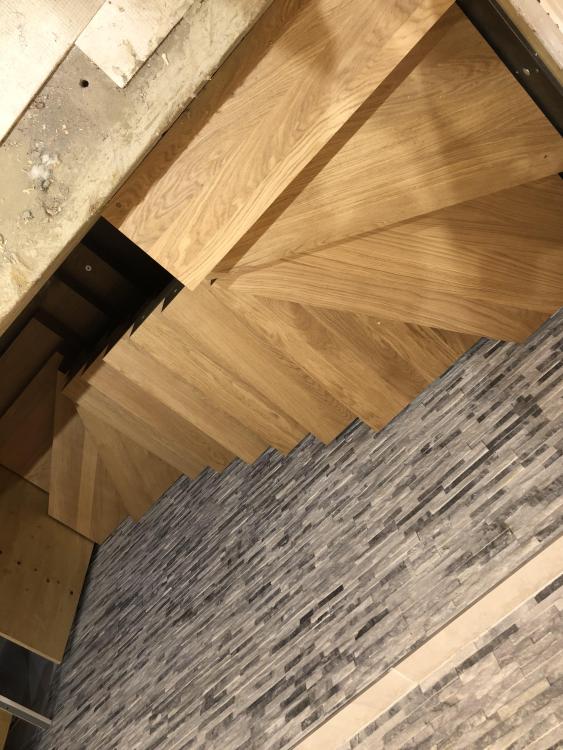
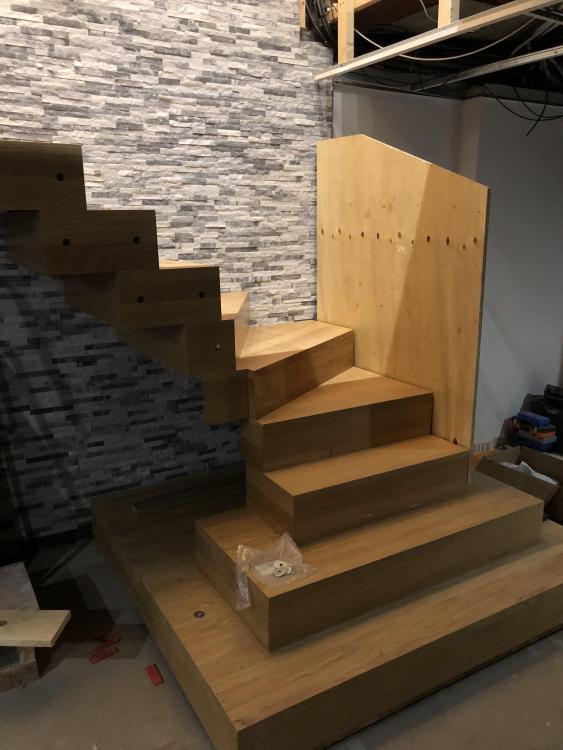 1 point
 -
As the rooms will be leaking air in from outside, the MVHR would be a very bad idea IMO, and the likelihood (as the fan will need to run 24/7/365) is you will go backwards not forwards in terms of benefit. You may as well leave these bits of heat ebb into the heated envelope and go towards the space heating demand, and then deal with air quality in the study as you best see fit. When you calculate the very minimal heat recovery vs sucking in constant cold air from outdoors, I cannot see the numbers adding up. Spend the money on draft proofing and possibly filling cavities with insulation to improve the overall heat loss of the house, and that should be a far better bang for the bucks1 point
-
I do something similar, normality wrapping them around the jacket of the cable they come in on If they're connected at the far end, or any chance they may ever be I'll cut it a bit different length and electrical tape it to ensure it doesn't touch any neighbours or backbox.1 point
-
I suggest you delete that file, re name it so it does not reveal your address and re post it.1 point
-
Yes. Trimmers between the existing joists and supported on the existing joists with joist hangers as tight as you can get them against the wall at each end. Then new joists supported on the trimmers with joist hangers half way between the existing joists. You might need to double up the trimmers between the existing joists and you should see if your SE is ok with this. Saves having to bolt anything to the existing walls.1 point
-
If that is a plasterboard wall, the back box will be mounted on a noggin. I would remove the back box, screw an appropriate thickness packer onto the noggin such that when you then screw a plasterboard patch into the hole it is about flush. Much easier to then fill the gaps.1 point
-
You're not the bollocks, @Pocster , the stairs are.1 point
-
1 point
-
Getting there . Few issues .

 1 point
 -
it's just frustrating though, right? e.g. I fitted our Quooker tap at the weekend. got the boiling water working but there was an issue with the Cube so the chilled and fizzy water wasn't working. now a job that I wanted to tick off as finished is awaiting replacement parts to be able to be finished. it's just frustrating that it's incomplete. that's all. I know it'll be done eventually but I can't cross it off the list yet!1 point
-
That would be nice. Not sure if thats achievable in my case without demolition.1 point
-
I've come across House Planning Help somewhere before and I think I subscribed to their mailing list. Though those emails got buried amongst a mountain of other stuff so I had forgotten about it. Thanks for the suggestion, I'll check it out.1 point
-
Don’t be sad @Thorfun - a few weeks/days lost is small change after 11 yrs . Personally I think they stall the job on purpose as they get all the tea they can drink , a pasty and cake everyday . What’s not to like !!1 point
-
If you think about it hybrid inverters don't have any PV at night, so why wouldn't they work with without PV? Best to check with manufacturers though. I'd want to use a hybrid inverter if possible personally in order to have future possibility of adding some PV.1 point
-
Told you an expert would be along soon 🙂1 point
-
Regular smooth 3.35 x 75 nails as specified, such as these: https://www.fixingsfastenersscrews.co.uk/details/p3380228_21380657.aspx1 point
-
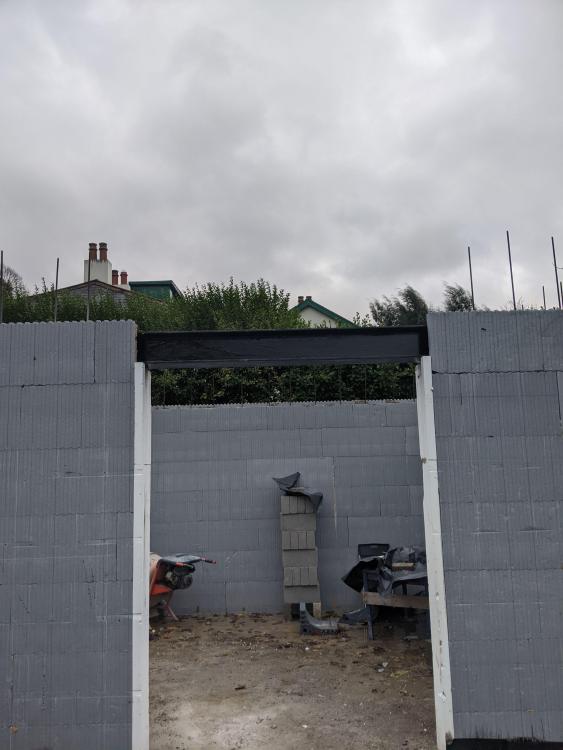
Well, yes I suppose lol!! What I mean is it's a pain in the arse and depends on the depth of beam, positioning, and the type of ICF block and it's webbing. The method we used was fast and low risk. With the 203x203 beam, it's wider than the cavity and leaves no webbing in the block.1 point
-
The question is if it can be used without the solar panel input or not, all inverter/chargers use DC to charge/discharge battery. I'd need to look at the datasheet/maunal to understand this, but there are other brands.. not just Solis.1 point
-
That detail is not constructable as there will be nothing keeping the blocks together as you've effectively turned them in to two flat lengths of EPS. You put concrete to the level the beam will set, set the beam on, then build up the rest of the ICF around/over it. You then come back and fix insulation around the beam.
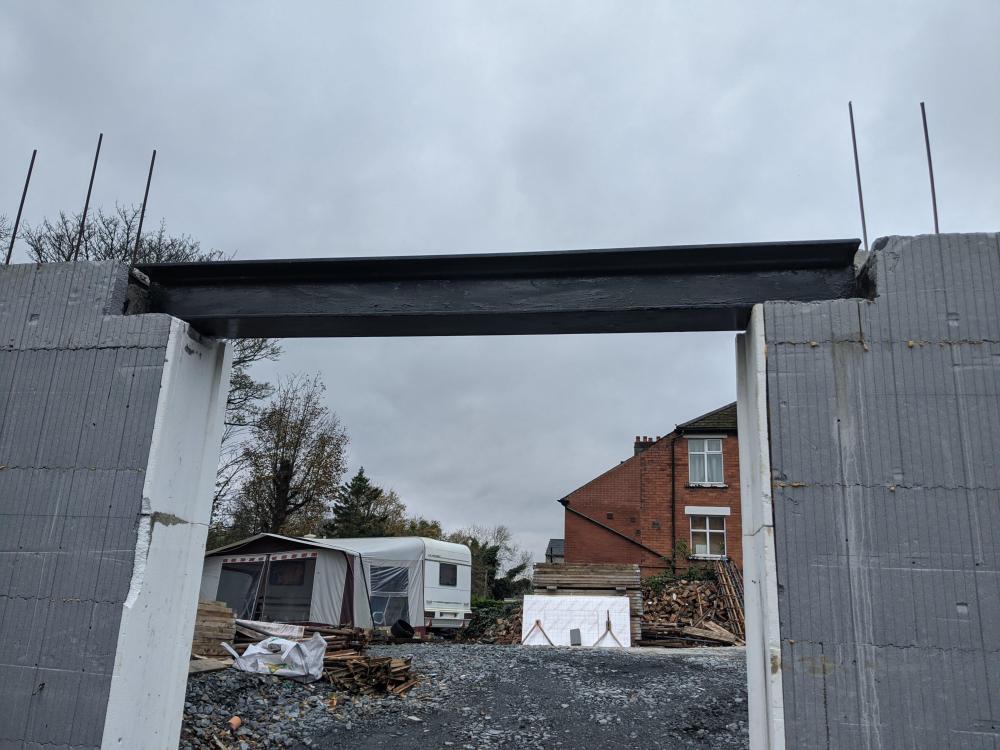
 1 point
 -
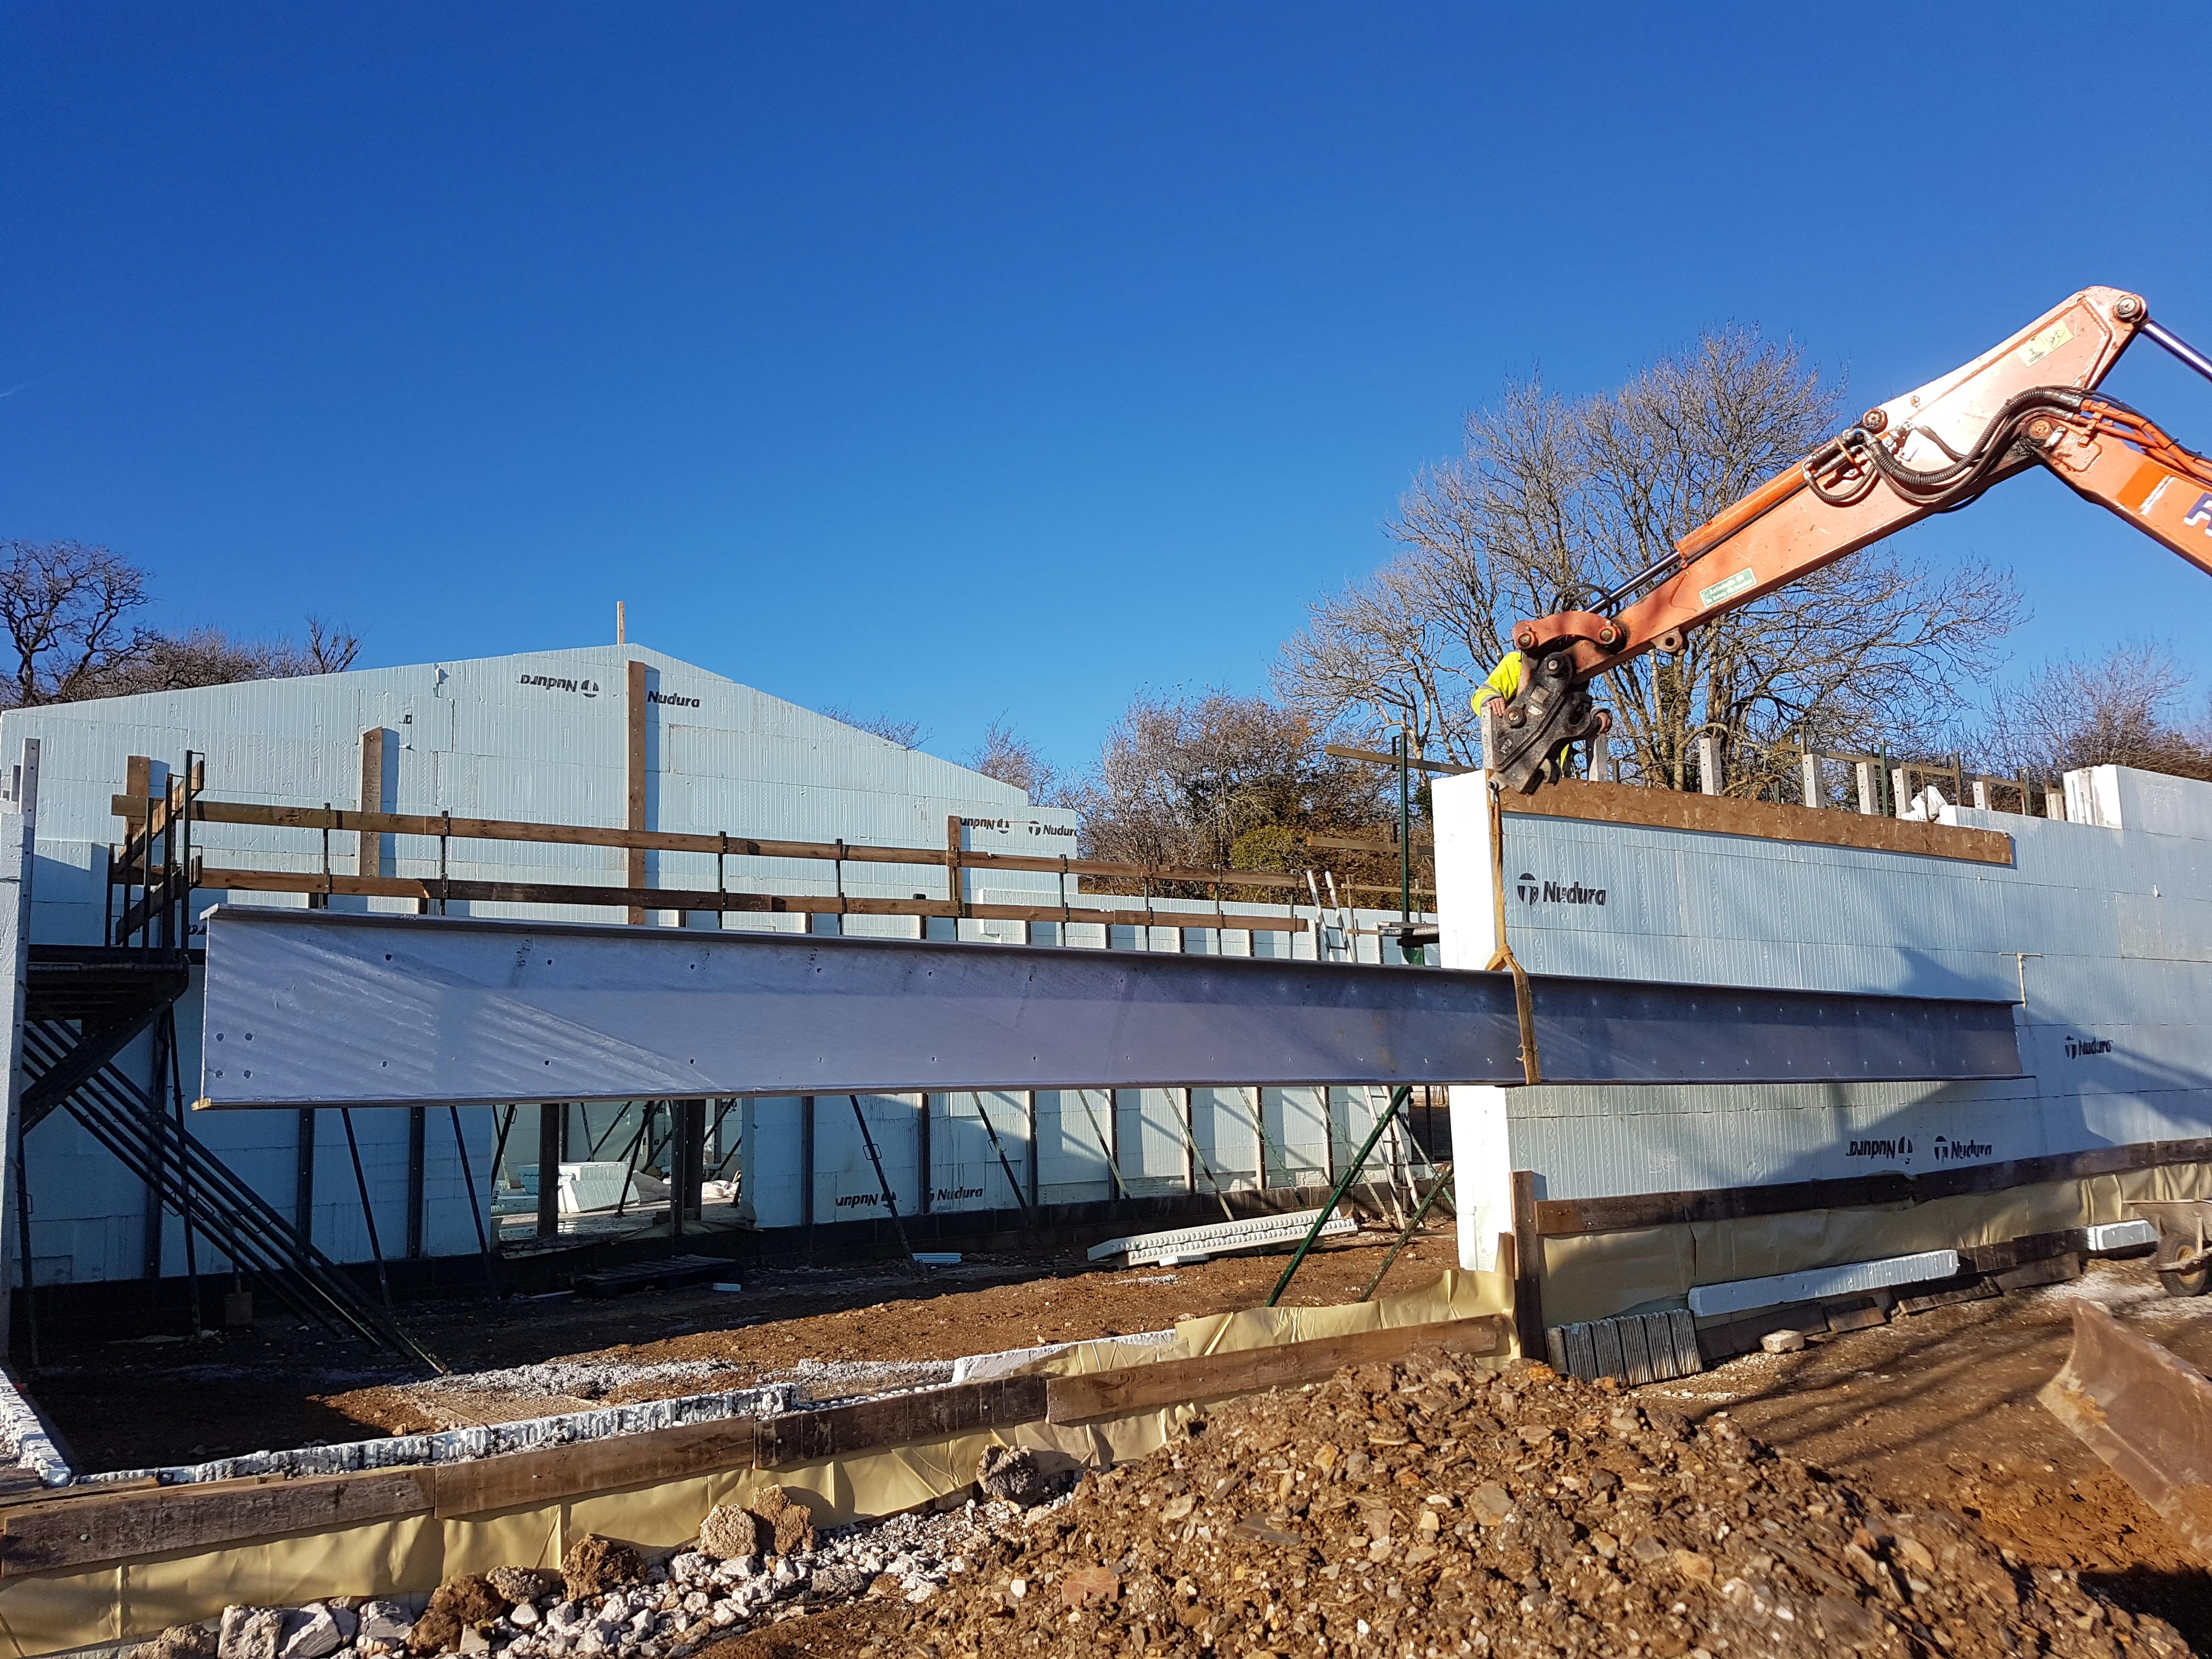
We had to use a large steel for a similar span. Our builder cut the Nudura block exactly level with the bottom of the steel, then the concrete was poured and screeded to this (with some bolts cast in too for attaching the steel. The block was then reinstated around the steel for the second pour. Pic is of the steel being lifted in to place but you can see the cut Nudura on the right
 1 point
 -
On my Nudura build, where there are opening for windows (one of which is 2.5m) 3 rows of rebar (instead of 1) was laid in the Nudura webs that sit above the opening and extending 450mm further each side. BCO accepted this as creating a "lintel" within the concrete that was poured. If a steel beam is required, you can would pour concrete the approximate level of where the steel beam will sit, fit the steel to right level, shimming and bolting in place as necessary, then pour the concrete around the steel after. Don't have the steel sitting on the EPS as in the SE's drawing. Cropped photo , so not focussed, but you should get the idea. We added the extra Nudura forms around the steel, braced it excessively, and then hand poured these pockets to enclose the steel.
.jpg.d89840df29d1f8cf84b56d9e00dccb48.jpg) 1 point
1 point -
Having lost family members during our build and having been made redundant myself and turned 60 last year, I know how you are all feeling. You'll get through it, and the build is a great way of re-focusing. Keep going1 point
-
Update on the discussion about the day work with my stonemasons: they were claiming 22 hours total (for the last 7 days of work, so about 3 hours per day) and I've negotiated and settled for 16 hours in the end as there were some bits with the insulation behind the block/stone which they didn't do right and I will need to remediate from the inside. Overall I am happy they didn't claim an extortionate amount and I was able to get something out of it. In the end, I see this as a price to pay for not negotiating a contract and being there all the time to sort out issues with the site - both things would have costed me more in time anyway. First time self-builder, so some lessons learnt for the future stages.1 point
-
Welcome! The trick in Structural Engineering is knowing the chemistry of the materials being used ..... A colleague of ours did an Enerphit (re)build in Lancaster his screen-name is (was) he doesn't post any more .... @VIPMan Click on his screen-name and you'll be taken to his content. Excellent build, lovely bloke. Ian1 point
-
That is a tough start to the year, condolences and support from your friends here.1 point
-
Welcome It is about time we had a useful chemist on here again. My knowledge is very limited in the black art and usually involves a bucket and stick.1 point
-
Victory! Switched to hammer drill mode, used a 4mm drill bit, then a 8mm drill bit, and went all the way in. (At some point I hit a void - probably air inside brick.) No idea why the plugs won't go all the way in. Should I have drilled a second time with the 8mm bit? (That was the recommended size for the plugs, and that's my largest bit.) Also, is it best (as a friend has just told me) to drill at a slight angle downwards? At any rate, I'm surprised and happy, and may let it be for now.

 1 point
 -
Curious as to why the design calls for a steel beam within the ICF cavity instead of a concrete beam with rebar and stirrups In your detail, you may need to clear out the webs in order for the steel beam to fit, prop it with some timber or acrows, prefer acrows as f any settling occurs from the block during the pour you can adjust the height of the beam, shouldn't be an issue with Nudura tho with solid webs connecting vertically. After the pour is done and acrows removed, use spray foam and attach the polystyrene cap below. Be careful if you have to cut webs out to make beam fit, you may need to do a bit of additional temporary forming to prevent the block from flaring out during the concrete placement as concrete pressures are high and without the webs, nothing to hold it in place1 point
-
don't remember! can't remember why I chose the Graf over other potential shallow dig type tanks sorry. ultimately they all do the same thing and folk on here have had good experiences with lots of different makes so go with the majority of good votes or your gut!1 point
-
If the hole is tightly dug, that is fine. If not, it can be a lot of concrete. This detail can follow as it isn't urgent. Way back, Conder and Klargester were the options. One of them became the generic name through more extensive marketing.1 point
-
I concreted my conder in, you gradually pour the concrete at the same time gradually filling it with water so the water is about as high inside the tank as the concrete is outside it. I was wrongly advised by the installer in our previous house who just back filled the septic tank with gravel. That house now has a tank that you can only pump out in the middle of a summer dry spell, and then refill with water PDQ. To pump it out in winter would be asking for it to float out of the ground.1 point
-
Just to add to this, you can make your own flying ends with a angle grinder in a few minutes. We flipped the mesh to maintain cover until 4 sheets overlapped, then used the angle grinder.1 point
-
This is just a terminology issue. That's not underpinning ... that is forming a backfilled opening for a service penetration. There, problem solved. Underpinning is, correctly, a method to improve the load bearing capacity of foundation by increasing the foundation depth, width or both. You're not doing that, so it isn't underpinning. It just looks like underpinning.1 point
-
Didn't need foam in my case, hole was snug enough. Just siliconed each side.1 point
-
Timber instead of EPS, shotfired to flange plate, with the vertical EPS elements extended (or left long) to cover the timber. And create a check reveal along the head. Almavert do a product which could be used instead of timber. Illustration suggests Jackson being used. Their end panel could potentially be fixed to the flange plate. All could be done pre or post pour.1 point
-
Will all my zone on Ufh heating on, the heat pump will my cycle will last 1hour 30mins - 2 hours. My kitchen is south facing with a lot of glass. You can see the solar gain on the neogen it will raise 2c within a hour but my living room north facing temperature will not increase in temperature, I have solid walls in between. I do have a 3 port buffer tank which allows me to heat the living room still, 2 cycles per hour. I don’t look too much at COP I look how much it’s costing me, I’ve averaged £3 a day so far this winter for heating and hot water.1 point
-
That's a great example, one of many, where auto adaptive mode, for those lucky enough to have it, is a big step improvement over pure WC mode1 point
-
I think this was answered in earlier posts - to avoid placing additional load on the neighbour's foundation you ought to be at the same level. If you stop your foundation half way down to theirs you will be adding extra loading. Whether that will actually have an effect in practice who can say. That'll have to be your choice.1 point
-
1 point


This leaderboard is set to London/GMT+01:00