
Leaderboard


Popular Content
Showing content with the highest reputation on 01/30/20 in all areas
-
When we bought our plot, we still owned our old house and so had to pay a 3% SDLT surcharge on the whole price of the new place, with 3 years to reclaim it if the old place was sold within that time. We sold our old house on 19th December and I put in the reclaim online on 6th January. I was expecting to wait a couple of months but was amazed when checking my bank account today to see that it was repaid on 10th January. Very pleased indeed!3 points
-
They go by the name Archital now (https://archital.co.uk/). Having used them for the cost of near £5k for all our ventilated cavity cills, roof trims and cappings, I personally suggest that you avoid them unless absolutely desperate. Took two and a half months for a quote. Almost impossible to get on the phone or get an email reply. Never deliver on verbal or written promises and rarely deliver on time. Fail to follow your designs, or will outright change them without informing you. They'll ignore actual on site measures taken by you, and even by themselves. They won't account for tolerances so what will fit in their workshop doesn't when you're 8 meters up on a 4 meter gable. They'll say that shoddy welds are acceptable, and if it leaks it is your fault for it being damaged somehow. They'll take shortcuts to rush a job the 2nd time rather than just getting it right. They'll refuse a refund when you want out, and then two months later they'll say they will refund you since the work isn't profitable any more and leave you hanging. I've spent as much again on my scaffolding due to their delays and mismanagement. Find someone else for your own sake.3 points
-
2 points
-
I use a very big plasterers stainless trowel - much more comfortable on the hand and you can put decent pressure on too.1 point
-
@oldkettle Typo, I actually meant 'warped studs' but as it happens the bottom of the posi joists are all over the place as well (3 or 4 mm) @Visti The 10-15mm is the exception - but they're there! And yep, I've been using a plane as well. I haven't got round to filling yet, I have that pleasure to come. Have you used any of the FST yet? For the cutouts I'm using a flat wood bit in the corners and a jigsaw, that works well. Destroyed one saw blade already, I don't suspect the jigsaw is far behind!1 point
-
I couldn't see it mentioned in the vid but we had to adjust some stops in the pocket to prevent the door going too far in and banging the handle on the frame. I don't remember if this was possible after plaster boarding the frame so perhaps hold off finishing the frame if you don't yet have the door ? Its also possible they have changed the design of the frame since we fitted ours.1 point
-
1 point
-
I can, if I remember when I get home.1 point
-
Think you need this video. White spacer is removed after fitting frame to wall. Box of bits appears at 1:09 I think..1 point
-
+1 I don't see a problem building a few steps on a screed base. How about this... Fit some 4x2 (or 6x2?) shown in green, to prevent the top level screed flowing over the edge and to set the top level of the screed. Perhaps put some threaded studs with nuts on through the shuttering so you can later bolt it tighter to the screed. Then later clad the lot in something better like 14 or 21mm engineered oak. This would also raise the FFL to match any carpet or tiles (purple) on the top level.
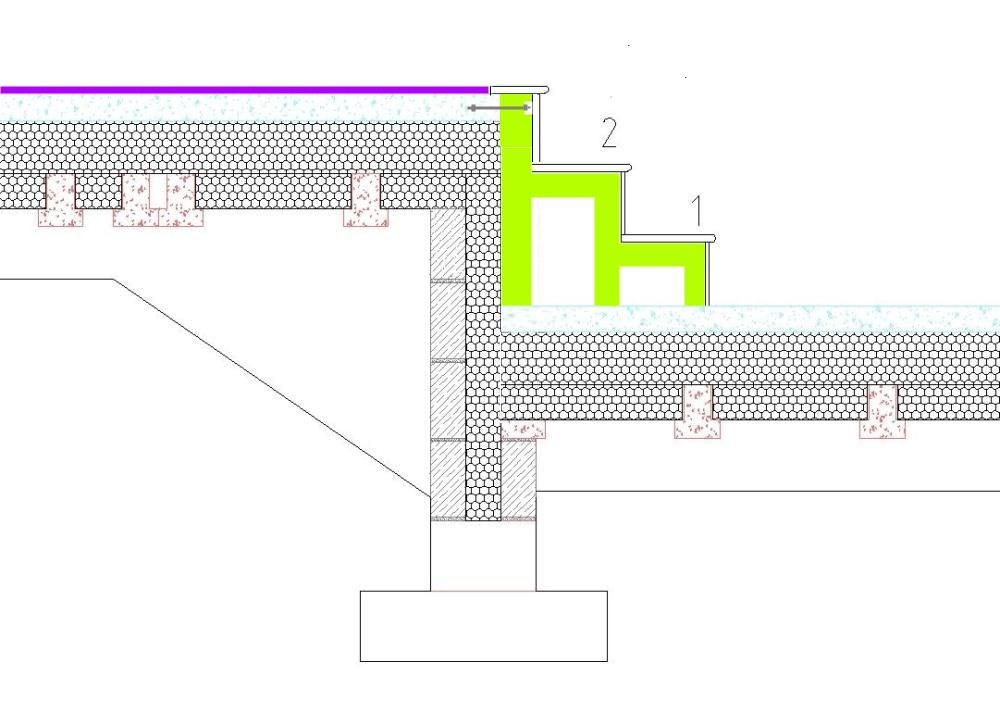 1 point
 -
I have done this using two iCON 30 mixed flow fans. They have an iris to prevent backdrafts so you don't get air from the other bathroom.1 point
-
I have used Finish Architectural a few times and found them to be good.1 point
-
Insulated pb would be the way to go. Fix it with exp foam and then 4 frame fixings to keep it in place in case of fire.1 point
-
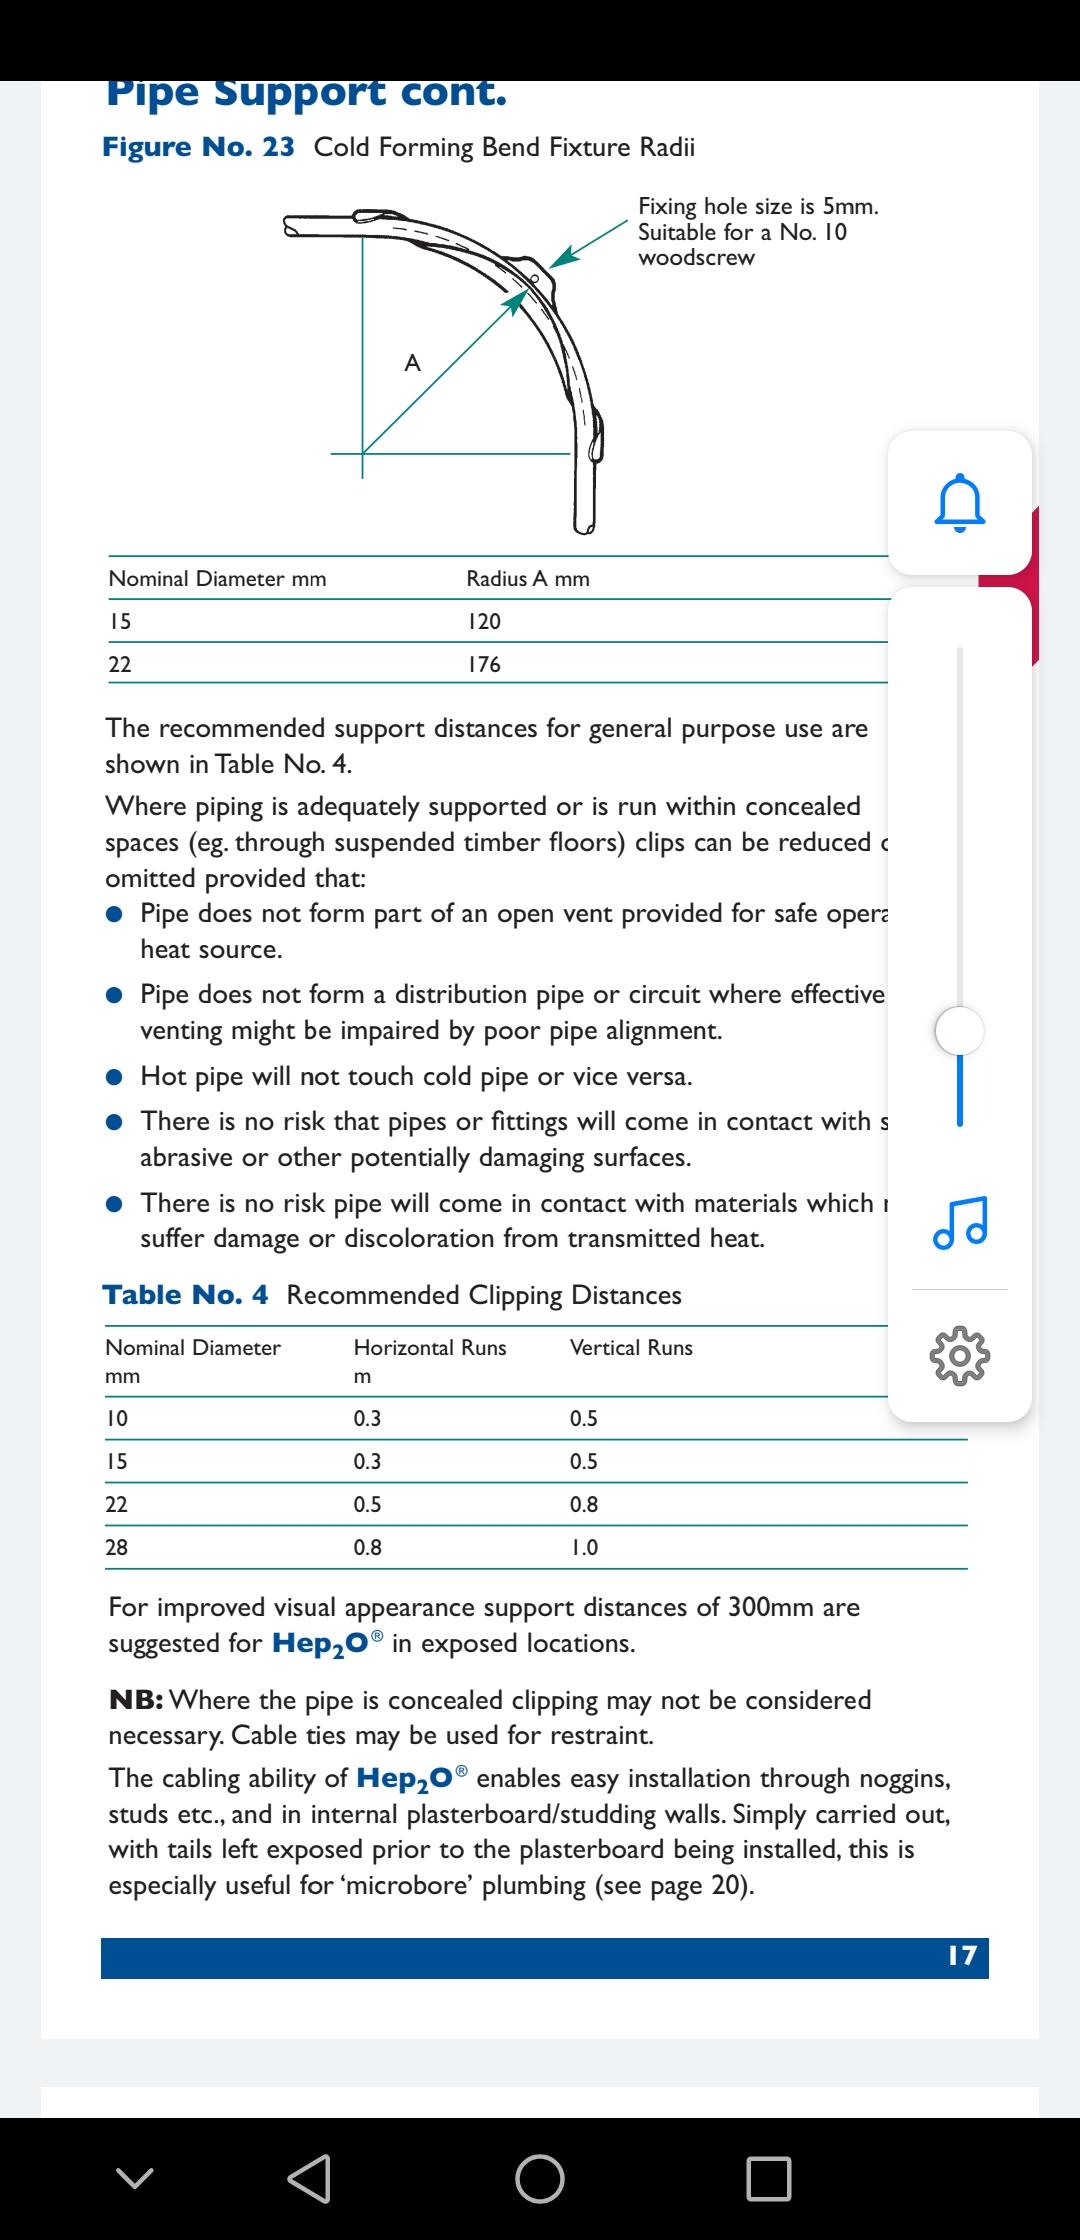
https://www.google.com/url?sa=t&source=web&rct=j&url=https://www.jhplumb.com/system/brand_attachments/1035/original/Hep2O%C2%AE_installer_guide.pdf&ved=2ahUKEwjhla_0qqvnAhX4SBUIHfHaD0sQFjAAegQIAhAB&usg=AOvVaw1oaVJlic8d6Hy4kts1kWfI It says every 300mm but I went every 800mm after discussing it with my plumber.
 1 point
 -
Operate both rooms with one fan. So when either room is in use an in line fan (after the branch) extracts air from both rooms.1 point
-
Borrowed. £500 out of my budget, I have to hold a wet finger up to gauge temperature etc! I imagine I'd stick insulated pb direct to the old walls and avoid the studs altogether. This is the plan when I do the knock through on the lounge/diner. Between the two rooms there is no common floor / ceiling level and the walls are not in line either. Not overly worried about the bathroom as there's a grand plan to go EWI and bring the cold loft above within a new, thermal envelope. Saying that, in the bathroom what I've done was possibly the right thing what with squaring the room up, hiding pipework, making pockets and supporting the wall hung wc.1 point
-
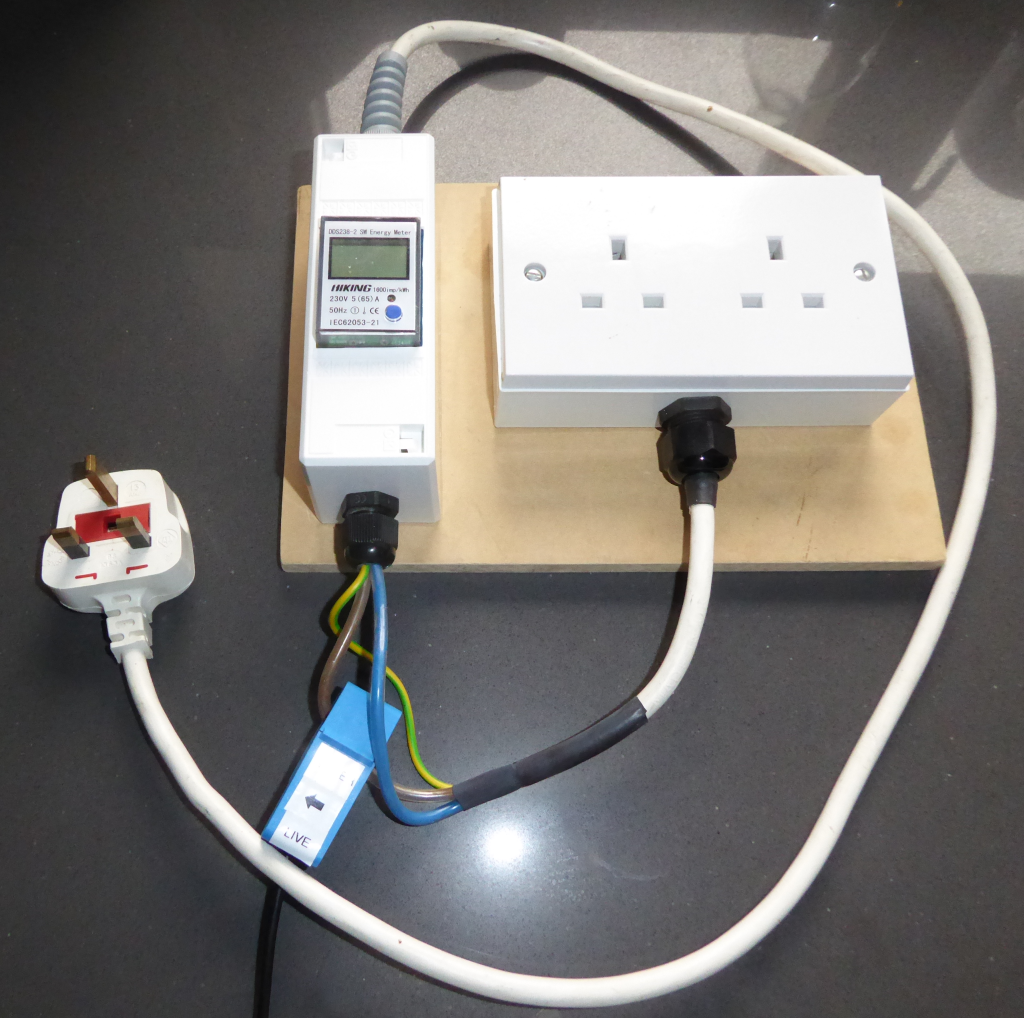
The only way to accurately know the electrical input is to measure it. As the power factor (PF) may well not be unity for a heat pump, measuring just voltage and current independently may not give an accurate indication of input power. Fitting an simple energy meter, one that has a power display as well as energy, to the supply to the heat pump will give an accurate measure of input power. Small, DIN rail mount energy meters like this are fairly cheap and seem to work well. I have one fitted in a small enclosure on a test lead that I made up: I have a similar one connected in the supply to our air source heat pump, and find it pretty useful. It not only gives the energy (in kWh) that the heat pump uses, but also displays voltage, current, power factor and instantaneous power. I think the one above cost about £15 or so.
 1 point
 -
To do this properly, contact the gas company and specify who you need to call for your work. Let 3 qualified specialists do it better. I saw a gas explosion indoors, believe me, you don't want it. Switching to electricity is a good step! Electric stoves and sockets are standard, but check with a consultant or electrician to find out which sockets will work. Every rule has an exception, so it's better to ask specialists than to overpay later.1 point
-
@SuperJohnG AFT provided the design and supply of insulation for the slab. Groundworks and installation were done by a local groundworks firm with me keeping an eye! The SER was recommended by the architect, but appointed by me. They had previous experience of both passive slabs and engineered timber, both of which we used in our build.1 point
-
Had an interesting play last night with a FLIR C3 thermography camera. I knew the principle but had never played with one. Very interesting to see the "knock on" effects of my method of lining/levelling the walls even if expected. The vertical studs, sole and header plates show up as obvious "colder" bridges. I say colder as opposed to cold as I was aware of the potential for this just not to what degree and attempted, in my naivety to mitigate this. The studs are packed in between with PIR and all studs sit off the wall by a minimum of 5mm on packers with gun foam behind the studs. It certainly all helped but seeing the thermograpgy pictures it will influence my construction methods for future lining projects. By and large though the rooms heat signature looks like I thought it would. (What helps massively is the vapour barrier stopping draughts). FLIR pics to follow. Clever bit of kit. You can download snapshots then later drag your mouse over the "still" and see the temperatures wherever the pointer is.1 point
-
... once you've verified that it's failed and there isn't a supply/ control issue...1 point
-
My house is 6 bed semi (1960s) with 22 radiators which was converted from LPG to ASHP 5 years ago with great success after a shaky start. My own installation was obviously retro fitted with the radiators being, in the main, replaced for `doubles` after being worked out by the plumber. My criteria was specific in that the main rooms had to be capable of reaching 25 degrees due to my wife's ongoing health problems The system had to generate enough hot water to supply 2 bathrooms, 1 ensuite, 1 cloakroom and the kitchen Resulting system was Ecodan 14 Kw outside unit, matching Hydrobox in roof space plus 300L HW tank also in roof The system is run as a `normal` boiler would run switching off at night but on all day The HW temperature is set at 42 - 52 degrees which is very hot without being scalding We encountered difficulties at the start due to the system wanting to remain in economy mode all the time but finally fine tuned by Mitsubishi Best advice is to find an experienced and successful installation team (electrician + plumber + refrigeration engineer + someone experienced in setting up these systems to your criteria). The Ecodan system is biased to always maintain hot water in preference to the heating system, apart from that we are extremely pleased with the system and its reliability My RHI is £240/quarter and the system cost £12500 to install running costs are £220/month for my all electric house We also have a 4Kw solar panel system but would also recommend solar hot water panels Obviously the costs would be considerably less if household temperatures were lowered, however not possible in my case Hope some of this helps CHRIS1 point
-
You shouldn't daisy chain earth leakage devices, be they RCDs or RCBOs, without ensuring that there is an adequate difference in the trip current. For example, a 100 mA trip current RCD/RCBO upstream of 30 mA RCDs/RCBOs is fine, as there is current discrimination and the downstream ones will trip first. In your case, as you have (most probably) a 30 mA trip current RCBO upstream of the installation, that is providing adequate earth leakage protection for everything downstream. All that should be fitted down stream are over-current protection devices, fuses or MCBs, not any device that includes residual current/earth leakage fault protection. The exception to this is when a downstream installation is connected as a TT island, with it's own earth electrode, when it needs an RCD/RCBO.1 point
-
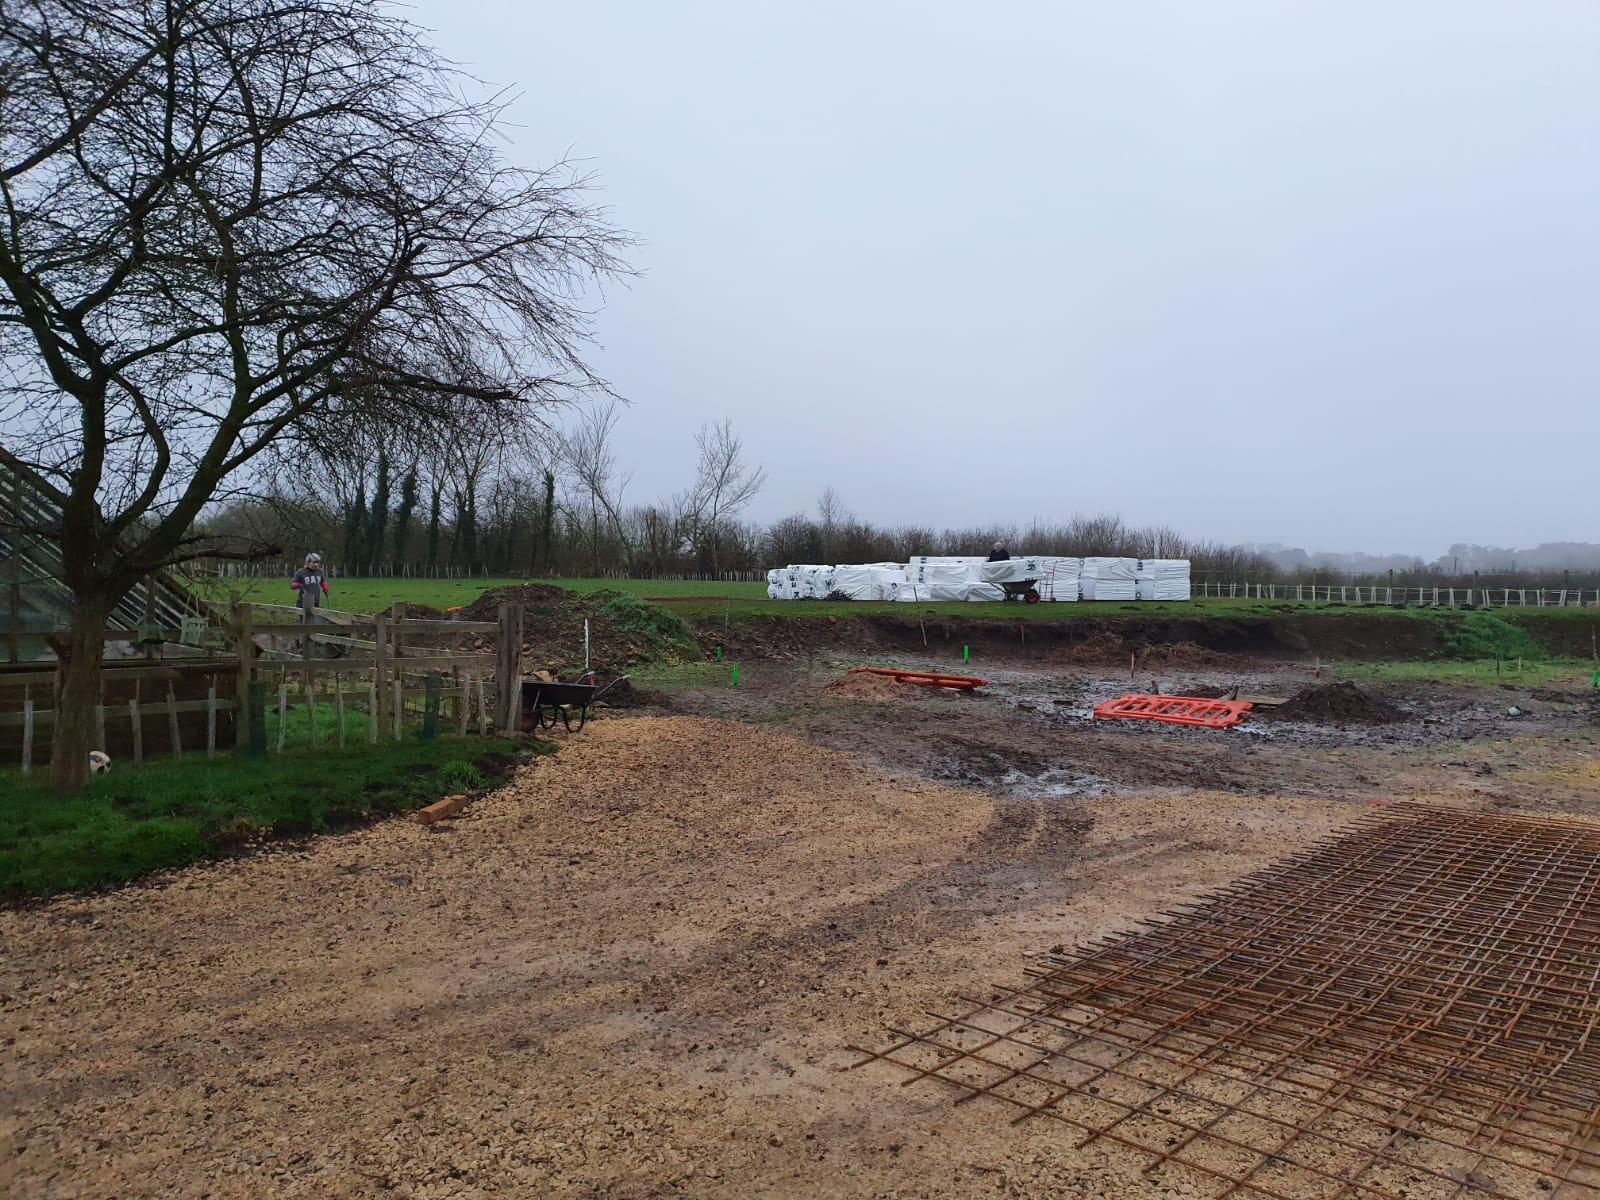
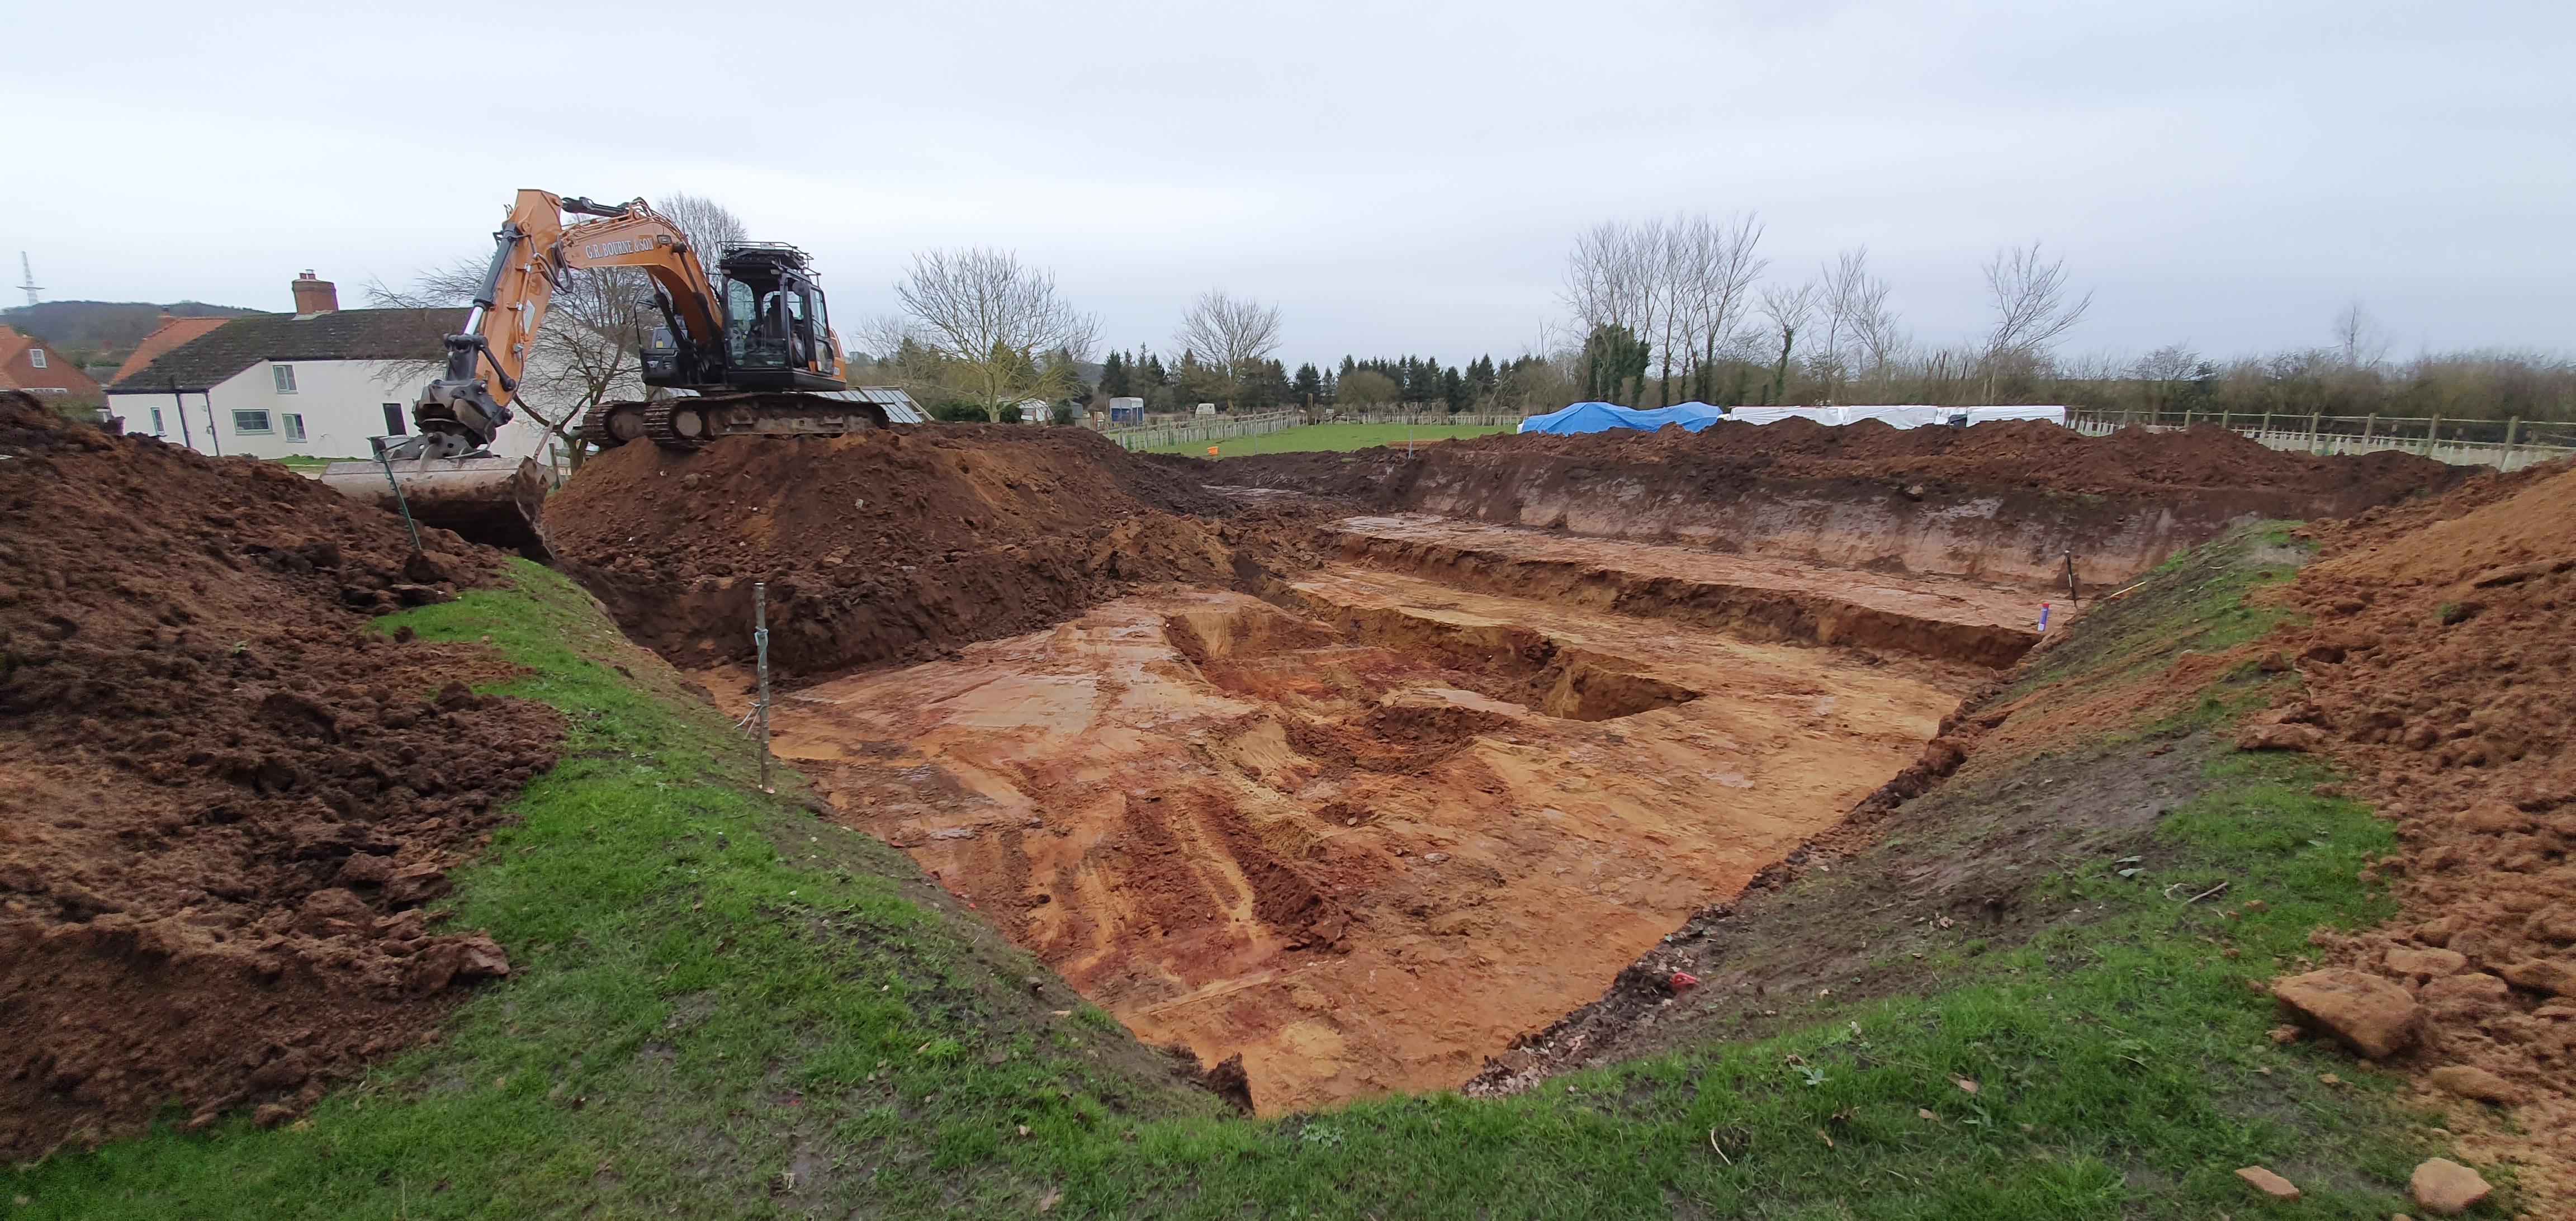
Trying to do as much of the founds myself as possible. The design was done by Tanners, the insulation is from Kore. Due to the ground I have, it needs digging out by 800mil before putting 500 of stone in. 50mm of grit sand to go on that before I can lay out the insulation. The insulation appears to be as simple as a jig saw puzzle - I have a plan with the edges marked out, just follow the foundation design when filling the middle in. The steel is fairly simple, just two layers of mesh, no complicated cages or such in the thickenings. I hope to get all that done and the UFH pipe installed before getting a contractor in to do the concreting. Not alot to show yet other than the big hole!
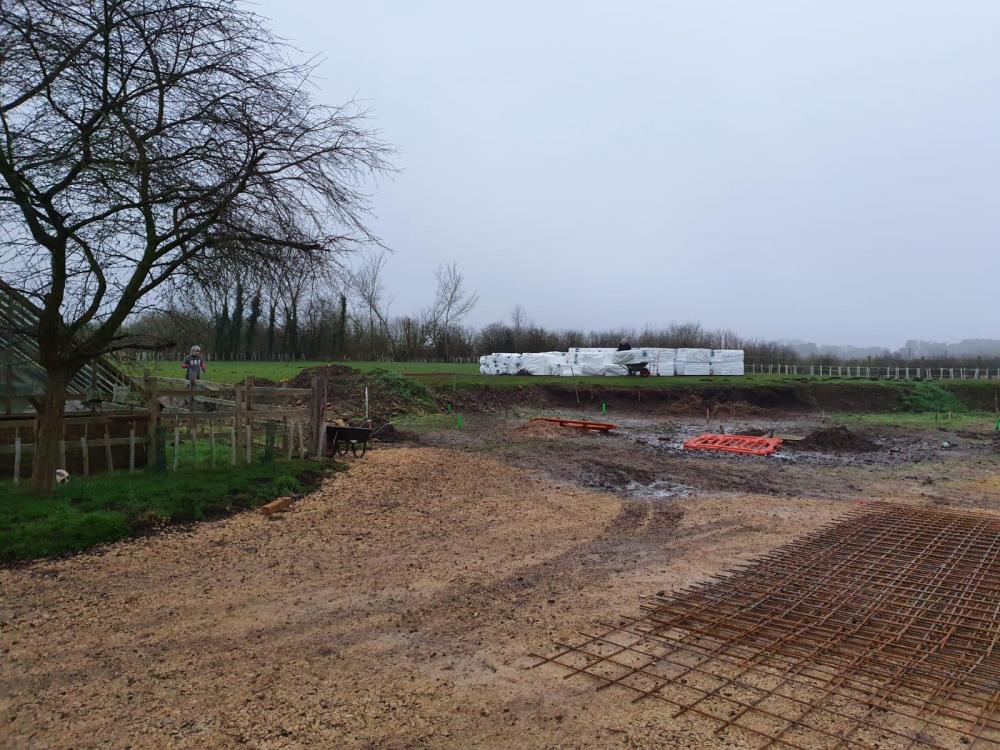
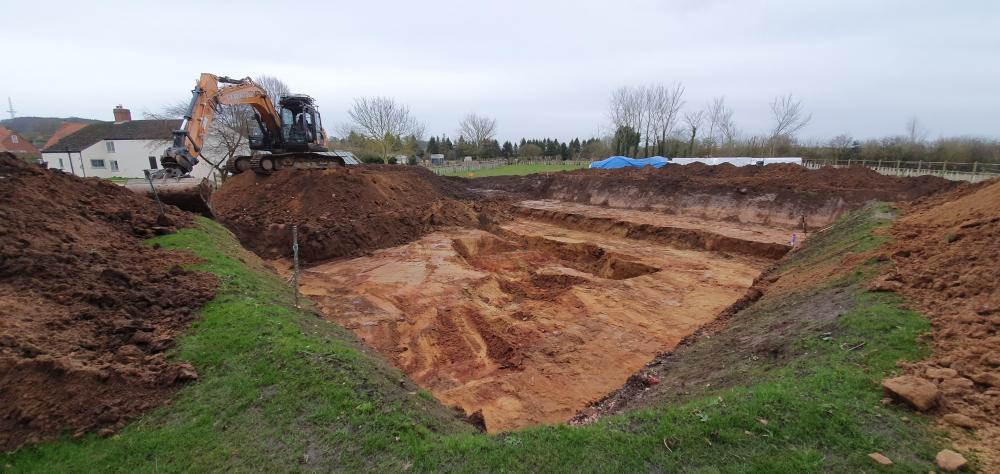 1 point
 -
We will have to agree to disagree. If a company (the size of Sunamp which is locked in a significant product development lifecycle) has significant knowledge locked in a single individual then they definitely have some pretty significant issues with structure, management and process.1 point
-
SORTED! I eventually decided to call the Eddi technical line. Explained the problem and was told to go into settings and check the'hot setting delay'. That was showing zero. I was advised to increase it to about 30 minutes. This was done as an upgrade to cater for the sunamp issues. So we seem to be up and running which is great. Thanks for all the contributions. I did later speak with sunamp technical and will be sending them the info. for their files! During the conversation I pointed out what a pain it is not being able to see at what stage of charge the battery is. Apparently they have some software and a gizmo which they use for testing that would in effect show the charge level and could possibly be retro fitted. It was suggested I write to the company and request that it be released. I will do this and report back. In the meantime I have a final basic question which is, if I have a 9kw battery does it take 9kw of electrical input to fully charge?1 point
-
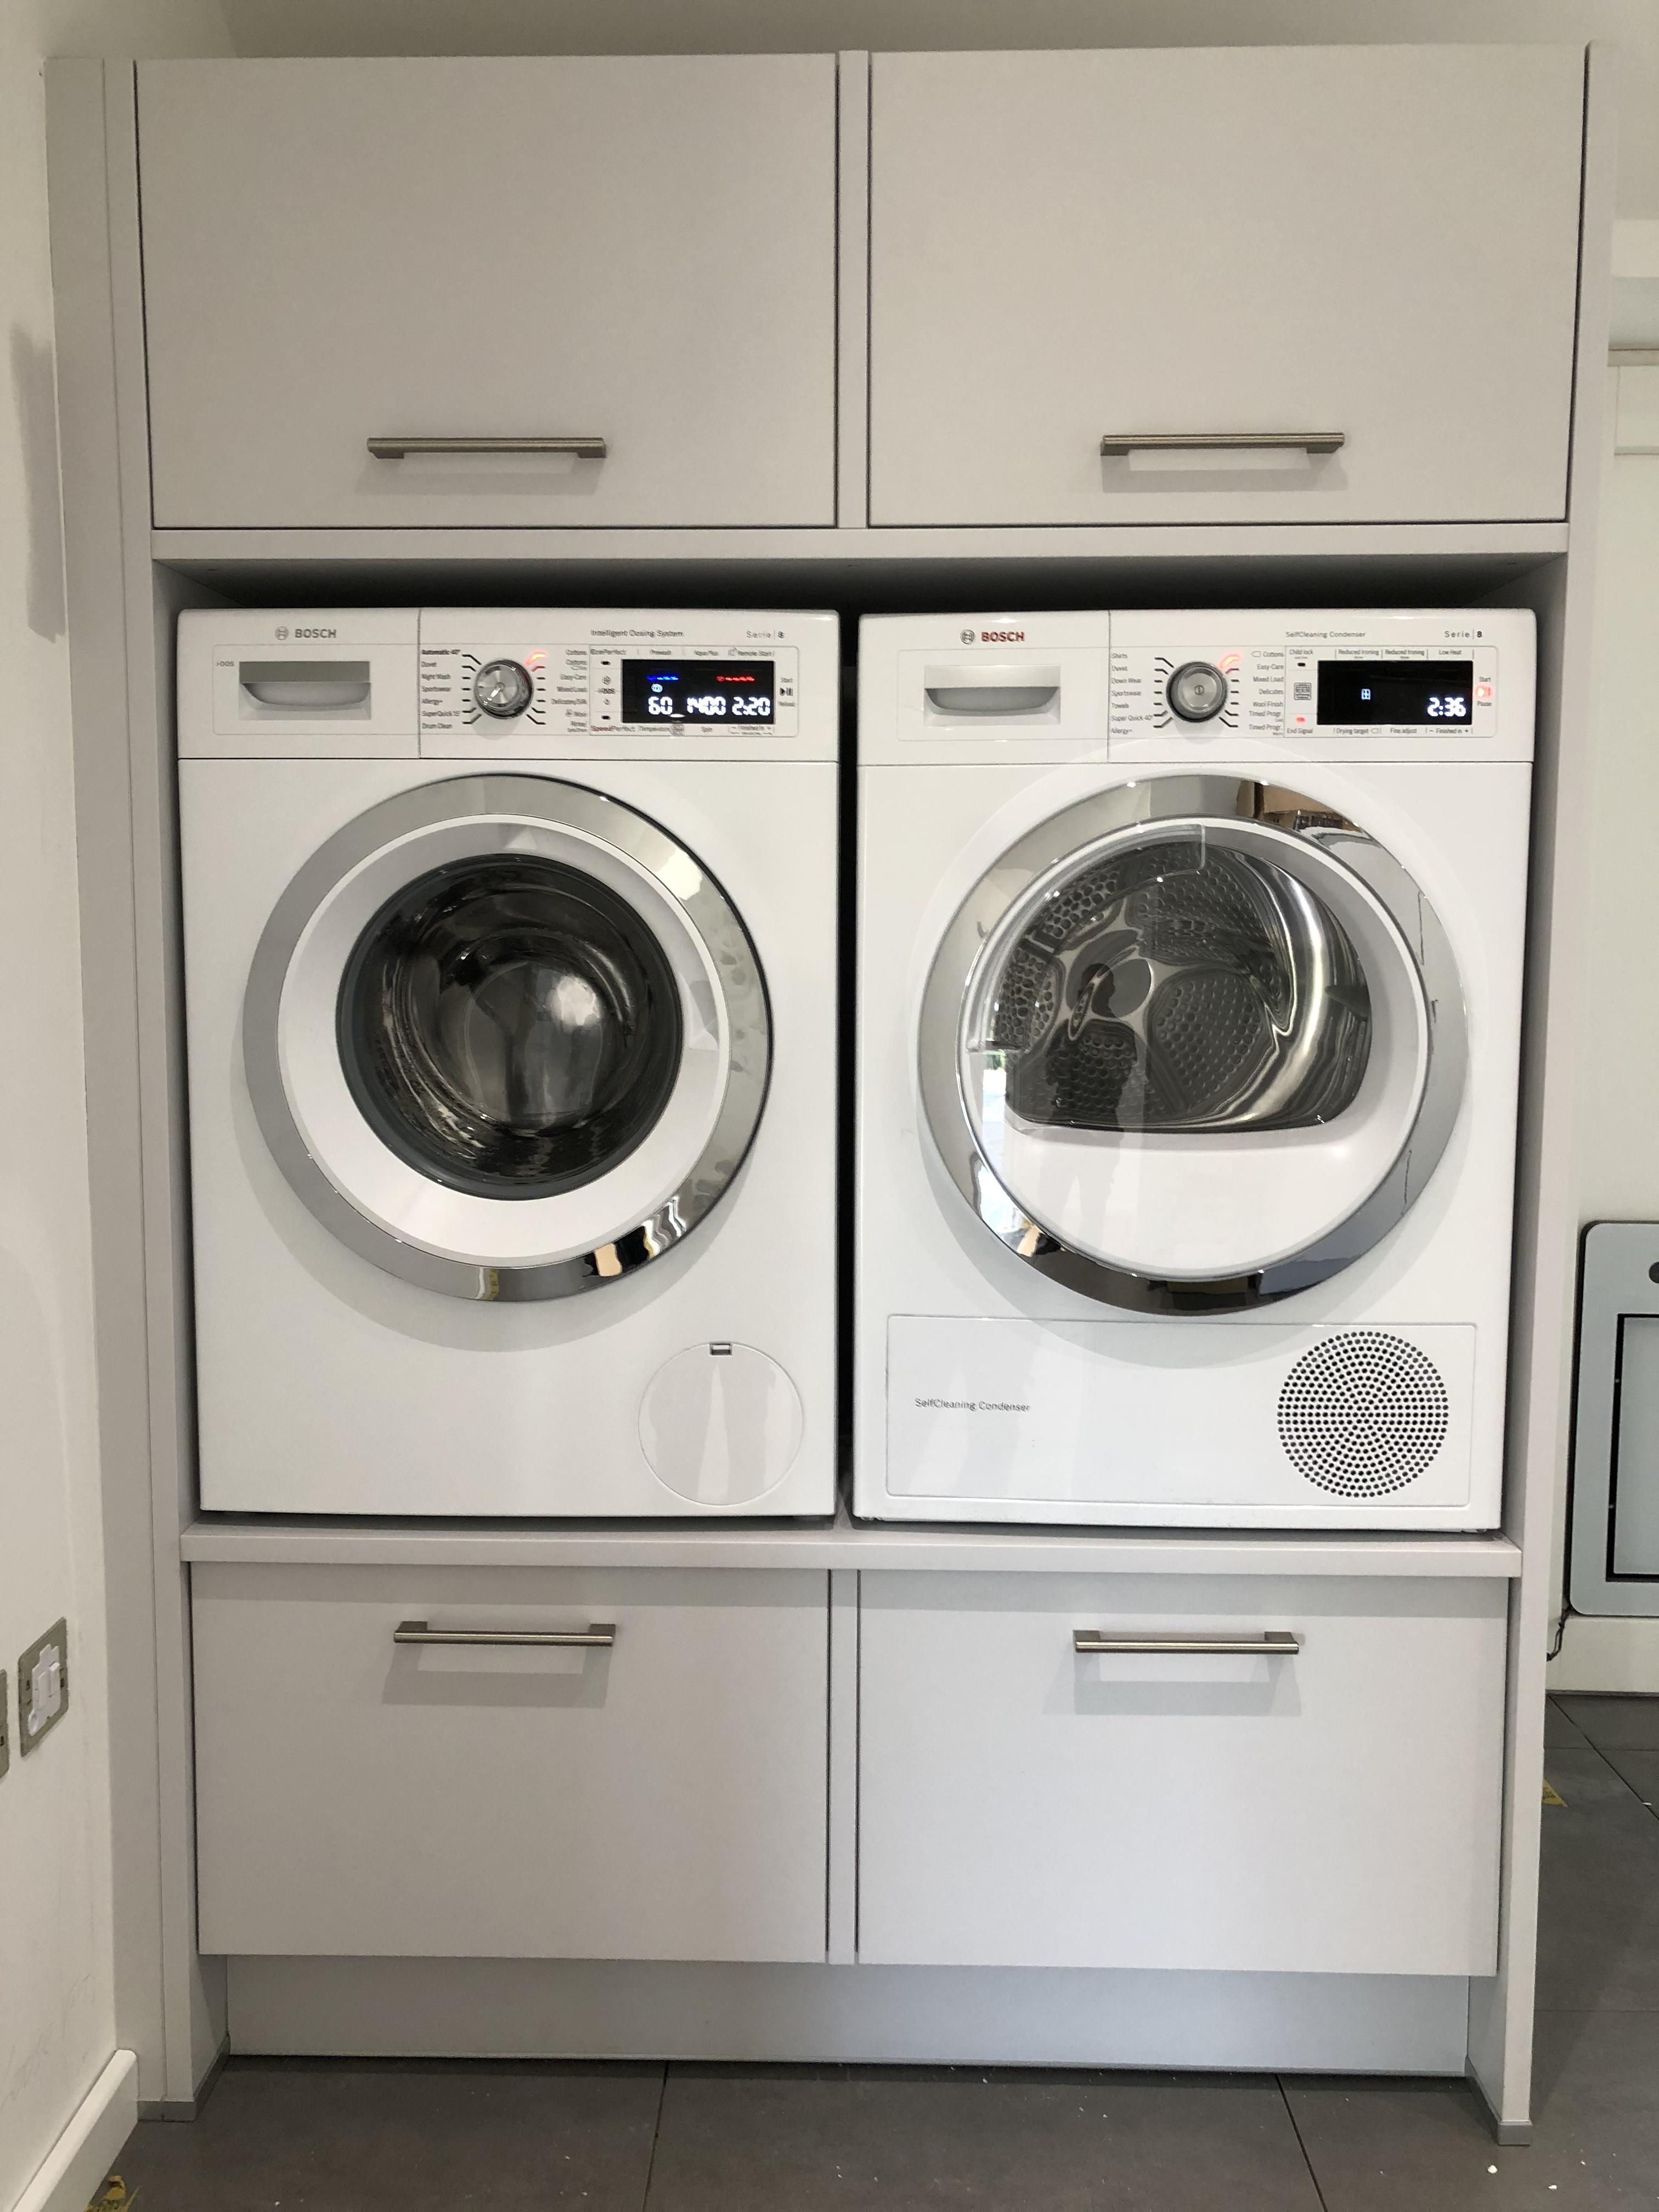
Yep and it works fantastically. Zero risk of it toppling out with a very simple clamp bar to the feet.
 1 point
 -
One thing to consider is simplicity of construction. We've just done an ICF build using a block from JUB. Yes, it's more costly than Nudura on the face of it but there is no waste as you get a pre-cut lego kit. It also greatly reduces the risk of errors on site, the down side much less flexibility to move windows and doors one on site.1 point
-
Got a Fermacell spatula, but may get another as my sister used it to scrape off the joint stick before I could tell her otherwise. "Tough going it was..." Yeah, no kidding!0 points
-
Another lesson learned, another part of the self build experience. As they say, it gets sorted in the end! I now go by the mantra "If it can go wrong, it will go wrong"... Except the first part is irrelevant, it will always go wrong! ?0 points
-
glad to see someone who realises the Scots are generous, normally we're classed as tight gits ?0 points
-
priorities all wrong, heated garage first then shed.0 points
-
No ! F off ! - it’s clean !! Ish .....0 points
-
Can you do me a favour and buy a broom. ?????0 points
-
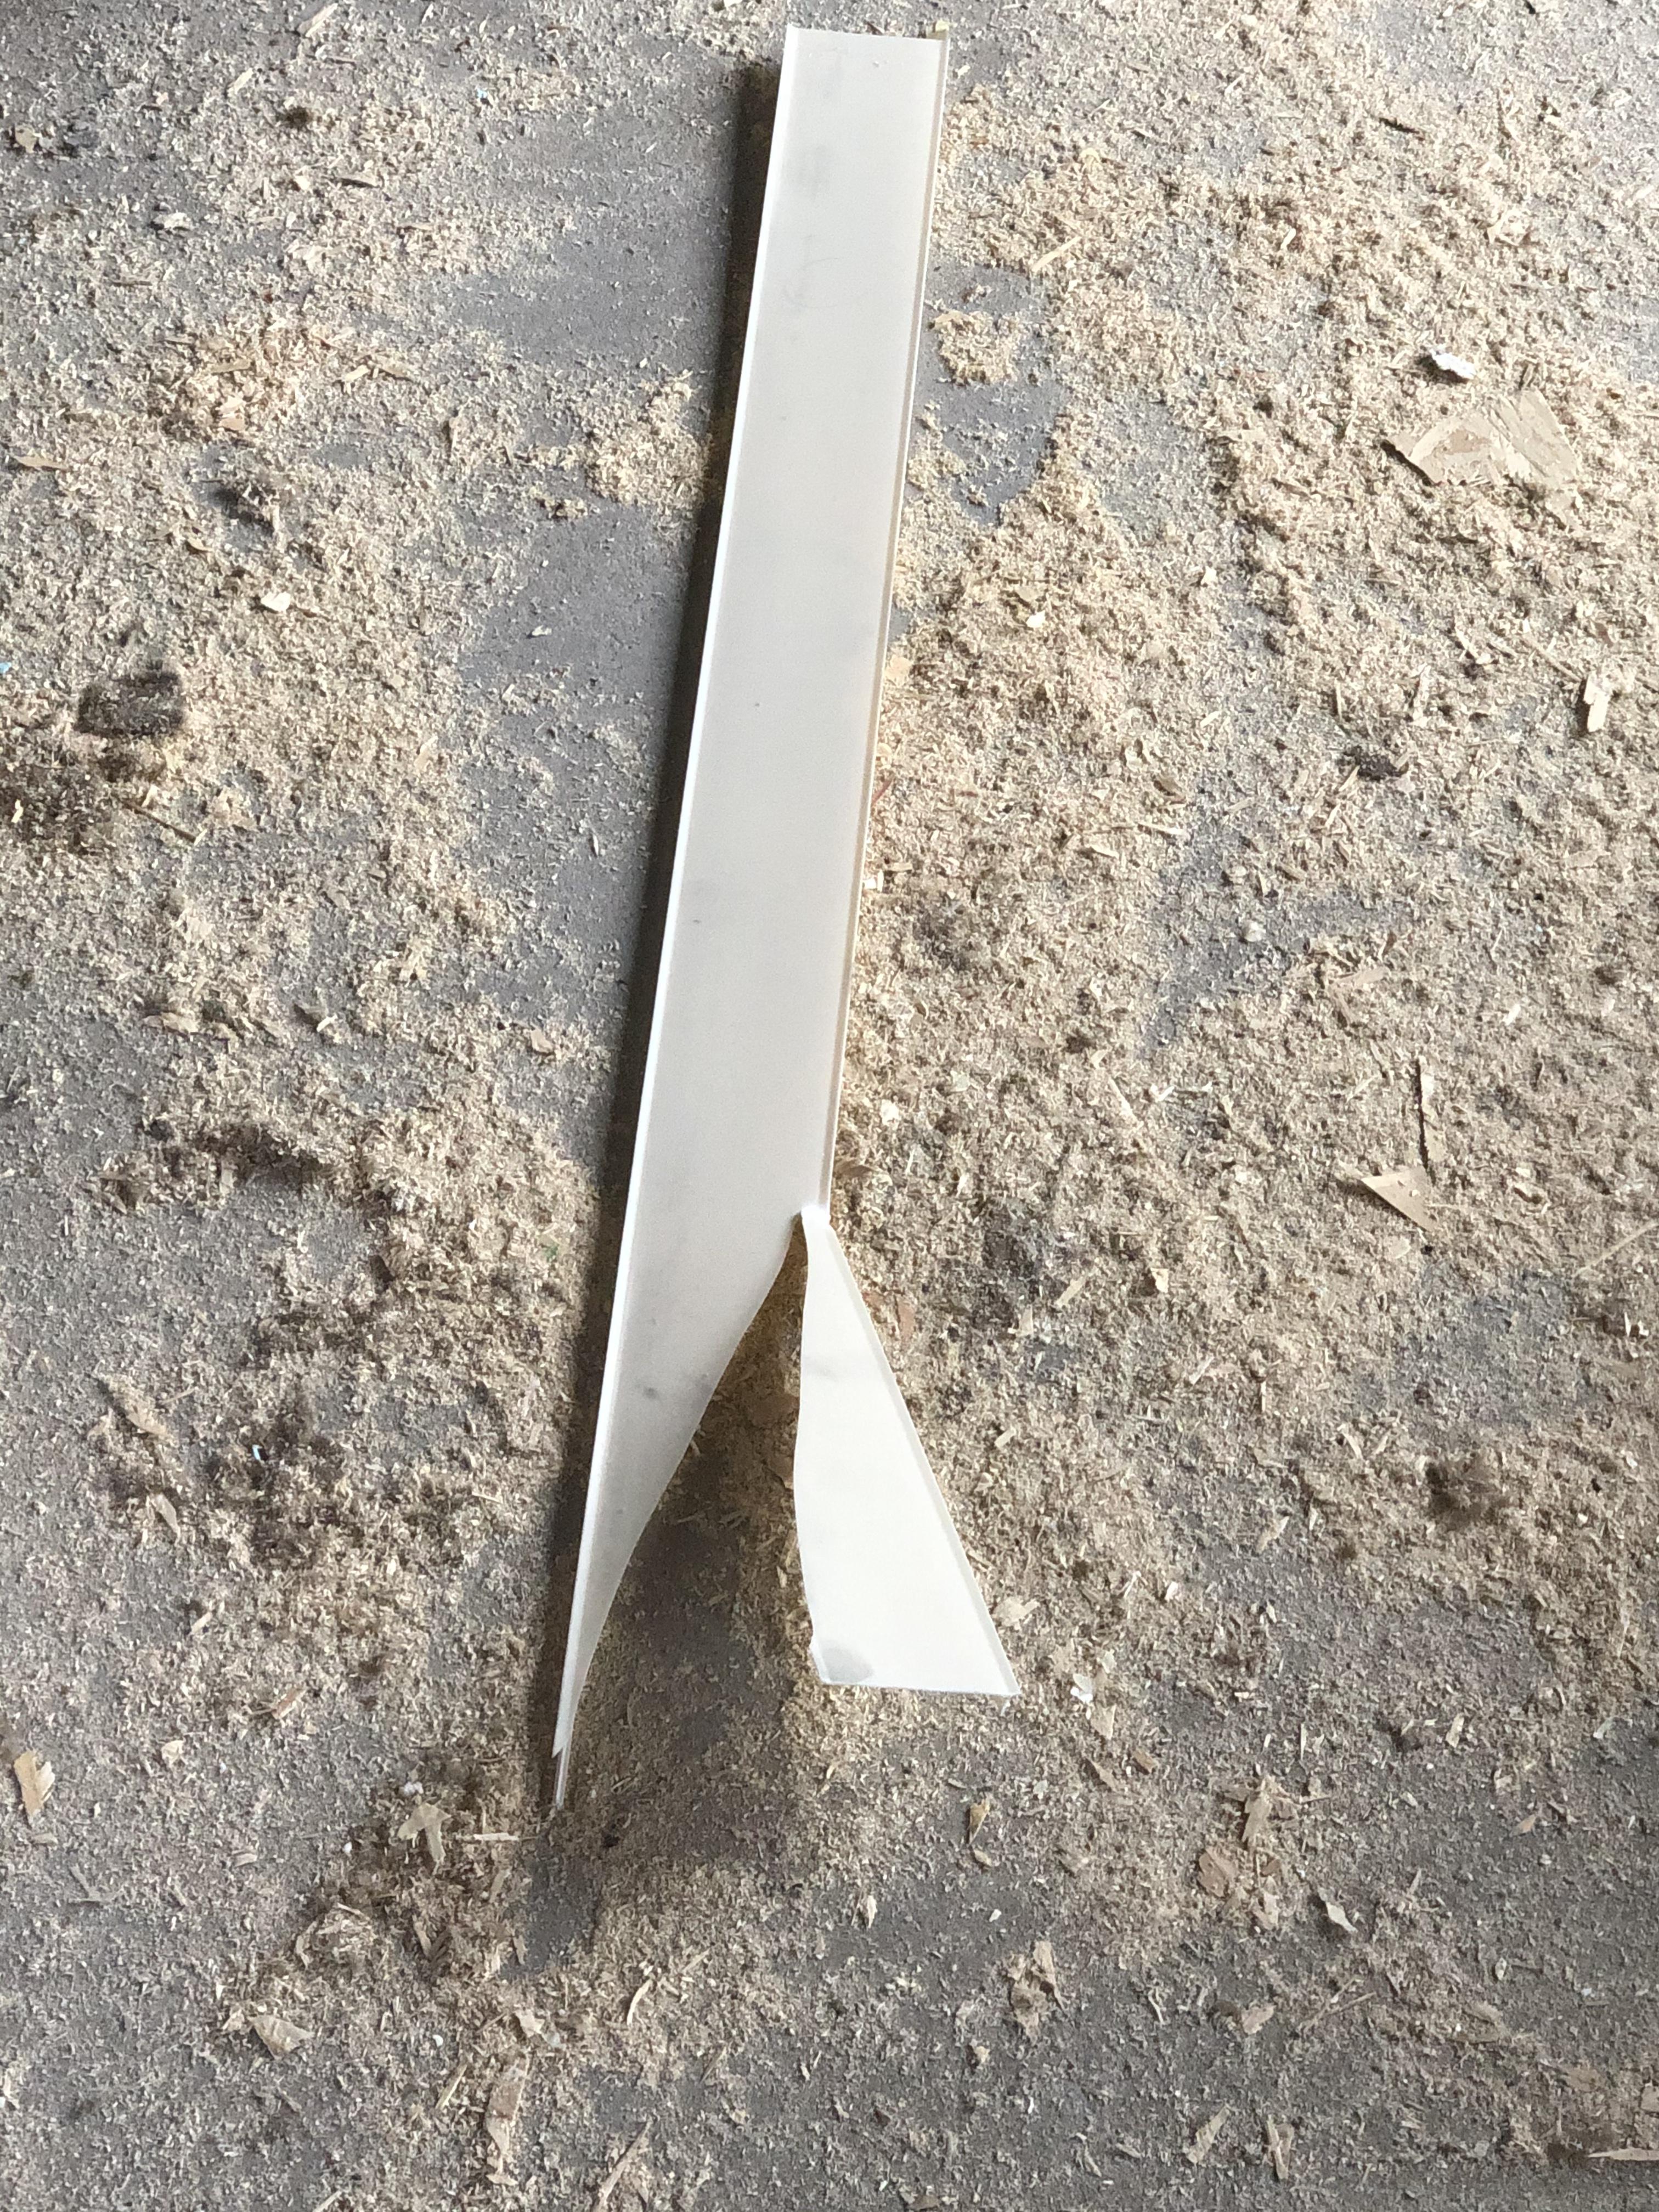
Ok with enough force plastic comes out
 0 points


.thumb.jpg.bac90f3bbf6868cf2118d010d936c99d.jpg)


This leaderboard is set to London/GMT+01:00