Leaderboard


Popular Content
Showing content with the highest reputation on 08/15/23 in all areas
-
I used these guys: https://archital.co.uk/aluminium-cills/ Mine are the type 6 on that page. Worth adding that the match to my windows is just about perfect (RAL7016)2 points
-
Just wanted to let people know that the new building regulations part O, are a pain. However, by spending a bit of time getting my head around them, and looking at some examples from places like Future Homes, i sat down with the Mrs for a couple of days, and got the calculater, pencil, paper and tape measure out. Without cheating, i have got a pass using the Simplified Method...... Yippie. The Mrs has produced some sort of computer spreadsheet thing, and entered all the figures. I actually feel that although my spelling and computer skills are crap, i could almost write an idiots guide to part O now. It is defo one of those things that you need to consider at the design stage, as a tweek here or there can make a lot of difference. For info, the house is 2500sq foot. 4 bed / 4 bath. Most of my glazing faces East, followed closely by West facing. I have some, but not a lot facing South, and very little facing North. I was quoted about £1200 for thermal modelling, with more fees to follow if it needed alterations. So if you have some spare time, it is worth having a pop at doing yourself. A certificate for building control, together with the work sheets, will be produced by the better half now. I'm going to see if i can get my head around Heat loss cals next. Wish me luck.2 points
-
With my bifolds (not quite 3.8m) I used two concrete lintels, one in each leaf and cut brick slips to stick to the outside lintel, you would never see they were slips and no thermal bridging at all 👍2 points
-
Was meant to be fun but is now torture . 2 devices in the bathroom mirror ( with a light ) and lights Got “Alexa turn off bathroom mirror “ etc working Lights though “ Alexa turn on bathroom lights “ gets me “ bathroom doesn’t support that “ In homeseer you can override the devices name - so I called it twat so I say “ Alexa , turn off bathroom twat “ - it comes back and says “ did you mean lights ? “ So I’m now shouting twat instead of lights ffs !1 point
-
Now that Octopus have decided not to require MCS accreditation if you want to sell them your surplus PV do we think the same will happen to the requirement for MCS and heat pumps? Of course they are not involved directly in BUS except as an installer but I suspect they may have quite a lot of clout.1 point
-
Hiya not sure if this is still open or relevant, however I have taken on a bungalow to house renovation myself. I am an engineer by trade never done building work and I am currently battening the outside ready for render boards. I put timber frame in stick form straight on top of the bungalow walls and then trusses on top to give us a 11.2 m long by 4.2 m wide, 2.4 m high room in the loft. It’s more than doable. I’m quite the celeb on my main road now lol. I’ve done it all on my own other than standing the trusses up where I had my fiancées grandad help as they were fooking huge ! the hardest bit was working out the connection between the old and new, I chemical fixed studding deep into the bungalow brick walls and fixed the timber sole plate down via the studs plus wall restraints etc as per normal standards. I’m self taught from YouTube mainly I would say the tricky bit is the render transition from timber to original bungalow brick, especially as we are insulting externally on the downstairs so I had to build the timber frame above with an adequate overhang so it finishes somewhat flush with the downstairs EWI. my bungalow is a wonky rectangle, so I had to build a nice true new structure on a wonky substructure. Which will need to be made up and hidden within the battening and render board. I basically have 4 steels running across the bungalow which meant I was free to knock all internal walls down if I desired so gave us huge scope to redesign. There as no point starting a new with our build as the size and shape already made best use of the plot. it’s all going on YouTube too1 point
-
I'd heard about the grants etc from the estate agents but they didnt mention about the size of croft or that it needs to be complete. They are selective with their information, Thank you again1 point
-
Given that the best window installed is about 6 times worse than the worst wall these days I completely agree. Ideally some kind of 360deg frame that a brickie would build into the opening . It would be made to the mm that would take care of the cavity tray, the reveals, the head and the sill. It would allow the finished window to click into place as well as any add ons like external flyscreens/ and blinds. It would site the window nicely in the centre of the cavity and provide a chunk of external insulation to the frames to really minimise thermal bridging.1 point
-
That's an interesting approach. For heavy doors, it's the recommended method for the system I'm using (the French Siniat system). But different systems do have different recommendations, and UK & French recommendations diverge in places too. I'm adding it to provide an enhanced fixing for the door frame, though it would contribute to rigidity too. Over here there's no recommendation to use a timber insert at all (nor the rail, for lightweight domestic doors), but I'm not happy fixing a door frame only to metal, and the doors won't be lightweight.1 point
-
No, we've had a grant to improve fencing, but be aware, there is a lot of croft land for sale, that is still controlled by the commission, so you need to 'work' the land. But they are not a full crofts, and thus grants are not available. A full croft needs to be 4.5 ha around 12acres. Anything less it's not classed as a full croft.1 point
-
Put a hot water return in, if you are getting grief about long delays for hot water?1 point
-
I'm also at the early stages of design, and I'm investigating the extensive use of plastered in LED strips. Apparently dotless strips with good quality drivers. I'd be interested in knowing if anyone has used these as their primary lighting source, as well as mood lighting of course ? I've attached a pic found on google and initial render from my kitchen designer. Will also be using them vertically in walls.
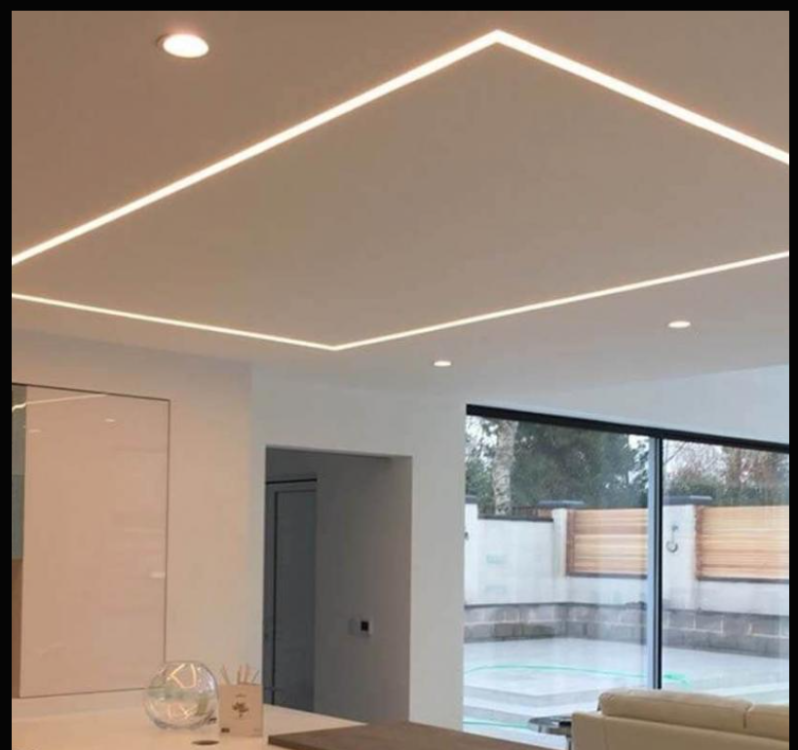
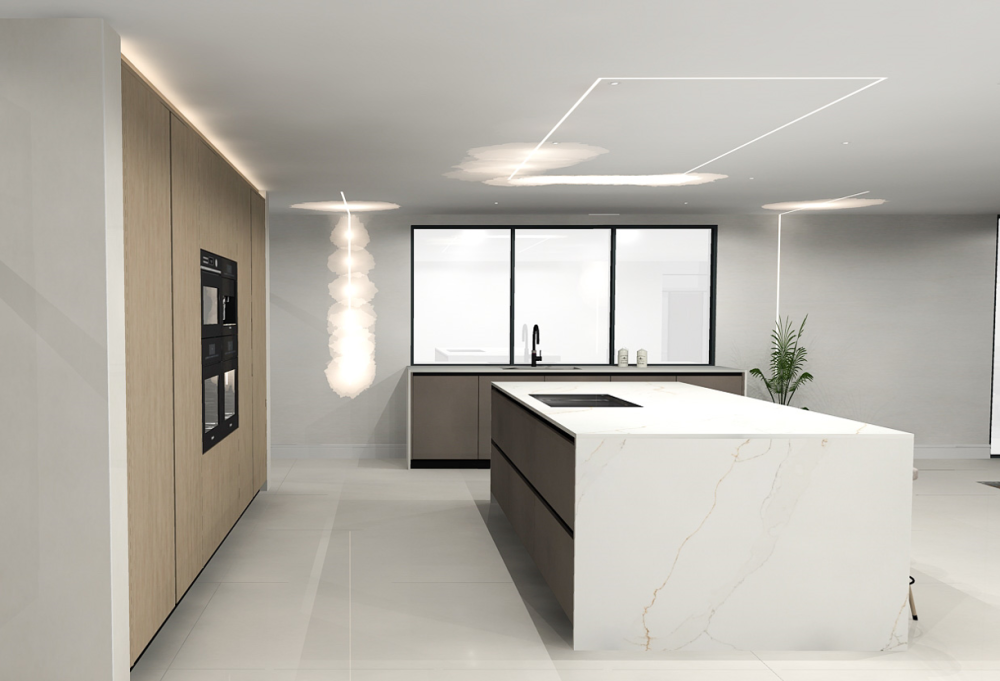 1 point
 -
It’s a bit harder to achieve with rooflights especially if they need to be fitted to a kerb. We originally fitted our rooflights on a large kerb based on erroneous information. It made the windows look daft (stuck onto the roof rather than part of the roof) plus the whole frame was outside the building. Again much to the bemusement of the builders I insisted we reinstall them with no kerb as the Velux window already has a big enough upstand for the flashings for the standing seam roof. Nevertheless they aren’t nearly as thermally efficient as the NorDan windows fitted elsewhere.1 point
-
@Iceverge Looks like i will have to. The currently available rubbish available should be taken off the market, and the window industry should wake up.1 point
-
I had this whole battle in April. As designed the windows were in line with the edge of the kit for both aesthetic reasons (deep external reveal) and thermal reasons (windows inside the thermal envelope of the building). I had 5 people on-site telling me that was wrong. The guy that owned the kit building company saying that the thermal performance reason was “bullshit Kelvin the architect disnae know whit he’s talkin aboot”. Two joiners telling me they’ve been installing windaes for 30 years and if it wis their hoose they widnae day it that way. They couldn’t even agree between them the best way to do it. One wanted to install them out to the edge of the cladding which would have been a disaster given the build up. Another wanted to bring them out to the edge of the firestop because that’s how they’d always done it. So there’s clueless me with a set of construction drawings none of them had bothered looking at it and five of them bickering between themselves about how to do it and an architect I couldn’t get on the phone. In the end I insisted they fit them flush with the kit fixed with brackets. This gives us a deep external reveal. The internal reveals were already very deep. The windows are inside the building. I also had a problem with the cills. The supplied cills weren’t deep enough at 80mm. Nordan didn’t do cills deeper than about 110mm so had to get some made. The next set were 150mm deep but far too wide and I refused to have them cut to fit (powder coated) I also pointed out to them that 150mm deep still wasn’t deep enough to allow enough of a drip overhang. I supplied the measurements myself and had them made to 170mm deep which were perfect. My cills are powder coated aluminium so a bit more flexible with dimensions.1 point
-
Just to be clear, you're asking about ventilation behind the vertical cladding, not about roof ventilation (which I think a couple of the answers have assumed)? The cladding ventilation gap is not really related to the indoor humidity of the space (the SIPS themselves will provide a fairly effective moisture barrier between inside & out, though I also lined mine with a vapour barrier behind the internal lining for belt & braces). It is solely to provide airflow across the back of the cladding boards so they can dry from both sides when they get wet. You don't need a huge amount of airflow - the manufacturer's drawings may well show just having the cavity open at the bottom. I wasn't happy with that, so I just drilled some holes in the top of the cladding just below where the EPDM laps over but above the line of the bottom of the fascia. Then covered with insect mesh, some thin packers, and the fascia. The top ventilation is completely invisible now it's all finished, and even a thin gap at the top should be enough to let natural convection draw the air gently out past the fascia.1 point
-
None of those (a good few) who beat the stuffing out of me ever threatened to do so. Looking back, often, I deserved it.1 point
-
Periphery insulation and extending cavity insulation down to the foundation. Windows sat in cavity as much as possible, tape joins. Two separate lintels in each leaf (brick and block only) Warm roof and insulation continues from cavity into roof . Few or None, unless down through an insulated slab and if unavoidable insulated to death.1 point
-
Just knocked this up, it may help. Periphery Losses.xlsx1 point
-
I im only want a few sheep to train my dog for herding and for desensitising other dogs at a distance .1 point
-
I did a bit about calculating periphery heat losses on here a while back. It is not a a BSI standard, but was close enough. Basically you add the aperture/wall thickness to the total wall area, then calculate as normal.1 point
-
No, but I could if I wanted to. I don't even know where I got the tape from, seems to be one that just appeared one day. I have a posh Stanley one, and a calibrated engineers rule. It was calibrated in 1979, should still be good.1 point
-
Yes all bricks, luckily my “wet” side was west so sun and wind will dry quickly, I guess wet north side will discolour due to lack of UV.1 point
-
@ReedRichards I have often wondered if you could have fitted a PIR. Walk into the bathroom, and it kicks on the re-circulating pump. The instant hot water is a great idea, but having to have a pump running during awake hours, with the heat losses seems a shame.1 point
-
I used floor tile adhesive.1 point
-
@Susie Yes, i will have to sort out some guarding for the upstairs windows. My early doors, in my head plan is. MDF, sat on the top of the window, nailed to the wall, but not above 1100mm in order to comply with fire escape rules. Get passed by building control. Remove MDF, fill and paint. It is madness, you can't have an escape higher than 1100mm That is fair enough, but if any of your openings are lower than 1100mm you have to have guarding ! I watched my grandson the other week. Wanted to go on the trampoline in his garden. Pulled over a sit on truck, and used that to reach the trampoline. He is not yet 2 years old.1 point
-
Glad you found the spreadsheet. I got a pass with mine and BC are happy with the spreadsheet. We’re a bungalow so have to sort some night time security out for the bedroom windows that are open at night. future homes also have template examples for recording the SAP as you build. You saved a bit by doing it yourself and can put the dynamic modelling money (+ VAT) towards something else. well done. 😀1 point
-
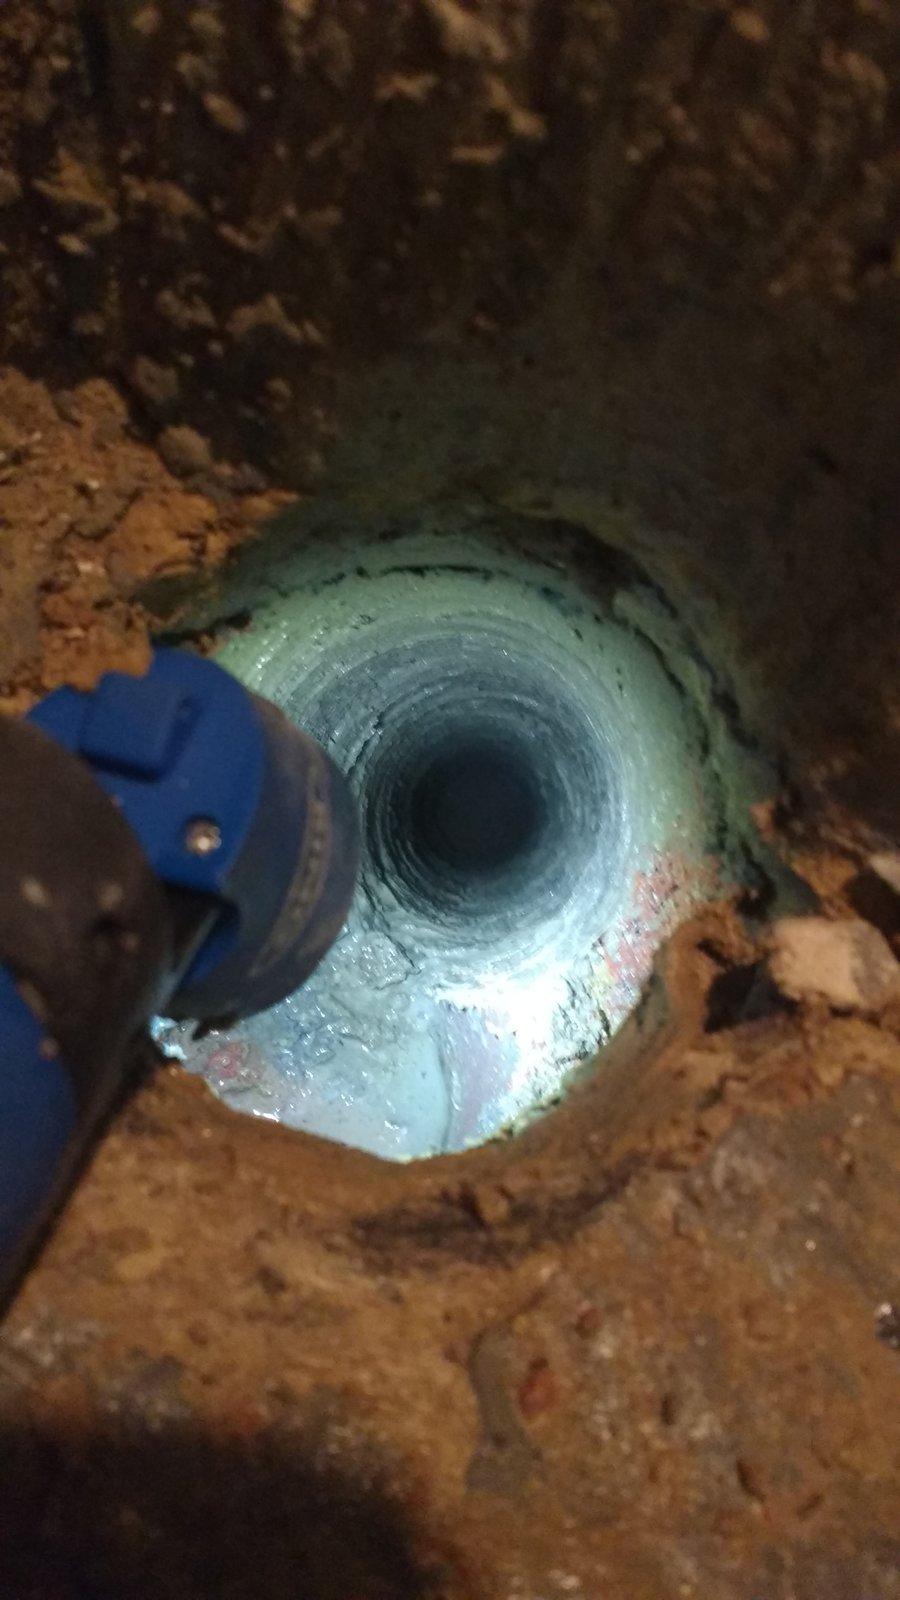
Got to repeat this the opposite of the garage now! That killed two SDS drills, a couple of 1m bits and nigh on me!
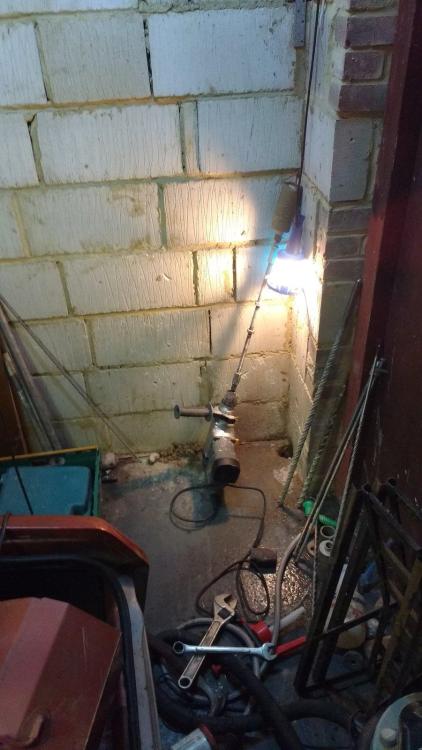
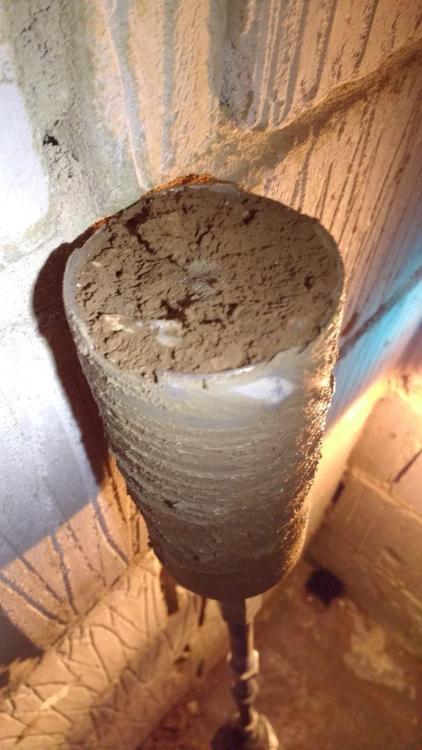
 1 point
 -
Bathroom alcoves with lights inside, adds a real nice feature to bathrooms and can be done cheaply if designed in! Higher and wider doorways for main rooms.1 point
-
I hated trigonometry, and is one of those things that is set up oddly in a spreadsheet as they use radians by default.1 point
-
Well done. That is the secret, people forget that when modelling physical things, real models really help.1 point
-
Figured it out now. Old fashioned trial and error.1 point
-
We didn’t vault any ceilings on our first But have vaulted three this time round and if your keen diyers like myself and my wife They don’t cost a fortune We have also self fitted three sets of sliders a days work including glazing1 point
-
The glazed gable end is a dear feature. We visited a house that had one. Full gable was glazed with a large overhang. It was very nice but the 3G glass cost a fortune as did the steelwork holding it all up and also seemed to be a massive cold bridge as far as I could see. What they also had, which was also very dear, was a glass corridor that joined both bits of the building together. Did all look nice though.1 point
-
Actually build it yourself - saves a fortune, only get jobs done, you can't or don't want to do yourself. Pay for labourer second pair of hands for six months, you will make good progress. Shop around for everything. Some of the features you mentioned will lead to massive overheating, so be careful for what you ask for. But good design need not cost more, it just needs to be well thought through. Research, when you think you know enough you are only half way there. Do it right do it once. Don't change stuff as you go along stick rigidly to the design. We spent a year fine tuning the design, then built the house in year, spent the last 2 years getting the heating system to perform how I want it to. Then installed a heat pump - like I should have at the start. But you learn all the time. Don't add bells and whistles because they sound good, if they don't add real value to you, they don't add value, they are not required. For us home automation fell into the category, wanted it at the start, but started seeing systems we looked at, stop being supported, thought a light switch will do just fine, if it breaks anywhere will have a replacement.1 point
-
Sell the old house, bank the cash build new house without any other external hassles such as tenants and not selling when you need to..1 point
-
Precast concrete lintels here separate for each leaf. No need for any cavity closer although I did make OSB window boxes. Simply install the windows just inside the outer leaf. Use A/T membrane taped to the window and tape to fix it back to the inner leaf. Screw J beads into the windows and fix your plaster board reveals and heads. Blow in EPS beads. Simple.1 point
-
We had the ridge height challenge and responded by designing 1 3/4 storey barn style house. We have ceilings which slope down to 2.1m, low eaves detail over the windows. I think it is better proportioned externally and the internal sloping ceilings add interest without feeling compromised. The only minor issue was fitting wardrobes into the slope.1 point
-
To me, the obvious thing is cut a hole in the OSB, remove insulation from below and see if you can see a sign of a leak? Less disruptive and easier to put back than cutting a hole in the GRP from above.1 point
-
Or just don't have any actuators. I use my single wireless thermostat to give the heat source permission to start and stop. My existing wiring centre is still there, but I have nothing connected to it except the thermostat wires (those thermostats no longer used). The whole wiring centre is switched off. Not sure of your screed thickness, but the thicker the more time it takes to heat up from taking warm water. Can be several hours to see any meaningful temperature change in the room, if your water temp is too high room temp can overshoot, also depending on the thermostat you use, that can cause under and overshoot also. If you use a normal thermostat, that could have a hysterisis of upwards of a degree, if your lucky it maybe +/-0.5 deg. Any thermostat with thick screed needs a thermostat with a hysterisis of circa +/-0.1 degs.1 point
-
This is not what you want to hear, so feel free to ignore >>> no roof overhang around the building Looks cool, but buildings have had overhangs for centuries for a reason - to keep the weather off the walls, so they're not regularly saturated. Similarly with the bottom of the wall, where upsplashes often rot the cladding eventually. >>> Is the EPDM roof covering that I'm using breathable. No, not at all. >>> 3. Do I need to lap the EPDM over the cladding and then drill vent holes in the cladding near the top (not preferred) I would definitely lap the EPDM over, preferably with some kind of overhang and/or kick to keep the water off the cladding. It also looks dead cool without gutters, but...1 point
-
Can you post some pictures/sketches of what you want to do?1 point
-
Another thing to bear in mind in building is that there are several ways round problems, which need you to think creatively. The more positive and relaxed you are, the more the options present themselves. Ie when we feel negative we can’t see possibilities. It’s quite a good metaphor for life.1 point
-
From a structural and safety point of view you always need to consider the effects of moisture on a building. Firstly external moisture. This is easier to visualise. 1. Make sure the roof isn't leaking, valleys chimneys etc. 2. Make sure that gutters are all working and taking water away from the building. 3. Make sure no water is pooling by the external walls, correct sloping/french drains can solve this. 4. Make sure that the water table isn't trying to push water up through the floor, again a french drain is a great and cheap way to solve this. Secondly internal generated moisture. Tougher to see as it's largely water vapour from breathing/cooking/showering drying clothes etc. It stays as suspended tiny moisture droplets in the air and forms into water droplets when it gets cold. Much like steam from a kettle condensing on a single glazed window. This is a real problem in almost all houses as it is hard to see and it's poorly understood. The consequences , mould, rot, damp and smells are widely known however. The air can suspend a certain amount of water vapour particles per m3 depending on temperature. At 4 deg it can hold 6.4g of water vapour per m3 of air. This is the maximum and is called 100% relative humidity (RH). You will see this as fog outside. However if you bring that m3 of air inside the house and heat it up to 20 deg it can hold much more moisture, 17.3g/m3. Given that it only has the 6.4g, that means it is nowhere near it's capacity to hold water. It's absolute humidity ( 6.4/m3) is the same but its RH has dropped to 37%. This is why weirdly if you open the windows and doors briefly on a foggy day, let in 100%RH air, close the doors, allow the air to heat up it'll really aid the drying of the house as it can take on much more moisture. A similar thought experiment can be done in reverse. Take your kitchen RH 70% and 20deg. That is 12.2g/m3 in absolute humidity. Unfortunately you have a poorly insulated window where the surface temperature is 12deg. The air that touches this gets cooled and it's RH climbs to 100% at 14deg. This is called the dew point as it is where dew begins to form. As the temperature of the air beside the window continues to drop the water vapour has nowhere to go and condenses out of the air making droplets on the window making an area for mould and damp. Not a massive problem if the window is in a breezy area of the house where it can dry when the RH drops again but a real issue where air movement is limited like behind furniture etc. The solutions for this are four fold. First ensure you have proper ventilation. It needs to be forced and continuous. Trickle vents and hole in the wall vents do nothing in still weather and too much in windy weather. This will take the internal air and replace it with external air that can help keep the house dry more. This was the a job of the fireplace in ye olde houses and mechanical ventilation in new ones. Secondly, build your house in such a way that no internal surface gets cold enough to collect condensation. This is typically a surface temperature of 16 deg for most houses. It can be easily achieved in a solid walled building by just running the heating a lot. A better way is to add a continuous layer of insulation. Thirdly, you need to do your utmost to prevent any moist internal air from getting into the structure of the house via cracks, holes and incomplete construction. Thirdly, keep the damp air out of the structure of the house where it could condense. This is done with a good airtightness layer. Fourthly you need to ensure that any moisture that gets into your structure can dry out as quickly and painlessly as possible again. Vapour open construction is best. I hope that wasn't too much theory. TLDR Deal with bulk water from outside, it's easy to see and solve. Then deal with damp caused from inside via 1. Ventilation. 2. Continuous insulation 3. Airtightness 4. Vapour open construction.1 point
-
Hi there, I only joined this forum to say thank you to the above member (@Europa) for the walk through! I had been having real trouble trying to get my Wunda underfloor system with Salus ABA's to work. Having read through the above and a couple of other posts, I noted three main things which helped me get the issues sorted: 1. The instructions are wrong (as Europa points out) and the LED's flash rapidly for the first 2 mins in calibration mode 2. You need to do the valves one at a time instead of doing all of them (5 in my case) at once 3. You need to be v patient (which I was not) and not just give up when they initially open and close again within a minute or so I rigged up a simple light switch on the live lead of each actuator and this allowed me to switch them off and on again independently whilst leaving everything else powered on. Honestly, the key is patience as Europa has pointed out. For me, I would say it took 20 / 30 mins + per actuator for it to be calibrated settled and working as expected. Below is what I did to get everything working as it should: 1. Rig up switch on each actuator 2. Set all actuator switches to off (in my case, this left all actuators in the closed position) 3. Get the system to call for heat 4. Make sure your flow has a decent heat (Mine was at about 50 deg) 5. Switch on the first actuator (LED flashes) for about 20 seconds, then off, wait 2 seconds and then switch on again 6. As above, after 2 mins, actuator LED flashing will slow and it will open fully 7. After about a minute, actuator will close (Don't get annoyed at this point) 8. Go away, leave it well alone for 20+ mins 9. When you come back, you should see that there is flow on the circuit 10. Leave the now calibrated actuator on and run through steps 5 to 8 for each of the other actuators in turn, avoiding the temptation to do more than one at a time 11. Leave the system for a couple of hours and you should find that it is then sorted and the valves as opening and closing to moderate flow I was making two main mistakes: 1. Not waiting for long enough and when the valve does it's initial open then close, I was thinking it was not calibrated properly and doing the procedure again 2. By trying to do all circuits at once instead of one at a time, I think I was letting the manifold temp drop too much and therefore messing with the calibration. Thanks very much for your help folks and I hope the above is of some use. I'm off to lie on my nice warm garage floor...1 point
-
See this bit at the end of the tape measure, bend it. Should get a 5mm variation then.
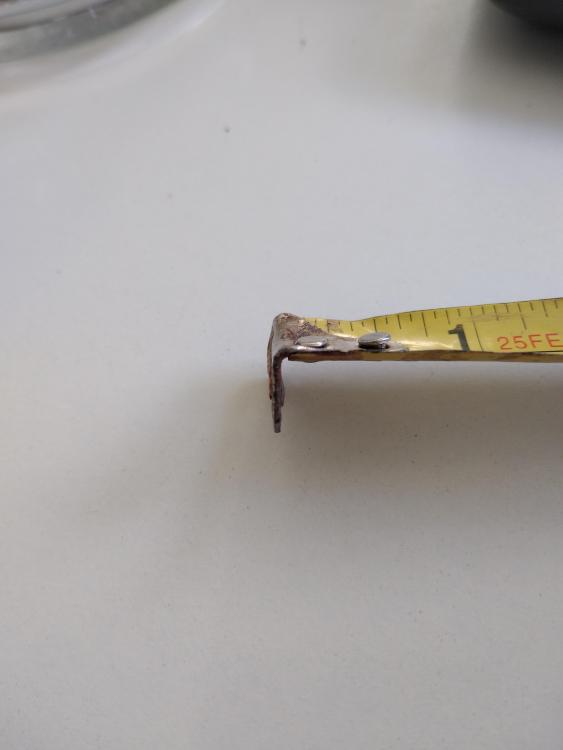 0 points
 -
Did that one 3 years ago this month. Took me days!0 points
-
Actually, i'm not, and never have been a fighter. My actions were always carried out with calmness, and no discussion. My daughter said that when i loose the plot, i come across as some sort of phycopath. As she says, people who tell you they are going to beat the living daylights out of you, hardly ever do.0 points
-
It is alright, not as good as a rabbit, as Bear said to Rabbit.0 points