Leaderboard
Popular Content
Showing content with the highest reputation on 11/08/20 in all areas
-
Those slabs look like an osteopath's dream! I always go with advice from https://www.pavingexpert.com/2 points
-
2 points
-
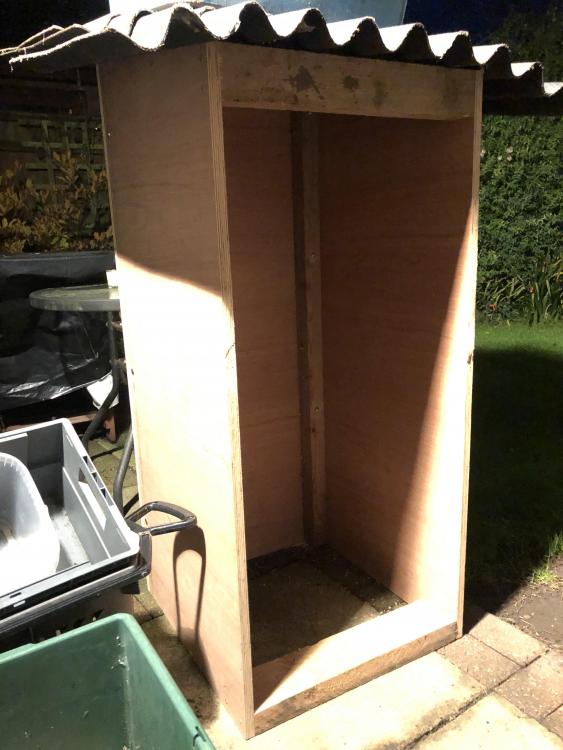
Following on from the last entry we had our final inspection and were on the cusp of getting our completion certificate. A few final documents were uploaded and a certificate was received from building control. We had built a house. A few final jobs were completed following the last blog entry. I order 20 tonnes of gravel from a quarry on Skye and then barrowed it down the access and spread it around the house. I also had enough to put some at the top of the access as well and fill a couple of bulk bags. The last job for the joiner was fitting the downpipes. We used the cast iron effect ones as these provide a bit more of a decorative look compared to the standard glossy pipes. We seeded the ground at the start of lockdown and now after a summer of growing the grass is coming on nicely. The grass seed cost very little money. It cost us around £15 to do all around the house. We are pleased with how the house fits into its surroundings. Our pallet wood shelter was finished and I’m currently building up the wood stocks. I am also storing fresh cut wood for the future years. These old CUPA slates crates are useful for this. As we are now heading into colder times of the year, we have had an opportunity to have a few burns from the stove. I’m really pleased with how well it is performing. The stove is bang in the middle of house surrounded by thick concrete block with a lime render. It heats the entire house and the increase in room temperature can be felt twelve hours or so after the last log goes on. I wouldn’t however recommend fitting a stove in a self-build unless you put some serious planning into how you will actually use it. Even a small stove could easily over power the heating need for a living room. Solar gains produce our base heating, keeping the temperatures to around 20c and the daily electricity usage at 10kw. We don’t have any underflooring heating or radiators. If we reach a long cold spot and need a quick boost, I plan to wheel out an oil electric heater or use the towel heaters. . What’s next. I need to crunch the final numbers. I also need to put a final layer on the access road but might put this off until the winter. Thanks for reading.1 point
-
I'm not sure what you're asking or trying to achieve? An architect has to charge fee's to cover local authority fee's, structural engineers etc let alone their own wage and business costs. Builders require labourers and buying of materials. You could PM yourself and source all materials but then you'd be paying a quantity surveyor to "count all the nuts and bolts" so you know what to order, but then will you get the same trade discount as a builder? If you want reasonable quality your paying for quality in materials and the labour to achieve the best results. If you want quality of design, guess what you're paying for the architects time. As an other note a builder has to quantify their material costs to you, unless your well knowledged and verse you won't know the price of materials and amount required, so theirs an element of trust involved when receiving quotes, but that's the thing you get various quotes. Or you could pay that QS fee who'll also go over quotes to ensure your not being over charged on material quantities, but then you don't want to pay fees so the circle continues... The only way to incentives them is to make them aware that budget is low and they'll design and build appropriately. There's not a magic hand shake and phrase to get the same design for cheaper when it comes to the structure of a building* A good architect upfront will save you money in the long term. * Apart from when it comes to things like kitchens or bathrooms where thousands can be saved from researching alternative looking products similar to the big high-end brands, but then it's often looks over quality.1 point
-
We went for DIY Luca gloss handless + quartz worktops, and I sooooo love it. Also love all the functional units, the way they all play along - I have soo much storage space now and the drawers exactly where I want them for my personal ergonomics. We've been admiring the gloss of our high-gloss kitchen - up until we've discovered that actually they are all covered in thin plastic wrapping which we didn't notice (us being too preoccupied with getting the build done and chasing our electrician for the certificate) - and now we started to peel this stuff off (from all 36 units - takes a while!) - and it's even glossier! ????love it even more1 point
-
1 point
-
1 point
-
1 point
-
1 point
-
I would get someone in to look at that wiring centre as PeterW says. It’s definitely less than ideal. I also second what prodave says about it being wired in parallel instead of in series. looks like it should be an quick easy fix tho... assuming the hive and stat are both wired into that wiring centre.1 point
-
It sounds like the cylinder stat is in parallel with the nest not in series with it.1 point
-
That wiring centre has been played with. And it’s not wired correctly for either S Plan or Y Plan as there are links in place going nowhere. For example, 6 doesn’t look right, and someone has hacked into the live feed somewhere where that red electrical tape is. I would find a new heating engineer or electrician and then ask them to rewire a new wiring centre correctly for S Plan.1 point
-
All I am saying is i am not up to speed with how these nest things are supposed to work. If it was working before and you have had someone fit a new cylinder then he either did not know or did not understand the Nest and has wired it as a conventional system. Normally a hot water cylinder would be controlled by a time switch and the cylinder thermostat. You need an electrician to re connect it to the Nest.1 point
-
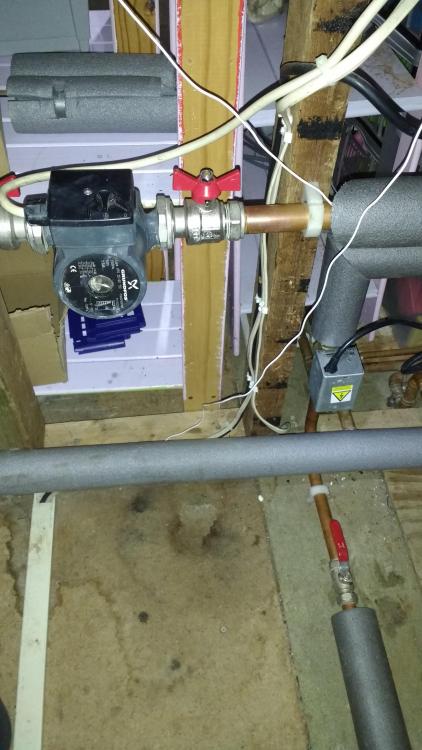
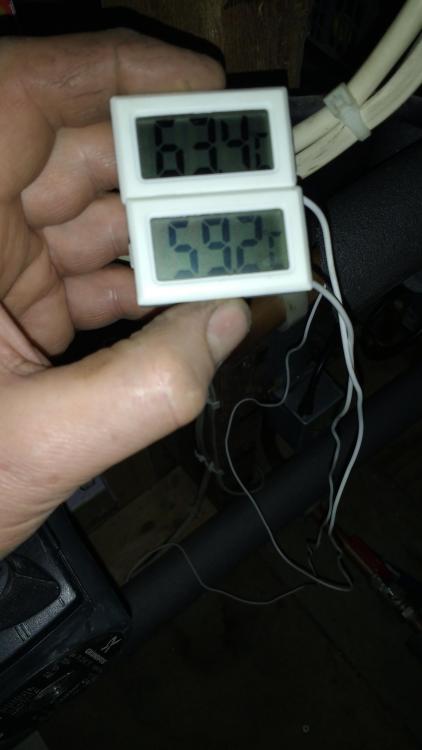
Week won’t harm it. And temperature will go up if you slow down the pump. It’s more likely that you have given the heat exchanger galleries a good clean, and everything is flowing a bit better. Worth seeing if you turn the boiler down if it drops off, also worth checking the stat is properly in its pocket.1 point
-
I guess if your bathroom does not have a window, turning off the MVHR would be a bad plan.1 point
-
I was of the same mind but when you have trades on site, first fix, plastering and second fix plus some flooring etc in that space were not massive additions to the budget. Always worth getting the quotes with and without basement for each stage and see where you get. Given you have insulation on the outside wall, you can always do the industrial look and get surface mount electrics on bare concrete walls1 point
-
1 point
-
No. When you commence development, the planning consent is locked in. PD rights come into play when the scheme is complete.1 point
-
Welcome. Nice that you will have your family living with you. Goog luck1 point
-
Some go down as low as 38cm opening width. https://www.toolstation.com/werner-aluminium-loft-ladder/p40397?store=U2&utm_source=googleshopping&utm_medium=feed&utm_campaign=googleshoppingfeed&gclid=Cj0KCQiAy579BRCPARIsAB6QoIb8tiyFh0KrswOeW3itXoH80wP8mZBxcvwSCmfR3M78BowFT0RrIKQaArTZEALw_wcB * Minimum loft opening width 0.38m (1'3") https://www.toolstation.com/telesteps-loft-line-mini-loft-ladder/p53636 Mini hatch opening: 520 x 600mm https://www.toolstation.com/tb-davies-envirofold-loft-ladder/p63295 Loft Opening Length x Width:1200 x 550mm1 point
-
1 point
-
14 won’t be a problem for tiling If you give it 24 hours after grouting before increasing the temperature you will be ok1 point
-
Unless you have access to a small mixer your best bet would be to get concrete delivered. If you get a fairly dry mix you can use it to form your base plus set the edgings. You going to need to have your tile, adhesive bedding, concrete and then compacted hardcore. As for depths your looking at 150mm compacted hardcore, 100mm of concrete, 30mm adhesive. The slabs are 90kg so they are very very heavy so you can't skimp on the sub base or they will sink. For hardcore your going to need 5t and concrete 1.7m3. That should be enough to form the base plus have enough to set to edgings and haunch the back. But this all depends on the actual size you finish with plus how level you can get the hardcore and then the concrete. With each step of this process you need to get more and more accurate. After you dig it out you could be 60mm out. After the hardcore maybe 30mm out. After the concrete 10mm out. You don't want to be starting to bed these tiles and find your 50mm out as due to the weight of these tiles it will be very difficult to take that out in the bedding of the adhesive.1 point
-
I don't think this one will leak. My concern is that he tried to do it fast and then he forgot to do certain things and I had to point them out to him 3 days later at which point he couldn't undo bits of the roof to fix them, so he did a number of bodges to cover things up. I am getting really hacked off with trades people trying to do things quickly instead of taking the time and doing things properly. This is someone's main financial asset and it needs to be treated with respect and contingency time allowed for when you do a job as unexpected things always come up on jobs.1 point
-
1 point
-
1 point
-
Your better with a solid base (concrete) with the required fall Then lay With a flexible tile adhesive1 point
-
I think that they should go in first and be bedded and haunched with concrete , I think you may mean 1000x150x 401 point
-
Crikey! They’ll be fun to lay! Sorry, I’ve got no advice on the best way to lay those monsters!1 point
-
That's a very good question - I was being a bit summary. If the sand base is being put straight onto the ground - ie without a subbase - then I would lay a weed membrane under the sand in order to help suppress any perennial weed seeds that might already be there, and keep the sand cleaner. My back patio is slabs on sand on the ground, and has a membrane under the sand. I have some growth in the sand over the membrane, but it not a big problem. The main potential problem I have is ants living in the sand above the membrane. But my slabs are 900x600x50mm 65kg pressed council slabs and they have not moved in 7 years, and I hope I never have to move any again. If a subbase is laid that may suppress weeds, then not using a membrane would be possible, or as a belt and braces I might use one to keep the materials more separate. If the tiles are as close as these are and sand is being used then the sand should be relatively straightforward to keep clear of weeds. If I was in Arizona I might put it on top of the sand to prevent an infestation of cactuses ?. Ferdinand1 point
-
1 point
-
1 point
-
They sent a quote for just shy of £25k which totally was going to blow our budget out the water. They needed to bring a new underground line 300m from the transformer at the bottom of the road. In desperation I decided to make a complete and utter pita of myself and kept escalating a complaint ( based on the fact that they stated on their website that they were committed to keeping their system up to scratch to enable new properties to get an affordable connection). I ended up in touch with their top man who agreed to look into what could be done. I was just on the verge of breakdown when I mentioned to him about the pole in our plot and they discovered they had no wayleave for it being there, I had already mentioned this to several of the minions without success but on speaking to him about it and him having no knowledge that I had already pointed this out further back the line, he quickly decided that rather than them having to reroute their whole network on that line they would be far better to give us what we were wanting at a fraction of the cost. Within a fortnight of speaking to him the new quote came in for £4.5k and we signed a way leave for the pole (and they paid us for having it there!) . The work was done exactly as they had first quoted for with the power being brought on a new line from 300m away.1 point
-
We used clean stone to backfill - fist sized lumps of various recycled stone (brick etc) but no fines. Acts as a giant French drain (perforated land drain under that which you don't want to get clogged). On one very wide section we had a 1m width of stone and some spoil vertically separated by geotextile. The most important thing about stone is it is free draining and does not compact, which is very important if you're filling a 3.5m deep x 1m wide trench around your whole house. Top layer can be spoil as you may be laying rainwater pipes etc in this but it must be well compacted. Our contractors filled in most of the basement excavation area to spec but while I was away they obviously cut a few corners at the end and used site spoil to the rear. While it all looked flat and lovely when complete, a few months later, when the scaff was up, it started to settle and dropped almost a foot. It continued to settle for the next year and then the landscaper put a lot of compacted crush on top to make up the levels and act as a solid base for the patio. Unfortunately there has been a bit more settlement and quite a few of the flags are sagging - it had a lovely even fall when laid but now getting puddling when it rains. I've lifted and relaid a few, using CT1 to bond them back down but if it gets worse I'll need to lift the whole lot and re-lay on a clean bed. Where it was backfilled to spec it is rock solid. The SE did suggest that site spoil could be used but it had to be mechanically compacted in 150mm layers - this is very time consuming but necessary otherwise it will eventually settle. So either go for stone or pay for the extra labour to compact well in 150mm layers.1 point
-
FYI I’ve ordered the handless Luca for our kitchen combined with their quartz worktops, then their cento range for our utility room, using ikea laminate worktops in there. The cheaper cento range I thought was excellent quality for the price TBH and we were borderline as to whether to have it in main kitchen, but we really fancied handleless. Our last DIY kitchen was shaker style which proved to be a dust magnet. Don’t forget all their carcasses and internal fitting are the same High quality.1 point
-
Imo you couldn't be more wrong for the reasons I've already outlined. It makes for a healthier environment all round.1 point
-
Welcome. We're friendly because most of the stuff we deal with is high-stakes : no matter whether we're spending £1000 or £100,000 - the chances of getting it 'wrong ' in some way is vastly reduced by being open and appropriately honest about our successes and failures. There's heaps of both for you to feast on here. You talked about briefing an architect. A common topic of discussion. Have a read of this .....1 point
-
0 points
-
You'll need to narrow the list down for one! Secondly the boxing in "walls" will be quick release with studs coming out of the walls and wing nuts.0 points
-
If that’s the case leave it open. Would it not keep the chill from the room and reduce the heat loss impact from the adjoining room? More importantly... Stop avoiding the proper jobs you need to get done. Also you will need to access the pipes time and again and will curse the day you boxed it all in. ?0 points
-
0 points
-
+1 Its not the ladder its your shoulders that are the limitation.0 points
-
Checkatrade. Doh!! He talked a good story. I've paid him now. I'm not thrilled about the job he did as he seems to have left us with some issues e.g. he has stuck some of the rubber roof to the fascia boards instead of the roof, so now if we want to change fascia boards we have to cut the rubber and if we need to lift roof tiles then we need to cut rubber patches he has stuck to them. Lead would have been easier as we could have removed it when necessary and put it back on again. He also whacked a screw through one of the fascia boards into a window frame as he didn't want to take the time to attach it to the wall properly and loads of silicone pumped into a gap between fascia board and roof to cover up bare timber. I didn't want to ask him to fix as I had no confidence in him anymore. I guess I could of got another rubber roofer out to look at it but I am sick and tired of trades people rushing jobs and bodging them. This guy had decided he could replace two rubber roofs in one day. In the end it took 2.5 days. He was being paid £2880 for this job. I may still report him to trading standards as he markets himself as a ltd company but has no listing at Companies House.0 points


