Leaderboard


Popular Content
Showing content with the highest reputation on 07/23/19 in all areas
-
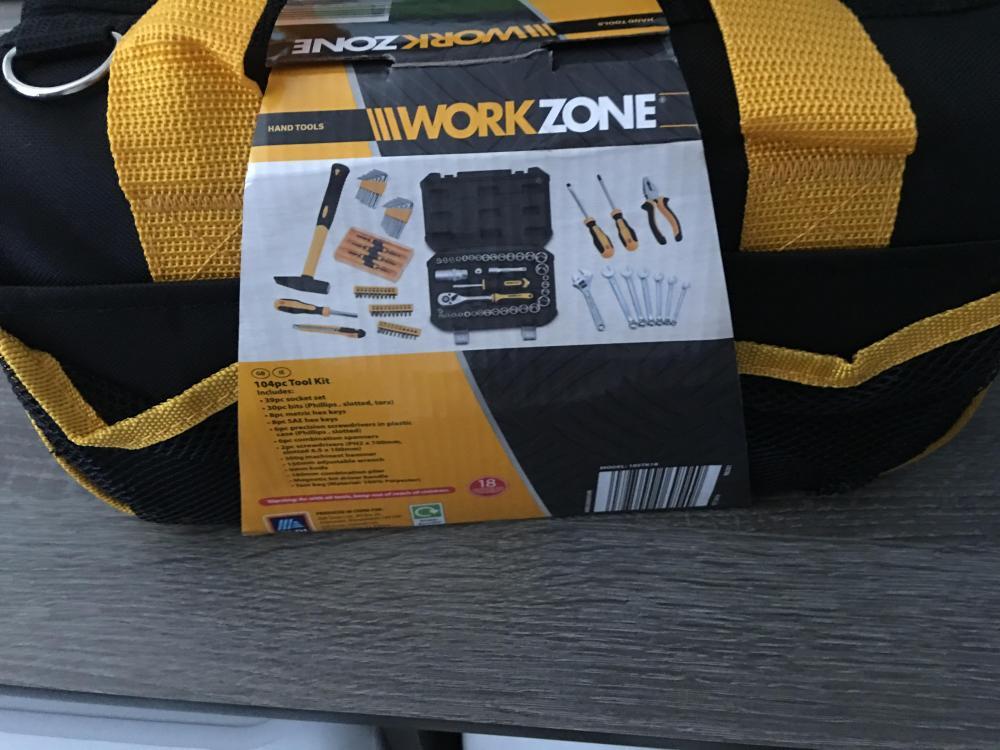
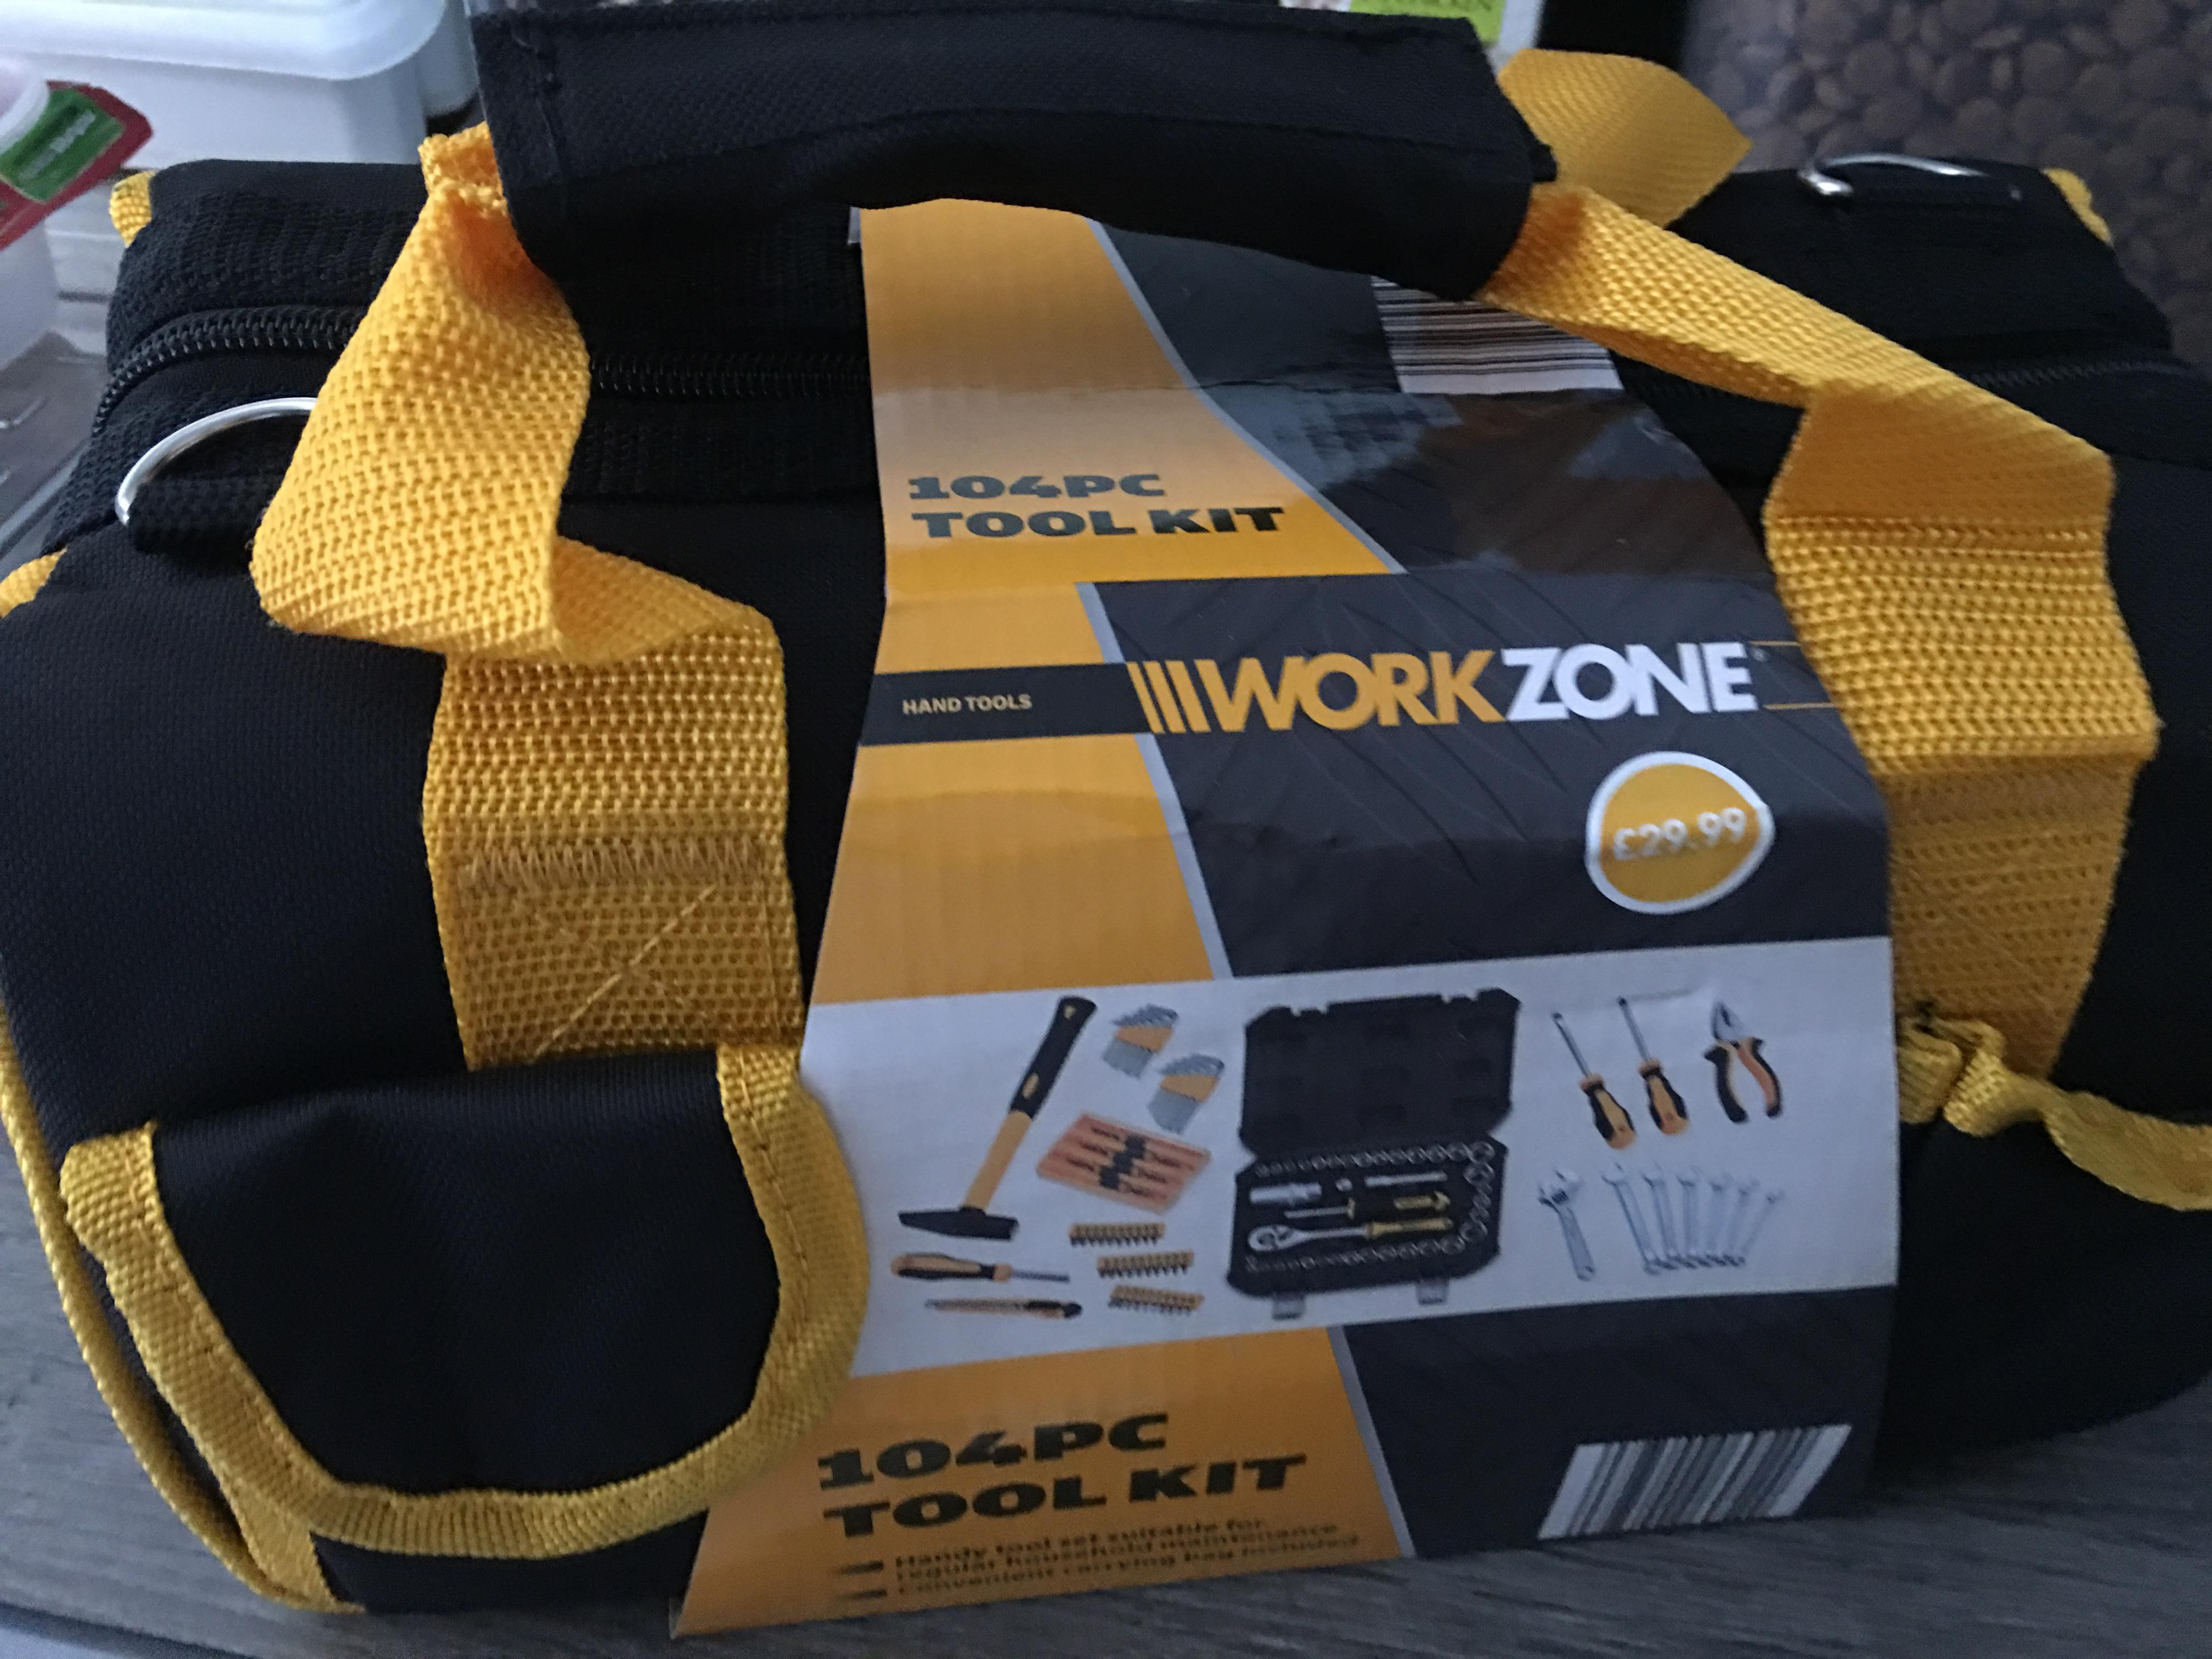
Got myself a new handbag today....look out lads I’m building myself a toolkit? They also had some very nice looking brushed steel single spout kitchen mixer taps with pull out spray nozzle also 29.99...I was tempted!

 3 points
 -
Just to close this off, I finished commissioning the Toshiba unit this afternoon (good timing, probably the hottest day of the year). It was delayed by me not realising I needed an adapter to allow the pressure gauge I'd bought to fit the test port on the outdoor unit - took a week to arrive. It was also a bit of a palaver hoisting the 23kg outdoor unit up on to the wall bracket. Apart from that these things are pretty easy to connect up and get going. I bought a package which consisted of an indoor unit (with remote), an outdoor unit, 4m of insulated pipework, with pre-flared ends, and a wall mounting bracket for the outdoor unit. I had to buy a length of 3 core 1.5mm² flex, plus a length of outdoor-rated 4 core 1.5mm² flex. I also chose to buy a vacuum pump, pump oil and a set of test gauges. Total cost for everything came to: Toshiba MIRAI RAS-10BKVG-E 2.5Kw/9000Btu outdoor and indoor unit, inc. shipping and VAT £574.08 4m pipe set £62 Wall mounting bracket £21.15 Trunking for pipework and cables £32 Cables £15 10m of 16mm bore water drain pipe £16.99 Total for parts used in installation £721.22 In addition, I had to add another double gang outlet to the upstairs ring final, tucked away in the service room. I happened to have a spare metaclad one, and the cable was easy to get at, so it was only a ten minute job. The unit plugs in and works fine on a 10 A fuse in an ordinary plug (the indoor unit is designed to accept flex, rather than T&E). I also chose to buy a vacuum pump for £42.99, plus a set of test gauges for £25, some vacuum oil for £6.25 and an adapter to convert 1/4" to 5/16" for £5.18, so £79.42 on tools. I'd be happy to lend these out if anyone wants to have a go at installing one of these things - not easy to post, though, as the pump is now full of oil. Installation was not difficult, but hampered by doing the job on my own. Coming up with a way to hoist the outdoor unit up on to the wall bracket, mounted just under the eaves, took the best part of a day, and was a real faff. The rest was pretty easy, run a duct through the wall (a bit of 68mm drain pipe is ideal), screw the indoor unit to the wall and hook it into place. Carefully unroll the copper pipes and feed them through the wall and connect them to the short pipes that come out of the back of the indoor unit. Connect up the 16mm drain pipe and run that outside and down to just above ground level. Connect the 3 core cable and 4 core cable to the indoor unit, and run the 3 core to a 13 A plug somewhere easily accessible. Run the 4 core cable outside with the pipes. Connect up the pipes to the outdoor unit, with a bit of vacuum oil on the threads and flare fittings and tighten them up. Connect up the test gauge and vacuum pump to the test port on the outdoor unit and pump the system down to vacuum, checking for leaks by turning the pump off, closing the valve on the test gauge and waiting to see if the pressure rises. If all is leak tight pump the system for around 15 minutes, to get any water out of the pipework, then turn the pump off and leave the system under vacuum for a while as a further test for leaks (I left it for over an hour whilst I had lunch). If all is well, then wire the 4 core cable to the outdoor unit, remove the test gauge, cap the test port and remove the caps over the gas valves. Open these to let gas into the system with a 5mm Allen key, then replace the caps and do them up tightly. Turn on the power and it should work. It seems to be working very well, and is extremely quiet, even when running flat out. The bedroom temperature is now heading for 18°C, so we should be able to get a good nights sleep. I think my timing has to be just about spot on, getting this running on a day like today. Time for a nice cold glass of wine...3 points
-
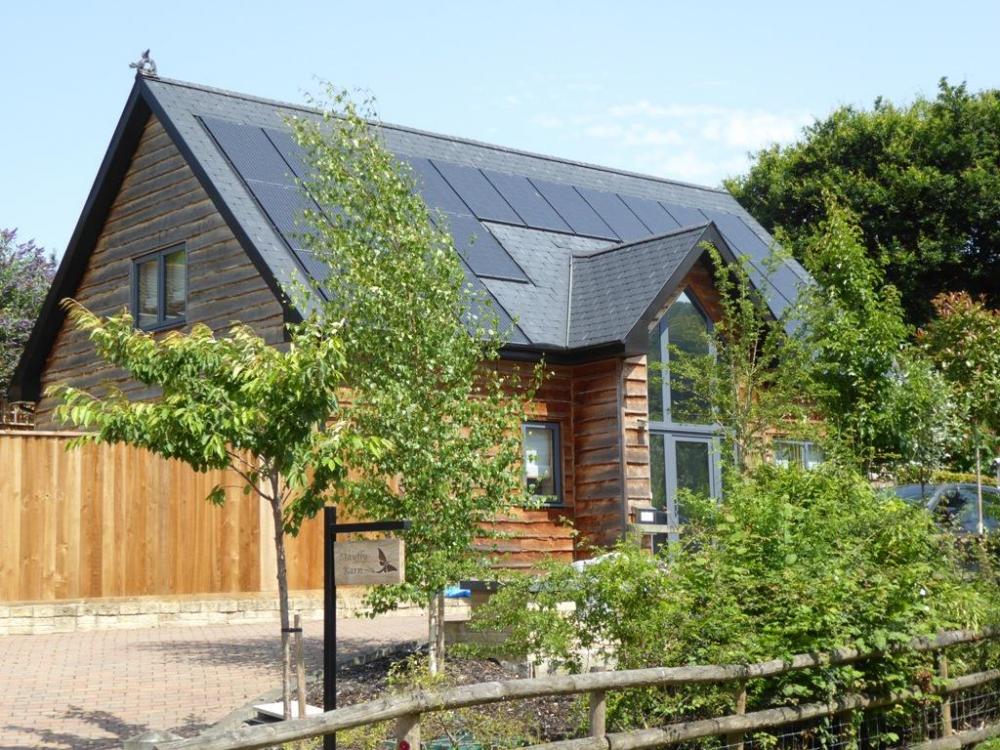
Thought I'd update this, now we're nearly a year and a half on from planting, with some photos of the way the trees look today:
 3 points
 -
FWIW, our Genvex controller has one of these sensor-type screens, that is supposed to light up when you wave your hand over it. That works randomly, too, and I've yet to find out exactly where the sensor is that turns the backlight on, or why it behaves as it does. My guess is that it's just typical flaky technology. Seems normal now for manufacturers to produce flaky stuff. Perhaps it's just a function of a whole generation growing up with tech that falls over, needs rebooting, constant updates, etc, so we don't have product designers who value making things that just work reliably, all the time...2 points
-
Like Tony Martin?2 points
-
Some carefully placed black tape on your number plate might help.2 points
-
... except in the new scenario, there will be different problems to solve. Problems unique to that new build. Where I (for one) won't know what I'm looking at. But I will know some of what I'm looking at: more than I did a few years ago. Research points out that expert status occurs at around 50,000 hours' experience on top of formal qualifications / training. Be dead by then I agree. There's a huge push to get it done quickly. And that means errors. I'll have the rest of my life to look at those. It's a marathon this job, not a sprint.2 points
-
The main thing is that the optimised modules are giving out about the same power. This shows that the system is working as well as it can.1 point
-
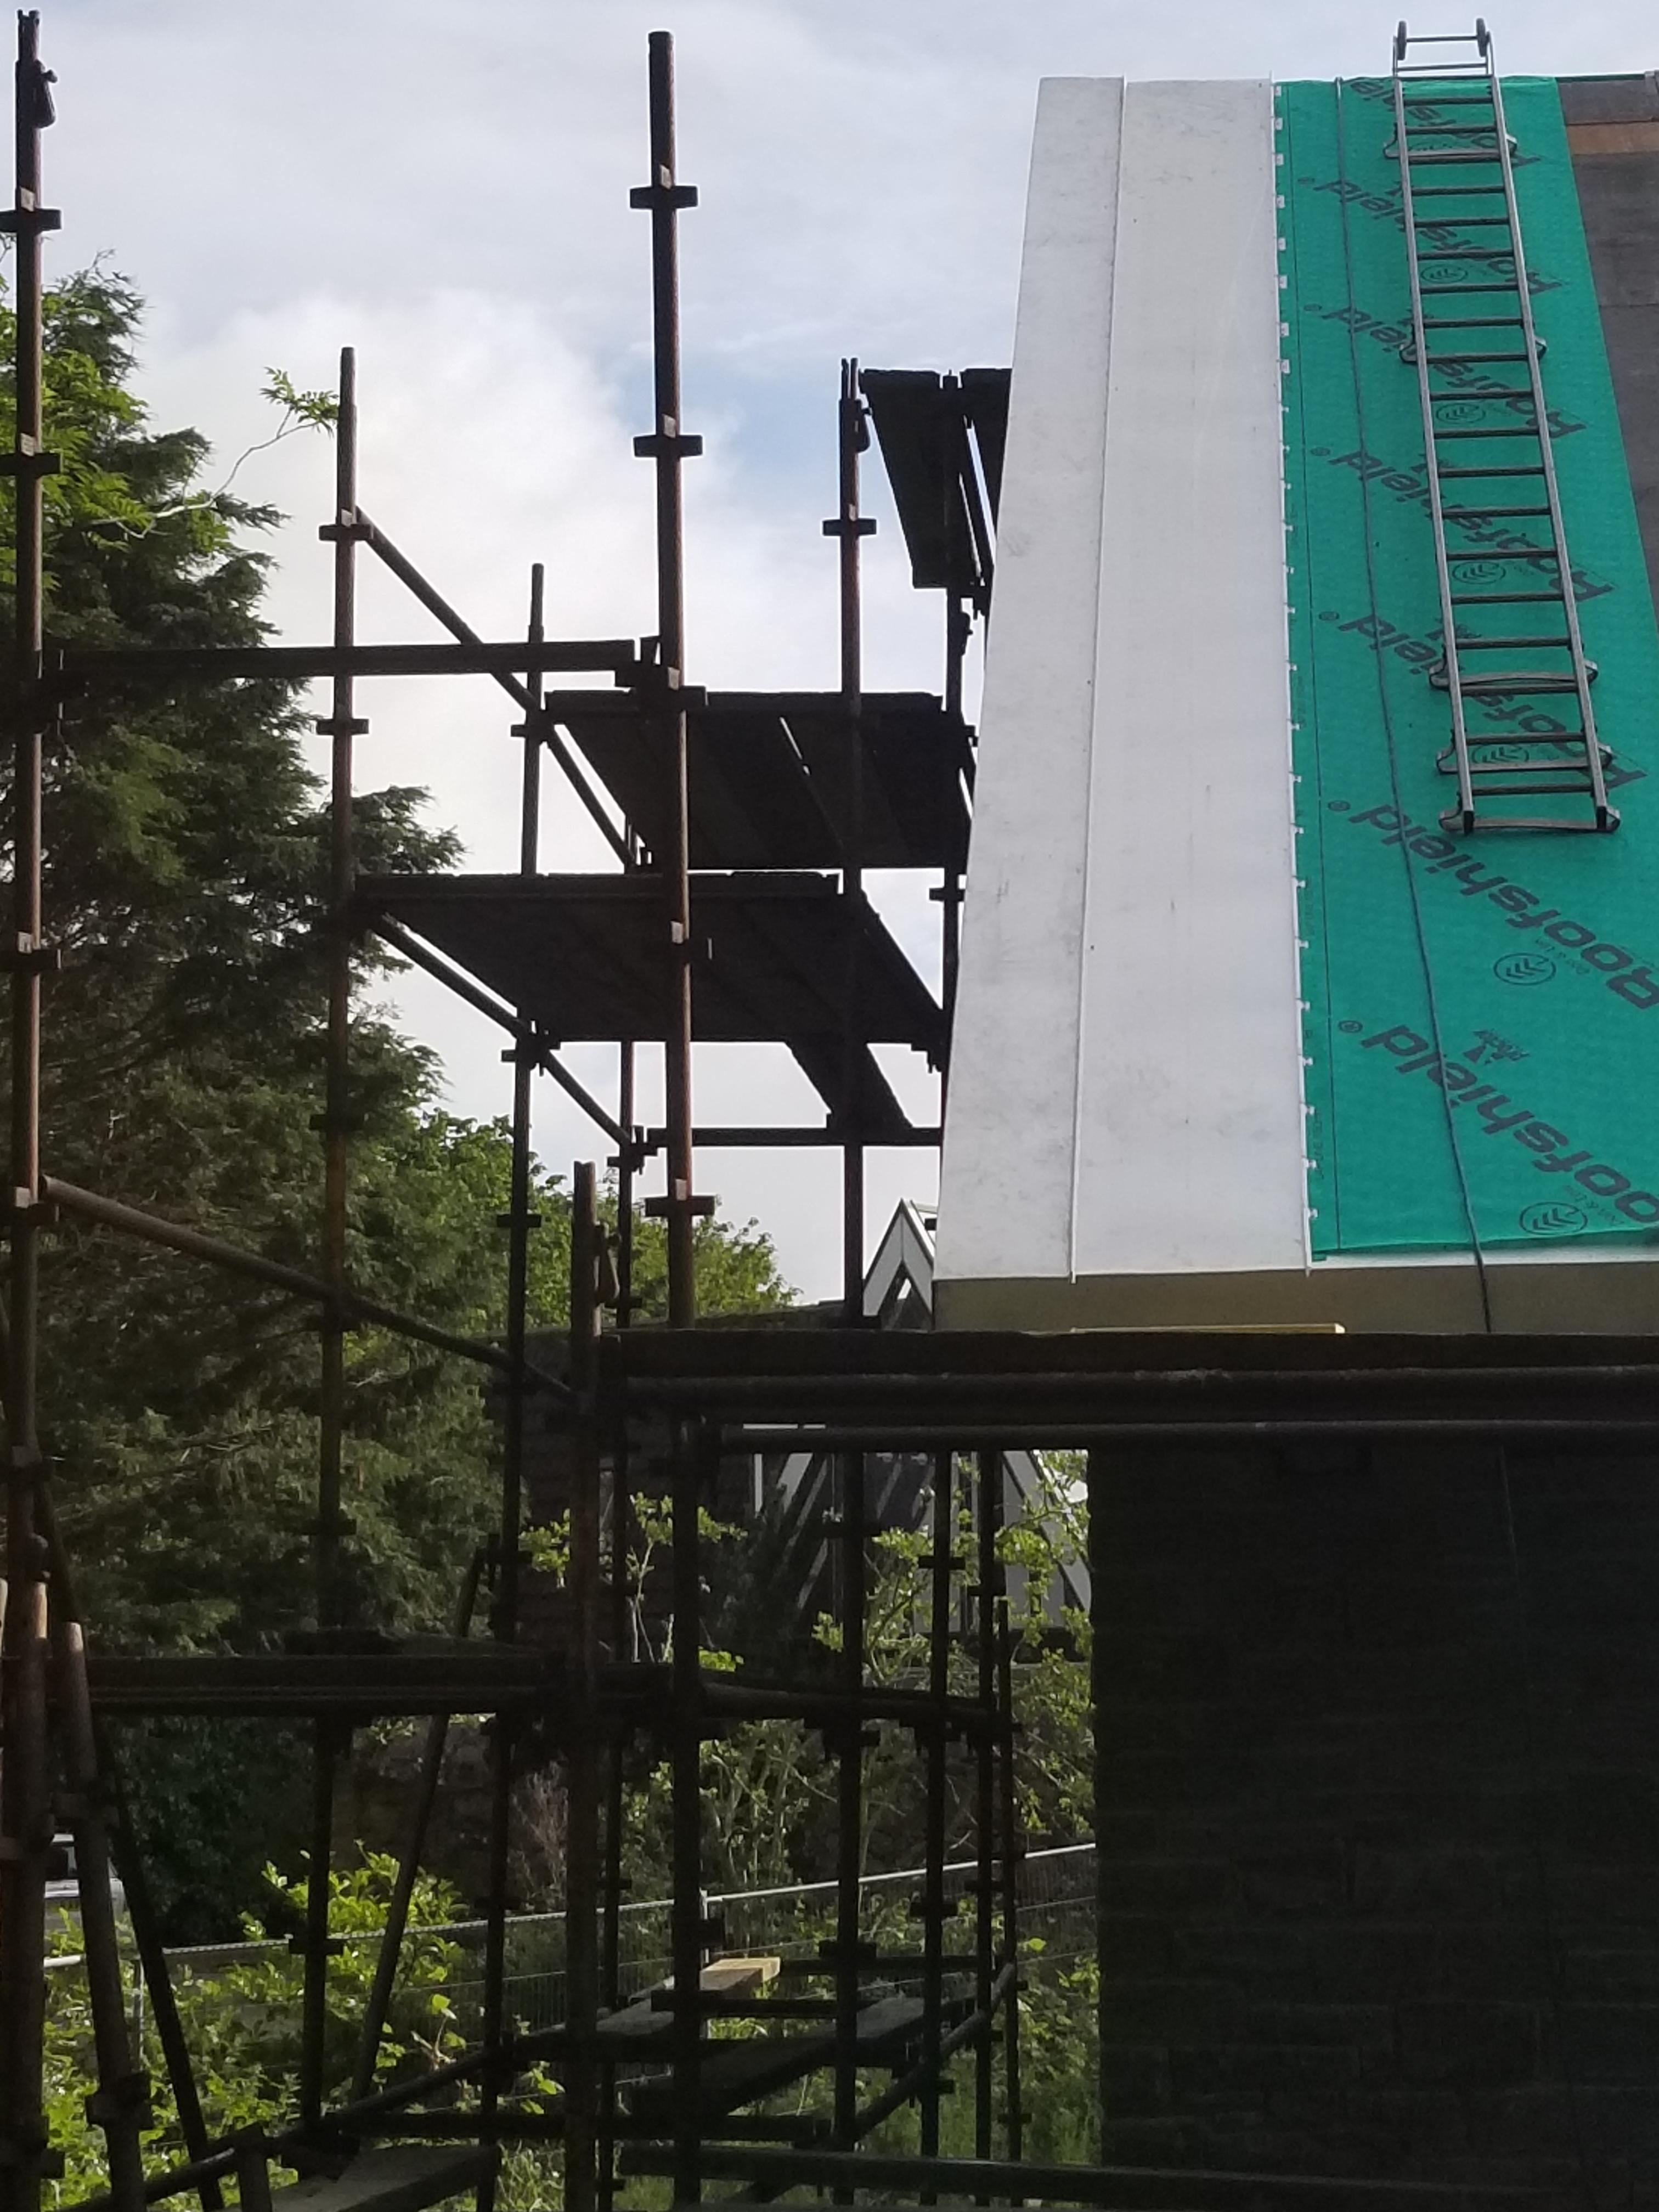
Scaffold tower.1 point
-
Can't wait to see the work togs. WorkZone regularly have offers on work trousers - and hoodies......1 point
-
Quick update. Truespeed returned my answerphone message first thing Monday morning, and sent a jnr tech guy for a visit Mon PM. He could see how the cable is impeding my build and said he would raise it to the next management level. Tues PM, site visit from Snr tech guy who confirmed that the cable will be permanently re-routed with the work scheduled for Thurs. Excellent result considering I was expecting to have to grovel or get legal or threaten to chop the bloody thing down!1 point
-
@ProDave No need to appear dumb... I didn't really give any context! Due to having a small roof I've essentially got two separate PV systems. One on the office (you can see in the background picture) and one on the main house roof. Each inverter is represented by the box with the squiggle on (technical term) - the number being the current output, i.e. 519 watts and 1176 watts. Each of the larger solar panel looking squares represents a solar panel - and the large number being the current watt output of that individual panel, the lighter the green the more output. These are all 300w max output panels. In this setup, due to shading mainly, Wagner installed Tigo optimisers on each panel - this gives the per-panel statistics + helps bypass the panel when shaded by the neighbours silver birch and all kinds of other stuff that I don't pretend to understand. Oh, and the point for posting was to show the difference between the unshaded panels producing ~225w and a shaded panel producing just 31 watts (top row). Hope that helps!1 point
-
I run my supply temp at 15C. I get a breath of condensation on the manifold - never any droplets. I came in having been out for a bit this afternoon and it was like bloody heaven walking in the front door. Can't recommend it highly enough.1 point
-
FWIW, if our ASHP pumps water at 12°C into the UFH, the surface of the slab never seems to get colder than 18°C, so at 15°C flow temperature I'd say you should have no condensation risk at all.1 point
-
Hi Janet, it is part of the Panasonic Aquarea range and, as such, connects to a Panasonic Aquarea heat pump such as ours that has (in theory at least!) the ability to provide cooling as well as heat. If you don't have the correct ASHP, I doubt you could attach the air rad.1 point
-
But, does it match the shoes?!!! Just kidding - congrats and a great place to start when you're looking for a particular widget for a job....!1 point
-
I had hedgehogs in gutters at previous house. They work well1 point
-
Where we lived in Belgium the recycling centre was in two parts for recyclables and non-recyclable. They had a weighbridge on the entrance and exit of the non-recyclable side to calculate your bill. However you could walk between the two sections. So drop the wife off at the entrance to the recycling centre with a bag. You drive into the non-recyclable side getting weighed on the way in. Off load and pick up the wife. If you aren't careful you can weight more on the way out than on the way in :-)1 point
-
Got a couple of nice Timloc vents that have the required flow rate that I can let you have for a reasonable price ... ?1 point
-
I am sure it is the 153Z I have, certainly a BL motor version. Really nice bit of kit. Use it almost everyday on my build and weekends, battery lasts seriously long - I also have a Mak drill and 1/2" impact driver all using the same 18V battery - I am always very pleased with their kit.1 point
-
This is the sort of thing I would do. I went to the tip once in my Defender - I had a single arm-chair in the back - I went to the normal gate but knew I would not fit under the height restriction bar - I got out and told them I had a chair to bring in and that my vehicle didn't fit. They told me I could not come in then. I said can't I just come in via the truck entrance (right next to the main public entrance) and he said no. I said I was being discriminated against because I had a tall vehicle and said no wonder you guys have to go about picking up shit from the streets if this is your attitude. I went back and got the chair, and dragged it into the site, he came and said I could not do that. I said "well I am doing it" I dragged it to the general waste tip and left if there and walked back out.1 point
-
I've been round the houses with this a few times. In the end we have decided that as we are both working full time we're going to go with a central contractor and our architect is handling the tenders. It's more expensive and not the way I wanted to go when we started on this. However, we've had a few false starts and have pissed away way too much time. I now just want the bloody thing built.1 point
-
Ouch Tradesmen watch out You will be so on it with your next project knowing what you are looking at is more than half the battle1 point
-
@Ggbarn if you are looking at a venting hob, I would urge you to consider the Novy range. Their product is unique because unlike all their competitors they do not accept that an extraction solution flush with the hob provides effective extraction. For this reason they have extraction integrated into the hob which rises to varying heights to assist. The benefits this provides is that the extractor is quieter. They work by creating a pressure differential that is matched only by one Miele and one Siemens model and an accelerated airflow rate that beats anything else on the market. The I dont really rate the Siemens or the Miele hoods generally. I myself have a Gutmann Abajo and while it works well, its substantially noisier than the Novy hoods. If I could, I would swap my Gutmann for a Novy. There are several other features on the Novy that make it a better hob. Bora is not a bad product but its mostly marketing hype and its easily equalled by a BSH product. @SteamyTea- in principle its not difficult for anyone to make a venting hob. Its still a low volume product so to make one that is commercially viable is the challenge. For this reason, even today only a handful of companies make their own hoods and most are manufactured by contract manufacturing companies in Italy and branded. I wont name names, but some of the biggest branded hoods arent even their own product and a cheaper equivalent is easily sourceable.1 point
-
It's one of the things I like about living in the country, with retired neighbors. If the CCTV alerts us to any intruders when we're out a quick call will have someone round much quicker than the police.1 point
-
For security guidance in general (inc CCTV) the 'official' police guidance can be found under the 'Secured By Design' initiative - https://www.securedbydesign.com/ They also have design guides for homes, commercial, even one for self build... https://www.securedbydesign.com/guidance/design-guides They are worth a read... one take away from them is that PIR lights are basically useless and they now recommend well designed dusk-til-dawn lighting focused on key areas and face illumination, not dirty great PIR floodlights. For CCTV specifically also check out the ICO to make sure you keep yourself the right side of t'law. https://ico.org.uk/your-data-matters/domestic-cctv-systems-guidance-for-people-using-cctv/1 point
-
I use a three tier steamer pan with no issues it still draws the steam perfectly.1 point
-
I fix MF framing for a living But I’ve used block to devise rooms off Except for bathrooms and utility on the ground floor Though it’s a bit of a myth that better soundproofing can be achieved using block To decide our bathrooms I’ve used two back to back 70 mil studded walls with a 50 cavity With a loo on either wall you can’t hear the flush from one bathroom to the other Two 50 mil studs back to back with a 50 cavity will give you better soundproofing than a 100 mil timber stud1 point
-
I've never liked tea, but my mother, 'til her dying day, would still offer me a cuppa every time I visited. "No thanks Mum, but I'd love a coffee please" was always my reply. She never did seem to catch on to the fact, bless her ?1 point
-
Well, @jack, I take much more notice of the remaining eight than I ever did with ten.1 point
-
Sometimes it seems these places are designed specifically to deter people from using them. And then they wonder why fly tipping happens.1 point
-
I looked at that type of thing. It looks really bitty when down, gaps between each section. Not a great look in my opinion. See if you can find some pics of them when down and you will see what I mean. If you have not yet ordered your windows and you want disappearing blinds why not look to see if you can get ones that are integrated into the window glazing. Some on here have that. Various manufacturers do them i.e. Internorm....not sure if they do for sliders though I cant see why not. Not a cheap option though.1 point
-
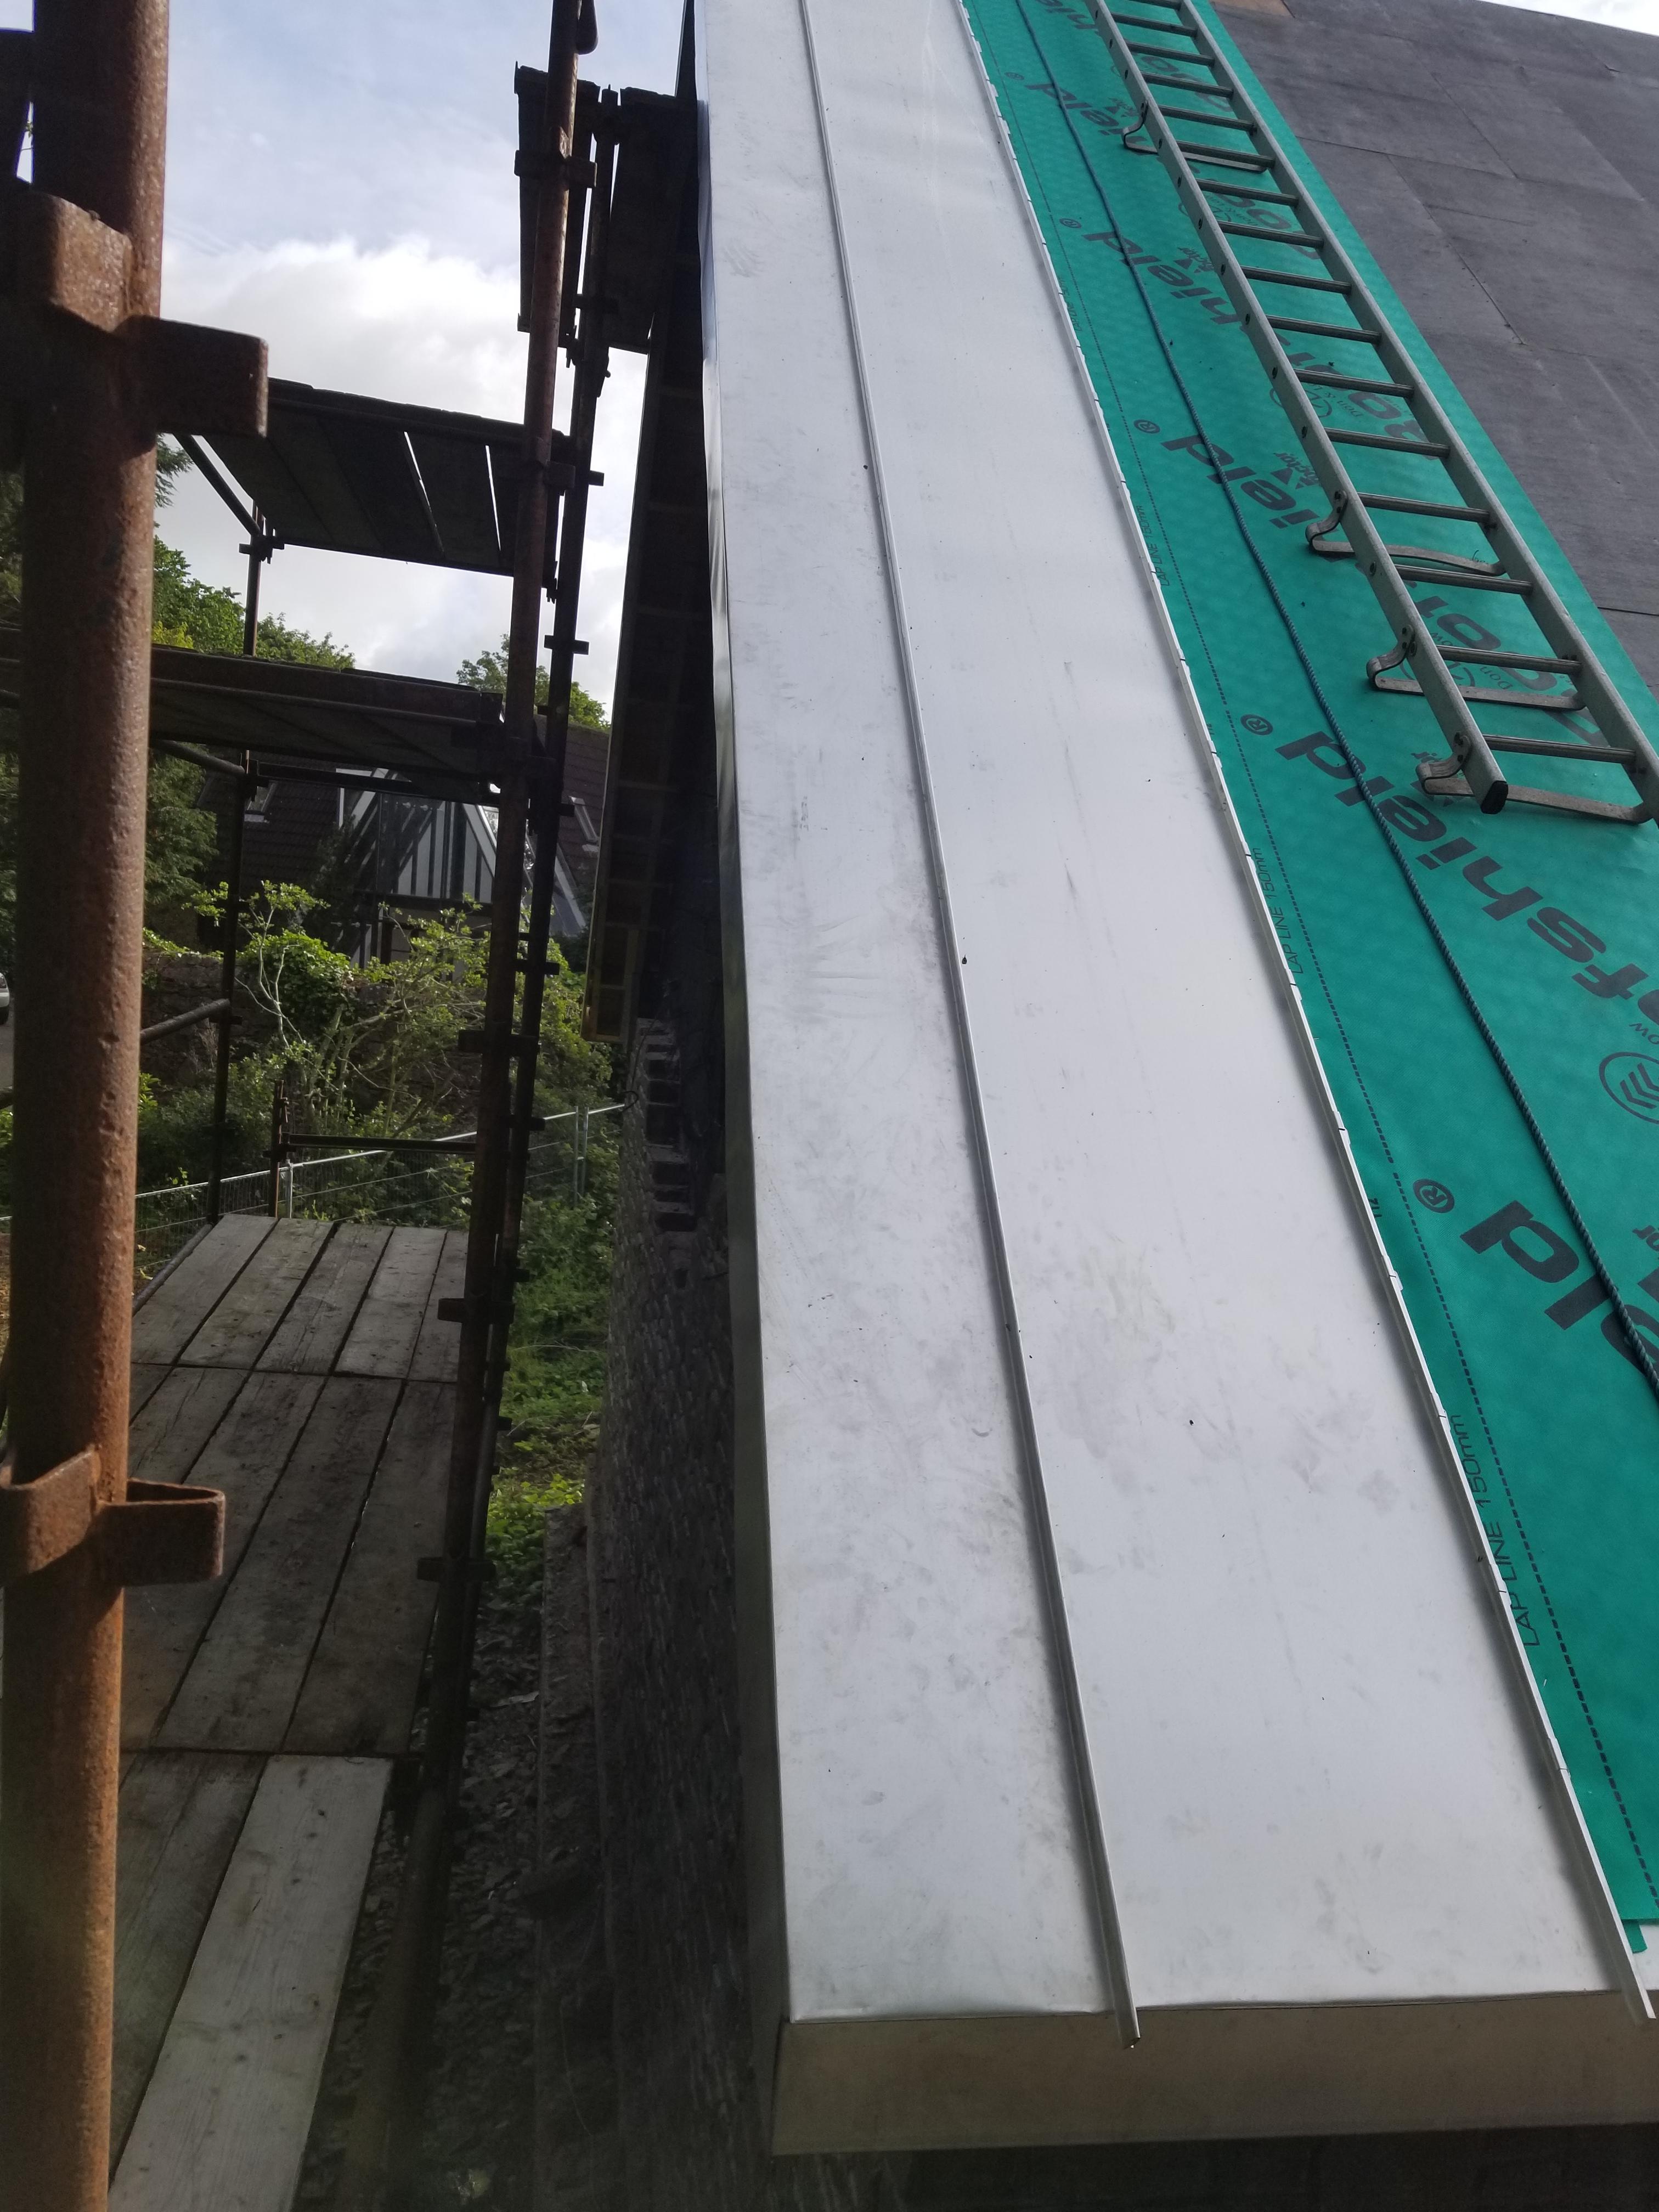
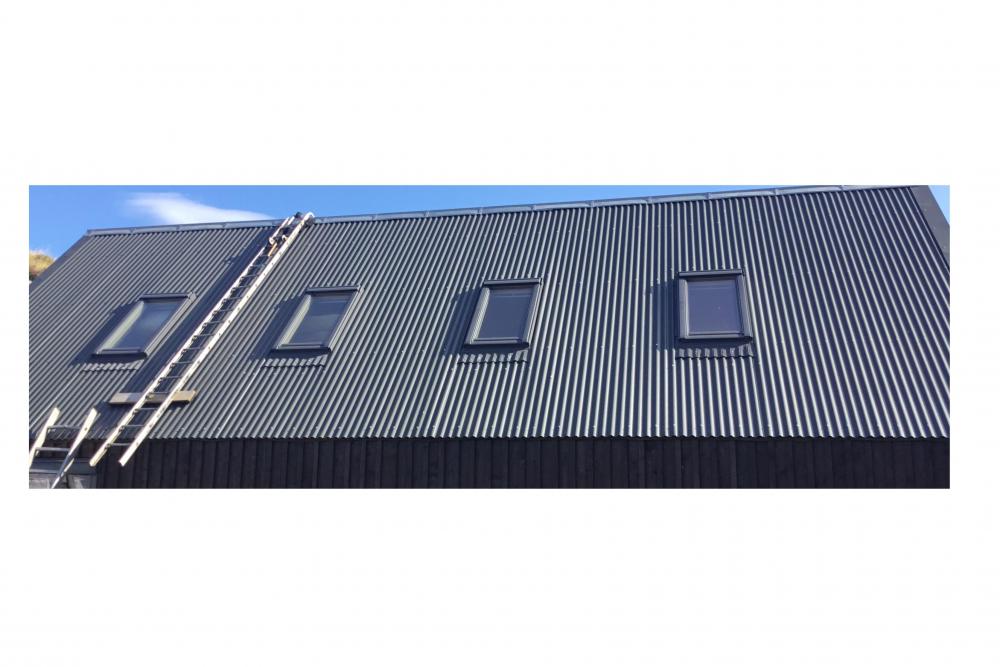
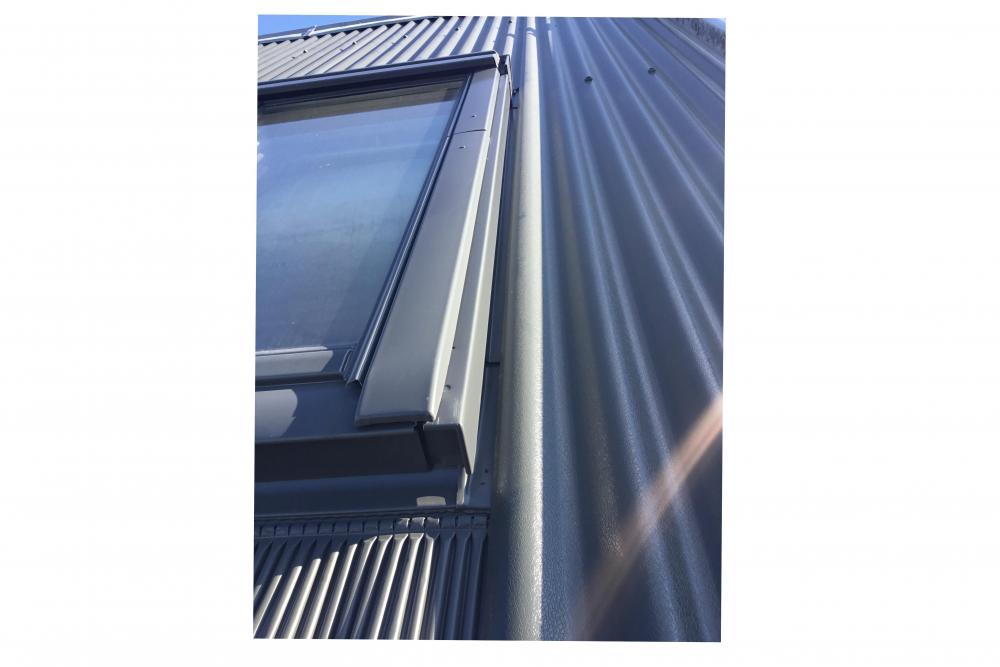
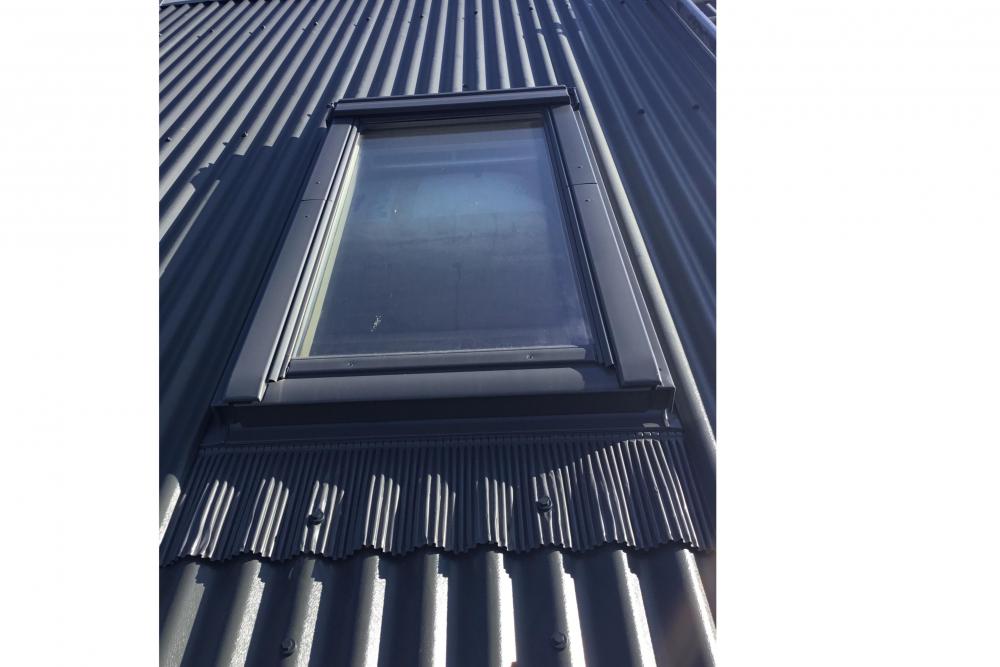
I spent a long time looking at velux installations in corrugated tin and NOT ONE was done well....... I looked at why they were done badly and then sat down and worked out how to do it well. I did the layout and install myself as the devil is in the detail if you want it all to line up and work properly. The most important aspect for me was the position of the windows and there size in relation to the corrugations in the tin sheets. You need to make sure that one sheets edge will end with with a non cut downward sloping corrugations that falls directly into the inner gutter of the velux..... you then need to know that the windows width is also correct so that the far side gutter lines up with the next sheet of tin enabling that tin edge to fall in the opposite velux gutter...... then if you have multiple windows (I had 4 in my roof) you need to make sure that they all correspond with the corrugations. There really is very little to play with on the set out as the tin does not allow for error, you get about 10-20mm of space in the flashing gutter to play with but you really want the tin edge to fall in the middle as if it’s to close to the window it could block up with leaves or moss, to far and it’s not going to be as effective, also ANY error will be carried over to the next window as the corrugation spacing is set. It’s possible with very carful layout but if this is done wrong your going to have another example of how not to do it....... if you find a contractor that says they can do it INSIST to be able to go and look at one of there installs..... I visited 3 different installations done by 3 different professional roofers and I would not have payed for the work......

 1 point
 -
This my friend is going to be a recurring theme I'm afraid! Wait until you're making up H-rails! Remember you would prepare ALL the battons/timber before you even put rebar out - get them all done at the spacing and then fit in one operation. 437 sounds a lot but it's not going to be onerous and once you get into the swing, you'll fly through. You'll get the battons done in a morning and the rebar laid out then the timber fitted in a day. I wouldn't be putting anything in after the pour - you've got enough to be worrying about without that pressure.1 point
-
Timber batons would be the best bet IMO... Stack a few 4.8m batons on top of each other, bore out your holes. Thread them through and add some spreaders to stop the batten sagging. Count yourself lucky you don't need to do a full cage:
 1 point
 -
How are you putting the concrete into the trenchs , digger bucket, wheel barrow or pump?? Unless the steel is tied together if you tip a load of concrete into the trench it will tip the L bars over. Could you buy some lengths of 5mm bar and put a strip at the bottom and top so you end up with maybe a 2m long bit of steel cage that will be much quicker to drop in during the pour. The top length of 10mm can be reused if needs be. This is how I seen it being done on a ring beam.1 point
-
See the cooling thread reminded me that last Monday when I turned the ufh off the floor surface temp was over 27deg and was still at 27 deg the following evening ? Glad it is north and east facing so avoids most of the sun. Wasnt the best time time of year to be doing this.0 points


.jpg.c21f3ac78c9b7efd90cbdcb312744dc5.thumb.jpg.7adcad4c0e384f5ecd7d56b0618df6e5.jpg)