Leaderboard


Popular Content
Showing content with the highest reputation on 10/06/18 in all areas
-
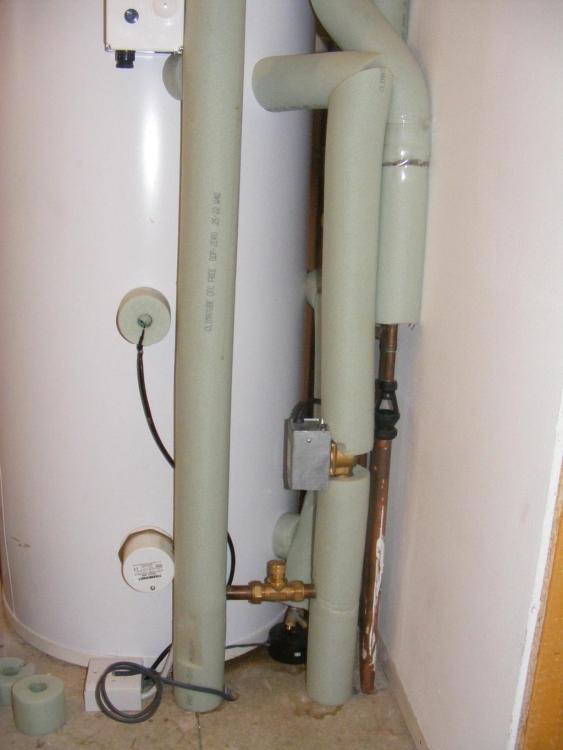
Yes it seems the main phrase for our build currently, is "nearly done" - As much as September seemed to be a frustratingly slow month progress wise, I am optimistic that we shall see things all come together during October allowing us to move in for November !! Having said that when I look back on the photos that I had taken, quite a bit of progress had indeed been achieved. It is easy to lose sight of such things when you are in the thick of it on a daily basis. The upstairs is now complete – in as much as we are still awaiting the sanitary ware to be fitted – but the rooms have been decorated, the bathroom and en suite, paneled and tiled. The paneling is moisture resistant MDF, which came in long panels, making it a lot easier to fit and also better than individual T&G panels. The floor tiles, laid in an OPUS design, went down on anti fracture matting. The oak staircase arrived and has also been installed. We have gone for a predominantly oak staircase. The main stair treads are redwood as they will be carpeted. We decided to go against a full oak staircase as we were concerned about the noise, safety element when coming down them and also due to the financial costs. The cupboard under the stairs is yet to be completed. Once done this will prove to be a very useful storage area. Downstairs, the cylinder and associated items are being installed together with the ASHP. The cylinder itself is a 170 litre tank which will have a recharge time of 37 minutes to 40 degrees. This will allow the UFH to be fired up and thereby ensuring the screed floor would have dried out completely, prior to any tiles being laid downstairs. The sitting room is now being plastered and will be painted in due course. The delay in getting this room finished was due to the fact that the chimney hadn’t been completed. Thankfully, it has now been done, which in turn, has allowed the WBS fitters to come and install the oak beam and register plate. The WBS won’t be fired up and formally commissioned until early Dec, due to the delays cause by the chimney not being done in time. Outside, the stone work is almost complete. The chimney end will be finished this coming week and then work can turn to the awkward gable end above the single storey roof. We are now in discussions with a landscaper, so things must be heading in the right direction. Over the coming weeks, the drainage system and treatment plant will be installed, allowing the roofer to return and fix the downpipes. So by contrast, October should be the month when it all comes together - we can look forward to the kitchen being fitted, electrics and sanitary ware being installed and the floor tiles being laid. Fingers crossed for a good month! Thanks for reading.4 points
-
Yes I saw that in the week and did a double take at the price. They have handily left the model number on it in the photos (DT-980) so if you are really serious about getting one you can have a look for reviews / see if it's available for less elsewhere . It's online only @pocster just in case you were thinking of going and half inching one .2 points
-
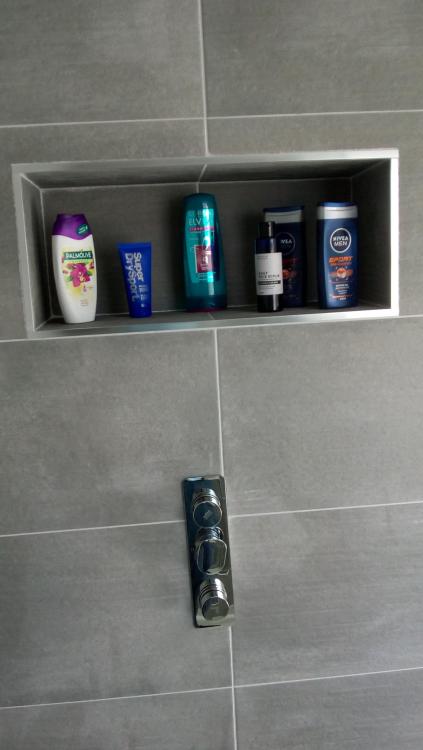
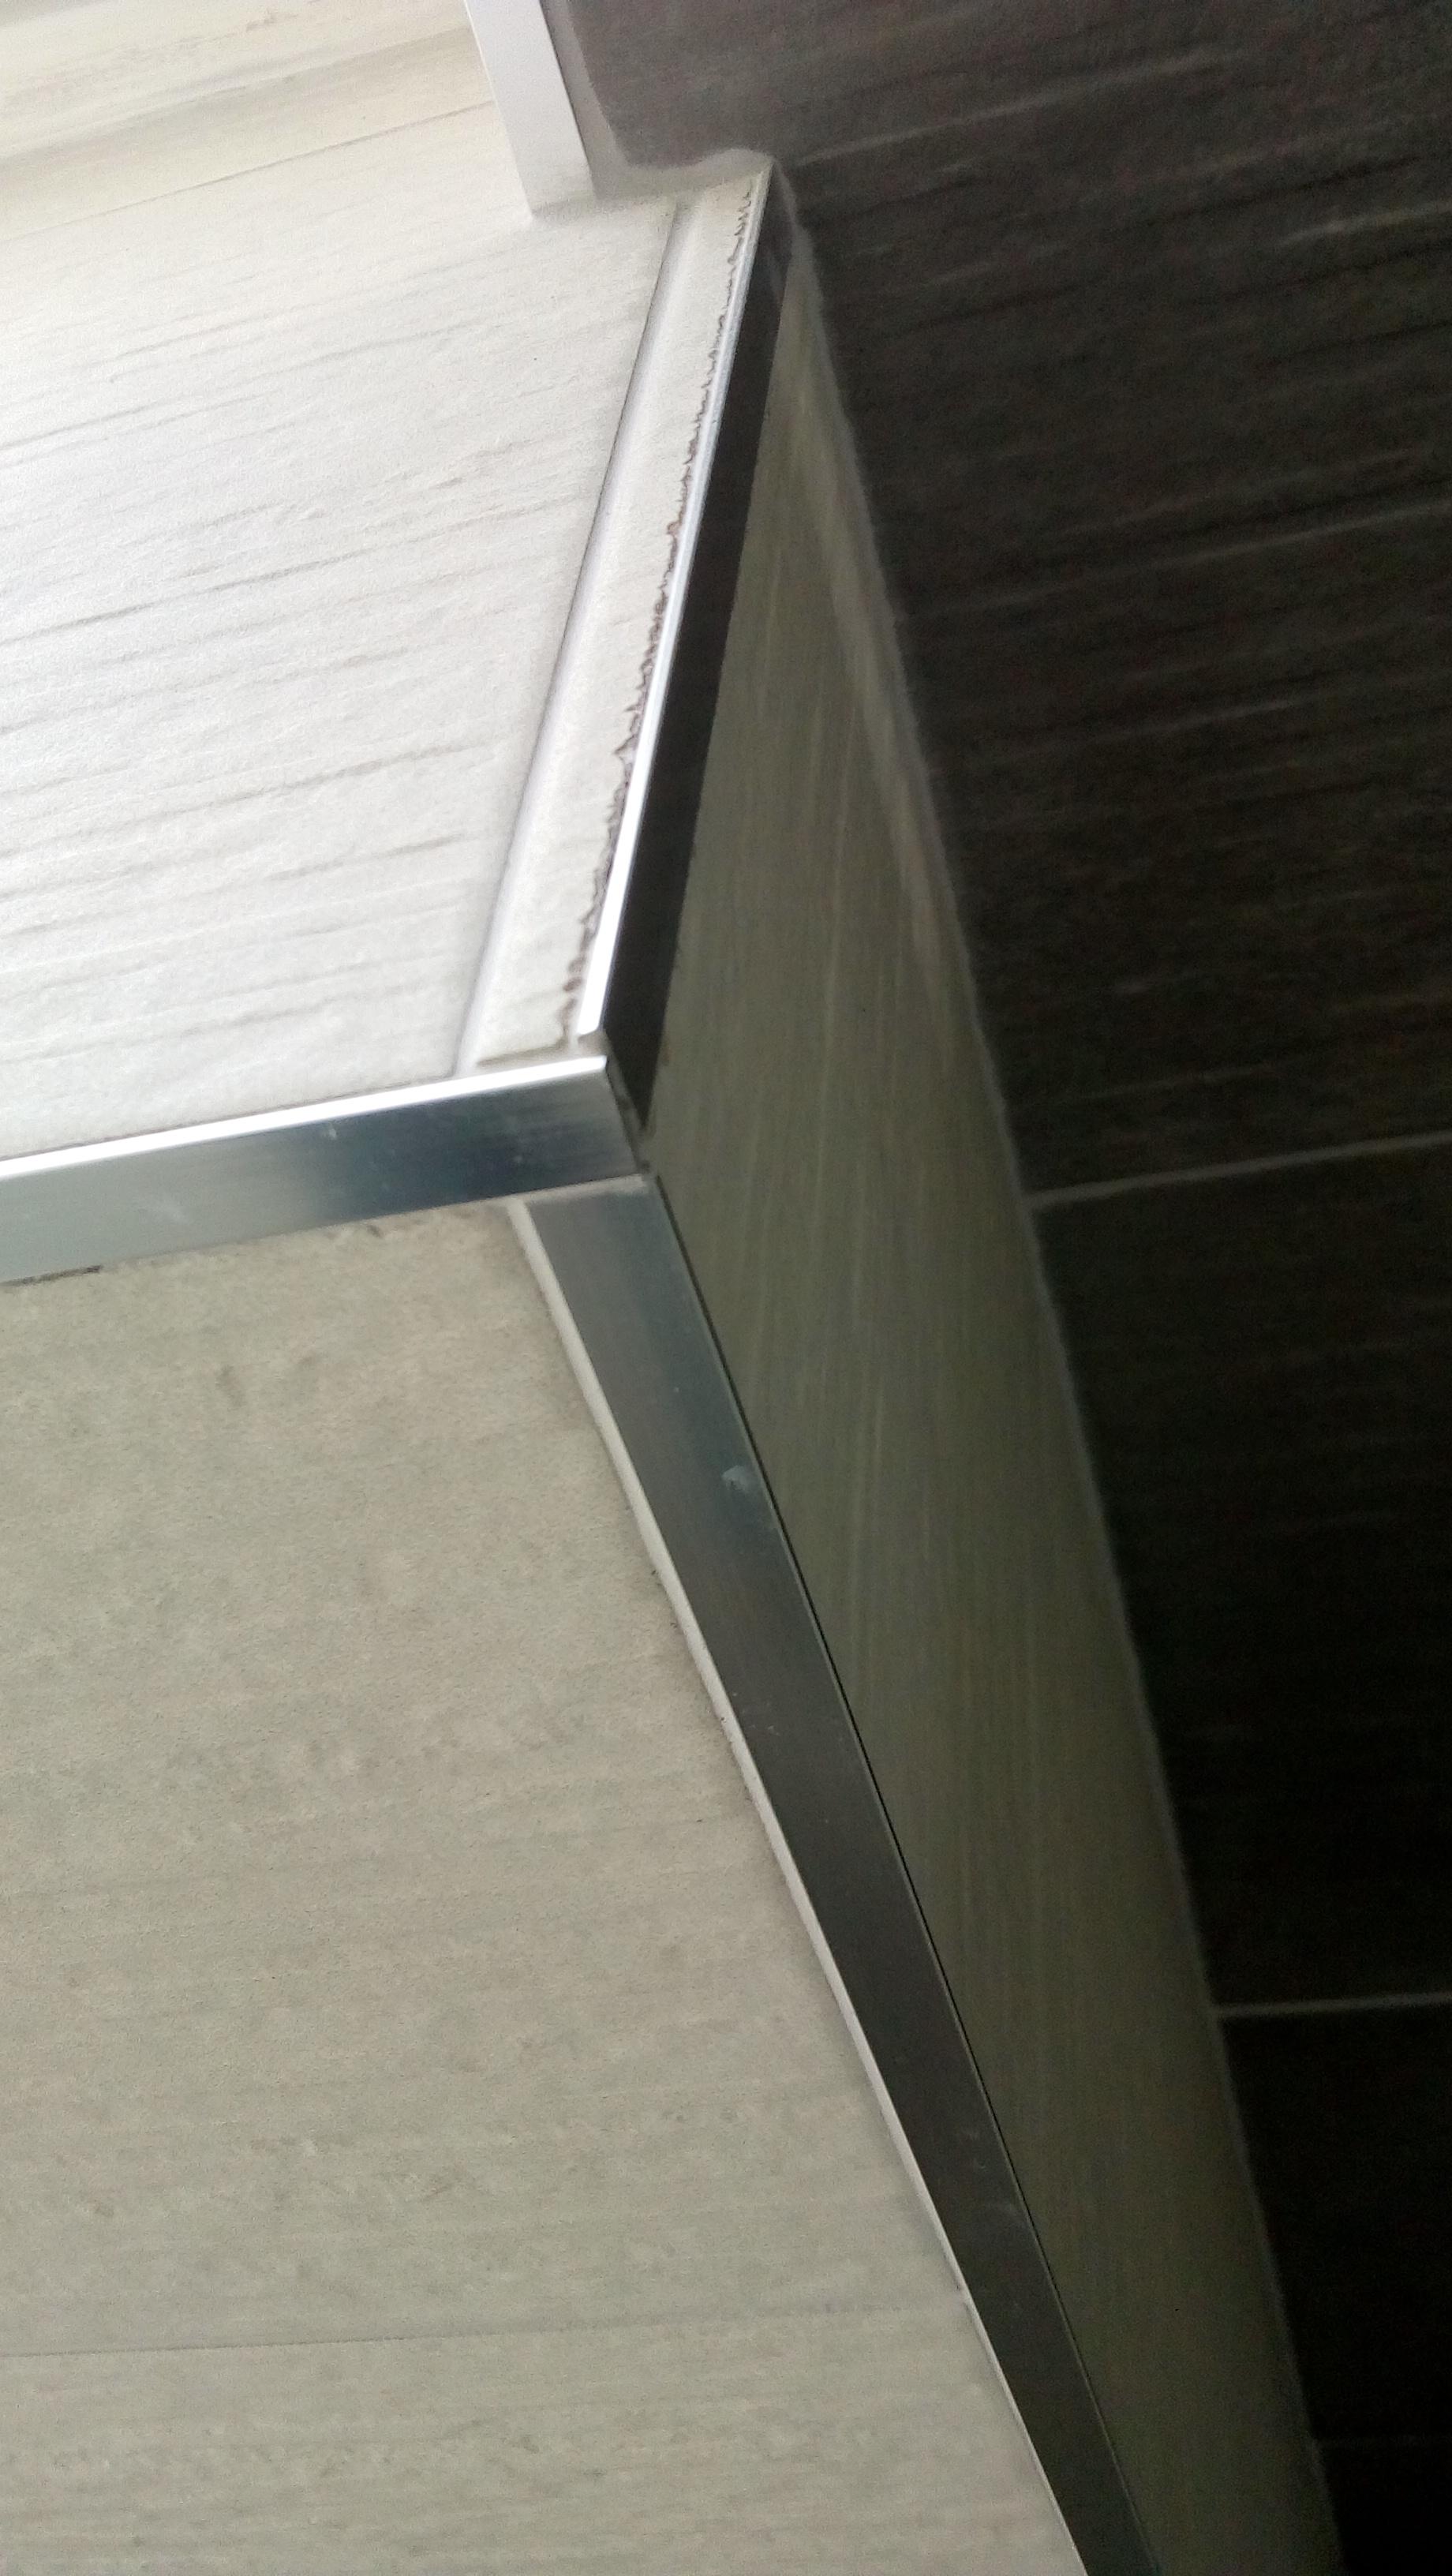
@Tennentslager, looks good from where I'm sitting does yours. So much better than mine! Replaced the hacked out 12.5mm Aqua Panel with 6mm. Just whacked it up with some Sticks Like Sh!t: My pockets look alright from a distance. Last one came out best and that's far from perfect. Close up, one of the better joints:2 points
-
This off centre job would rip some folks knitting...and external corners without mitres...looks good though
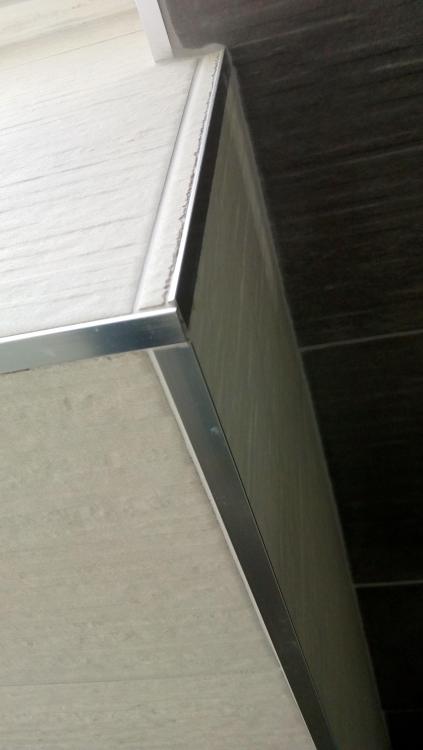 2 points
 -
Some of you may recall the problems I have with overheating (currently 32 degrees in living room on a late September day with outside temp at 19!). Having been all set to go for an external film an alarm was sounded by some companies I asked to quote - they said no to film on my 3g Internorm windows, the fact they were laminated not toughened was what caused the issue. I also have a low e coating. Meantime I have explored all sorts of avenues for shading and had not settled on anything. One of the window film supply companies decided that if I had this issue others would so they would find the answer. They have been absolute terriers in keeping going until they got there. They talked to Internorm, they talked to film manufacturers , they talked to the glass and glazing federation and St Gobain who manufacture the glass. All these clever heads got together and spent a while ruminating and finally pronounced I could have a film but only one type was suitable and it was not the one everyone had been quoting on it is a much less common film. I have accepted the quote for the film - how could I say no after all the effort that went in to find the solution - and am hoping for a fit date in the next few weeks before they stop installing external films for the winter. Fingers crossed it will do the job. It will be just a little darker than our current clear glass but if we have a useable room again its a small price to pay. I am attaching the guidance sheet for films on laminated windows in case anyone else has this issue. Plus the spec sheet for the film I am having which is manufactured by St Gobain. It is the Sentinel Plus SX 50 OSW. Good news is they also do an extra wide at 1823 (usual width is 1535) so no joins on my biggest window pane which is 1640, joins would have been a deal breaker. I will let you how it looks when its in. My suppliers are www.solartekfilms.com Ben is the man, he and his number 2 David deserve credit for going that extra mile for me on what is not that big a job really its just 3 sliders and one fixed window. Great customer service I hope it carries through on the install. Glass Breakage Risk Triple Pane PDF02343PINT_1016.pdf sentinel plus sx 50 film.pdf1 point
-
This is the best...lots of struggles for most self builders but I love this build. Either it's writing style or for once things went fairly well, in any case...love it1 point
-
Coming along nicely, wish our's was to!!1 point
-
Google says 'YES!' perhaps that's the way to go in the short term. Then can maybe get the Neff later1 point
-
Not sure - I don't really eat pizza TBH unless I'm in Pizza Hut1 point
-
All those people insisting on finishing the House so quickly. Totally scandalous ?? Given that DIY are round the corner, you have maximum flexibility.1 point
-
@Redoctober Looking good! I take it that's a 5kW ASHP you have? IIRC you should be able to access a floor drying out function for UFH on the controller.1 point
-
Aldi specials this week bizarrely include an £899 thermal imaging camera. I know it's always a bit random what they stock, but how many of such a specialist item are they really likely to sell?1 point
-
No I don’t nick from there - I leave stuff to up the quality . Anyway off to M&S then Waitrose to get wine and steak !1 point
-
Wow, that's all looking fantastic! I have a fully oak staircase. I do find that it's not as safe coming down it as one with carpet TBH. The dog fell down it once too (shouldn't have been upstairs mind ).1 point
-
Looking good, I think Jeremy coined the phrase “90% done only 90% to go”, I know, my build feels like that and I use that phrase myself .1 point
-
Thanks. For the film I have to have it is £1200 odd plus vat (to late for vat reclaim now), thats only for 7 panes of glass in living room....biggish panes though. The other film which was the default option that I couldn't have was about £1800 plus vat from memory same number of windows. I dont need to keep heat in I need to stop sun overheating the place.1 point
-
The floor depth depends almost entirely on the maximum span of the joists and the distance between their centres. For example, we have a maximum span of around 4.5m, with 253mm deep Posijoists at 400mm centres. If you have a greater single span then you'll probably need deeper Posijoists. 450mm seems very deep to me, and implies that you have a pretty long span to cover. Worth checking the joist spacing, too, as if this 450mm depth is at 600mm centres you can probably reduce the depth of the joists by going to 400mm centres.1 point
-
Quite simple. Just T out of the cold main AFTER the softener and run a large bore ( 32mm ) MDPE out to where the garage / acc’r may end up. Just cap that off and leave it for later.1 point
-
Staircases have to be right though so it'll be worth the wait I'm sure even if it doesn't feel like it just now. At least you have the temporary one allowing you to keep your eye on things upstairs or you'd be downstairs stressing about that too1 point
-
I sympathise entirely! I've been caught out with waiting times on a couple of things recently, particularly my roof windows and a fire rated door to go between the garage and utility room. I confess, it hadn't even occurred to me that the architect or BC would need to sign off on a staircase - is this normal? The imposed downtime has given me useful forward planning time, though, and enough time to catch a cold and get over it without having to be snuffling around on site for a week. It's life's little luxuries that count, isn't it?!1 point
-
You can still get long radius elbows if you hunt around: https://www.jtmplumbing.co.uk/pipe-fittings-c433/endfeed-fittings-8mm-28mm-c117/jtm-endfeed-endfeed-long-radius-elbow-p35761 point
-
Flow restrictions from a reduction over a very short length of pipe aren't that great at normal household flow rates, the problem mainly arises when you have a narrow pipe over a long run. For example, I have a deliberate flow restricting orifice on our incoming supply from the borehole pump, a 3mm diameter venturi at the ozone injector. That flows at around 10 litres/minute, which is enough to keep the accumulators topped up at around 3 bar. Although it's good to run the largest bore pipes you can to reduce losses, there is a law of diminishing returns. We run with an incoming pressure of between 3 and 3.5 bar, and an acceptable pressure at the taps is between 2 and 2.5 bar (anything higher than this tends to make the taps splash when fully open, unless flow restrictors are fitted). The highest flow rate on the supply to the house we're ever likely to see is around 20 litres/min, most of the time the flow rate when using taps etc is around 6 litres/minute. If we had a 10m run of 15mm copper pipe as the main feed, then at 20 litres/minute flow rate the pressure loss along the pipe would be 0.8933 bar. So, for 3 bar in we would get 2.1067 bar out at 20 litres/min, which is perfectly OK for pretty much any domestic use. If we had a 10m run of 22mm copper pipe as the main feed, then at 20 litres/minute flow rate the pressure loss along the pipe would be 0.1255 bar. So, for 3 bar in we would get 2.8745 bar out at 20 litres/min, which is again perfectly OK. If we look at what happens if we put a very short length of 15mm copper pipe into the system, say a 0.5m length of 15mm, with the remaining 9.5m in 22mm, then for the same 3 bar in we would get a pressure loss of 0.0447 bar along the 0.5m of 15mm pipe, plus a pressure loss of 0.1192 bar along the 9.5m of 22mm pipe, giving a total pressure loss along the whole 10m of mixed pipe of 0.1639 bar. So, for 3 bar in we would get 2.8361 bar out at 20 litres/min, which is hardly any different to having the whole run in 22mm. The above is for straight runs of pipe, and bends, particularly elbows, will likely have a greater effect on flow rate and pressure loss than a short length of smaller bore pipe.1 point
-
Because our site was on a slope we always envisaged having a walk-in basement, that’s a basement surrounded on three sides by the slope and open at the front to a lawned area. The architect recommended a structural engineer to design the basement walls, what I hadn’t realised until it was too late, was that the design would be way over-engineered. His design is for a 200mm thick steel reinforced poured concrete wall tied into the basement slab. The slab and retaining wall contains about 52m3 of concrete and 3.5 tonnes of steel. The only saving grace is that it sits on an insulated raft designed by Hilliard Tanner and has UFH pipes cast into the concrete. So here we are just about to start pumping the concrete into the insulated slab. Next, the ICF basement walls were put together, a bit like Lego. Here you can see the completed walls braced and ready to receive 26m3 of concrete. Finally, the lounge section of our insulated raft foundation was done to complete the three-stage foundation project. In this photo, you can see the insulated raft and its steel ring beam under construction.1 point
-
Better than my mate at school who, when he was about 10, decided he wanted 480 volts so wired two plugs in series. His father was less than entirely pleased.1 point
-
@Onoff, this might be a good introduction: https://passipedia.org/planning/airtight_construction And this from Bere architects might help for more detail: https://www.bere.co.uk/research/airtightness-report-a-practical-guide-to-achieving-airtightness-in-passive-house-buildings/ Personally, I found this book, Passive House Handbook, to be helpful, if he likes reading books:
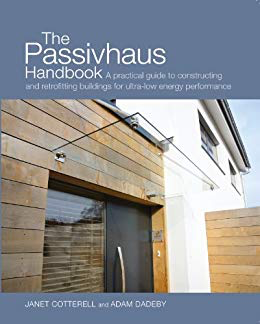 1 point
 -
The SA units are very simple to plumb in and wire up, its just that initial sense of the unknown. I imagine it was the same when UVC's and TS's arrive on ones doorstep and folk look at the many controls and various tappings and think WTF are they all for / where do they each go etc, so just a case of a better bit of understanding is required IMO. The sticking point is deciding which of the range of units, and what size ( kWh capacity ) and temp range ( PCM 34 or PCM 58 ) is best suited to the application. After almost year of being 'interested' in the product I have now got a good understanding of how to specify and install these units, but its taken a while to fully grasp what they do and how they do it. Its vital to get the unit type and size right, but again, no different to specifying an UVC or a TS tbh, other than the fact that the latter have been around for a long time and there are plenty of knowledgable fitters out there now. Lets remember that the SA is still a very new product to the market, another 'problem' if you can call it that. The SA manual shows the different applications but they really need deciphering to convey whats going on and how its happening, and even I have to sense check things with the folk at SA so make sure I'm on the right track. If its just for DHW then it couldn't be easier. Cold water in, and hot water out. A cable to connect to a 13a fused spur and your done. The complication arrises when you wish to do space heating AND DHW from SA's, as thats far more complex a calculation. @Big Neil what is it you want to do ? I've no problem PM'ing you my mobile number, but it'd be a shame to keep the conversation off forum as thats not how a library or discussion board works. Take 5 and type out what you want to achieve and we'll do out best to explain here, for the benefit of yourself and others.1 point
-
Slate or porcelain tile ?1 point
-
Looks lovely!1 point
-
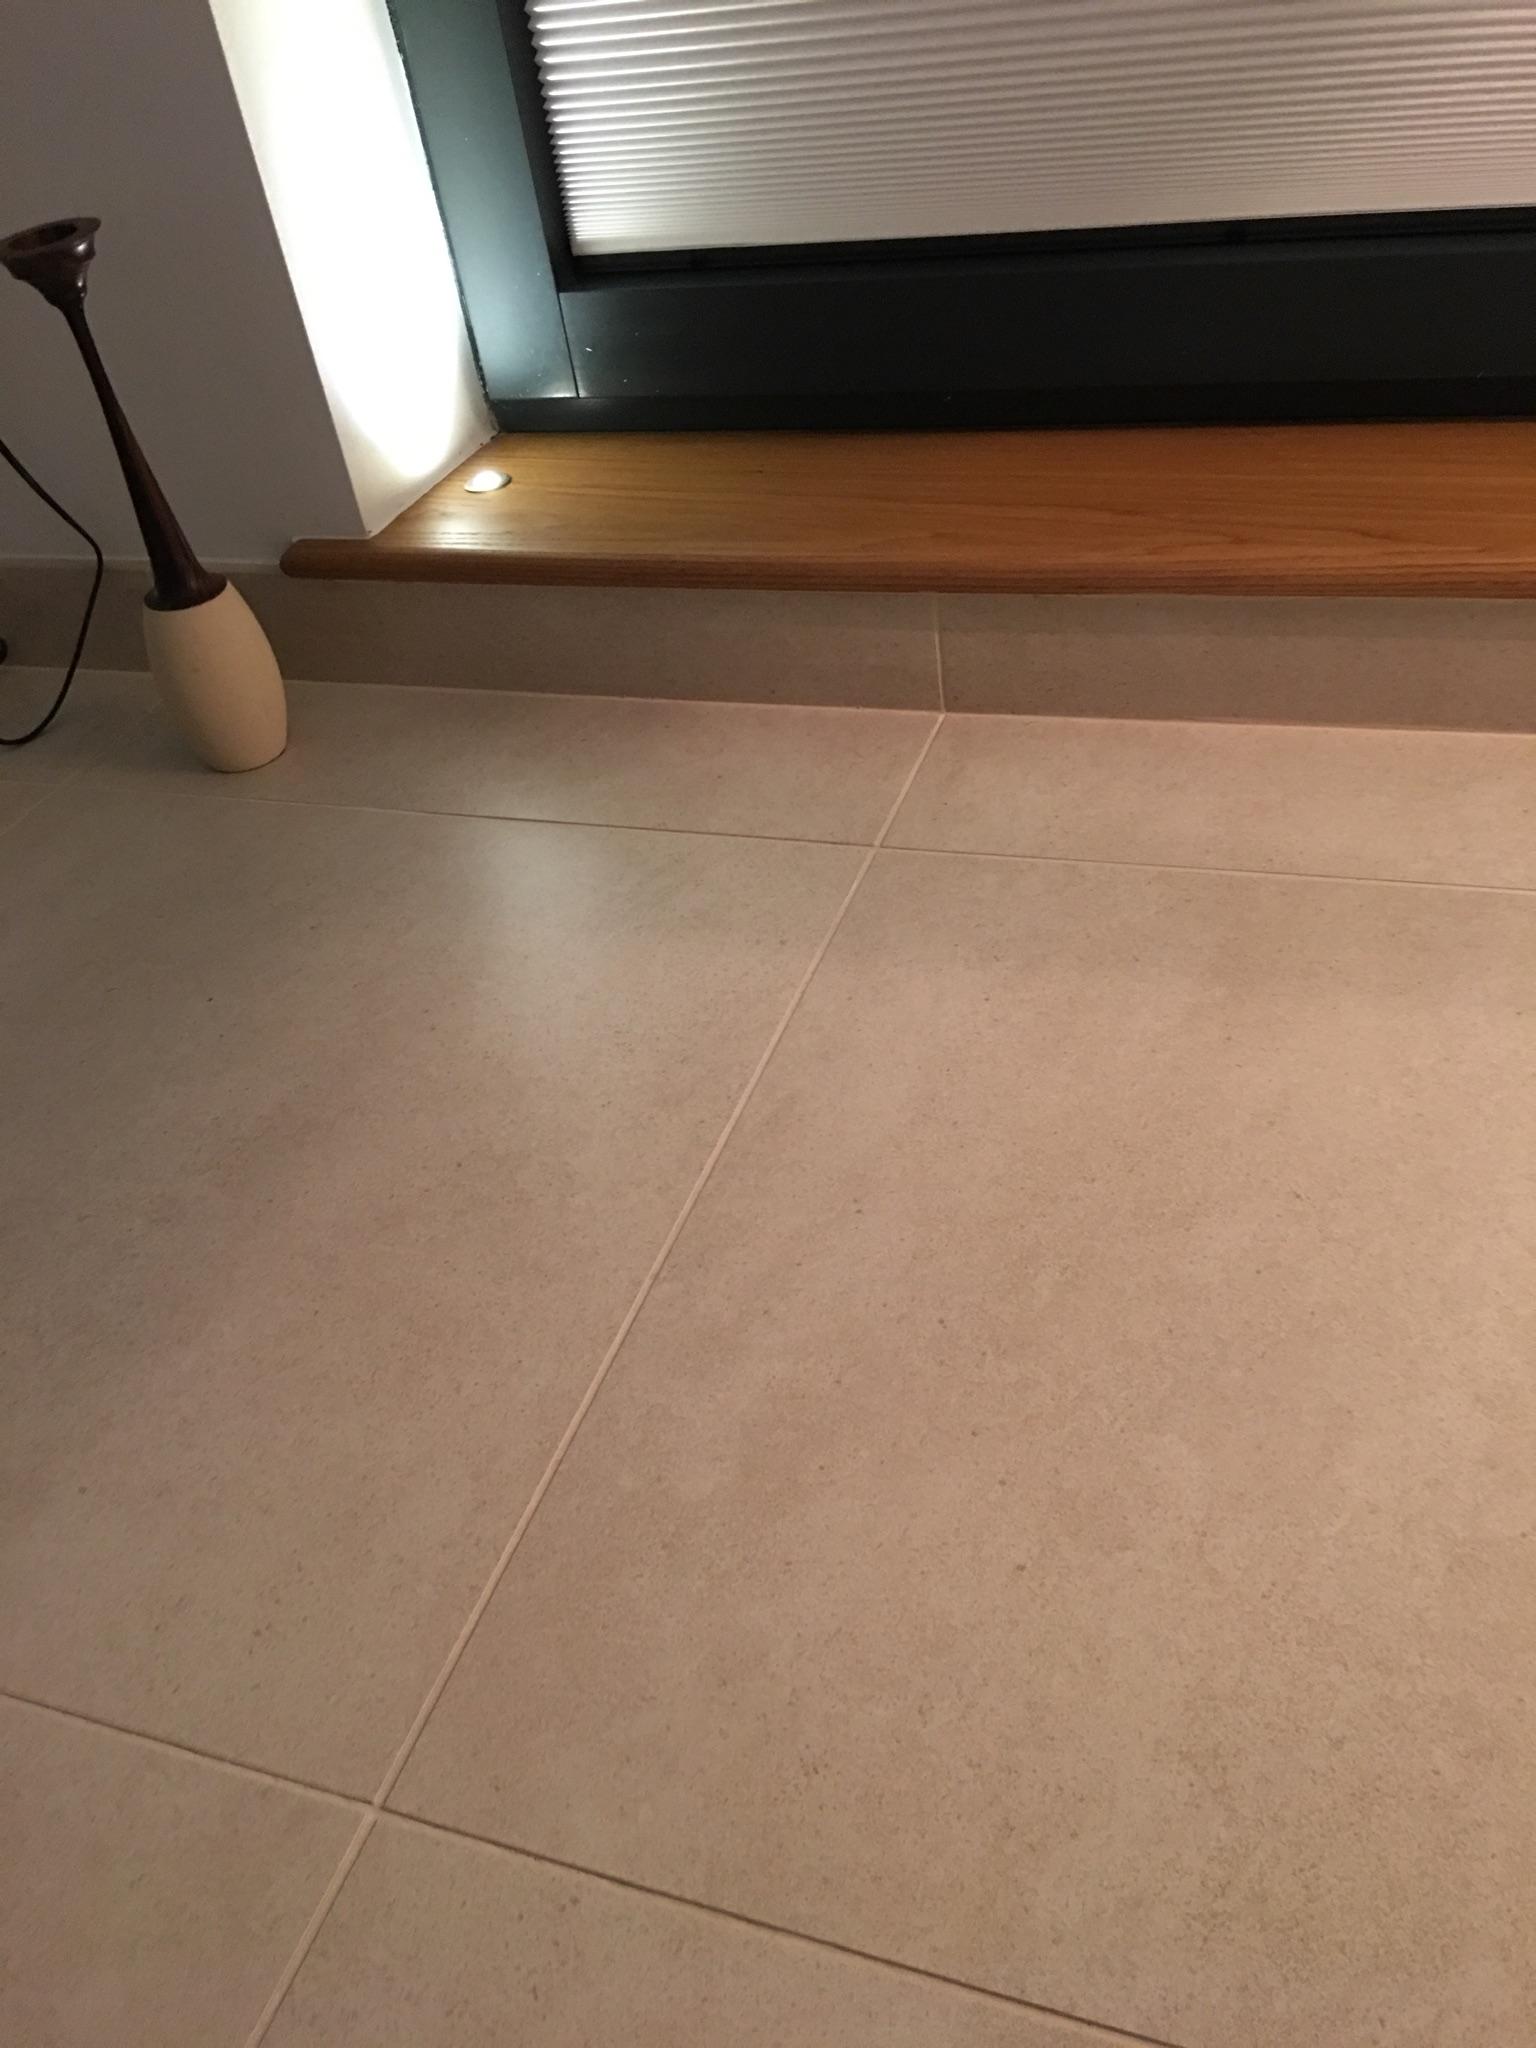
We've got mvhr so 10mm all round for air circulation. Downstairs is all hard flooring, upstairs has oak thresholds in the doorways to ensure the gap isn't compromised by carpet and it looks fine. When your laminate is down 20mm might look a bit gappy, but you could put a timber threshold in to split the difference.1 point
-
Internal oak window boards on intermorm 3g’s. Oak hand selected by my carpenter. White oak we finished with danish oil. I’m pleased with them.
 1 point
 -
Lol, but yes I agree they’re rubbish and no need for them, go for wood. You have plenty of frame to play with so it won’t look out of place. You could rout out some of the back to make it thinner if you wanted but don’t go too thin else it will warp. IMHO plastic inside is a big no no. Also im still here just been a bit quite. Too much to do and not enough time. I’ll update you all soon.......ish1 point
-
That product is rubbish. You have to fit horrible end caps For such a small area I think some fine wood and a good joiner are your friends. Ask @Construction Channel Btw where you been Ed1 point
-
You could be right. That is the flow and return both coming up out of the floor and 3/4 of the way up the cylinder to where the coil connections are. The ABV is connected between these just above the floor. Above that and to the right is the 2 port motorised valve for hot water The flow rate is relatively high at 15l/min so water is indeed more likely to go straight on, rather than make a 90 degree turn to pass through the (now nobbled) ABV. My guess is the noise was an unfortunate resonance thing, with the workings of the ABV oscillating at the resonant frequency of the coil and making it vibrate. No ill effects so I will see how it goes.
 1 point
 -
Have you noticed that some people's reaction to someone doing something new or creative or different is "wotchawannadothatfor?" Completely off topic but here's a little anecdote... I went up to the counter of a sports supplier a couple of years ago and asked the assistant for a particular piece of equipment. "What's it for?" was the reply. I secretly wanted to say "None of your effing business, mate" but I was polite and told him. Then another character who was leaning against the counter put his oar in and gave me the benefit of his knowledge, telling me that what I was trying to do would never work. I said thank you but I still would like those particular goods...please. However, they insisted on trying to tell me that I didn't know what I was talking about, it would never work, etc. Eventually I had had enough and had secret delight in informing them that if they would like to look inside a magazine that happened to be on the counter, they would find an article by me describing how my team had just set a world record in that particular sport and thanks for the advice but could I please have what I came in for. Needless to say, that shut them up good and proper. Innovators of the world - rise up, and tell these naysayers to get lost!1 point
-
I always like quarter of an inch above ffl be that carpet or tiles but sounds like you will have more like 15 after underlay and lam. As said a threshold could bring that down to 7/8mm. If still unhappy are your linings screwed and not decorated yet? Multitool bottom of linings and drop them 10mm0 points


.jpg.c21f3ac78c9b7efd90cbdcb312744dc5.thumb.jpg.7adcad4c0e384f5ecd7d56b0618df6e5.jpg)