
Leaderboard


Popular Content
Showing content with the highest reputation since 07/20/26 in Posts
-
We're first timers in our sixties, renovating a 200 year old Gloucestershire property as our last home. It's very basic (no central heating, damp) with a stone centre, brick semi-added pre 1860 and s 20th C. extension at each end. Removing the plaster and some ceiling my wife has revealed questionable [cough] building techniques which explain some of the cracks and a patched up Inglenook which we plan to restore. Early days but we have a builder and architect for a garden room style extension. We have lots of ideas and plenty of time, but of course not enough money :-) If you've done anything like this by all means tell us we're barmy, it just say hi. Met a couple this morning and got chatting about this, and they recommended this forum highly. I'm learning so much useful stuff from others offline and online. For others I can recommend Mastodon (a non commercial social network - no ads or algorithm getting in the way). Posting questions there has been a great help.6 points
-
Lift the 5a one as much as possible, then same for the socket to see if you can hide this. Plasterer was shite, decorator equally as guilty. Just unbelievable that this incredibly low standard of work could have escaped the 80’s and still be so prevalent today in 2026. I bet neither of those two tossers houses look like this. Utterly embarrassingly low standards from these people. The ‘fix’ is to remove the outlets, PVA the openings, apply EasiFill and allow to dry fully, then sand and paint, then, repeat if necessary, and paint. If you have a PM then send the bill to them.3 points
-
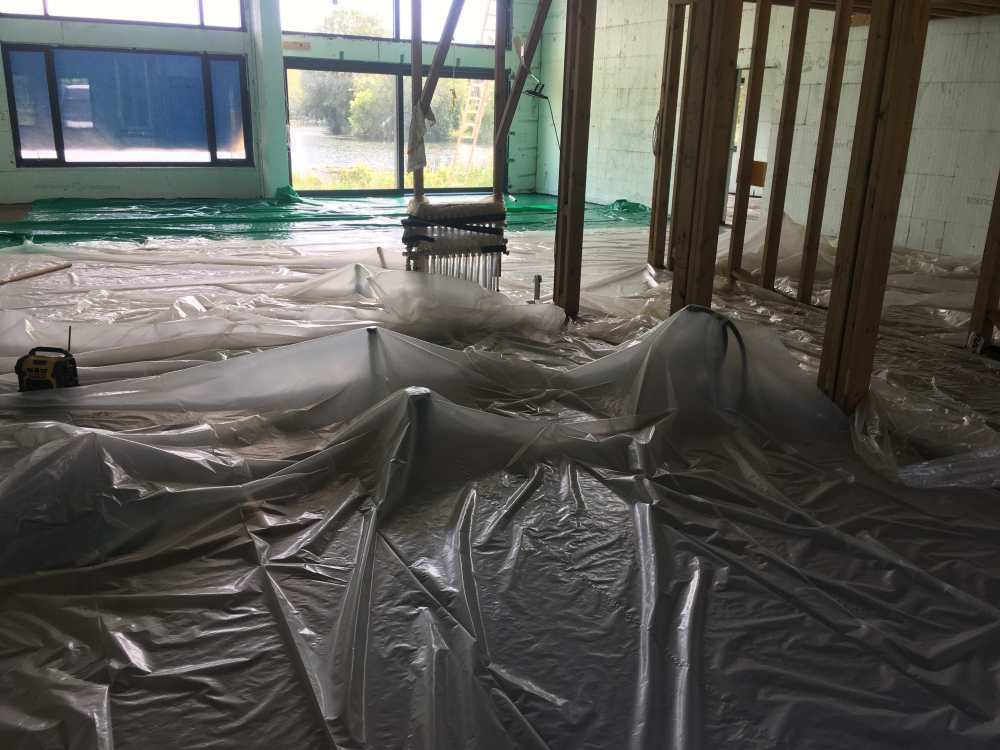
I was recommended a screed company, I was told they are absolutely shit hot, I met the main man and he knew what he was talking about, I asked about screed curl at the edges and covering the screed to slow down evaporation. he said it wasn’t necessary. so I did some more reading and asked a few questions. they did the screed, an hour after they had gone I hosed it down with a very fine mist spray, I then covered it in polythene and also covered all the windows to stop the sunlight coming in. the result is I have the flattest most level screed I’ve ever seen. you need to satisfy yourself how it should be done, and any short comings in your opinion you need to make up. buy the polythene and install it yourself or do you due diligence and insist on a curing agent. if you think they are good why do they not want to cover it ?
 3 points
 -
Flanagaj, I think maybe you are trying to be a builder without being a builder. I write with sod all experience except my own troubled extension. We ended up having to ditch a bad builder and then decided (as we had a dry shell by then and good alternate builders were not available for 18months plus) to continue by bringing in trades to get to completion. It is not an easy process because unlike a proper builder... 1/ You do not have a little black book with several good contractors for each and every trade - people you know from experience are capable and you can work with. 2/ You do not have any real clout with trades because for them you are a one off customer - a few £k's or £10k's of business - builders will be known sources of regular business 3/ Some trades people may be wary of a novice builder, or sometimes take advantage. 4/ You lack deep knowledge and experience of your own - of trade specifics, trade tendencies, what to watch for, how to specify a job These things do make it difficult. Finding good trades can be a lengthy process where the only proof is in eating the pudding. These things affect timeline enormously, you can never call in a favour from someone, no one will ever call you looking for work, you are potentially the job that gets delayed in favour of others. For your slab specifics, do you have a concrete mix specification defined that is what they are going to meet. My SE sepcified the mix for us. And where you don't have a contract only a price/purchase order/invoice then I would suggest always emailing to ensure you have something in writing which defines your requirements. In case of dispute at least you then have something more than verbal conversations and a price. You can even then write down what the contractor has told you verbally about the job, answers to your queries, etc. But try and get someone you can talk to, I've always been able to talk to my SE or Architect or the QS that dealt with closing my original builder contract, to get bits of advice or a site visit.3 points
-
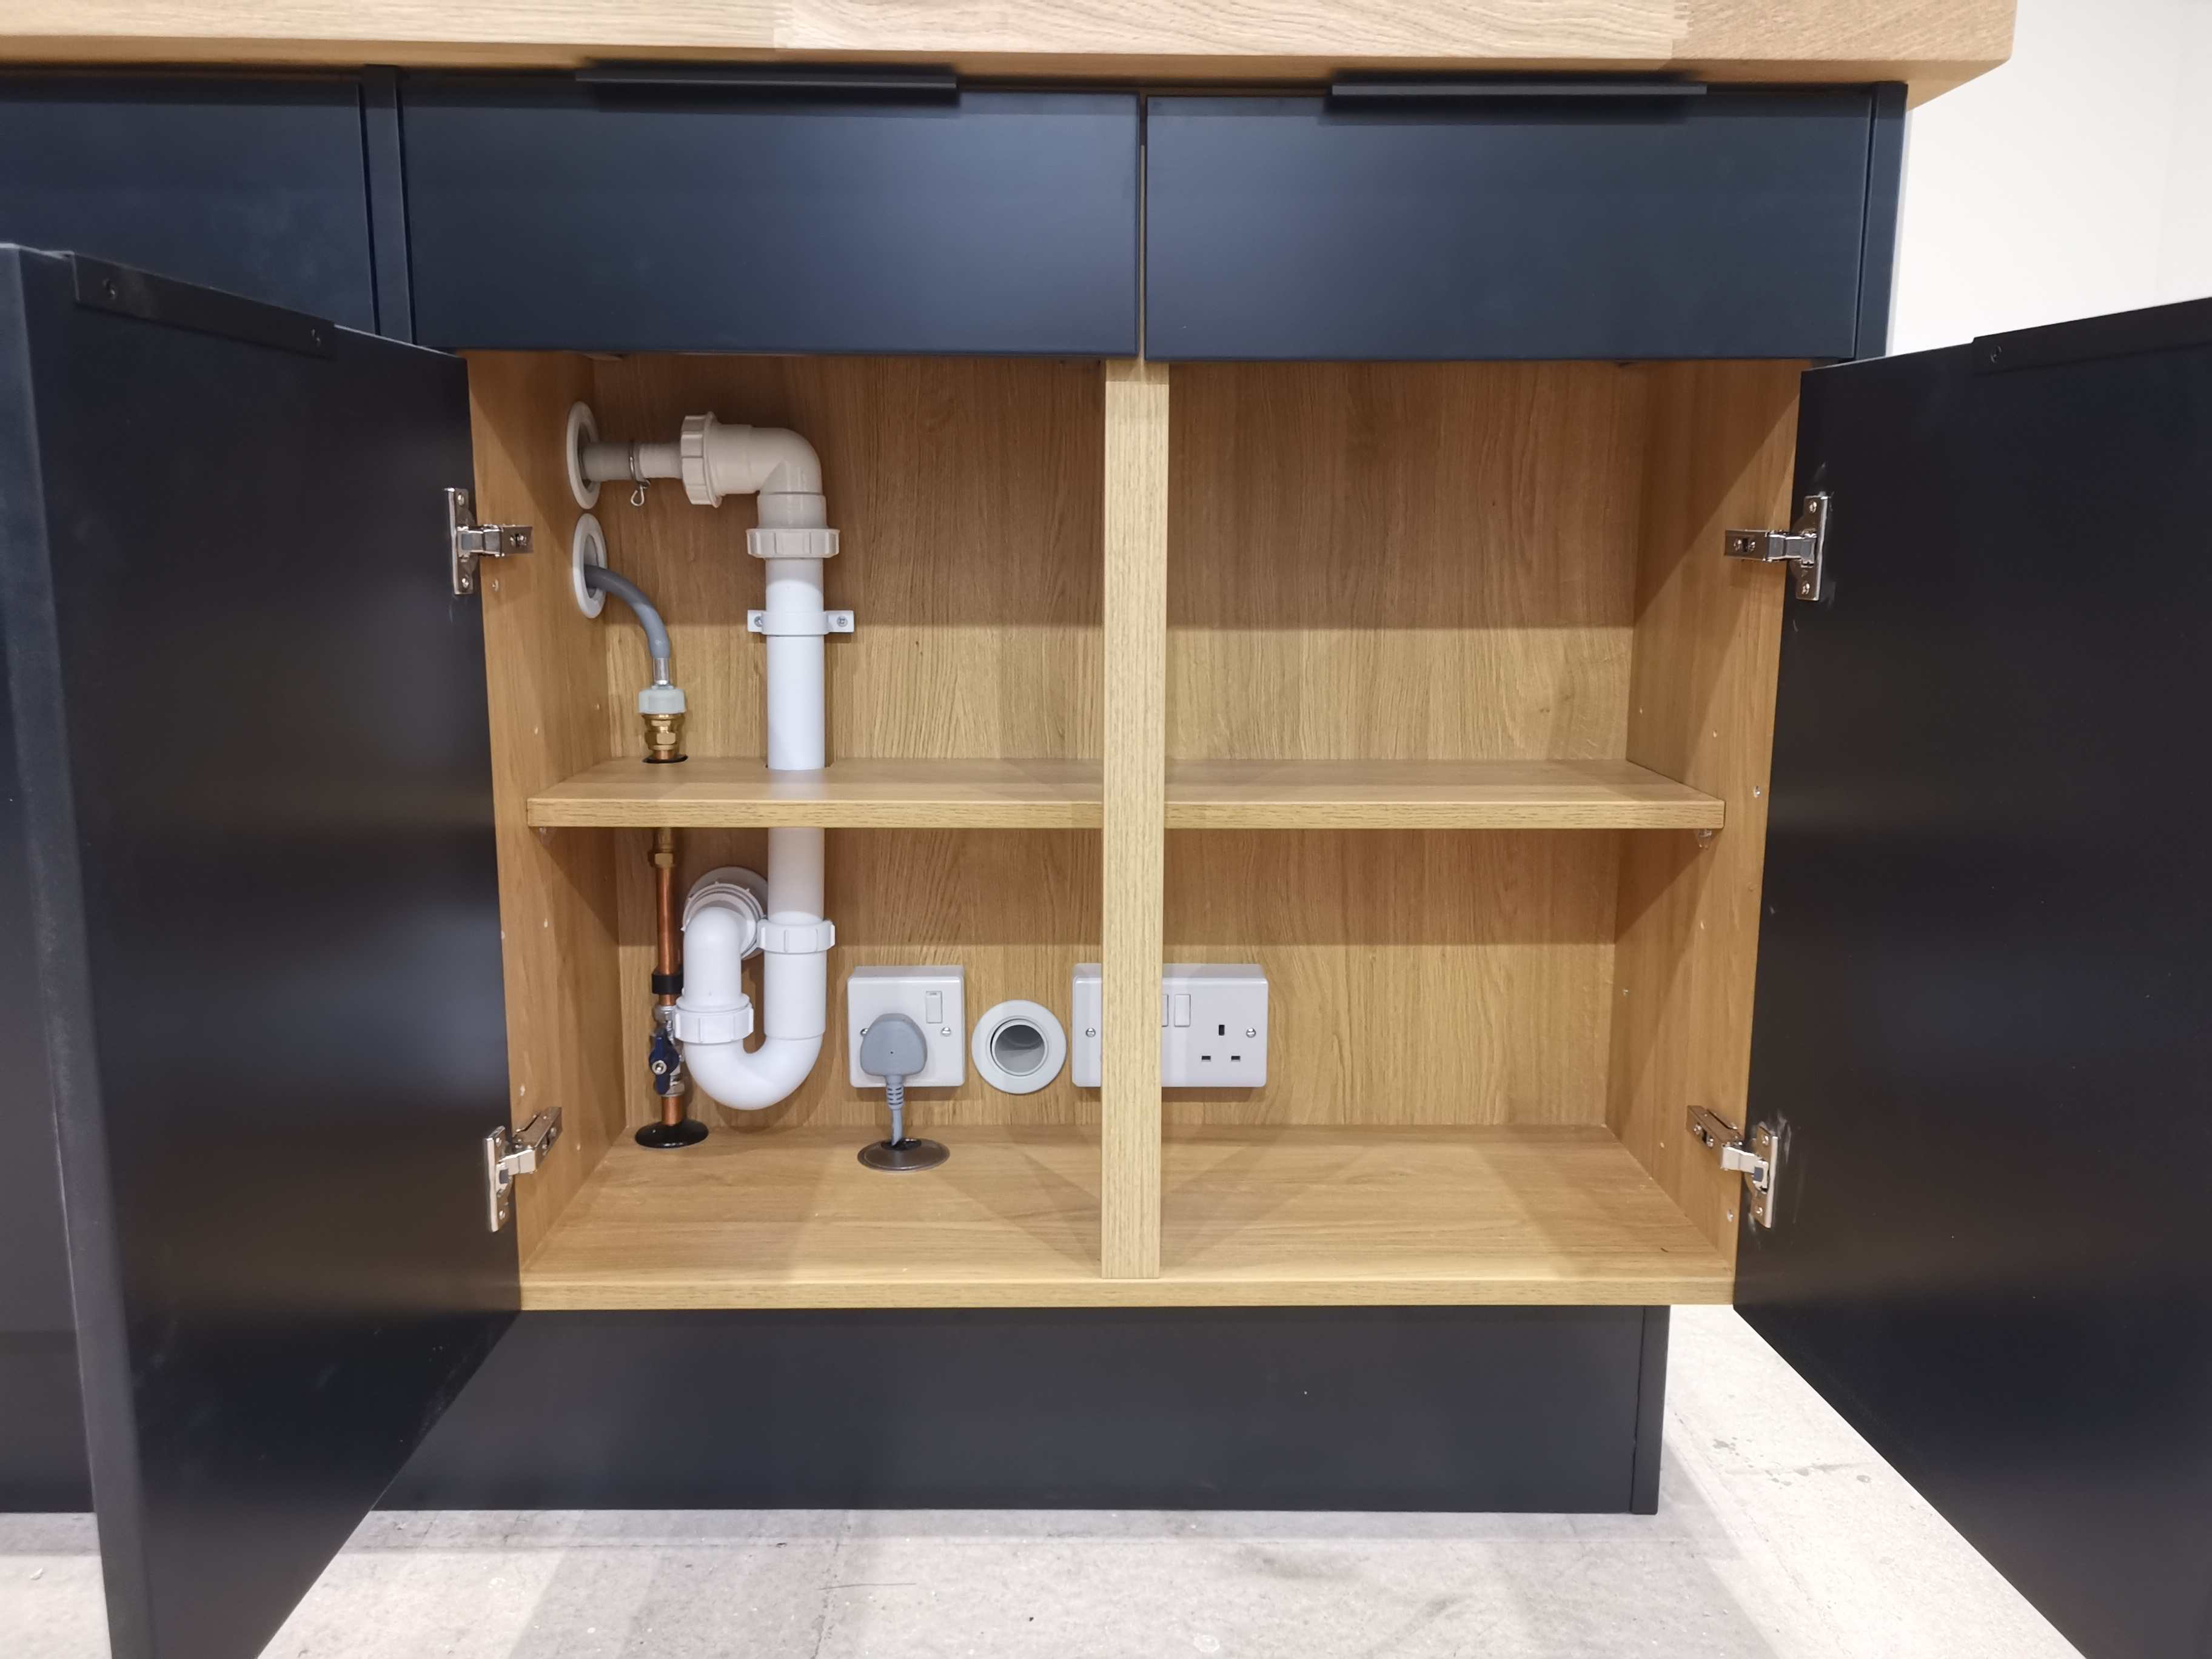
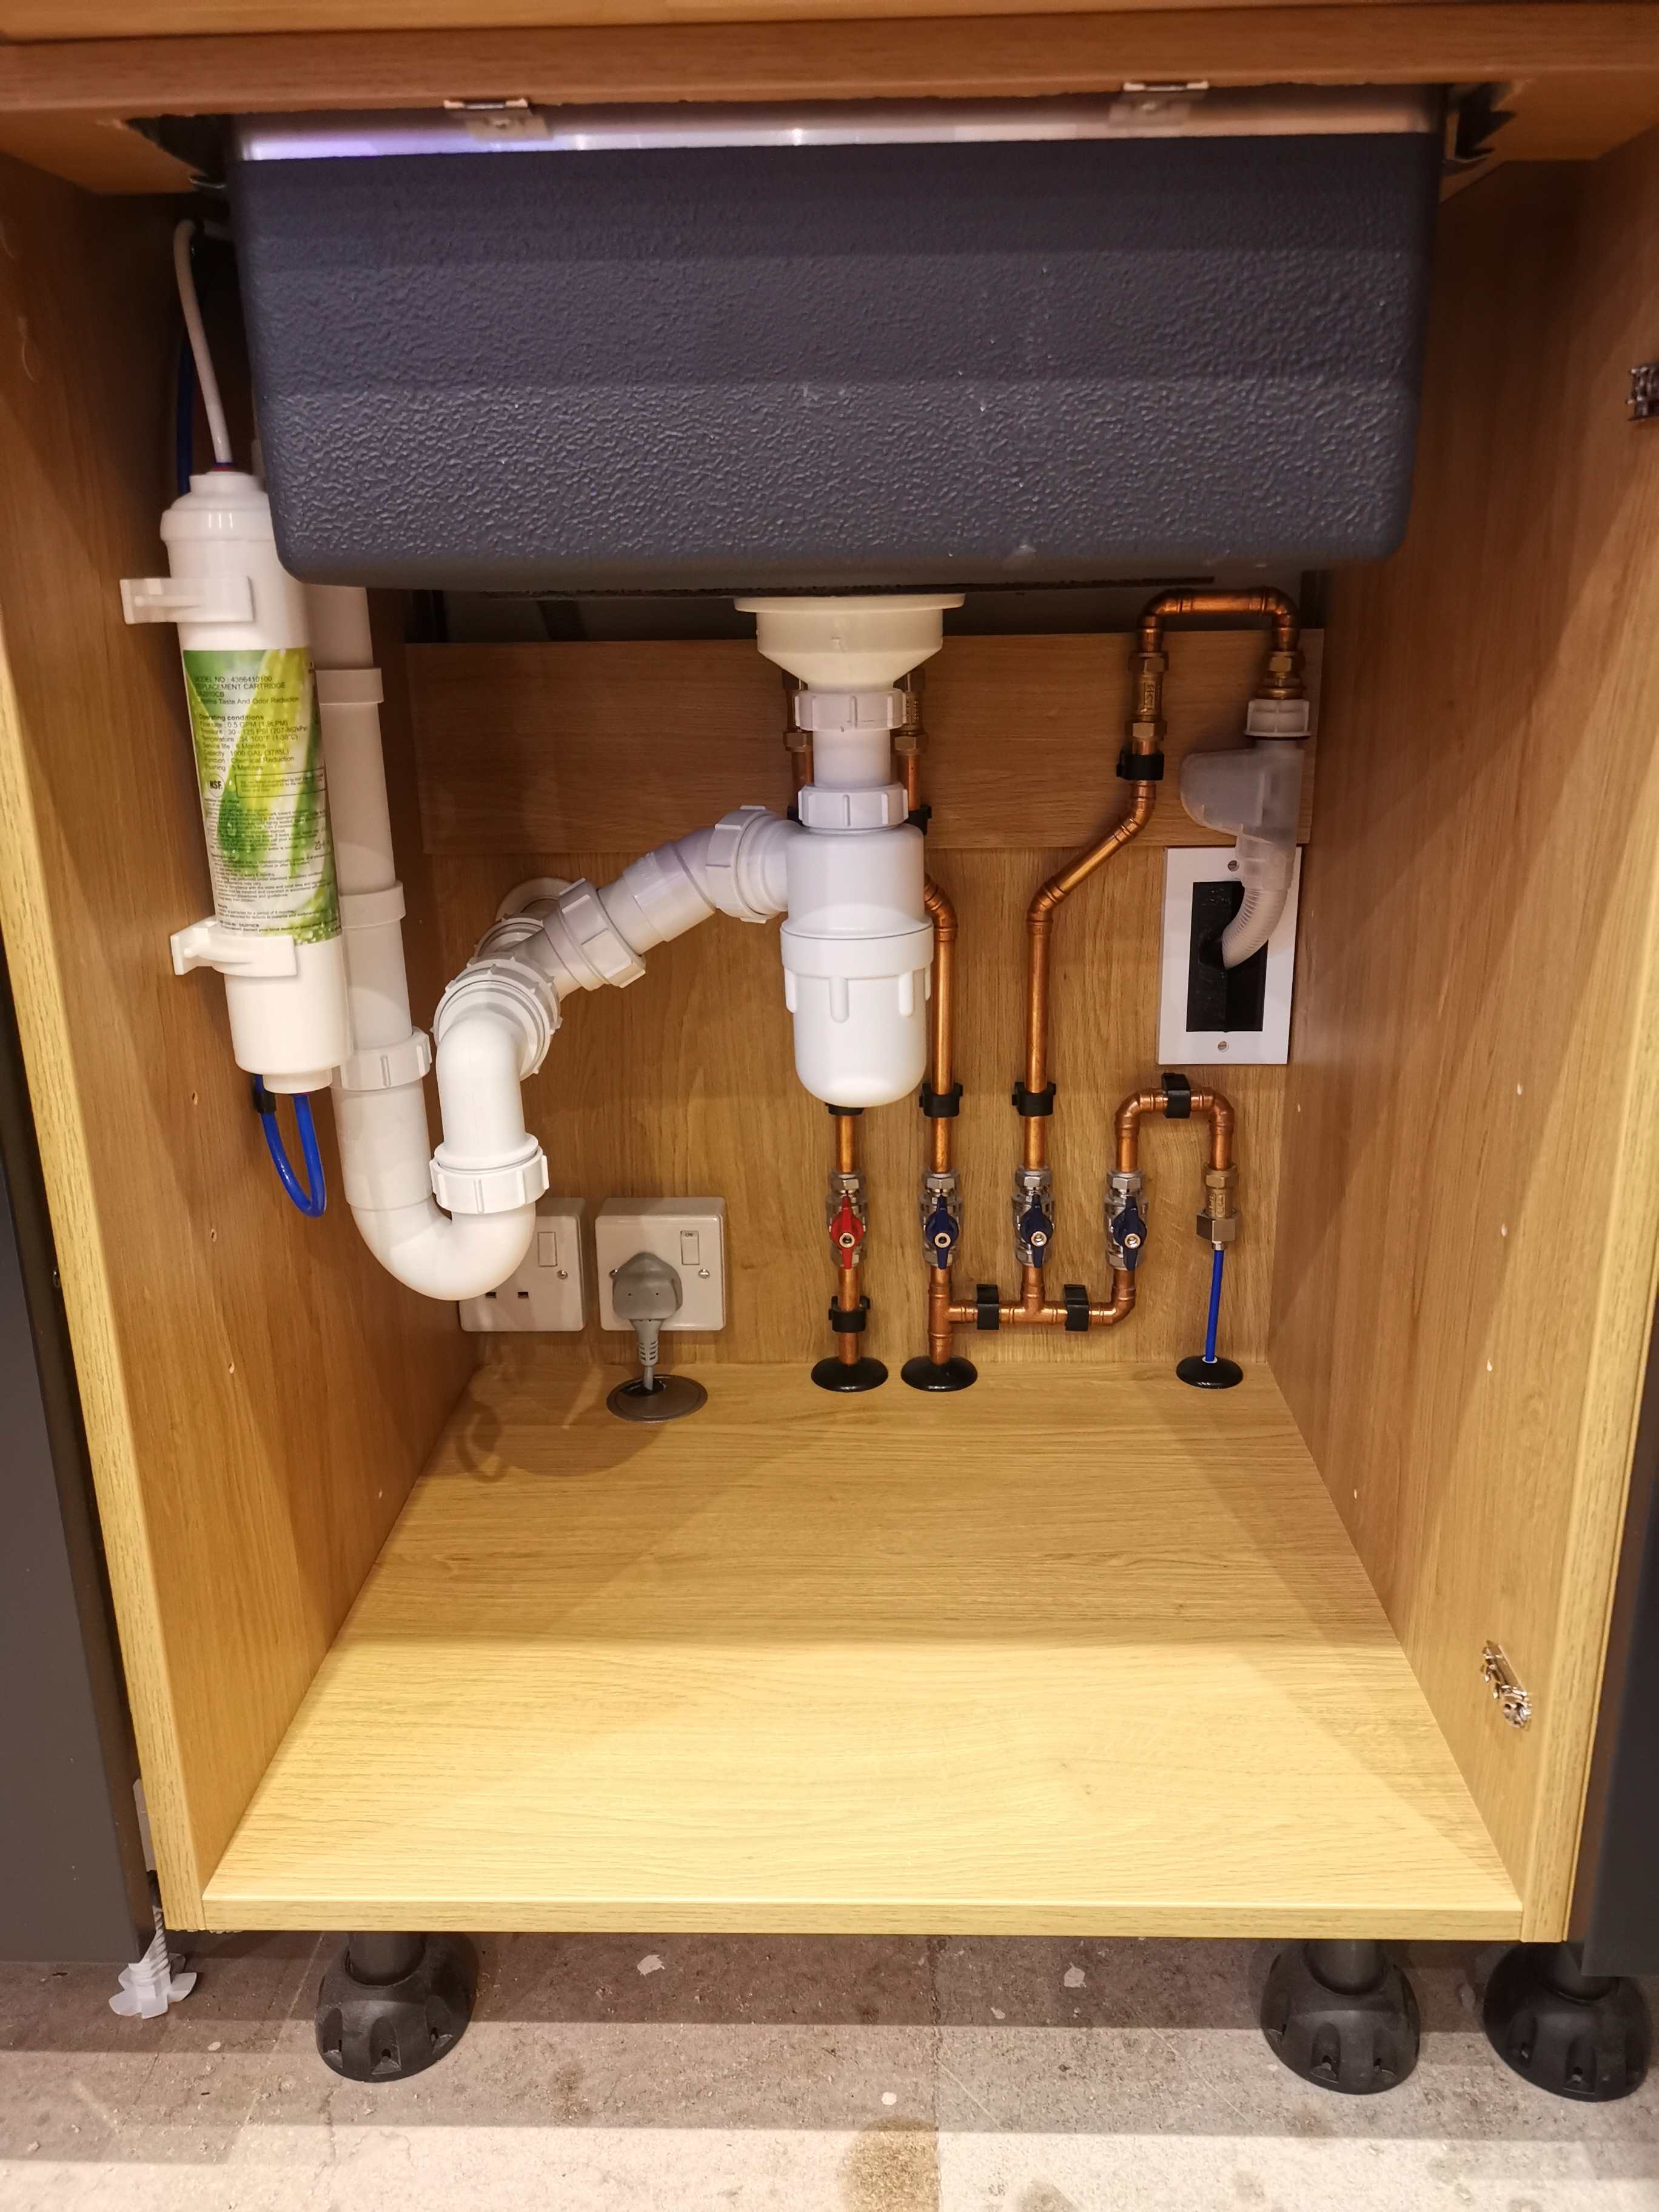
Why can't everything just be moved under the sink? Don't think I've ever seen any plumbing, water or waste behind the actual machines. Yes you lose the cupboard space, but so be it. My machines have a recessed section at the bottom so pipes can travel past it without interfering with the space. For what it's worth I did that in 2 places on the opposite sides of the room in my gaff, no regrets.

 3 points
 -
potentially use a 2 gang socket extension to bring out the metal work form the backbox that you use to fill into and upto, then remove when all filler is dried. ML Accessories | 2G16EXT | 2G 16mm Galvanised Steel Skeleton Extension Box | Superlec Direct2 points
-
Doesn't really matter what you or anyone else likes, your wife wins - sorry it's just life, or live with the throwback for the rest of your life living there. But I agree with the wife choice2 points
-
Number one. Not just because the more grey colours seems to contrast with the block, and overpower the eyes (this will lead to your eyes looking more at the smaller surface area of the wall and be distracting, rather than the feeling the blockwork is the wall, and the mortar just s supporting role) But because there are green tones in the first that will age better. Over the years this will allow nature to grown alongside it in a complimentary way. If you intend an ultra modern gravel and slab surrounding design, then fair enough, but anything growing next to the grey would seem like a weed in a lawn and out of place. (just purely my opinion and feel free to ignore)2 points
-
Are you letting it go silver? Have you viewed final "colour" with mortar as well? Image of our attached just as eg. Took us a while to choose whole "package"
 2 points
 -
It is subjective but firstly is your whole frontage brick, may make a difference.... We only have a plinth, (9 at highest where ground slops at back of house) so we chose high contrast mortar that "matched" the cladding. If it had been the whole house, would have been too stark for us, and maybe the planners. Having said all that my vote would be nit no.1 (too warm), no.3 if your looking for high contrast, no.4 if you want it to "blend"2 points
-
For future reference, these are a fantastic way of getting around bad edges. Several on the market, but these 'skim over' ones are loved by the plasterers I've fitted them with. As they can just go straight over. They even make downlighters ones2 points
-
For me this is a interesting challenge to design a solution. I appreciate that you find it far from interesting and it's a worry. Stage 1: One option I would be inclined to look at first is to install another beam or beams below the ones you have if it turns out they are so heavily corroded they are well below capacity. Remember we would look initially to design these for the latest loadings prescribed in the design codes. The following is based on using a trick we deploy when we are needing to support say a large opening in a historic building or repair steels, more applicable to you. The existing beams have a point of support on say the main walls. Thus in the round we know these are the strong and proven points. It's a reasonable starting assumption the walls locally will have pretty much finished settling in and around the existing supports, thus we want to put our new point loads at these positions. Let's say, as we don't have much information that the beams are supporting the ground floor flat but also an internal spine wall that runs up the building and it turns out there is a fair bit of load. It make the challenge more interesting. This is in a bit of reverse order. How do we calculate the loads and do some other thinking. Well the loads are easily calculated once we know the building layout, floor and roof span directions. From that we can calculate the forces on the existing beam/s. We would want to split these between permanent loads ( dead loads from the materials) and imposed ( live loads) from people, furniture, snow roof load etc. Next we would want to have a look at the existing corroded beams, try and identify their section properties when new and as they are now, corroded. We can then make a reasoned guess as to what their original design strength was and what it is now. The extra thinking comes for example as one obvious question is why has it not fallen down to date? Have the beams deflected a bit too much and shed load elsewhere. Remember a building does not often fall down until it has exhausted every alternative load path. This is what SE's often call redundancy, which helps stop what we also cause disproportionate collapse, like the domino effect. We would want to get a handle on this before we access any confined space. Any Engineer is going to want to do a pretty comprehensive dilapidations survey. This heads off any "adventure’s seeking to take advantage, but it also protects the honest residents if some further cracking occurs during the works. In summary stage one is doing some fag packet calculations, a survey and from that we can get a feel for how the building is "working". Stage 2: Again not quite in the right order but it easier to hold the narrative. Lets say we can install beams under the existing, then do some bolting etc to support the loads, maybe by stiffening the webs of the existing beams or by using other simple plates / angle sections. This means the new beam/s load the supporting walls in the same place, proven to have worked so far. The big thing is that there is a good chance you won't be able to get the new beans into the basement in one complete length. Thus splices will be required, which tend to flex a bit. Also critically the new beams won't take up the load unless we pre deflect them. For them to carry load the building would need to settle onto them.. high probability of cracking as we move up the building. There is a technique we use on historic buildings where we get the new beams in with a bit of clearance and then jack between the old beams and say the top of a new beam to pre bend the new beam so it takes up the load. We have calculated the loads so have a bench mark as to how much we need to jack / pre bend. We are only talking mm here so we would use say dial gauges. In practice what we do is jack it a bit then run up stairs and see if cracking is starting or if existing cracks are opening up, doors starting to jamb an so on. This takes time, it's not a one day job! Stage 3: As above and in reverse order. The new beams often need to rest on a new padstone below the existing one spreading the load from the existing corroded beams or we need a spreading arrangement. This is partly a detailing and practical thing. But once access is gained with a fair wind usually there is a way of applying the load to the supporting walls in the same place as the existing beams are. Again simplistically we just trick the building, it's sub structure into "thinking" nothing has changed above. But this is not an exact science and 99% of the time some minor movement will occur and that has to be communicated to all parties. Comment: Infilling the basement or sifting the loads to a different place invites lots of potential settlement problems and so on. You would need to investigate the basement floor and the soil under which is going to be less consolidated than the soil under the main load bearing wall for example. Construction safety is going to be the driver here in terms of a structural solution. I would look to have at least head height clearance for folk to work. Two means of escape from the basement. Make sure we have a good ventilation strategy during and after the works, avoid any welding, use of volatile paints etc and make sure there is compliance with all the regs relating to working in confined spaces. In summary it may turn out that the SE solution is not complex, it will likely need a diligent / experienced and well supervised Contractor. The hard part is herding the rest of the cats, project administration and agreement of where the liability lies etc. This goes along way towards explaining why many designers don't want the hassle of a project like this, the design fee has to be attractive not least.2 points
-
Fire Resistance.2 points
-
To put it into real life context, in the Steading we left a significant proportion of 600mm original wall exposed internally. This was for aesthetics and a historical nod. That would never pass Passivhaus which is an extreme target. I have no intention of sacrificing lots of money and aesthetics for the certificate that comes with a few % energy benefit. But many do and it's their choice and money (never regained in £ payback). We did get respect from the bco who agreed it was a good design feature, and we balanced the insulation by extra elsewhere. You are building all new, so can more easily tweak the insulation. Should be easy enough esp with a proper analysis with expertise. You say lots of insulation. What products?2 points
-
My Amtico fitter was outstanding. It is all he does and he is so good that he limits his quote area When he installed our >100sq m he trimmed every single plank on two sides at a 45 degree angle to stop the "glue squidge" problem. This was absolute genius and I cannot fault the quality of the install. I had some very fixed ideas about how I wanted it laid but all his "suggestions" were the exact right ones in hindsight. I have laid Amtico myself in a previous house and I got the "glue squidge" problem and a line where two plywood boards butted together, I was still pleased with my efforts but a proper professional makes a huge difference in quality Regards Tet2 points
-
I feel for the guy, having been through similar myself. This is a very difficult industry in which to pick one’s self up from, and restart, as you have to ask people to entrust a lot of money up front, and only your trading history and client references can perpetuate this. When little fish get knocked by big fish, it causes irreparable, or sadly often terminal amounts of damage. They seem to be genuine, and if so I wish them the best in reestablishing their business (and reputation). Thanks for taking the effort to post these details, a lot of people read them.2 points
-
Amtico Spacia are the cheaper brand and the planks repeat more often than its more expensive sister-offerings You are also hampered by the laying pattern you have chosen. (IMO) Straight patterns show up repeats and duplicates more obviously. This is one of the reasons we chose a herringone laying pattern for our Amtico Spacia. Over time and especially as you fill your room with rugs and other furniture the repeat highlights will become less noticeable Regards Tet2 points
-
I am that plumber. During my renovations I had my washer on a hose that was about 5m long, absolutely no problem for like 3 years. Obviously not best practice but it certainly worked.2 points
-
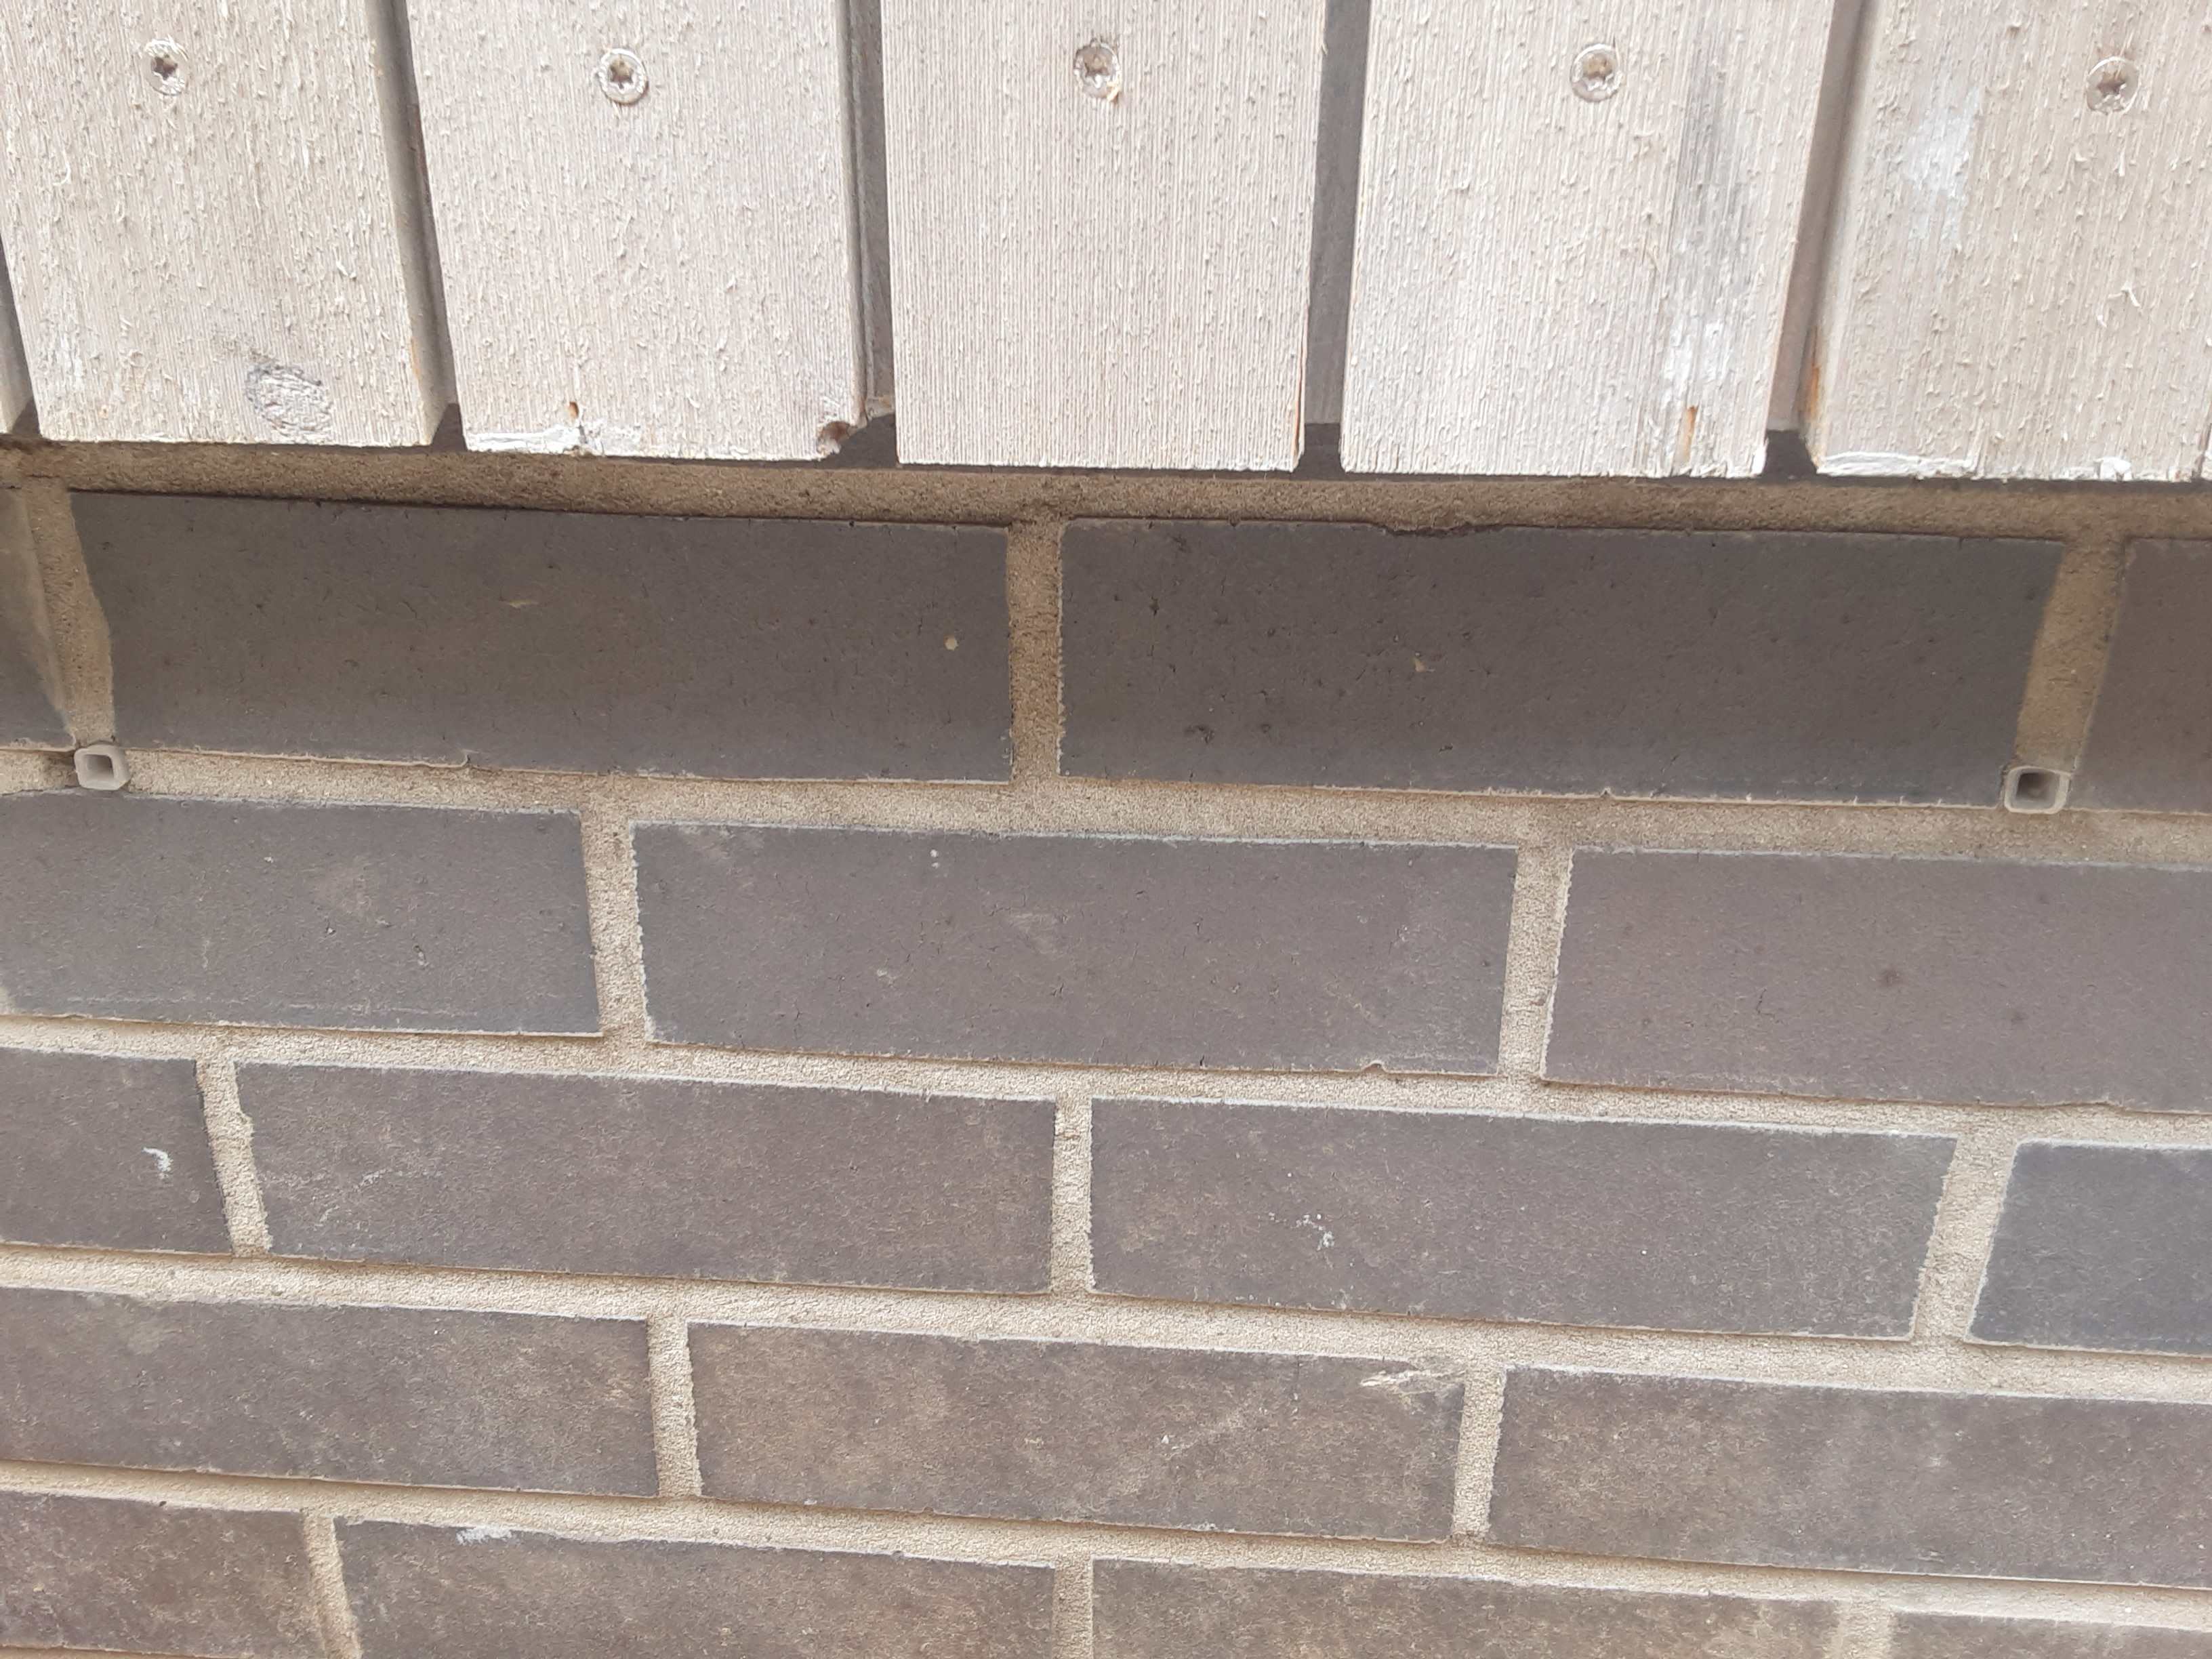
Is this attached or detached? Fire regs may need that closed and FR. Closing as per the pic is normal, and garages are classed as cold ventilated spaces so why would you care about a small cold bridge when the whole garage is 'cold'?2 points
-
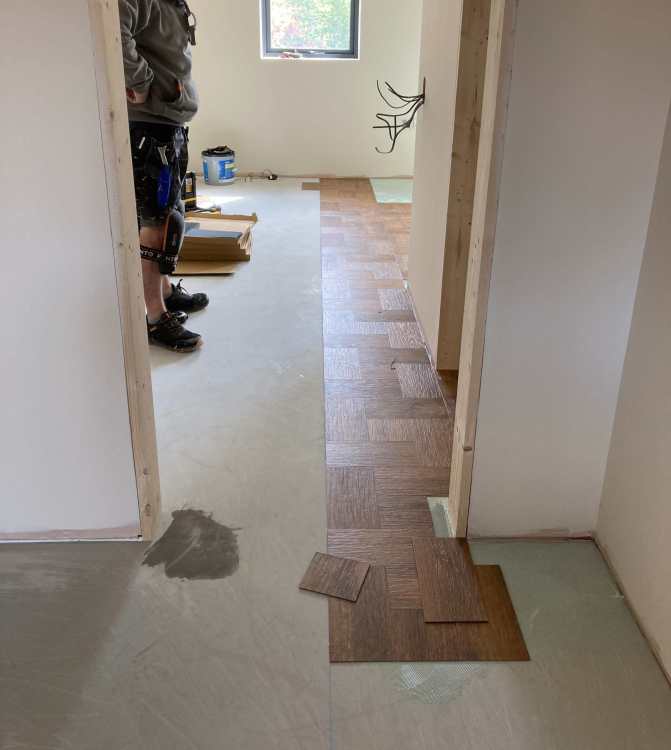
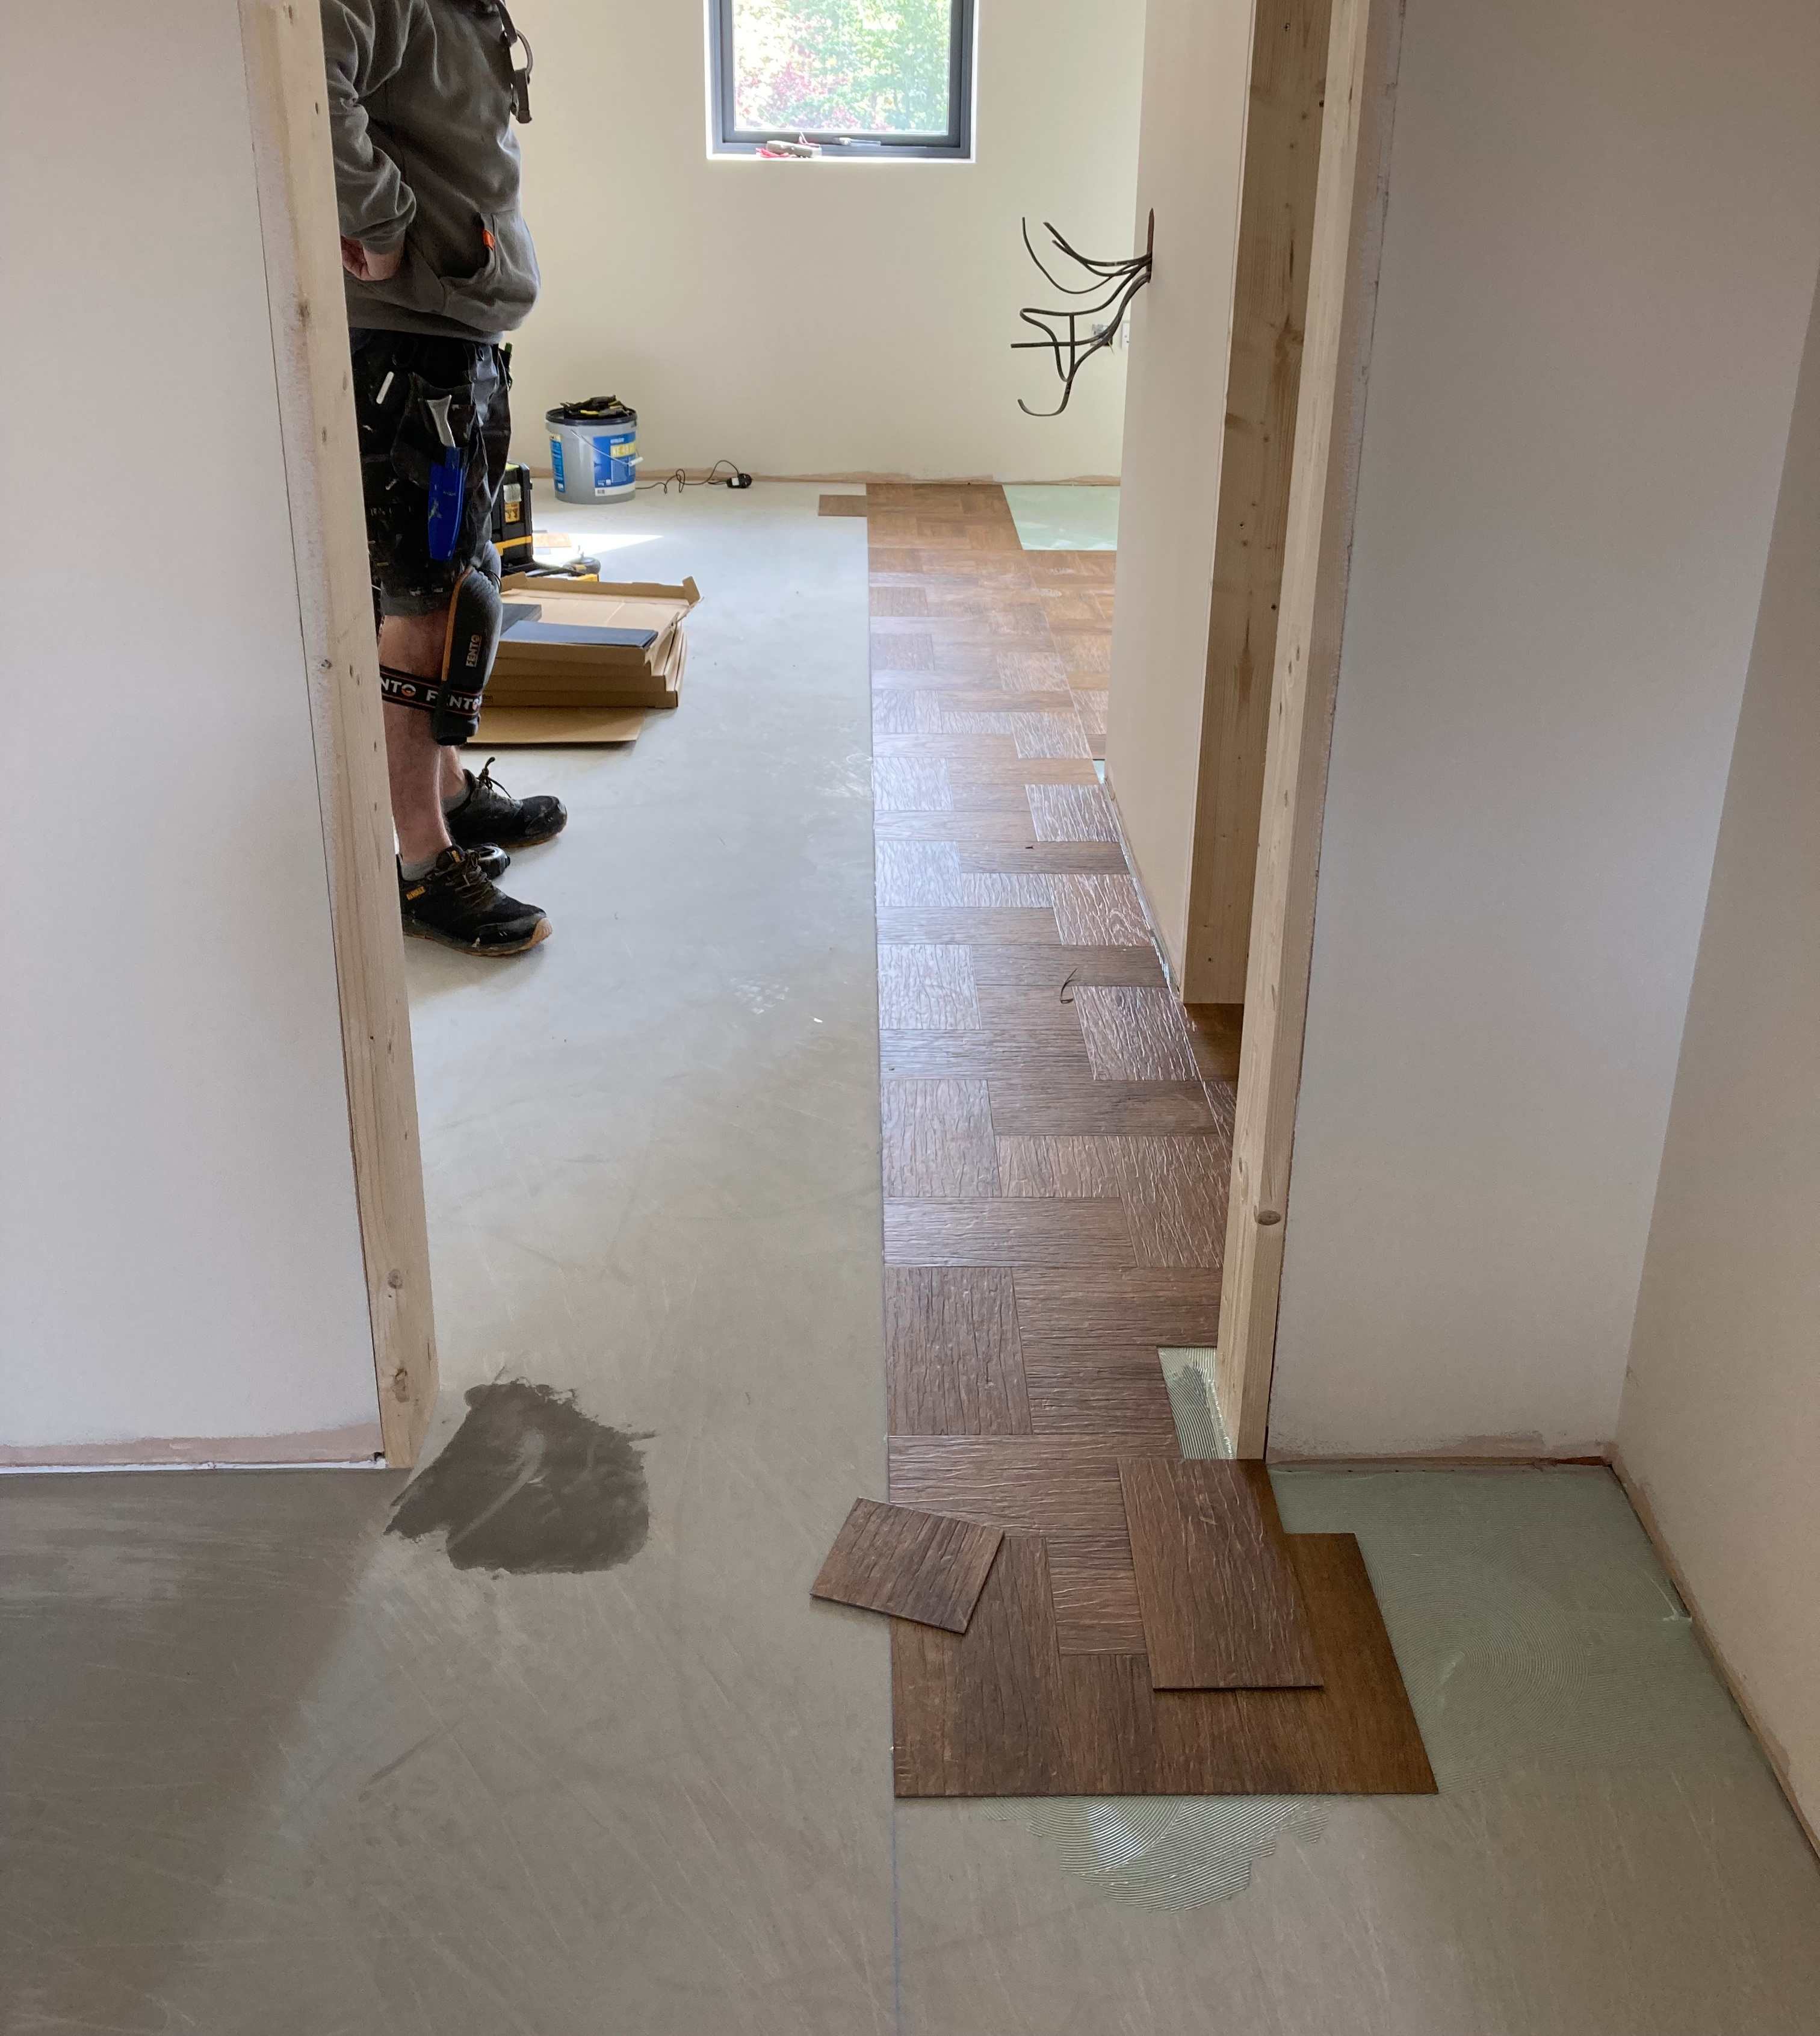
Our Amtico supplier/fitter provided the information when asked Our choice is both heavily patterned and embossed with a wood grain pattern. The format is 5 tiles (individual)in a 450mm square, so although there are repeats they are way less visible than they could be. Even then a couple of tiles were removed and repositioned during the process. At the end if the day they are not wood, and were bought with long term practicality considerations as well as aesthetics. Photo shows the initial laying out process (after the floor had ply and leveller) If you are really unhappy is it too late to change design now? Better that than live regretting it for the next ? years
 2 points
 -
I've never used SCC so perhaps others can advise of any special measures. I.m guessing here, but perhaps a length of 2x2 would be handy to persuade it all the way to the far corner. Any shuttering will be prone to leakage as will gaps in plastic. Have you a plan for the surplus and the washout location? Wherever you tell them to put it, it will keep flowing! If it is like pumped screed, it is like water until suddenly it isn't. ripples won't matter at all but getting it level +/- 3mm is well worth while.1 point
-
Yes, the extenders are the way forward. Shame they were not fitted pre-plaster, but at least it gives something to fill to.1 point
-
If you have taped both wires together they will not bend .. knot bare cores together to keep join as thin and pliable as possible, once you get the new cable - as above push and pull at same time to ease it around the bend1 point
-
You know I've always trusted you 🙄.1 point
-
Not planning on using dyes and will order the required 10 ton of sand in one go, so as to avoid possibility of slight colour shift.1 point
-
You have a ‘digital mixer shower’, some are pumped to draw stored hot/cold water from gravity or ‘open pipe’ systems, others can accept high (balanced) pressure hot & cold inputs; both mix the temp digitally so are quite elegant solutions if getting into a pre-warmed shower is on the wish list. Caveat is, these wear out and need replacing more often than a basic thermostatic shower mixer that you control manually.1 point
-
Just to add, I checked how much water you'll get out of an electric shower. If the incoming water temp is 8C and you want your shower to be 38C then a 12kw shower will output about 6 litres per minute. That's a pretty low flow. In my book a 'decent' shower is about 10lpm. If you like the luxury rainfall type showers they are more like 20lpm. 38C is about the average shower temp for people. Some like it hotter, in which case an electric shower will flow even less water. Now the incoming water temp varies by time of year and how the water gets to you. But in winter when you usually want the hottest showers its around 8C.1 point
-
If you’re going oil + UFH, you’ll need a large thermal store / buffer tank to accept the huge swings of heat that the oil boiler will inevitably output; basically you’ll struggle to use the heat as fast as the boiler is producing it. A thermal store with a hot water coil is an option, but you have to keep that very hot all summer so needs some serious thought / design input before pulling the trigger.1 point
-
I have only done these in flats.1 point
-
If you want to go direct electric with no tank and don't want variable water flows (ie, slow kitchen tap if shower in use) then you either need individual units for each tap or a very big three phase central unit. TBH. If you want decent flow rate in a shower you need large units anyway 15kw+. The electrical infrastructure will add up quickly. Cylinder is the way to go IMO. Heat it via heatpump or direct electric (that's just a cost/environmental calculation). Direct electric can be relatively cost effective in use, but if you need to spend on bigger electrical supplies, large cables, etc, you could easily spend more. Plus the boiler upgrade scheme will include installation of the tank as part of a heatpump system. Installers tend to have healthy markups that somewhat defeat the point vs DIY without the scheme but I get the impression this wouldn't be an area you'd want to DIY anyway.1 point
-
You could minimise the staining by masking with tape but set the tape a tad wider than where the bead will finish. Do not plan to peel the tape off to give you as clean edge. That will lift the bead edge slightly and allow muck in to go mouldy. I used the Cramer kit. Cleaned the area first with Multisolve. https://flic.kr/p/2dDDn5o https://flic.kr/p/2dHvhmN1 point
-
The Spain/Portugal blackout last year comes up as an example of why renewables are dangerous.quite often. Nice explainer video of what happened. TLDR: 1. The Spanish grid regulations did not use the capability of renewables to stabilise the grid. This made them reliant on fossil fuel plants for grid control 2. Earlier oscillations in the grid caused the grid operator to demand higher voltages to dampen them (as is normal practice) 3. One of the 10 fossil fuel plants had a fire and had to shut down leaving even less grid control. 4. Some of those fossil fuel plants didn't it comply with the procedures so the voltage rose more than desired but still below the threshold 5. Some PV plants had been misconfigured to shutdown at a lower voltage than they should have and tripped out. So the main takeaway was the Spanish grid was not well managed. It also makes the point that the model the Spanish used (relying on fossil fuel plants for stability alone) is not followed in the UK where the renewables are configured to contribute to grid stability1 point
-
To add, one of the great potential use cases of a technology like this is if it works you could go to the site of an old coal/gas power plant. Drill a deep hole and then start using the heat to drive the existing turbines using the existing power lines. It has potential to be an excellent solution to base load. Again not something to wait for, but if it materialises in say 5 years as viable, then it could seriously reduce time to net zero for planet earth if it can be rolled out at scale.1 point
-
Post your SAP so we can take a look. I’m very surprised that a timber frame is failing the SAP. I would also assume that the junction calculations are taken from standard details rather than specific construction drawings.1 point
-
Thanks both Redbeard & Nick, found helpful info through this thread - so grateful. For anyone else in same situation, this is what we will use: fire rated aerogel strips on the steel, and the cold roof will have fire rated rockwool (cold roof), and fire boards internal areas, on the outside, we are aiming to clad with bricks around the steel to go up all way on the corner.1 point
-
Id be looking up if there are any sink hole type construction projects in the wider national area. Surely the approach to resolving those is not dissimilar to what you need to achieve here? Id be looking for engineers or companies which have been involved in those sorts of projects, and see their views on it.1 point
-
Yes it might be moderately simple but this is SE work. If we are to help further we need photos.1 point
-
To take a few points from posts above, firstly you (the leaseholder 'collective') need to appoint a SE with the remit to clearly establish the issue and to make recommendations for remediation. As @saveasteading suggests, rust is not (necessarily) equal to disaster. This needs to be an invasive inspection by someone with the whole picture. We have the Professionals' opinion (Doomsday scenario) but no apparent assessment of the immediate issue. For example, if an inspection of the beams found that rust was bad enough to weaken, but not catastrophic, then that (a) supports to temporary propping suggestion and (b) may suggest that breaking the span - permanent props on footings/mini-piles, maybe - might be a feasible 'treatment'. All of this from someone who is most definitely not a SE!1 point
-
Get the fitters to leave them long, and ask if they’ll be happy to come back and trim them properly for you ‘as and when’.1 point
-
Much better this time. Used some rapid set and did 2 boards at a time, seems solid now fingers crossed.
 1 point
 -
It's a ramp. So either tamp then float smooth, or deliberately tamp with grooves down the slope. The latter looks rugged and is slip resistant, but gathers muck. But the former only looks imperfect when you are on your knees doing it, and nobody else will look.1 point
-
Are you sure about this for your chosen unit? Our Solido runs as an SBR plant and only discharges twice per 24hrs, immediately after a settling period. It pumps (well, airlifts) down to a fixed level each time so up to a few hundred litres in 20mins.1 point
-
Maybe it just fell off someone’s project plan. Also odd though that the engineers were not inspecting. Or failed to notice.1 point
-
I think it was this.
 1 point
 -
Garage is attached. You are most likely correct that the cold bridging will be negligible and I can close off as per the diagram.1 point
-
The government has extended the grant system to cover A2AHPs for both heating and cooling. Trouble is they have not sorted it out yet (just yesterday was on the news about it). So it may be worth hanging on a while and seeing what happens. I think the grant is £2500. As for the price to install, this is always difficult. While technically not difficult (just wire and pipes) any company has to cover a lot of costs, one being warrantee claims. In retail, which this is, it is not unusual to multiply the price several fold. I like the 'large holes though the wall' types for ease of installing, was seriously considering getting one, but they are relatively noisy, around 60 dBs, fine for a living room, but a bedroom maybe not.1 point
-
I always grout that joint, to the shower tray, pushing it in deep with a sponge and leaving a valley on purpose. After grout is bone dry, 2 days or so, I use clear CT1 and use it very sparingly to create the final seal. Lasts decades, whereas silicone doesn't, plus white silicone is a bar steward to keep looking fresh.1 point
-
Tools rusting is more related to lack of ventilation than insulation. Ideally add one on the inside wall, behind the ply. I would add a mineral wool insulation.1 point
-
200mm is a bit out of what you could call a margin of error. we did similar, ended up 250mm too high by the time we got up to the ridge. I made the call to drop the wall plate by 100mm and the ridge by 150mm. So we edend up about 100mm too tall. Could not got away with any more as we set the ridge height to be mid way between the houses either side of us. It depends on your design and construction method, but trimming 100mm off your ridge and wall plate might help you sleep at night. we were building ICF and a panel roof system, sownqs dead easy to make the change.1 point
-
Lenleys, Roper Road, Canterbury.1 point


This leaderboard is set to London/GMT+01:00