Leaderboard
Popular Content
Showing content with the highest reputation on 09/15/24 in all areas
-
We have finally started to build. Day 1 was Monday 2nd September 2024. It was nearly 3 years from the first invoice which was for the private planning consultant to discuss and review the possibility of demolishing one of our old barns and building a bungalow on its footprint. Back then we weren’t overly confident of our chances but the consultant gave us a fairly good chance. Our current home is a listed property on 3 floors. It is far too big for us with 4 double beds, 3 baths/ensuite and two lounges. It makes a great multi generation home but no longer fits our needs. We are both in our fifties and looking to downsize into an economical to run bungalow. The old wooden barn was given away locally on condition they took it down and removed it without our help. We had birds nesting so we had a planning condition it had to come down between November and February. All that remained was the concrete down the middle, one wall and concrete lintels separating the bays. We chose a local building contractor from Bude, he came recommended and so far his groundwork’s subcontractors have been very good. The build starts with lovely weather but by the Thursday most of the UK has a yellow weather warning for rain, we had 23mm of rain Thursday, 14.2mm on Friday and another 27.7mm on Sunday. By the end of the first week we had a cleared and level site marked out ready to start on the trenches on week 2. Week one total man days of labour is 63 points
-
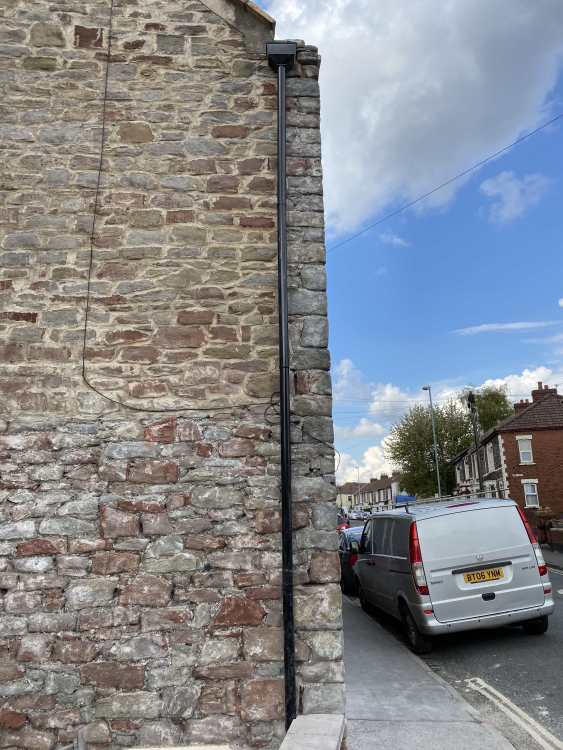
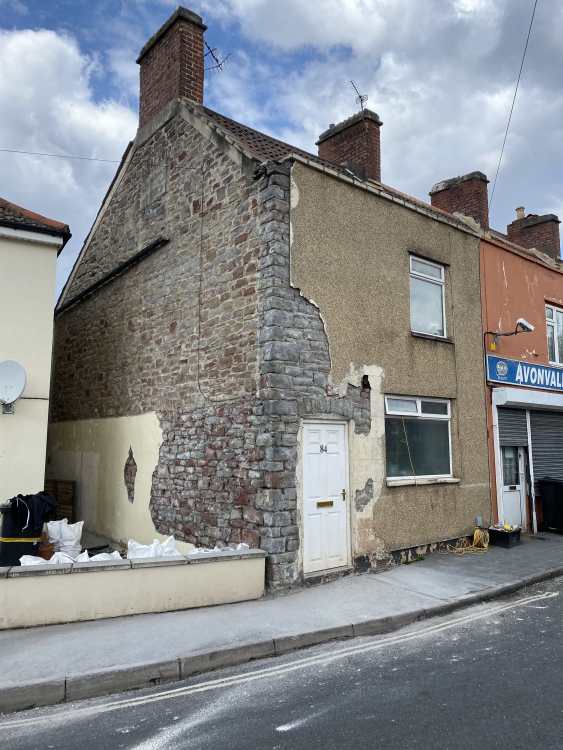
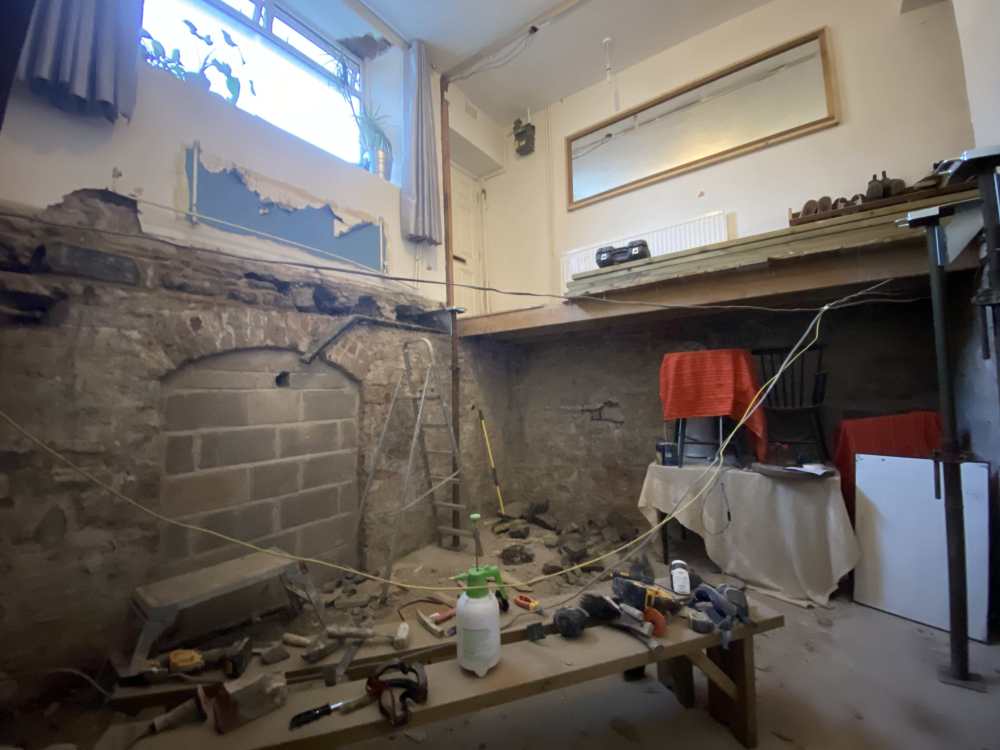
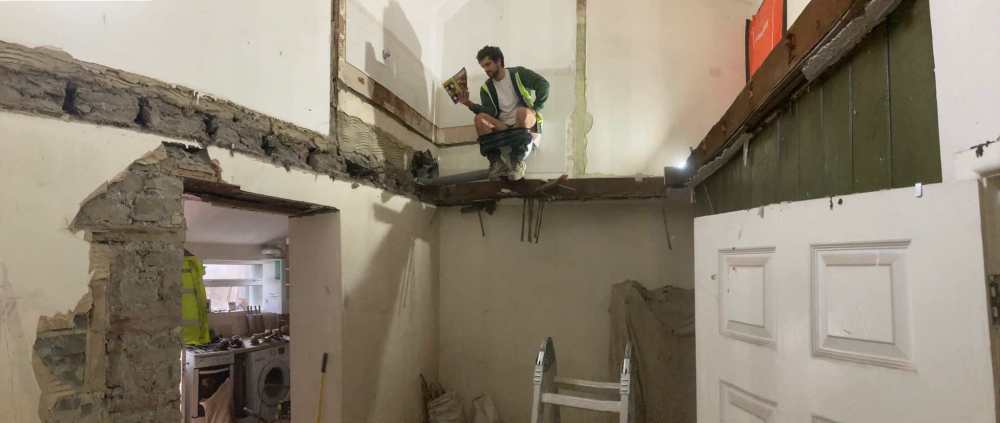
Hello all! I bought a little pebbledash palace about three years ago now, I was certain there wa as nice house under it all, given how thick the walls are. I found a basement that had been covered up with 16 tonnes of rubbish and a lovely stone exterior! It’s been one hell of a lot of work but it’s a journey of discovery and learning! looking forward to exploring this forum!2 points
-
Be interesting to start a thread on here about getting data out of heat pumps. There are enough people, with different heat pumps, and a few people with good IT skills, should be possible to create a few basic packages that run on basic 'computers' and can store data. Leave the analysis up to the people that are interested, just create some text files of say electrical usage, run times (with timestamps) mass flow rate, flow and return temperatures, room temperature and outside air temperature.2 points
-
Basics are You need to be able to read instantaneous electric consumption in Watts, you need to be able to read flow rate and flow and return temps at the same time. That will give you instantaneous CoP, with a few calculations. You need outside temp also. It's better to able to log and see a period of time, as there are plenty of variables that for ever change. Instantaneous CoP is useful, daily CoP is also useful, as is the CoP while running. Your controller may give this info or most of it. It is normally to include everything in the system electrically in the inputs, so controller, pump, valves etc. Exact numbers aren't that important, repeatable numbers are. You will be comparing your system to it's self with slight variations to settings. Good CoP comes from Lowest flow temp, but also from lowest cycle start temperature so the controller can the widest dT for as long as it can. Great CoP doesn't necessarily mean low running costs it a fine balance. Heat pumps cycle especially at low loads, managing these cycles is useful to running costs2 points
-
Repearing some of @ProDave 1a) Abandoning the old and doing all new, about £7k. Disposing of the old is another matter. 1b) sorting the elec supply and pump, not too expensive but the soakaway is another matter. 2. Sensiblepeople. Perhaps they can be persuaded. 3. See other discussions on BH. Air is far preferable to mechanical. 4. Not all. The drainage has to be sorted. 5. What is the problem with this? 6. I would never use mechanical, only air. Have used Marsh 3 times and will again. Others are available. Shows you are talking to non experts. Tell us more. Do you have space? Is there a slope? Could your rainwater go somewhere else? A sketch would be great. Is your neighbour being cooperative. When was it built? The builder may still be liable for incompetence to this degree.2 points
-
+1 on home assistant. But be fair . If you find it useful ( which it is ) sign up and pay the 60 quid a year to support its development.2 points
-
Modern toughened units don't tend to crack unless you hit them very hard with something like a lump hammer. The glazing unit is often the best thermal element of a door, so doesn't make sense to break them up with less efficient frame.1 point
-
No problem, they may well have security clips on the outside depending on the age of the windows , some deduct a few mm overall to allow a slight tolerance for this . Personally I have never had an issue.1 point
-
Mine is easy - temperatures, flow, return and outside, that's it.1 point
-
1 point
-
All of the monitoring software will work, the challenge is to work out the cheapest way to get the data to it. @JohnMohas set out the basics, so it's a case of how can you get at it?. The data on your heat pump is sparse so I don't know what it provides natively (eg via some sort of bus), but that's the place to start. If you can't get anything out of the controller you need a flow/ water power meter such as sharky and others sell, an electrical power meter eg shelly, and temperature sensors for inside and outside. These can then hook up to the software. It's a bit of a pity this is needed, the heat pump controller 'knows' most of the figures, it's a case of whether it exposes them.1 point
-
These seem to give mixed results, especially with the electrical input numbers, which are critical.1 point
-
If measuring from the inside on external beaded upvc windows , you need to add 15mm either side / top and bottom for the correct measurement: ie 30mm overall on the width and height of the DG unit off the internal bead, that's measuring off the plastic, not from the rubber gasket. Doing this will give you the same measurement if you were measuring from outside and taking 5mm off either side , so 10mm overall Ordering formula = Width,Height, Thickness, clear or obscure glass , then if toughened is required or just float .1 point
-
You can with loft legs. I got mine from Wickes. 300mm legs gave me 400mm of insulation below. Solid as a rock. https://www.wickes.co.uk/Loft-Flooring-XL-300mm-Raised-Floor-Legs---Pack-of-12/p/1675981 point
-
With a raspberry pi. Some cheap 1wire temp sensors, a flow meter and something to read the electoral power input (see my blog).1 point
-
Look for any sources of liquid water. These could be water pipes, gutters, down pipes, ground level above a damp proof course. Condensation is generally caused by a cold internal wall, so may be low levels of insulation, or very high humidity, as in a bathroom.1 point
-
1 point
-
Check that only foul drainage is getting into system, not clean water from roof and paving as well, otherwise as above. ,1 point
-
You can buy a complete air blower pump for not a huge amount, this one seems common in treatment plants https://www.ebay.co.uk/itm/296023440964 A new SWA cable will sort out your electrical woes, even laid on the surface until you can bury it. BUT until you solve the drainage field issue, it will continue to flood, and when it floods is when the raw sewage can float over the normal weir separating input and output. That is going to cost you money as you basically have to dig up a large area of land and re lay a proper drainage field separate to rainwater soakaway. Sorry to say you are picking up the fallout from the original builder that did not do it properly. It there a watercourse nearby? If there is seeking permission to discharge to that would be a much better solution. The people advising to change for a mechanical treatment plant are simply not understanding that the fundamental problem you have is a drainage field that cannot cope so it floods. Changing for a mechanical tank (not recommended) would only solve your problem if the drainage field was re laid properly as well. How old is the house? Did it come with any form of 10 year warranty? Is there a legal agreement to force the other house to share costs?1 point
-
ive followed all the pipes and the plastic ones are def water as they come up at the bathroom and kitchen sinks, the copper one comes up to both the boiler and the cooker1 point
-
Remember PIR is more flammable than wood. If they don't want wood not due PIR will be any good either.1 point
-
I have just installed this https://shop.openenergymonitor.com/level-3-heat-pump-monitoring-bundle-emonhp/ Came already configured so all straightforward. Makes comparison test runs very easy to measure and understand. But not cheap.1 point
-
What ashp do you have. Openenergymonitor and home assistant are both free software, any cost is the interface to the system which depends on the system you have. Several native controllers give basic stats1 point
-
Our solution was twofold. Nb this is for 100 year old rafters, so much twisted. 1. Instead of 100mm pir , use 2 x 50mm. That way it is easier to press them in. 2. After the first 50mm in in place, instead use mineral wool. It fits of course, and covers all the perimeter gaps. Obv the wool isn't such good insulation, but the figures are OK, and the practicality makes up for it.1 point
-
I suggest it would be safe to assume that the CIL process should be followed meticulously just like any other self build. Rather expensive if it turns out later it was needed, and it’s just a few simple forms.1 point
-
When we did this, to keep the stairs as is we excavated to the edges and then added an insulated upstand to minimise cold bridging to the rest of the floor. Below our stairs is only cupboard space, if we ever clear it out we'll probably add a layer of rigid insulation and a false floor1 point
-
@JohnBishop, you need to be careful switching 240 VAC stuff especially at high current draw especially if you don't have a grasp of current Building and IEEE regs. If you do this without Certified Electrician sign-off and have a fire then you could find that your insurance company rejects the claim. This is my set up. The CU to right was installed by my sparky. I added the left-hand extension myself because he couldn't find the time when I needed it installed, but I did this in a way that he'd be happy to sign off. He's comfortable with the 24VDC / 240VAC spilt as there isn't really a safety issue with the 24VDC side. Node-RED is a Javascript based environment that is well suited to IoT control and comes as a Home Assistant add-on as well as being able to run standalone. There are lots of YouTube videos on this.1 point
-
Drain at threshold and Hardcore to buildup levels. Not really sure what you are asking. But to increase insulation thickness the whole floor would increase in height including the block work under the wall. A 100mm block on its side under the 140mm, would lift the whole house 100mm. Increase insulation depth and make it a thick screed? Plenty of different ways to do it, just think it through.1 point
-
So you have already built a strip foundation designed to support the build up in your first diagram. And in effect you need a retaining wall outside of this to prevent bits of next door sliding towards you? Your second diagram seems to be using a block outer skin as a retaining wall. Doesn’t that mean your timber frame is a support for said retaining wall? If so that doesn’t sound like a good idea. In your shoes I’d pay an SE to design you a solution. I’d be too concerned at the risk of building something unsafe, or needing significant remedial work.1 point
-
1 point
-
1 point
-
£3.5k. Unless it needs a new or changed transformer. Add £10k Not much difference in cost for 1 or 3 phases.1 point
-
On a single zone it shouldn't be an issue as there will always be (or it's all off) flow through the UFH and radiators, so you cannot get reverse flow.1 point
-
Youve only got a certain thickness to work with its not like you can fit 50mm insulation between brackets and plasterboard. Is the thermal performance of such a small amount of insulation really going to make much of a difference in this situation? Id be inclined to just fit plasterboard up that reveal with a full backing / bed of that fm330 air tight foam stuff hopefully then seal up those cavity closers1 point
-
There’s a product called JACKOBOARD it’s an insulation board that can be plastered onto using the right primer. you can get it in multiple thicknesses, if you bought say 20 mm thick you cut it to size and put it in the reveal, give it a thump with your hand and the brackets will leave an imprint in the back side, cut out the imprint and the board will sit over the brackets. you need to talk to the plasterers about correct positioning, to line up with there finished skim. the board can be fixed on with rapid set tile adhesive or a good quality no nails type stuff. just one way to do it.1 point
-
i have the comfopost, its crap. honestly dont bother. for the price of it you can get a lot of fancoils which do actually work.1 point
-
you can definately feel it on large spans. Our local tesco express had large spans,6m or so they doubled up the beams. You can see stuff in the fridge moving when a lot of people are trundling about. Drop in a sleeper wall if its likely to irritate.1 point
-
Ha, I typed BadgerBadger … username taken. I thought that’s a first. Yeah, I think I’m not going to have much luck with getting them manufactured by whoever I go with for the main windows… probably have to get a local joiner or make them myself.0 points


