Leaderboard
Popular Content
Showing content with the highest reputation on 12/08/19 in all areas
-
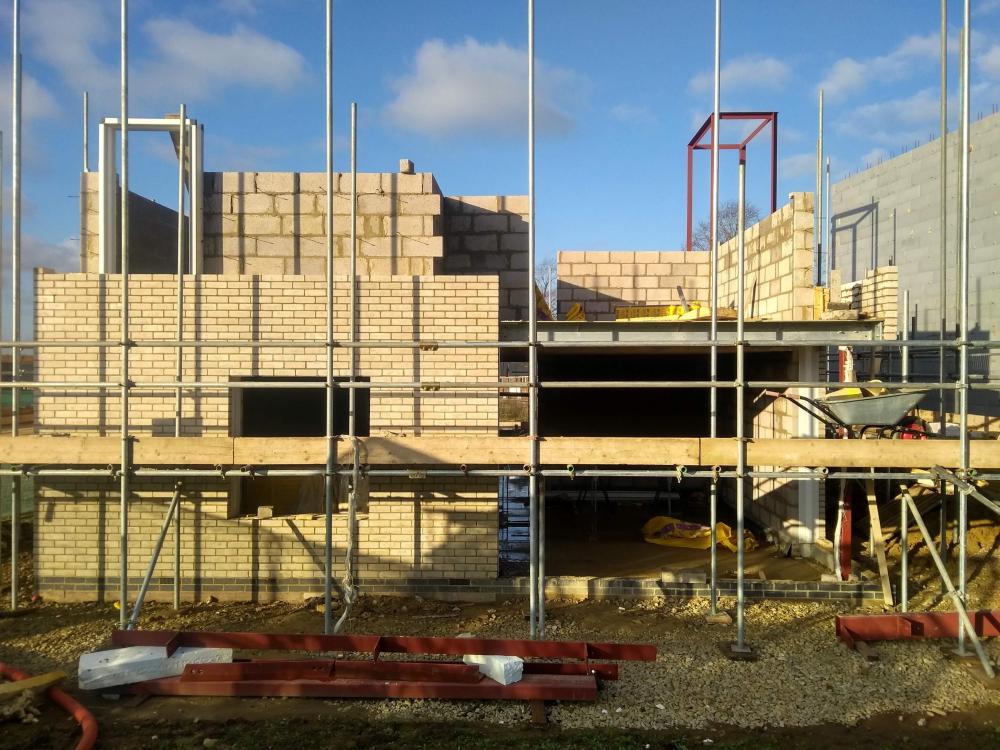
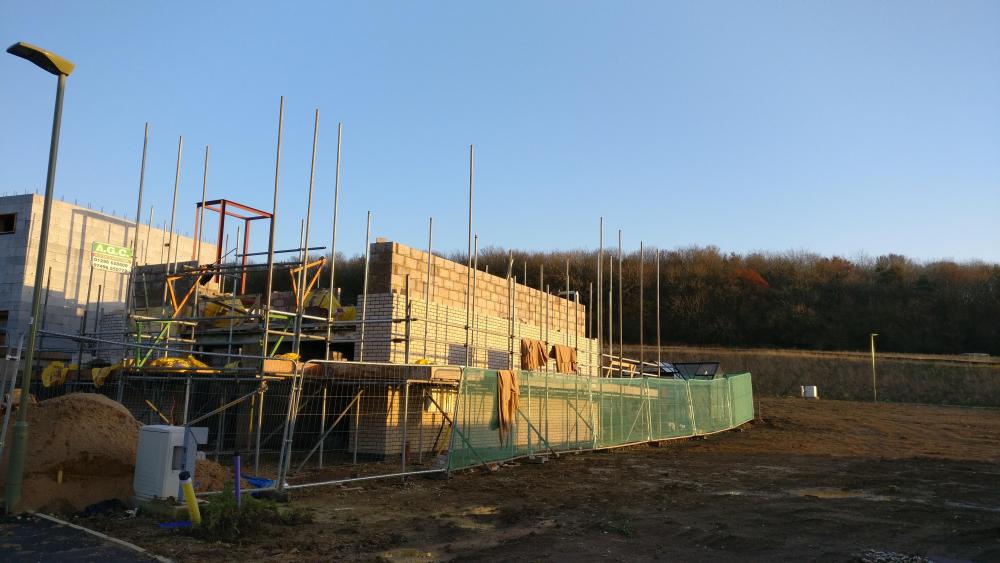
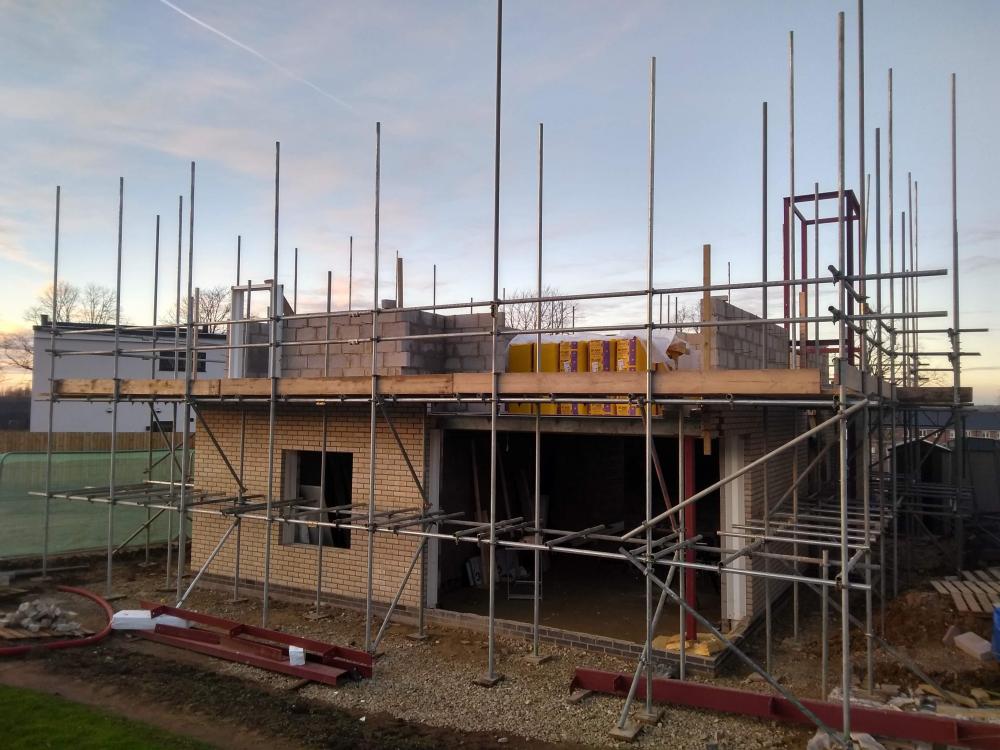
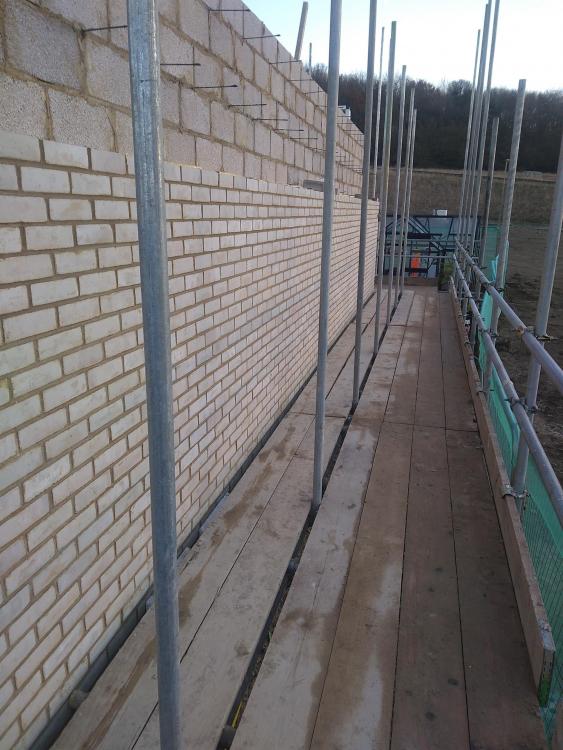
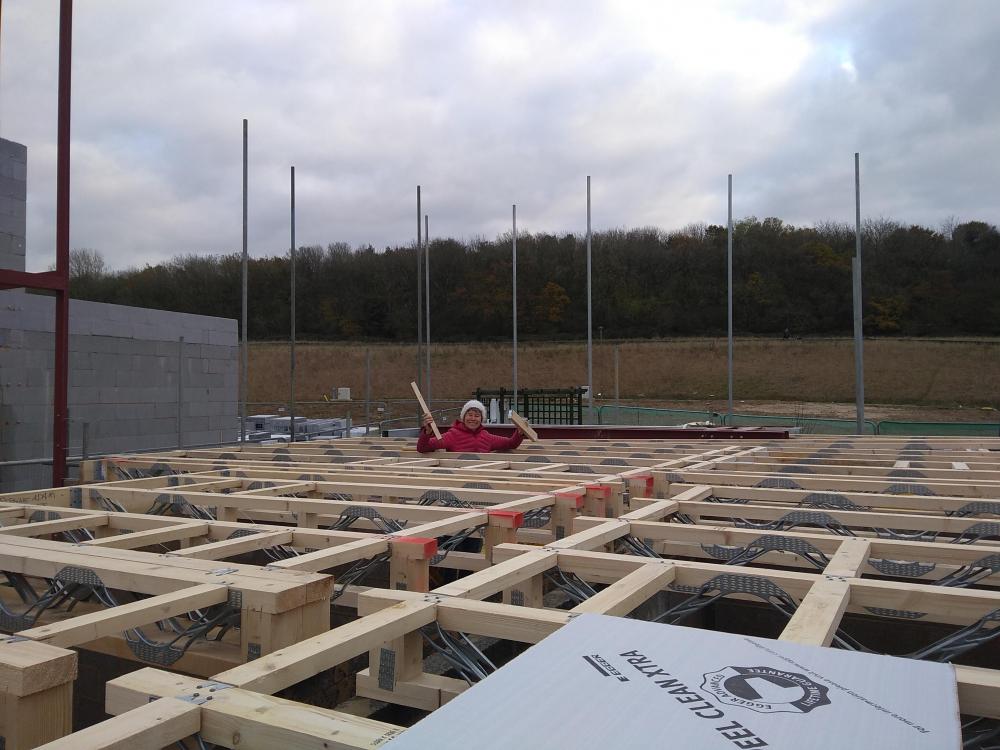
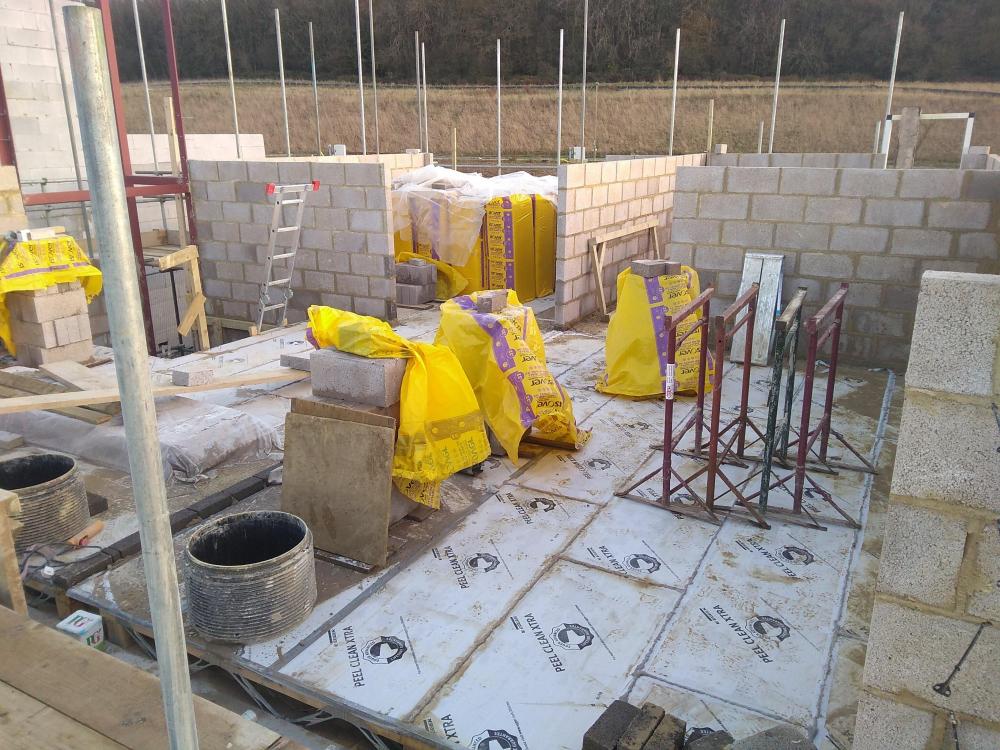
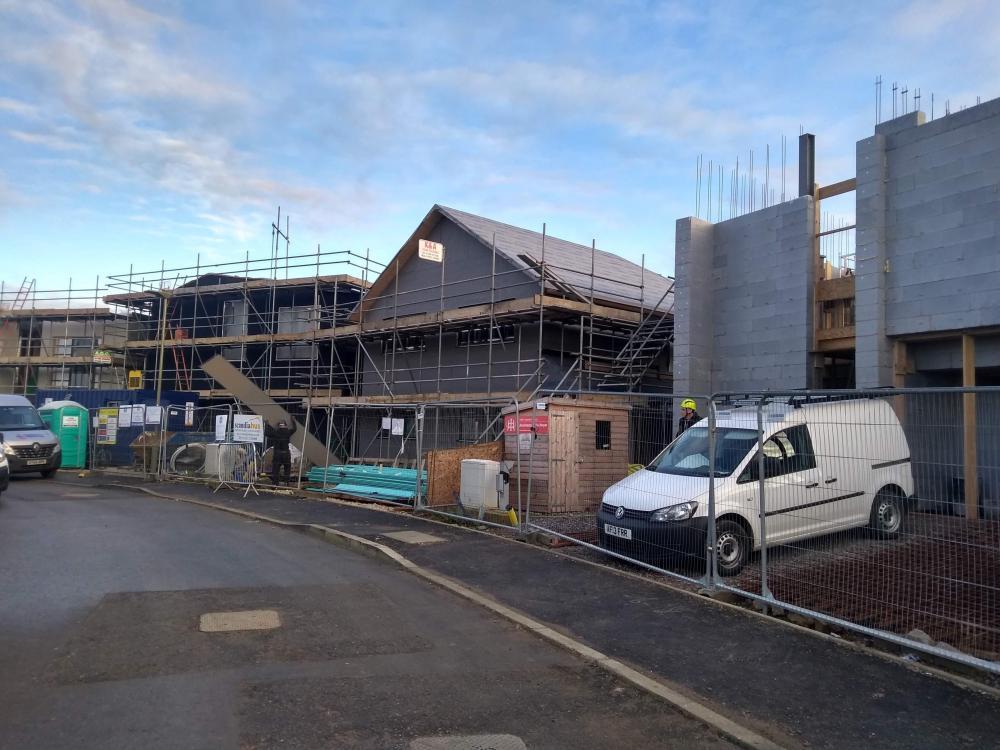
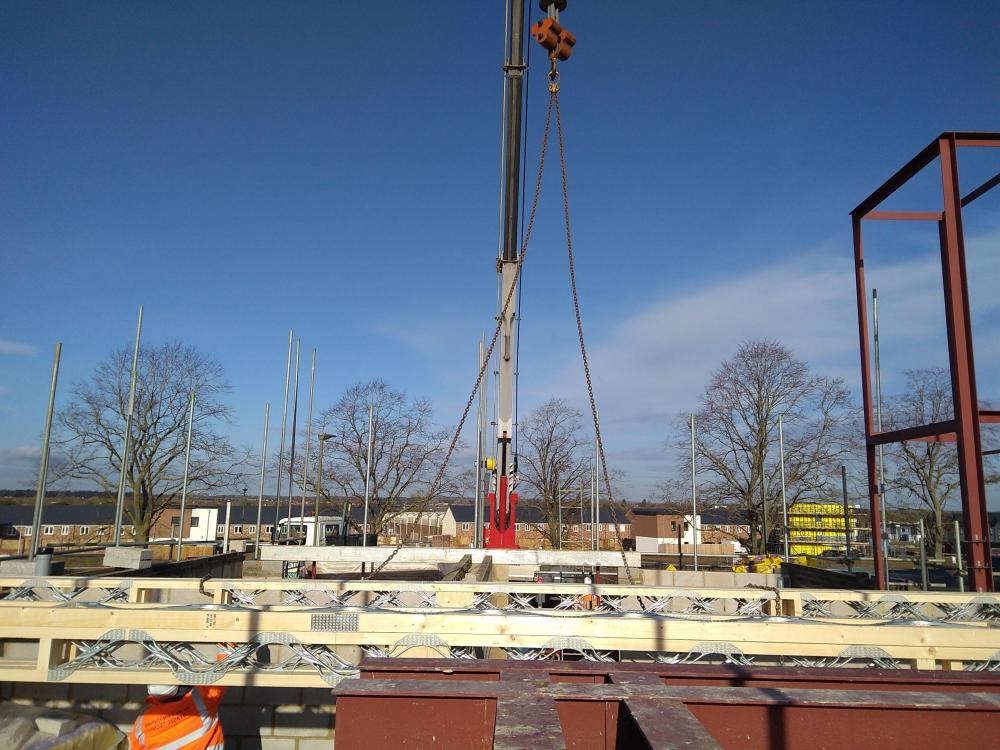
This follows on from my previous update https://forum.buildhub.org.uk/topic/12101-graven-hill-build-2-month-update I've reset the clock on this. Our actual time line is that we exchanged on the plot in May, the foundations were finished in August and we completed and got access to the plot at the beginning of September. However our bricklayer was on another job so we just set up the site and made a garden for 6 weeks. Our bricklayer started mid September and has been on site for 7 weeks. It's going very well and we are shocked at the speed of progress. The bricklayer works alone although we have done a lot of labouring for him. The ground floor is complete, we did the joists and floors and the second storey is half done. The most stressful day was when we had to hire a crane. The hire company had a 3 hour option (£700+vat) and it was a worrying time getting everything done. This was for putting up the steels for the balcony and others bits at first floor level. In fact, we finished comfortably in time so also used the crane to lift the 8m joists into place and spent the final 20 minutes drinking tea. The weather has been awkward and I strongly recommend building your brick and block house at a different time of year. At the moment even though it's just about light at 7.30am, it's normally too cold to mix the mortar. So the actual bricklaying window is only around 6 hours a day. Also our white bricks are marking really easily so we only lay bricks in the dry. The blocks aren't so bad and although it's been cold and dark, we've been lucky with the rain. So overall, we've only lost 2 days so far due to weather and never run out of things to do. We've had 2 lifts of scaffolding with 3 to go. My £70 silverline hoist is doing very well so far lifting lintels and mortar. Our scaffold height is now at the limits of the hiab cranes on delivery trucks so after the next lift we will have a new problem getting the bricks and blocks where we need them. Next steps are thinking about what flat roofing system to use and preparing for the second crane hire to bring in the rest of the steels. So far so good, we've enjoyed every second. I've attached some progress pictures and also a picture of our neighbours all at different states of completion. It should be a very interesting street when we're all finished.5 points
-
2 points
-
If you chop it in, do the opposite end to the taps, nothing worse than the tap heads clattering the tiles, like my sister's do. ? Not do much of an issue with modern 1/4 turn taps. Oh and lifting one end of the bath toward diagonal is usually the way to get them in, assuming it's not got fixed parallel ends.2 points
-
Seems the Tile Association have an inspection service for dissatisfied customers... https://www.tiles.org.uk/ "Not happy with a recent tiling job.... we can help you with our technical inspections service.," I've no idea if they charge but perhaps they would comment on your photos first?2 points
-
We put a lot of thought into the best way of getting light mortar. In the end though, we followed advice from this site and sourced the lightest local sand we could find and mixed with regular cement and lime. It's hard to tell in these wet conditions but it dries to a very acceptable colour. https://forum.buildhub.org.uk/topic/11082-white-mortar-any-ideas-please/1 point
-
Plant a Leylanii directly in the path and point out to the OR person that it won't be long before that snags the line so it would not be a good idea to put it there. Then later when the house is otherwise connected, change your mind and dig the tree up.1 point
-
It is much the same as CaberDek, just a different brand. It useful in any season, especially if you've got wet trades around with muck splatter everywhere. The alternative is to lay a temporary deck until in the dry, which is what I've chosen to do as I didnt think I would be finished before the chipboard had started to deteriorate (timescale on this up for debate but definitely longer than the guaranteed 42 days) and I also had a cheap source of used OSB sheets.1 point
-
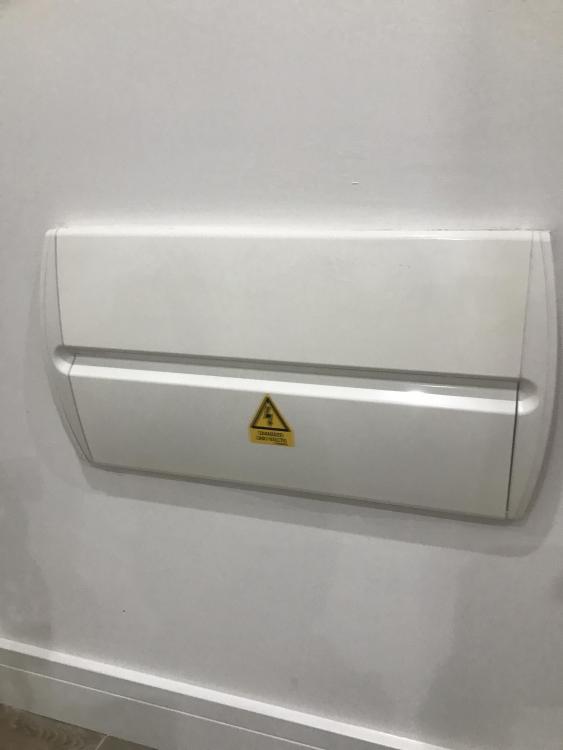
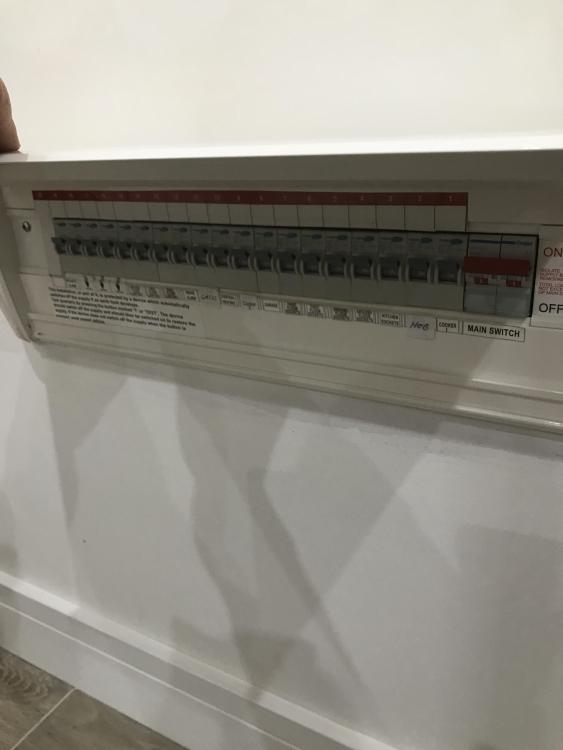
A bit less than that. https://www.consumerunitworld.co.uk/hager-vsr120-20-way-consumer-unit-2003-p.asp? Unpopulated of course. Looking at around £25 ea for a Hager compact RCBO new. That's £500 on top of the cu! Unless you shop around. See what your electrician thinks of SBS: https://www.sbstradesales.co.uk/ (SBS don't have a fly lead either).1 point
-
1 point
-
I chose Hager. My reason being they are just about the only make that does not keep on changing the look of their circuit breakers, so fit a new one in an old CU and it still fits, something you can't guarantee with the likes of Wylex or MK etc. What you want is a bare "main switch" consumer unit, then just buy all the rcbo's. And it must now be metal but you can't buy anything else anyway. I got all mine from ebay for a better price.1 point
-
Thank you very much @pocster. The survey will be closing soon, so please fill the survey out when you get a moment. Haha! For the build I have been involved with, I have relished the opportunity to get hands on. I have learnt a lot along the way. As mentioned above, we applied a construction management approach, did not have a main contractor and therefore managed trades, and did as much of the joinery, site prep, tiling, painting etc etc... as was possible. A very rewarding experience.1 point
-
You have not explained how probate comes in. My only comment is that if some family members getting property (you) and others getting money is involved, then make sure that all transactions are at appropriate values to avoid any future resentments. Such can poison relationships. Is there any reason you can't just increase your mortgage and buy the whole thing from the Estate, perhaps with a suitable agreement in place with your nuncle? F1 point
-
We bought a property 3 years ago which was a cottage with 2 acres, we more or less immediately set about getting planning for a new house in the grounds, when this came through we fenced off the cottage and some land then put it on the market, it sold within a week and we moved into a caravan on site, the title was not split until we sold the cottage, no CGT as the money received from the sale of the cottage was used to do our self build which was then our main residence1 point
-
first thing is when you get this house/plot --work on house that is there --keep it for a year at least --so you can sell it on and have no CGT to pay ,as it is your dwelling --selling it on and not lving in it long enough will trigger CGT. split title soon with any terms for access and road repair written in etc ,etc I would suggest splitting Title FIRST and get favorable valuation on both --then when HMRC come knocking later you are armed with an arms length valauation o fboth bits .just bear ih mind if you value plot too low and you decide to sell it --you will be hit with big tax bill1 point
-
Softer - the mortar should be softer than the brick - more environmentally friendly, better colour / weathers better, traditional / heritage, possibility of reusing bricks. Makes the mix workable. You could use 1:2:9 cement:lime:sand.1 point
-
Because I don’t like the idea of the shear strength of the foam being the only thing holding board and foam on, and the PIR backed plasterboard is 25% more expensive than the two products combined. That’s a lot to pay for gaining a little easier fixing. If you go that route then I’d consider the foam bonding rather than dot and dab - it stops the big gaps up the backs of the boards.1 point
-
1 point
-
Just thought I'd add that although the duct is quoted as 25mm, that is internal height, so at the joints it's closer to 30mm on the outside if not a bit more .1 point
-
If he owns the property when you make him the loan then you can have a 1st charge over the property which guarantees you are 1st in line to have your loan repaid if the property is liquidated. You can specify the terms of the loan such that a default would give you the right to call in the loan, forcing him to sell to liquidate and pay you. So you are covered in the event of his death or incapacity, or indeed just a falling out. The loan agreement is simple, it just identifies the loan and the terms. The repayment date will need some thinking about for you as gaining successful pp is not a clearly identified moment...'repayable on demand' could be good enough but if you die and your estate calls in the asset he'll have to sell, possibly cheap....so if you are loaning him 100% of the purchase you might not get it all back. You might not care though if you're dead. Also if he has a mortgage on his part of this whole plot/property that'll have the first charge....if you set up your loan on 1st charge before he secures his mortgage that might jeopardise it. You need a solicitor.1 point
-
1 point
-
Why not cut a template 1800 long by Xmm wide and see how easy it is to get in. Presume the 1800 is a constant up the height of the walls and that the room is dead square. Worst case you cut a bit of a slot into the pb and fill over.1 point
-
1 point
-
The corner-to-corner suggestion is just to maximise the crossflow or air but it's not an exact science so don't be to too concerned about compromising. With your idea about wall-to-wall were you thinking bottom-left to top-left? If so, that might result in less-than-ideal airflow on the right-hand side of the room. An improvement on that might be bottom-left (for the supply) to top-right (extract) with only the latter duct needing boxing in and this being at the kitchen end where it might be more aesthetically acceptable.1 point
-
3 to 5 mil is fine Ian We can cope with hollows and pre fill The main problem with these tiles are bumps I have a floor grinder which is like a large Hoover with blades I normally push this over the hole floor to take the high spots off Well work spending 50 quid and hiring from speedy for the day1 point
-
Yes, it is critical that this is connected the right way around. The line connection is to the base "pin" of the E27 fitting, the neutral has to go to the part that connects to the outer threaded bit where the lamp screws in. If this was a bayonet fitting, then the polarity doesn't matter, as either of the pins in the base can be line or neutral.1 point
-
I think @JSHarris had one of those combined cylinders with the F&E tank on top. Mine is just a bog standard cylinder. The F&E is in the loft. Have insulated the pipes.1 point
-
0 points
-
0 points
-
0 points
-
0 points
-
you know what they say a verbal agrrement is not worth the paper its written On0 points


