Leaderboard


Popular Content
Showing content with the highest reputation on 01/02/18 in all areas
-
I used the Isoquick passive slab which could very easily be a diy job. http://www.isoquick.co.uk/2 points
-
Here's a link to a blog entry that has copies of everything I provided for Building Control that might help: http://www.mayfly.eu/2013/09/part-fifteen-the-site-is-finally-ready/2 points
-
If I was on national tv I'd lie about my costs - wouldnt you?1 point
-
How hard would it be to come up with a gadget to neatly grind out shadow gaps after plastering, I wonder? The trick would be finding a tool that would cut neatly, leaving a very tidy edge, but I bet it would be a winner if you could make it work. The time saving could be massive, and significantly reduce the cost, and allow more adventurous use of gaps as design features.1 point
-
The consensus is it seems a bit of a bodge in the face of how most would approach it but not unsafe. It may be inconvenient if both trip. The fuse blows, the first thought is to go to the cu not the fused connection unit. Might not be someone who knows what's been done and where things are.1 point
-
I might be getting confused with members but were you not the one having lots of issues with the build? I could be confused after driving 11 hours today. Yes it's technically okay but not what I would expect if you were having a "rewire"1 point
-
Nothing would induce me to tape and fill boards, either tapered or square edged. Our old house had ceilings that were taped and filled and in the early morning and late evening the light would shine across and highlight every slight ridge. Once it's caught your eye, you find yourself getting more and more annoyed by it. It was the one thing that convinced me that all our plasterboard was going to be skimmed. I just couldn't live with looking up and seeing regular ripples across the ceiling.1 point
-
I'll admit to having done it, when I cocked up and forgot to run the upstairs lighting ring to the two eaves spaces what we have as storage areas. Luckily both had easy rear access to the upstairs ring final, so all I did was fit a switched FCU, with a 3 A fuse, wired with a short 2.5mm² spur from the back of one of the DG outlets, as the light switch in each of them, with a label stuck on saying that the fuse should be 3 A. It's legal, and perfectly OK, if not best practice, but sometimes you just have to take the easy way out. I wasn't going to take the bonded down bamboo flooring up to get access to the upstairs lighting ring!1 point
-
It's good practice to leave a couple of spare ways in the consumer unit. Wondering if your board was big enough in the first place. I and most would put the lights on their own breaker. Fused spurs are permissible but it's going to be a bit impractical if the say downstairs lights are fed from a fused spur off the downstairs ring. If the RCD goes you lose lights AND power. If you get my drift? If the fused spur is say 5A then an over current or short circuit on the lights should just take out the 5A fuse and not affect the "sockets" circuit it's fed from. However if either circuit has an earth leakage fault the RCD will trip losing power to both. The BS is pretty specific about one circuit going out not affecting another. Though a split board is always going to be a compromise on that, careful arrangement with regards to up not affecting down minimises the issue. Of course the BS isn't law! Money no object you could likely ditch the two RCDs / breakers and clip a line of RCBOs to the DIN rail. It has been done, retaining the same cu.1 point
-
Walk the plank traps from ebay UK.. https://www.ebay.co.uk/itm/Useful-Durable-New-Original-Walk-The-Plank-Mouse-Trap-Rodent-Auto-Reset-UK/302571823806?hash=item4672afa2be:m:mnrPruDuZV2qay3aQO285ng See type #3 or #4. Looks like other sellers on ebay might be cheaper.1 point
-
I can confirm that the ultrasonic/electronic devices don't work. Peanut butter on conventional traps works but they need resetting. Lots of ideas on youtube for traps that collect multiple mice...1 point
-
OSMO is very good. We treated our Sweet Chestnut cladding in December 2015 before it was installed. It has been in the weather for over 18 months and shows little signs of deterioration. I think it also contained a anti - fungicide. We use Osmo UV-Protection Oil 420 Clear Satin. We applied two coats to both sides of the cladding - it was time consuming but worth it1 point
-
Treating it will keep the wow factor if treated with the right sort of oil, someone will be along with the brand i am sure.1 point
-
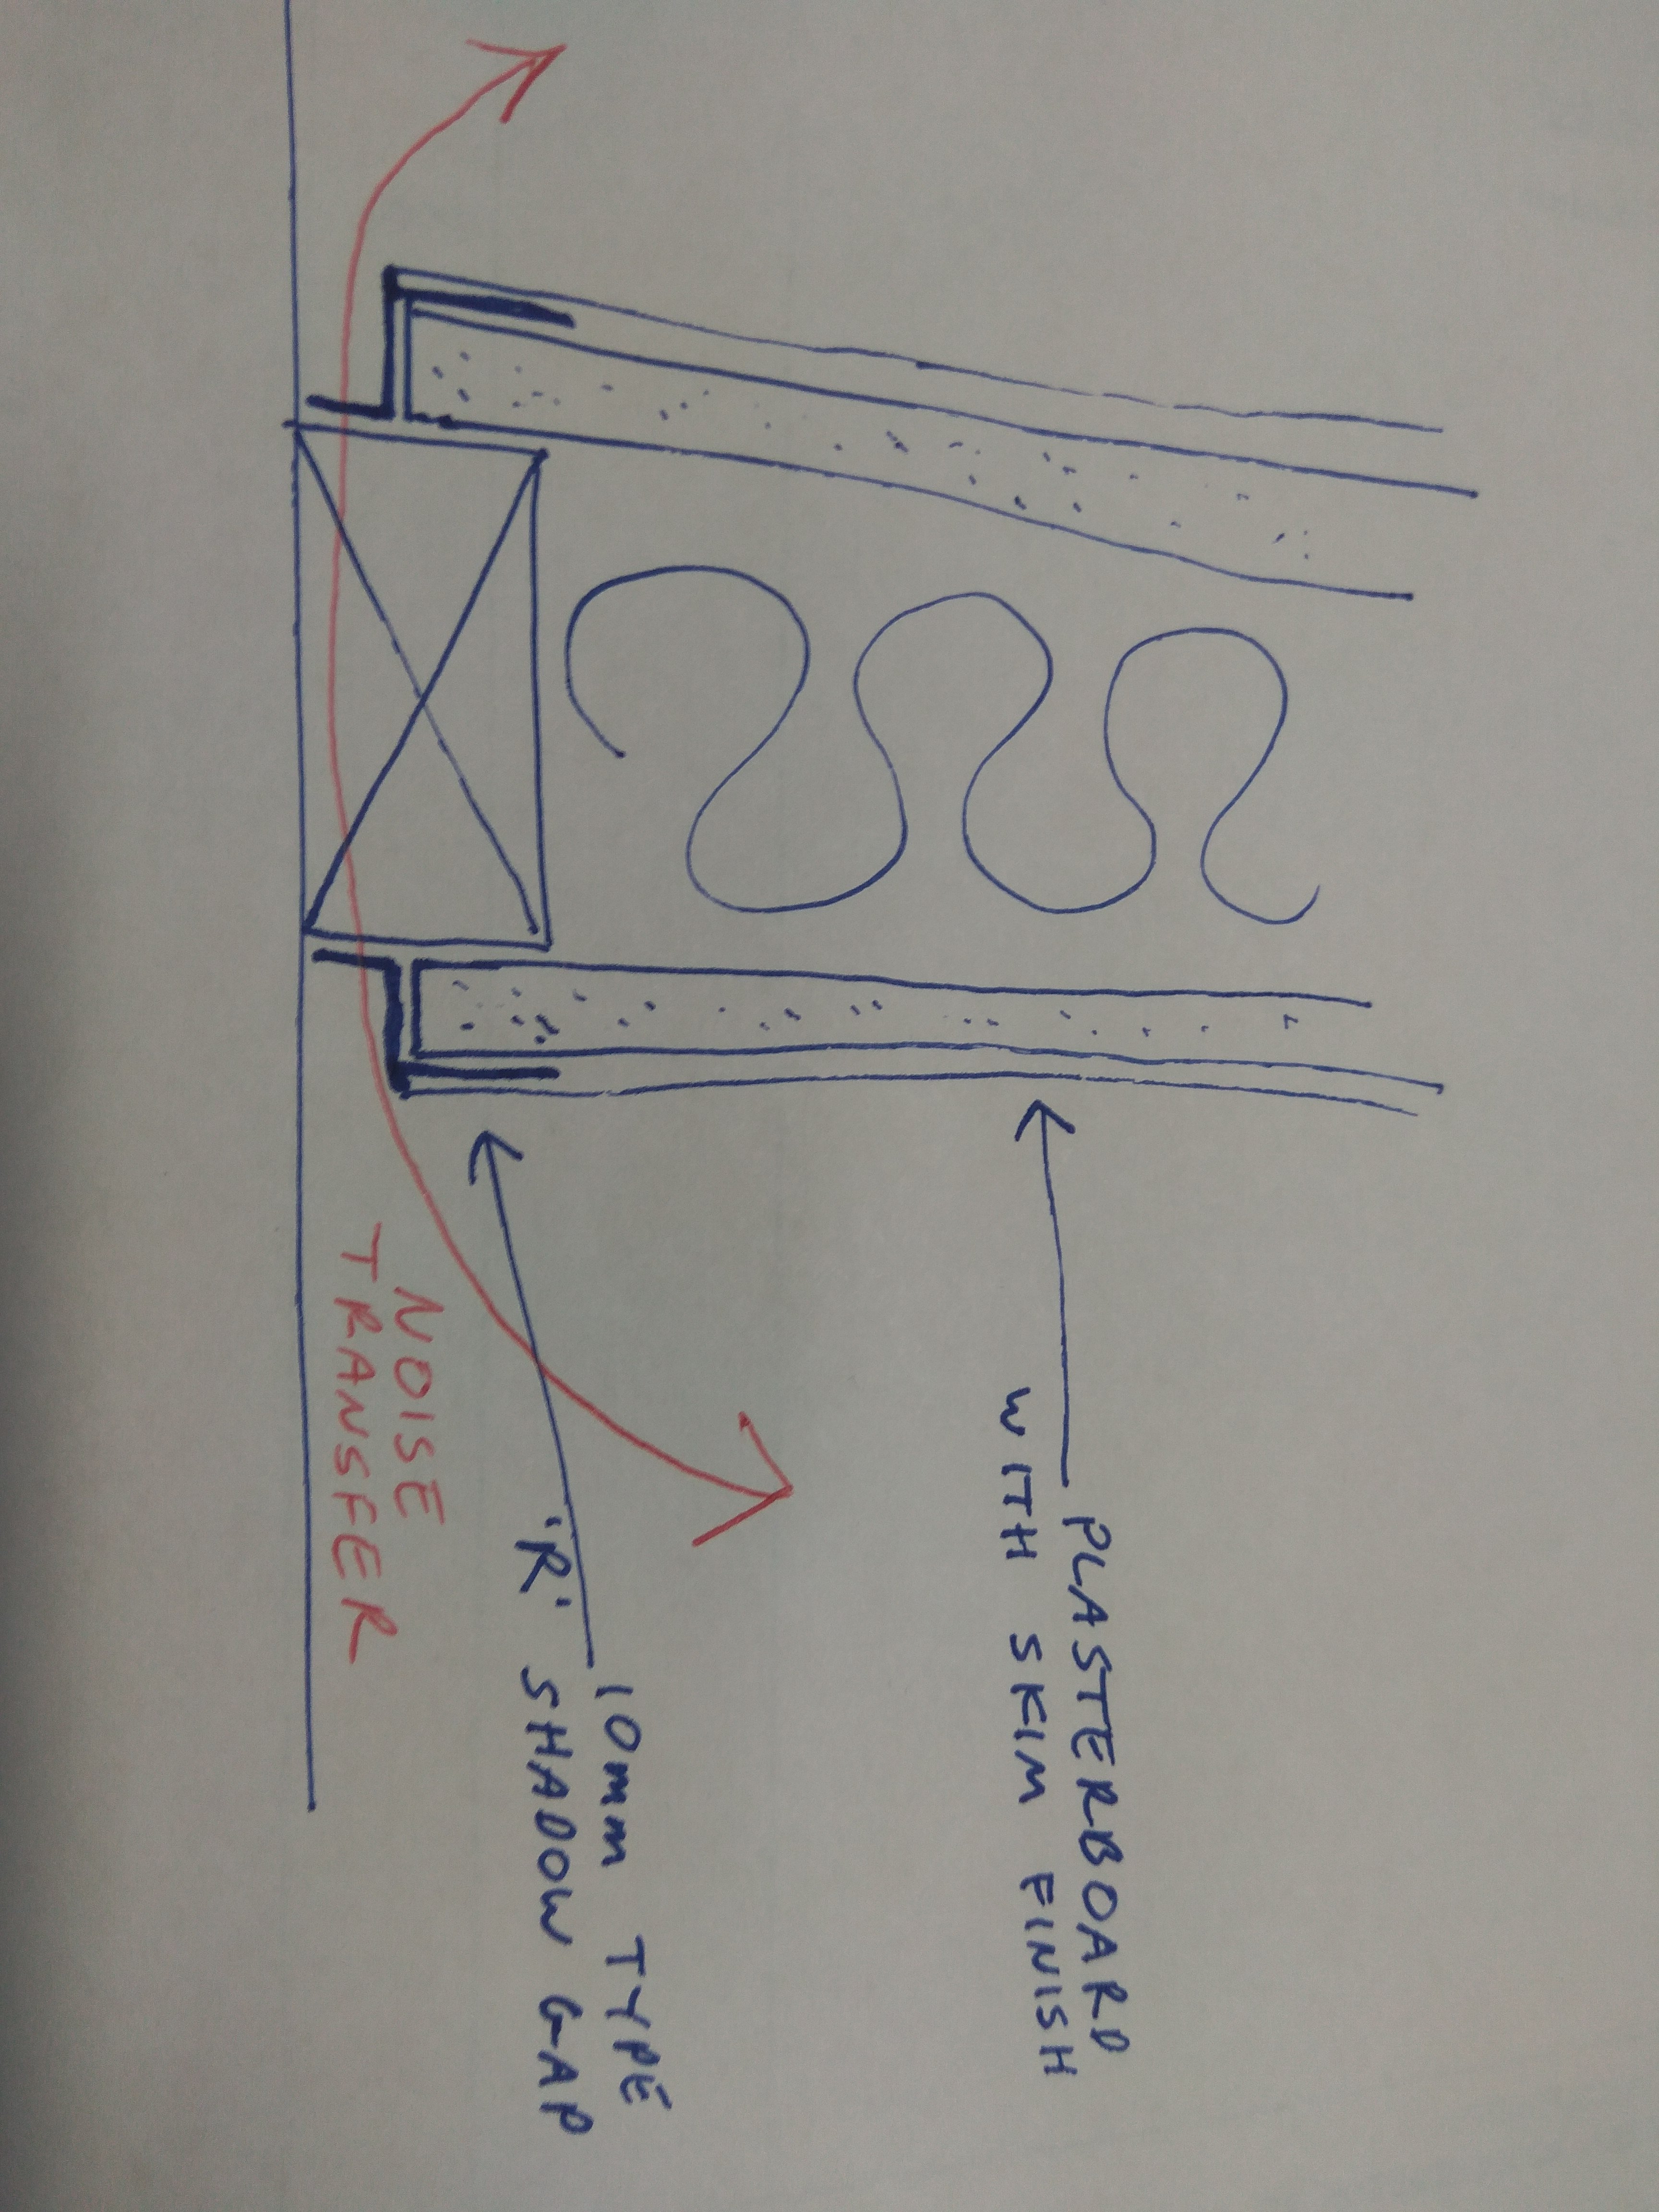
I’ve specified shadow gaps in a lot of projects and like IanR above for aesthetic reasons. They look so crisp and sharp. They’re more expensive than skirting and architraves if you use painted MDF. If you’re looking at shadow gaps v’s some oiled oak skirting and architraves or similar then they work out cheaper. You also need a good plasterer. I’ve seen a lot of crap shadow gaps as if they’re out by a few mm it really shows up. You don’t notice a good shadow gap but you can’t avoid a bad one. Always use aluminium trim. Don’t use plastic and check on delivery if you’re buying them for kinks and bends and they’re easily damaged in transit. I always use Type R instead of Type D and don’t use the 6mm as it’s too small to get accurate. On internal stud walls you’ll have to think about acoustics if you’re only using one layer of plasterboard. The trim can be an acoustic weak point and may need to be bedded to the frame with an acoustic mastic to help noise control. See below sketch. Not sure if you can rotate images after you attach them so sorry.
 1 point
 -
In our last place we put traps in the loft with our initials on them and me and the wife had bets on who would catch one, £1 a mouse makes life a bit more interesting.1 point
-
I have found the same when occasionally demounting HEP2O fittings. As you say, it's because the insert barbs aren't gripping the pipe. I found that you can just use the demounting tool to unlock the fitting and extract the insert using pointed pliers. Note that the job of the insert is to brace the pipe internally so that the grip ring inside the fitting bites properly into the wall of the pipe. The insert barbs not gripping doesn't impact the insert's role. It just makes demounting a slightly more inconvenient two-step process.1 point
-
Just to add that AAV need to be accessible in case maintenance is required.1 point
-
I will try harder sir ?.1 point
-
I've decided to sell my Hoover... well, it was just collecting dust.1 point
-
People......if you have to do more than my suggestion, sack the chuffing plasterer. ??1 point
-
I did a house with a built in vacuum system. I got the impression from the owners that unwinding and fighting g with a very long hose was far more troublesome than using g an upright vacuum cleaner.1 point
-
Is there a design that involves enough bits of wood to require an Octopus to hold them all in place?1 point
-
An update, spent Autumn fixing the Pavatherm 40mm Combi to all the external walls, about 240sqm and fitting membrane and battens. Then inside fitting Rockwool flexi 140mm in the walls and 70mm behind the rafters. Very easy to cut and minimal wastage. Another 150 rolls to arrive. Fixed timber horizontals to the walls for another 70mm insulation, planning on running the 75mm MVHR around the walls and roof once I have finished the internals walls before fitting another 200mm in the roof and 50mm on the walls. 70 sheets of 150mm Celotex (25% price hike) arrived for the ground floor, ordered 340sqm of Colorcoat Urban roof which should be ready for collection in January and finally ordered windows and doors, probably March arrival. Happy New Year all, thanks for the advice.1 point
-
Western Power then: https://www.google.co.uk/url?sa=t&source=web&rct=j&url=https://www.westernpower.co.uk/docs/connections/Moving-Supply-Guide.aspx&ved=0ahUKEwiL_syNs7TYAhUjBMAKHU3bC1YQFghcMAo&usg=AOvVaw0cG4nCe5Tj0dbuIsDJJTrh & https://www.google.co.uk/url?sa=t&source=web&rct=j&url=http://www.hse.gov.uk/pUbns/priced/hsg47.pdf&ved=0ahUKEwjq-86YtLTYAhVbFMAKHddaBqYQFggdMAA&usg=AOvVaw0dPNWnqyjY4KU_6_cK13l9 & This Openreach doc contains the useful Joint Utilities diagram. Tbh I'd worry more about the depths than having a 2m wide trench and pinch a bit here and there! https://www.google.co.uk/url?sa=t&source=web&rct=j&url=https://www.ournetwork.openreach.co.uk/resources/site1/General/Downloads/quick-guides/Quick_Guide_Duct_Laying.pdf&ved=0ahUKEwjVjqrrtrTYAhUFOsAKHQT_BTUQFghzMA8&usg=AOvVaw1_8NqgnwuSWGYLa7zs_aOc Tbh if you ignore the distance to the house and footpath it's about a metre wide trench.1 point
-
My gas and electric are about a metre apart and come through the study wall The water is 5 mtrs further along All share the same trench Water in first Gas and electric on top But as Onoff has already pointed out Mpst suppliers are very strict about trench depths and the ducting that you use1 point
-
Maybe not the best solution but when i decided i did not like the “natural” weathering on my larch clad building i painted it with a brown wood preserver, l love the neat look that the one colour brings to the building, so.... you could paint it with an anti fungal /coloured wood preserver and save a lot of money and time.1 point
-
Mind, doesn't the whole self build process make you realise how this country is choked by red tape? Some control is sensible, but the bureaucracy is way out of hand now.1 point
-
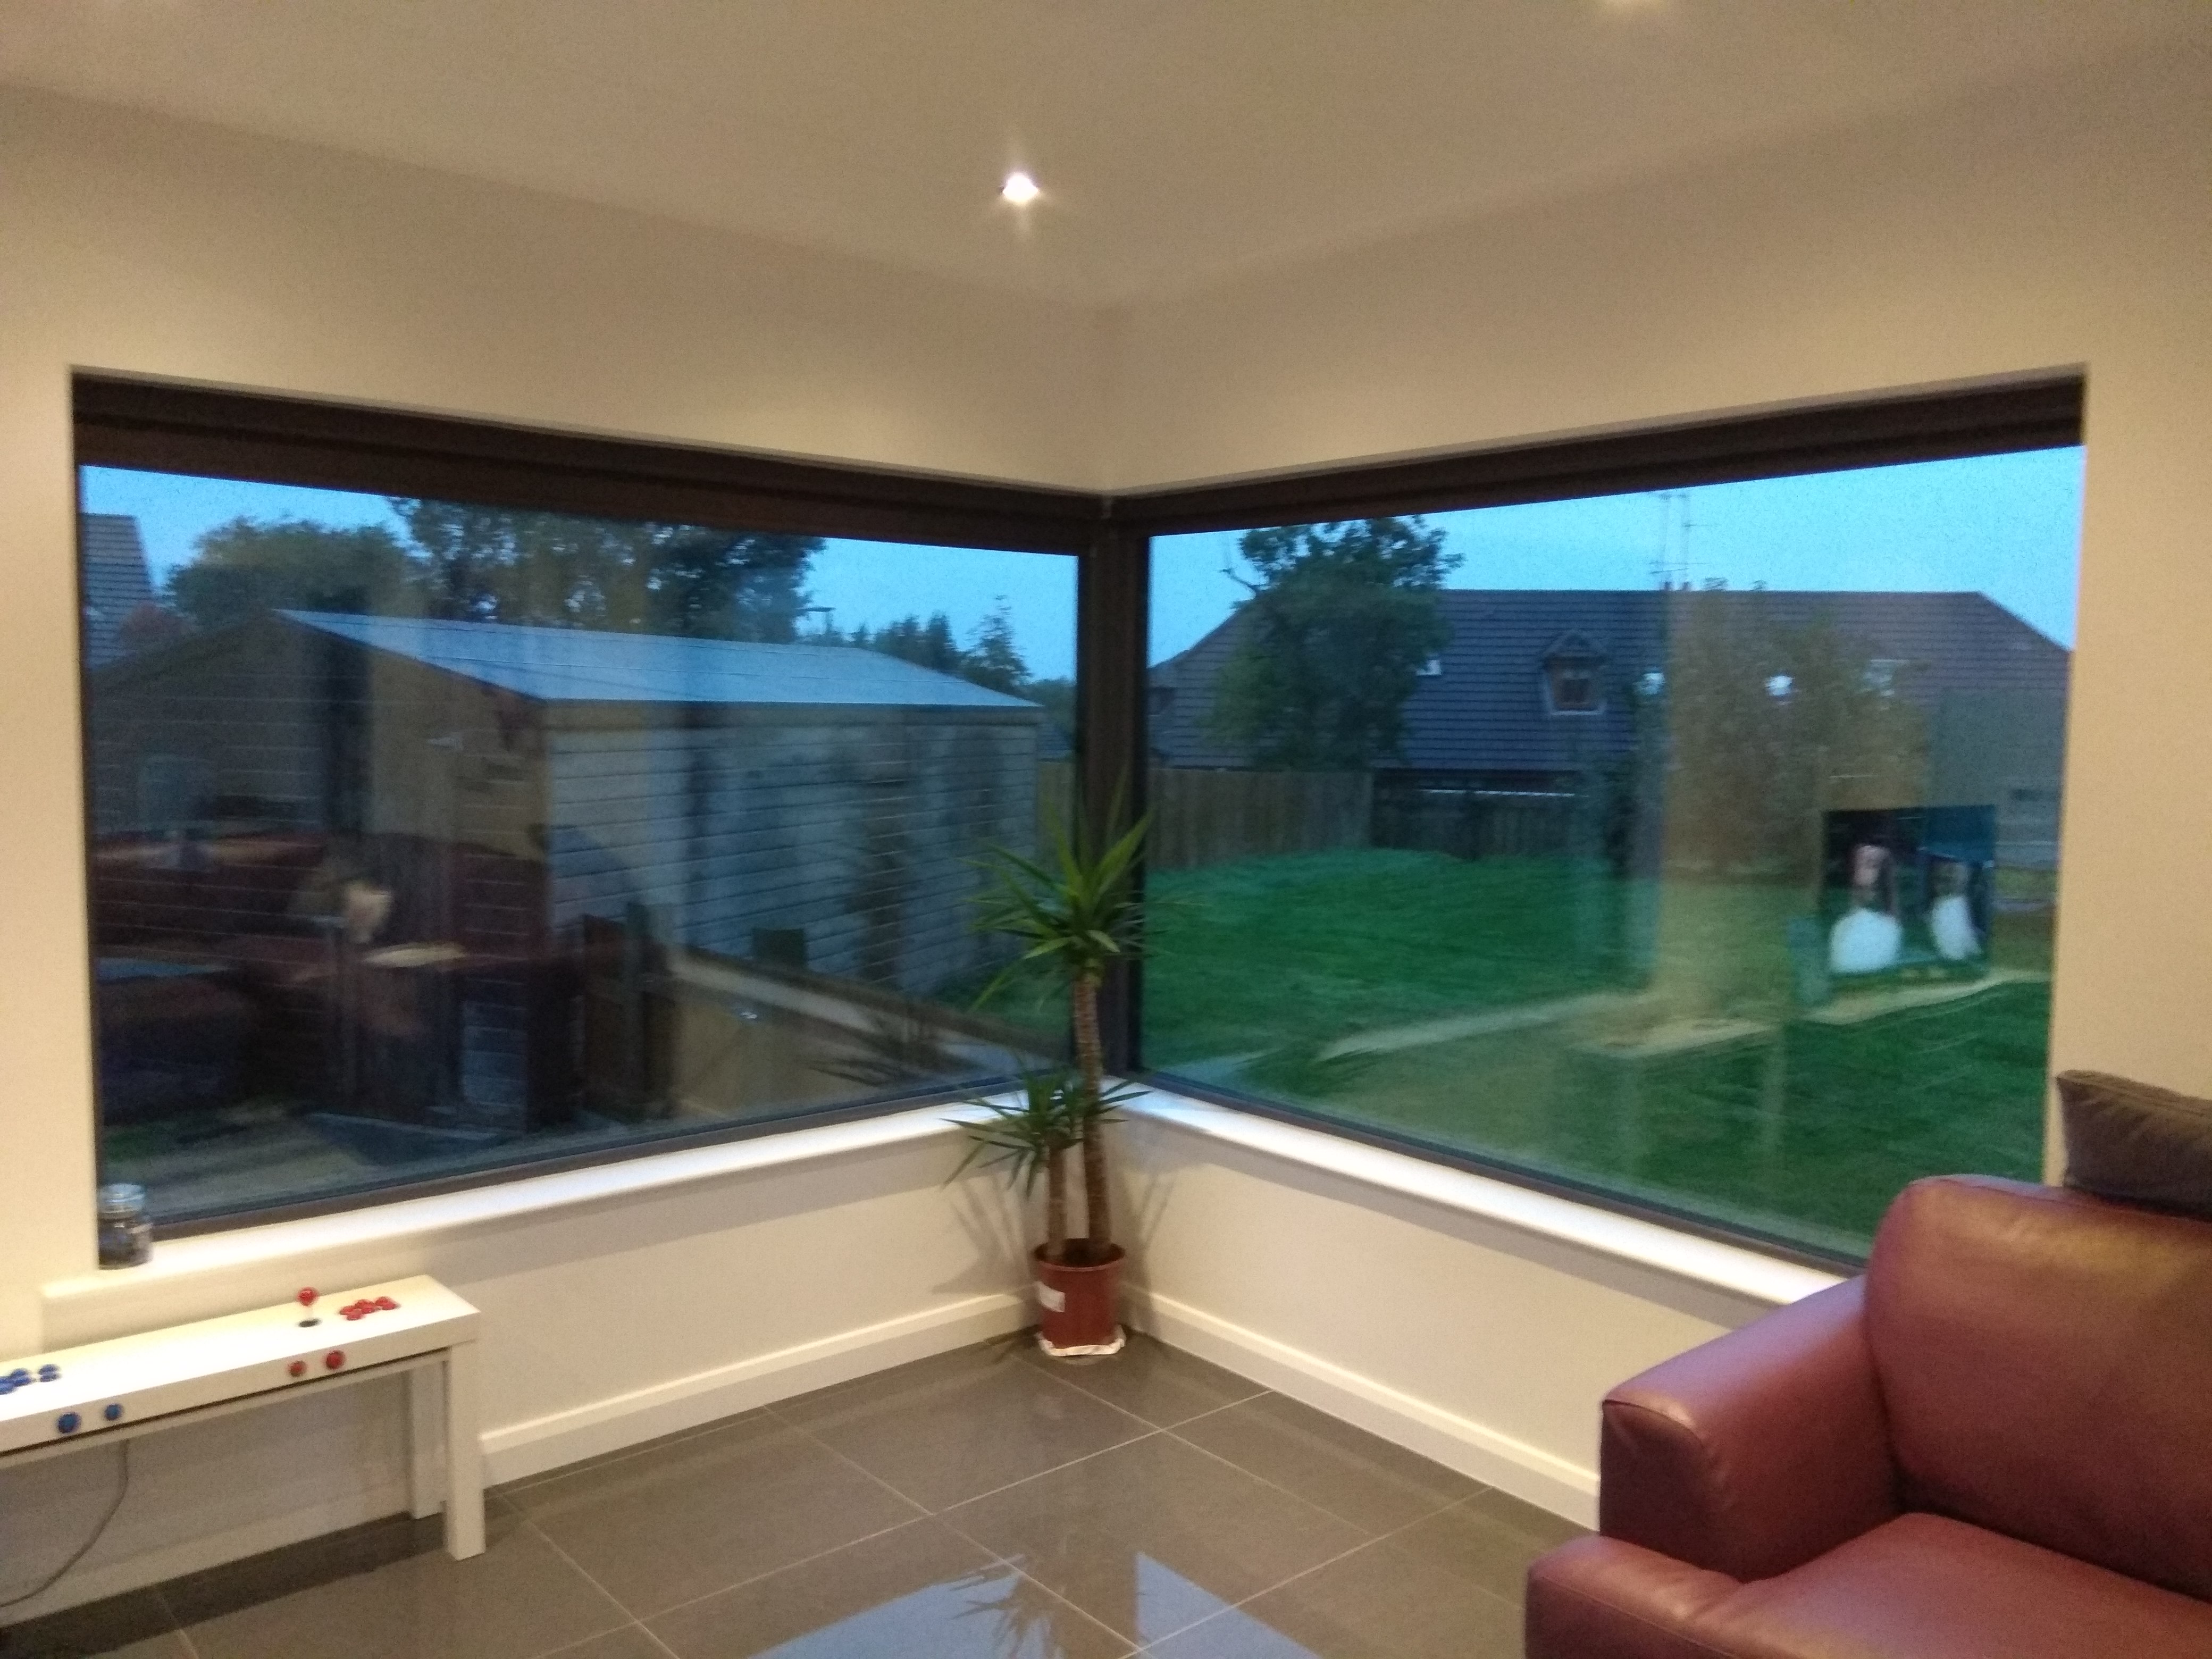
Was monsoon conditions outside so inside pic it is.
 1 point
 -
@JanetE, I have a file of notes taken from EB and BH, so I copy the relevant stuff here (from @JSHarris I think...) First the basics. There are separate HMRC forms for receipts where the VAT is broken out as a separate figure and where VAT is just included in the total price. HMRC will accept spreadsheets that look like these forms, and have told me that they are happy if there is an extra serial number column at the left. I'll post copies of the blank spreadsheet versions we used later, once I've cleared all the data out. HMRC need the receipts to be ordered in the same sequence as they are entered on the form, which is where the additional column is useful, as you can pencil a serial number on the top right of each receipt to more easily keep them in sequence. I found that we had loads of till receipts, rather than A4 printed receipts, and there are two main issues with these. The first is that they are heat and light sensitive, so keep them somewhere cool and dark or else they will fade. The second is that they are a pain to try and keep in order, so staple each one to the centre of a sheet of blank A4 paper. This then allows the serial number to be pencilled in the top right corner, makes them a LOT easier to handle and allows you somewhere to write notes regarding ineligible items and then write the calculated VAT or total price figure down. The latter is important. You need to go through every single receipt and check that there are no tools or other ineligible reclaim items on it, and if there are you need to mark them, recalculate either the VAT (for a receipt where VAT is given separately, or recalculate the total price (for a receipt where VAT is only included in the total price). The receipts need to be in date order and must contain evidence that you are the purchaser (so your name has to be on it, and for a till receipt this may well just be the name on the card used - so take care to use a card with your name on it). The receipts also have to have the sellers name and their VAT number. You cannot reclaim VAT from a non-VAT registered seller, or if the receipt doesn't have the VAT number on it. This latter point is a pain, as I've found several online sellers who fail to put their VAT number on the emailed receipt. In each case I've had to contact them for evidence of their VAT number, but things would have been a lot simpler had every original emailed receipt had the VAT number on it to start with. If I were doing this again, then I'd start by keeping better control of the receipts from the moment I received them. In the case of emailed or web page receipts, printed off, then I'd have checked straight away if they had all the correct information on (my name, suppliers name, VAT number, date, etc) and asked the suppliers to correct any that weren't in order. I'd also have started stapling till receipts to sheets of paper to better be able to file them and keep them from getting faded, torn etc. On some of these I'd have made pencilled notes on the attached paper that better described the items. B&Q, in particular, use a very abbreviated description on their receipts which makes it challenging to work out what the items are. Finally, I bought a lot of stuff via Ebay, at a good price, but virtually none of it has an eligible receipt. Many of the sellers are probably not VAT registered, but even those that are very rarely give a receipt with their proper company name and VAT number on, so unless you are saving more than 20% by buying on Ebay items may well not be the bargain they seem.1 point