Leaderboard


Popular Content
Showing content with the highest reputation on 09/03/17 in all areas
-
Just a quick update seeing as I had the camera on me. As always, not as much progress as I would have liked- I was away from the build for a lot of August, but it's good to come back to it refreshed. The painting is finally finished (that seemed to take an age), the WC is temporarily installed, and the woodburner is up and running- I'll do a separate entry for that, at some point. The overhead beams are now sanded back and sealed with Osmo Polyx oil- I'll use the same stuff on the windowsills. The trickiest part of doing the beams has been installing the spotlights, with some very careful drilling to feed the wiring through from above. These beams are tied into the rafters so any mistakes would just have to be filled as best I could, and serve as a reminder forever more. Today's task was to start on the flooring, which is carbonised strand woven bamboo. I am bonding this down so, again, little room for error. I decided that rather than start at one wall, I would mark a straight line up the middle of the floor, through the big connecting door, and then screw down a batten. This becomes my starting line and ensures that the flooring will tie up as it moves from bedroom to living room. I wa worried that if I'd started at the wall, then when the two sections of floor met up at the doorway I could find myself a few mm out. I have no idea if what I'm doing is common practise but it seems to make sense to me! I didn't get as far as bonding down anything yet today, as the floor turned out to be a lot dirtier than I realised, and I've spent all day on my knees with a sander removing blobs of paint and plaster. A few quid spent on some dust sheets would have been a good investment... oh well, I'll know for next time2 points
-
When you get your 3min to speak don't let members of the committee interrupt you. Start by introducing your self an state you are happy to answer questions at the end of your 3 mins.2 points
-
I done a similar thing in my kitchen. It was just a sheet of 18mm MDF with a bit of stud to make a frame. Plenty of big screws to hold the studs to the underneath of the joists. I put some down lights in it to shine light on the island and a colour changing led strip around the edge. The extractor fan is just a normal type you would put in any built over type unit. All in including the fan it was approx £250. I have the fan wired into a switch on the wall so just gets turned on here.
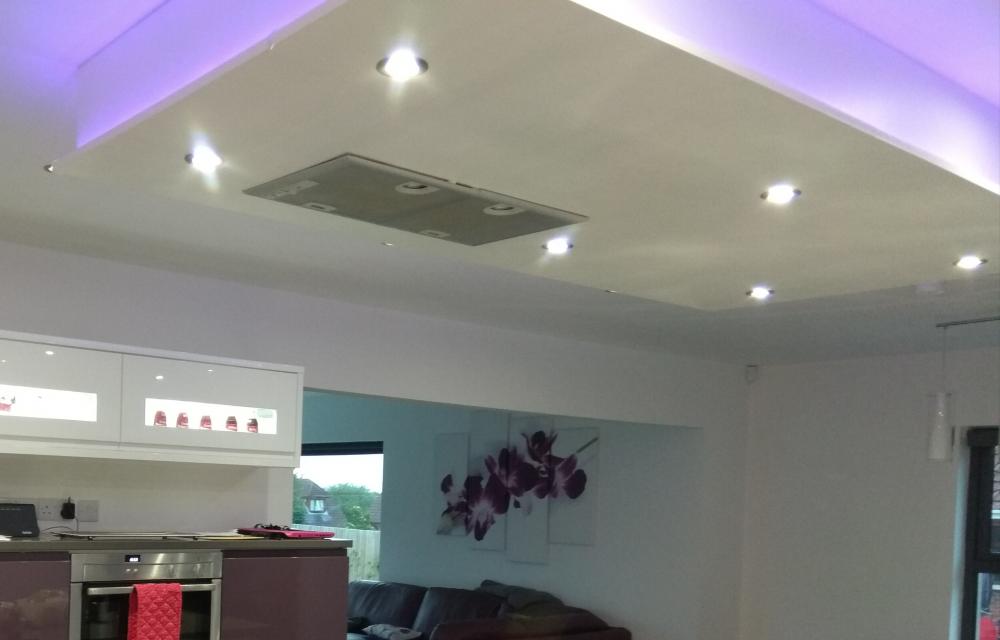 2 points
 -
We were about 3mm out on 4.5m width and about 5mm over 15m on the length. Thats conventional brick and block and working from an old building that was far from level ...!!1 point
-
A wall ...... daft as it sounds you need to direct that noise upwards..! Baffles on the front of the shed will help as will ducting the inlet. Got a site layout plan ..?1 point
-
You'll need to chose a supplier who installs meters - SSE for example. Get the meter and a basic no contract deal then start looking for the best fixed deal you can find. Will probably be with one of the smaller suppliers but they can rarely install meters.1 point
-
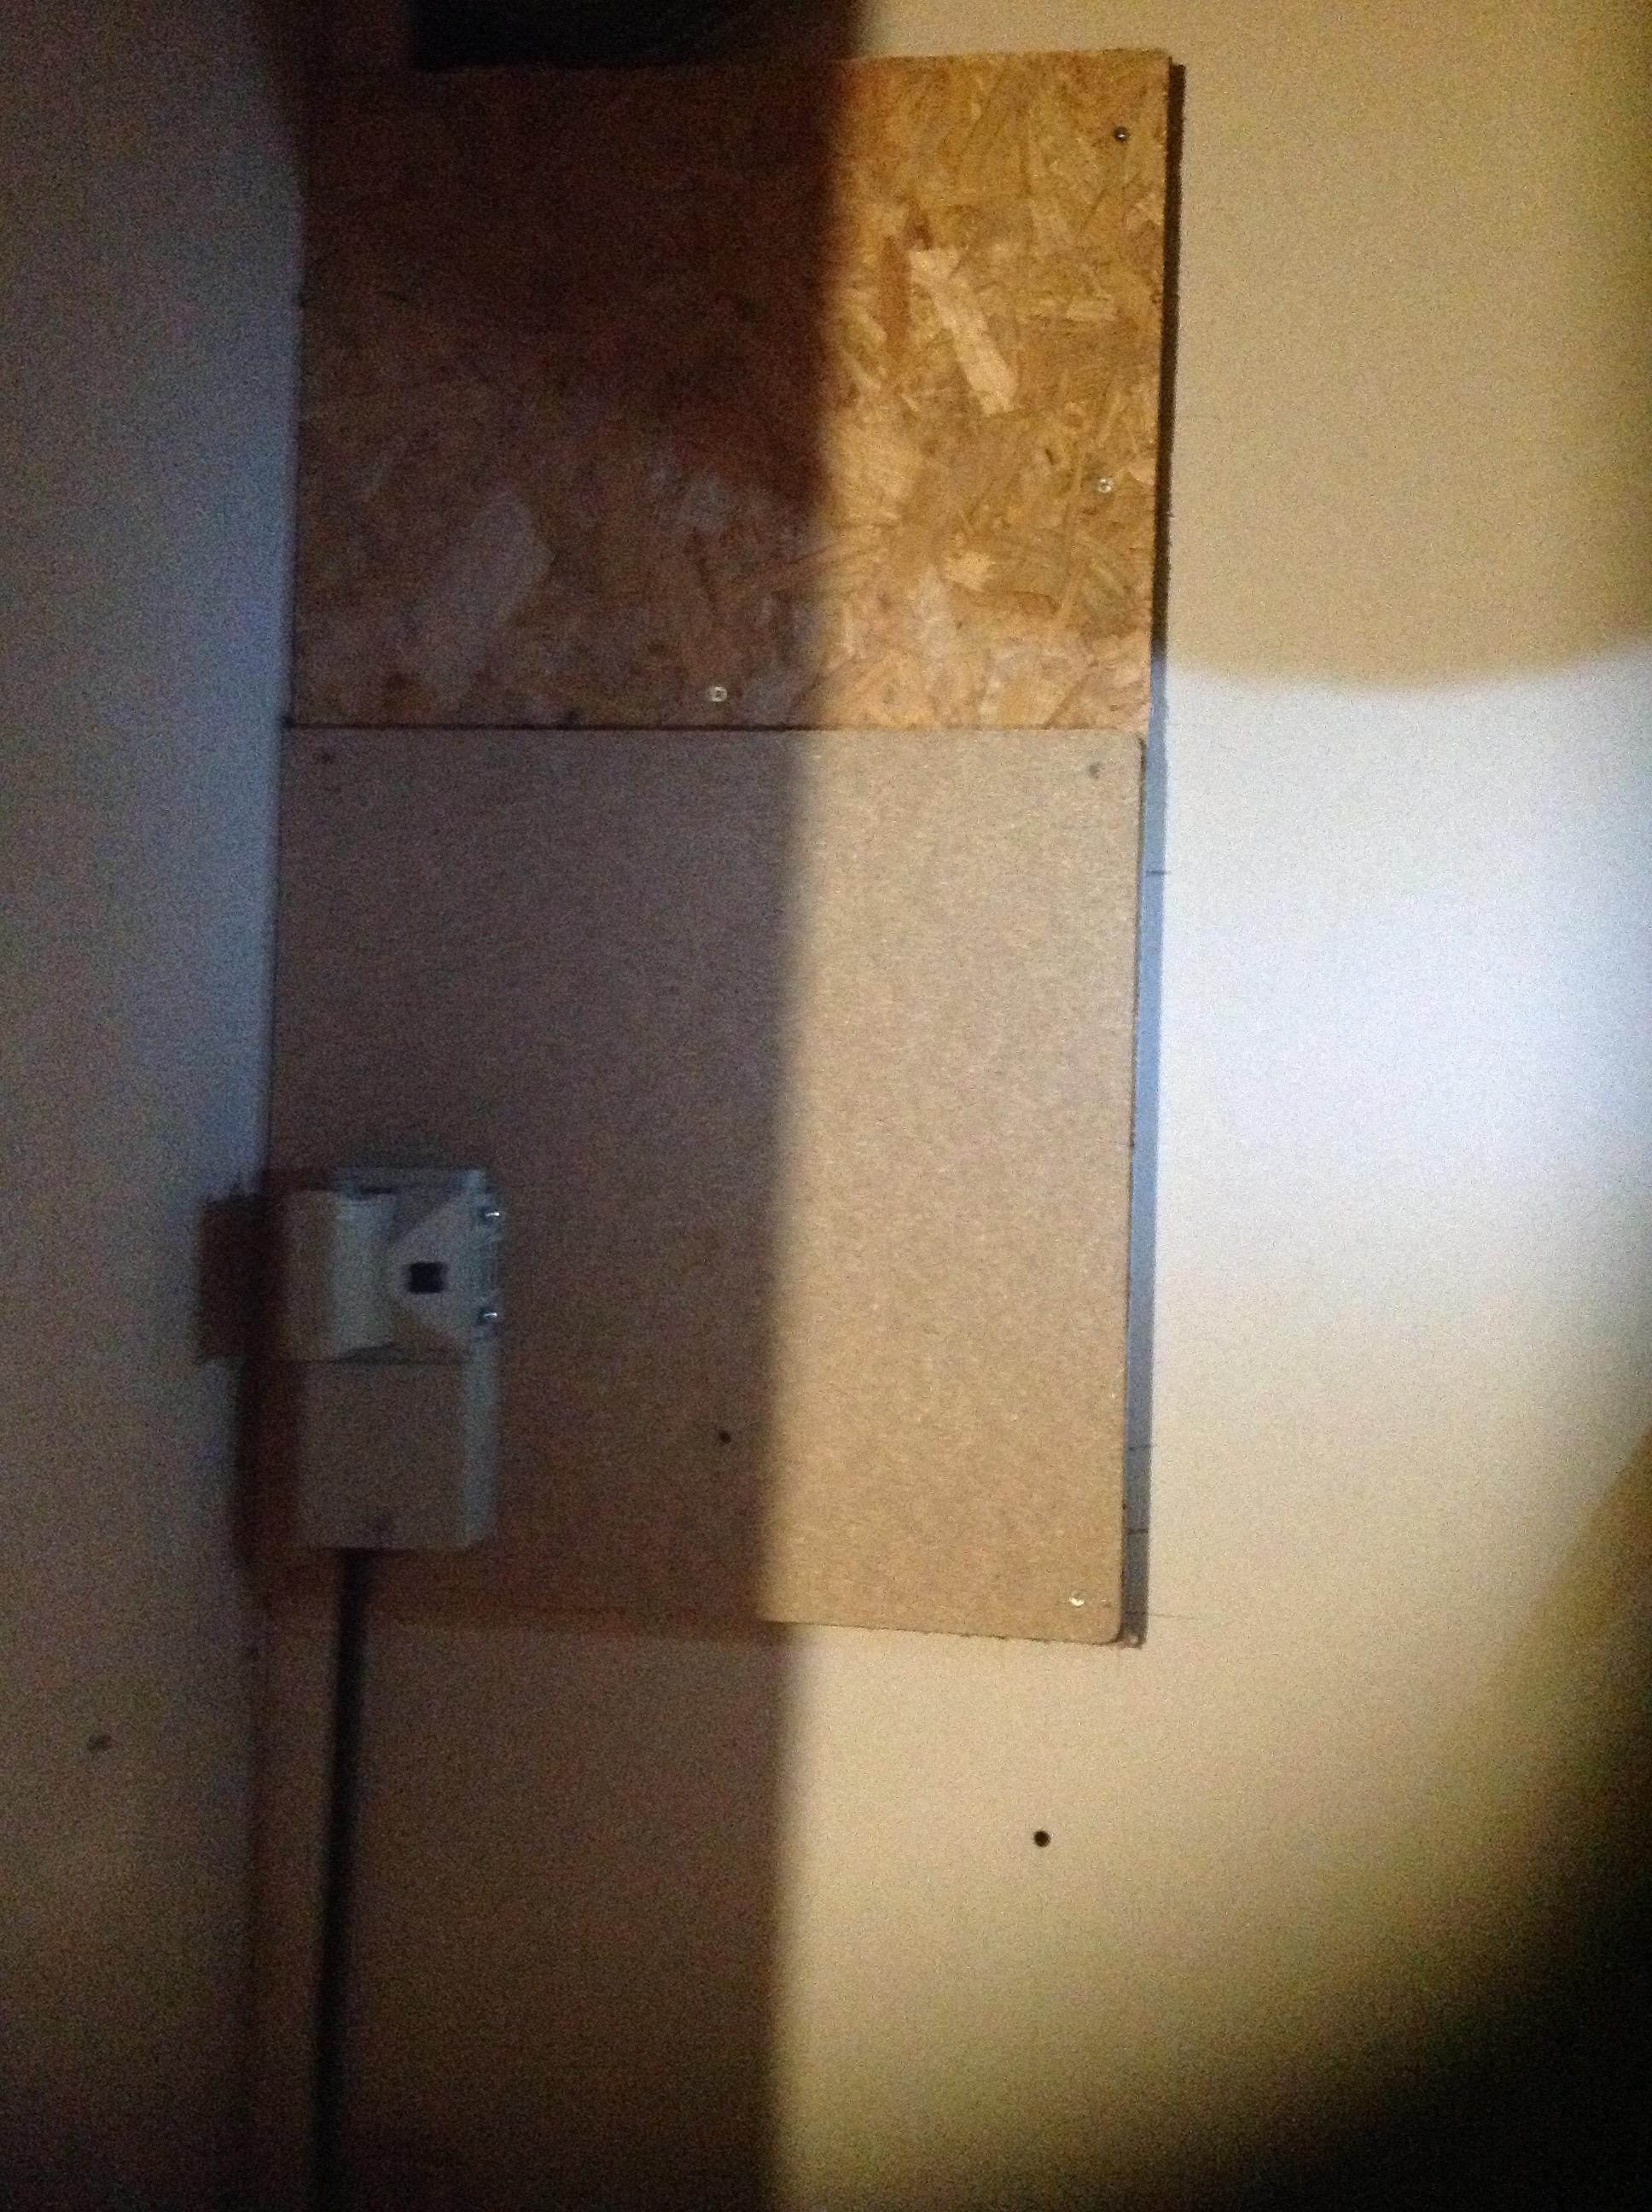
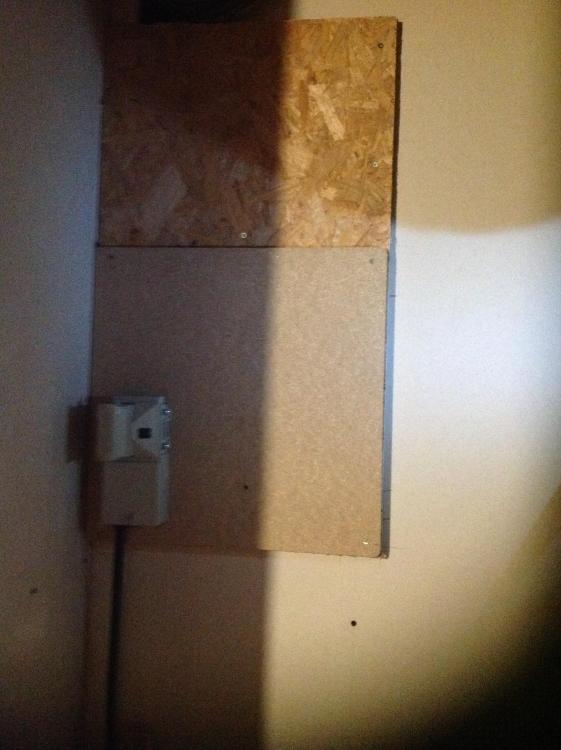
Just to update, SSE came round and were quite happy with what they found. They did stick their own bit of board over my double layer of OSB. Sorry for poor photo- it's on a cupboard with no lighting. They did say I ought to shield the cable with something, but it's just PB behind it so I can't just stick on any old thing. They mentioned there was some sort of self adhesive guarding available. Now I have my MPAN, so any tips on choosing a supplier? I want to have E7 if that makes any difference.
 1 point
 -
Thats a real shame, clearly talented.1 point
-
Bearing in mind that interest rates are low and due to rise in the next 6 months, I would suggest considering getting a mortgage earlier. I would also suggest considering a longer term fix so you can budget predictably over the length of the build. Thirdly, I would consider keeping as much of your own money as you possibly can as contingency / flexibility funds. 20 or 30k is an amount that can be swallowed by a small number of surprises. Ferdinand1 point
-
Sorry, was a bit dark. I've got full blown man flu and thus I'm even more grumpy than normal!! My wife is doing a stirling job in reminding me that sympathy is between shit and syphilis in the dictionary!1 point
-
Can't you just have a default message to say, "Update your browser dickhead" Is there any non javascript way to do it? I know next to nothing about coding, it is all a bit messy to me. But the arithmetic behind it is simple enough.1 point
-
Hi, You can use the value of the plot / and or savings as the deposit for the mortgage as I understand it. The mortgage application paperwork shows the stage payments and what is included - they are mostly paid in arrears. You will be expected to pay the first set of bills with your own funds / deposit and then start drawing down on the bank's funds. You starting paying % on the amount drawn down. Once the final stage is completed you convert to the fixed rate or variable rate negotiated. So, unless you need to draw on funds to get the initial foundations completed, you should be mortgage free until the spring but you should carefully plan your cashflow and ensure the builder and large ticket items like window deposits are catered for. Are you clear who will be signing off each stage as complete? There are some nicer mortgages which pay in advance (There are none where I'm based!). I've just been approved for a standard mortgage and the process was quick enough but the life insurance took a while to organize, medicals etc. If you have all your paperwork in order get it in now, the decision normally stands for 6 months and can be extended with some newer bank statements / payslips etc. You just need clear costings breaking down each stage. A quantity surveyor can help with this, lots of PC Sums as they call estimates for certain areas like Kitchen's and Bathrooms. Best of luck!1 point
-
Definitely apply once you own the plot but before you start the build. I found in the past these landers want to be in from the outset regardless of how little you want from them. Once mortgage agreed you may only need the initial valuation or 1 further mid build valuation to enable the LTV to be sufficient to release funds to complete the build.1 point
-
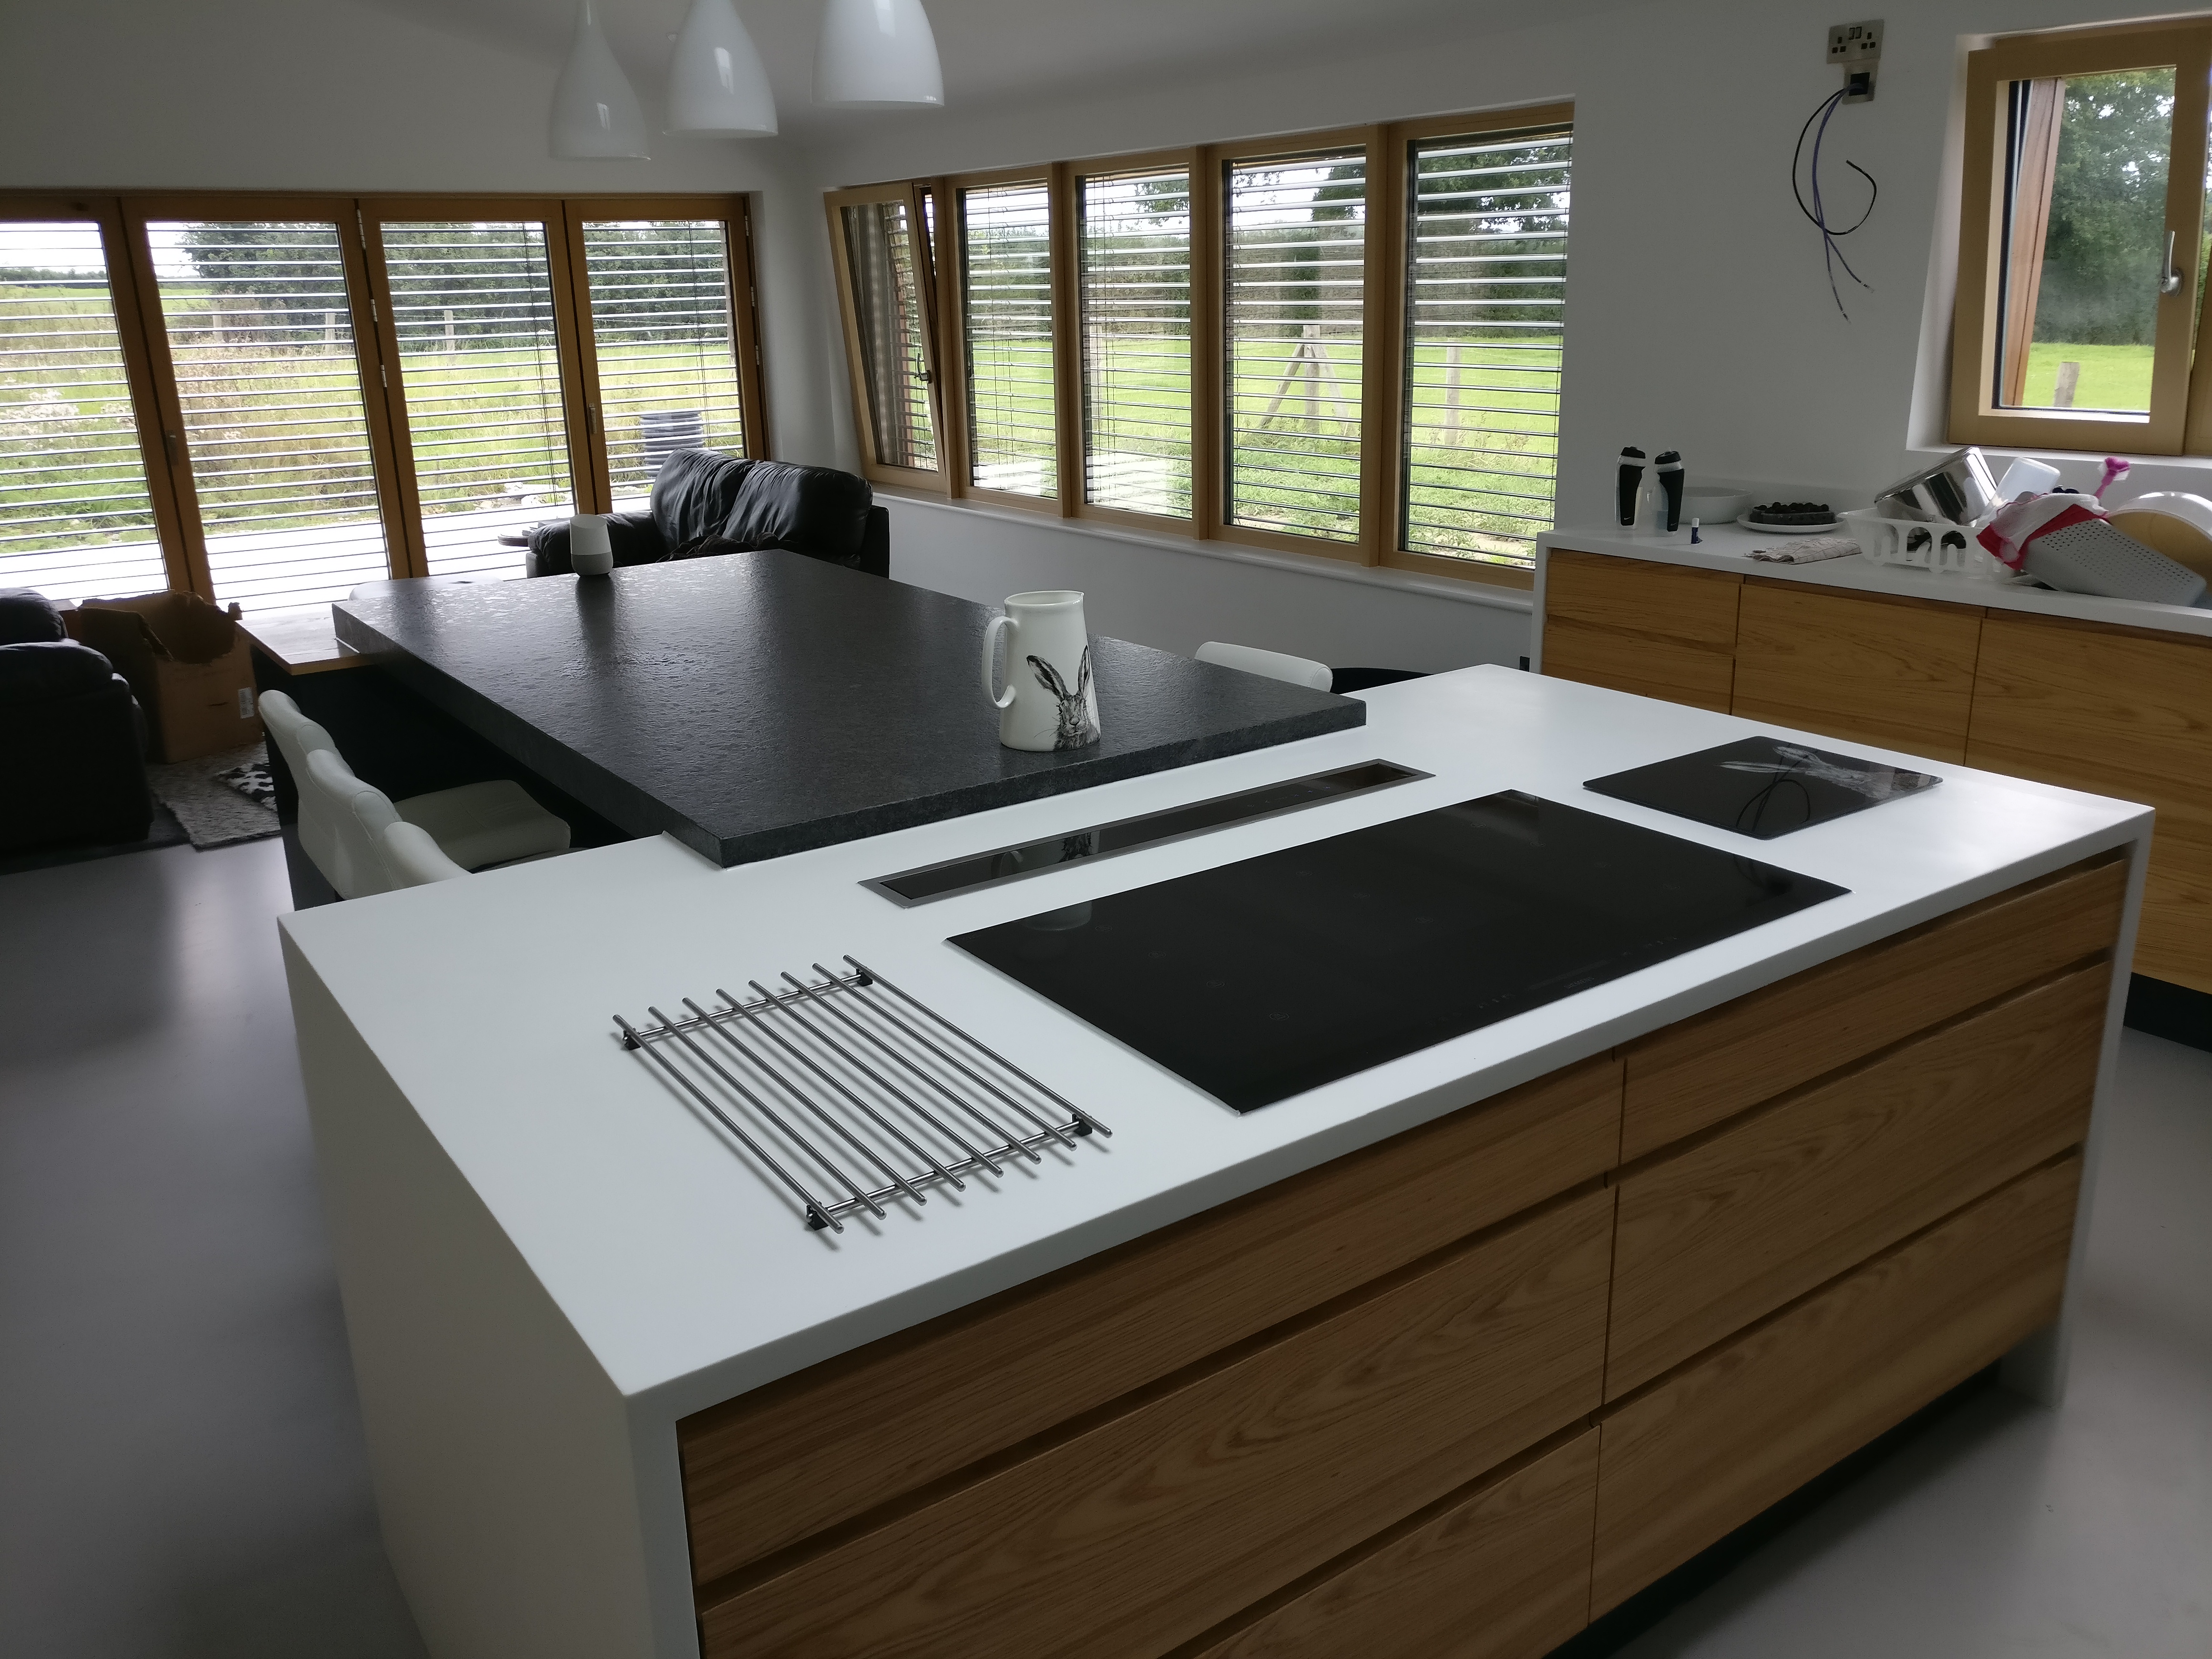
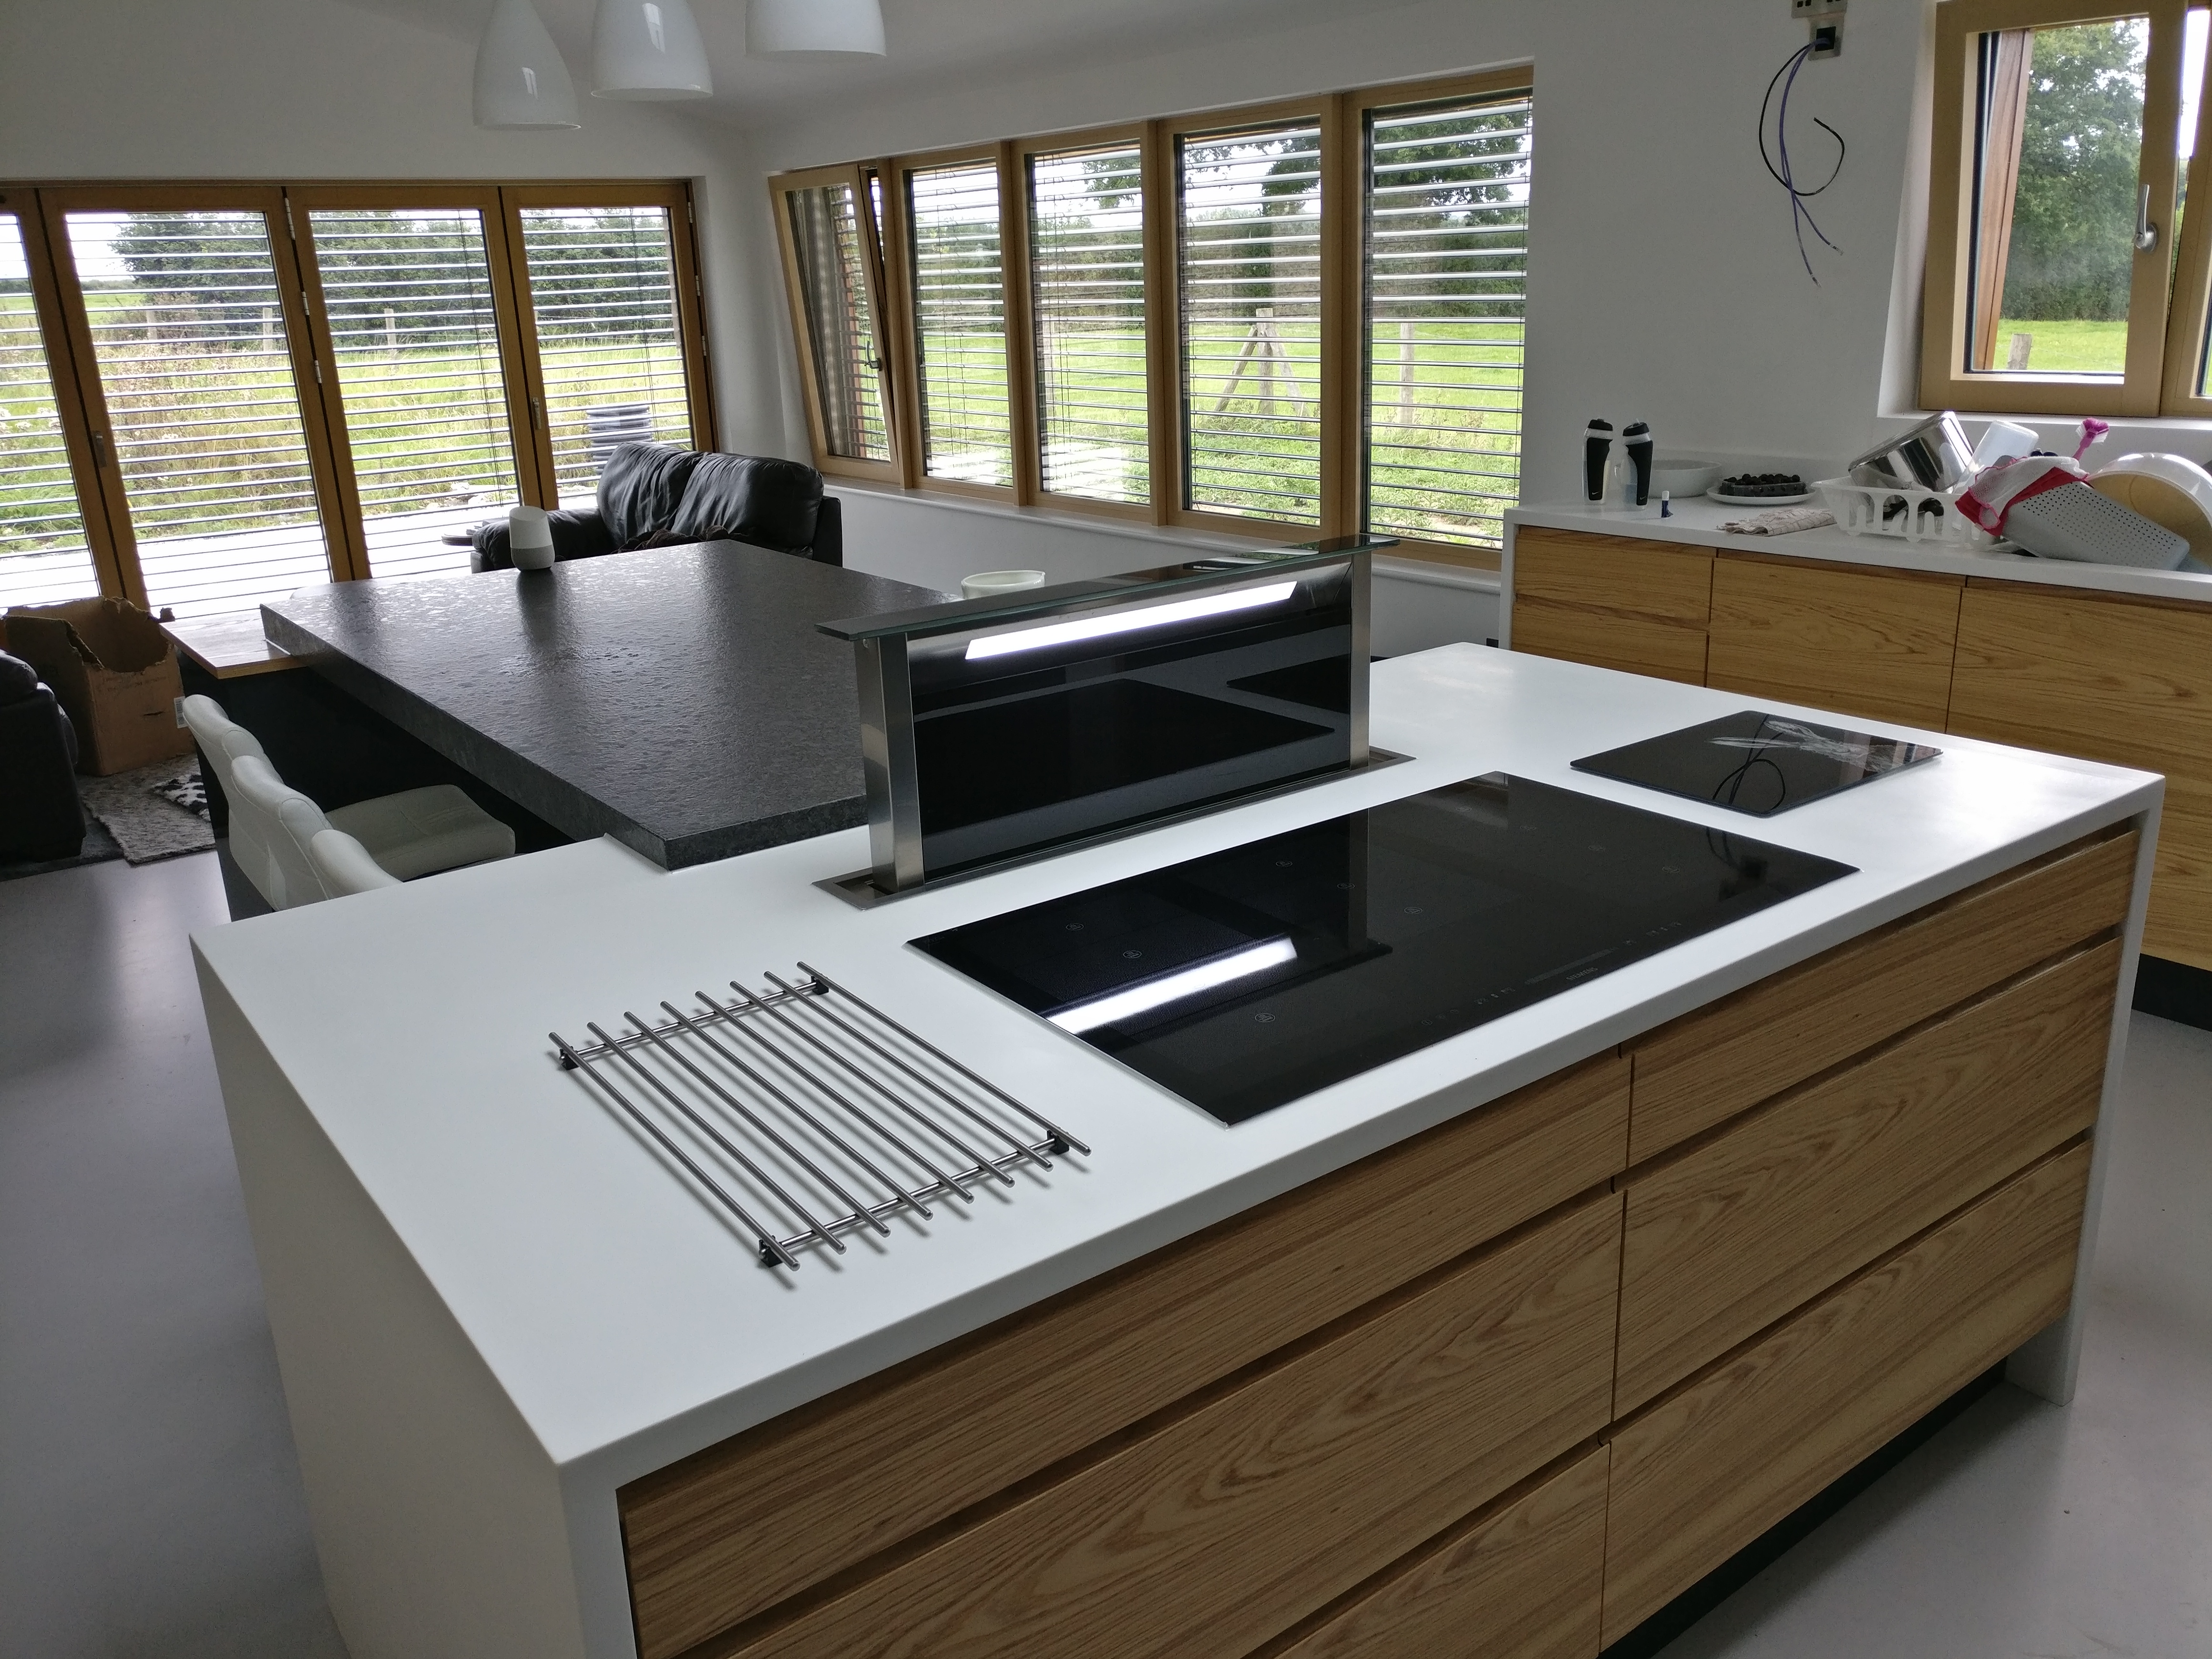
Nice kitchen ?1 point
-
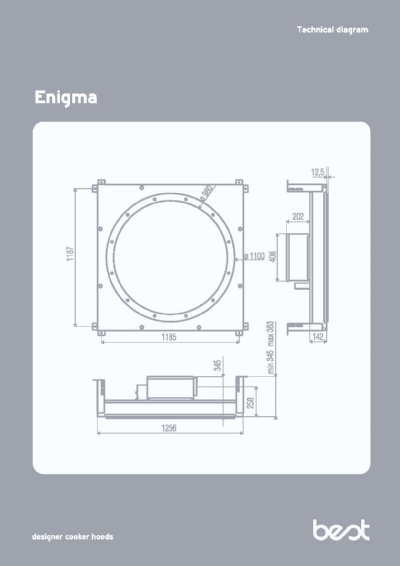
We went with a downdraft, recirculation unit from Elica. Very powerful, but a conversation stopper on full chat. Thankfully you seldom need to run it on full speed. Exhausts through the kick board under the hob unit, which isn't noticeable. Added bonus is it puts a physical barrier between the young family at the breakfast bar and any hot pans on the hob.

 1 point
 -
You need a minimum of 6 frame fixings in it - should be below each hinge and directly opposite. Solid pack the hinge side top and bottom too. It could drop a bit but tbh I wouldn't as unless the cill is a trip hazard you will be cursing as it scoops up ever last bit of crap as you open it .. Top gaps can have frame extenders but we used to just put drips on them for rendered houses - thin celotex foam in the gap or use gun foam and then cut back and redo the render.1 point
-
I see a lot of "hacks" on youtube and i am rarely impressed but this one is really quite good, you can buy rings with grub screws in them to do the same thing but I like the simplicity of this idea1 point
-
Something like this?

 1 point
 -
It will fall under the non residential regs for building control which is aimed at buildings such as shops and offices. Fairly easy to find out what's needed I expect online.1 point
-
Really appreciate the feedback guys. Unfortunately too late for ducting any of the downdraft type extractors as the floor slab and ufh is in with final screed being laid this week. I did consider these a few months ago but again discounted them due to cost and I suppose wrongly assumed a flat ceiling one wouldn't cost much, Declan - Whats the overall depth of the drop ceiling you have there. One of the kitchen designers suggested the same as you that putting a standard canopy extractor in works fine. I was concerned about the depth of the drop required as the extraction duct seems to sit on the top of the all of these type whereas the flat ceiling ones come out of the side. I only have standard 2400 ceilings so really wanted to keep the drop minimal.1 point
-
£150 extra? break their arm for it.1 point
-
ASBA is a community or RIBA architects, you can only call yourself an architect if you are RIBA registered, who just specialise in house building so I guess you would need an RIBA architect who is linked / associated or otherwise pays homage to the goals of ASBA.1 point
-
Nick the master prefers copper tails with copper elbows and straight HEP2O connectors. We just used HEP2O elbows, but as Peter says, noggins are a must. And the silicon spray which you'll need if you want to reuse connectors.1 point
-
It's one I did 1st bank cold 2nd bank hot @ 51oC 3rd bank hot @ 46oC ( basins) 4th 2-port out of view was 2 x hard water. One to kitchen sink & O/S tap ( back to back ) and the other to utility cold and boiler fill loop ( back to back ). 2 x TMV's for each temp zone Black thing is a 2 Ltr hot water expansion vessel. Blue cylinder is a 500 Ltr Telford TS with a 46kw 28mm DHW heat exchanger ( coil ). ?1 point