

Starting the interior

Entry posted by Crofter
2431 views
Just a quick update seeing as I had the camera on me. As always, not as much progress as I would have liked- I was away from the build for a lot of August, but it's good to come back to it refreshed.
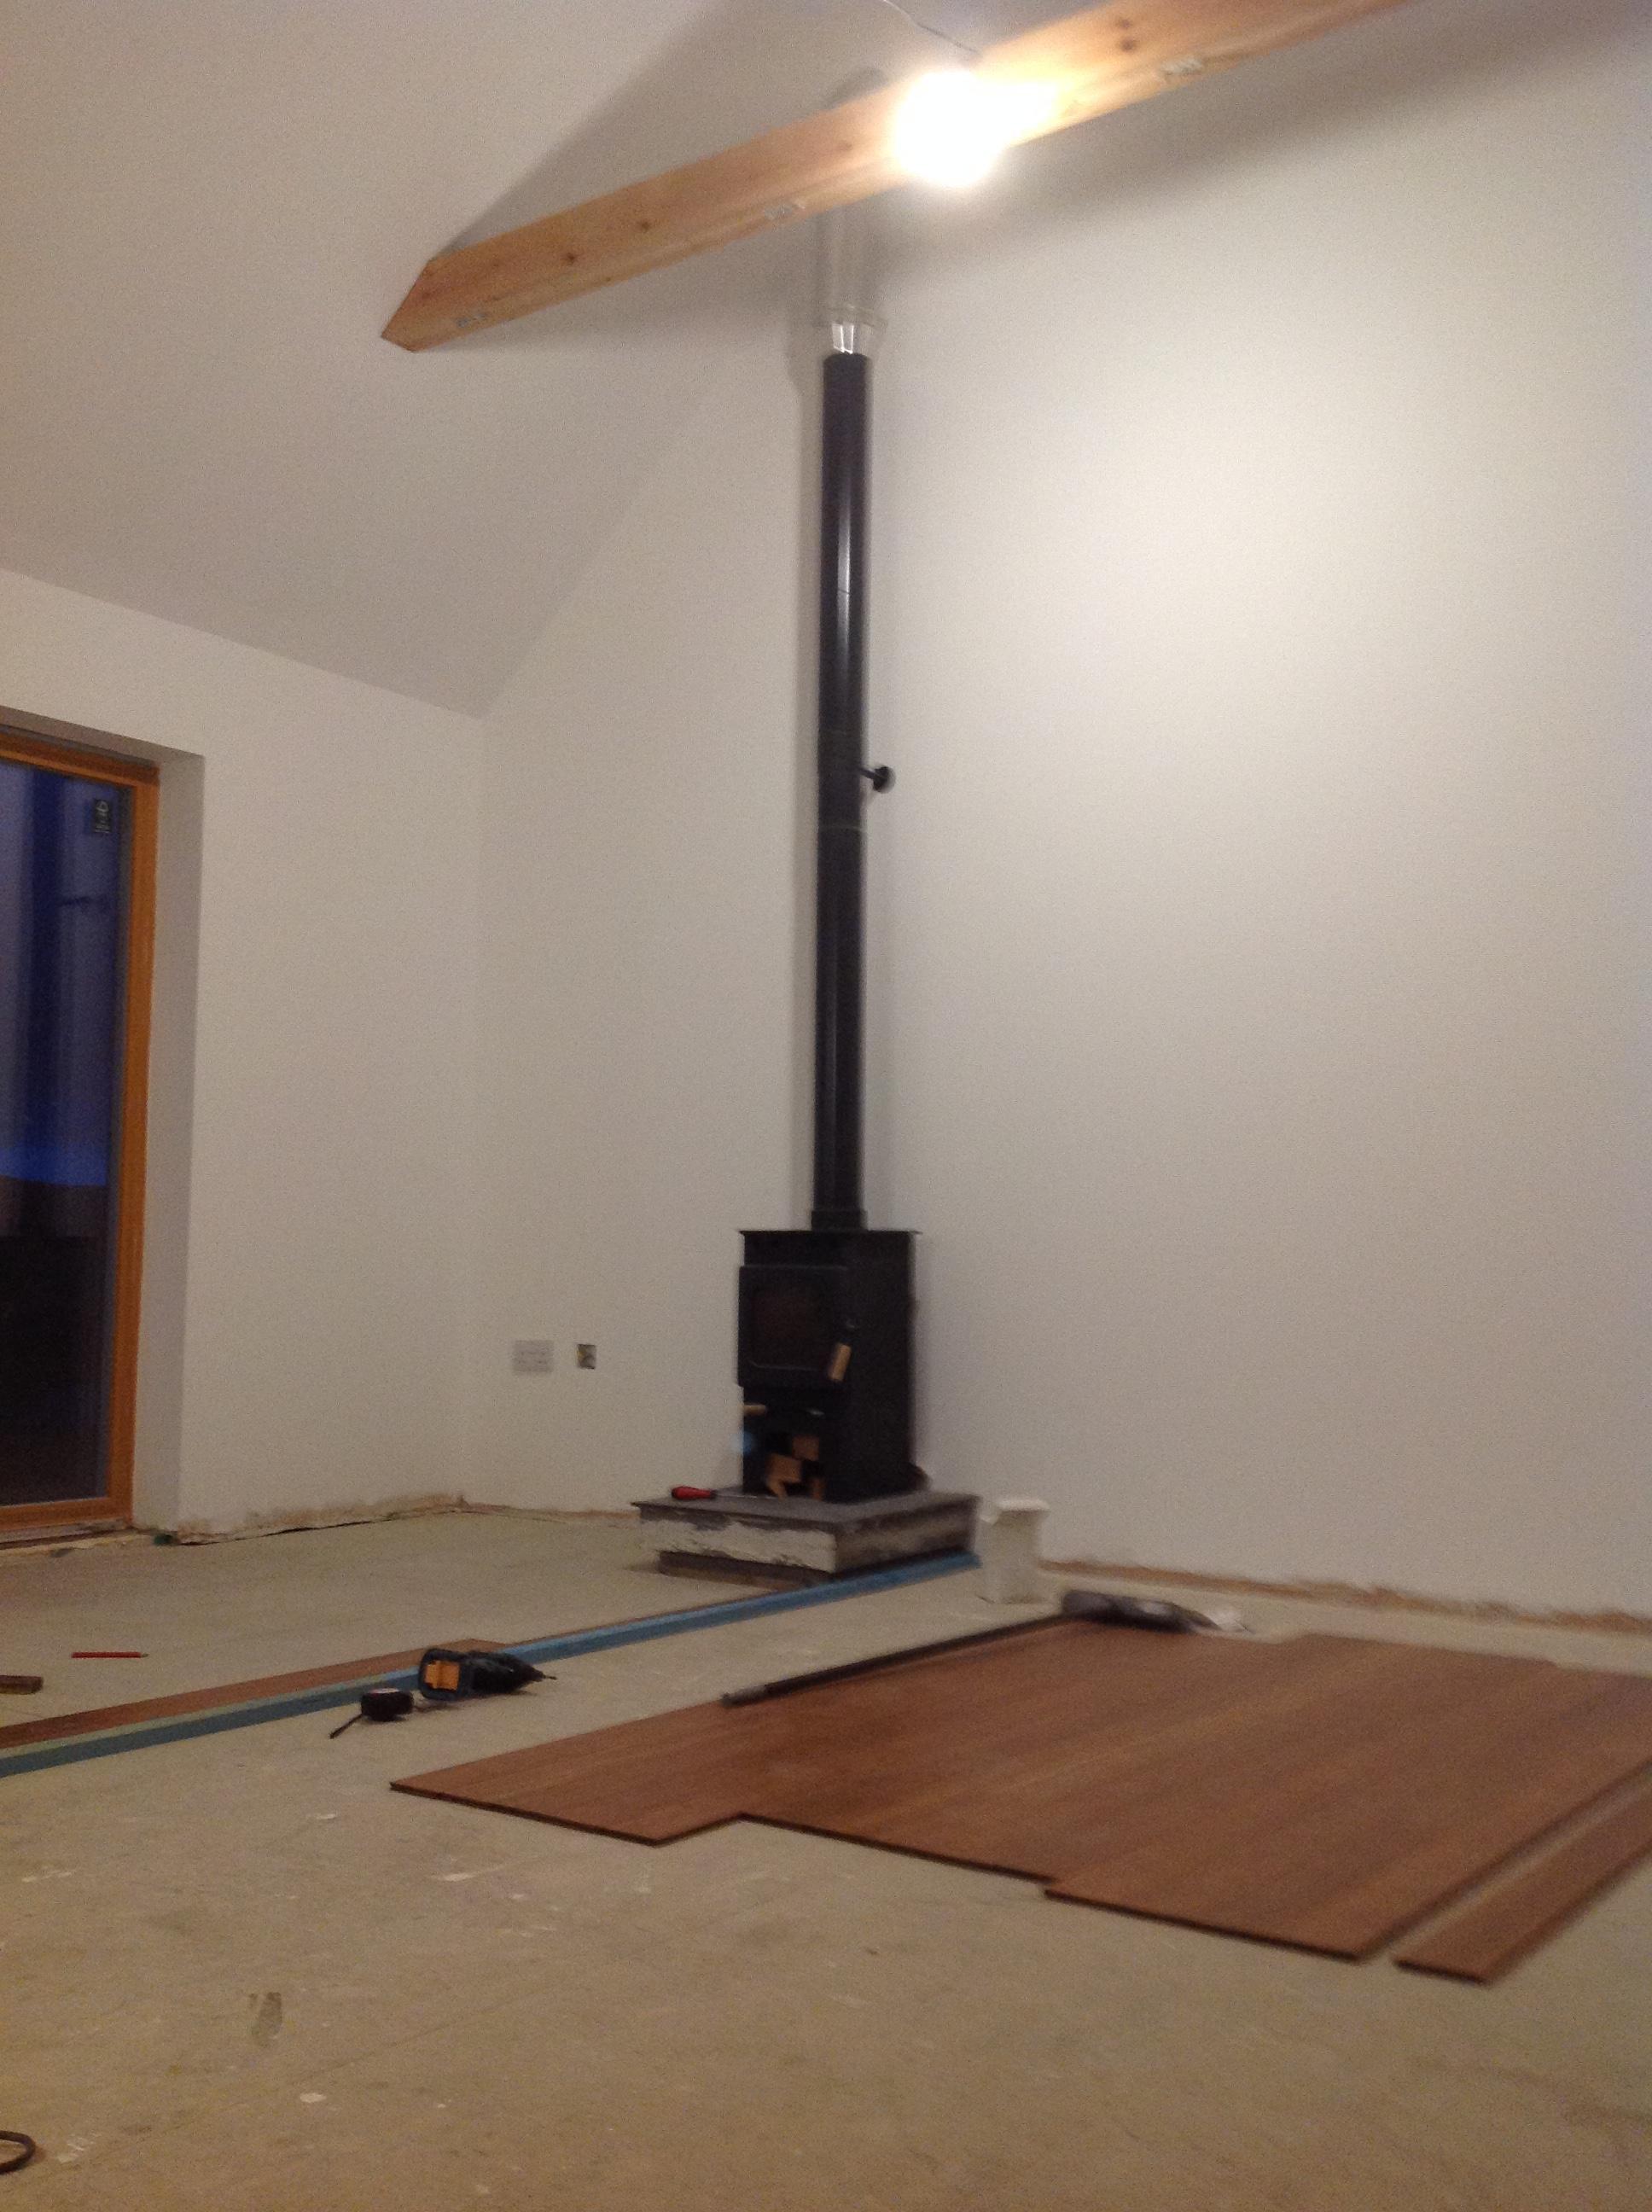
The painting is finally finished (that seemed to take an age), the WC is temporarily installed, and the woodburner is up and running- I'll do a separate entry for that, at some point.
The overhead beams are now sanded back and sealed with Osmo Polyx oil- I'll use the same stuff on the windowsills. The trickiest part of doing the beams has been installing the spotlights, with some very careful drilling to feed the wiring through from above. These beams are tied into the rafters so any mistakes would just have to be filled as best I could, and serve as a reminder forever more.
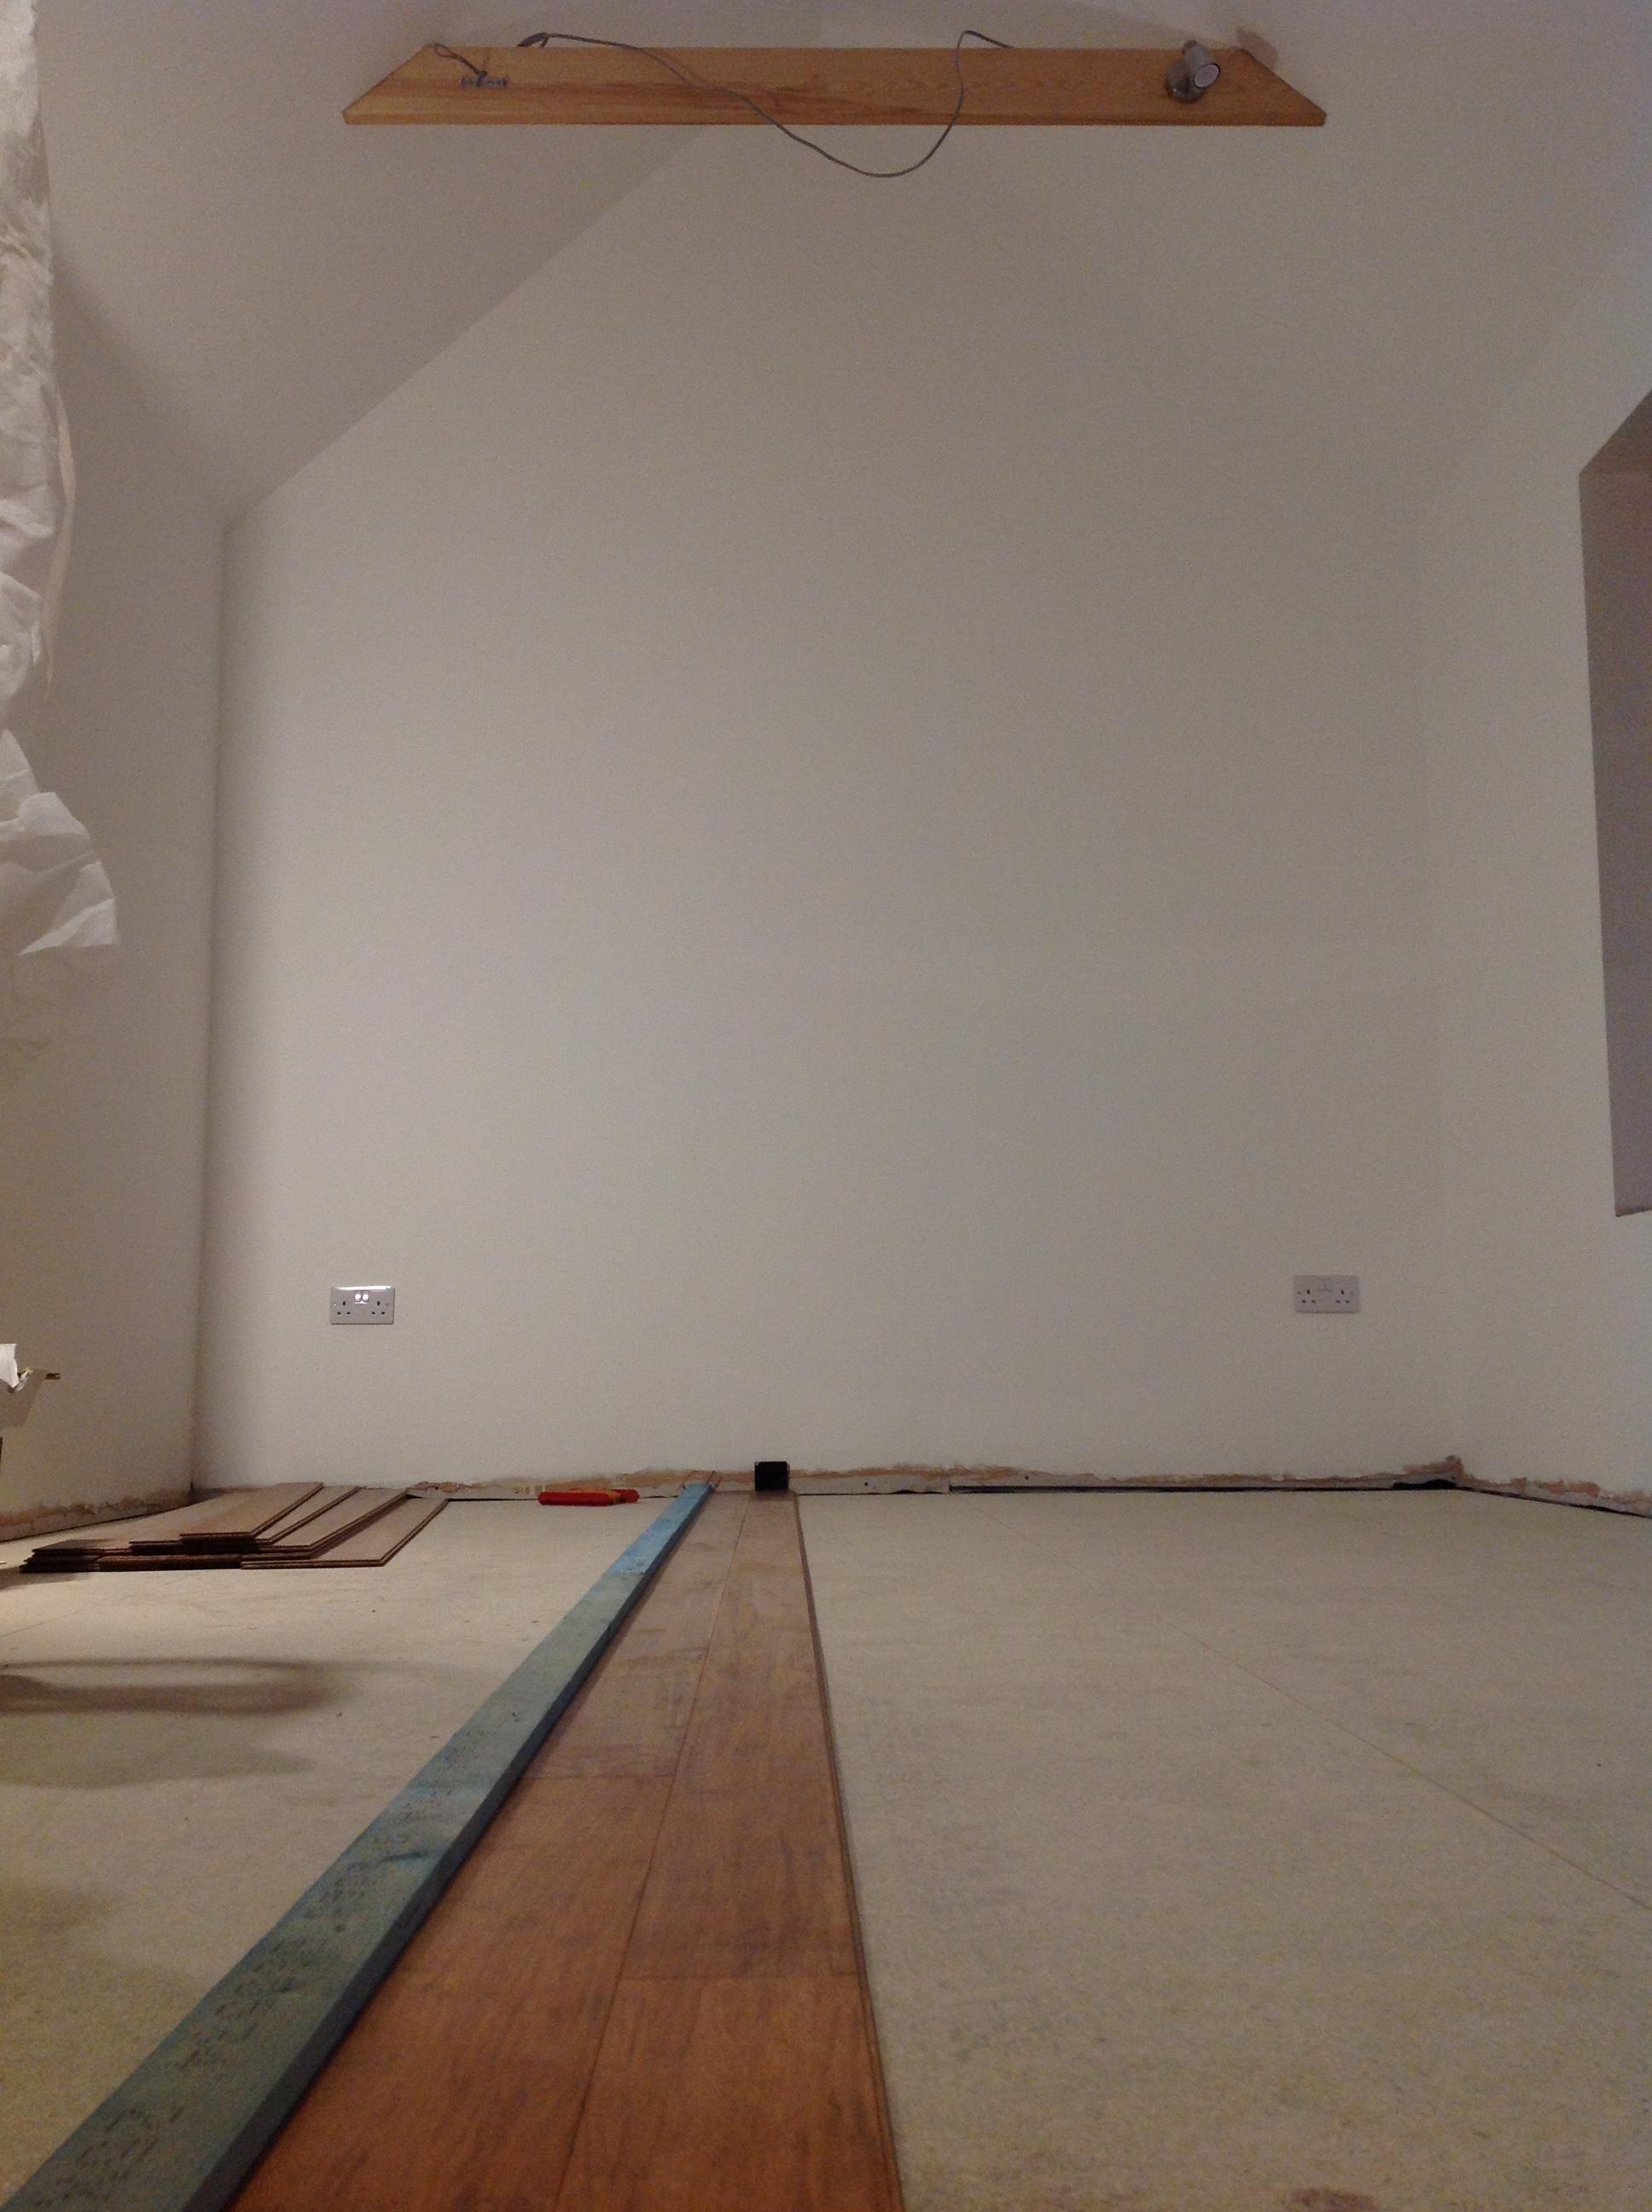
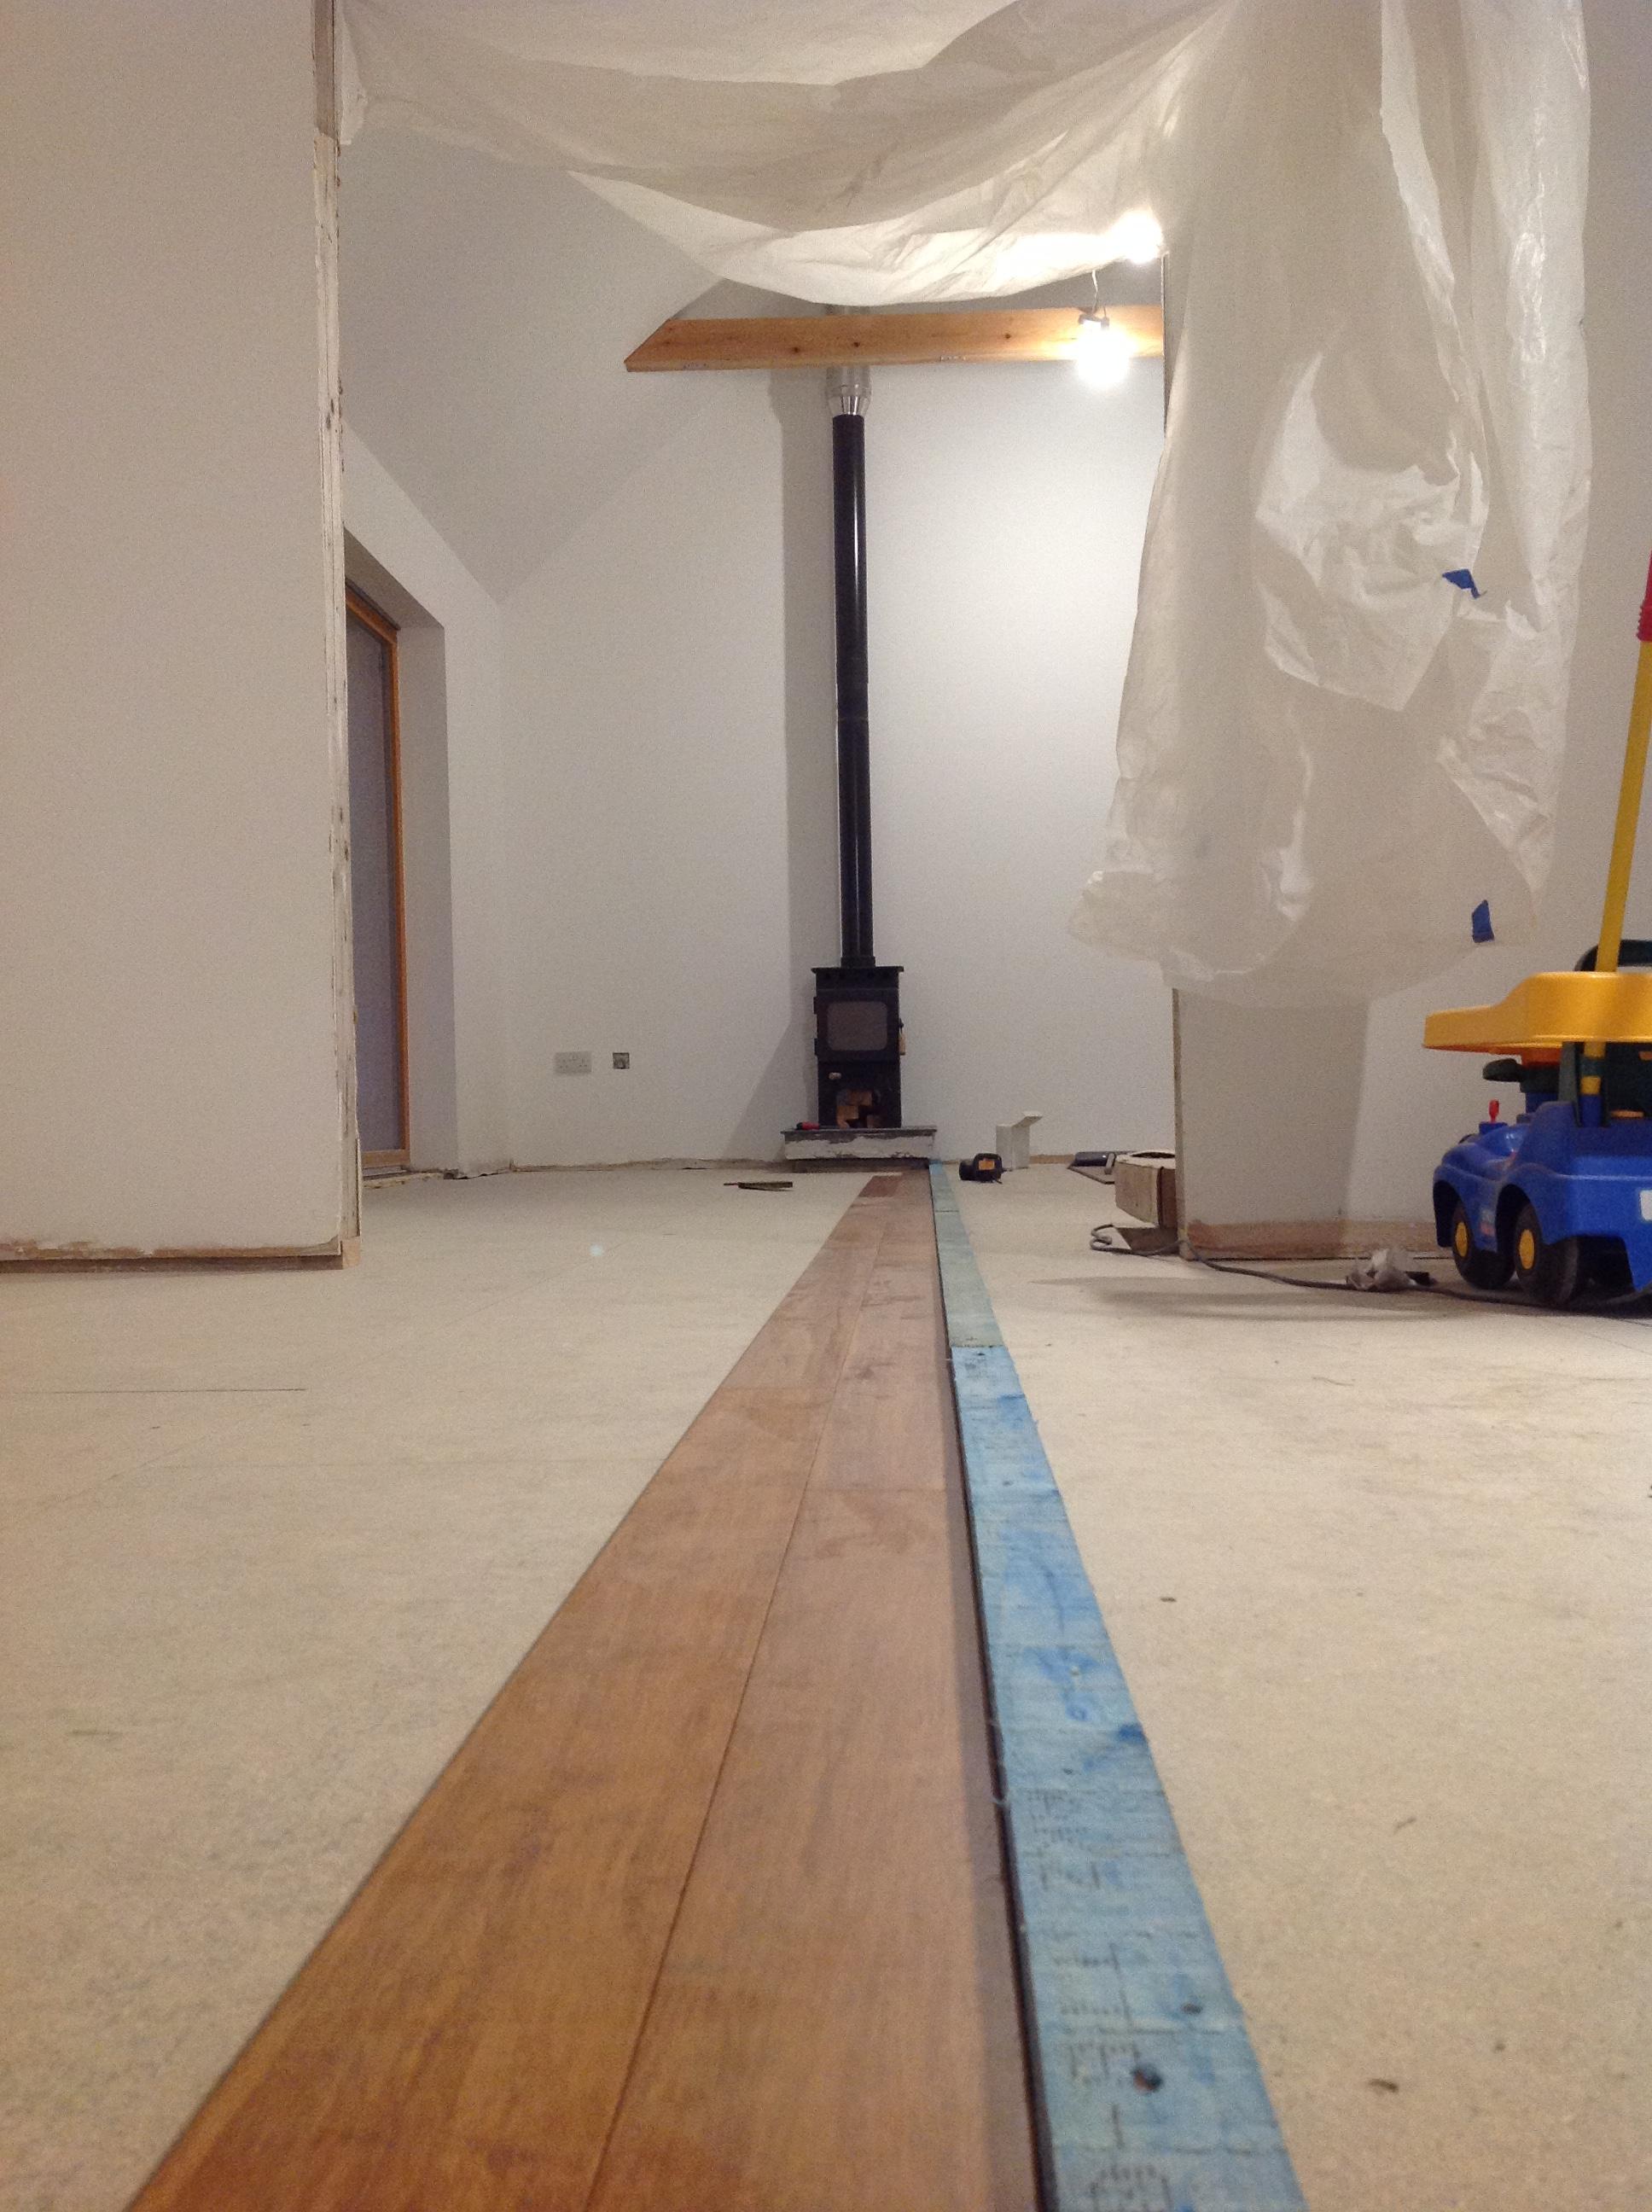
Today's task was to start on the flooring, which is carbonised strand woven bamboo. I am bonding this down so, again, little room for error. I decided that rather than start at one wall, I would mark a straight line up the middle of the floor, through the big connecting door, and then screw down a batten. This becomes my starting line and ensures that the flooring will tie up as it moves from bedroom to living room. I wa worried that if I'd started at the wall, then when the two sections of floor met up at the doorway I could find myself a few mm out. I have no idea if what I'm doing is common practise but it seems to make sense to me!
I didn't get as far as bonding down anything yet today, as the floor turned out to be a lot dirtier than I realised, and I've spent all day on my knees with a sander removing blobs of paint and plaster. A few quid spent on some dust sheets would have been a good investment... oh well, I'll know for next time ![]()
-
 3
3
4 Comments
Recommended Comments
Create an account or sign in to comment
You need to be a member in order to leave a comment
Create an account
Sign up for a new account in our community. It's easy!
Register a new accountSign in
Already have an account? Sign in here.
Sign In Now