

ProDave
-
Posts
30862 -
Joined
-
Last visited
-
Days Won
427
Everything posted by ProDave
-

Installing Consumer Unit into my shed
ProDave replied to Al80's topic in Consumer Units, RCDs, MCBOs
The RCD is a residual current device that trips on earth leakage. The 16A is NOT a rating at which it will trip, that is just a measure of the maximum current that it can pass. The over current protection is what the MCB's are for. And with a 20A MCB at source and a 20A MCB in the shed it's pot luck which will trip. With a 2.5mm SWA feed you might be able to go to 25A at the source -
Installing Consumer Unit into my shed
ProDave replied to Al80's topic in Consumer Units, RCDs, MCBOs
RCD will need to be rated at a lot more than 16A, it will need to be rated at least as high as whatever protects the feed to the shed. -
Board on board cladding - fixing advice / critique
ProDave replied to markocosic's topic in General Joinery
But using just 25mm battens and counter battens, they are too bouncy to nail into, hence screws being preferable. -
Worst shortages and how to plan around them (Jul 2021)
ProDave replied to puntloos's topic in Costing & Estimating
A friend is starting a self build. He has not broken ground but is about to order the roof tiles because the lead time quoted is so long. -
Recent material cost increases since Jan 1st
ProDave replied to puntloos's topic in Costing & Estimating
The next lot to argue austerity measures will have a had job selling that to the public. You made us suffer 10 years of austerity, holding back the economy and making things generally poor, then suddenly found all the money we did not have? won't fall for that again. -
Recent material cost increases since Jan 1st
ProDave replied to puntloos's topic in Costing & Estimating
And soon to get a 5th (and final) payment. -
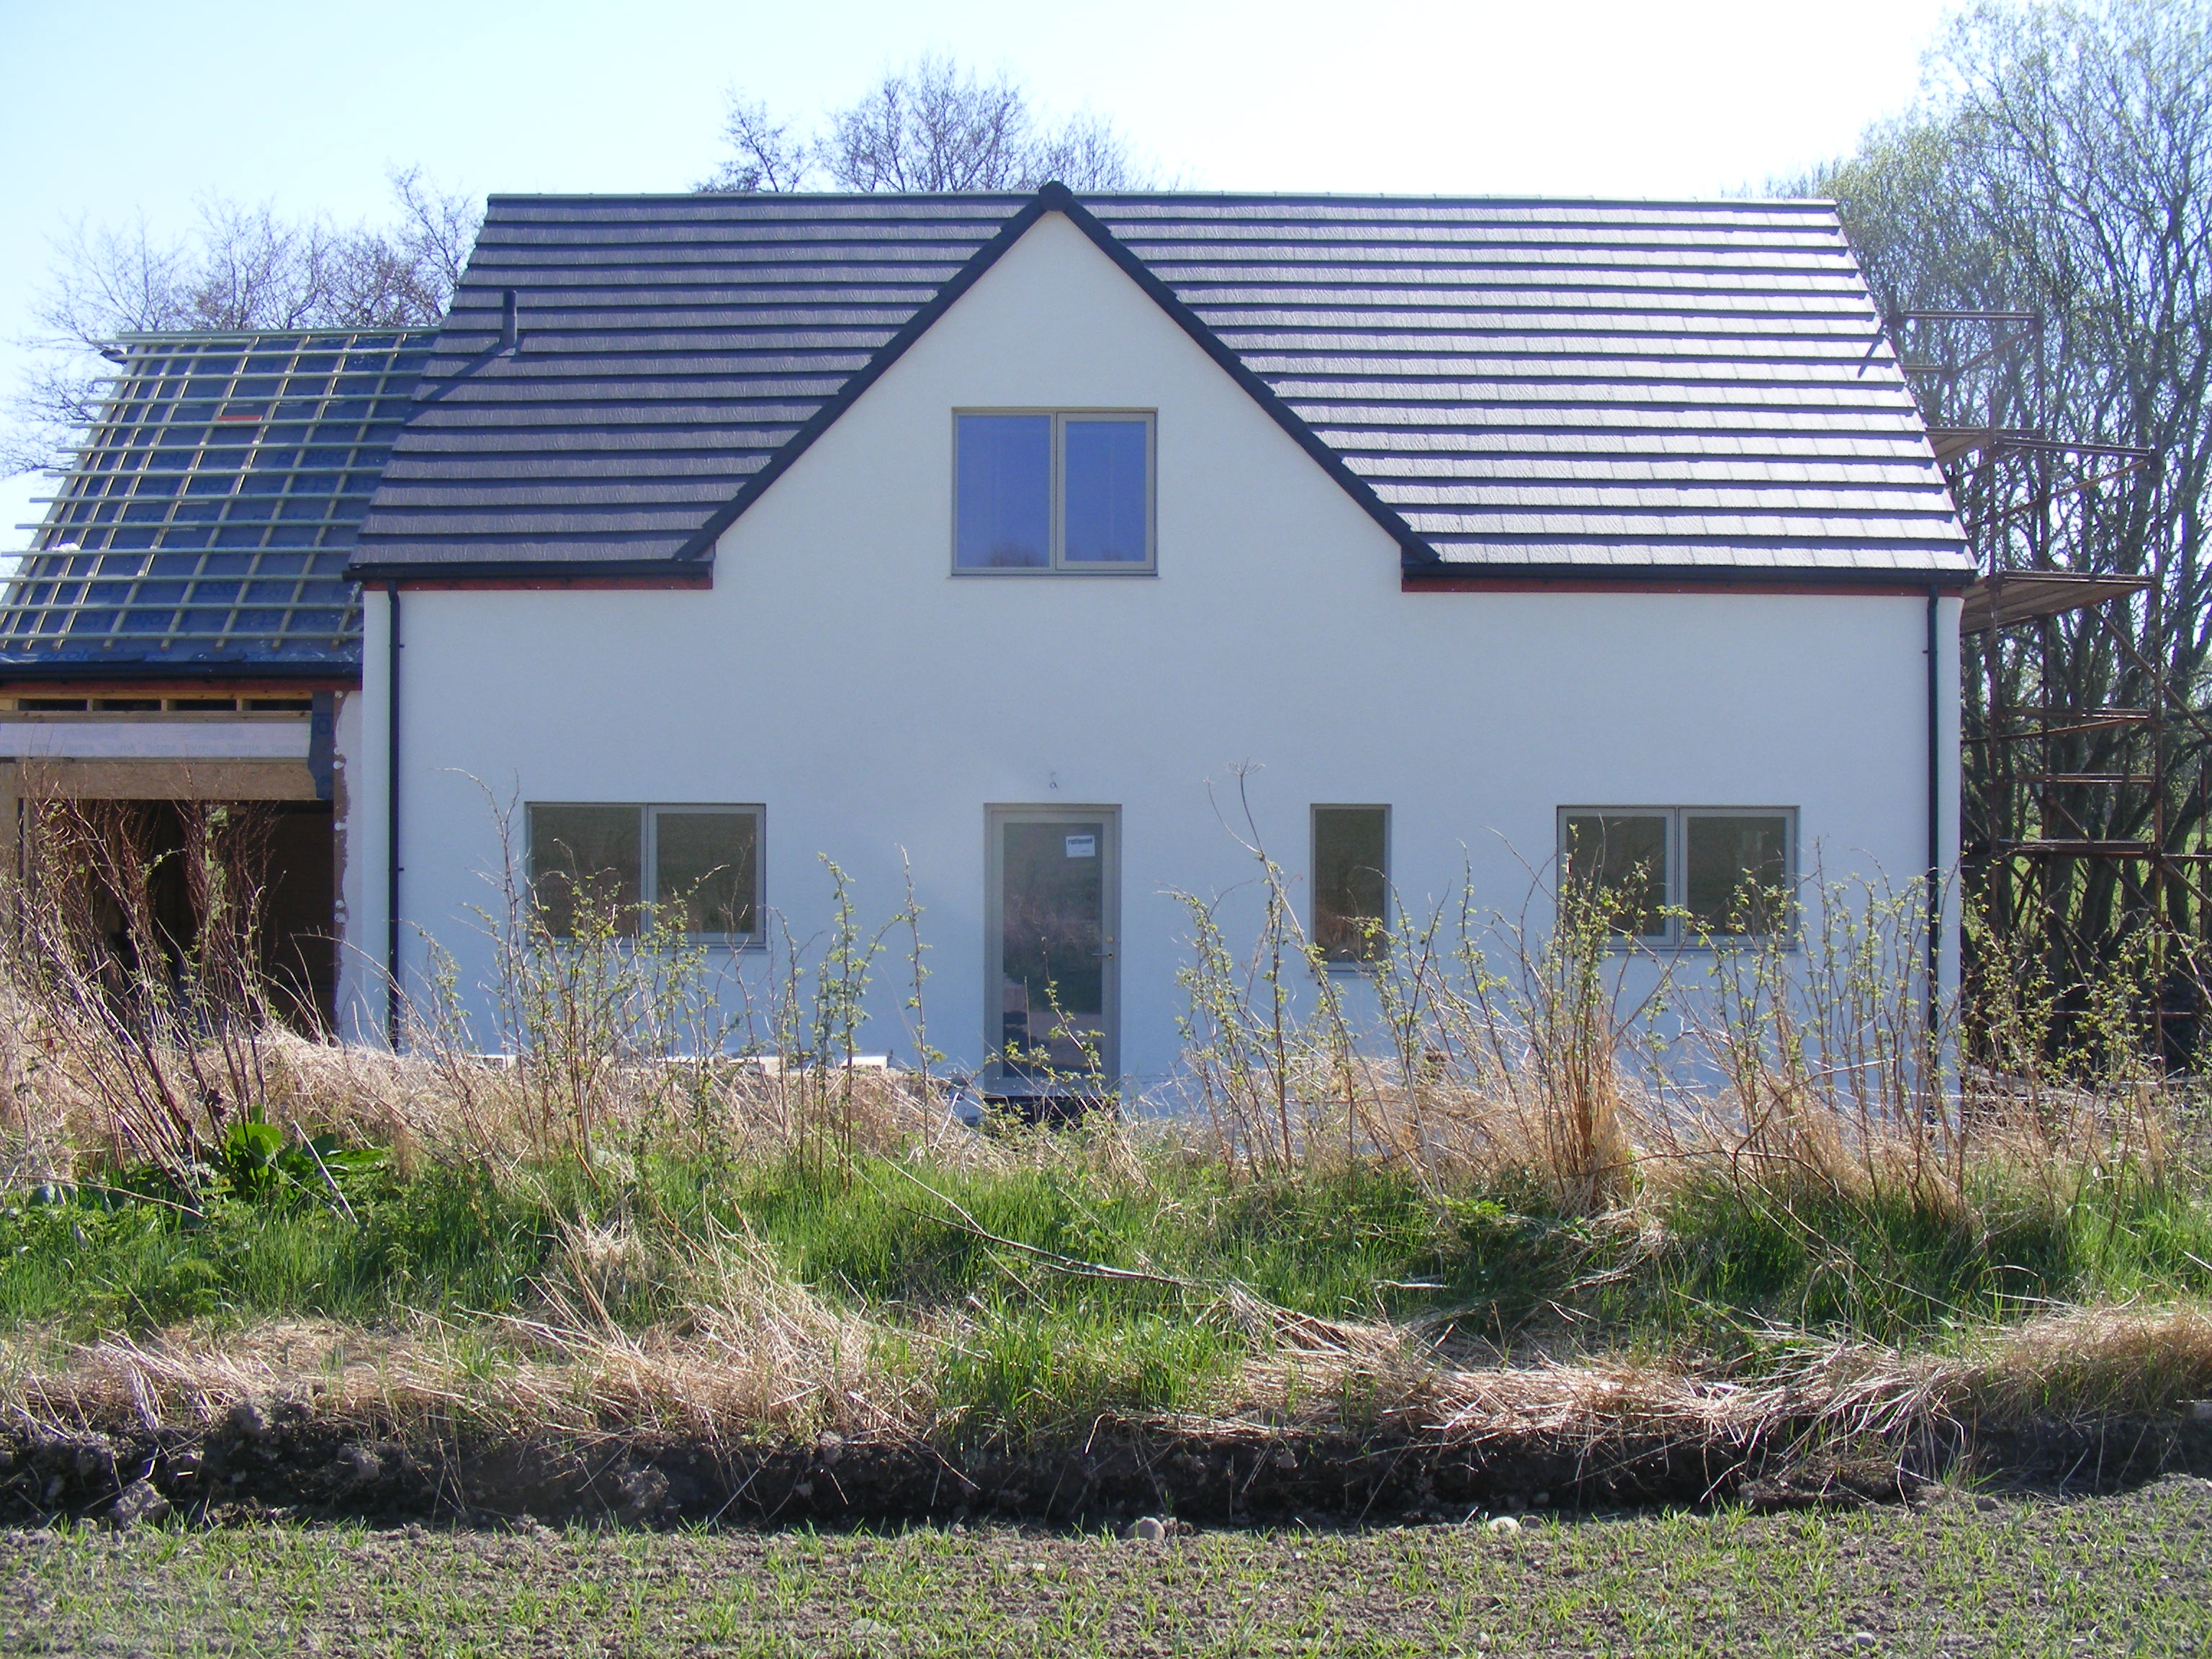
My roof is done with Edgemere Riven finish. It's a slightly thinner version of the standard Edgemere tile and with a riven finish to make it look just a little bit like slate. It was the only concrete tile that the planners would accept here having tried to get me to use slate.
-
Can you post a picture that will clarify the question above. Also more details on the house, age, type of construction etc. You can seal any gap around the pipe with something like solicone sealant but that may just shift the draught to somewhere else if you are not fixing the root problem of how the fraught is getting in.
-
I am happy with my Rationel Aura Plus alu clad windows. Any particular questions about them please ask. When I was looking for my windows I sent the window schedule to all the good window manufacturers that I could find. I think I had 5 quotes back. Of those Rationel were the cheapest, and the second best in terms of Uw value. the only ones offering a slightly better Uw value were Internorm, at twice the price. I bought the last few windows for my sun room earlier this year and they arrived exactly on the day I was told they would and there seemed to be no issues resulting from the B word.
-
That to me sounds like the water flow rate is not adequate and not taking heat away from the ASHP quick enough so it is getting too hot. Most ASHP's now have a water flow switch and will flag an error and shut down if the water flow rate is inadequate. I only encountered this issue once when setting up a GSHP and it kept throwing a high pressure error and that was the reason. It took a modification to the plumbing to improve the water flow rate to solve it.
-
Decking on a slope - Regulations
ProDave replied to Daddydog99's topic in Landscaping, Decking & Patios
Right. STOP. Don't remove a single plank of the old decking. It's been there long enough for you to apply to the council for a Certificate of Lawful development which basically admits it was built without planning permission and has now gone past the date at which they can enforce it's removal. WHEN you have that, you can commence REPAIRING not REPLACING the deck. Bit by bit. There was someone on here or perhaps another forum who had a balcony above garage that did not have PP but had been there long enough to get a certificate of lawful development, but he had not applied for one. He removed the whole lot and then started to replace it. The council enforced him to stop because he did not have the certificate of lawful development and by removing the whole lot would no longer qualify for one, and his "new" balcony needed PP. the same could happen to you if you remove the whole lot thinking you can then replace it with similar new.- 6 replies
-
- 3
-

-
- decking regulations
- decking height
- (and 1 more)
-
I have hidden your duplicate threads, no point asking in more than one place. Someone will be along soon I am sure to do the trigonometry.
-
Reducing road traffic noise by replacement glazing (renovation)
ProDave replied to thaldine's topic in Windows & Glazing
That reminds me, I once wired a house facing an RAF airfield. It was stipulated that all windows facing the airfield were non opening, and all ventilation terminals must be on the other side of the building with noise reducing ducts. -
Reducing road traffic noise by replacement glazing (renovation)
ProDave replied to thaldine's topic in Windows & Glazing
That is very true. We live close to a B road, and the house generally keeps most of the noise out. But what noise does get in, is the increasing number of quarry lorries going up and down the road. Particularly the empty ones on their way to the quarry. They "rumble" a lot as they pass over a particularly dreadful stretch of road, and that low frequency rumble gets in, probably through the foundations? more than any other noise. -
Legal advice on a shared driveway
ProDave replied to newbuild's topic in Party Wall & Property Legal Issues
It's not just access by car or on foot. If this is your only access to the public highway, then HOW are you going to get water, electricity, telephone and drainage to the plot? That is a FAR bigger detail to sort out first. -
Now we see the big picture "HV cables in vicinity" The blue cable will be 11Kv or 33KV. That's why you can't connect direct to it. It will feed a transformer in the vicinity that feeds the LV overhead cable you are connecting to. Be VERY careful digging anywhere near the edge of the plot. Try and be present when the mains supply is laid in as they will almost certainly locate the blue HV cable (it will in fact be black of course) and it would be a good time to put some stakes in to locate it precisely so you know to avoid it.
-
What the blue one? What does the text say? It's a bit blurred when i enlarge it. What features does the blue one connect to (out of this shot) if any?
-
Like I say what relevance is past expired planning permissions? All that is relevant is the final approved plans that you actually built to, and they only need those as a sanity check to make sure you are not building a tiny house and claiming for more materials than it actually used. Sometimes you think they make extra work and extra hoops to jump through for no valid reason.
-
Just buy one and fit it yourself. If you are not paying an MCS registered company to install it, you might find it is nowhere near as expensive as you think.
-
In what way is it damaged? If just a crack and it is still working for instance someone will take it for free for just tinkering about with.
-
Hi and welcome. Which part of Oxfordshire? (my old stomping ground) or another at Graven Hill?
-
My philosophy is any wall that has a socket on it anywhere, run the cable horizontally at that socket height, in the safe zone it creates, the entire width of the wall, leaving a bit of slack cable. Then in the future, if you need to add an extra socket on that wall, just cut the hole in the plasterboard for the back box and fish the waiting cable out. I had a stand up finger wagging argument with a joiner once who was adamant I was not allowed to do that and the cable must go down below the floor, then along, then up to the next socket.
-
Road closure for service connections - ARGH! :(
ProDave replied to tomfc's topic in General Self Build & DIY Discussion
When I did mine, I only had the road up once for Water (which happened to be the deepest service) and dropped in ducts for electricity and telecoms before it got filled in. And those services were happy to just use the duct that had magically appeared for them, and re quoted a lower connection cost with no need for the road up. Sometimes you have to be creative. -
Road closure for service connections - ARGH! :(
ProDave replied to tomfc's topic in General Self Build & DIY Discussion
Why is there no joined up thinking to coordinate these works? Should the council not try and encourage that? Do you actually need the road up or can the services mole under it? -
garage consumer unit supply advise swa 2 or 3 core
ProDave replied to Neil Gray's topic in Power Circuits
Choose a CU with a gland knock out on the bottom. Or just drill a 20mm hole.