
ProDave
-
Posts
30797 -
Joined
-
Last visited
-
Days Won
427
Everything posted by ProDave
-
I still like Hager, mainly because they keep the design of their stuff consistent, unlike some others. e.g fit a new MK mcb in an old MK board and it might as well be a comnpletely different make as they keep on changing the design. I have a Hager in my new house. I have fitted a couple of the BG new metal consumer units and I liked the ease of knocking out the knock outs, and the fact the top and bottom entry knockouts were mostly 20mm round, perfect for terminating SWA. My Hager CU is an "old" one that has a metal back but plastic front, I made sure it was fitted last year before the new regs came into force. I am flush mounting it, i.e the back of the CU is screwed to the OSB "back" of the service void, and when battened and plasterboarded, just the plastic front of the CU will show in front of the plasterboard.
-

"remeasure" procurement contract issue
ProDave replied to ragg987's topic in General Construction Issues
This sounds a bit like sharp practice and very much "buyer beware" If they omit to price for any of the materials (and put the quantity at 0) then it gives a somewhat false and very cheap impression of what the contract price is, leaving a nasty shock for the customer later. That's fine if the customer is aware that there is no costing for some of the materials and that the final price will be higher, but was that made clear? or do they assume all customers understand "contract speak"? -
Marbo used to be Volex / Wylex in disguise. At least they used to sell Marbo consumer units that were ideniticl apart from the name stamped on them to wylex boards. It's fair to say they are at the budget end. For my money, I will but using Scholmore Click Mode switches and sockets. Very cheap, but quite nice looking and well made.
-
Recommendations for breathable roofing membrane?
ProDave replied to Crofter's topic in Roofing, Tiling & Slating
We used Protect VP400. It was chosen by our builder as in his opinion it was one that would stand up to being exposed to the weather for a long time before being covered. It's a non tenting breathable membrane laid in our case onto the wood fibre board. Non tenting means it can be laid direct on the board and water won't come through (as in you touch the inside of a tent and it starts to leak) -
First, if you want dry lining boxes, then without a shaddow of doubt get Appleby. They never give trouble, unlike some other makes which can be dire. I buy a lot of stuff from CPC, and I also use Screwfix (electricfix), toolstation, and TLC direct. I also buy a surprising amount from ebay, e.g I can't find anywhere else where I can get smoke heat and CO alarms as cheap.
-
You will need some scaffolding soon. Just waiting for my renderer to do my gable end then I will have some for sale (sorry for the blatant plug)
-
I was trying not to politicise this thread. But Jeremy has hit the nail squarely on the head. In my line of work as a self employed electrician, I get to see a lot of people in a lot of different houses. If I am called to a detached house in the countryside I am 90% certain the occupants will be English. If I go to a terraced house in town, I am 90% certain the occupants will be Scottish. Now since the referendum, it was "decided" that Scotland would remain part of the UK, in our "once in a generation" referendum. The trouble is, the SNP still don't accept that and are not prepared to honour the once in a generation bit and are just looking for any excuse to have a re run. The result is that while Scotland it technically in the UK. I can't believe that many people in England believe that, and while once moving to the Highlands was a desireable thing for English folk to do, it is not so at the moment. It's very telling, that the three viewings we have had, were Scottish people, so rather confirming my view that 90% of the people that previously would have bought this sort of house are now not looking in this area (probably not anywhere in Scotland) The only consolation is the situation could have been a lot worse. In the run up to the referendum I met a lot of English folk who said they would move back to England if the vote had been for independence, so if that had happened there really would have been an over supply of houses on the market and a lack of buyers. You can probably guess I did not vote SNP/
-
Oh my that's a worse situation for sure. I don't care what nationality buys it, the colour of their money is the only thing that interests me. It does annoy me when the news on the tv, even the Scottish news, keep on spreading the myth that house prices are rising because deamnd is outstripping supply. I have said it before, house prices up here are so low, you really would struggle to build a new house and then sell it for your costs. As I have already said it's going to have cost us about £250K all in, and I doubt it would be worth that if we tried to sell it (not that we intend to) It would have cost a lot more if I hadn't done so much work myself. No wonder the mass market builders build such rubbish houses, they simply cannot afford to build them properly, they would lose money.
-
That is an option. Auctions tend to however have a reputation as a place to get a bargain, so I wouldn't expect to get much for it and certainly not my reserve price (allowing for the auction costs) I know of one familly about to do this. They have a 4 bedrom house to sell in Dunoon (so the problem selling is not just the Highlands) They are currently renting a house that they intend to buy when their old house sells. I think it's Novemer this year that the time is up and they start getting charged double council tax and they say that's when it goes to auction. I will watch very closely how much they get for it.
-
I will try and remember as much as I can of what I tried to post earlier. In Scotland, you have to have a home report done before marketing a property, that includes a valuation. In my case the home report as you would expect of a 12 year old house, found nothing wrong and valued it at £300K. That valuation did not include the range cooker, big fridge freezer and solar PV system that we expect to leave with the house, so the reality is we would have hoped for say £305K? No estate agent here will give you an opinion of valuation, they all refer to what the home report says. The house is currently on the market for offers over £285K and we have had 3 viewings in 18 months. So already offered below valuation. I honestly don't think price is the "problem" and the only way you could "force" it to sell would be offer it at give away money. The problem is there is no market for big houses up here at the moment. The local agents tell me small houses in the town are selling but nothing big. The one agent who has been honest with me says "expect it to take 3 years to sell" There were 3 other similar sized properties for sale here within a mile. These were all on the market for about 4 years. They all sold just after the Scottish independence referendum, and we thought the market had turned and that it was safe to put ours on the market, but that doesn't seem to be the case. We didn't want to put it on the market sooner and add to the over supply. Ours is currently the only large house for sale in this area. We can't drop the price much more. Best estimates are that the new house will have cost £250K to build by the time it's complete. So that is the absolute 100% minimum we would ever begrudgingly take for our old house and if it goes that low they don't get the PV and they don't get any moveable items, no range cooker etc, not even the light bulbs. There is no mortgage on the old or the new house and there never will be, we are both self employed on low incomes and what we could borrow is not significant in the scheme of things. Part of the intention with building the new house and selling the old one was to downsize from 5 bedrooms double garage to 3 bedrooms single garage, and release some equity in the process. It would be a VERY bitter pill to swallow if we only break even on downsizing, and I can tell you 100% now, that there is no way on this earth that we would sell the old one for LESS than it costs to build the new one. I am NOT paying to dowsize. I am enjoying building the new house, but this problem selling the old one is something we did not expect and don't want. I would not wish this situation on my worst enemy. It is casting a very dark shaddow over the whole project and the old house has gone in my mind from being our comfortable home to being a bloody millstone round my neck holding us back. Yes the present house is run as a B&B but the occupancy is never particularly high, we are not really in a "tourist spot" We are still operating the B&B but not taking bookings for more than 2 months ahead, just in case we find that elusive buyer. Our property is listed on airB&B I heard wonderful things about that so listed it at the beginning of the year to try and improve our B&B occupancy. So far in 6 months, not a single enquiry from that. So people don't even want to come and stay here, let alone live here? It would be bloddy nice if certain politicians when they said "once in a generation" they actually meant it and just shut the hell up about it now.
-
d If it's supposed to, then it's not working. No restore draft option. I expected that when I re loaded the page after my BB crashed, but there was nothing.
-
I typed a long reply then lost it when my broadband crashed. I have to go and do some work now, I will be back later and try and remember what I typed.
-
Some of you will know of the predicament we find ourselves in. Part way through building the new house. The pot of money to do so is dwindling quickly. Present house has been on the market for 18 months, in that time we have had 3 viewings and no offers. We changed to a new estate agent in the spring because they promised the earth and have failed to deliver on a number of key items they stated. Thus proving they are all as bad as each other and just tell you what you want to hear to get you to sign up. We are on a 20 week sole agency deal with the present agent that expires in August, so we can't do anything until then but let it run and hope. But what to do after that? One option is to try another agent, but the fact 2 have failed to find a buyer is a pretty good indication there simply isn't a buyer for our house at the moment (that's a whole new topic of conversation that starts getting me angry so I will avoid it for now) There is still quite a bit I can do on the new house spending the small pot wisely. I can finish the outside wood fibre cladding and rendering. I can finish the drainage. I will landscape the site (yes I know that's a strange thing to do so early but then I can sell the digger). I can finish insulating and cladding the walls ceiling and floor inside with OSB. I can frame up all the partition walls and first fix wiring and plumbing. What I can't do is big ticket items like mvhr, heat pump, plasterboarding and plastering, kitchens and bathroms, internal joinery, windows and doors for garage and sun room, wood cladding for sun room. So what to do if come August the old house remains unsold? One option which SWMBO is pushing hard for is to rent the old house. She even has someone interested in renting it. It would only fetch a rent of £800 per month, which is barely a little over 3% of its value. It is not the sort of house you would buy for rental, it's too big and over the rental ceiling price for the area. So I am trying to work out the pro's and con's of renting it. Pro's: It would give us £800 per month to spend on the new house (less fees and tax). That would only mean slow progress, i.e. it's likely a whole years rent would only buy the kitchen. I could couple this with cashing in one of my pensions in 2 years time when I turn 55 which would give a pot of money to help finish the new house, but I can (and will) do that even if we are not renting and it has still not sold) Can't think of any more pro's. Con's We would have the red tape of re registering as landlords, changing the house insurance to a rental policy, updating certain things in the house like the new requirements for hard wired CO and heat alarms (not a trivial job to do nicely) We would be spending a long time in the caravan, longer than if we could just sell the old house. There are council tax, home report and other complications. It only defers the need to sell, not removes it, and we would be gambling that in a couple of years time things would be better to try again. It would be virtually impossible to sell the house while a tenant is in it, so it would have to be taken off the market. No doubt by the time tenants have finished disrespecting our home, it would need a lot of re decorating and repairs before we could try selling it again. I will talk about the "complications" At the moment we don't pay council tax on the plot as the caravan is not occupied (and because the final drainage connection has not yet been made, it is not habitable so cannot be liable for council tax) If we went ahead with the plan to rent the old house, then the caravan would be made habitable and we would be paying council tax on it. That raises an issue with the old house when we come to sell it later on. It too would still be liable for council tax, but there is a sting in the tail. If it sits too long empty trying again to sell it, there comes a point where you are penalised up here for having an empty home and they start charging you double council tax on it. If the house is off the market for a couple of years we would be forced to pay another fee for re doing the home report, more money for old rope for the "professionals" just to get back to where we were. If it were my decision alone, I would not be considering renting it yet. Can anyone give me good reasons for or against renting it?
-
I have moved all the mobile phone repeater discussions to a new thread here
-
Yes, but it would still be rubbish if you lived here and only had a 2G signal. I agree, if you live somewhere where you have a good, reliable 3G or 4G signal, and can get a decent phone package with unlimited data, and can tether your computers to it for broadband, then I might, just might, ditch the landline. I won't hold my breath while waiting.
-
Which probably explains why I still only think a mobile phone is something to talk to people on, or if you really really insist I just might peck away at a silly minute keyboard to send a text message, but only if I don't have an email addrerss to send a message using a proper full sized keyboard on the computer. We only get 2G here, so as you say data is a non starter. SWMBO does use her phone to "do" face book, but only because it is connected to the house wi fi and can use our broadband connection via the landline.
-
That only has an omni directional outside aerial. If you have a weak signal (which lets face it is why you are using one of these) you really want the version with the yagi aerial.
-
I know it's out of date, but sitefinder tells me we only have a 2G 900Mhz phone mast withing range, so I just bought the 900Mhz version of the repeater. I only paid £25 for mine but I haven't seen it that cheap since. Yes the PSU failed, usual Chinese rubbish, but I had a spare and it's working again.
-
Box profile roofing - eaves details needed.
ProDave replied to ProDave's topic in Roofing, Tiling & Slating
Thanks. So I will allow for a vent strip and a few mm for the thin bit of the filler strip. -
A Timber framed house with external wall insulation
ProDave replied to ProDave's topic in Timber Frame
Yes if you opt for the blown in insulation you have to drill a hole in each segment of wall and the plug gets put back and sealed with air tightness tape. What thickness is the OSB layer of a SIP panel? there would be a fair weight with 160mm of wood fibre and the render, would that really hold well enough just into OSB? I am much more comfortable knowing mine is screwed into the timber frame. Also I have ended up with two different makes of the plastic caps that spread the load. One of them takes a fair bit of grunt to pull the cap flush into the wood fibre board, I would be concerned that you may strip the fixing into the OSB before the cap has pulled in flush. I would want the SIP panel manufacturer to agree in writing that this is okay before comitting yourself to it. -
Box profile roofing - eaves details needed.
ProDave replied to ProDave's topic in Roofing, Tiling & Slating
So I am guessing the "filler piece" is not individual bits just to fill the "bumps" but a continuos strip? So what is the typical thickness of the "thin" bit of it? So it looks like I will need to allow for a ventilator strip and then this filler piece? -
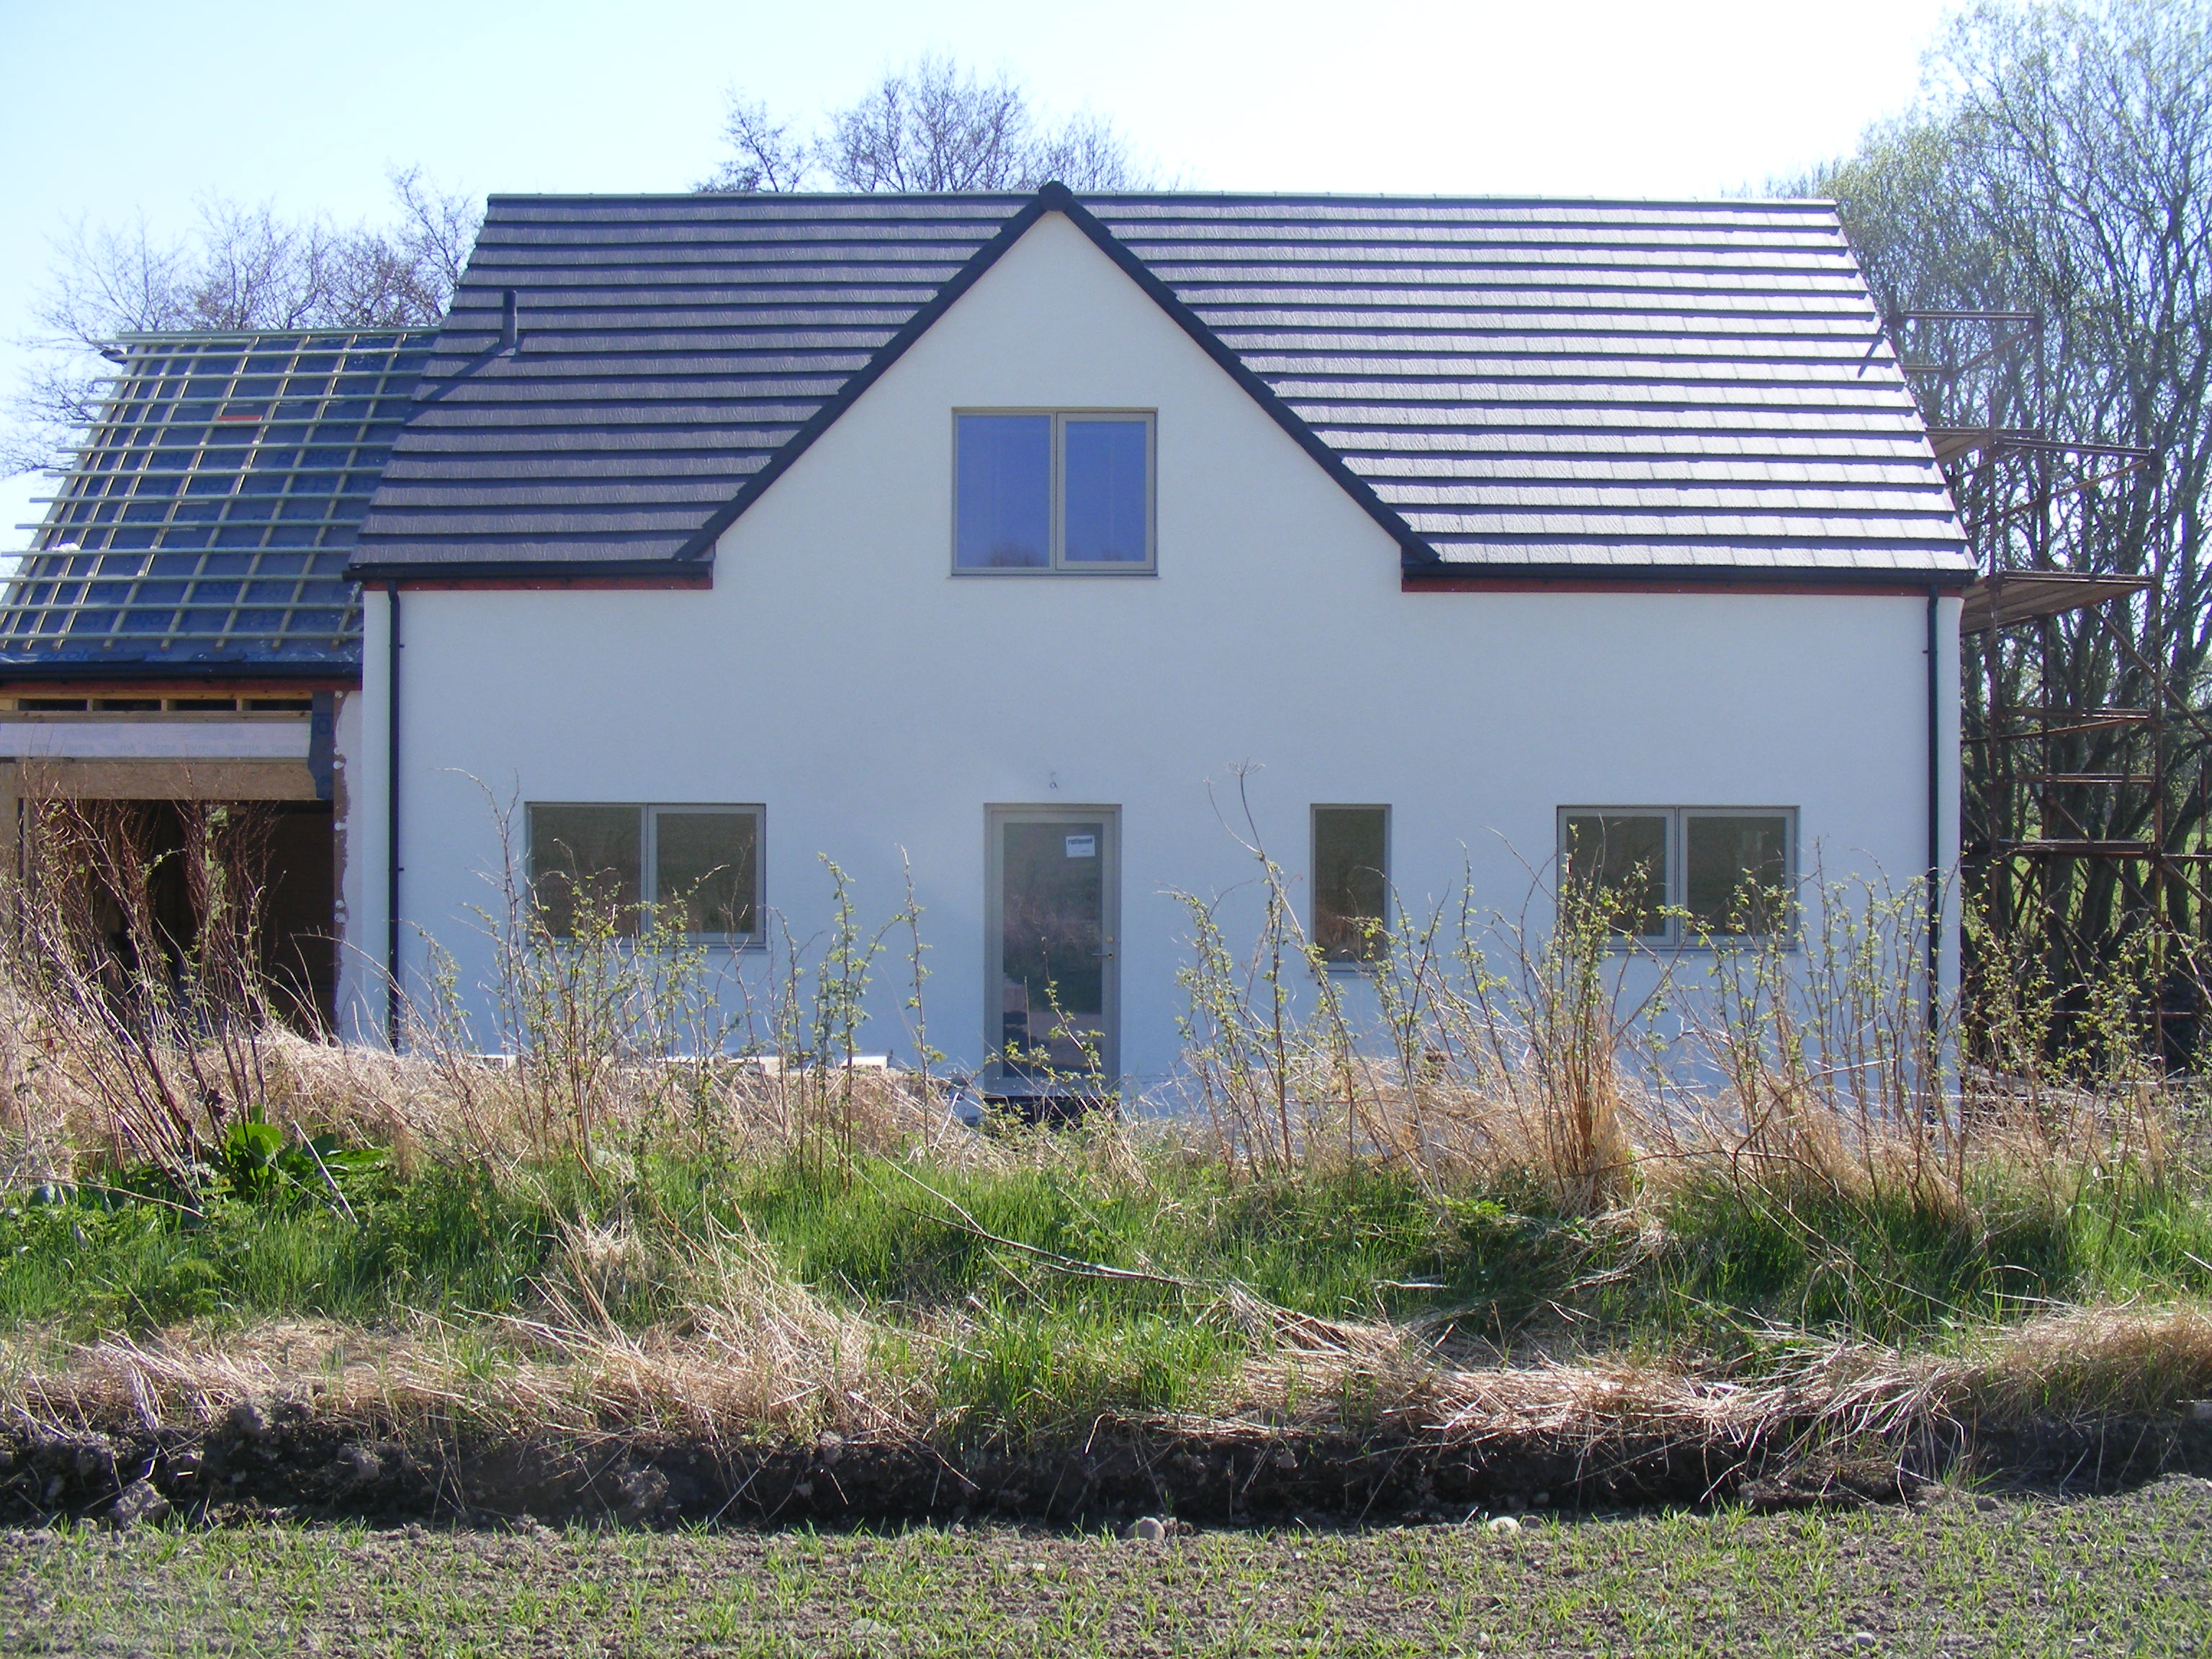
I'm still busy fitting my wood fibre board cladding and have come to the point I need to finalise the eaves detail of our sun room, even though it will be some time before the roofing material actually goes on. The sun room is a single storey room with a low pitched roof clad in box profile steel sheets. I haven't even begun to look and which one etc. What I need to work out just now is how the eaves detail works with box profile rofing as I have never used this berfore. With a tiled roof, I set the fascia board height so that it has a ventilator strip on top of it and it set to the correct height so that the bottom tile rests on that ventilator strip. So do I do the same with box profile rofing? i.e use the same sort of ventilator strip and set it at a height where fascia plus ventilator stip just touches the underside of the roof sheets? OR to I not fit a ventilator strip at all and set the fascia so the wood of the fascia board touches the underside of the box profile sheeting? That would only leave the "bumps" in the roofing sheet to provide ventilation. And also, whichever option I choose, how do you fill in the "bumps" to stop birds and rodents going up under the roof sheets? I presume you buy a filler piece, is that solid, or perforated for ventilation?
-
This thread was split from a discussion about workshop lighting that went off topic: Can't help with the lighting, but try one of the cheap Chinese mobile phone repeaters from ebay.
-
Hi and welcome to the new forum. Keep us posted with your progress and get busy asking questions.
-
But on that logic, should you have not done the whole sequence including the sums not shown, 4+7, 5+8, 6+9, and 7+10 then finally adding the total to the 8+11 sum?
