crispy_wafer
-
Posts
1214 -
Joined
-
Last visited
Everything posted by crispy_wafer
-
Another day, another cock up & compromise
crispy_wafer replied to crispy_wafer's topic in Consumer Units, RCDs, MCBOs
Thanks. You guy's a more experienced in this than I, so I'm trying to piece it all together, maybe I got confused. so Normally it'd be DNO 80A----Meter---(<3m)----Consumer unit But I want DNO 80A---Meter---MySwitchFuse-(>3m)--Consumer unit. Can MySwitchFuse be the same rating as the DNO's then? I got the impression from a spark it needed to be less. Loads, Usual house stuff, Electric oven/hob, 9kW ASHP, 8kW A2A HP, Stables lighting and power, Garage Lighting and power, planning Car charger or 2. -
Another day, another cock up & compromise
crispy_wafer replied to crispy_wafer's topic in Consumer Units, RCDs, MCBOs
I looked in the meter box and the cover says 80A on it, they then visited me to confirm.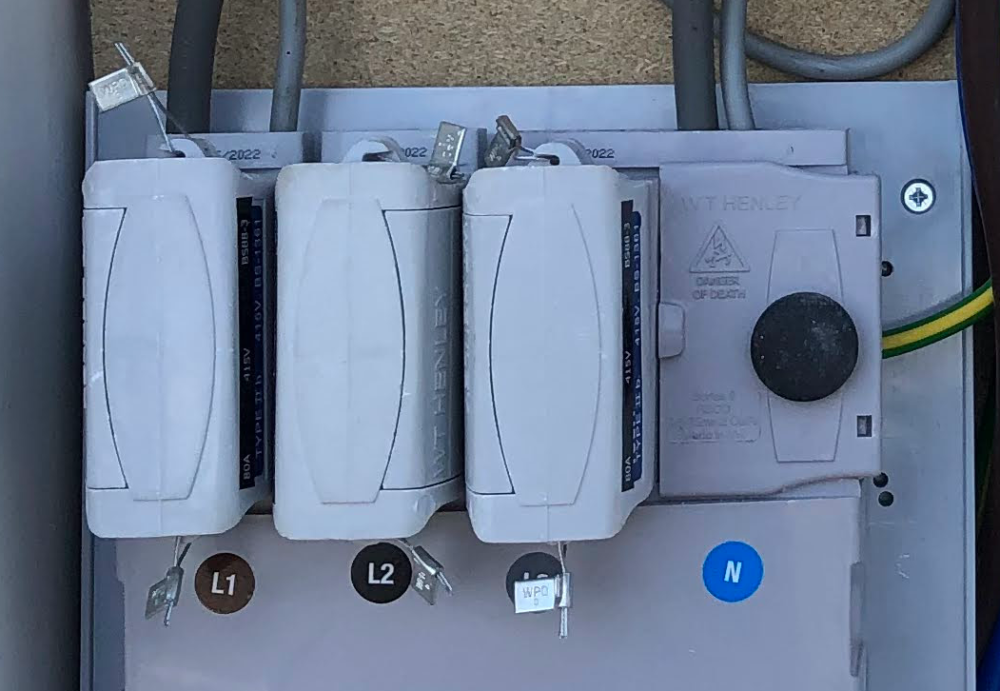
-
Another day, another cock up & compromise
crispy_wafer posted a topic in Consumer Units, RCDs, MCBOs
Back story, Old bungalow had electric supply with 100A fuse in meter cupboard, I requested supply to be moved to the new build, meter box installed at a point that would allow easy access in future. I noted that I could install a switched fuse thingy and run my tails to the other side of the build for my CU approx 15m in total. So I was planning on an 80A switch to the plant room and CU. Last Week I've since discovered when WPD moved the supply they installed 80A fuses on the 3ph board thingy (only using single phase at the mo), Surely I don't really want to be stepping down from 80A just to get the tails to where I'd planned the CU... I've spoken to National grid/WPD to see if they'd upgrade the 80A fuse to 100A for me, they came out to have a look but cant. They can however do a few tweaks and unlock the 3ph for me for a few ££'s So, I think I'm deep in the do do here, and not sure what I can do. Less than 3m from the meter box leaves the consumer unit in the Kitchen, or a downstairs bedroom, and at 1.4m off the floor will look cack. I am a bit stuck for idea's, so is there way I can get the tails to the CU safely, and within regs. Or am I stuck trying to hide a CU in a bedroom or kitchen. Probably even worse if we have a 3ph unit put in, the ones at work are like cupboards! -
Reckon you've probably got enough manual work to do, get a volumetric mixer in and have a cuppa whilst they mix and pour, then just pay for what you use.
-
As my receeding hairline has found out, unless designing something in from the start, with the person who is doing your drawings, then the odd compromise, or change from the normal lines of thinking is absolutely needed to make your dreams a reality.
-
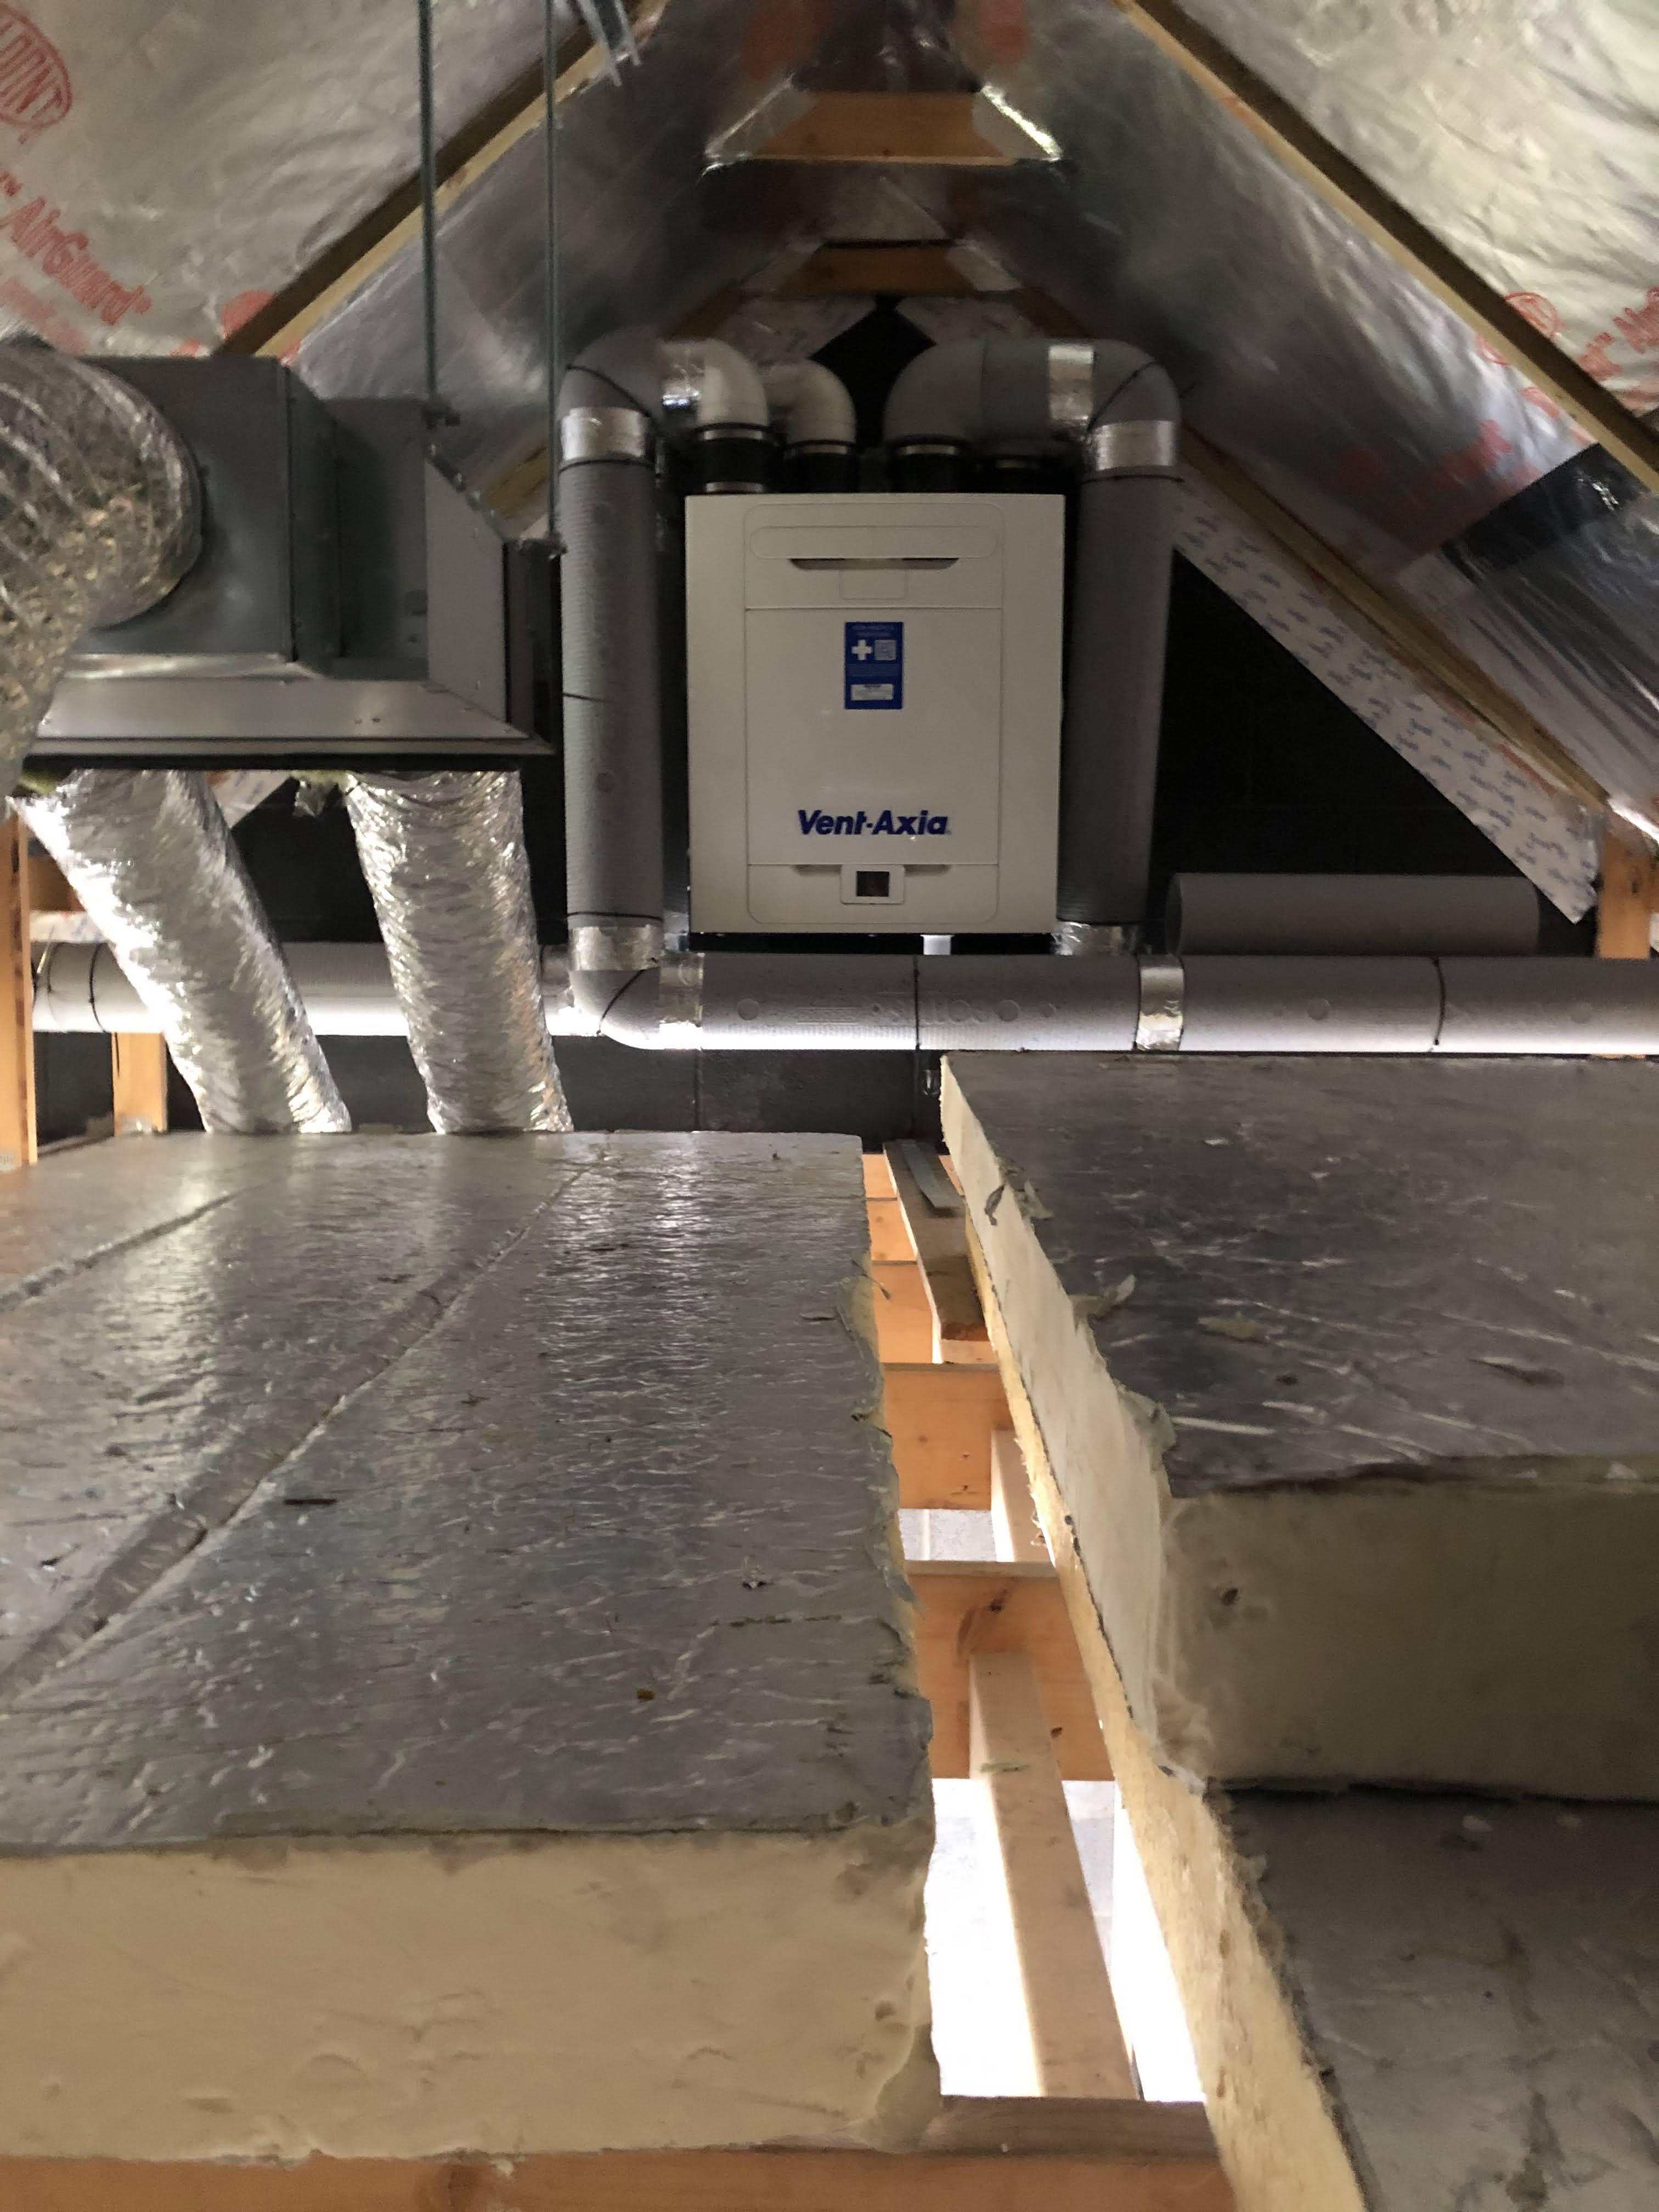
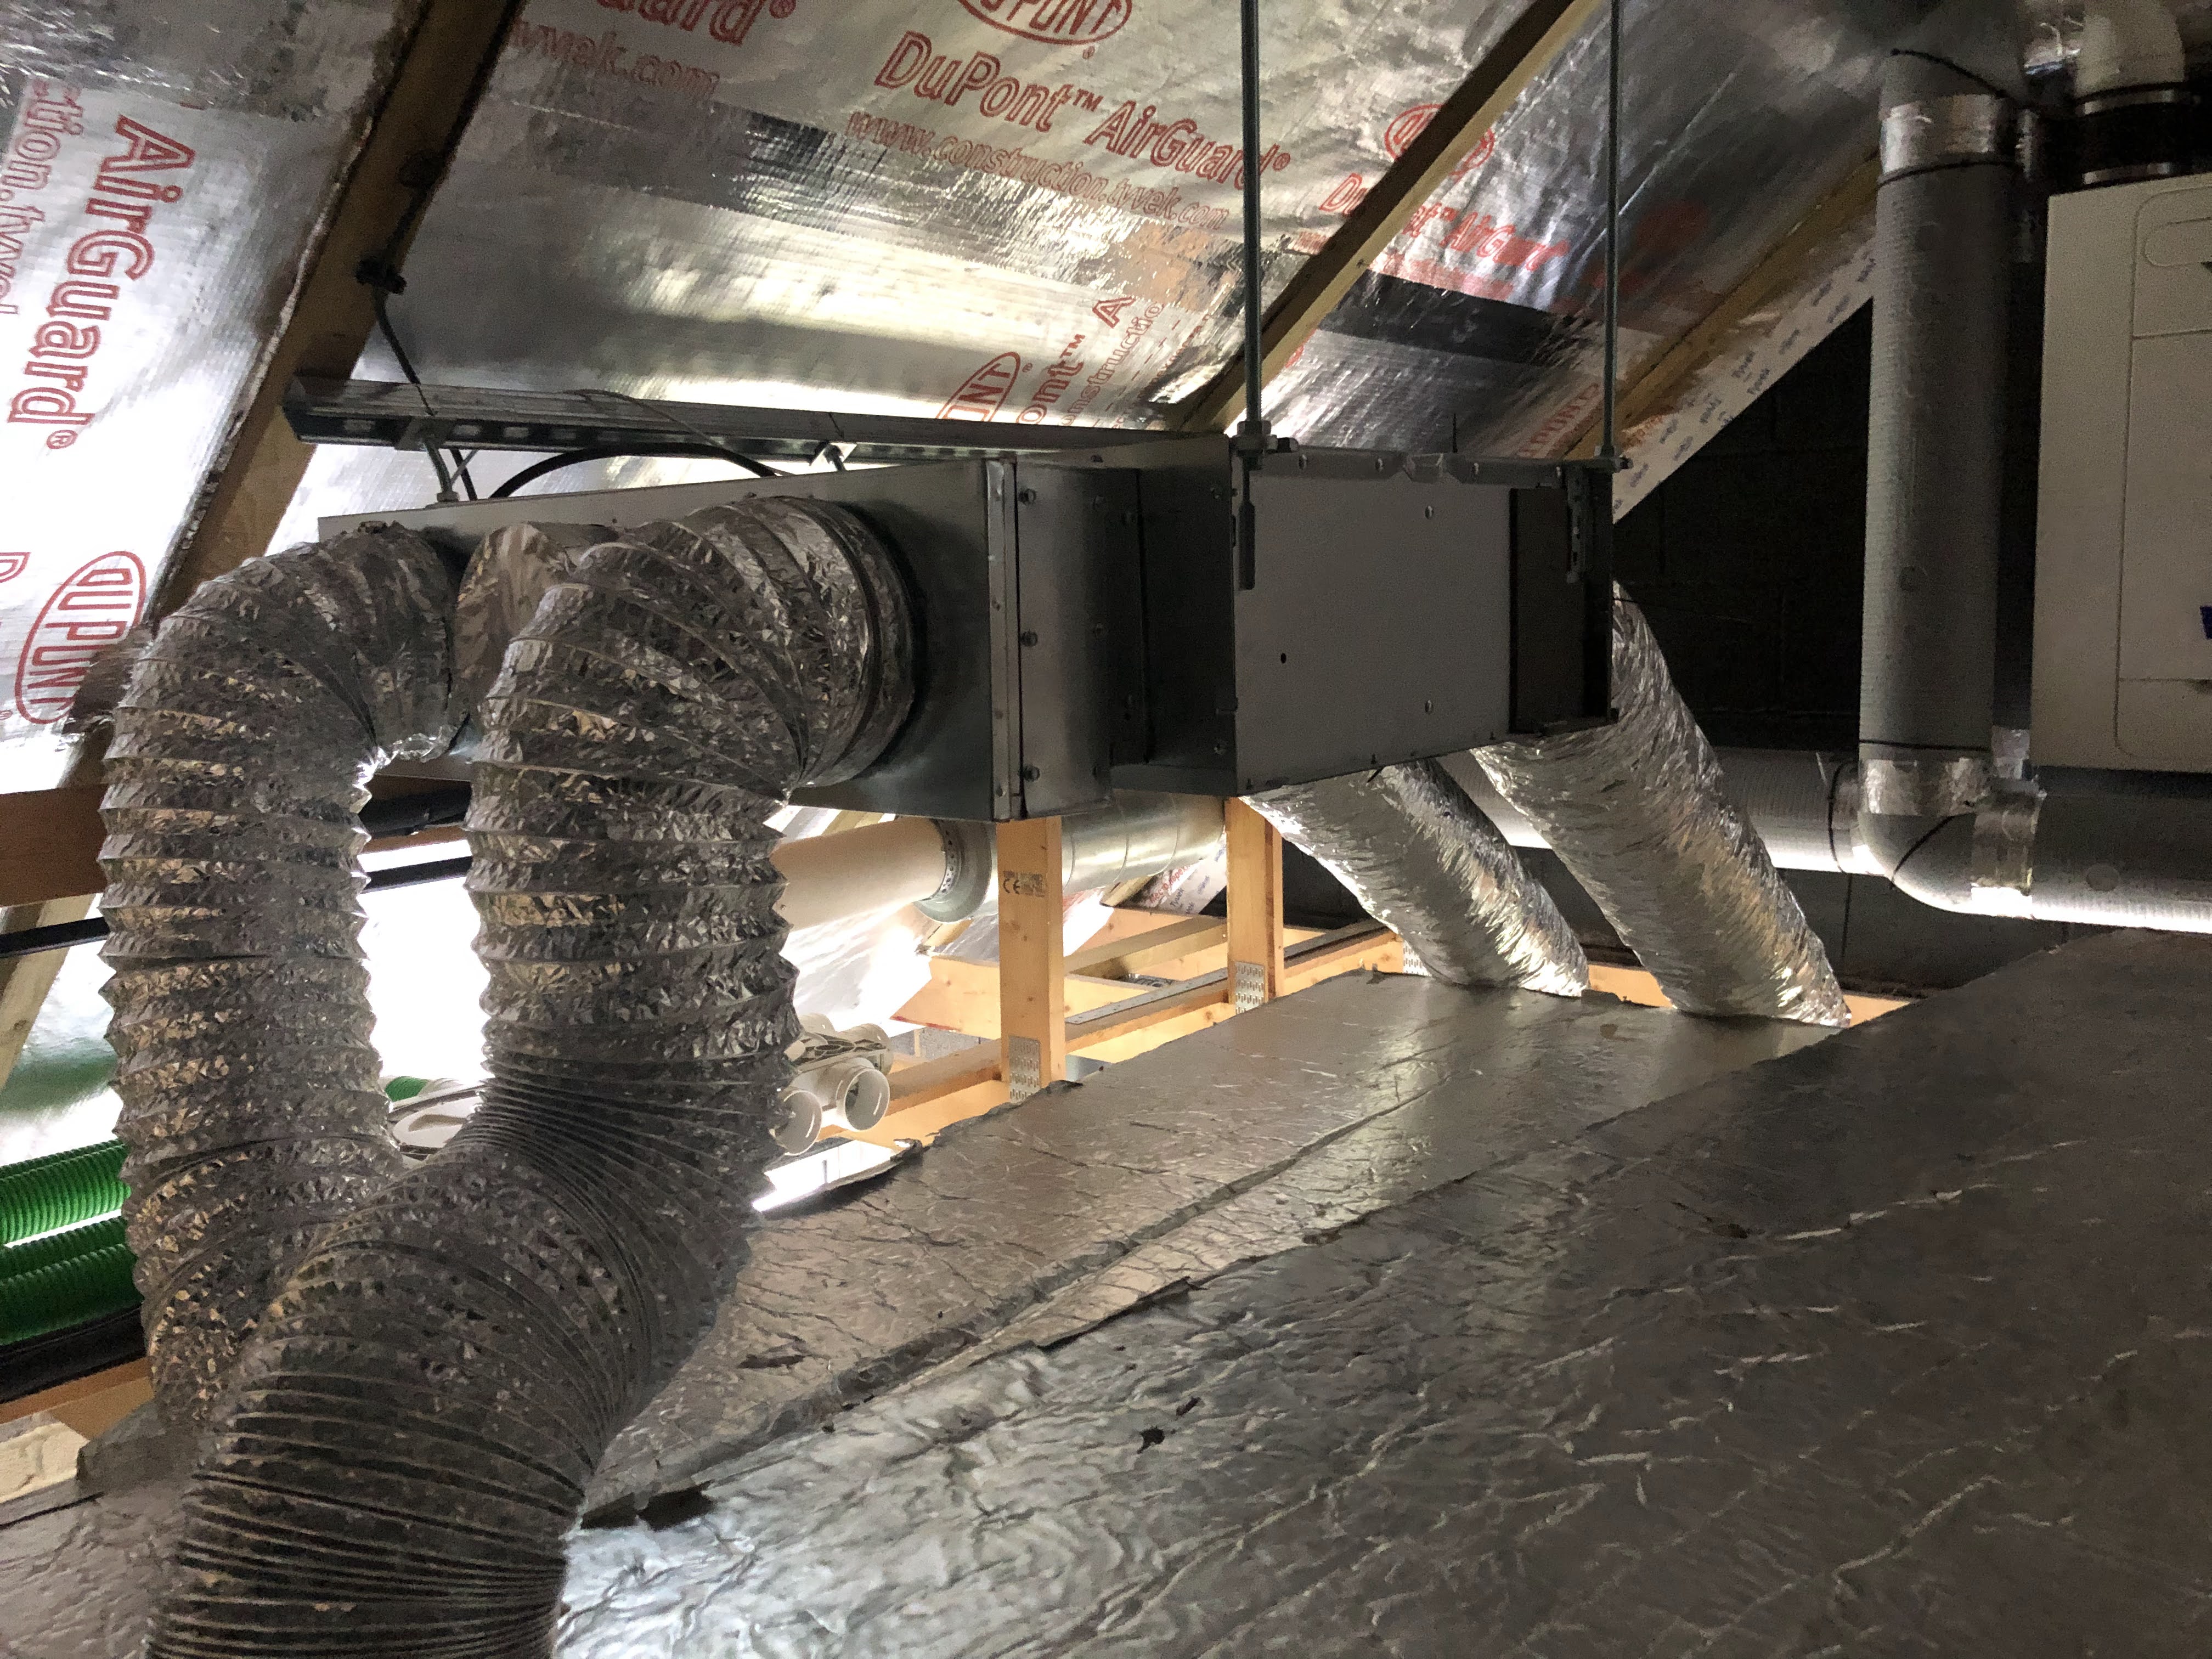
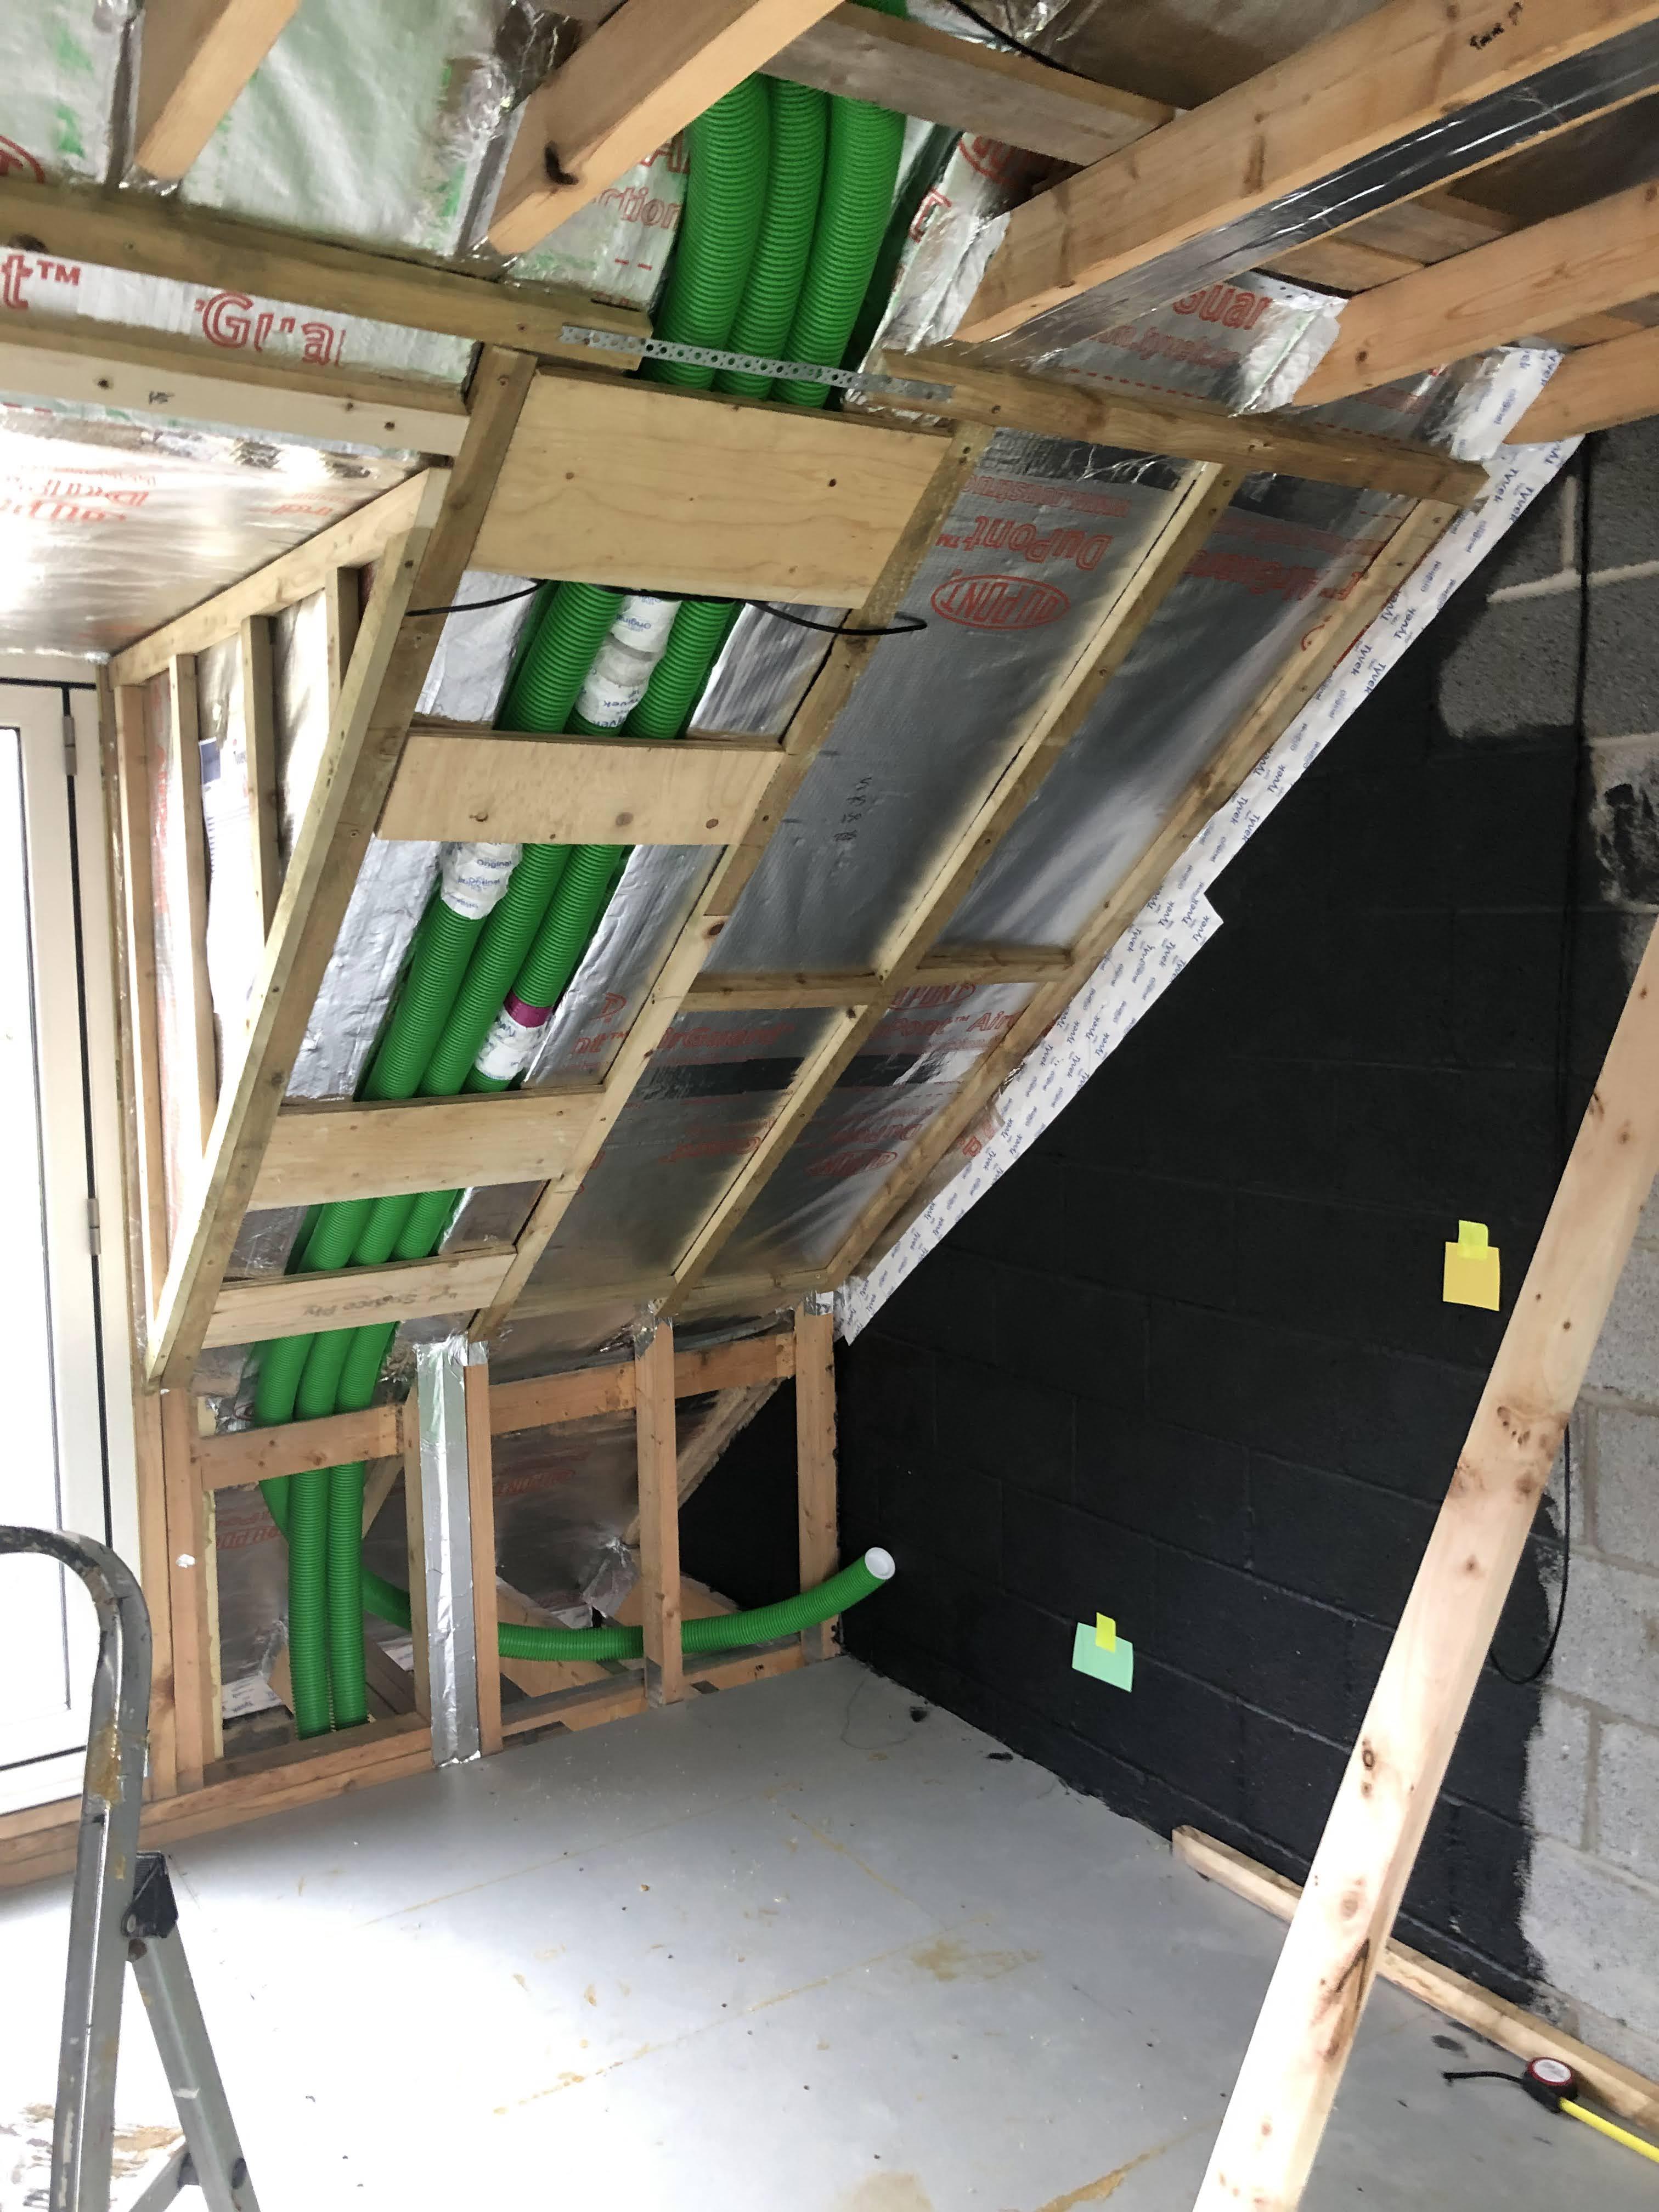
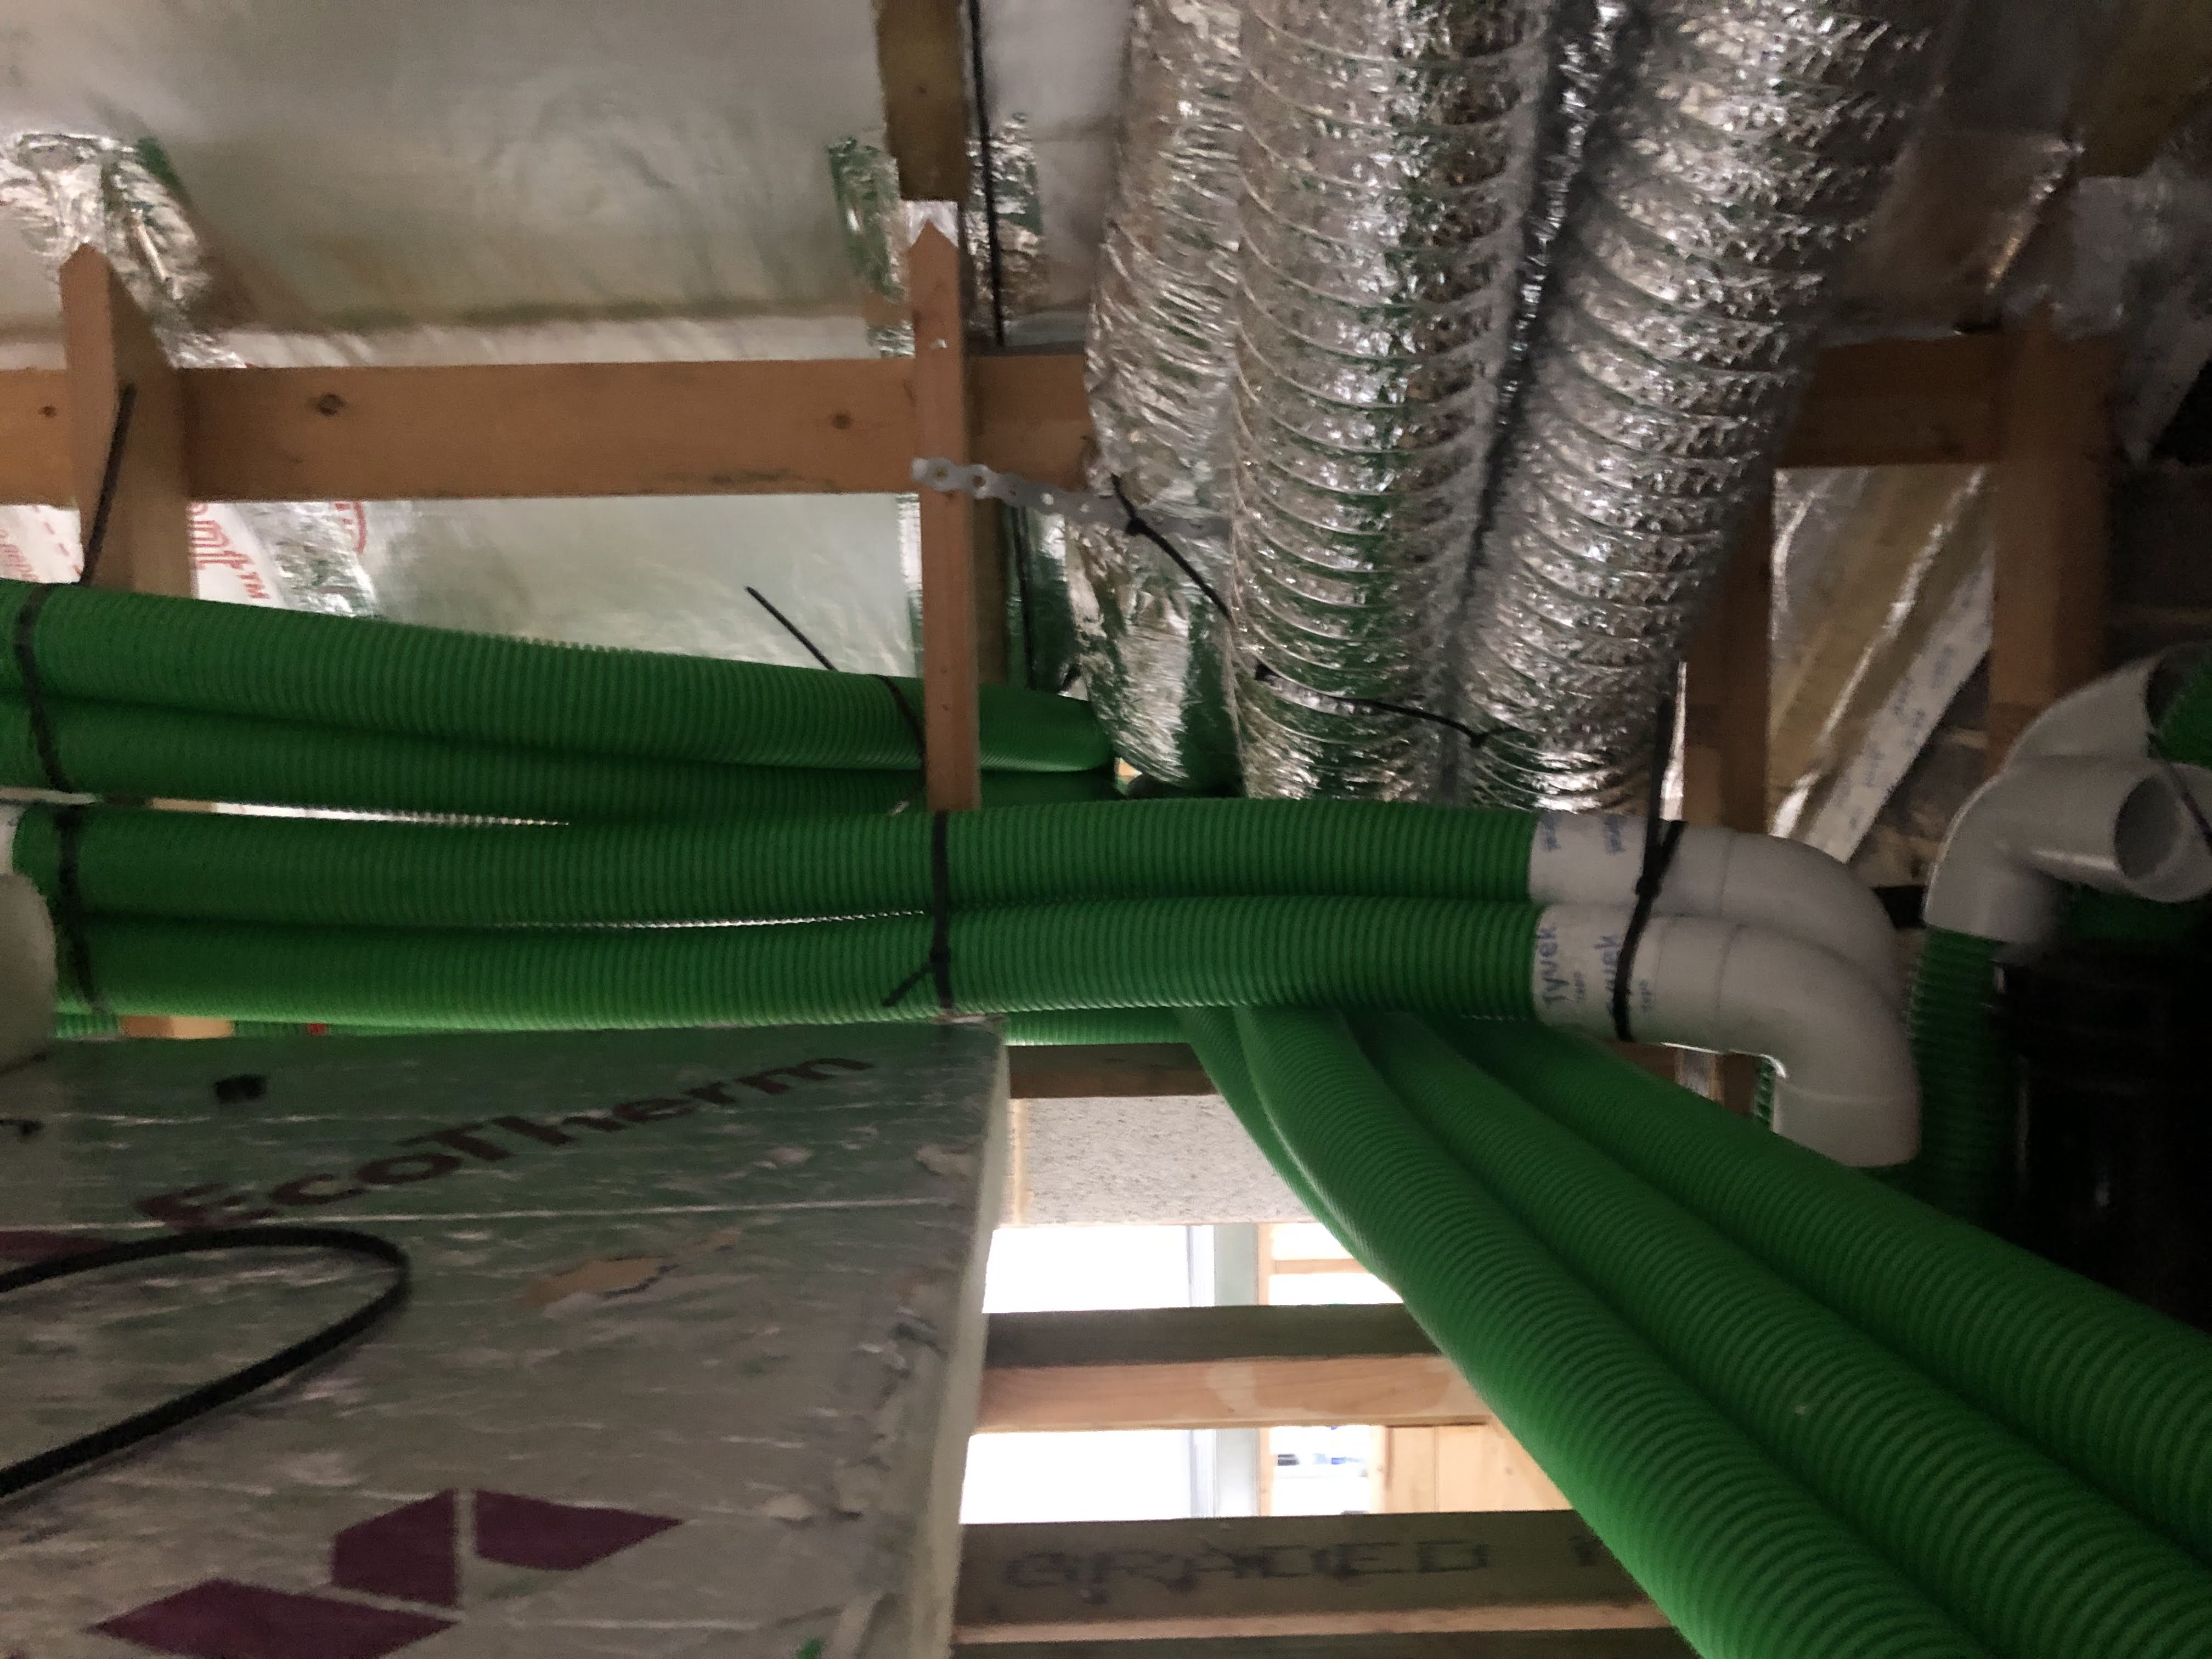
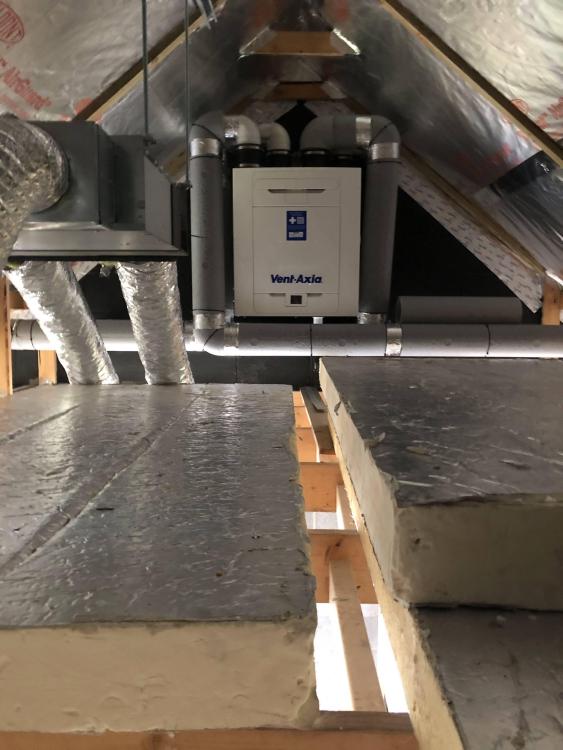
Here she is in all her glory... Still in progress, so a bit of connecting and tidying up to do, but if it gives others a bit of inspiration like photos on this site have for me then all good.
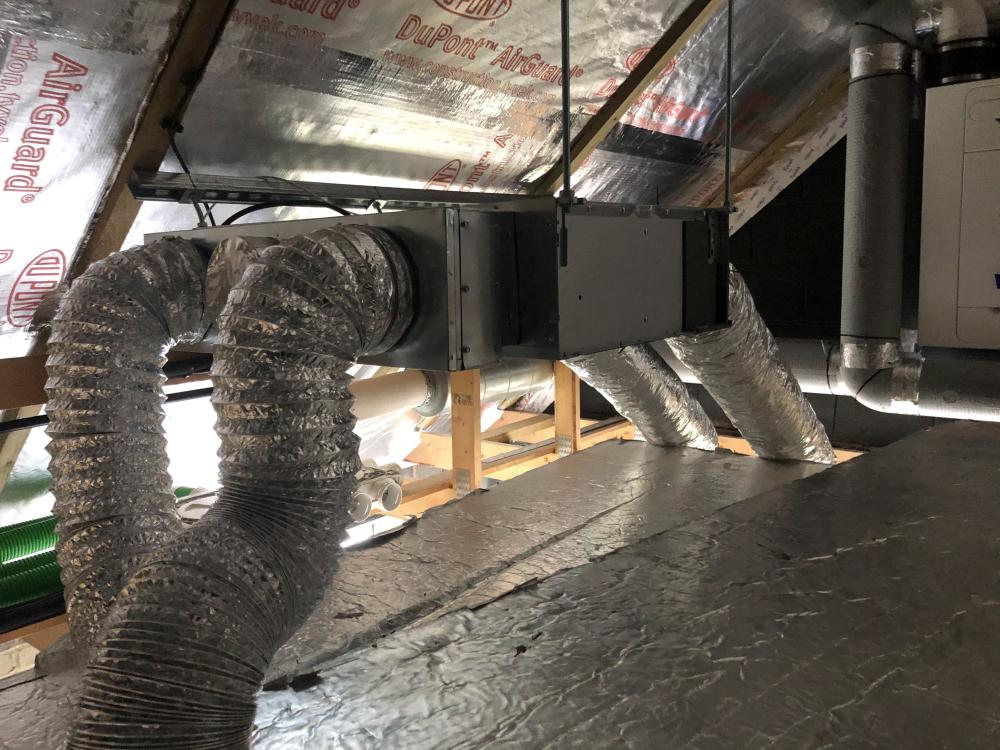
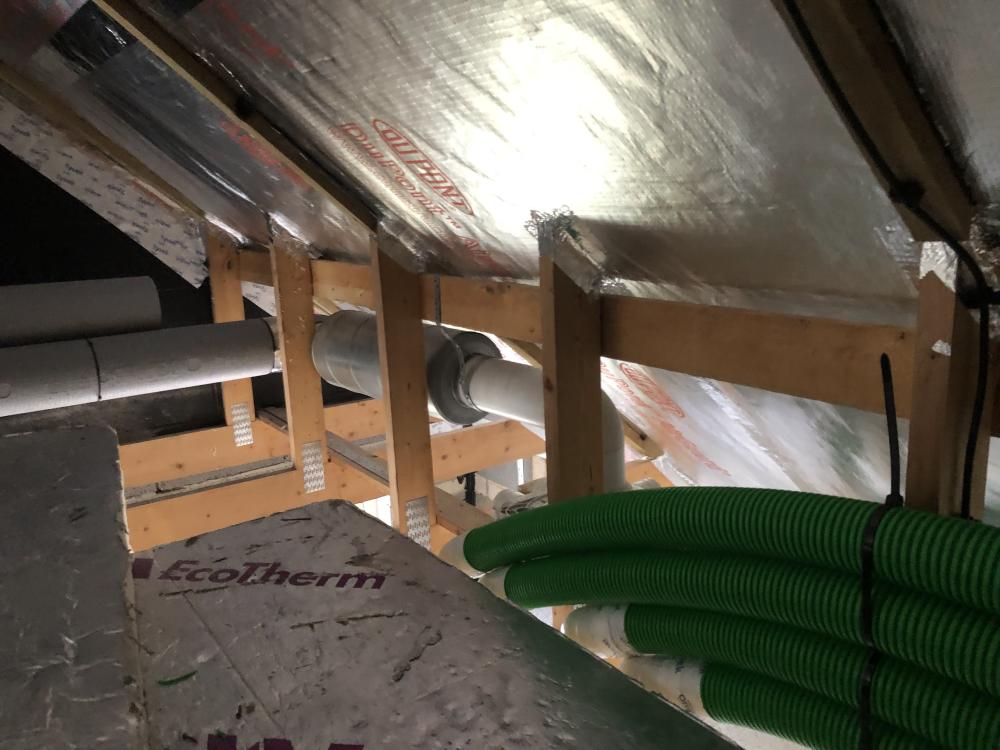
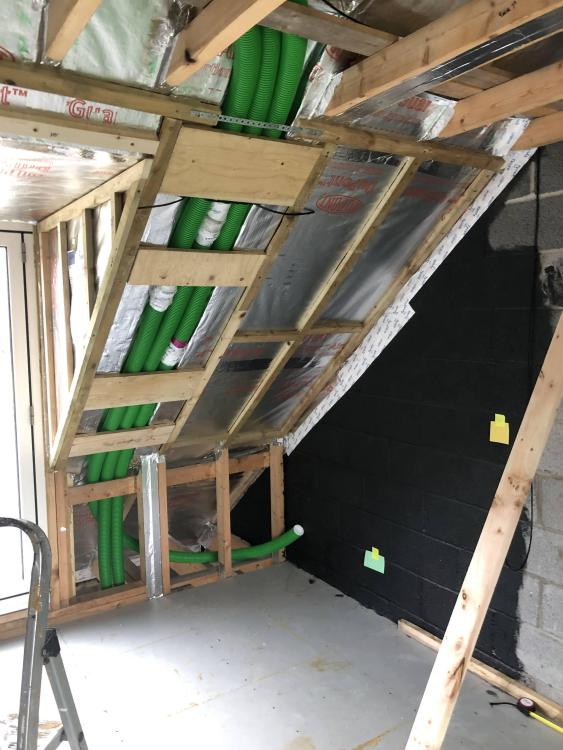
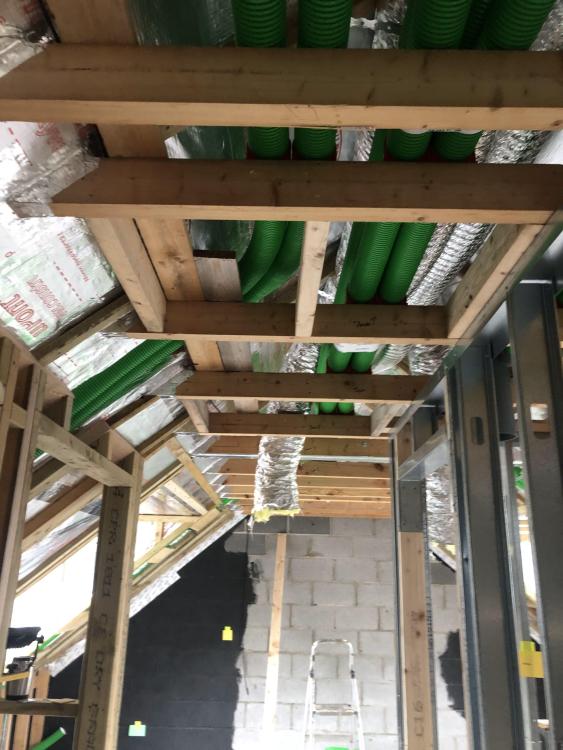
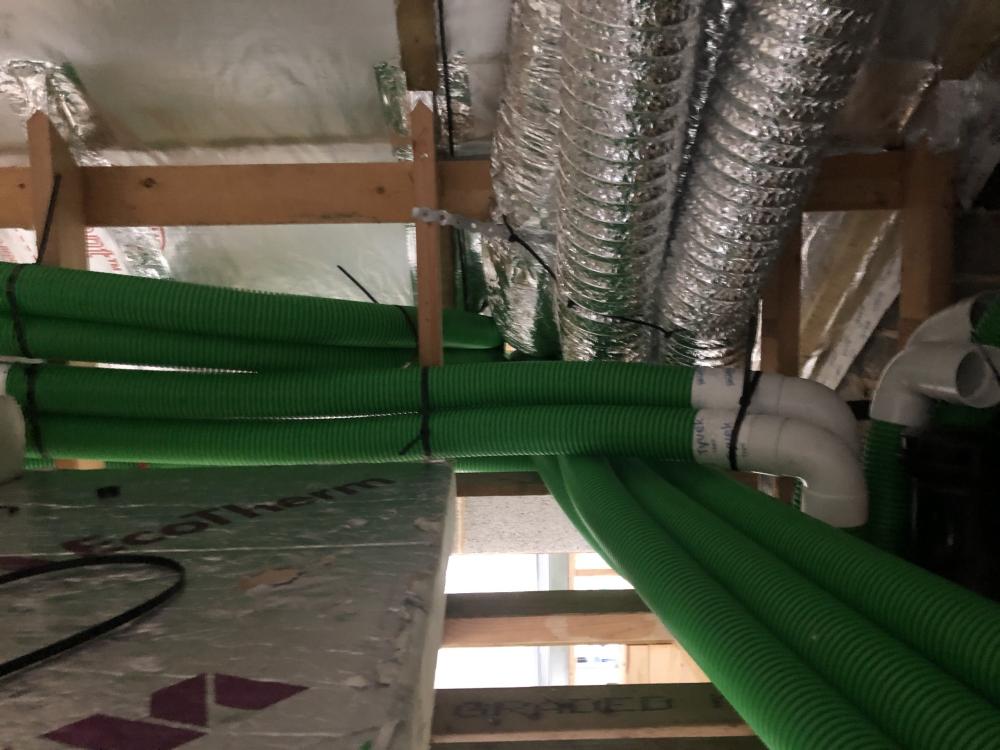
- 1 reply
-
- 3
-

-
hole saw. try to remember where the ducting drops so you don't fix skirting there. I was going to do similar, but I built in a cupboard and framed a section of it off for dropping ducting between floors and other stuff.
-
Hi, A couple of simple questions, When using fittings like 90 degree elbows, or couplings is it worthwhile using a blob or two of sealant as well as the rubber sealing rings? Also, would it be good practice to put a wrap of duct tape around the joints? And finally is it worth firing the unit up after connecting all the ductwork up just to do a ducting leak check? thx.
-
Air-to-air vs air-to-water
crispy_wafer replied to Tarrington's topic in Air Source Heat Pumps (ASHP)
Ducted units a possibility with vents into rooms from above, because the fan coil units are suspended from rafters, the condensate pipes will run downwards to a good drain location -
Self install, wise or otherwise ?
crispy_wafer replied to Post and beam's topic in Air Source Heat Pumps (ASHP)
hats off to you, good going sir. Just had a look at the 9kW one myself as that size fits my needs, I'm a bit green, but handy and confident, the install instructions are in bloomin italian though... Scratch that, found the veissman installation manual -
Air-to-air vs air-to-water
crispy_wafer replied to Tarrington's topic in Air Source Heat Pumps (ASHP)
We use A2A at work, in the offices and lobbies etc, I blast them up to temperature pretty early then turn the fans right down on them, so no audible noise or noticeable draughts, so that, the high temperatures last summer and the fact that we'll get some heat from them is just a bonus, the bedrooms dont need to be above 18, anything more than that I struggle to sleep. I have noticed that the warm air doesn't get through doorways particularly well, so our unheated hallway is also a thought. However because we are having ducted and the unit has 3 in/3 extract, we have 2 in/2 extract to the bedroom, so maybe I could use the redundant one in the hallway, but it would only work of course when the bedroom is in use, better than nothing though -
Yes, ducted just means the warm/cool air is delivered to the room via pipework and is sent into the room by grills or circular diffusers in the ceiling (normally), rather than physical units sat on the floor, high up, or ceiling mounted. The bits that do the work are suspended in the loft. Can be a multisplit, or non multisplit depending on how you want the system. In my case I have a multisplit going in Costing about 5,500 all in, which I think is in the right sort of ballpark, not cheap, but I'm doing this once and if it means the build takes a couple of months longer then so be it.
-
Another here who's having A2A installed upstairs (bedrooms) in our build. Whilst we have no plasterboard in situ and good access to loft and spaces, 2 ducted systems, and a wall mounted unit going in. Still thinking on what to do downstairs though, both for my pocket (Install, and monthly running costs), ease of use, least amount of faff, etc etc.
-
Took the kick boards off - how am I going to seal this up?
crispy_wafer replied to Sparrowhawk's topic in Heat Insulation
get a length of small bore hose from an automotive shop, attach to end of gun, it might want to curl/coil up so would using a bamboo cane as a splint might help... Just a thought. -
Feed the cable through the duct before laying would be my choice. Just makes life easier all round, one less thing to do another time. Cant comment on the size of the cable unfortunately.
-
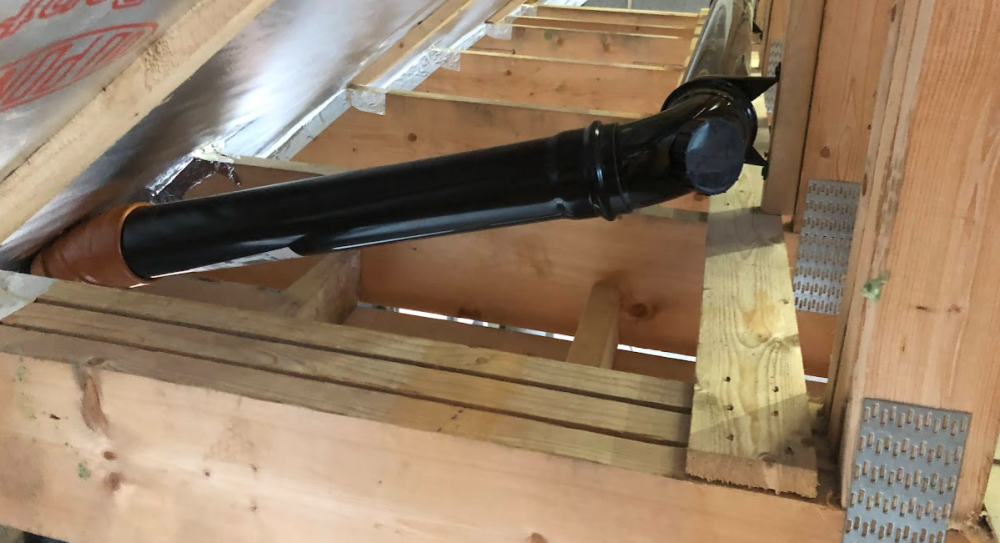
Slaps head because it just completely passed me by. Piddle poor design, but done now, how to make the best of it. 3 trusses side by side bolted together in various places as per. Best way to deal with stopping draughts on these. I'm thinking about taping the bottom and squeezing expanding wood glue into the cracks to try then tape over the top. Any other thoughts?
-
Stud wall meets Blockwork
crispy_wafer replied to crispy_wafer's topic in General Self Build & DIY Discussion
Good thinking. That'll work. -
Stud wall meets Blockwork
crispy_wafer replied to crispy_wafer's topic in General Self Build & DIY Discussion
Just dragging this question back from the archives! Please can I clarify the approach for studding this section I put the stud wall in line with the blocks, but now I'm thinking this might not have been the correct approach, Should I have stepped the wall out by 10/15mm or so to account for the dabs on the back of the PB, that will run over the block/stud join?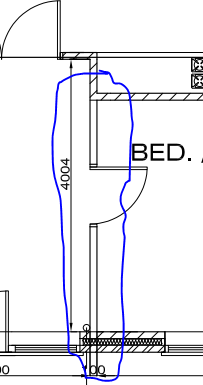
-
Local paper did a feature on our house.
crispy_wafer replied to Ralph's topic in General Self Build & DIY Discussion
Stunning, -
Installing Egger - Peel & Clean 22mm T&G Floorboards
crispy_wafer replied to richo106's topic in General Joinery
🤣 of course, 👍 -
Installing Egger - Peel & Clean 22mm T&G Floorboards
crispy_wafer replied to richo106's topic in General Joinery
My builder laid mine, and left about inch gap around the edge where there are block walls, not sure if this is std practice or not, but has left me wondering how to fill the gap... Expanding foam just seems a bit naff, and a faff. -
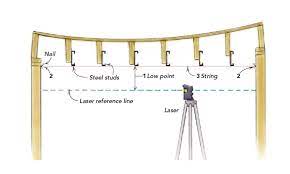
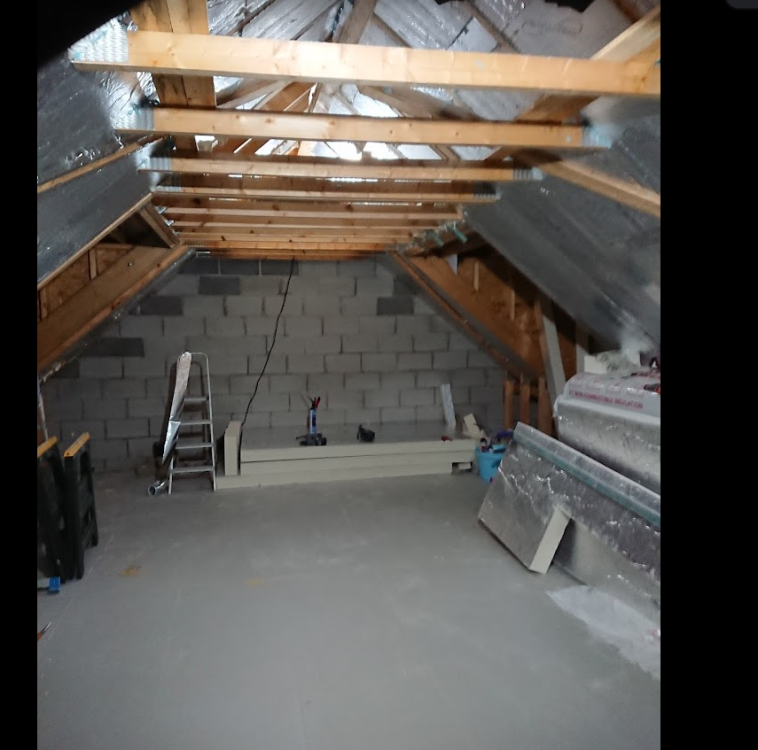
I'm seeking a bit of advice on how best to level a ceiling in preparation for boarding. The bit of ceiling is in our dormer, I've attached an old picture from last year showing the offending items. When measured from the laser, they are either about 3mm/7mm/12mm higher than the lowest timber cross (whasitcalled!) The area in the picture has all been insulated under, divided and stud walls added since that photo, so the main room in that area has 7 bits in total. 5 to deal with as 2 are level at the lowest point! Floor to timber is around 2330 - ish Not knowing how to deal with this properly/professionally, I started a thinking (dangerous), then consulted the google (probably even more dangerous). 1) use 3mm hardboard in multiple layers along the timbers to make up the depth and that'll do! 2) I have a load of res bar, that I could fix perpendicular, and pack out where i need to make level. 3) I have some c channel left, so lower the ceiling slightly by fixing c channel like the pic below 4) what would a pro do?
-
Rockwool alternatives for internal floors, walls & loft?
crispy_wafer replied to ruggers's topic in Heat Insulation
just to chime in, For bathrooms, I've been told to double up the plasterboard. Got RWA45 50mm as infill for studs. For ceilings I bought some knauf 100mm acoustic. Got a load of res bar, but, a cock up with the full size window height in the lounge means I have about 30mm of frame to play with. -
I think so, my screed depth varies 10-20mm in places . The company I chose used a cemfloor product, The set up a level using mini tripods, and pump the screed in to meet the tripod level, once pumped in they mooch around with a tamping thing to ensure no air pockets, then they lightly float the top to ensure a smooth'ish finish.
-
Bit like this? I think 3/4 to 22mm compression elbow, then make up the loop, soldered Tee fitting and drain valve.