Nickfromwales
-
Posts
31390 -
Joined
-
Last visited
-
Days Won
346
Everything posted by Nickfromwales
-
Bite the bullet now. You will kick yourself afterwards, even more so if the outbuilding isn't an 'immaculate' elevation eg to max out the 4kWp. Scaffold costs alone will piss you off if you don't. Just install the panels and the trays now, 2-3kWp on the house if it helps, and install the rest 1-2kWp on the outbuilding roof later, when you've completed and you know if you can stretch to it. FYI, you CANOT temporarily connect the PV up to a CU which has not been signed off anyways, if you're going MCS installer ( highest cost route but export payments can be had that way ) so you'll not miss not having the inverter etc in right now as they'll not connect it up immediately anyways. We've done 2 installs recently which have panels on the outbuildings as well as the house and we've simply ducted the D/C cable(s) back to the single inverter in the house ( to reduce costs and complexity ). Working very well.
-
We're already in talks with Mr Kipling, to manage the expected rise in demand for humble pie.......
-
Don't forget ducts for cables, if not already in A more modest sized array could just feed into the shed CU. Size the SWA accordingly.
-
Midnight to midnight eg 24/7/365. 30p? It's most definitely where the consumer market is heading for the purchase price of domestic electricity. Sadly, in 3-5 years we'll likely be north of 35p/unit, or above. Look at fuel prices at the pump.....they push, we smile ( through helpless gritted teeth ), and just pay. Pending huge costs for improvements and fortification of the grid has to come from somewhere, and guess where that cost will be pointed at? Elderly and poorer folk look out. Solar PV.........."Fail to prepare, prepare to fail". We all use electricity in considerable quantities, we all have roofs. Most are suitable for the installation of at least 1kWp of self fit ( via electrician ) PV which will serve us well whilst we are in work paying for the rest of what we use. Calculate the vampire / daytime base-loads that are happening whilst the house is vacated each day, and aim for that as a minimum. Remember that an electrician can assist you in DIY'ing a grid-tied PV system, but without MCS accreditation you CANNOT claim the export payments of ~5.2p/unit . If just installing enough to cover base loads, then no need for MCS as you would be pretty much a self-consumer and theres nothing stopping you diverting any excess into an immersion heater to bolster DHW etc ergo you would not care about not getting the export payments and can then save on any unnecessary elevations to the capital cost of such an installation. DIY all the way then!! Regarding A/C batteries? Deffo. People who already have larger sized ( 7.2kWh and above ) grid-hungry A/C coupled batteries will literally be disconnecting them when they become faced with no cheap rate overnight grid power to make up the winter deficit. Options then would be to manually 'tend to their winter needs' by maintaining the state of charge and cycling simply to preserve the cell life for those generation shy periods of the year. They still make sense inn summer, but winter is about to get extra chilly in the respects of A/C storage ( essentially named so as it is supposed to store excess and not be fed from the grid, due to the then nonsensical economics of cost vs lifespan and losses of throughput ). Solar PV revenue is around 25-30% max over the depths of winter, and we're already not in the sunniest country in the world to start with, so prepare yourselves for this flat rate AFAIC. Assuming batteries will charge from anything other than grid during winter, especially for retiree's / folk who work from home eg savvy users with larger self-consumption figures, there will be zip left to go into them. D/C will be the way forward then, and I am awaiting Solarwatt to return their D/C offering back to the domestic market, new and improved, before I then invest myself ( as they are rated and guaranteed to 'hiberante at their lowest DoD for long periods of time ). PV on mine next year hopefully, batteries to follow as and when. We digress...... anyways......when has that ever stopped us Then go for that after the dust has settled. Install enough to cover the daily base loads, as I describe above, and then at least you remove the daily grind from your electricity usage with minimum capital expenditure. A colleague installed 4x 250w second hand panels on his roof, and I was seriously impressed with what they were chucking out each day. Really put a dent in his daily import.
-
It means each pair of pipes from / back to the manifold. So, one continuous piece of pipe has a flow connection to one manifold rail, and same for the return. Each pair of connections forms a "loop". 3 loops in your dining room for eg would require a 3 port manifold ( which would have 6 individual connections, 3 flow and 3 return ).
-
 Agreed, but at least we'd all be too pissed to give a feck about warped wooden floors that we laid to early. "Bring your own booze", to coin a phrase recently quoted by the media..........
 -
Budget for midnight to midnight at 30p/kWh. That's the likelihood, and how I'm basing all my current proposals. A/C coupled battery systems will soon be boat anchors all winter long, especially when they bottom out and want some charge from the grid.
-
With a typical 4kwp array consuming around 26-28m2, and an assumed cost of £100p/m2 for supply and fit of slates, you'd have had a hypothetical credit note of north of £2.5k from the roof costs savings with an in-roof array. Shame, as that roof was crying out for PV. £30k of uplift must be a bitter pill though, so spend wisely from here on-in. FWIW, I would go 75mm additional on the under-roof ceilings and 30mm on the walls, if on the walls at all tbh. Heat rises, and your walls are not too shabby now! In absolute honesty, if you have ~£5k sat on the desk wanting spending, and the scaffolding is still up, I'd get the slate ripper out and put a PV system in without a second thought. I would definitely NOT be getting hung up on the heat loss "horrors" that you are mentioning above, just based on seeing some snow melting. Get the steel beam boxed in 50-75mm minimum of PIR, sealed with illbruck air-seal foam, no voids left whatsoever, and EVERY bit of your airtightness detailing done, and THEN reassess. You'll have little to none of the issues you are seeing now if the heat isn't rising and escaping without any real resistance, so you've basically got a chimney there atm until AT works have been done.
-
Thank you for bringing some sanity to this thread. OK. Firstly it would be, in no way, shape or form, the responsibility of the MVHR supplier to advise you on timelines for you installing floor coverings or any such correlation between that and the amount of humidity that is in the house OR how you manage that!! That would be the responsibility of you, or your M&E consultant, and for them to liaise with your PM to make sure that is strategized BEFORE even choosing or installing such systems. They wouldn't stand by your front door checking if you've got a brolly if it was a rainy day...... Switching on your MVHR before your painting and decorating, second fix woodwork, kitchens and bathrooms are all installed is suicide. HIRE A DEHUMIDIFIER.
-
Underfloor Heating, how should they be filled? Biocide?
Nickfromwales replied to revelation's topic in Underfloor Heating
Is the slab exposed atm? Are you using an ASHP? Either way, you really do not want to waste the funds and treat with ( expensive ) treatments until the point it’s purged and filled for the last time. -
Underfloor Heating, how should they be filled? Biocide?
Nickfromwales replied to revelation's topic in Underfloor Heating
+1. -
Plaster board direct onto timber without battens?
Nickfromwales replied to TheMick's topic in Plastering & Rendering
No issues there at all. “Carry on!” -
So that involves installing UFH in a car garage, with significant point loads and movement from shuffling vehicles around, lifting on trolley jacks etc, sooooo, lots of cost putting at least 80-90mm of 10mm concrete mix down with next to no insulation? The recovered heat energy from the ground loops would be so negligible it would fall flat afaic, so your requisite for a "background heat of 10oC" would likely need a supply temp into UFH of north of 20oC after the delta between floor and emitter has been input to the equation. Also you'd need LOTS of the heat energy so LOTS of brine loop in huge trenches all 1000mm deep and 1500mm min apart for each pair of ground collection pipes. I do like the idea, it's just the sheer scale of this that has to provoke a reality check. The real issue would be spending good money on a failed experiment, and to not have any funds for the second attempt. Can you get a winter-long supply of dry enough wood to burn? I'd seriously look at a wood burning stove with back boiler or a second hand log gasification boiler and a TS connected to some massive ( second hand if possible ) radiators, plus the de-Strat fans. Put the WBS into a masonry cave with a bent ( curved ) sheet of stainless behind it, set back a couple of foot, to reflect the emitted heat forward only. Some internal space around it for seasoning would then ensure cheap ( green ) wood can be bought in and dried in-house to further reduce fuel costs. Electricity is soon to flatline at 30+ p/kwh and economy tariffs will fizzle out, so any direct electricity based solution will end up being far too expensive to run during the day. You can get away with quite low temp at high volume, so if you go for fan coil units you can literally just blow the warmed air directly towards yourself, so one big ASHP running at 40oC flow temp could tick the boxes with you strategizing which FCU you used subject to where you were working ( say 2 units on wheels connected to flexis which you could turn and point ). It's cost on cost whichever way you cut this, simply due to the size of the building, so the biggest focus here should be on what will be cost effective long term, so it has to be insulation and draughtproofing, so you keep whatever warmth you create inside the building. Insulation is pointless unless you go for at least 2 big de-Strat fans up high. If seasoned wood can be sourced reliably, initially, then that ( or anything else suitable that could go in a WBS ) would be my choice. Obtaining cheap / unwanted problematic green ( wet ) wood and then seasoning it yourself going forward would help keep costs down in the future.
-
There are ASHP’s which are on a specific list and those “that are not” No electrician ever stops to ask to fit a new huge induction hob or a replacement upgrade to a 10kw electric shower
-
So, just fit a £40 Willis heater to get signed off as a “3kW electric boiler”, and pipe / duct services in, in anticipation of the retro fit ASHP? TBH you’d put more load on fitting a big electric shower !!!! DNO’s need a reality check. The ASHP I fitted before Xmas starts at less current than a toaster.
-
Hi. Looking at the gap, and the fact that you no longer have any bevel to the face of the cut, I would just scrub these completely clean of any residual adhesive and fill and finish with clear CT1. No need for any super skills at all, just don’t cut the nozzle and use at the 3-4mm bead size it comes at. Start at the bottom horizontal ‘grout’ line where these meet the floor / tray / other and work that in vigorously with your finger, rubbing it in in both directions ( don’t worry about the CT1 getting over the face of the tiles / other as it comes off in seconds. Caveat is do NOT let it get on anything that is not flat and impervious ( like floor grout ) as it doesn’t like coming back off that without a lot of extra effort ). Once you’ve completed the horizontal application and your finger and wall / floor has CT1 all over it, use cheap baby wipes to clean the wet sealant off your hands first, then off anywhere you do not wish it to be. Use one BW just a couple of times and discard it to a bag, as otherwise you’ll defeat the object and start bringing it back to the surfaces you’re trying to remove it from. Finish this part of the process by putting a BW over your finger and sweep from one side to the other in one long slow movement ( all the way along the horizontal ) to leave nothing of the CT1 on the tiles or floor / tray. Do this long sweep as many times as is necessary until you’re happy with what you see. Then leave for 24hrs to cure. Do exactly the same for all the vertical lines, working from the top > down. Do one vertical line at a time, cleaning 90% of the residual away at the horizontal grout lines up the wall. Once you’ve done 3 verticals, get a BW flat on your palm and polish all the area of tile 1 top to bottom. When you’ve done he 90% of tile run 4, go back and polish up tile 2 top to bottom, then 5 > 3, 6 > 4 and so on. The idea is to be constantly working wet sealant over / against wet sealant and to not allow the 90% area to start firing before polishing with your flat palm + BW. That will be much better than grout, 50 times better than silicone ( which has a very short lifespan on surfaces which are regularly cleaned thoroughly ) and will NEVER attract mould / go black. ??
-
It’s just moss / other growth that hasn’t been hit by the rain. You’ll see it on many surrounding properties and is of zero concern.
-
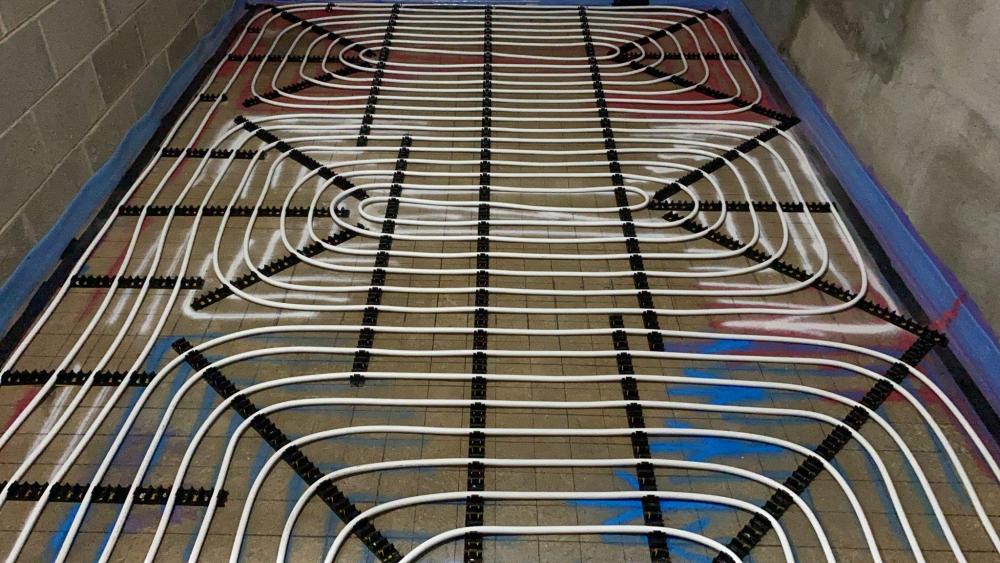
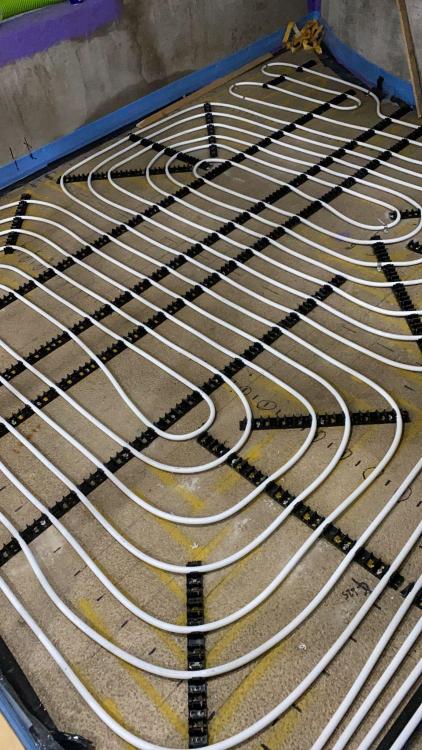
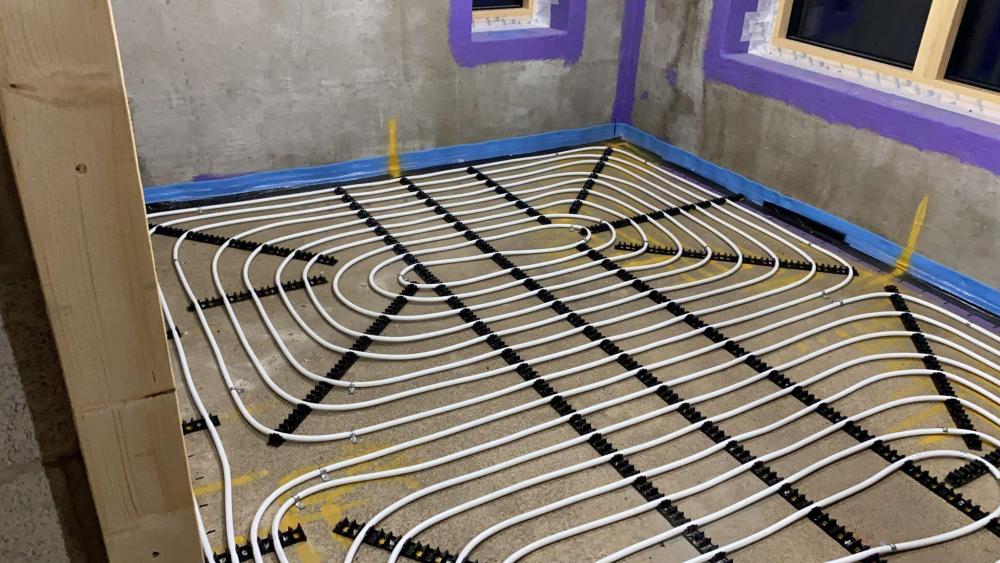
-
I assume you know that the cold feed to the copper tank is gravity, and that the cold feed you need for a regular electric shower is the cold mains in the attic that fills the CWS tank? Do yourself a huge favour and leave the electrical connections well alone Run a 6mm2 from the CU to a suitable location for a surface mounted 45a DP switch, outside the bathroom ( uglier but much easier than fitting a pullcord ) and another bit of 6mm2 from that switch location to the shower area. Leave a bit of slack at the switch on both, a bit of length to connect into the shower, and a meter or so of slack at the CU. Then fit the shower and plumb it to the cold supply. Then ring an electrician to do the rest ( please ). Not worth dying before you move into the new house eh?
-
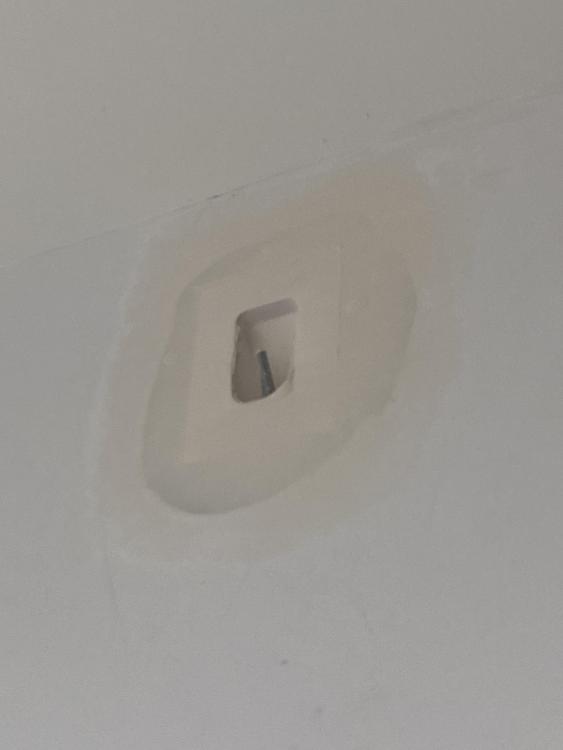
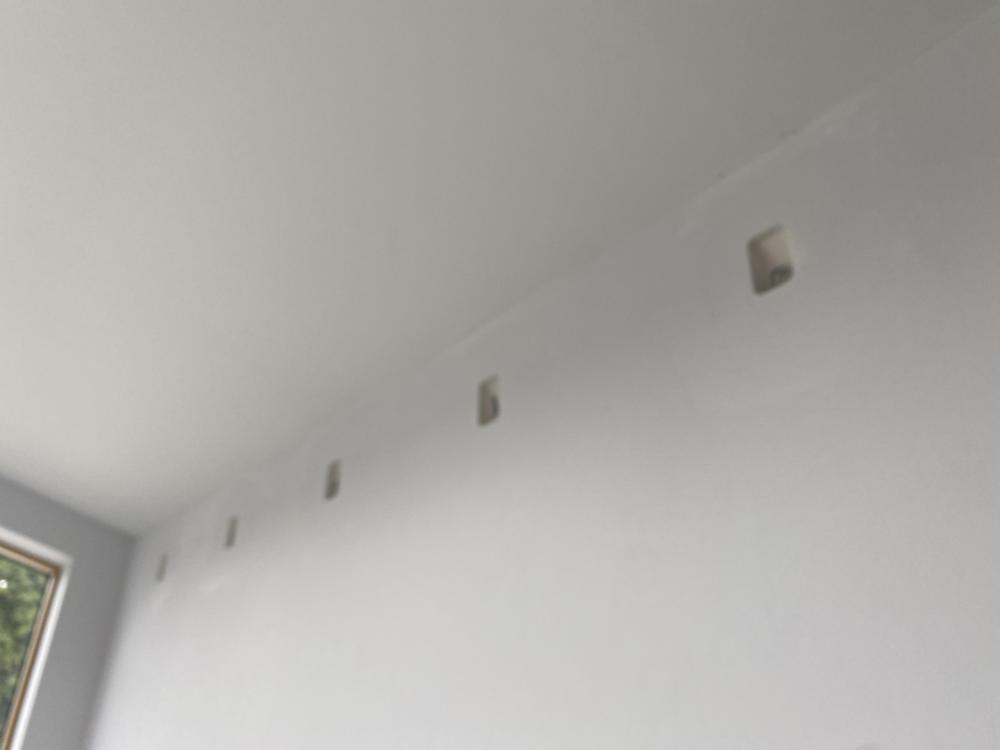
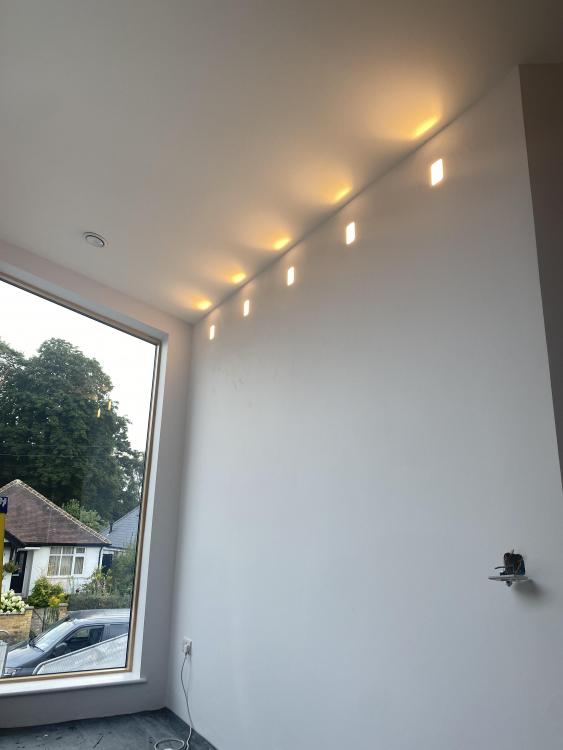
-
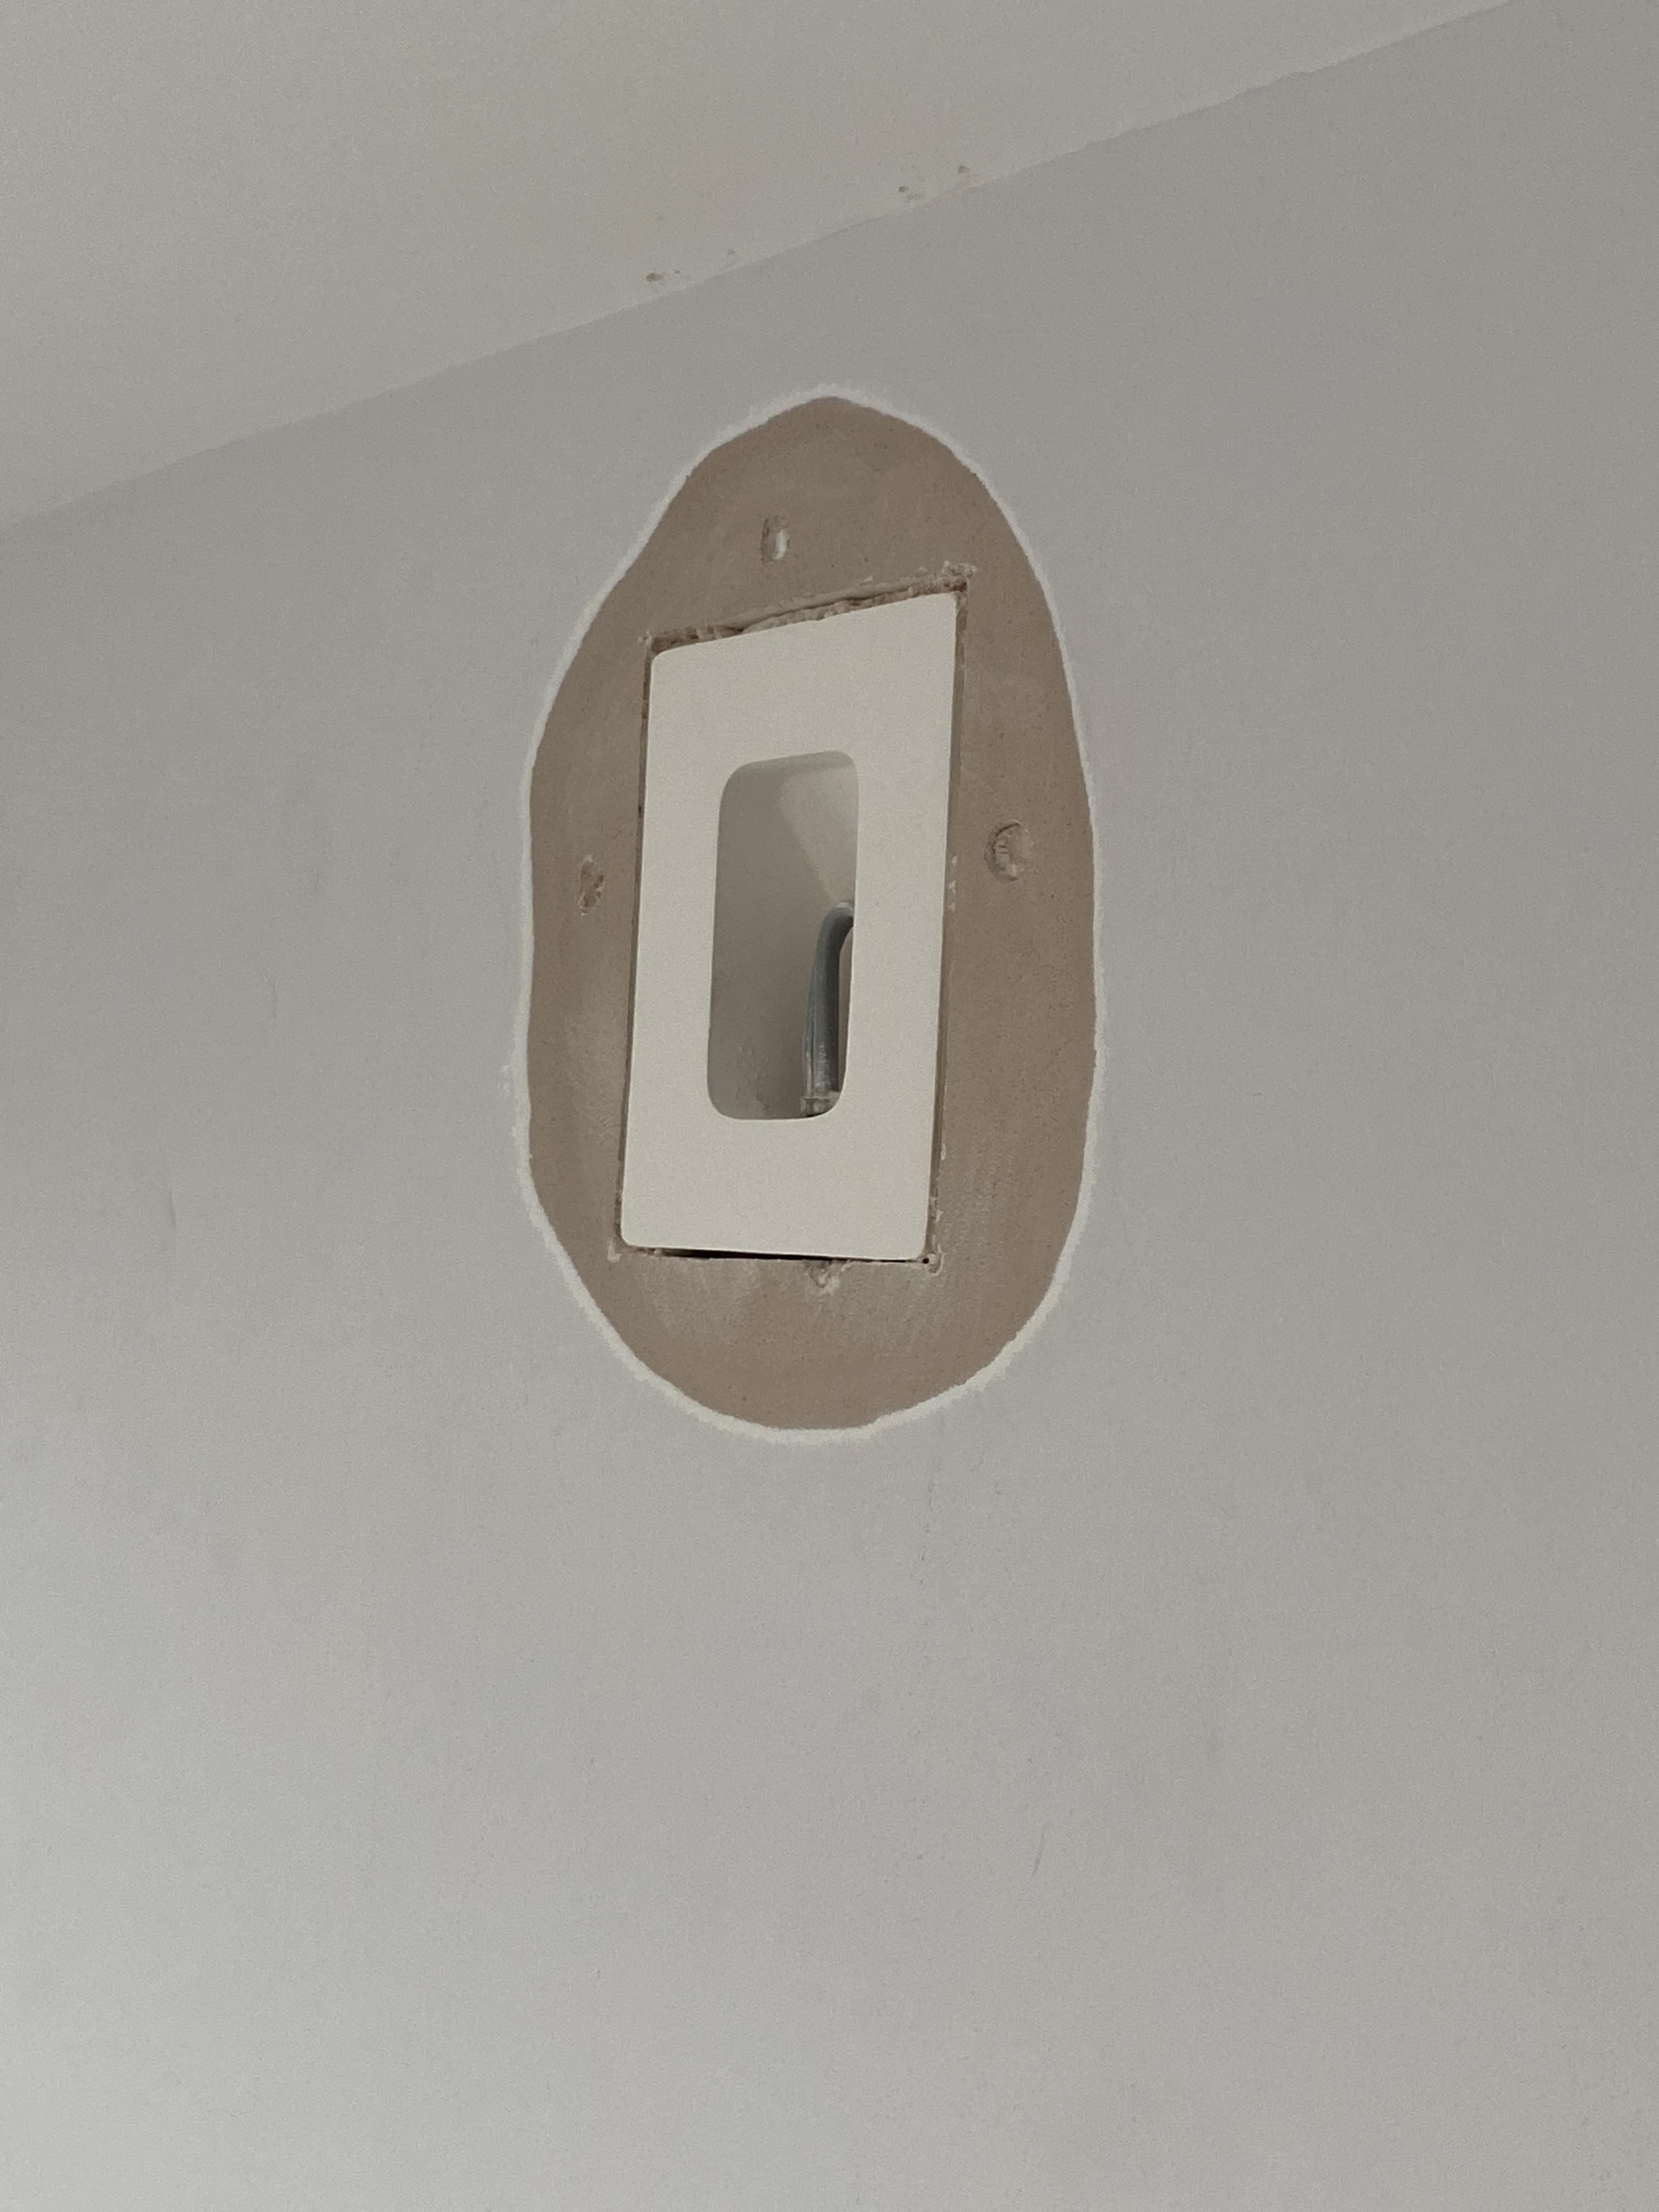
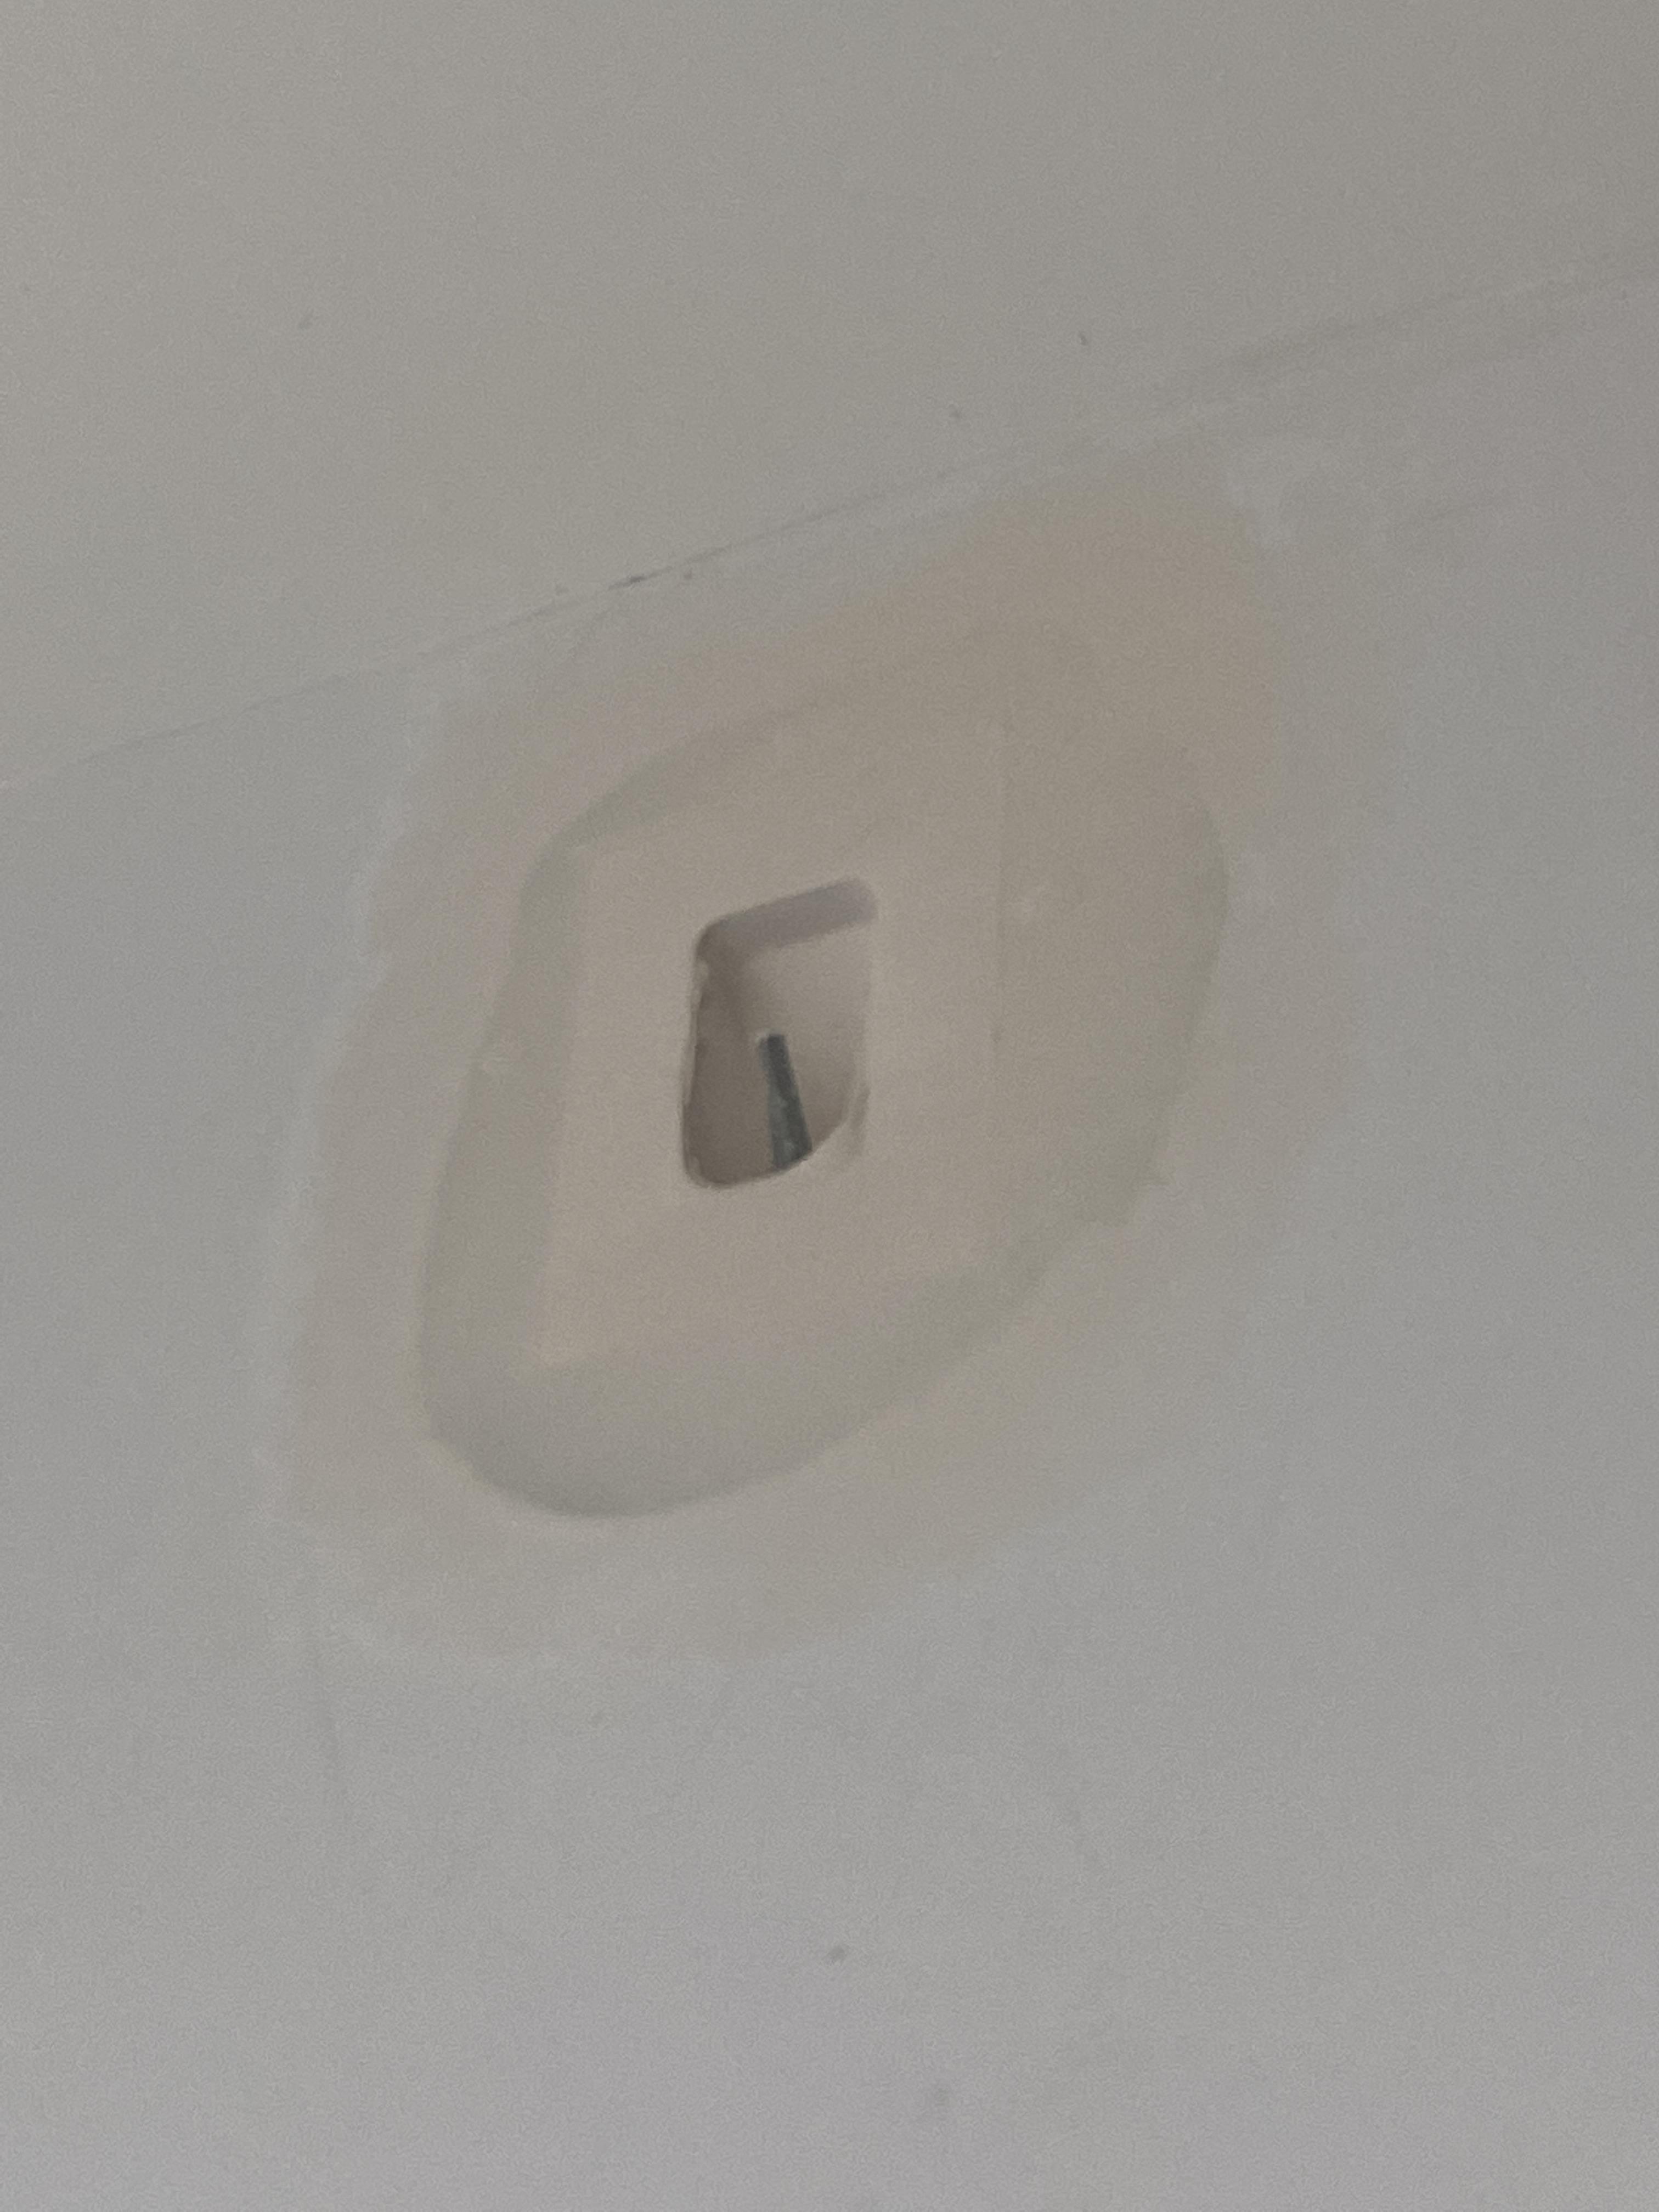
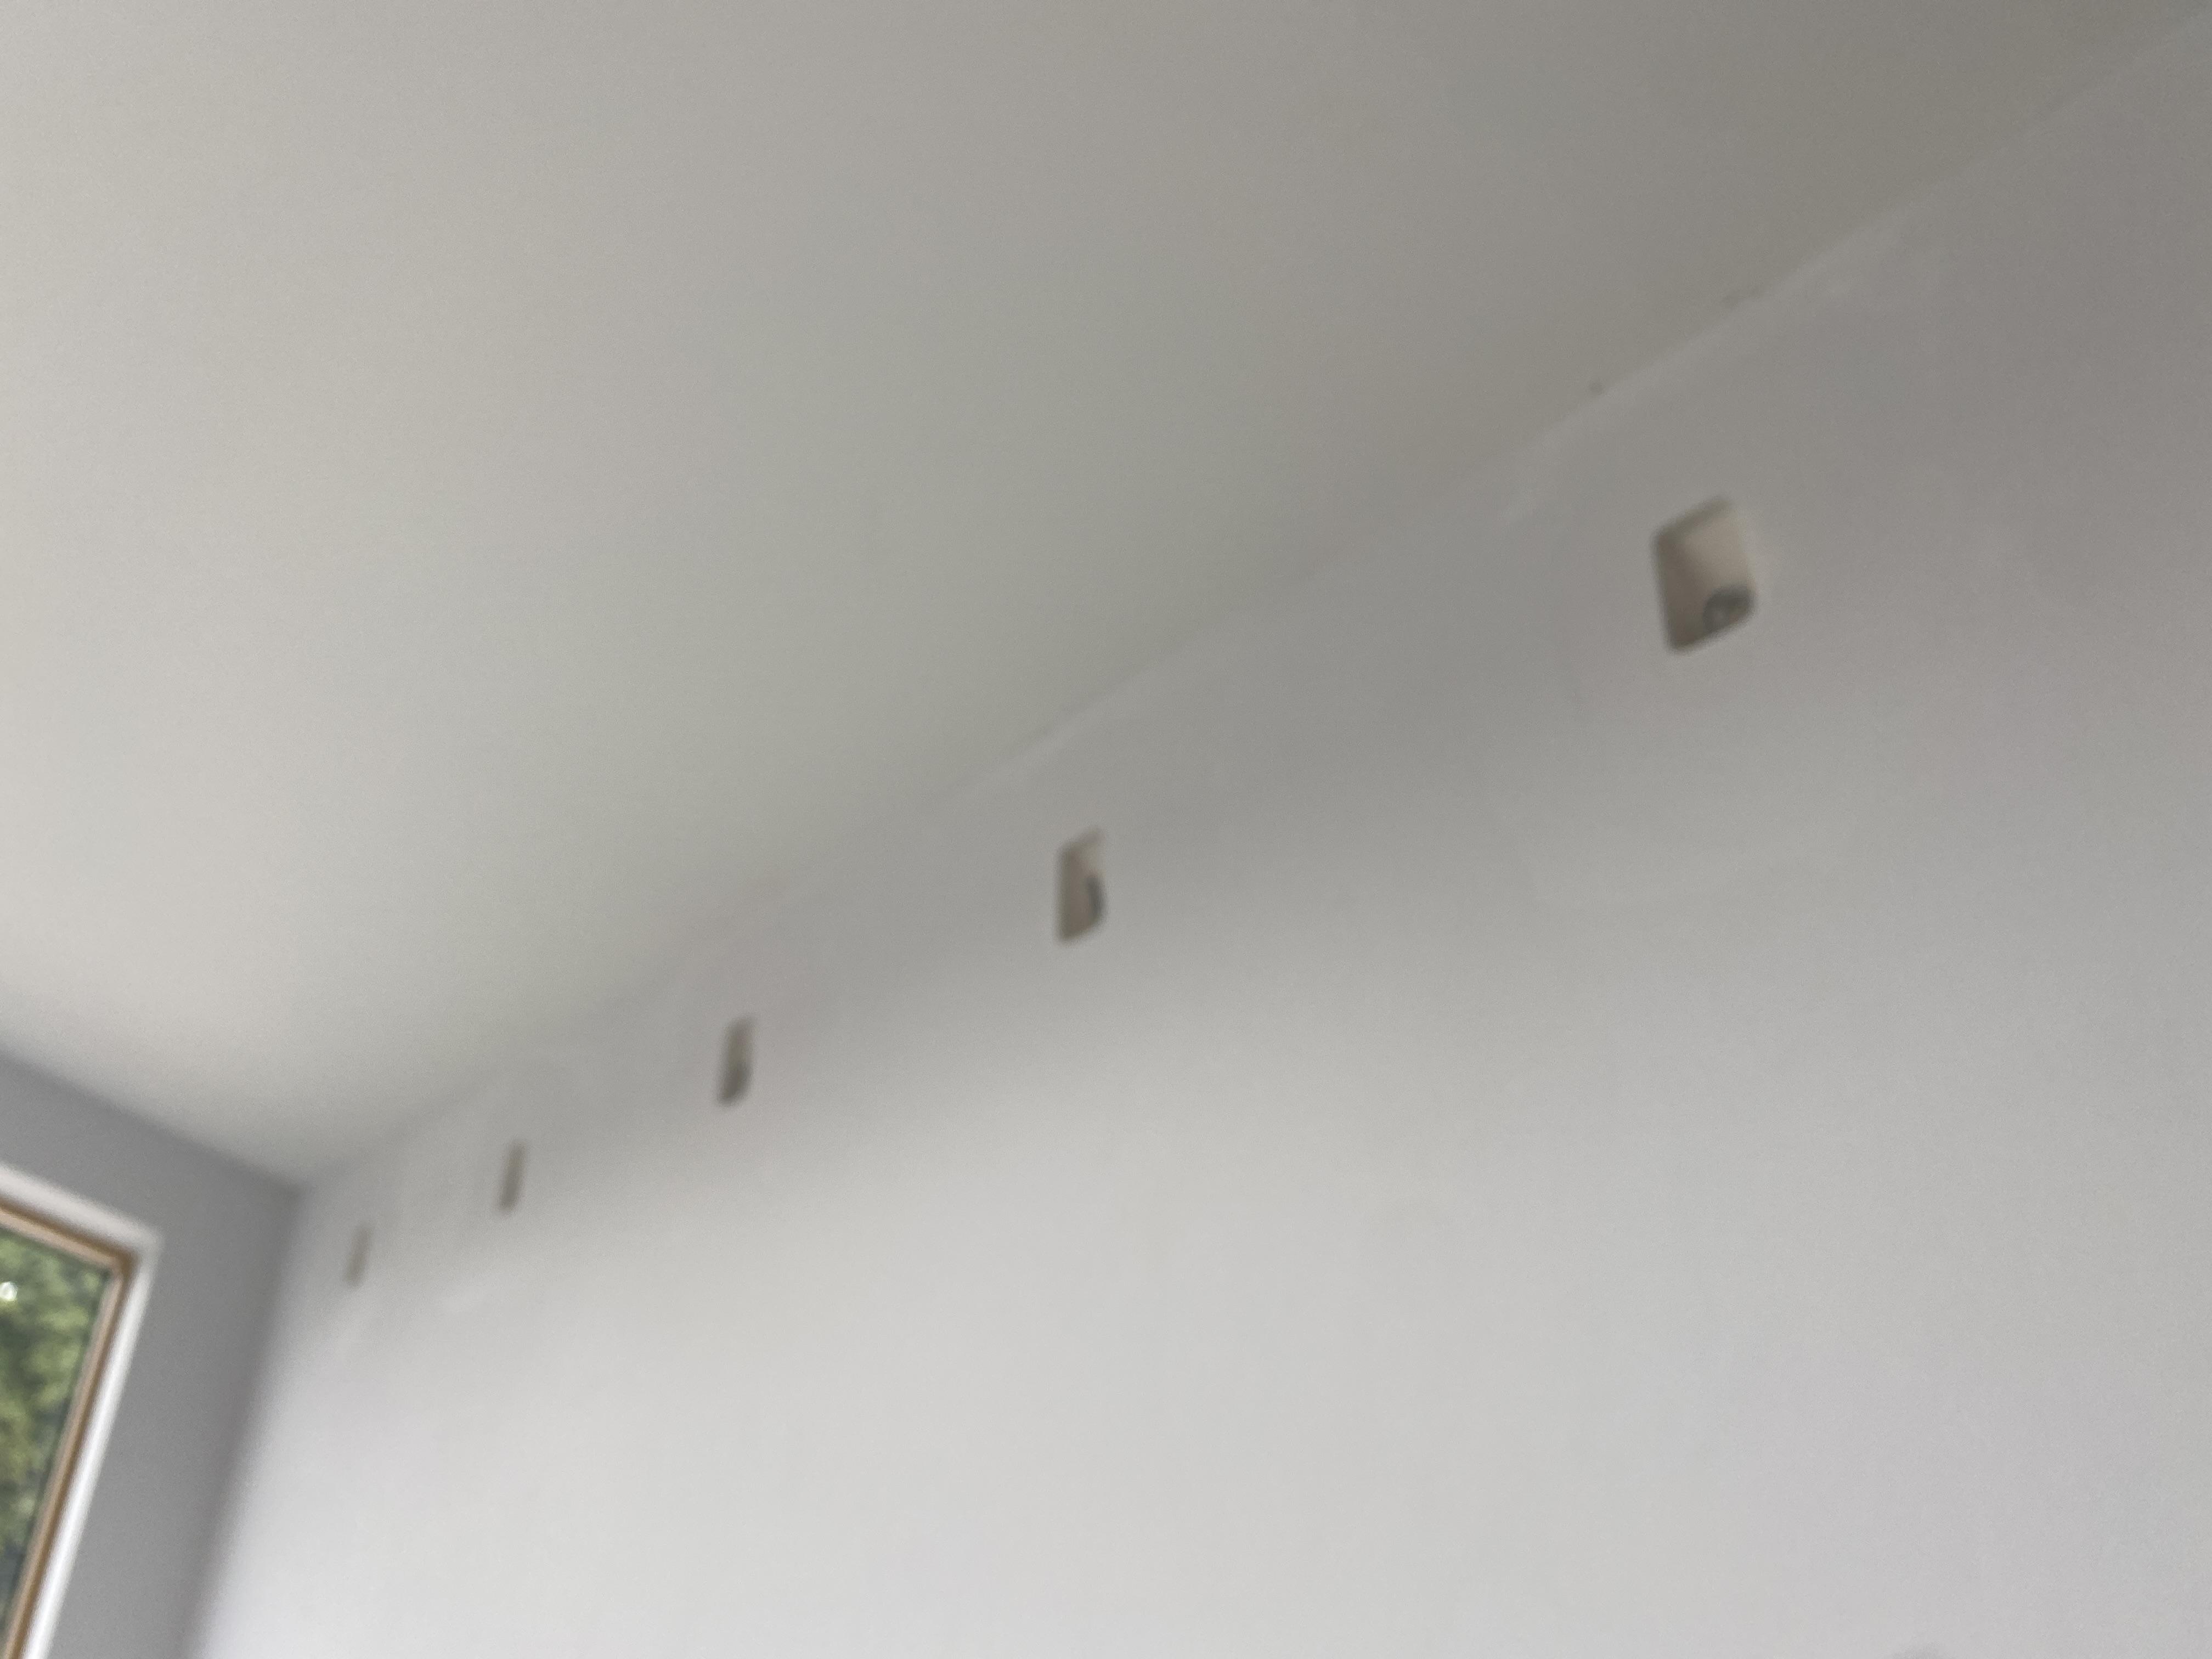
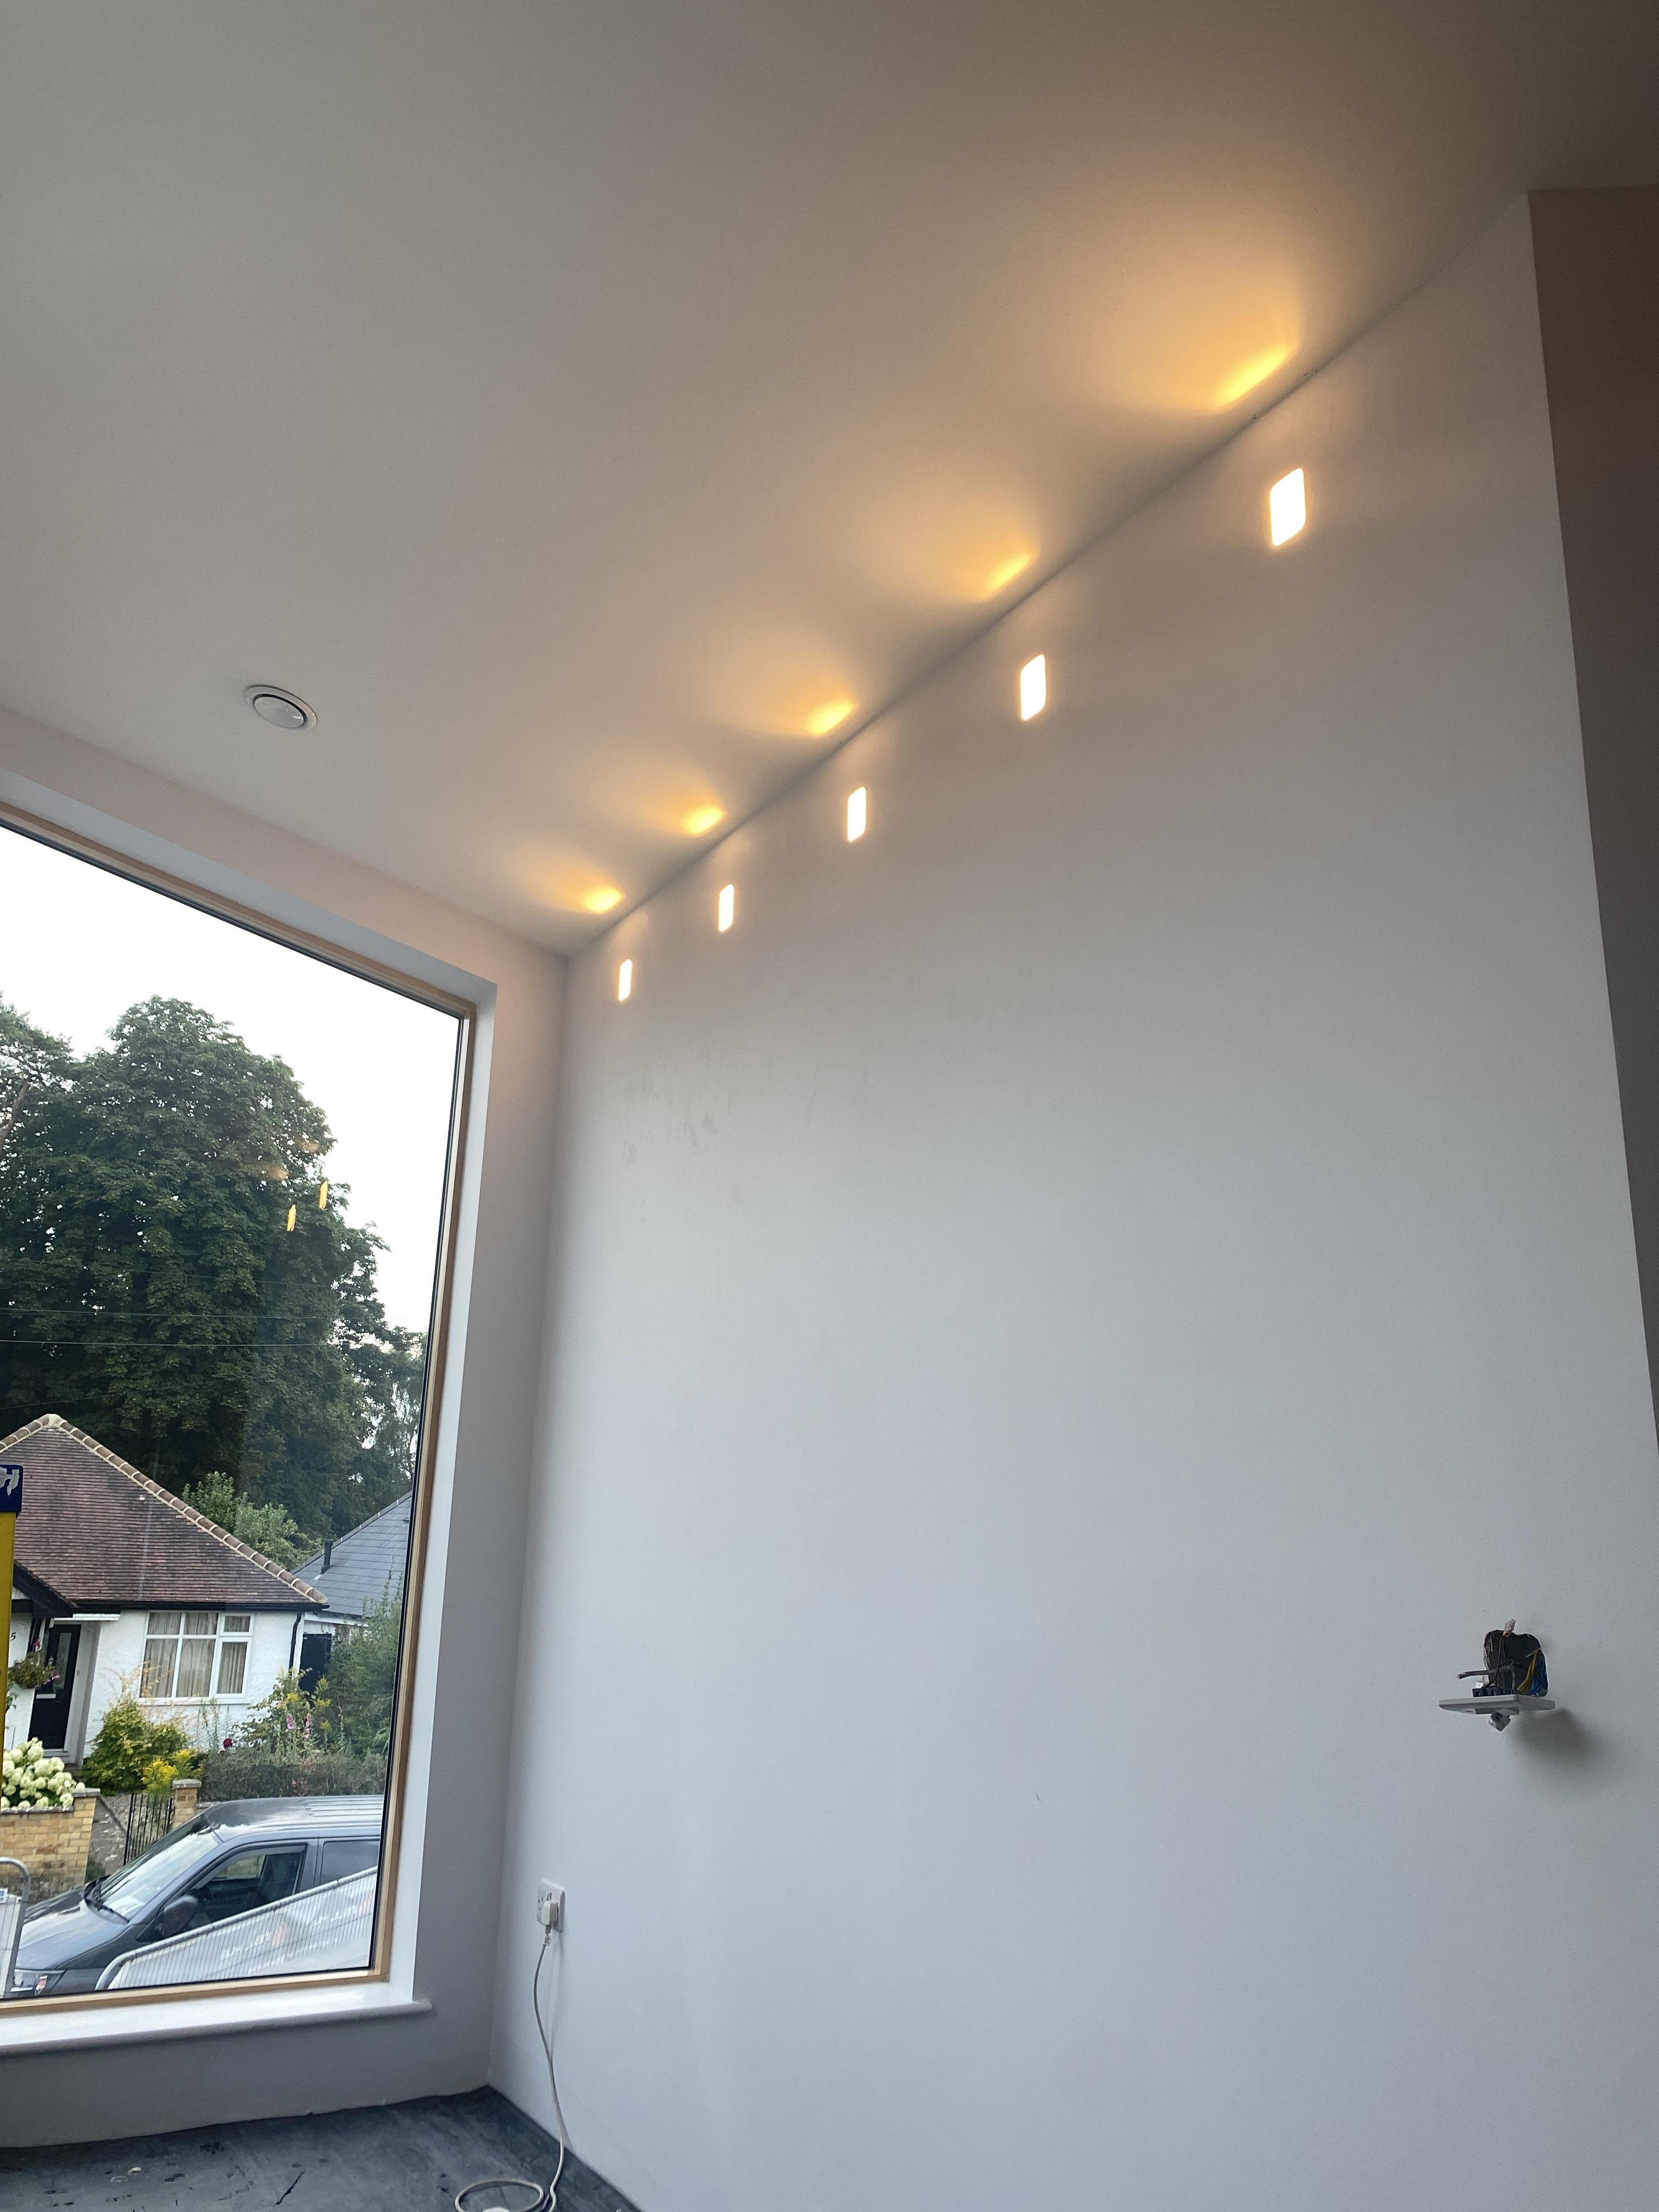
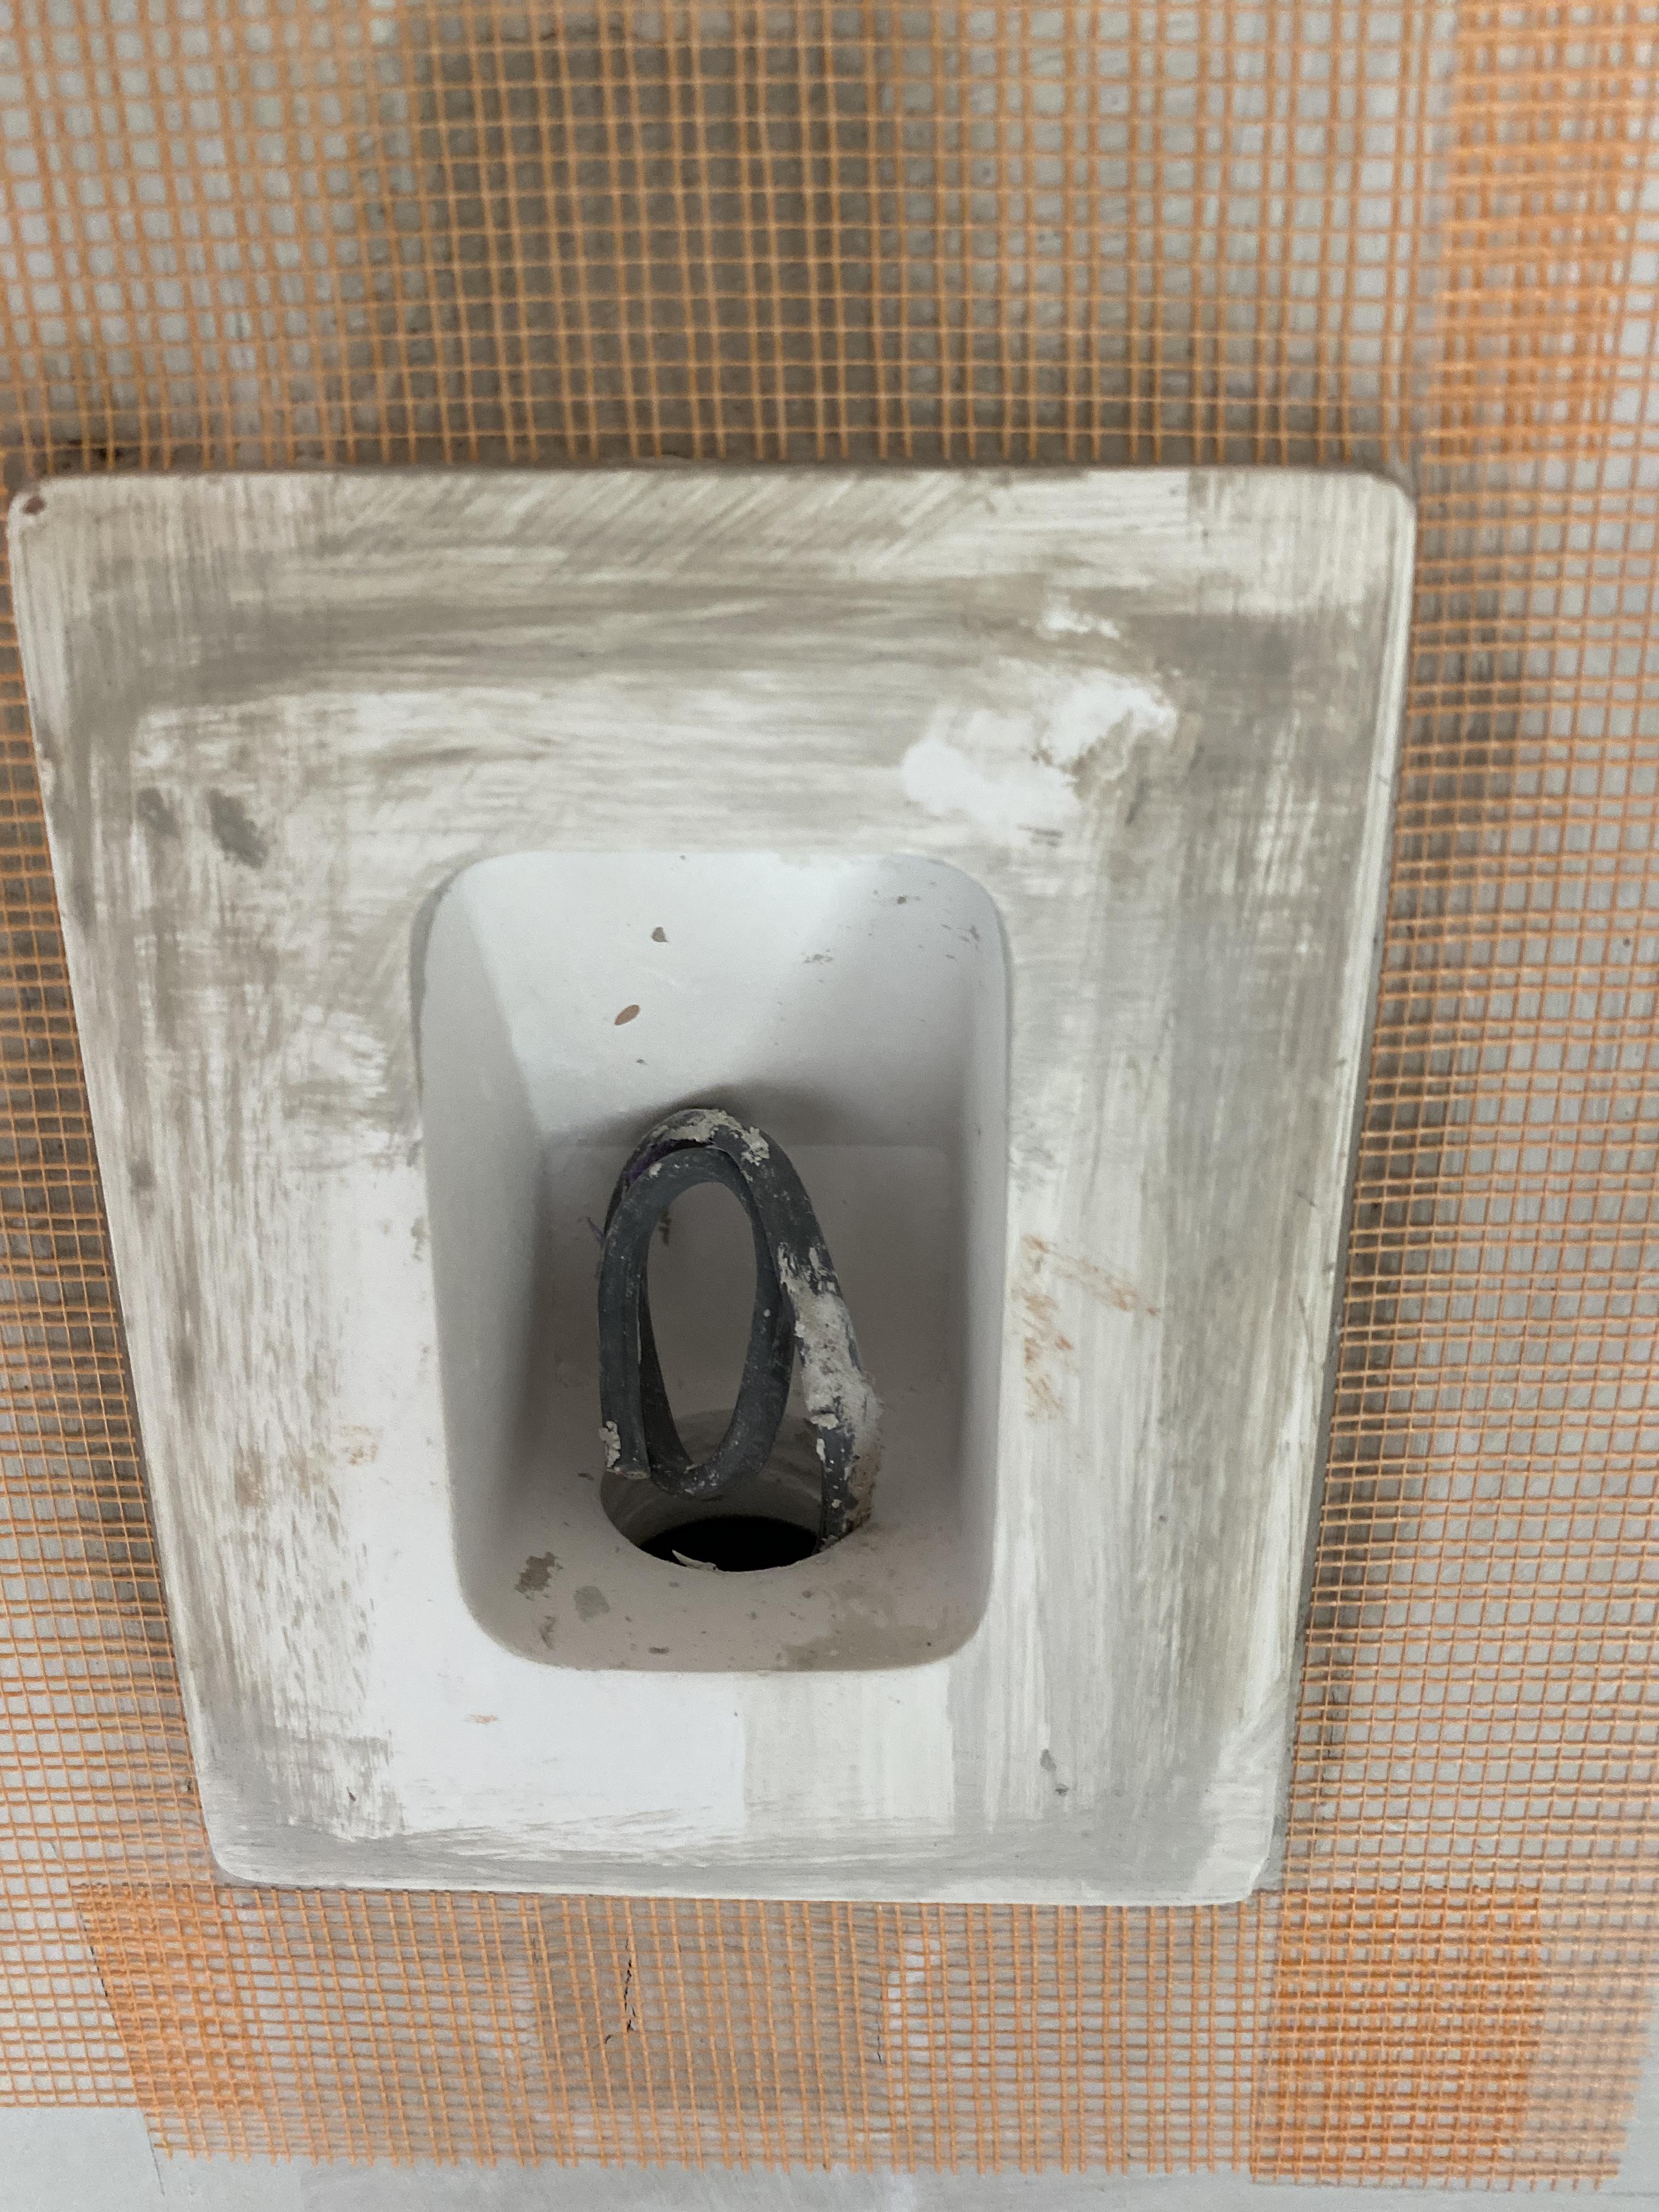
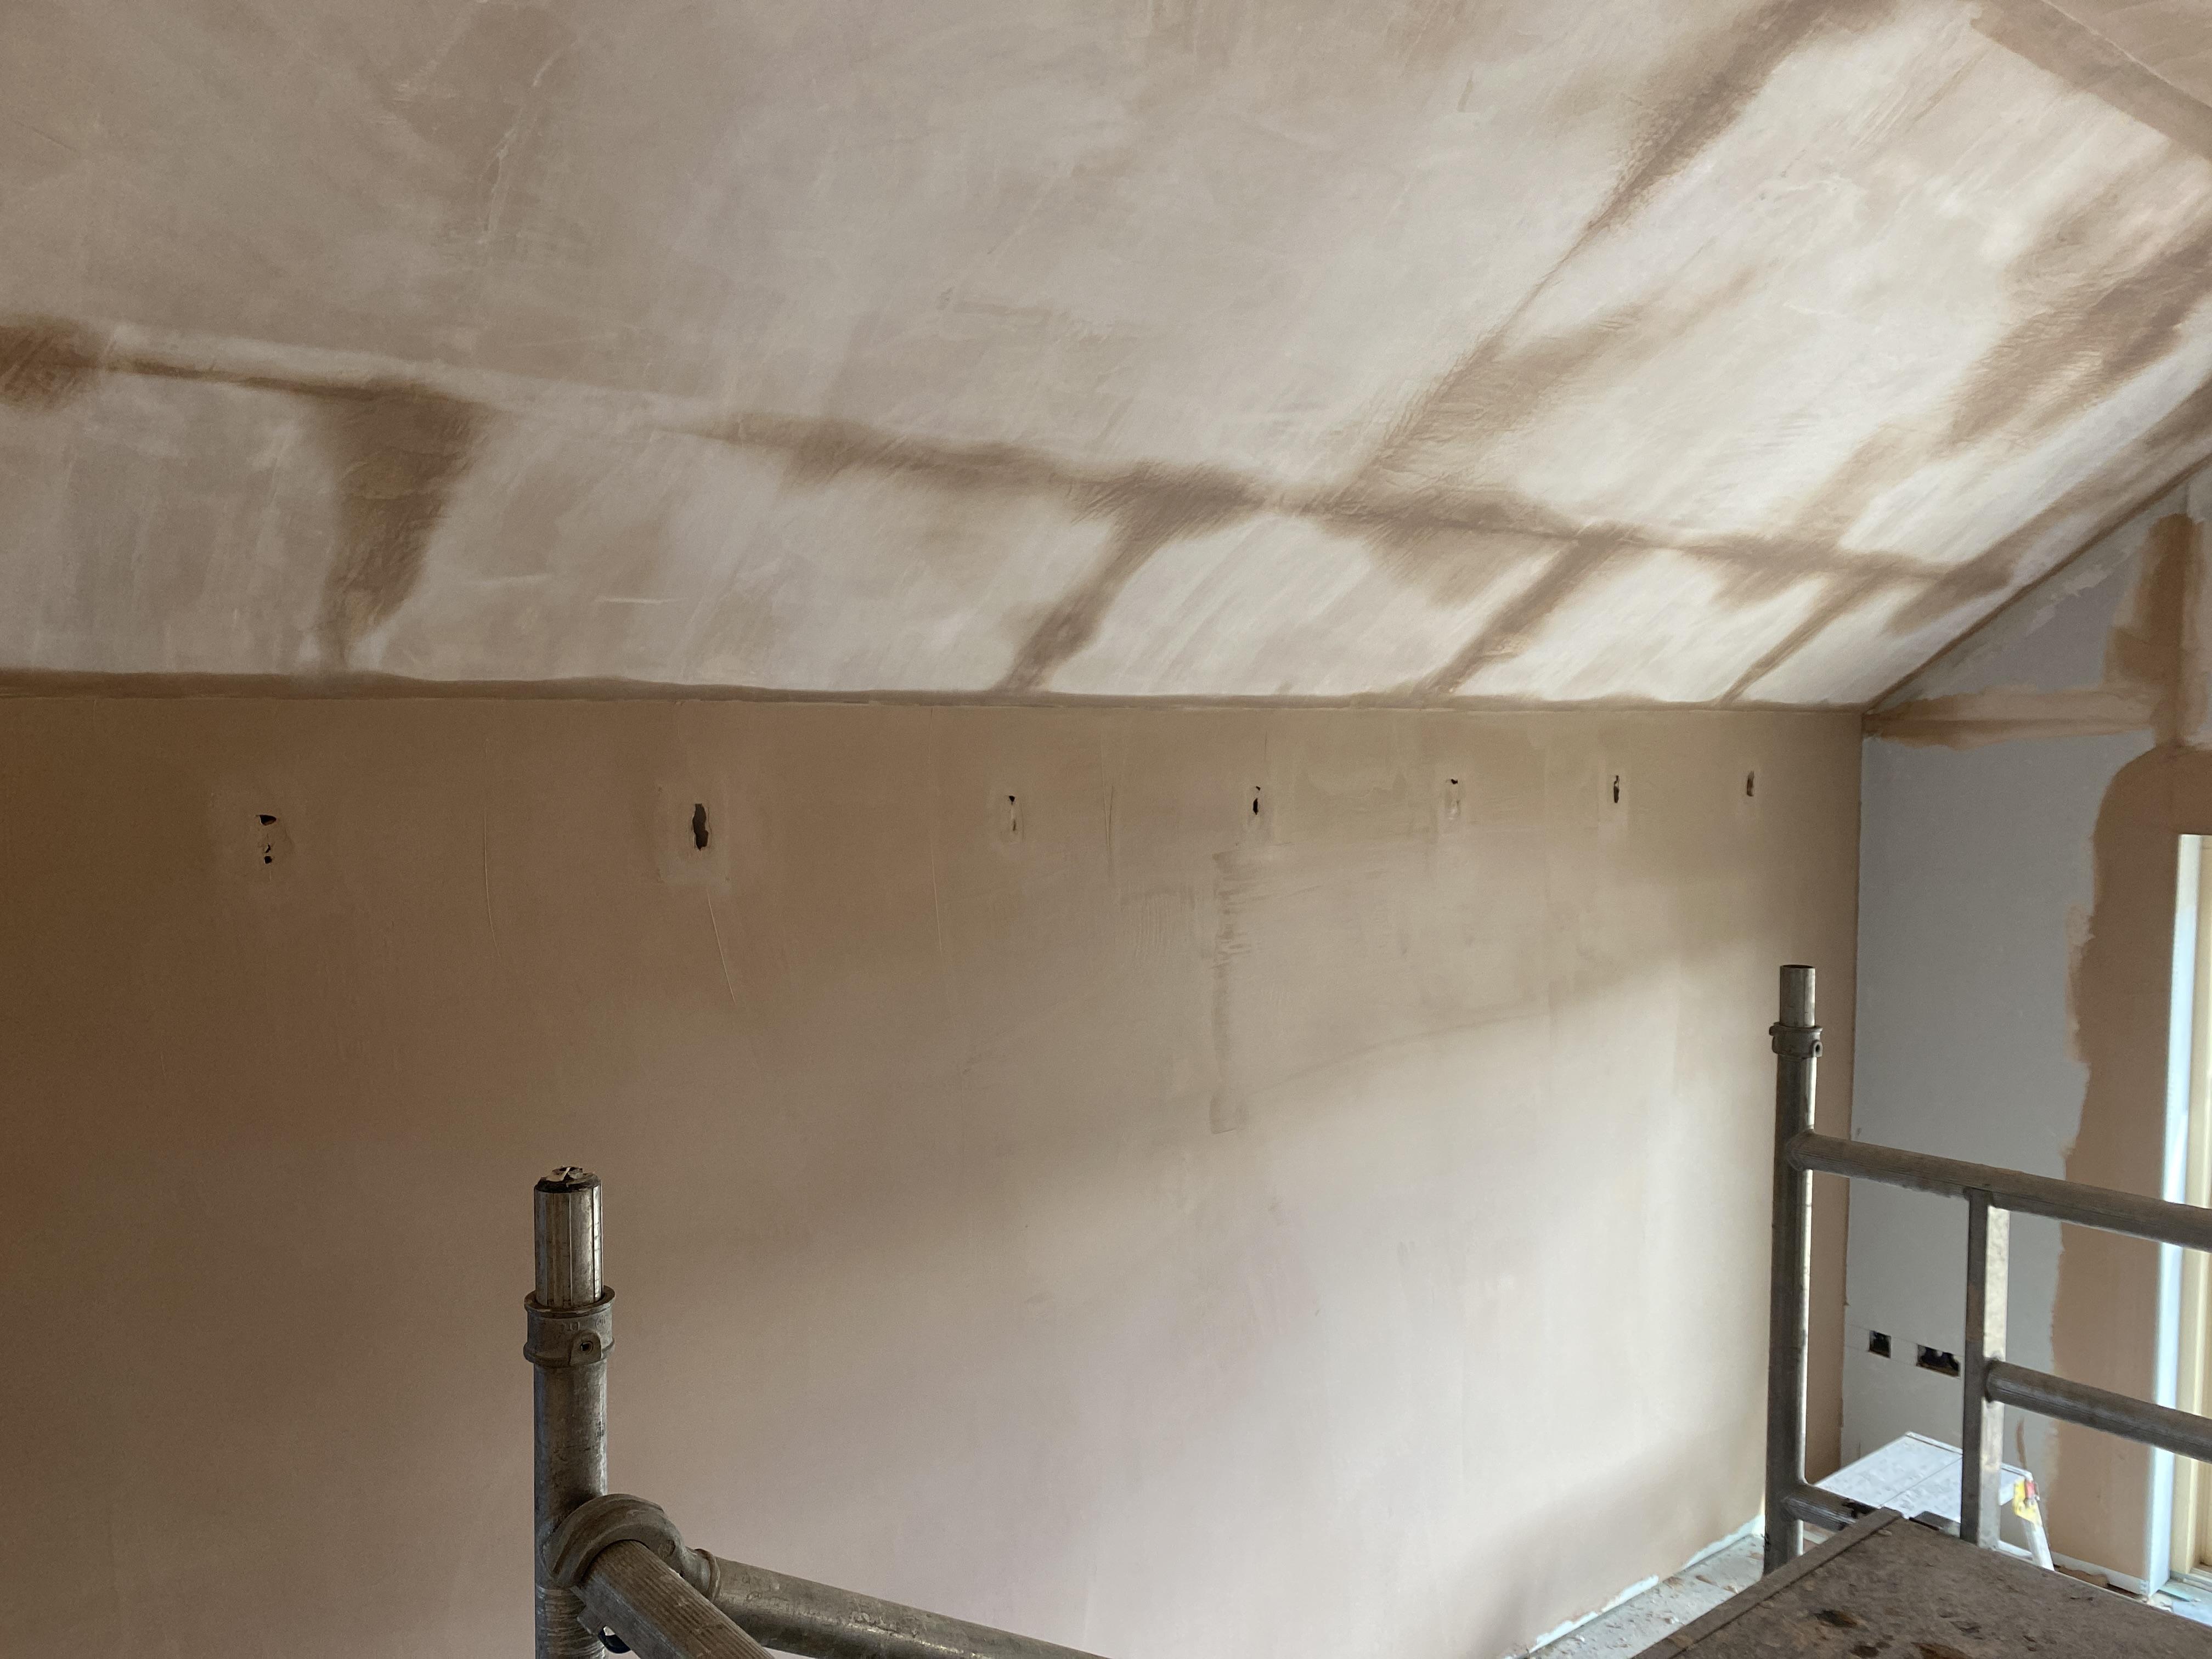
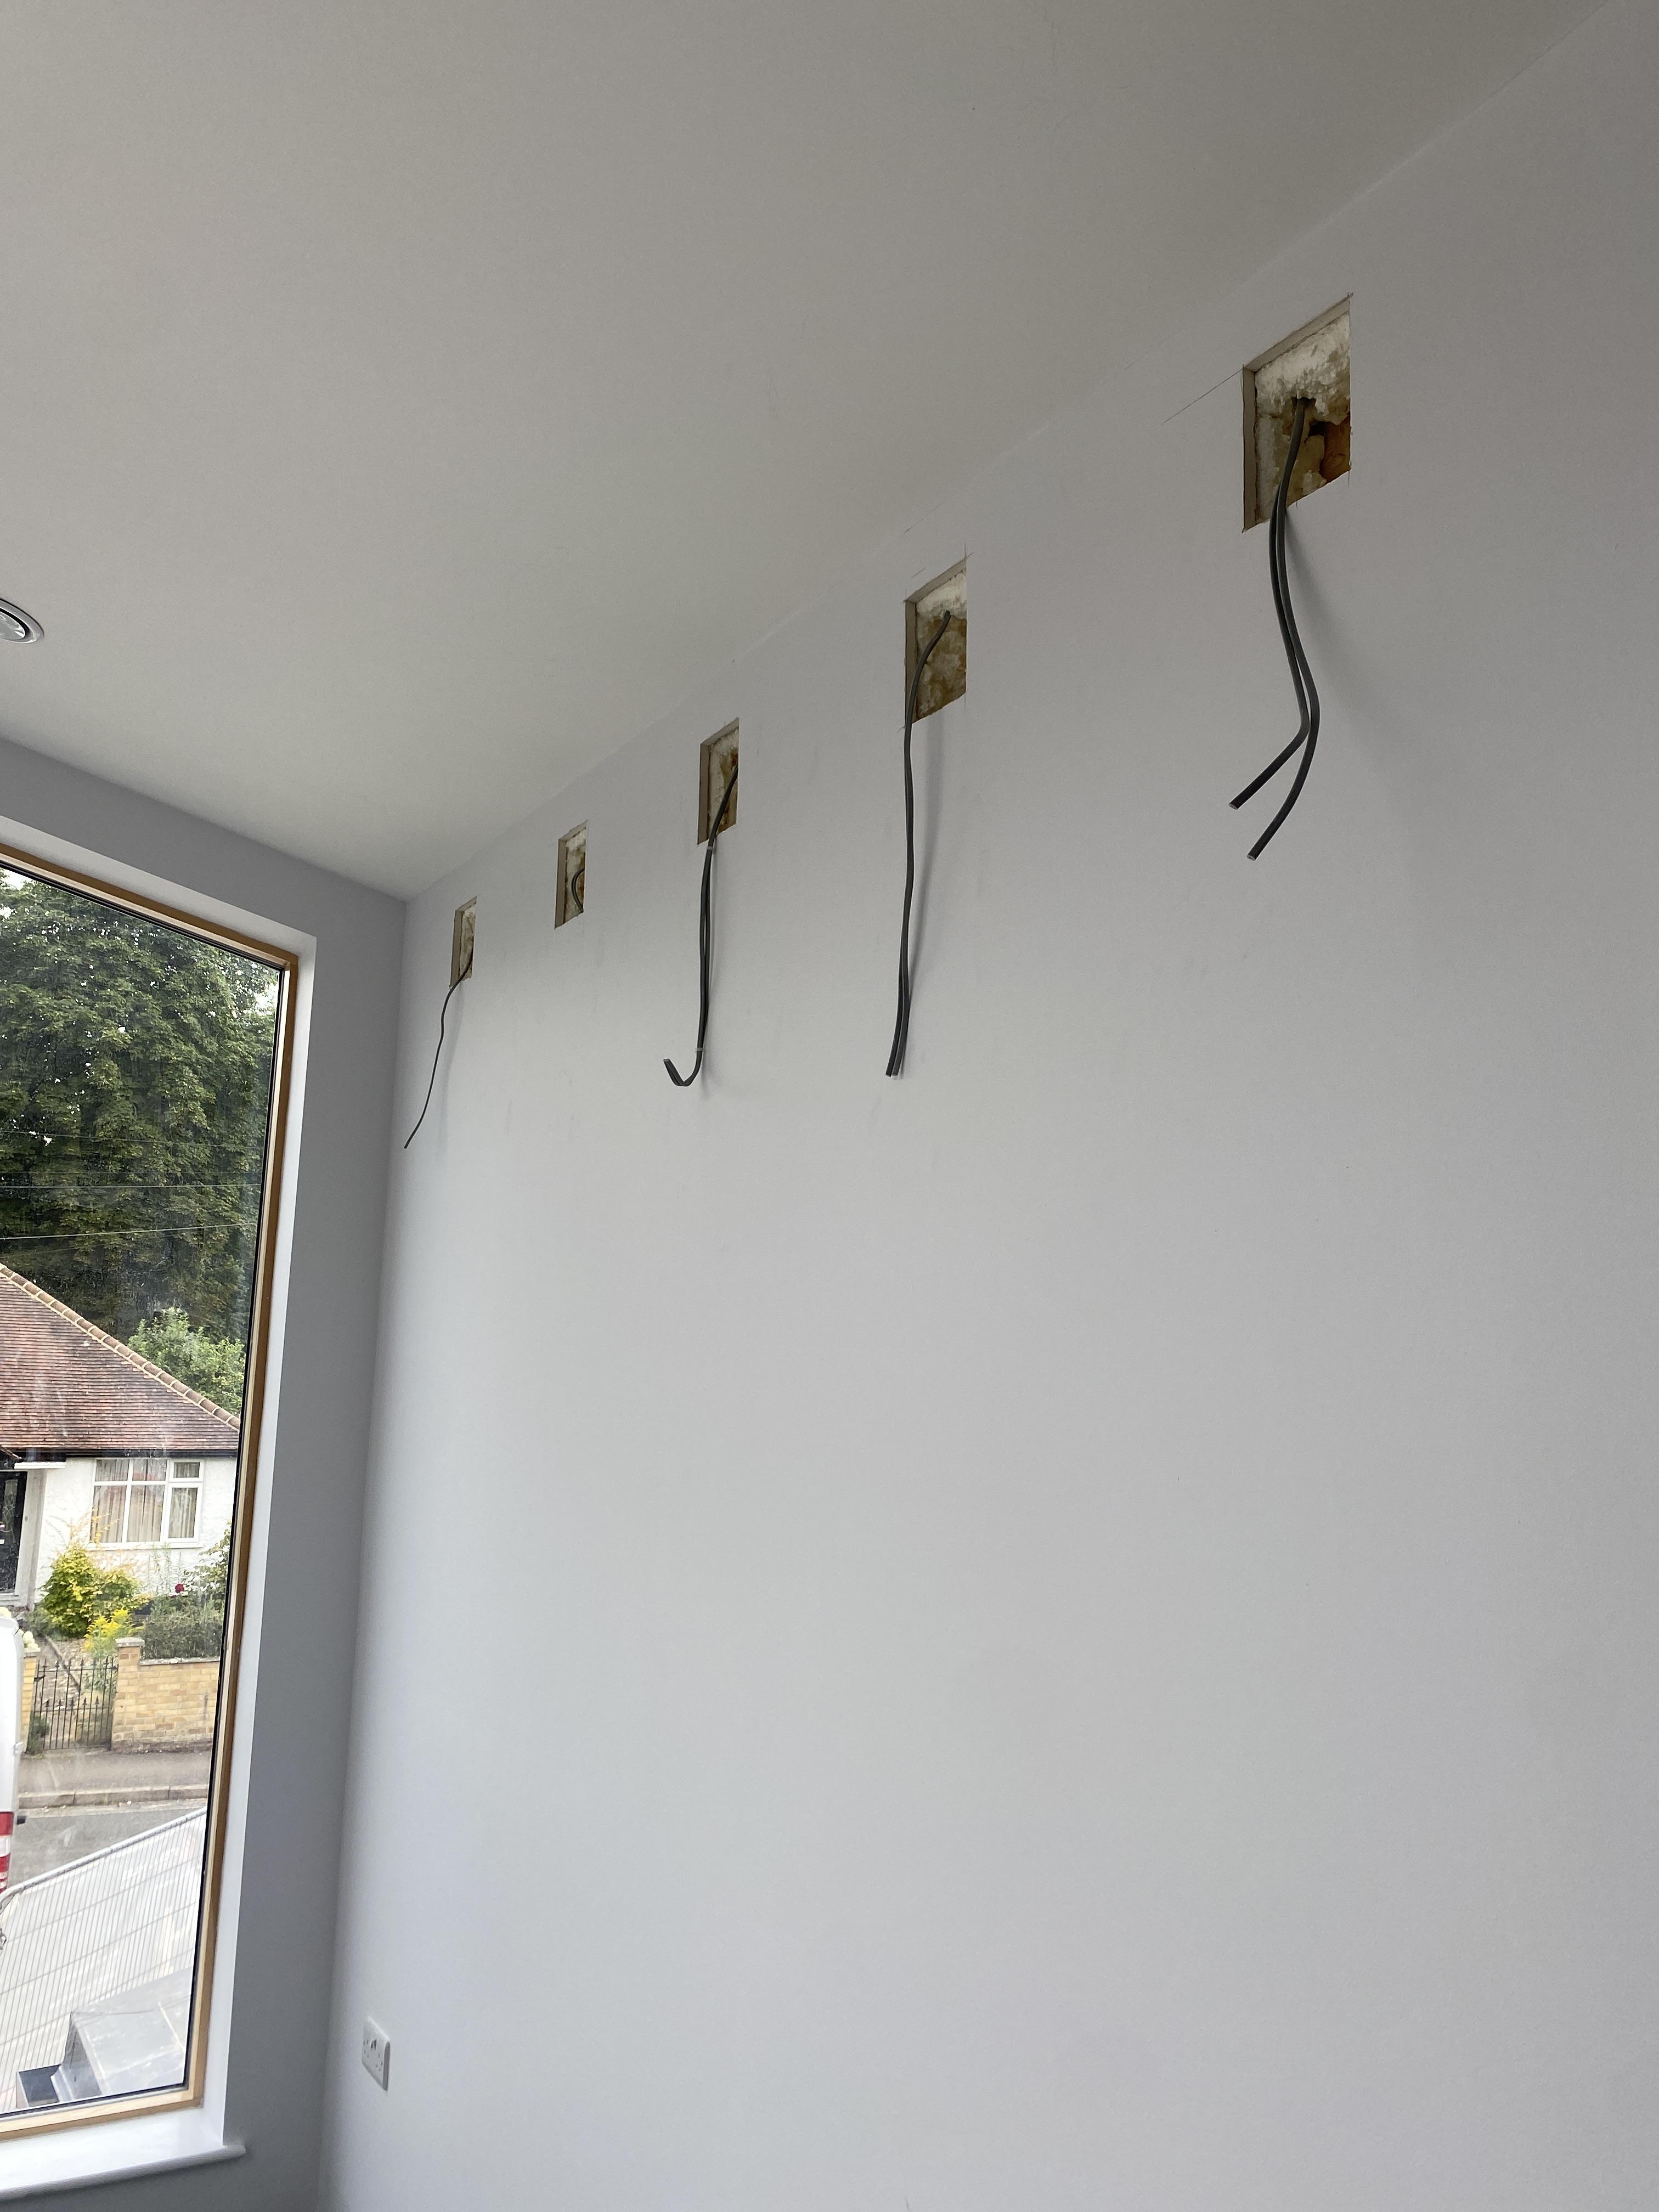
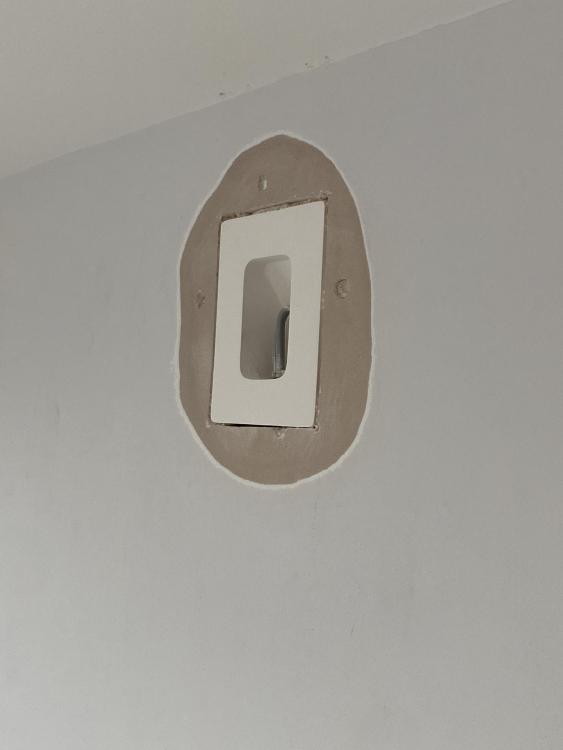
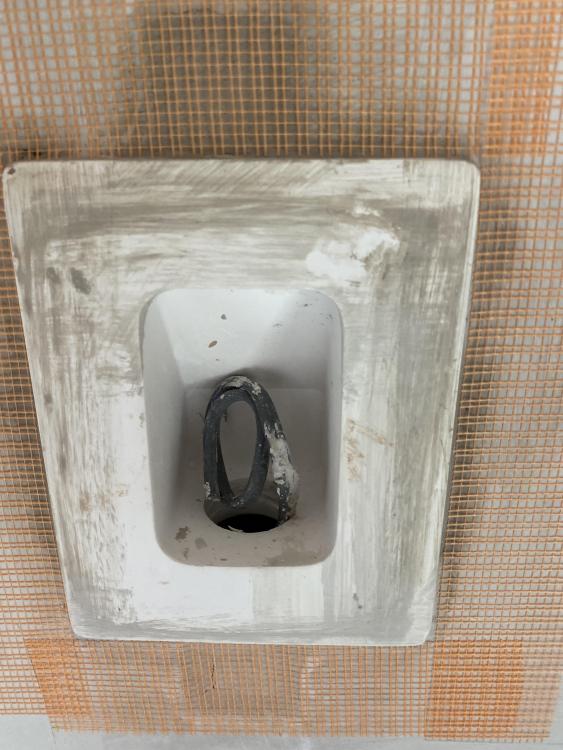
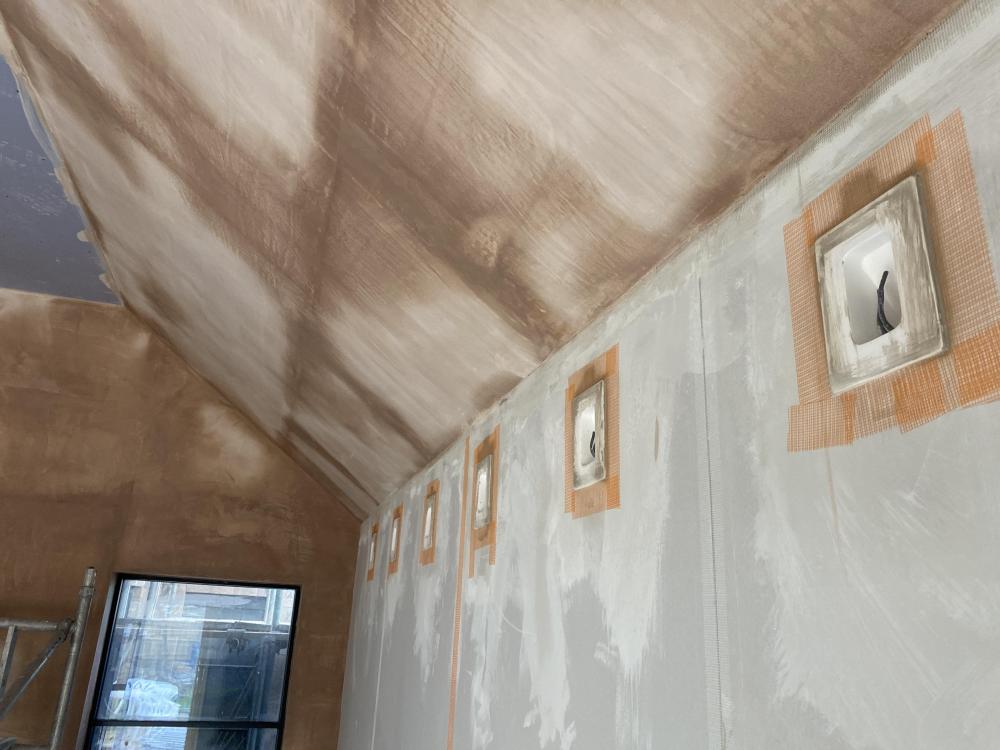
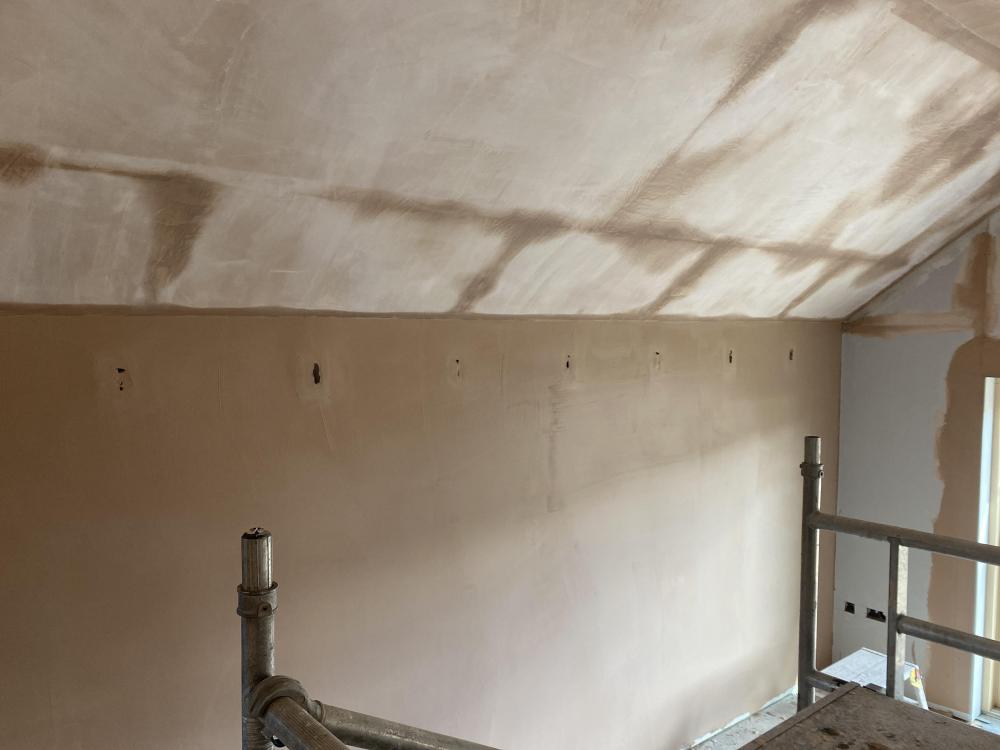
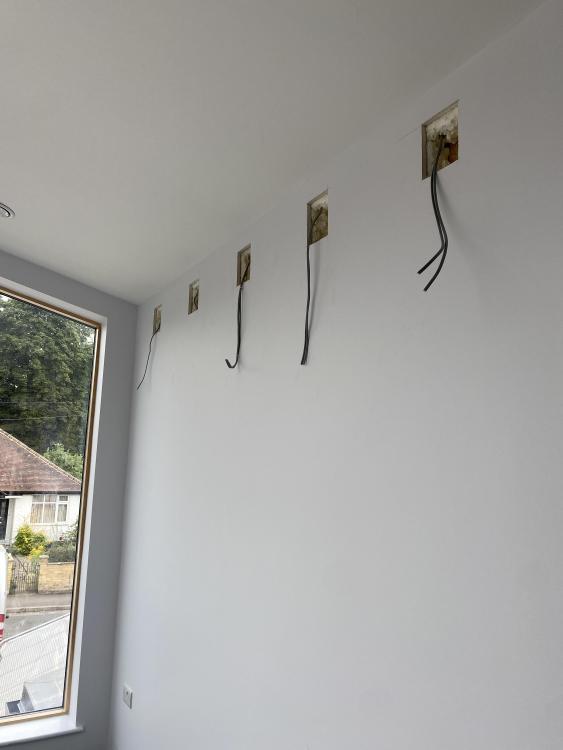
I'm doing the lighting design for one of my current clients builds, which also has a tall curved ceiling. I've suggested recessed wall uplighters to wash the ceiling area with enough upward light to allow sufficient ambient light to make its way down lower in the room, with the idea being to have light but not to see the source ( or as near as damnit ). No pics of that one yet, sorry, but here are some of the same I installed on another project.
-
Ah, ok. Then ignore my above rambling. I’ll get my coat.
-
Are the pipes down yet? If going under then you’re linked one is fine. Sorry. Just assumed this was going atop retrospectively for some daft reason. Been a long day.
-
Too thick. 500 is the thickest I’d use tbh.
-
UFH pipe layout design - any improvements?
Nickfromwales replied to Tom's topic in Underfloor Heating
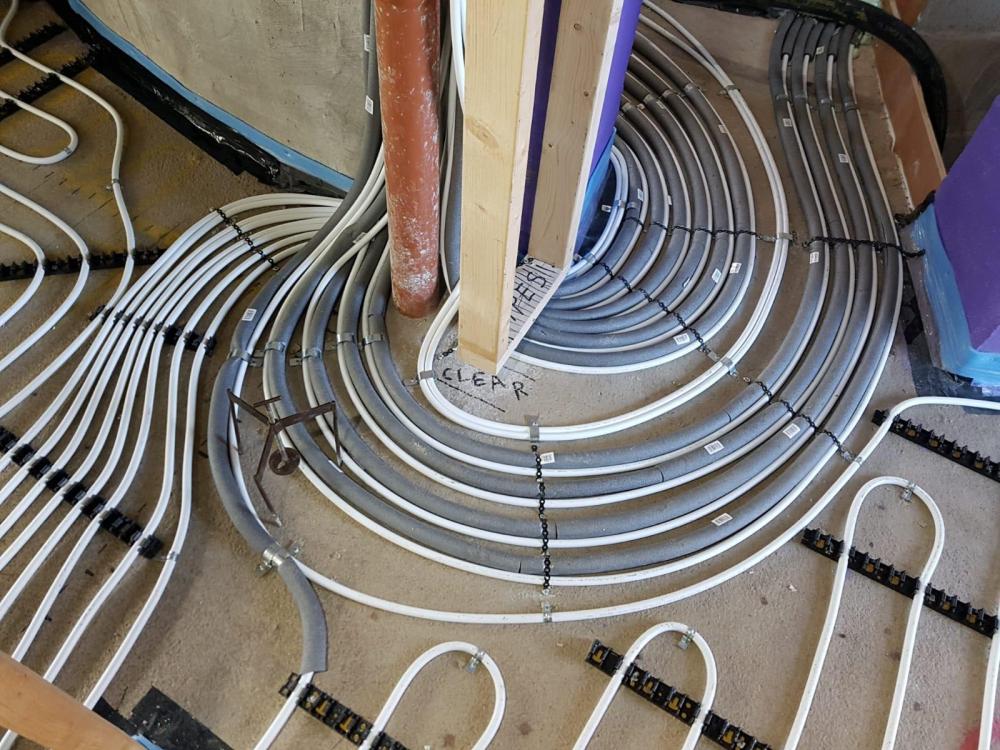
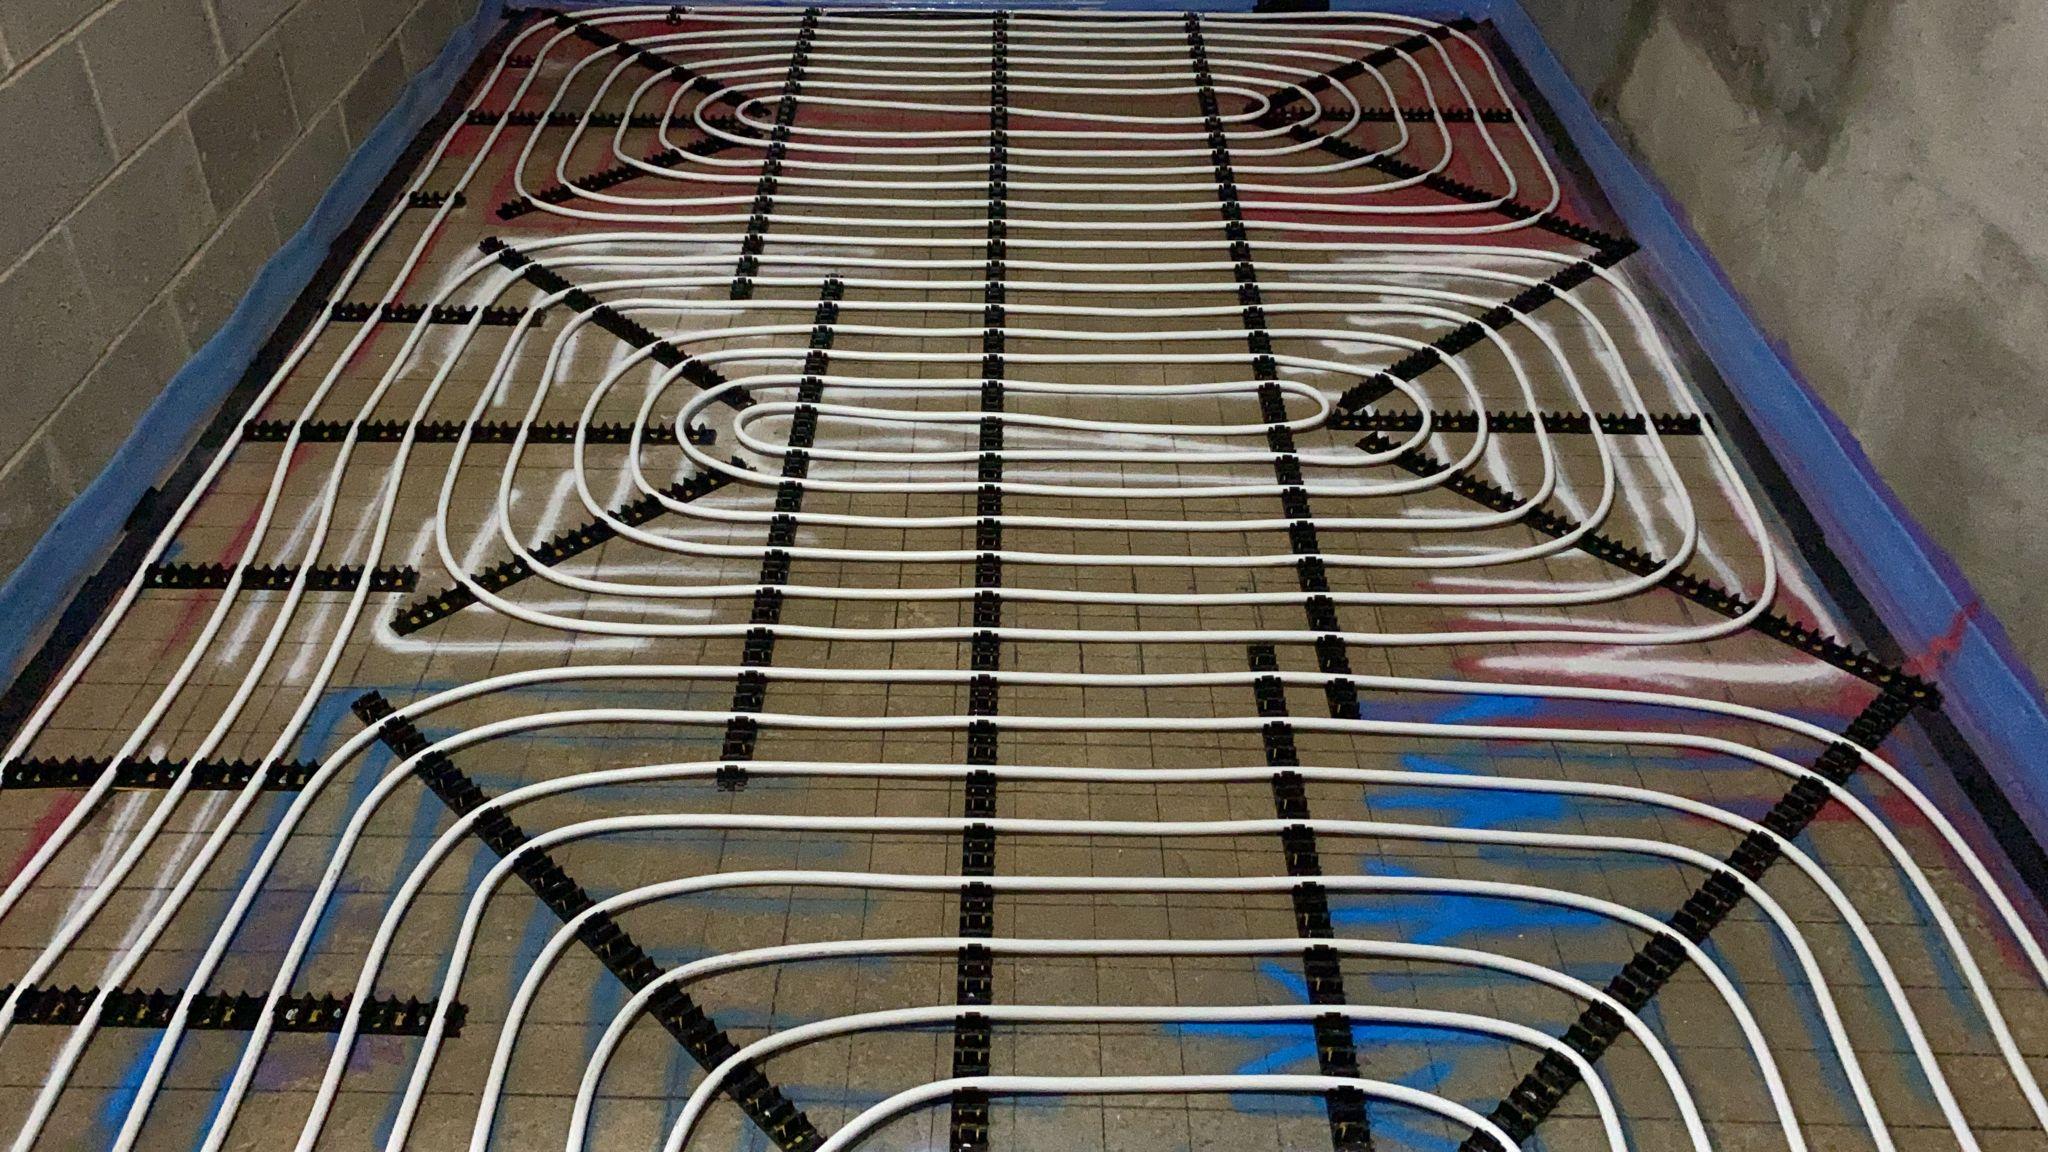
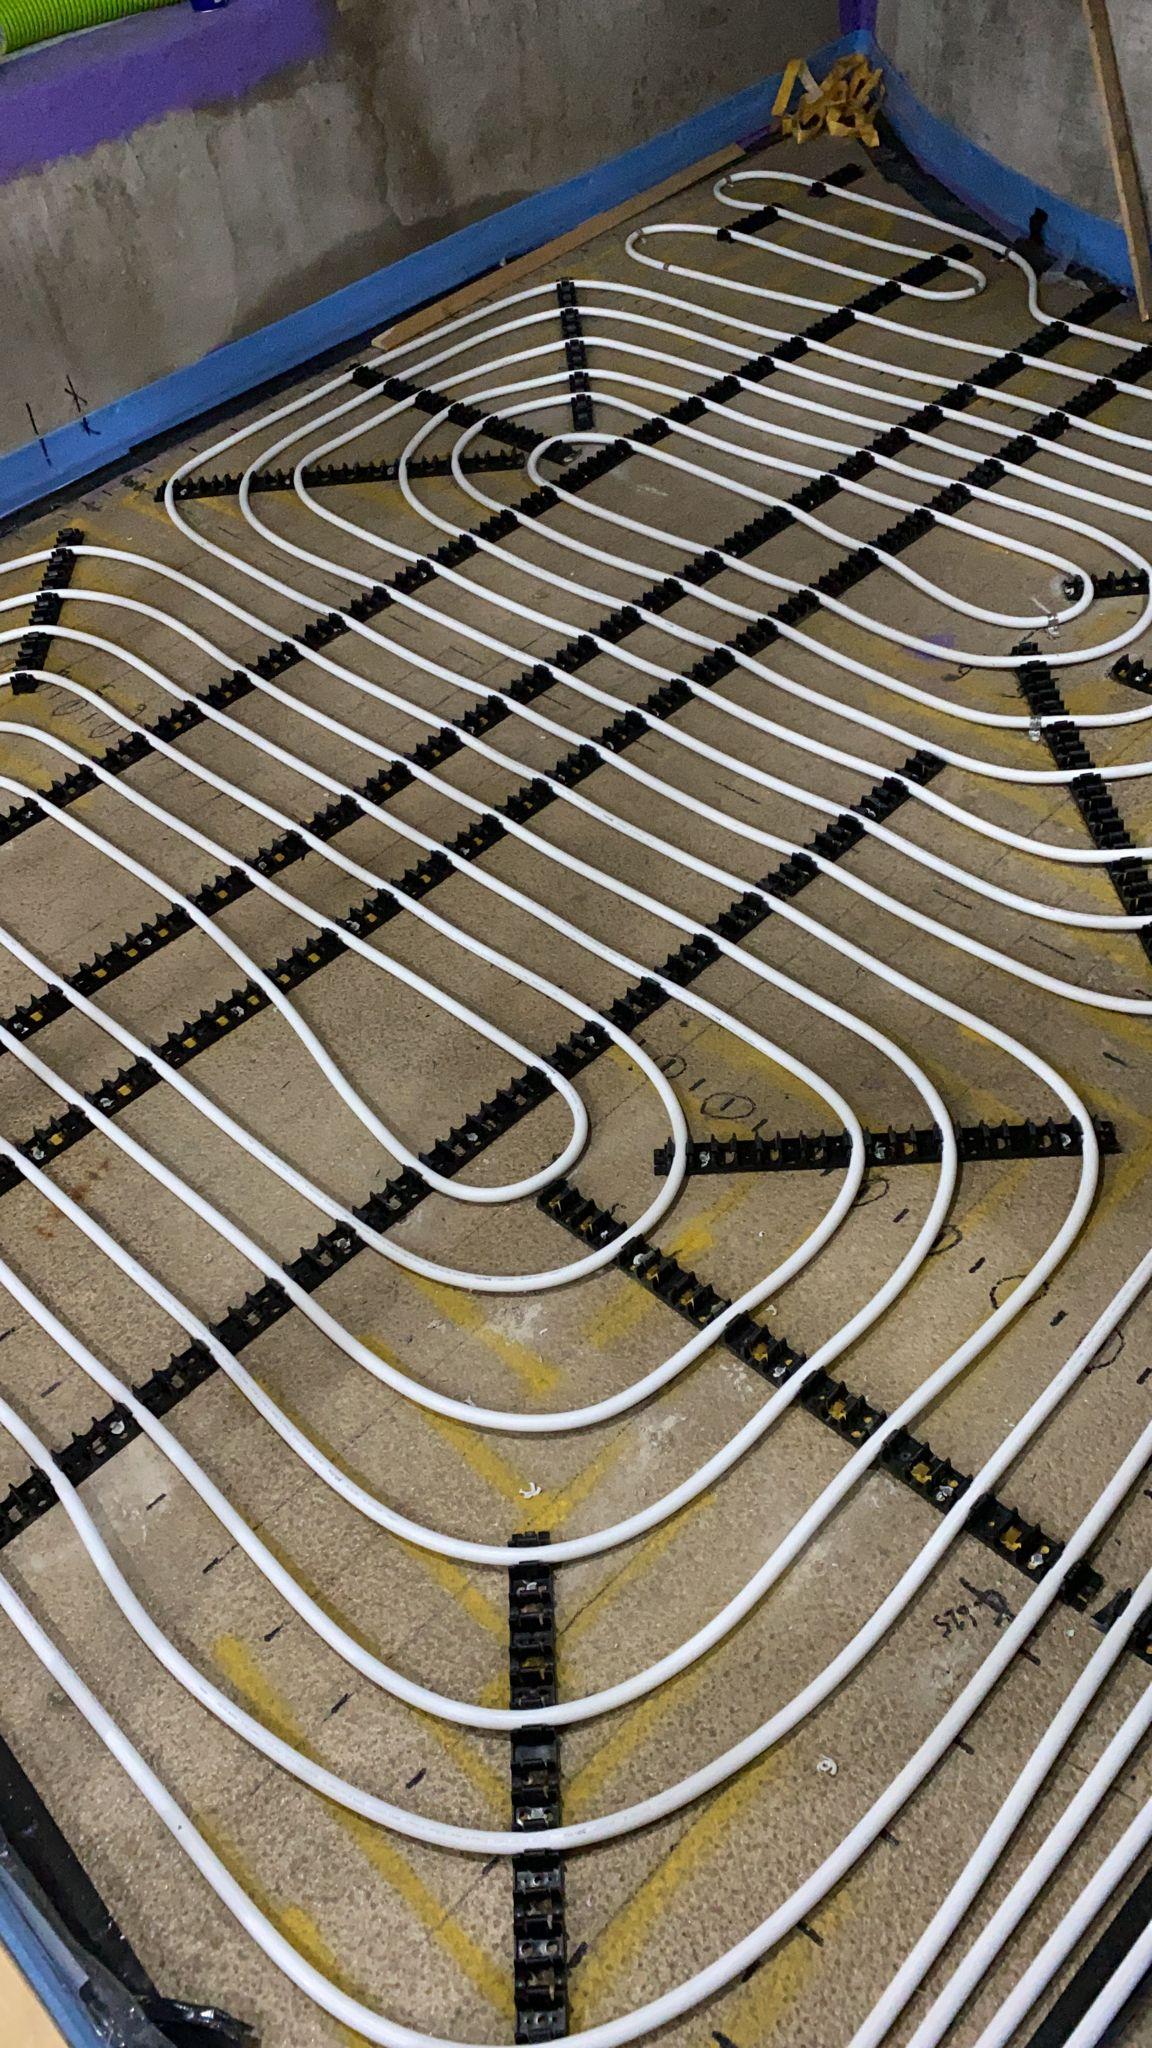
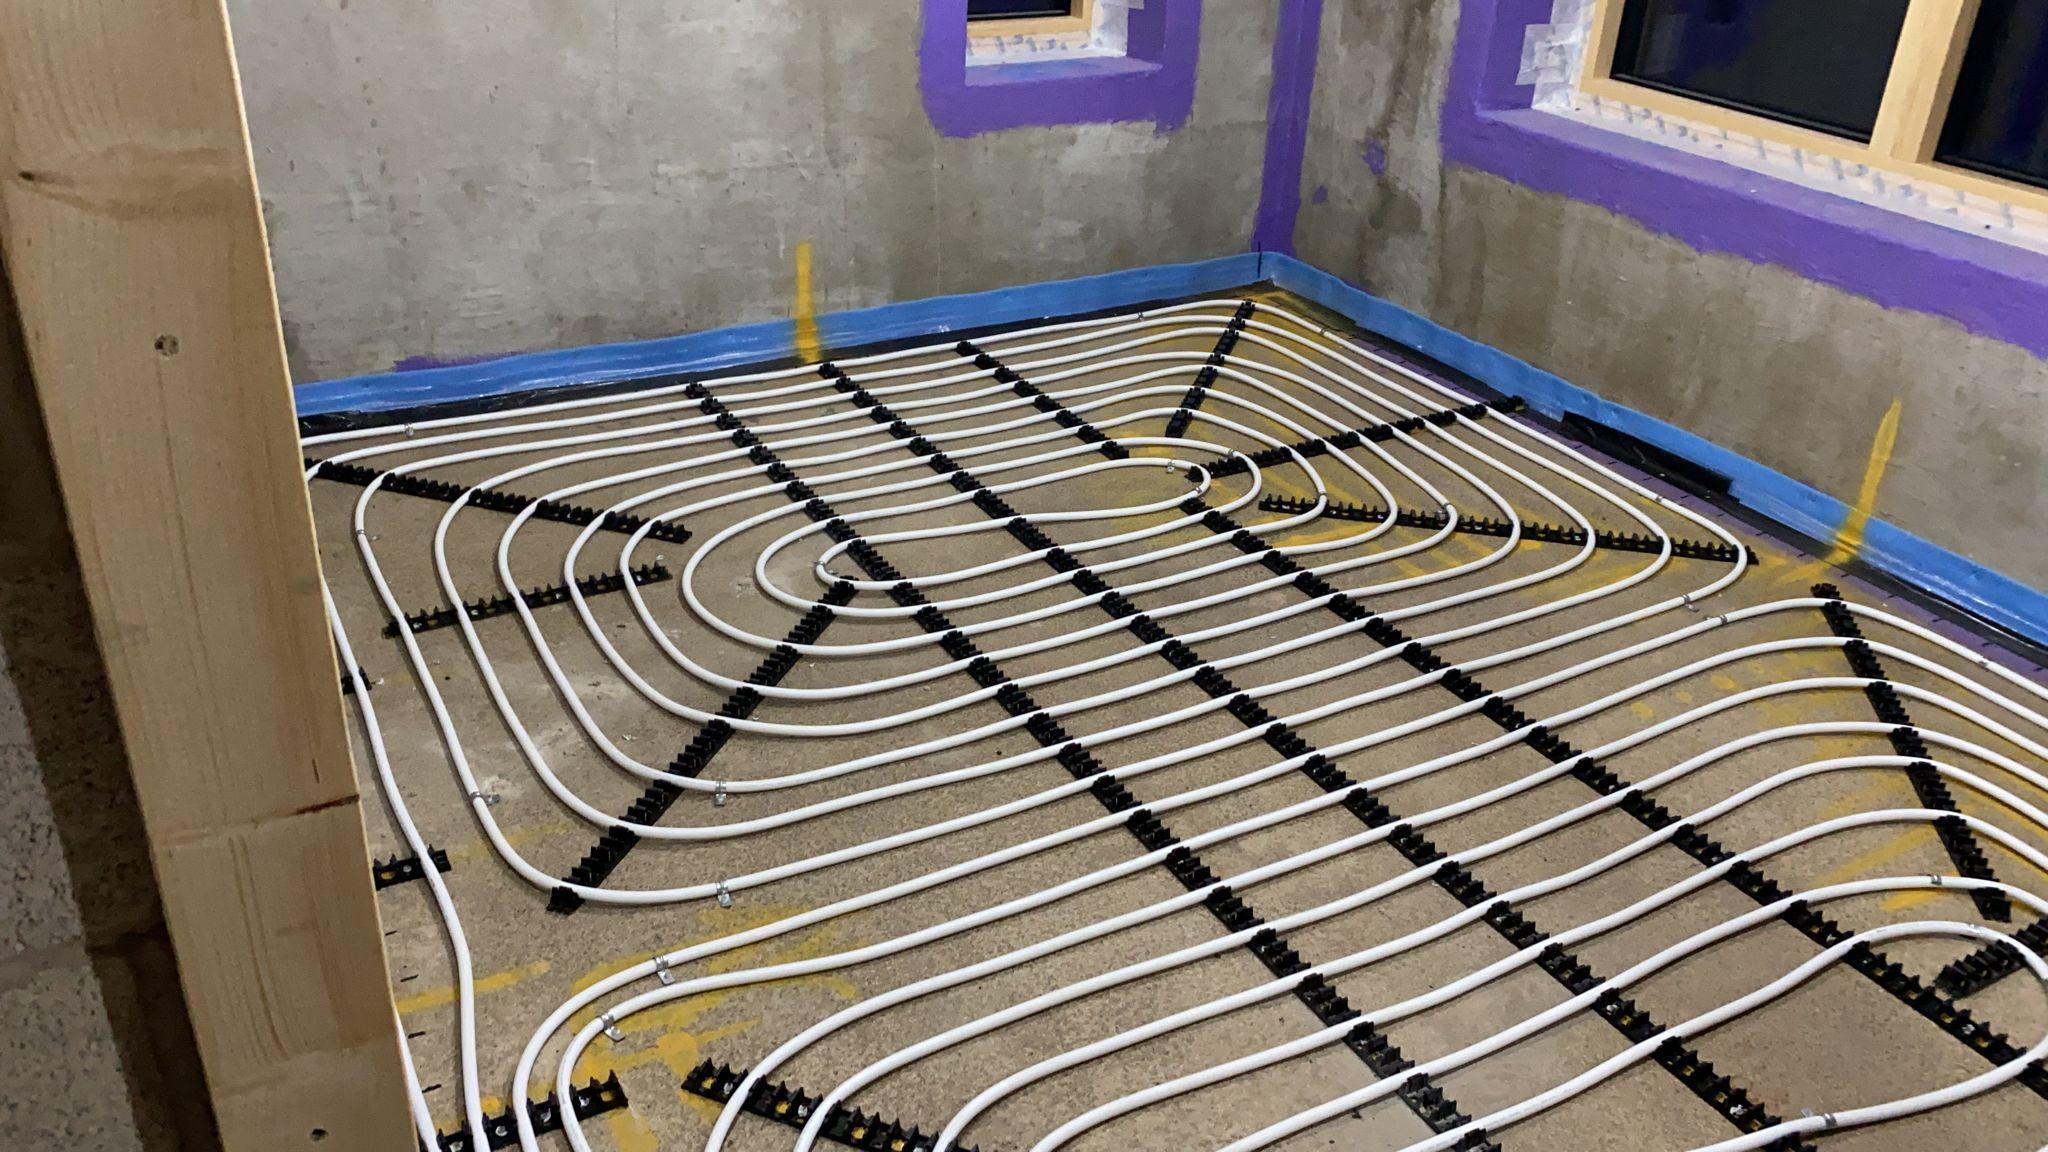
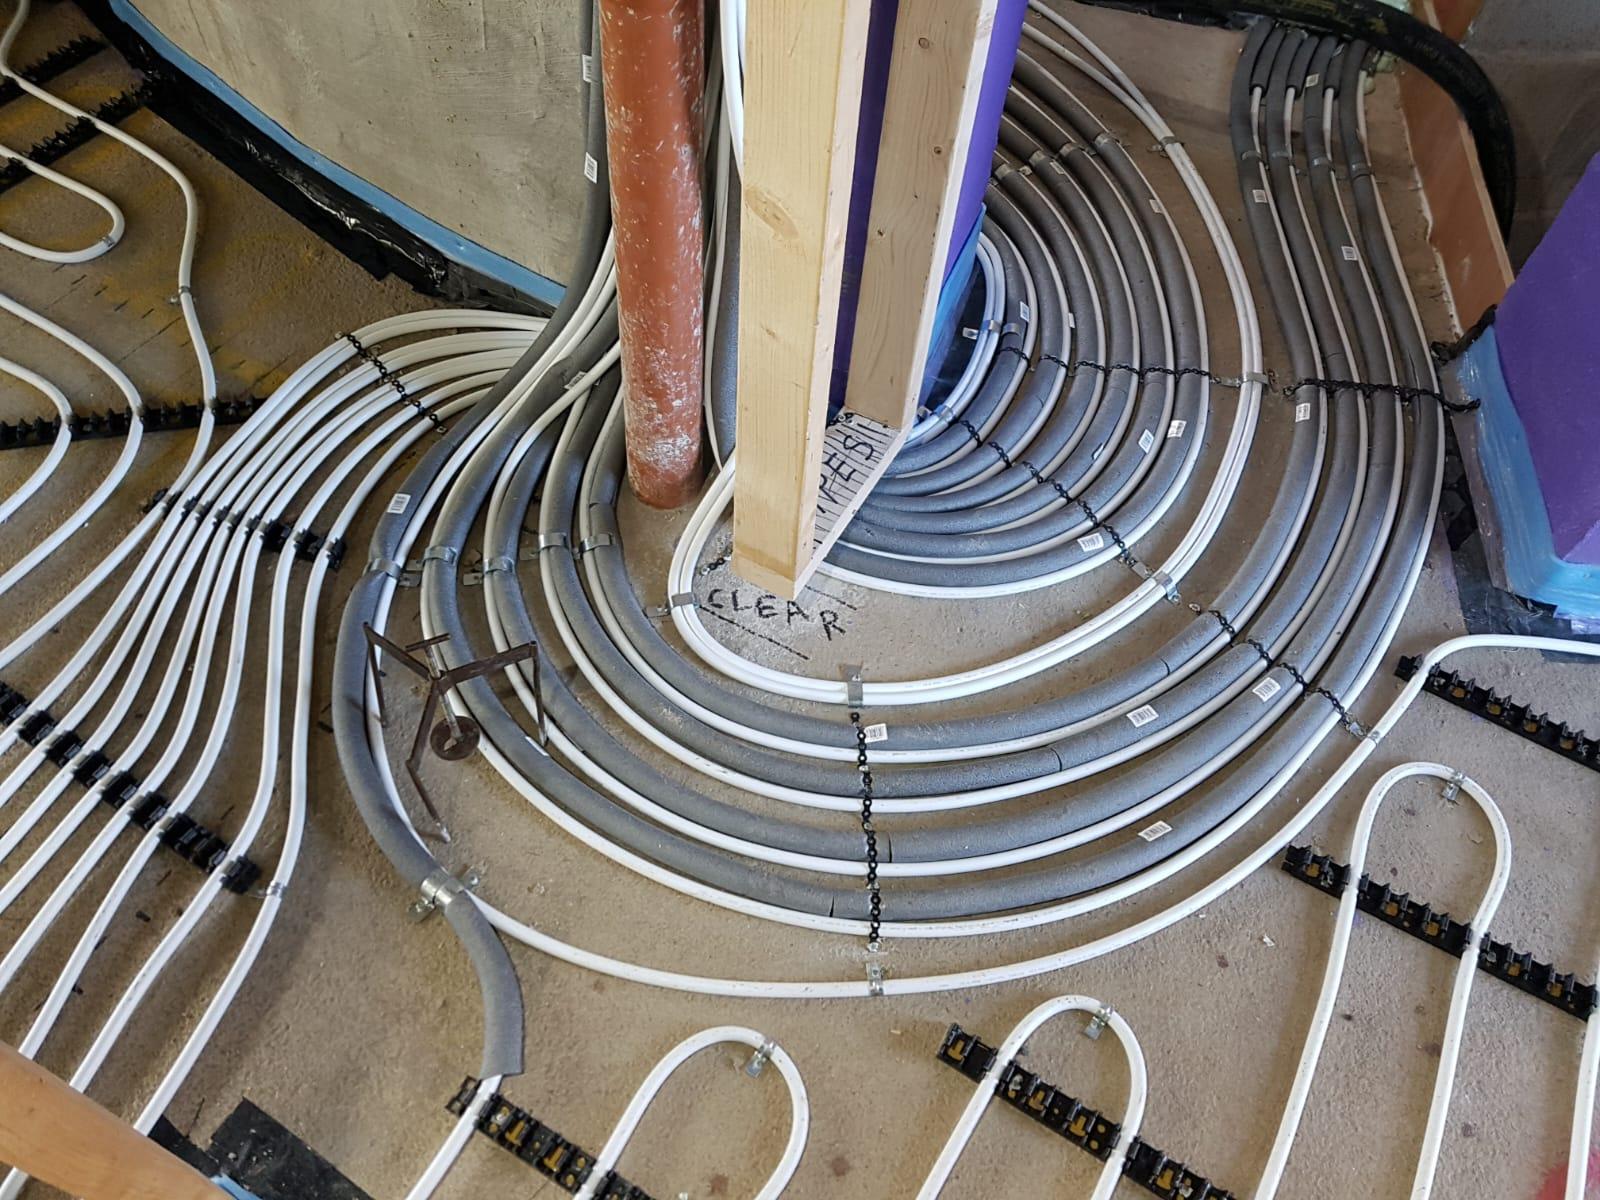
I separated the pipes and marked the sole plate to avoid ‘unwanted water relief holes’. The studs all reside on a course of blue bricks, so there I just packed out with timber and punched 2x 200mm concrete screws down, through liquid screed and into the concrete slab beneath Trust me, with liquid screed the challenge is to stop it going anywhere it’s not supposed to It will have 100% encompassed those pipes with ease. The builder used mastic / sealants and I also used foam to create a dam in the openings where the flow of the liquid screed needed to be arrested.