
Leaderboard


Popular Content
Showing content with the highest reputation on 04/11/22 in all areas
-
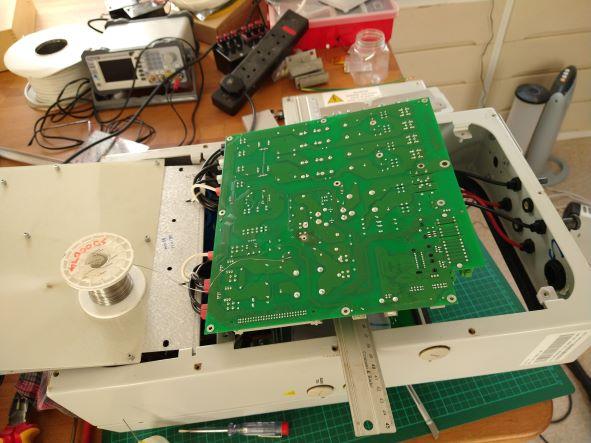
Looks good so far. No reason why the finished article won’t look good either. at least he’s giving it a go2 points
-
It's pretty ridiculous really isn't it. VAT is normally associated with "luxury" goods rather than basic essentials. So buying a device to efficiently heat your own house is considered a luxury, but if you also pay someone else to do the installation of said device for you, it's no longer a luxury. Section 2.7.4 is also insane. Basically you need to break up large jobs into discreet bits to be able to zero rate parts of the work on a large project. Even though that adds risk for the customer and supplier, and the joining up of the pieces maybe worse for it. (I'm thinking about big ticket items like EWI that needs designing into the wider scheme of a retrofit, not something trivial like TRVs that they cite as an example) 2.7.4 Mixed supplies Where you’re undertaking more than one job at the same premises, the VAT liability will depend upon the circumstances. For example, if you’re contracted to build an extension and, as part of the same contract required to fit thermostatic valves to all the radiators in the house, this is a single standard-rated supply of construction services. However, if you have a contract to build an extension and sometime after the work has commenced, the homeowner separately asks you to install thermostatic valves, this is a separate supply.2 points
-
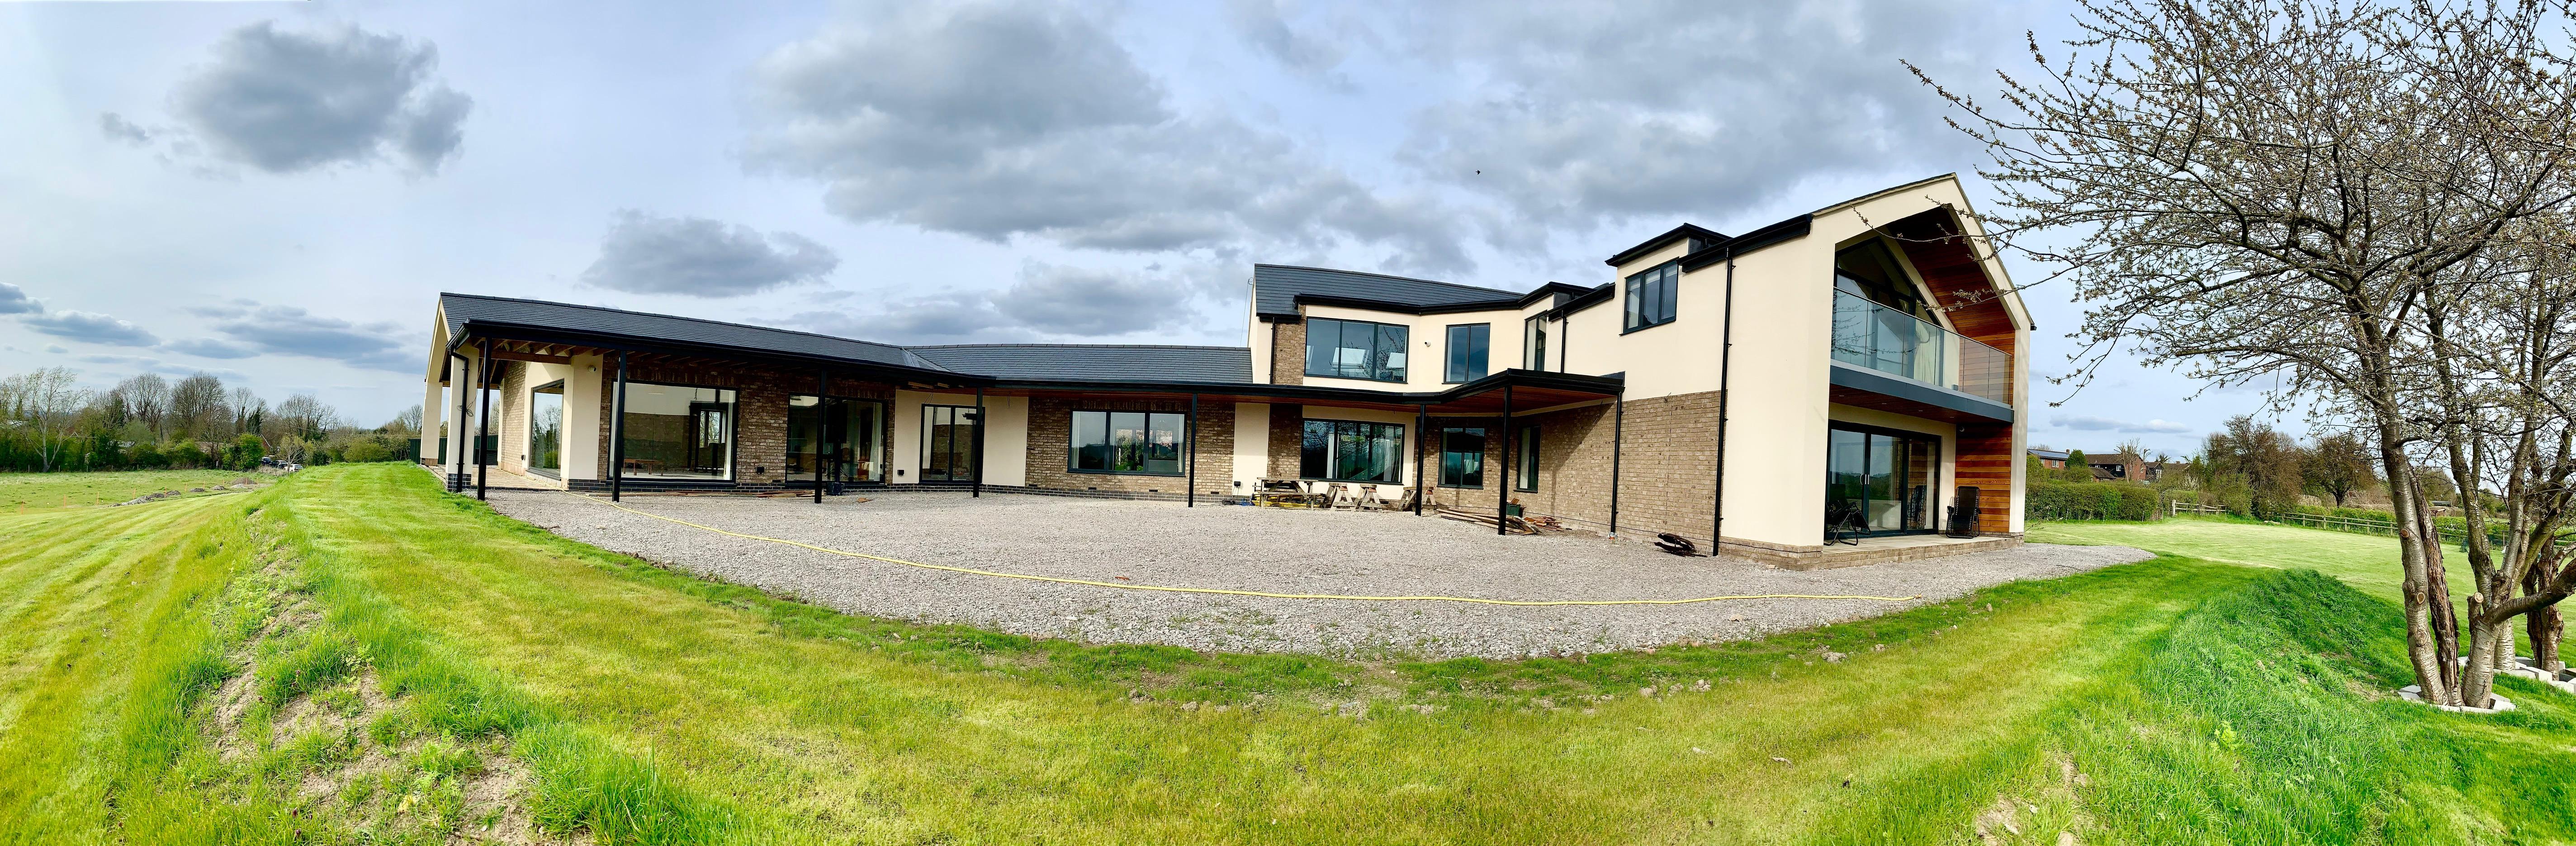
After buying our first and only property over 26 years ago, and fully renovating it, my husband & I have decided to to start a self build project. We are lucky to have land beside us, which we were granted planning permission. The single storey new build is designed with my daughter in mind, who has severe learning difficulties. This will give her some independence whilst we can watch and care for her, as well as everything on one level. Our Building Warrant should be through in the next week or so, and it feels very exciting to start this project as well as a bit daunting, especially as materials are more expensive than pre-Brexit and probably pre-COVID. As we are going to project manage it ourselves, any tips or starting off pointers would be very welcome. FUL-PROPOSED_GROUND_FLOOR_PLAN.pdf2 points
-
Sister got my mother a new kettle. VID_20220411_080239449.mp42 points
-
I don't mind telling you its been pretty stressful and of course I've made mistakes. I've done a lot of the work myself, its made me incredibly humble, especially now I know how hard some guys do work through the horrible wet cold days when you see them up scaffold. I've also used brickie's, roofers and specialist skills. I've have had to really try to focus on just using any milestone as a success worth celebrating and not getting too down when things start going backwards. I think you definitely need help with the "mind over matter" when doing this sort of project so I suggest to anyone starting this sort of thing you rally your friends and tell them you are going to have some tough days that way when you just need a shoulder, you've got one. That said however you must remember you're doing something very few people do or would even attempt to do, that in itself should keep you going on the crappy days. The design is my own but copied some bits from architecture seen on google images.
 2 points
 -
Wow, we have finally started, and what a journey. The goal of the last 8 days was to try to make the the stars align. We had planned several meetings / connections deliveries all to happen the 1st week in April, and this was it, lets see what unfolds. Firstly, the plot, being located high up on the East coast in the highlands, which is basically a large un-serviced field has a few logistical issues, the main one being storage, the second distance. We had quotes for containers to be purchased and delivered in the region of 4.5K so alternatives were needed. The initial solution is the back of an Asda delivery waggon, 12ft long, 7ft wide,6ft high, with 3 lockable doors, and racking for the green trays, also a larger roller shutter section. £250 - with working fridge if required - (this may have a second life once were up and running with rare breed pigs🙈). just need to get it from Morecambe 430miles North. Secondly how to get everything to site. We bought an old removals wagon - 7.5Tonne ally box with tail lift. MOT till NOV 515,000KM - 1 careful owner Our hope was for this to get there in 1 piece, and be left on site as storage. the sum of £1200. all in with insurance (which may be cancelled) its has cost us £2K. Talking with my timber supplier, he warned me of impending price rises and possibility of shortages due to the unrest in the UKRAINE. so out of the blue I bought all the timber 450M of 6x2 C24, and 56 off 11mm OSB for the PODS. In addition to this I found a contact selling factory rejects of 120mm PIR insulation. In Scotland the pods need to achieve good U values, so 120mm on roof and in floors was required. Basically this guy buys pallets of insulation that are usually end of production run , or slightly damaged corners etc, and not full sheet sizes. I went to look, as he has had some bitumen coated and fibreglass coated boards. Generally the sheets are all 1200mm wide, min 600 long, most are around half board length, but will need to be trimmed to make them suitable for the warm roof. I did a deal to buy the equivalent of 44 Boards of 120mm some Bitumen coated, some fibreglass for the sum total of £660. This is a massive saving on 'Box Fresh' Now I had a problem, with the insulation tightly packed into the back of the truck and leaving some pockets to slide the timber in I had filled about 2/3rd of the truck, I didn't have room for all the timber or the other stuff I was taking. The revised plan was to cross our fingers and hope the truck will not only get to Scotland , but now return with a view of making another trip. Living accommodation. We found a static caravan, 2 bedroom in V good condition, delivered to site included in the price. The deal was done and he would get the van to site for our arrival on the Thursday, along with the delivery of our other investment an old Ford 550 Backhoe Loader, with buckets and pallet forks. We decided to set off Wednesday evening, with the plan to see where we got before we were too tired, then to sleep in the Wagon / Car. The picture below was us all loaded with 430Miles ahead. Me driving 'Nessie' as Mandy has called her, and Mandy Driving the Car / and trailer. I know we look like 'Travellers' but needs must, what will the new neighbours think when we turn up..... The Journey was horrendous. Setting off at 18.00 the trip was uneventful, with he exception of filling Nessie to the tune of £245 with diesel and not knowing how far these 150 litres will get us. Uneventful until we got to the A9 around Perth, then the snow started. Visibility was poor, and the local truckers seemed oblivious to it. Mandy had a big scare on a dual carriage way where she lost visibility of the edge of the road, and found herself nearly hitting the verge, a stab of the brakes and forgetting about the 16ft trailer saw said trailer try to over take her. Luckily she managed to correct this, and coming to a stop in the dark with snow on the dual carriageway, composed herself and set off again. At 03.30 on Thursday we pulled into a layby just after Inverness. Got our heads down for a couple of extremely cold hours (-4). and set off to the croft, arriving around 8.30.. During the drive we were informed the Static- our accommodation for the week was not going to make it - COVID... I managed to make a few calls and Borrowed a 3 berth Tourer from GOW Plant Hire / Groundworks in Caithness.. What a top bloke.... This is us on site day 1, digger arrived..... The Plot.. So down to it. Day 2 on site Friday. Electricity was to be connected on Wednesday 6th, we needed to dig a 30M Trench and install the cabinet / concrete base. This had to happen. Over to the digger to fire her up.... no go. Quickly the battery went flat. We moved Nessie closer, did a quick 30Mile round trip and bought some jump leads and by lunchtime and still no joy, turning over but not firing..... it was running the day before but they had to jump start as it had been sat in the yard for a few week. Ok looking at the battery it wasn't the correct one, so another 30mile round trip and the owner of a monster battery we tried again. no luck, I phoned a mate mechanic he advised trying spraying cold start into the air intake. ok another trip? , No, he told me to try deodorant as the propellant may well work, one quick spray and the old girl fired immediately. Best smelling digger in the highlands... Now to get to grip with an old backhoe, I've experience with up to 5 tonne 360 machines but never a back hoe, so this took a while to understand how to dig a straight trench next to a fence.. I managed to excavate the connection pit and around 15M of wandering trench by the end of the day. Day 3 Saturday It was cold and no amount of deodorant was working on the digger. The mighty battery was losing power... Time to try Nessie to give a boost, we got the Truck stuck in the mud... FFS. we needed the digger to move the truck, and the truck to help start the digger... This was a testing day, and I know from experience in building game you have days that just fight back, and this day was fighting hard. Mandy set off in search of some supplies and some cold start. By lunch she was back, I had made the shuttering for the cabinet base just needed the digger to get the concrete over to the hole. Cold start didn't work and we both felt deflated... Numerous attempts with planks, stone etc to free the truck were not working. As a last resort as the sun was now out and shining we gave the cold start another go and the digger jumped into life.. Obviously not a morning person... We moved the truck to relative safety of some drier ground with the aid of the digger and concreted in the cabinet. Another 10 M of trench, and we made a start exposing the water main. I noticed the digger was beginning to be sluggish and leaving hydraulic oil pools, when I check the level it was nearly empty. So Parked up the digger, next to the truck, batteries next to each other - just in case. We retired to the un heated caravan, and I went to the Generator to start it, we had a 2KW heater that helped take the chill off, A couple of pulls and the cord snapped😂. the day was going to round 12 like it or not. So tools out and repair underway. Day 4 Sunday. No Hydraulic oil till Monday so left the digger alone, and marked out the position of the pods, and the septic tank, I wanted to do some digging here to confirm the suspicion that the rock level was high, and some breaking out will be required. We hand dug a trial hole for the water main, as we found electricity cables running towards where the trench was going. We hit rock 300mm below ground, so were happy to dig this with the machine on Monday, We also started unloading the insulation and timber from the truck. We sandwiched timber and insulation with visqueen and ratchet straps to create a heavy mass that hopefully wont blow away whist were not there. Day 5 Monday. With Hydraulic oil on board and the shelter of the truck the digger fired first thing, and we were off. Mandy continued un loading insulation. We dug a small trench for the water (we new the main was laid in a blasted trench to a depth of 800mm) we had to breakout our trench with a 110V Breaker to obtain the 600mm depth and hand dig to expose the water main, I left Mandy to this while I dug the septic tank hole, I got to a depth of around 800mm before I hit the rock. This will need pecking out now. We installed a homemade standpipe, and blue pipe, then asked for a track inspection via the online portal. We were given date of 11/12/13April, but we put a note on to say we were on site until the 8th. They responded and the Meeting was set for Wednesday 6th - result. Day 6 Tuesday - the night was very windy and wet. A cold and wet start, We finished off the electrical trench, laid the ducting / draw cord and all was set for connection the next day. Made a start on the pods foundation dig. Day 7 Wednesday - electrical trench was full of water, and the ducting was floating. the heavy rain drains towards the sea, and thus straight into this trench, I was concerned that the Install may be called off. SSE turned up around 10.00 and were not bothered in the slightest. They connected a new length of 95mm Wavecon to the pole and jointed the existing 2 houses and our new supply - 2 core 35mm straight concentric to this 95mm cable. Resin pour joint box, and fitted the 100A cut out in the cabinet. They were done in 2 hours. left me to throw the cable in when the resin had gone off. Scottish water inspected the trench, and this has been signed off and will be added to the works list, hopefully a few weeks. I filled in the cable trench, We managed to rough dig out the pod foundations and found the rock is close to the surface. so the slab foundation will be pretty much mass fill concrete around the perimeter, with some MOT to reduce the thickness to 4" for the slab. This will then have a Radon barrier on top and a floating floor insulation on that, Due to the poor living conditions and more rain and wind we made the decision to leave Thursday morning. Day 8 Thursday, We packed up the caravan and Nessie then dragged the caravan out of the mud with the digger. The trailer was also dragged clear with the digger, but Nessie was so at home she didn't want to leave. I was pushing here through the mud, but she was sinking. Fortunately tour Farmer neighbour saw our plight and came along with his massive tractor and dragged her clear. We left site battered, bruised but happy in the knowledge that no matter what was thrown at us, we had achieved what was required and more to boot. Thanks for reading... its all possible, Mandy made a few videos if you want to see them https://www.facebook.com/The-Windy-Roost-101816829105927, you can follow the progress there as well...1 point
-
Very impressive array eh? 🤣 Well, I've had these panels loitering in the dark recesses of our garage for a few years now. Picked them up for beer money from a company that had gone into admin - from their showroom, hence why all different. There's a fifth 250W panel up on the 'treehouse' roof that's been running the garden lighting from a 24V LifPo4 all the while (the reason I got these in the first place). The white box lying on the deck, behind the ladder, is a more recent acquisition - an Aurora PVI-3.6-TL-OUTD (AKA ABB) inverter that a local Farmer was chucking out as it had failed. About that: Just a bad solder joint on a relay pin that got all scorchy. Easy Peasy fix. But how to test the repair? Drag out the unused panels of course! Such fun. Oh but they're all different sizes/powers... no problem. As luck would have it they're all very similar in current so in series there's no problem. Their wildly different voltages at MPPT is inconsequential. Their powers just sum. Today was overcast but it still managed 700 Watts so yes the fix worked. Now before anyone asks if I've notified the DNO, this is not permanent which got me thinking: what do inverter repair shops do to test their work?
 1 point
 -
Yes everything is within the insulated envelope of the building so just the inlet and exhaust from the outside to the unit to insulate.1 point
-
I certainly have not and was not asked the question. The only ducts I insulated were the ones from the MVHR Unit to the outside, the incoming one developed condensation on it so wrapped it in rockwall.1 point
-
If the duct (75mm) is with the insulated envelope of the building, I see no advantage to them being insulated. The extract duct work will have inside building temperature air within it, so no heat transfer in or out. The supply ducts, will have cooler air within it (on a cold day) so there will be a heat transfer to the duct, which is a good thing as you are less likely to feel drafts. Ducts (75mm) outside the insulated envelope of the building, needs to be insulated, mostly for condensation and or heat loss reasons, plus building regs require it. Large ducts to and from outside to MVHR unit, insulated, inside or outside insulated envelope of the building, mostly for condensation and or heat loss reasons, plus building regs. Large ducts MVHR to plenums treat same way as 75mm ducts.1 point
-
When they fall off and smash that glass, at least you have something to use your structural glazing on.1 point
-
is it usual to have obscure glass in an outside shower? 😎1 point
-
The same brickies that know nothing about airtightness, and usually get the window openings wrong. Quite impressed with @pocster's solution, quick and easy, and he had the rebar kicking about (cause he ain't got a clue how to use a tape measure yet, the final coping stone won't fit).1 point
-
Could be because you’re using the wrong type of mortar or not pre-priming etc..? I bed them on to 5/1/0.5 sand cement lime with a waterproofing admix and they don’t move anywhere. Gun adhesives are not designed for this sort of situation - you need a full width bed under the coping stones or they will just pull free. If you want a thin set full bed adhesive for these then this stuff is good - will work well with your concrete infil as will mechanically bond also. https://www.homebase.co.uk/norcros-rock-tite-outdoor-tile-mortar-25kg/13628420.html1 point
-
This is an explanation of the physics behind needing as much insulation as poss under ufh. The 10% losses refer to when using normal radiant/convection heat. That said, I've only got 100mm too.
 1 point
 -
Oi ! You said you packed and glued with ct1 !1 point
-
Do the ceiling first and then do the stud below and you’ll get less chance of a movement crack.1 point
-
Think I’ll go and glue some coping stones incorrectly. Anyone want to buy crazy paving ? Ffs .1 point
-
Paint won’t stick to the plastic DPM.1 point
-
wont work - just buy a roll of tape and use that. And rising damp doesn’t exist unless you’ve just built below the water table.1 point
-
I am laying the DPM on top of the concrete slab instead of under it, just using extra wide DPC for the blockwork so we have a decent lap. I have not done it this way before but it makes sense as it would be awkward to lay before concreting.1 point
-
I put a double layer in mine under the screed (over old concrete). The builder accepted was belt and braces and didn't mind. It's my house after all. BTW I think Steamy Tea will tell you the physics and to to put a lot more insulation under your underfloor heating. Because of retrofit, I only had 100mm space so used Kingspan Kooltherm K103. It seems to be working, but I don't know/ can't measure how much old concrete I am heating up. Most people on here try to use 200mm PIR, I think. Builders will tell you you don't need much insulation under UFH 'because heat rises, luv'. But it isn't what happens in this case. Coincidentally, our heating conked out last week, and using a fan heater confirmed that convection heat warmed the air but the slate/screed became a freezing cold sink.1 point
-
I have found gardening Very good for mental health. I built raised beds using scaffold planks as ours is heavy clay, yet to sow seeds tho 😳1 point
-
I have never heard of foam or adhesives for attaching coping stones. It's always been bedded in M12 mortar (plus DPC), with stainless steel fixings for any exposed/high risk locations. https://uklintels.com/product-category/coping-clips/1 point
-
Man you goes to bed with problem, wakes up with solution on belly.1 point
-
That's why you really don't want it 'grounding out' on something solid. The same applies to brick/block/stone - your building units can then become loose after the mortar has cured. There is one little 'trick' that springs to mind though - if you're whacking something down to a level on a full bed and you overdo it, then usually you just have to take it on the chin and lift off and redo the bed. But because the muck is hydraulic, i.e. incompressible, you can sometimes hammer-in a strip of plywood or something a bit narrower than the bed thickness (and the same width as what you're lifting) as a drift which will force the mortar to bunch-up and push up the thing that needs lifting at one edge. You definitely don't want to just lever it up as that will create voids but having it being pushed up by the mortar is fine. At a given point though, if you've squeezed all the water out, it will just lock-up solid. If it does work you can then pull out the drift and point in the gap you made at the edge. I've often done this successfully with heavy concrete patio slabs but you'll certainly need a big old lump hammer to persuade your bigger stones. Go careful!1 point
-
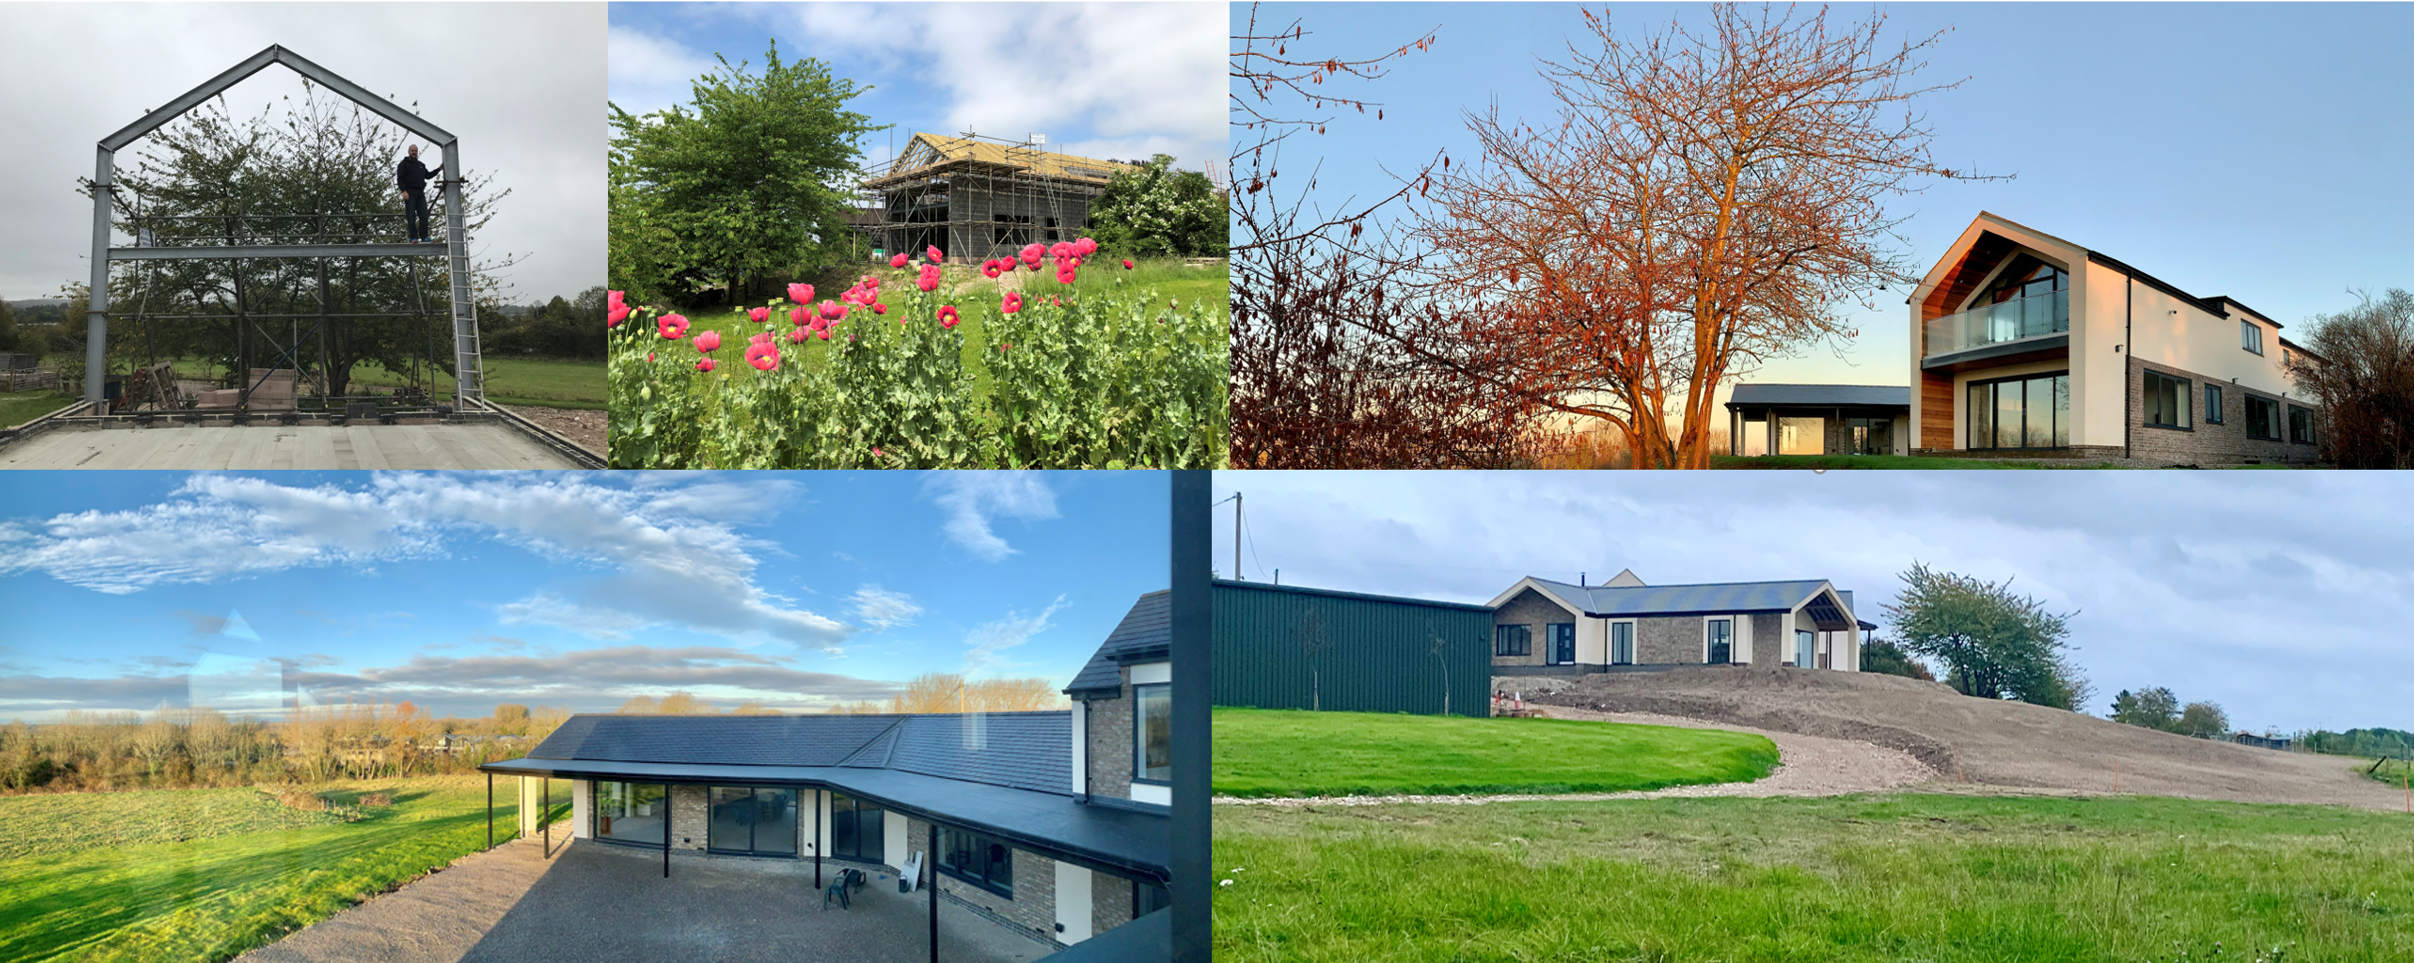
Hi I've just completed a detached new build, the process took me 5 years it was harder than I thought (but don't be put off!) and it has been an absolute emotional rollercoaster with huge highs and very low, lows. Loads of insulation and Celotex, 14kW Air source, 2 MVHR's, no solar, block and beam upstairs and downstairs, underfloor heating both floors, wood burner.1 point
-
Thanks Dave, I wish I had also, its been such a minefield.
 1 point
 -
Airtight paint does the trick. I used a dilute solution first to prime the blocks as it really sucked paint otherwise and didn't stick as well. My diy blower door test rig showed some leaks afterwards where my chasing had gone a bit deep. Flexible sealant plugged these holes.1 point
-
I just wrapped the electrical box with tescon tape prior to fitting the boxes then where the cable and screw penetrated box sealed with clear silicone.1 point
-
No it’s to narrow1 point
-
Insulation Deck Flat Roof Insulation All edges should be supported - add noggings where necessary. Stagger fixings where boards are butted. Boards should be embedded in vapour resistant mastic to provide a vapour control layer in conjunction with foil facing. Mastic should be laid wide enough to facilitate 2 panel edges and be continuous around all edges. OSB Insulation Deck should be staggered and butted. Each edge should have a minimum bearing of 20mm on joist... osb pir board: https://insulationgo.co.uk/129mm-xtratherm-flat-roof-thermal-ply-pir-9mm-osb-deck-eco-insulation-rigid-vcl-decking-td4000-tr31-board-126mm/ ply pir board: https://www.roofingoutlet.co.uk/collections/flat-roof-insulation-boards/products/warmline-insulated-decking-board-126mm ply pir board: https://insulationgo.co.uk/126mm-xtratherm-frtp-flat-roof-board-ply-pir-6mm-wbp-plywood-insulation-rigid-vcl-decking-td4000-tr31/ ply pir board: https://www.insulationshop.co/126mm_eco_therm_eco_deck.html Warm roof insulation fixings explained: nails : https://insulationgo.co.uk/195mm-headed-helical-flat-roof-nails-warm-roof-fixings-pack-of-25/ roof decking: https://insulationgo.co.uk/blog/osb-deck-ply-board-sip-pir-insulated-kingspan-tr31-celotex-td4000-recticel-plylok-xtratherm-fr-tp-99-109-119-129-mm-8-4-2400-1200/1 point
-
I like to plant 2 or 3 bean types.. runner, french, and yellow french because they come at different times, and the yellow ones are easy to find. Also plant a traditional sweet pea in among them as it attracts the pollinating insects much better, then they do your beans as well.1 point
-
I’ve no idea as yet!! That decision is a long way away.0 points


.thumb.jpg.bac90f3bbf6868cf2118d010d936c99d.jpg)


This leaderboard is set to London/GMT+01:00