Nickfromwales
-
Posts
30980 -
Joined
-
Last visited
-
Days Won
327
Everything posted by Nickfromwales
-
Here
-
You can't actually be serious? Just buy one FFS, I'll give you the money
-
Tiles are typically 10mm average, and allow 3-5mm for adhesive, maybe a bit more if the slab isn't perfect.
-
Maybe one with less thermal mass? That and the BBQ would make a good duo for bigger parties. One to cook, and one to keep warm / do the breads and jacket spuds.
-
Not guilty.
-
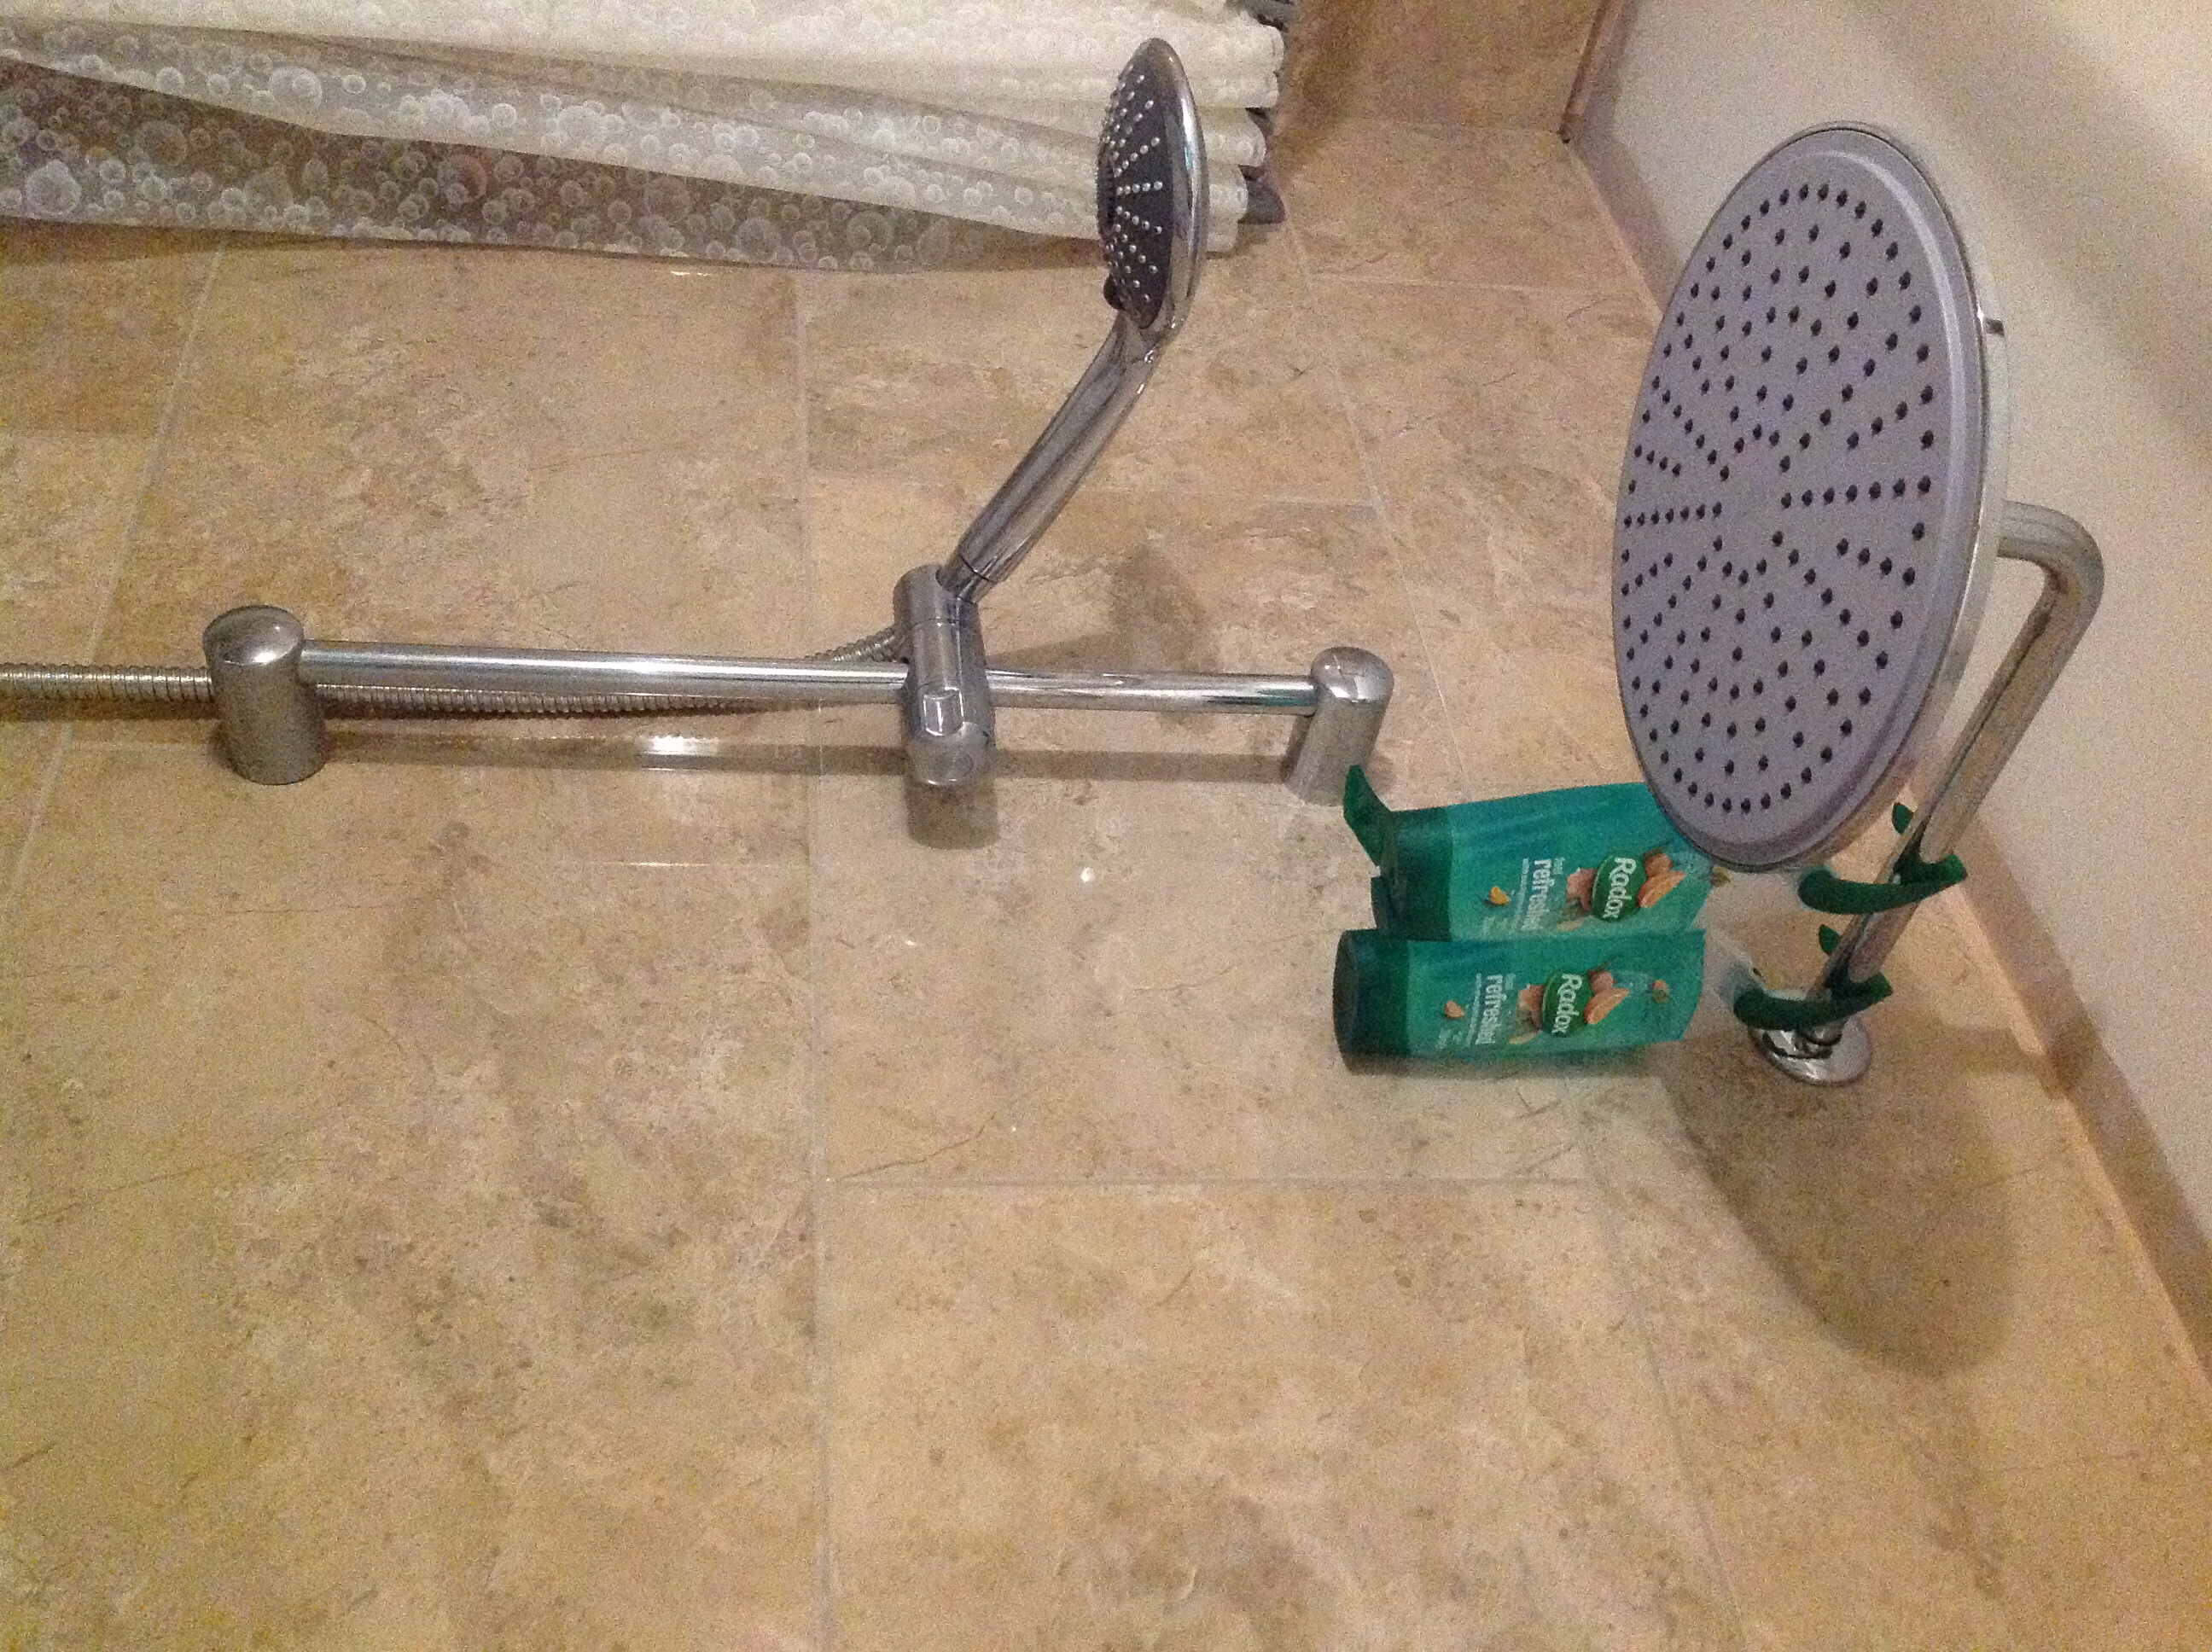
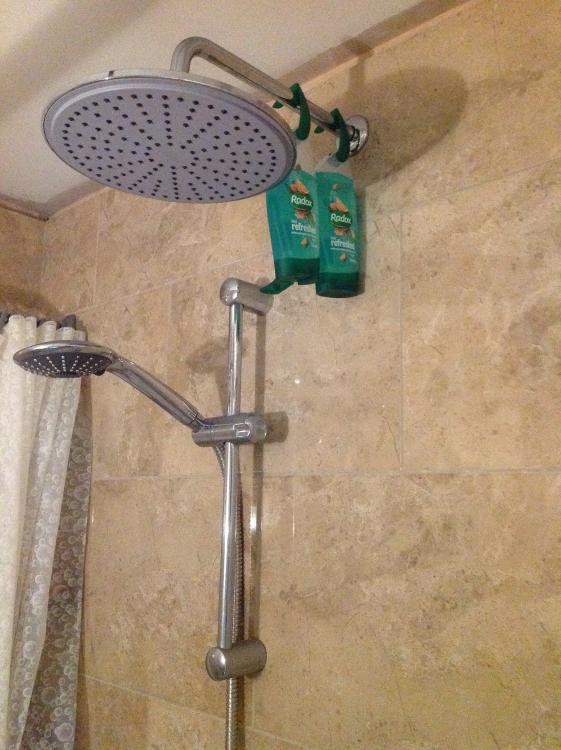
Went for the wall mounted arm as there's no attic above, just the small vaulted roof space. Does provide a handy hanger for me shower gel though
-
You just HAD to, didn't you
-
This is what I went for. Cheap and cheerful off eBay. Looks good enough me thinks. Whole lot set me back less than £150. Yes, I will get around to fitting the coving at SOME stage These things take time.
-
Nice.
-
The majority seem to be cheap ass Chinese eBay junk. Sorry, but I couldn't think of anything worse........ Why not get a nice classy unit and then some stand alone lights placed accordingly ?
-

Advice for removing uPVC door and frame
Nickfromwales replied to Calvinmiddle's topic in Doors & Door Frames
Yup. They'd sacrifice the door to save the reveals These doors sell for pennies so not really worth hacking the house to bits to get it out whole IMHO. -
My knee jerk thinking is leaning towards running a bigger unit at a relaxed pace. Its not the same discipline across the board though, as with oil your told to size match as close as possible and run them hard for best efficiency. I think it's down to how much dhw you need and how often, and size from there.
-
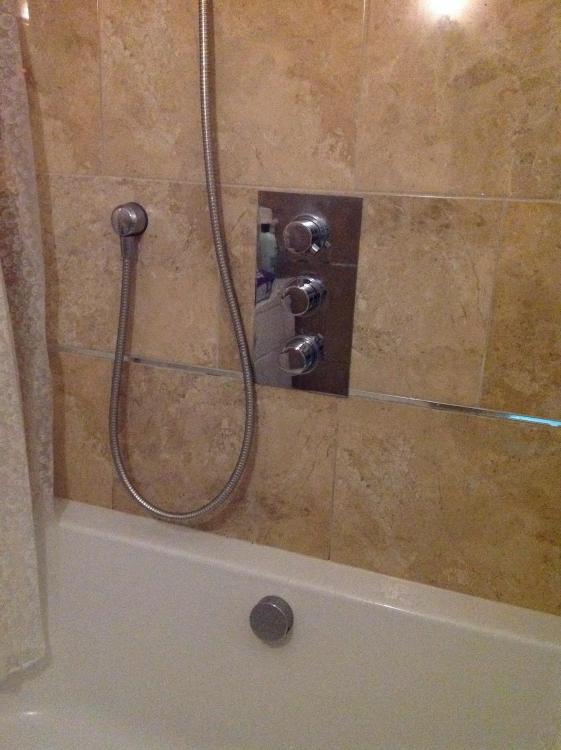
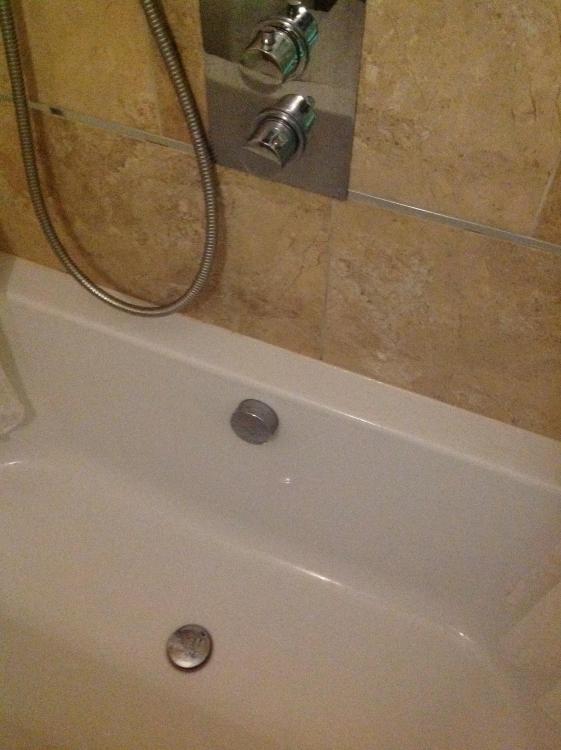
There's a rubber o-ring in the hand spray receiver and the end of the hose is conical, so when the handset is replaced into the receiver the weight of the handset presses against the o-ring and water can then only collect there, fill up and flow into the bath. Thats the theory
-
I fit a lot of those 3 and 4 tap hole arrangements with the retractable shower spray and they're quite popular. Different horses for different courses. .
-
Nope. I'm a simple chap, just some pics of the finished bath tap install. . Some pics of the showers / Wetrooms too please.
-
Crane insurance, windows insurance for window lift???
Nickfromwales replied to oranjeboom's topic in Self Build Insurance
Why not make a timber sled and hire a turfer winch? Get a few hands to the pump and heave the bugger around? Make a timber steps with the last one level to the threshold and then lever it into position. Whats the likely crane and associated costs to be? -
Crane insurance, windows insurance for window lift???
Nickfromwales replied to oranjeboom's topic in Self Build Insurance
How far does it have to move after it gets off the hiab? -
Do you ever feel like giving up
Nickfromwales replied to Vijay's topic in General Self Build & DIY Discussion
That's NOT a garage.....that's a car house. -
Do you ever feel like giving up
Nickfromwales replied to Vijay's topic in General Self Build & DIY Discussion
Start doing some ground work hobbles with the digger. Will get you out and you'll get to hit other people's stuff with it whilst learning ( instead of your own ) . In the words of the late Ronnie Barker..."Don't let the bastards wear you down". If you need a distraction, you can think of something innovative to stick in @Onoff 's bath tap holes. Ive heard there's a prize for best idea -
Low profile taps look the best option. I'm kind of with @ProDave tbh, the blanks will look less than awesome..... But, it's your bath and it's only you that needs to be happy with how it looks. If you can accept blanks, so can we. .
-
Sorted One for shampoo and one for conditioner. Is this helping at all ?
-
These with a bit of CT1?
-
Just get a bath with smaller holes ?
-
Large Downstairs WC or Separate Plant Room??
Nickfromwales replied to Barney12's topic in New House & Self Build Design
Looks good. +1 on shifting the sink and going for a nice big shower. Either way you go, I'd avoid a quadrant cubicle like the plague as unless your spending out on a very good make they're usually falling apart after a few years and the seal where the two doors meet is right opposite the spray so a nightmare if you accidentally bump into the doors and open them slightly ( more so when you haven't realised ). Go for a square or rectangle and either an infold ( bifold ) or a slider. Pivot doors and quadrants are the ones to stay away from in my experience.