
Leaderboard


Popular Content
Showing content with the highest reputation on 03/31/19 in all areas
-
I'm fresh from mist coating using the Lidl machine. You need to get the nozzle a lot closer for ceilings as gravity has a noticeable effect on the ability to spray directly upwards. I needed to use a step ladder to get close enough to get a decent coat on the ceiling, but I'm only 5'4", so you may have a longer reach and be okay with a hop up. Even on the vertical walls, I found that you need to be relatively close. You need to get the hang of making sure you hold the machine at 90 degrees to the surface you are spraying - it becomes very inefficient if you're even marginally off this, so learn to be flexible with your wrists. I found it to be hard work on my wrists, but it's perfectly doable. Don't worry about the nozzle getting blocked - it's quick and easy to clean out. 30 seconds will do it, with the brush and pokey thing that it comes supplied with. You will need to dilute your paint down, as per the instructions, to be sure that it runs freely through the cup that indicates viscosity. I chucked my contract white into a standard bucket, diluted as much as necessary and poured it into the machine reservoir direct from the bucket. If the paint is freshly opened and the bucket is clean, I found that there was no splatting or blocking. If you leave the paint overnight and it forms a bit of a skin, these bits will splat. However, they were easy enough to sand once dried and I figured that was much quicker than straining endless litres of paint. Finally, get yourself a respirator. Not one of the nasty little chuck away masks, but a respirator with a filter. And wear it. You will get a nasty headache if you breathe paint fumes for a day.4 points
-
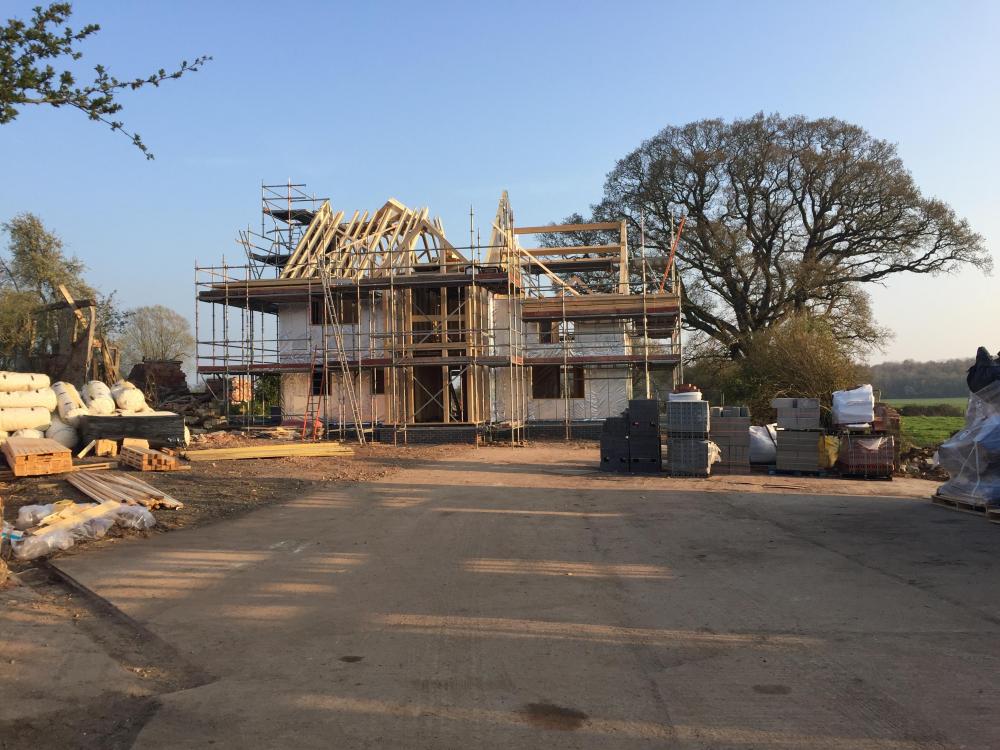
Hi just started actual build on my new timber frame house we are up to trusses now only just found this site which is a shame because it’s taken 3 years to get to this point never mind we have plenty of work ahead Cheers nick
 2 points
 -
Welcome to the Forum @Nicked - As you say, such a shame you have only just found us - not only on your part but also on behalf of us forum members. That said, perhaps you could offer up your experiences thus far - Such as which TF company you elected to go with - why etc - any issues regarding Planning / foundations / services to site and intended external finish etc. All of which would assist the collective I'm sure. Good luck with progress.2 points
-
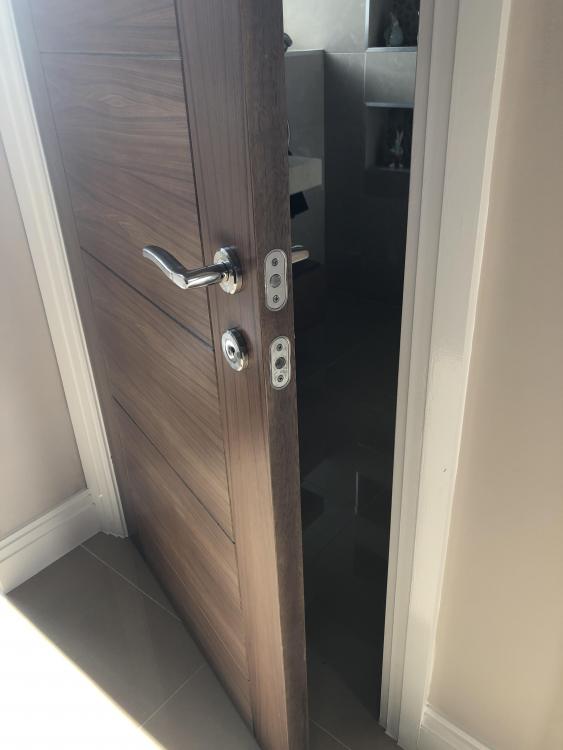
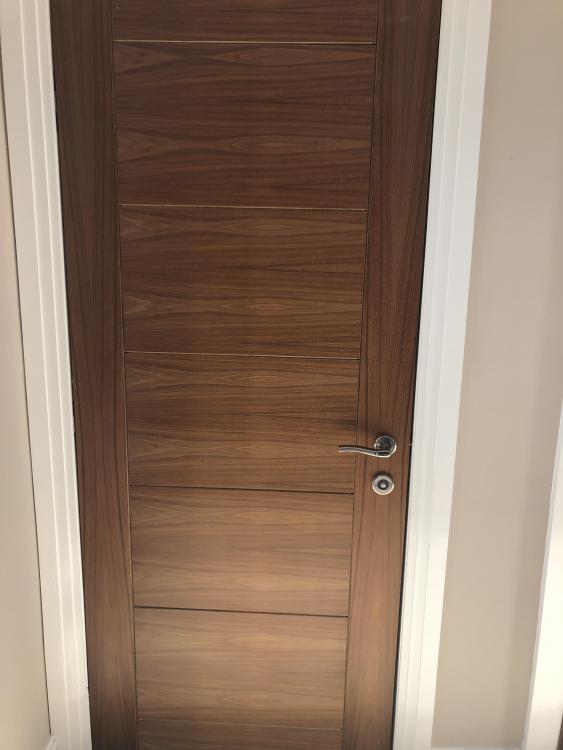
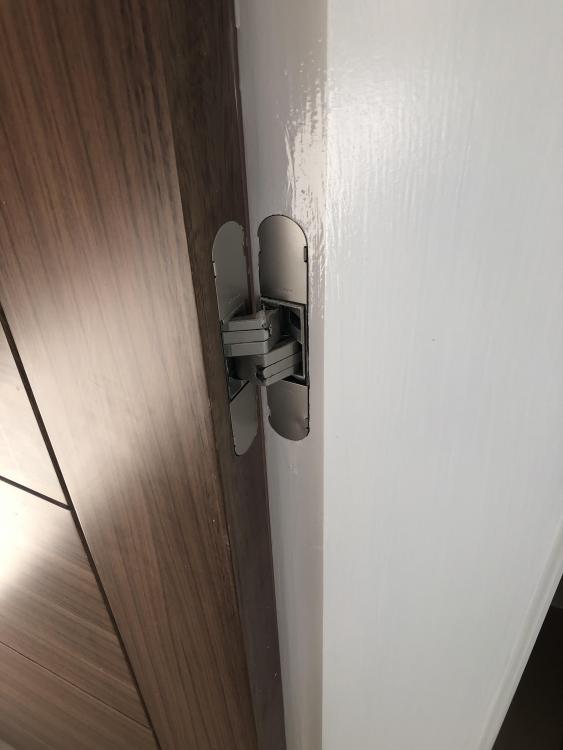
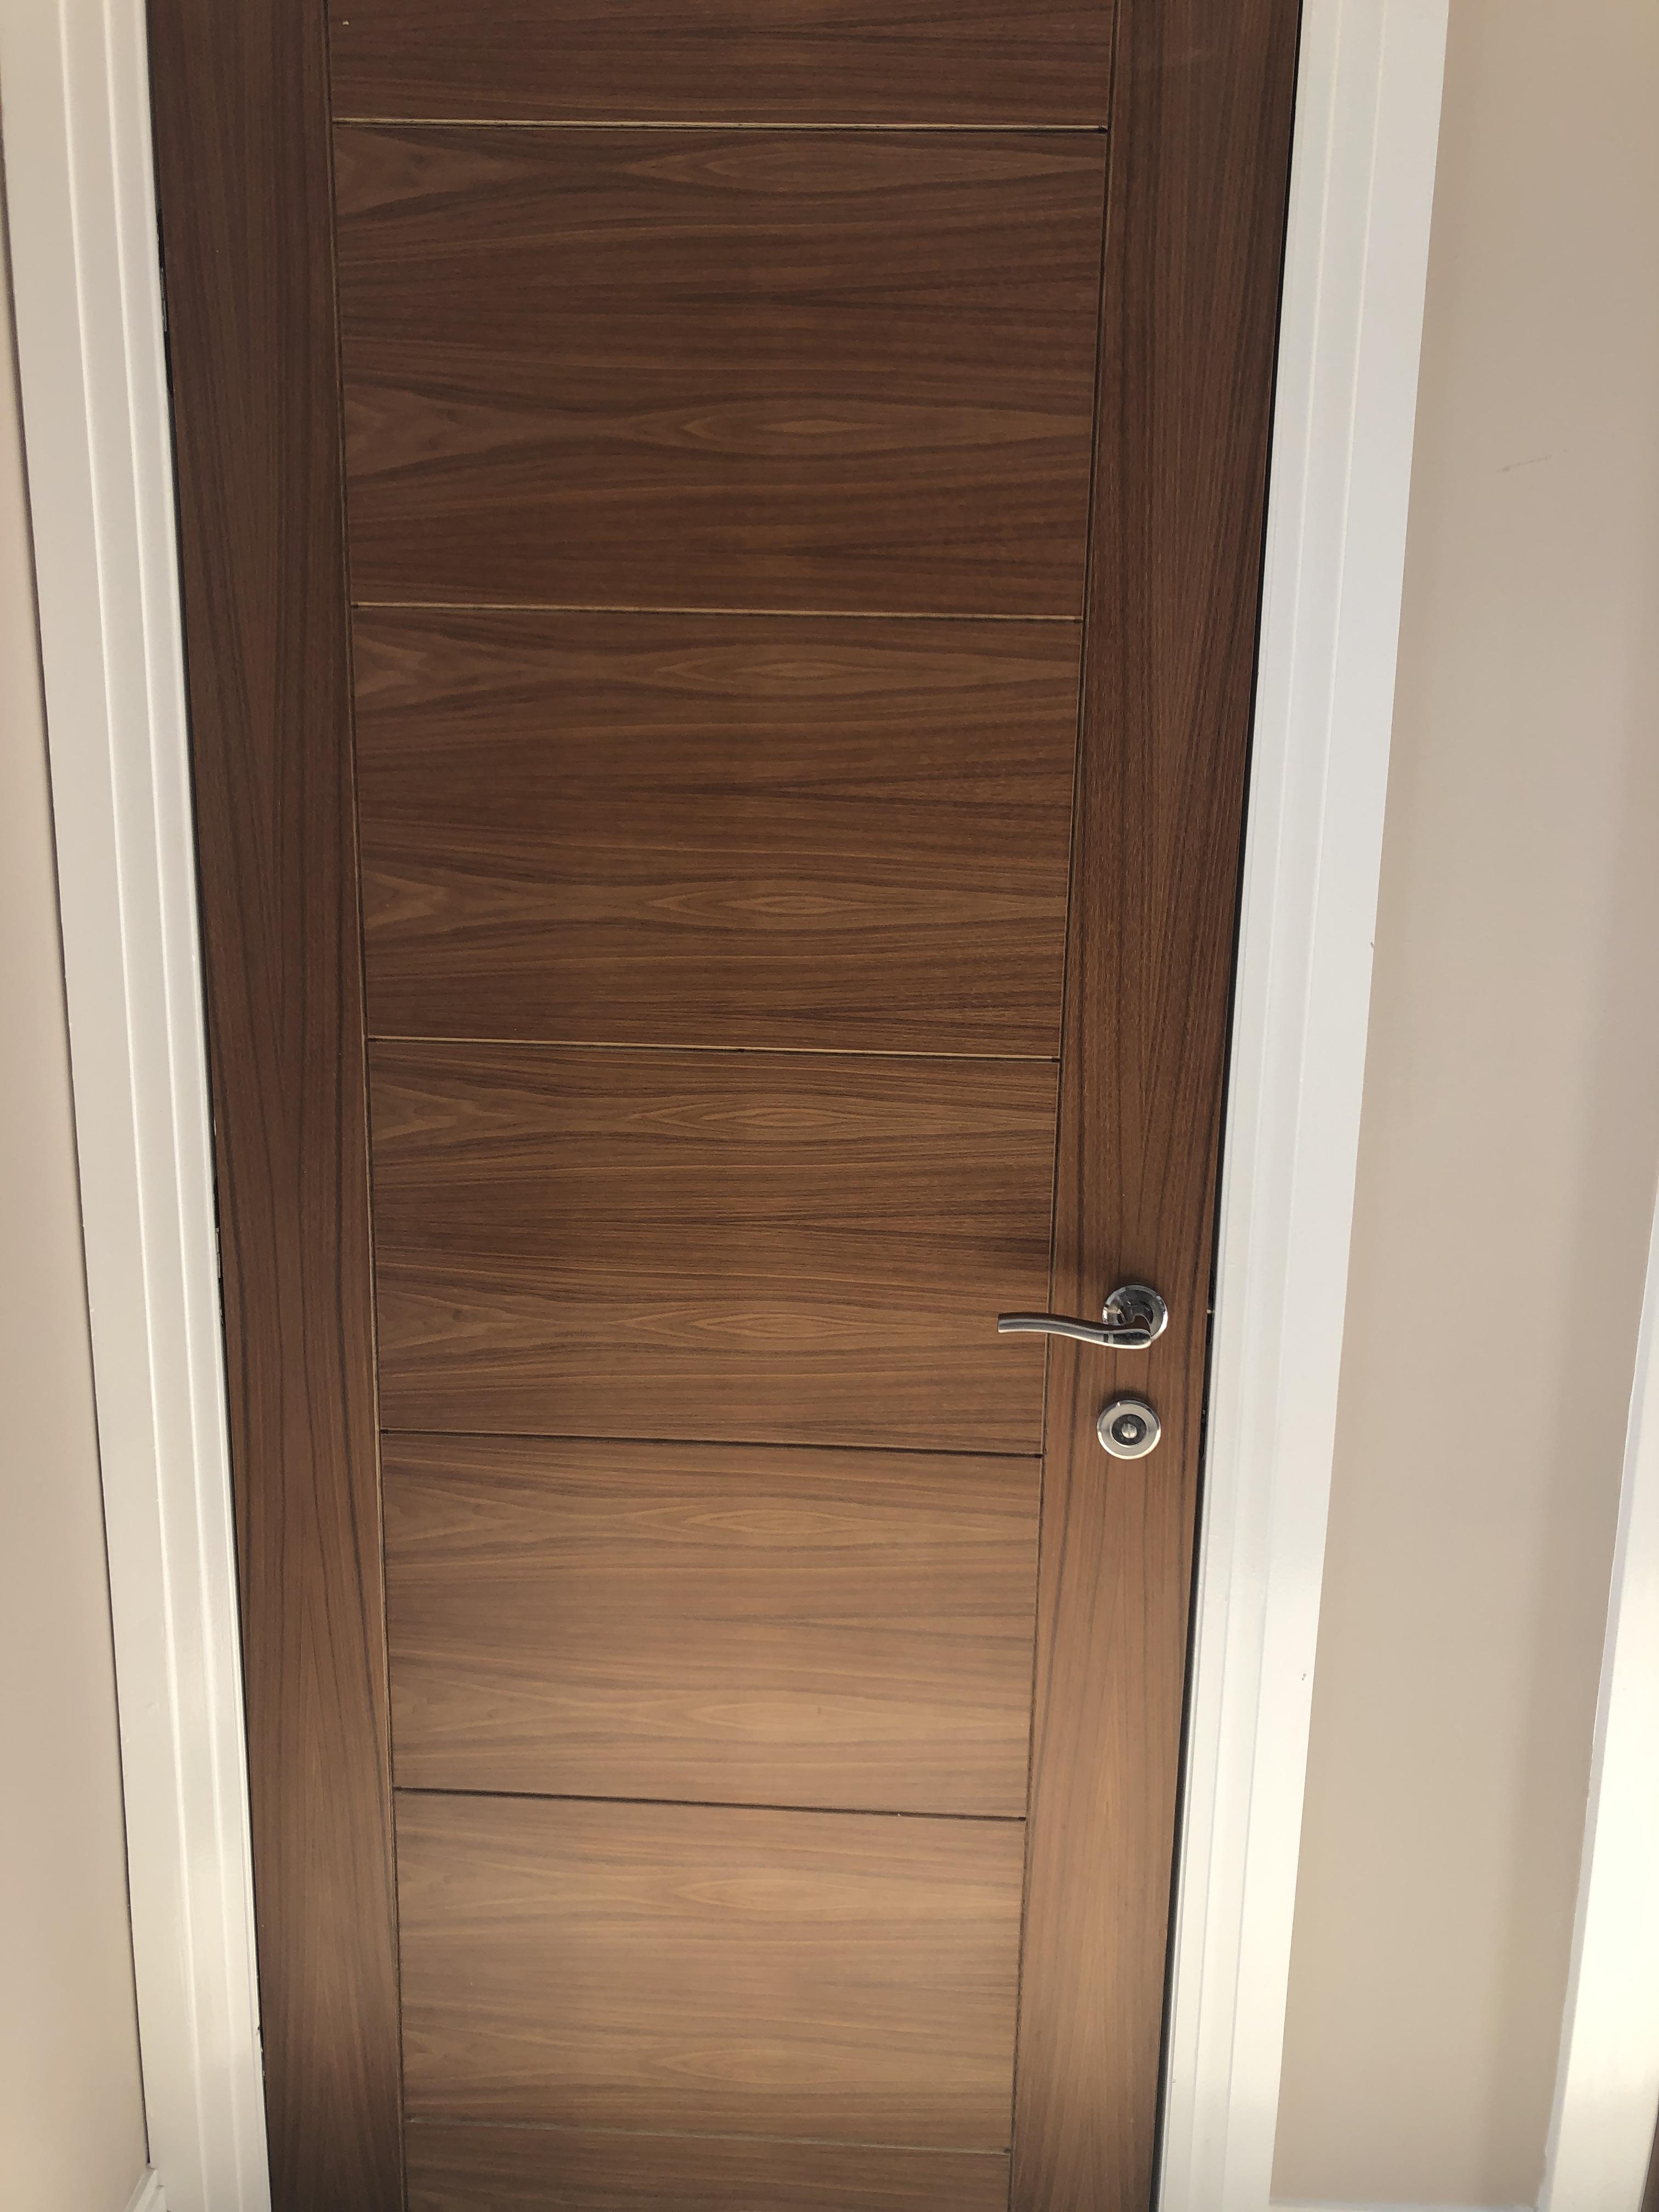
Took some pictures I love that there are no hinges or latch plates visible when the door is closed
 2 points
 -
I present here my ideas / design for my home built solar PV dump load controller, based around an Arduino microcontroller. It is not presented as a "design" but rather ideas for you to use or adapt as you see fit. This is my MK 2 design. For background, my Mk1 version was based on a design by Eric Ward in Jan 2011 which used a single current transformer, and sampled the ac waveform a number of times per cycle to determine if the measured current was being imported or exported. This worked okay to an extent but some house loads, like the washing machine really confused it and made it think it was importing when it was exporting and vice versa. I now believe if adopting a single CT solution you should base it upon one of the electricity meter chips which are far more sophisticated to make this measurement accurately. So my MK2 version operates by having two current transformers. One measures the power consumed by the house loads, and the other measures the power generated by the solar PV. I am able to easily make this split as there is a convenient split at my outside meter box where both the current transformers reside. I now take the current measurement from the transformers, rectify it and filter it so I have a DC voltage that is proportional to the measured current, filtered with a time constant of about 1 second to smooth out transient currents. I use this type of current transformer, available from many suppliers, the cheapest being direct from China on ebay These come supplied with a load resistor built in, so as presented they provide a voltage output. But because I am sending the current signal some distance over twisted pair telephone cable, I removed the load resistor and fitted that inside my dump controller, so the twisted pair cable is conveying a current signal, not a voltage signal. Now onto the dump controller itself. In essence it measures house load current and PV generation current. If PV generation current exceeds house load current, it sends power to the immersion heater, switched by a Solid State Relay. Now a bit about switching and metering, Most electricity meters, measure imported or exported power based on an "energy bucket" and I believe they will only meter whole watt hours passing in either direction. So if burst firing a 3KW heater, to match say 1KW of surplus PV, you would have to ensure the duty cycle of the immersion heater burst does not allow more than 1 watt hour of electricity to pass before it turns off, and then lets the surplus PV flowing the other way empty the "bucket" again before it is metered. Based on a typical 3KW immersion heater, that will consume 1 Wh in 1.2 seconds. So you want the immersion heater on/off cycle to be shorter than that. So I have based my immersion heater on a half second period. Within that half second the immersion can be fully on, fully off or on for part of it, depending on how much surplus PV is available. To achieve this, and enable some program timing, you need a reference. The Arduino as standard does not have a real time clock, though you can buy add on boards to add that function. However, as a hangover from my Mk1 design, I have a "phase reference" input, which is basically a raw 50Hz ac input connected to a digital input pin. By sampling the rising and falling edges of that, I can time program operations in 10mS steps for any period that I want. This in effect creates an accurate clock signal for everything. So my Pulse Width Modulation for the immersion heater cycles once every 1/2 second, or a total of 50 10mS program cycles. This means I can divide it's on / off period into 50 such 10mS time slices and it can be on or off for any number. So that sets the resolution of different "power" levels that I have available. Other program functions run much less frequent. The basic sums that calculate the import / export power operate every half a second, and there are some display functions that show values on the screen if hooked up to a PC operate once every second. I also do some data logging that keeps a running total of the immersion heater on time, converted into watt hours. This gets stored to eeprom once an hour and recovered from the eeprom on program startup. The once per hour eeprom write is because they have a finite number of write cycles. Also using the eeprom.put() function, this only writes to the eeporm if the value has actually changed. I estimate this eeprom write regime should be good for 30 years eeprom life. I have a moving coil meter hooked up, and depending on the position of a switch on the unit, it will either display total import / export as a centre zero meter, or it will just display total PV being generated. Lastly a bit about how to calculate how much power to send to the immersion heater. You can't just measure the available power and set the immersion heater to that much, otherwise next time the calculation is done, it will measure no power as being available and turn the heater off. Instead the heater power is incremented if any spare power is available and decremented if used power exceeds generated power. So it ratchets up and down relatively slowly to obtain balance at which point all surplus is being sent to the immersion heater but no more. And now onto the code. Pick it apart but please don't be too critical of my programing style, some of the purists will be ashamed at my use of some global variables to save passing values back and forth between functions for example. Remember this is still under development, if I make significant changes I will update this thread, The code is posted as a .txt file, just paste it into the arduino programing environment. This is written for the little Arduino Nano board, you may need to change some I/O designations if using a different variant. arduino_pv_dump_controller.txt1 point
-
After the rock 'n' roll plastering at the start of the month, the last 2 weeks have been all about getting stoned outside. The only drugs involved were caffeine and sugar, however, and the stone was for the perimeter drains around the house along with a few other bits. Inside, I've been busy decorating, of course, but photos of white rooms are getting a bit samey now, so they will be limited for the moment. I've been using Richard Moore Contractors for this phase of the groundworks, and they've been a pleasure to have on site. Really nice guys who know their stuff and got on with the job with a minimum of fuss and hassle. One of the big advantages for me of using a larger firm for this part of the work is their access to all their own plant and equipment - everything they needed was on hand when and where they needed it and I didn't need to organise anything for hire or delivery. A financial advantage of this is that the cost of the equipment is, effectively, free of VAT for me as everything is zero rated within the cost of the works. With a job this size, that can make a sizeable difference when compared with using non VAT registered labour only for jobs. This is at the start of the work, with trenches still being dug out and making sure the services that run around the perimeter of the garage are all staying in place. At this stage, everything was still in its post-winter boggy state, and the reduced dig left around the house was still looking like a very mucky moat. The moat was showing no sign of emptying so the guys pumped it out once they were ready to get started in there. Although the water around the house needed to go, we wanted to retain as much run-off from the roof as possible and divert this to the pond. To this end, all the guttering runs get collected into drains running around the western side of the house then to the pond via a drain that's been buried and comes out towards the top of the south tip of the pond. The outlet has been kept high where it exits to the pond to make sure that it doesn't flow back towards the house if the pond ever gets that full; there is also a decent fall on the pipe itself. This is part of the storm water drain that goes around the lounge, facing west. As well as putting the drains in, I asked the team to stone up for 1m beyond the building. This needs to be done anyway, but I also needed to get this done so that there is a firm base around the building for the next part of the team to put the stone cladding on, and also, once that's one, for the Contrasol guys to fit the brise soleil rails and fins outside the stairwell window. Here's the stoned up pathway along the front, going around to the west face. Whilst we're looking at the front door, I'm delighted to be able to post the following photo. For a few months now, the front approach to the house has been a bit on the wet side of things as the concrete that was spread there last autumn has gradually deteriorated with the lorries, vans and cars that have travelled over it on a daily basis. As well as having to walk the plank over some particularly deep puddles, the trigged up pallets and boards bridging the moat directly in front of the door was becoming increasingly perilous. Danger no more, however, as we now have solid ground in front of the building - luxury! A peep a little further around the corner shows the continuation of the path and the sewage tank going in. Prior to the tank going in, the old septic tank had been desludged - a nasty little hole in the ground that no one wanted to fall into. This was back-filled with stone and rubble then covered over when the spoil from the site was re-distributed. When we originally bought the site, the garden for the old bungalow ran to the north, parallel with the lane. The land has a slope to it going from the field down towards the lane, but there was pronounced hollow running the length of the garden that we had wanted to level out as this should make the area more useable in the winter, when there is a tendency for everything to get waterlogged. There was still some spoil left over from the pond, as well as everything that was dug out for the drains, so that was used to backfill. We have kept the topsoil that was scraped off the pond area, too, and this will be spread over the clay to give something decent to plant into. We are having an area of hardstanding next to the garage because, knowing what we're like, we will only be able to fit one car into the garage by the time we've filled it up with all the other stuff that can be put into an area like that, so we will need somewhere decent to park the cars. It's also useful for the sewage lorry to be able to pull in there and sling a hose over to the sewage treatment plant for de-sludging without blocking the lane. The guys have done a lovely job around there, and it's all nicely edged with kerb stones that flow into the edges of the driveway and down onto where it meets the lane. The amount of stone that's been put down on the site is large, over 100 tons, but then there's been a lot to do and we've also stoned up on the corner between the stairwell and the lounge where will we will form a patio of some sort. Here's a view of the hard standing going in, taken from the balcony. You can see where all the stones have been concreted in. And another taken from ground level. The hard standing merges into the driveway in front of the garage. The roadside edge of this has been increased in width by 2 kerb stones each side, on the advice of Matt, the groundworker. Besides looking better, it gives a much easier sweep up to the garage as there is quite a height difference between the garage floor and the lane, so turning in will be much easier with the more open drive. Here's the first of many lots of stone going down to build up the level. More of the same from the lane: Then with the kerb stones concreted in. And finally, with the kerbs along the lane/drive border. Everything there is ready and waiting for the final layer of tarmac, which will go down some time next week. Meanwhile, I've been doing yet more painting indoors, as previously mentioned. The large airless paint sprayer I borrowed from Jeremy is a little poorly at the moment and will be in the sprayer hospital tomorrow to have its tubes cleared out and should be back in service very shortly. I will need it again as I still have one bedroom to spray and I need the power of the large machine to reach up to the vaulted ceilings. However, I still needed to get the mists coats done on the landing, stairwell and hallway last week, as it was the ideal opportunity to get these high traffic areas done since I was the only one in the building. I was a bit stumped initially, but I had noticed the little electric sprayers in Lidl on Monday and then Weebles mentioned that they had bought one from Aldi. I figured nothing ventured, nothing gained and for £25 it was worth a shot. So I dashed down to the nearest Lidl in Blandford and got one of these little beauties. As it turned out, it was perfect for the job. The stairwell, in particular, is a little confined and with operating off a youngman board balanced between the scaffolding tower and a trestle on the landing, it would have been tricky to manoeuvre the larger machine around there. The little hand held sprayer did the job nicely and was much easier in the tight space, here: The results from the little sprayer are very different from the big airless system and you get a much more textured finish, but pleasant and perfectly acceptable. It is a pain having to refill the reservoir all the time, but not difficult. I poured the contract white into a big bucket and diluted in there, pouring into the reservoir. I confess that I didn't strain the paint and found that it was fine. The only time it gummed a bit was if I'd left it open overnight, but wherever there were any splatty spatters I just left them to dry and sanded them the day after. Sanding was quicker and less messy than straining many litres of paint. A couple of not very exciting photos of the hallway all masked up and misted: You can see from the masking you have to do that it would be tricky to get this part of the painting done if there were others working in the building at the same time. I've now put the vinyl coat on these areas too, but I was too knackered to take photos of that as I only finished them yesterday, so that morsel of excitement will have to be eagerly anticipated. I've also been painting the Howdens primed MDF doors and I'm pleased with how they turned out. I used a small fine textured roller and eggshell acrylic on top of 1 layer of white primer and very nice they look, too. Next week, Harry the carpenter (he's much too young to get all the Harry Carpenter jokes, we gave up ages ago) is back so he can get the kitchen finished off as the last of the laminate splashback arrived last week. He can also get on with some door hanging and then the utility units arrive next week. The bathrooms and loos need to be done in their entirety, the MVHR unit needs to be installed in the loft and all the plant needs to be put into the garage. For my part, I have what feels like miles of skirting and architrave to get on with, some paint snagging to do and I need to organise timings on the cladding and brise soleil. I can't think too much beyond that right now, but I know there's plenty more to do after that - isn't there always?! Stay tuned, folks!1 point
-
We had a simalar exsperience I told them that there was no main contractor and I was going to build the house myself They weren’t interested Buildzone where fine In the event of a claim I don’t exspect any of them to ever pay out On my next build I won’t bother with a waurentee I would just buy one retrospectively if we decided to sell1 point
-
Just to add to my post above... Googling formwork tiles finds there are quite a few makes.1 point
-
Ta. I don't have the invoice with me, but as I recall, it was about £130.1 point
-
There is something nice about having some of your energy use generated by free renewable means. But without any FIT to subsidise it, it has to be cost effective. Here in the Highlands, I am expecting my system to have repaid it's capital cost in about 6 years. Any longer than that and it's viability is in serious question. Once the capital outlay has been repaid it is free electricity for as long as the panels last, accepting you might have to replace the inverter if it fails.1 point
-
probably, or use a genny.1 point
-
Just emailed them to confirm the price, I do like a bargain!1 point
-
Gravel board moulds with that finish probably exist too, and could be made up by your local fence place at a tenner each, perhaps with holes for bolts. It would redefine the meaning of "industrial style concrete finish". But I am not sure I would want a wall surface of gravel boards, just from a "what if one fell off" point of view. F1 point
-
These tiles might be an option... https://tile.expert/en-gb/tile/Energieker/Formwork I'm on my phone at the moment and it's hard to see the images but they look like tiles intended to produce the shuttered effect.1 point
-
We get deer in our field regularly and it’s lovely to see them.
 1 point
 -
I bought the cheapest unit I could find and it has been working well for over 2 years or so without any problem. it is a unit made by SolarImmersion - see https://solarimmersion.co.uk/1 point
-
@AliG great result,well done, looks fabulous.1 point
-
Wow! Your home is fantastic. MTV used to air a show called cribs which visited the homes of the rich, famous and footballers and yours would not be out of place. I am new to the site (lurked for ages though) and really appreciate it when folk like your good self share their experiences and take the time and effort to post and put pictures up. Thanks again for sharing Si PS should I have mentioned footballers as it’s a bit Scottish around here?1 point
-
We bought BioPure. Nearly managed to fit it last summer (water table at it's lowest) , dug the hole, popped the digester in it went off on holiday. Came back, and there it was bobbing around on the surface like a starboard marker buoy: I hadn't concreted it in place. Eejit. We'd gone to Scotland - a hot dry week. It'd rained like mad in Lancaster.1 point
-
We have just got home after 2 part days there. It’s 155 miles away so we did an overnight stay at the premier inn nearby (£40 for the night). We looked at sewage treatment works and have got down to 2 contenders Bio Pure or a concrete one that will solve issues with our high water table. Talked to a few MVHR suppliers and ASHP suppliers. Listened to a few talks. Spoke to a few warranty companies (AEGIS won’t cover us as there will be no main contractor which was a surprise). Checked out site insurance and whether they cover our guests being on site or not (yes - public liability insurance covers them). Glass balustrades for our balconies - one company we overhead the prices he was talking about to another customer and walked away. Another company was 2/3rd less. looked at a few window companies - spoke to Internorm and asked about installation issues that seemed quite common (naughty ?) Found a new window supplier that I hadn’t heard of before - Weru. German windows that look beautiful and have in-built flyscreens and external blinds as options. We’ll never be able to afford them but I stroked them lovingly anyway just in case the lottery win happens. Then looked at a few cladding options. No wonder we’re a bit tired! Book your parking tonight if you are going tomorrow. It is £16 if you pay on the day, £12 if you pay in advance.1 point
-
Fingers crossed!1 point
-
@Sue B wrote a post in this thread telling us that she was due to attend an ICF pour. It strikes me that it might be useful for us to make a simple list of the things that guests watching the concrete pouring process might look out for. This list refers to pointers to help guests - not the plot and building owner - because that is dealt with elsewhere. (here ) Get explicit permission to be on the property. Ask for permission to take photos Wear Hi-Viz Wear wellies Keep out of the way Note the access for the boom (if used) and concrete supply lorry. Note the shuttering arrangements (if any) Think about where you are going to store your shuttering before the build. Watch what happens if there is a burst: use that as the starting point for your plan for a burst If this pour is one of a series, have a look to see how previous bursts were repaired Make a detailed plan and preparation for a burst on your site. (we had several and became really efficient at reinstatement) Look at the number of people involved in the pour Note the arrangements for pipe flushing Where is excess concrete poured to? Be aware of the noise level and the difficulty that causes for communication If you can, note the level the pour at start and finish Look at the site in general: notice how many trip hazards there are. Try and reduce that risk before your pour. Ask how the builder checks the concrete slump Check the price of the concrete and the boom (delivery system) Offer to make a brew for everyone There'll be loads more; when the list is complet(ish) I'll edit and pin it. Ian1 point
-
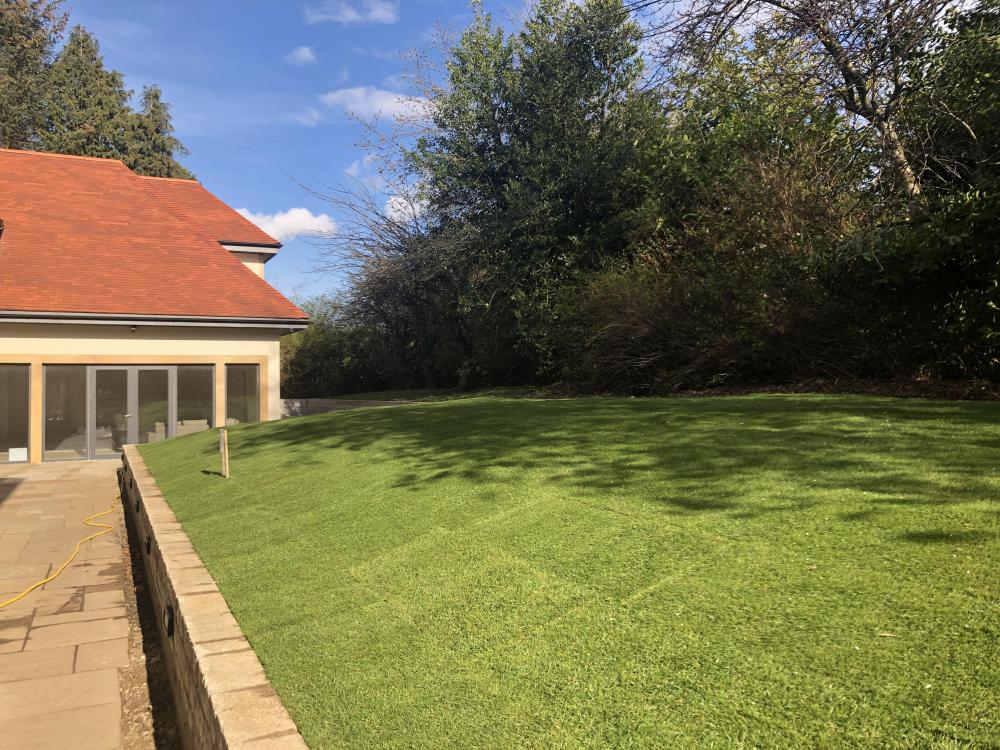
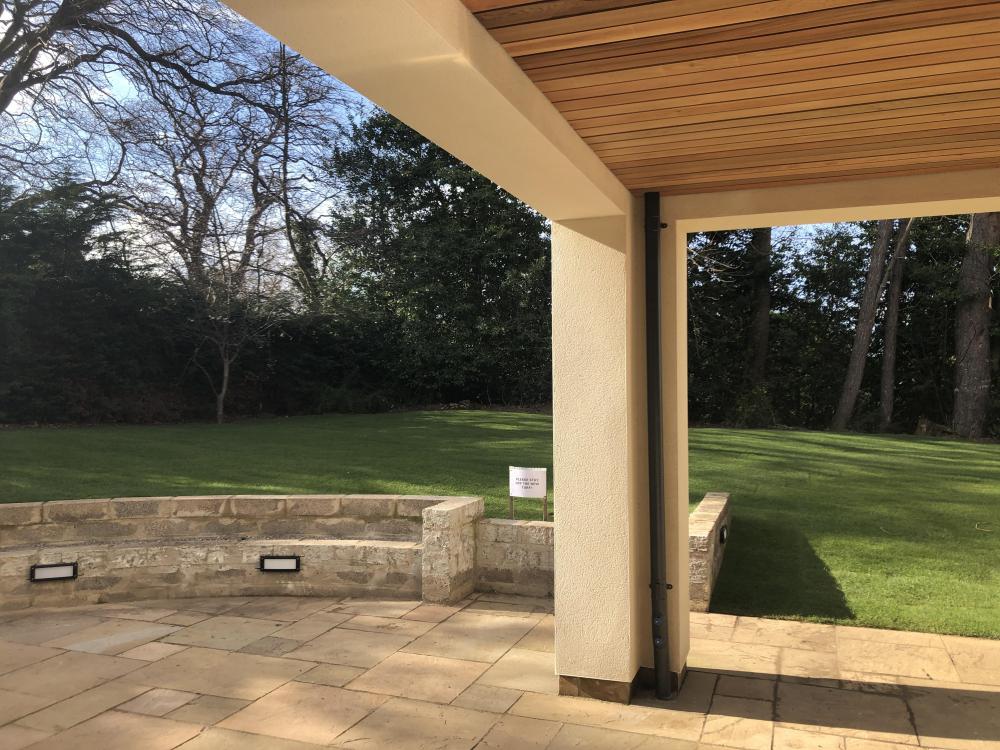
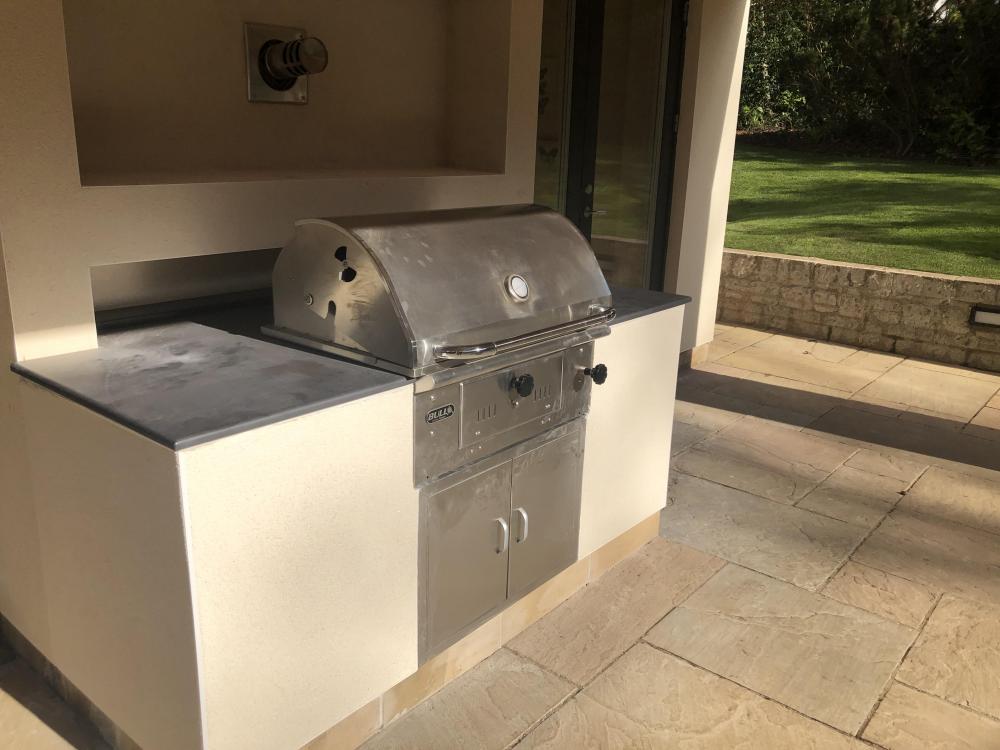
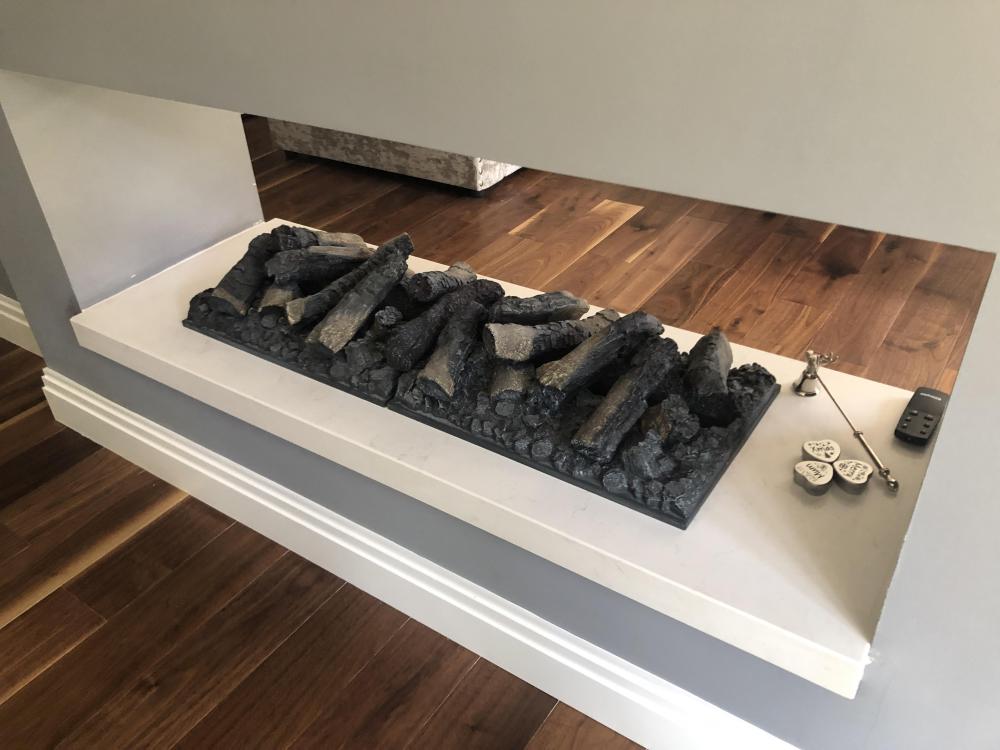
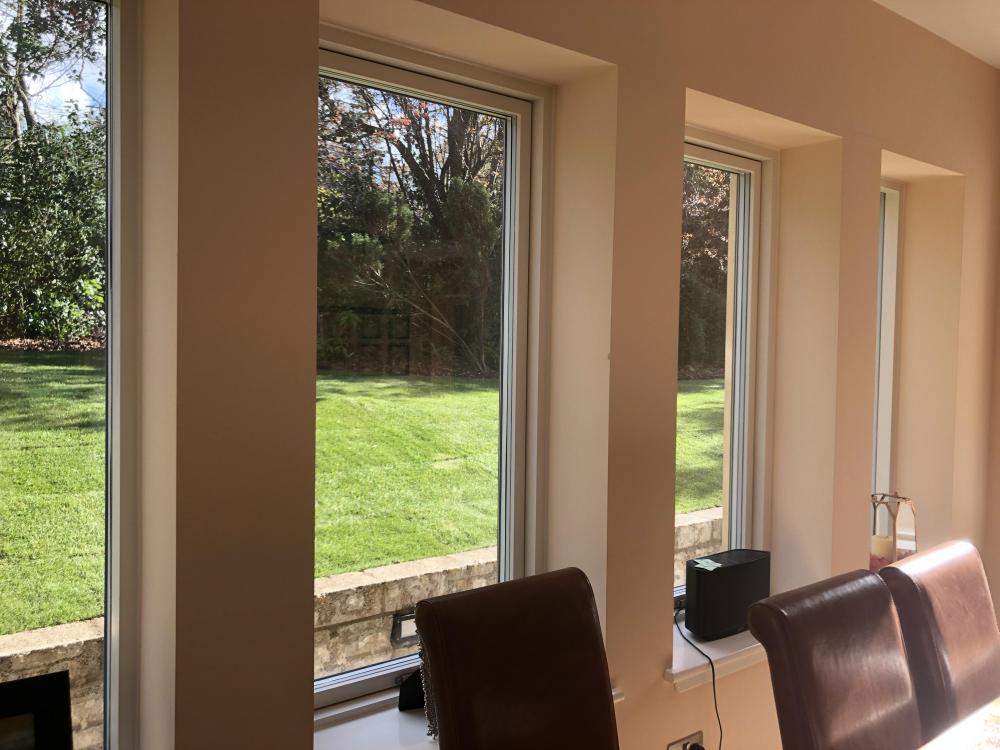
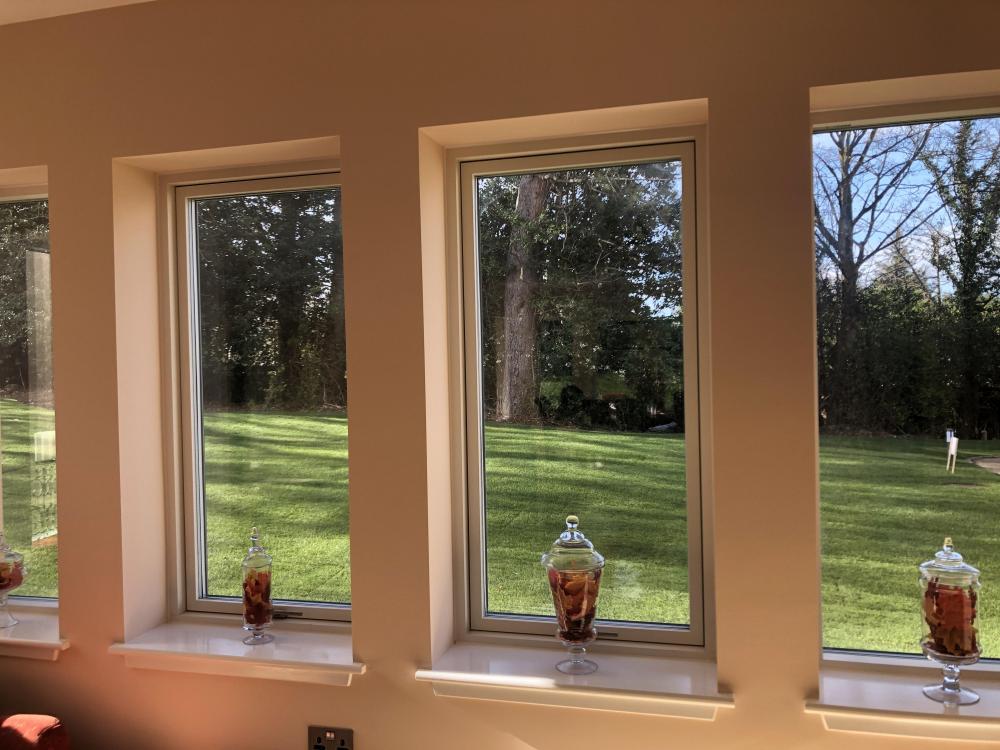
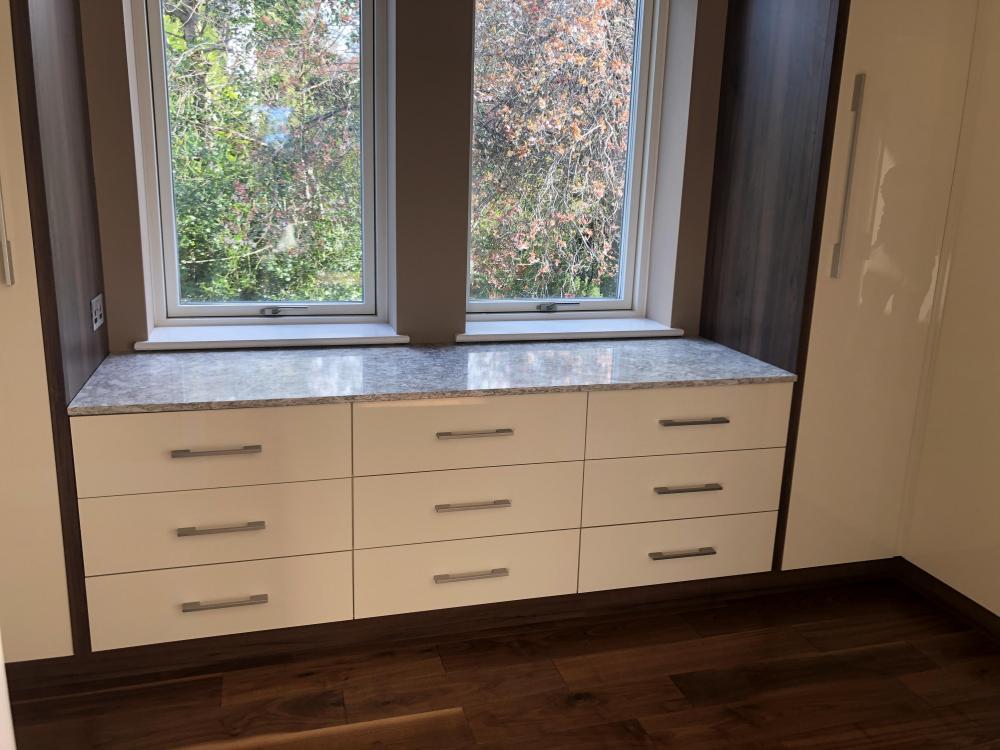
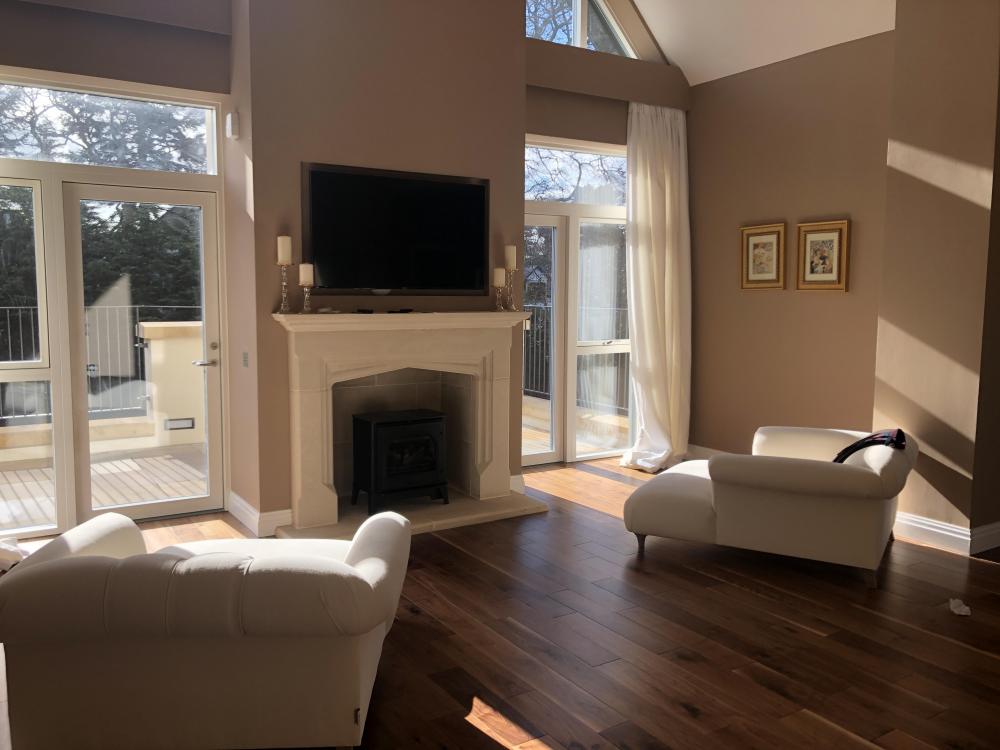
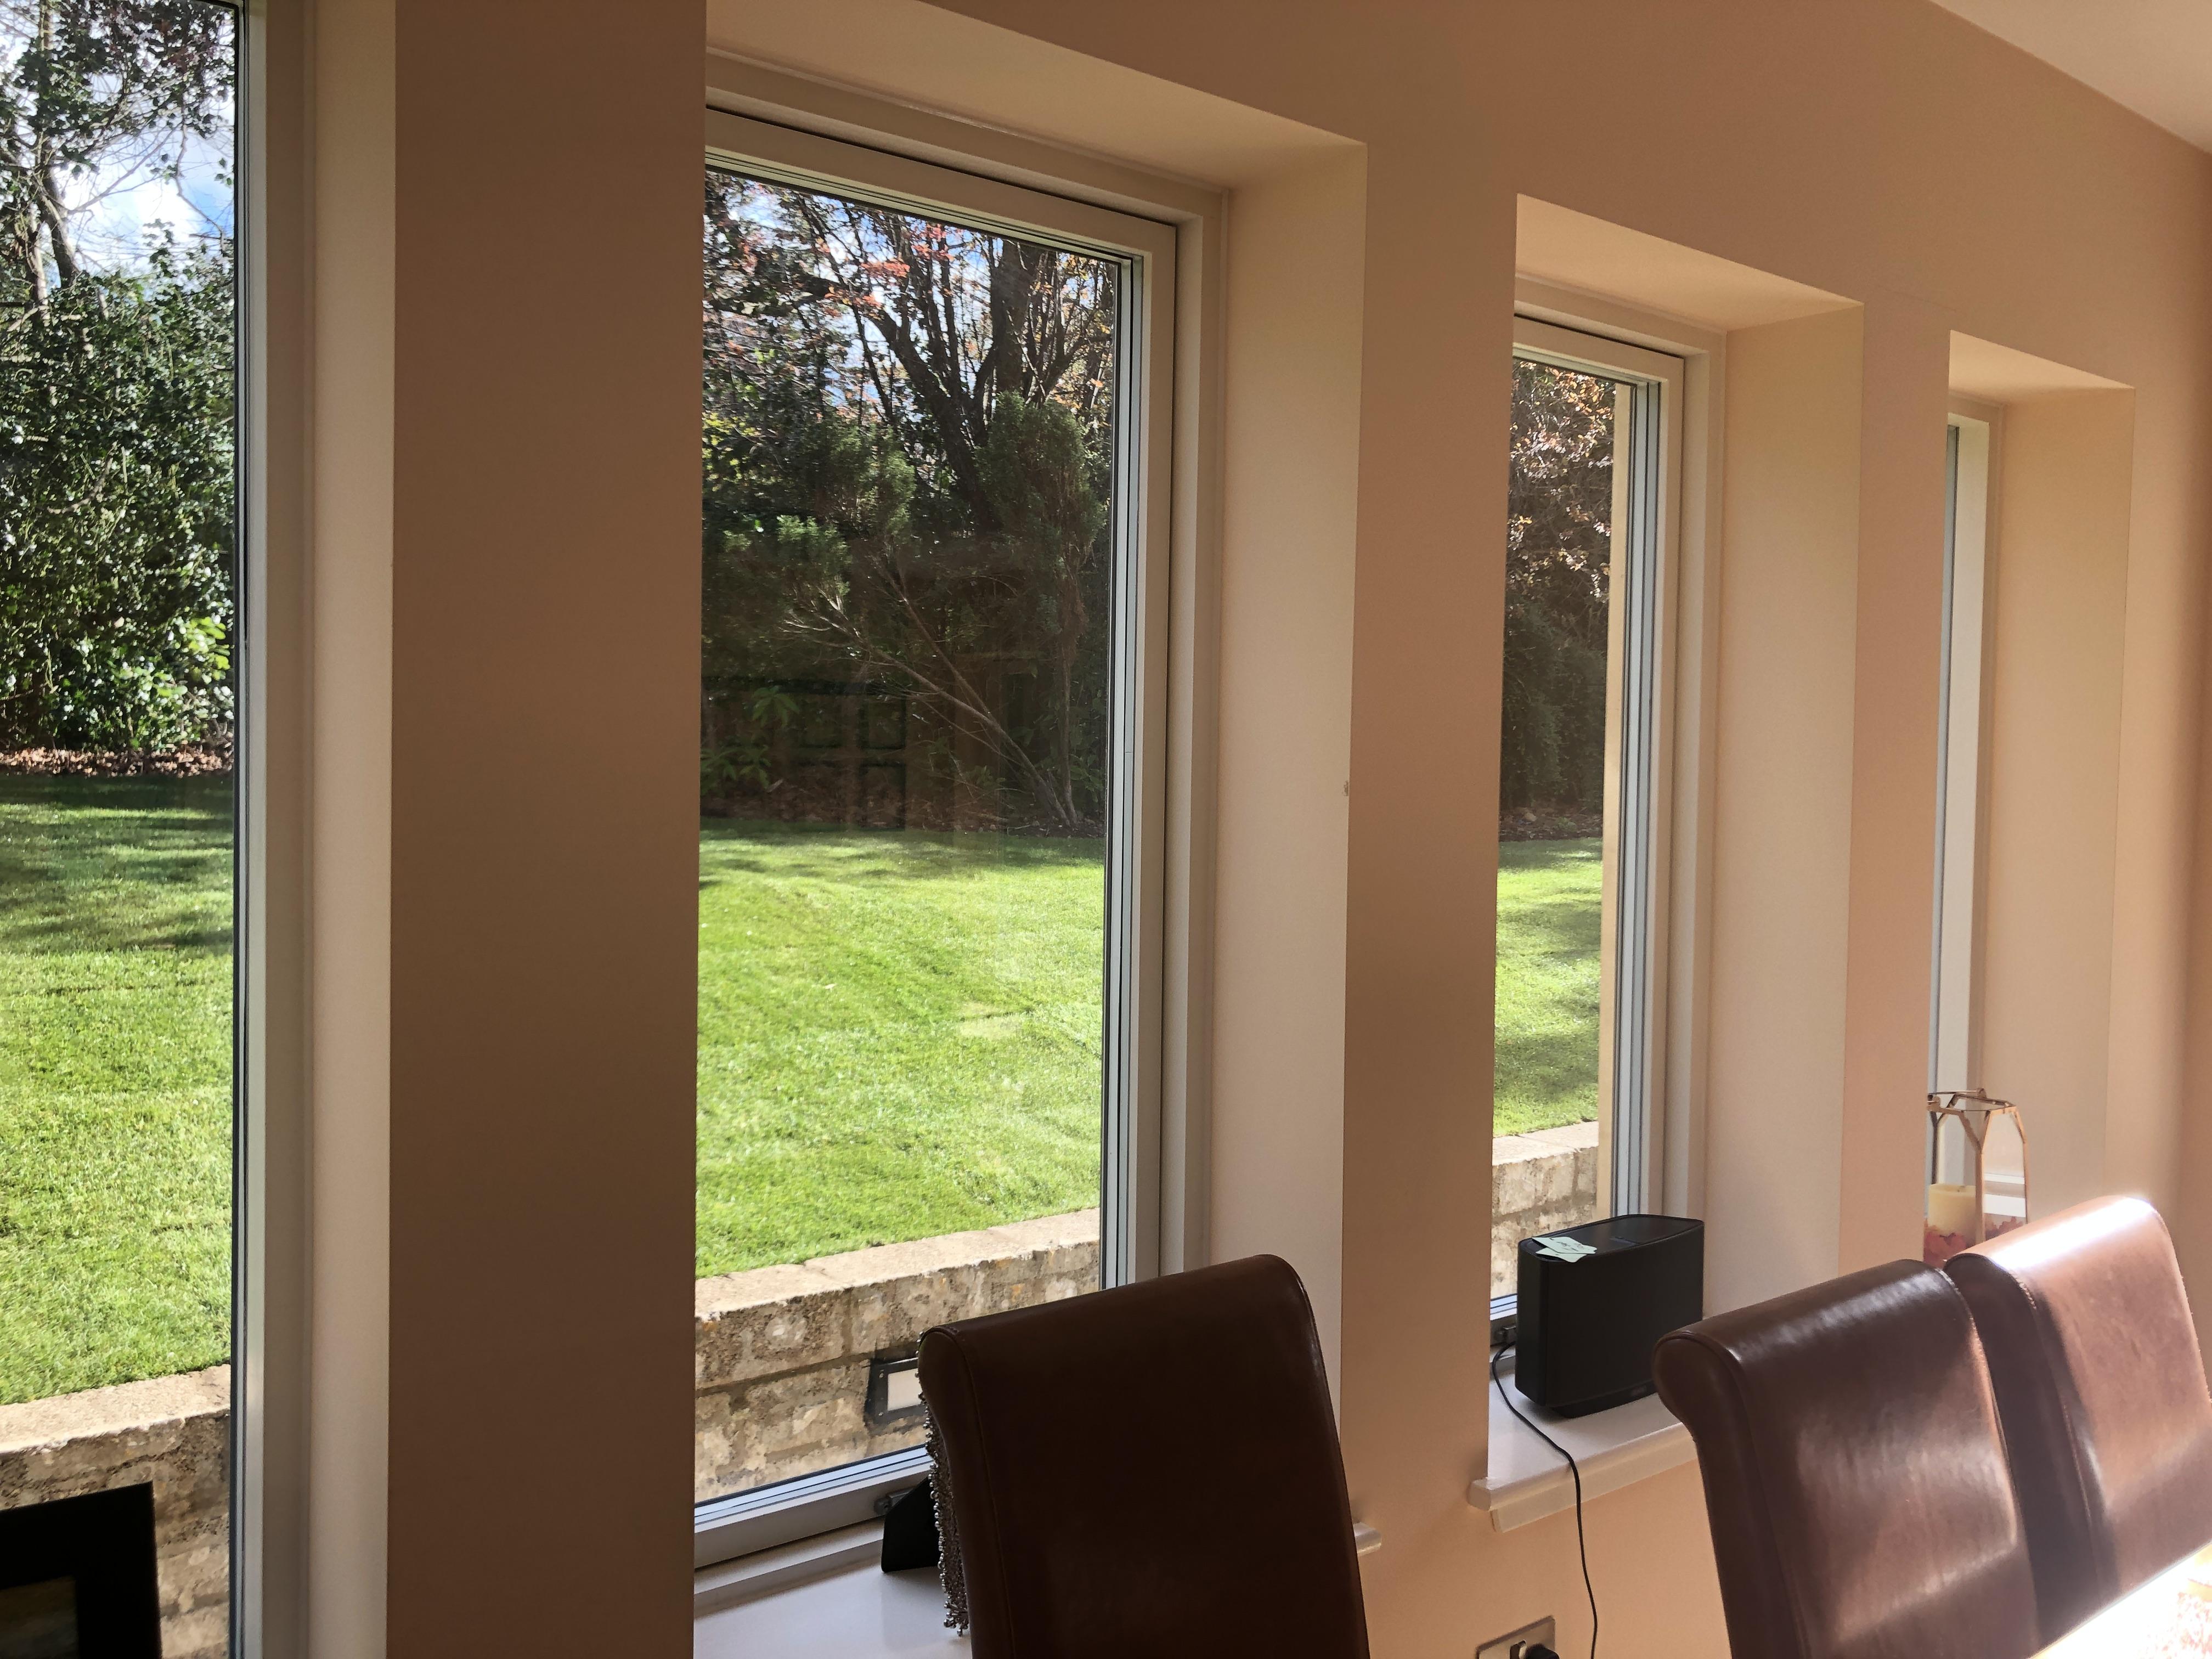
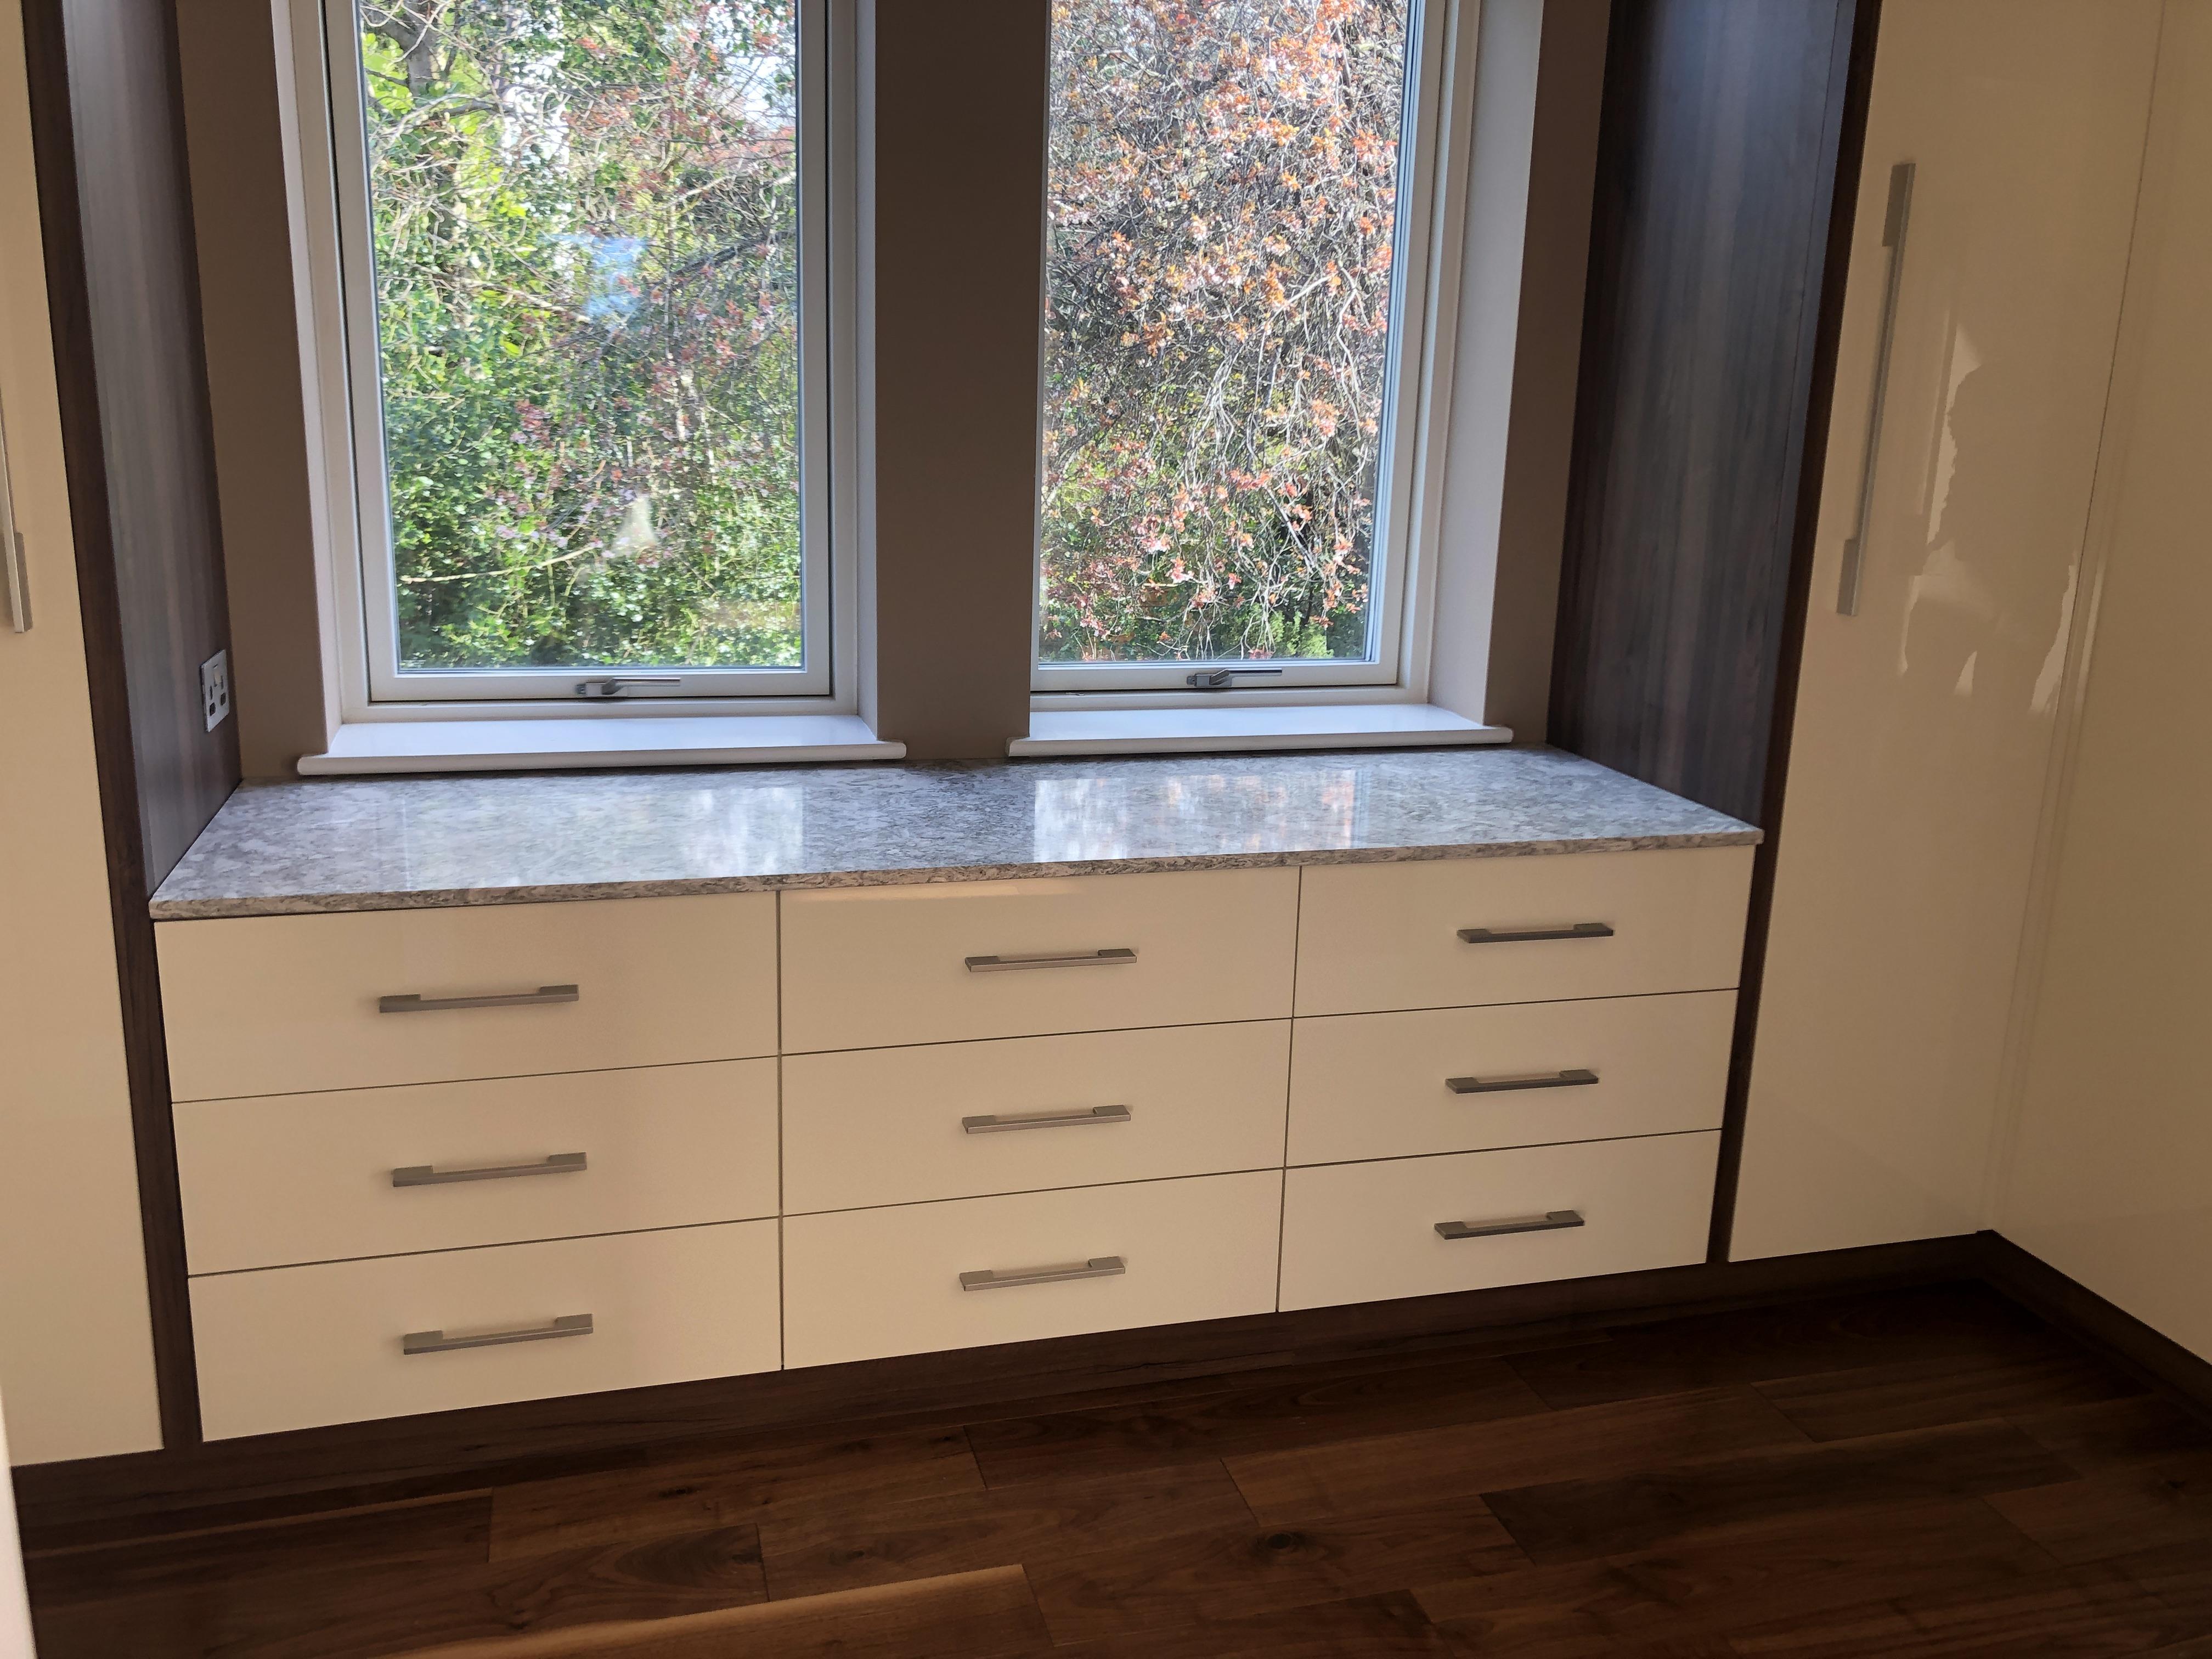
It seems that quite a few of us have had our turf laid this week. My wife loves it, it is so nice looking out on grass and not mud. The guys have done a lovely job. There are just a couple of snagging points left to do and we are done. We also need to have the garden walls rendered and copes put on. We also had a local company round to put various granite and marble shelves on, I was reticent as I thought it would be a pain to organise, but they were a pleasure to deal with. Finally this means that my built in barbecue is in, very excited for barbecue season, actually it is very nice today, we could probably have had one. Front of house Front coming in the driveway Back of house, looking towards pool Terrace off the kitchen Built in barbecue(Still a bit dusty) They used a Dekton top as they said this is the most heat resistant material Marble around Optimyst fire Back of house looking out from kitchen Front looking from kitchen Dressing room Furniture finally delivered for our bedroom, just waiting on a new bed now Decided to frame the hole in the wall fire as it looked too plain just sitting in the wall on its own


 1 point
 -
Smart dogs eh! He, was a rescue dog from just outside Edinburgh, he was the kindest most loving animal and behaved so well. Dog's deserve longer lives.1 point
-
Don't get me started on pheasants... Some may recall that we had this cheeky sod banging his beak repeatedly at our front door last year: Well, he's back... I'm getting fed up with opening the door and chasing him away. It seems that he can see his own reflection, assumes it's a rival, and then sets about head butting the window. The bugger's far too dim to realise that he's not banging his head on another cock pheasant, so every time I shoo him away he comes back for another go ten minutes later. Not only that, but he's crapping all over our front steps.
 1 point


.thumb.jpg.bac90f3bbf6868cf2118d010d936c99d.jpg)


This leaderboard is set to London/GMT+01:00