Leaderboard
Popular Content
Showing content with the highest reputation on 12/17/24 in all areas
-
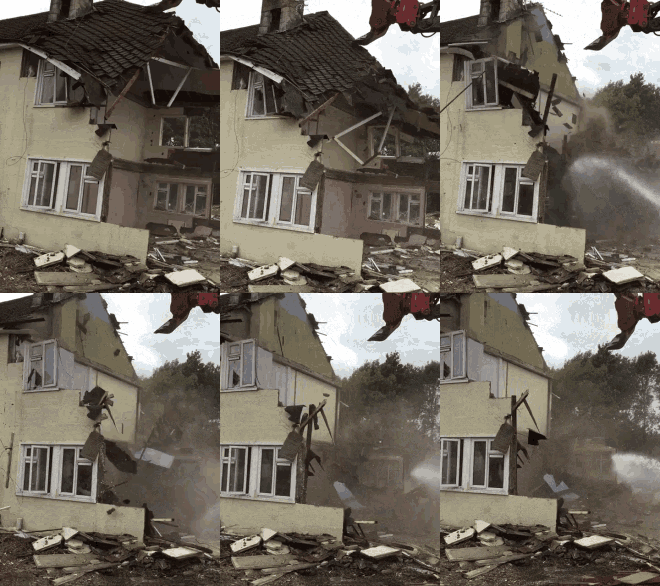
Option 6. Demolish the lot and start again. What you are planning to do will cost more and perform worse than a new build.3 points
-
Hi All, Introducing myself. My wife Sue and I are contemplating a Barn conversion in the Tunbridge Wells area. This site will be very useful I am sure.3 points
-
Id have to agree with this. I have them on the back of my house, (but real slate on the front), and they have been there since the 70's. They are fine. Ok, some moss on them, but otherwise OK. I had to take a few off recently for an unrelated reason. i just put them back on. When we bought the house, i mentioned to the wife that maybe we should re-do the back in slate. Reality, until i read this post, id never given it another thought. I dont stare at the roof everytime im outside. My wife is always moaning that i try to do everything perfectly, when, often, it just isnt necessary. I struggle with that concept.3 points
-
2 points
-
Solvent weld. You could use this as it's thicker than the normal "brush in the tin" type stuff. As in if the strap on doesn't quite fit tight around the pipe. https://www.amazon.co.uk/Polypipe-GFC100-FILLING-CEMENT-NATURAL/dp/B009NEC3IQ/ref=asc_df_B009NEC3IQ?2 points
-
Yes I do, I believe in doing things right (first time if possible) tell you what, when you want to do it I will come over to Bristol and give you a hand if you want. Can’t do more than that bud. 😎2 points
-
2 points
-
2 points
-
Are you sure that’s just condensation? What material is the painted bit to the left of the window made of? And what’s on the outside? Looks a bit like water ingress as well as condensation to my untrained eye1 point
-
We used stainless mesh and staples from a BM, but lots available on line. Just imagine you are a wasp 🐝 and do whatever it takes with what ever you have to ensure that when you have finished that wasp can’t get behind your cladding. Rest assured if you leave a gap a wasp and all its friends will find it. There is no right or wrong way because every build will be subtly different, just make sure there are no tiny gaps when you’re done. If you do buy the mesh wear gloves or be prepared to smear your blood all over the place.1 point
-
If you plan on trying to remove the Tiger Seal of the plastic then it'll be a case of mechanical means first like a wood chisel. To soften the pu try acetone, nail polish remover, carb cleaner etc. The best of British!1 point
-
1 point
-
Thanks again Mike! 2nd recommendation for Huws Grey. Think I paid £1.06 this morning for two pallets. Used to buy truckloads at £0.60 can't believe price of things creeping up!1 point
-
1 point
-
Well that’s it isn’t it . Start removing this and it’s a one way ticket to fun . Hence me ‘thinking’ about it a lot first …1 point
-
I've been avoiding this thread up to now as I'm not sure I ever want to comment on @Pocster's strap-on but oh well..... I would've thought that if it the strap-on boss was welded previously then it won't come off, right?1 point
-
1 point
-
1 point
-
Many (?most) HP installations include isolating valves for the outdoor unit in case it needs to be drained down or even swapped out. So better if that is not the only place a PRV is fitted on the primary side. I think from various pix I have seen it is usually sited with the filling loop and pressure gauge. Typically all teed into the return pipework before it goes back out to the HP via the filter, which should be the last thing indoors.1 point
-
No reason to remove the 4” pipe at all, that stays in place, it’s the strap on (no pocster, not that sort!!!!) boss that needs to be removed and replaced along with a short section of the 32mm pipe.1 point
-
🙃 I'll prepare a big list of jobs for you! Seriously; very kind offer of you @joe901 point
-
I know you've got your fancy ceiling and you can get access to that joint whenever, but, surely that bit of waste and soil pipe will nag away at you until it's right? The only issue I forsee in fixing that is chamfering the 4" pipe all round if you wanted to use push connectors instead of solweld on the 4" pipe, unless you have one of those chamfering gadgets of course.1 point
-
Reducing vibration is a good idea anyway but the seal is obviously broken and IMO will only get worse. Preventative work (replace it) will give you peace of mind for the future and you can crack on with the millions of other jobs on your to do list. 😇1 point
-
Thought I'd post a short update on this. We submitted an "Alteration of Service" form on the NG website and emphasized the safety angle, i.e. the overhead line is within my jumping distance!! The NG "Planner" followed it up promptly and visited yesterday; without much prompting on my part he said it was a defect that they will now correct by undergrounding the 20 or so metres from the pole in our neighbours property to a new external meter box that we'd organise. Our neighbour has been supportive up until now so hopefully that continues. NG will do the trenchwork and organise the wayleave details. There are guidelines for height of cables above private driveways, but he didn't specify what they were, so I'd still like to know if anyone has that detail? We're waiting to get something detailed in writing now, but it seems to be going well currently.. I probably shouldn't tempt fate! Cheers.1 point
-
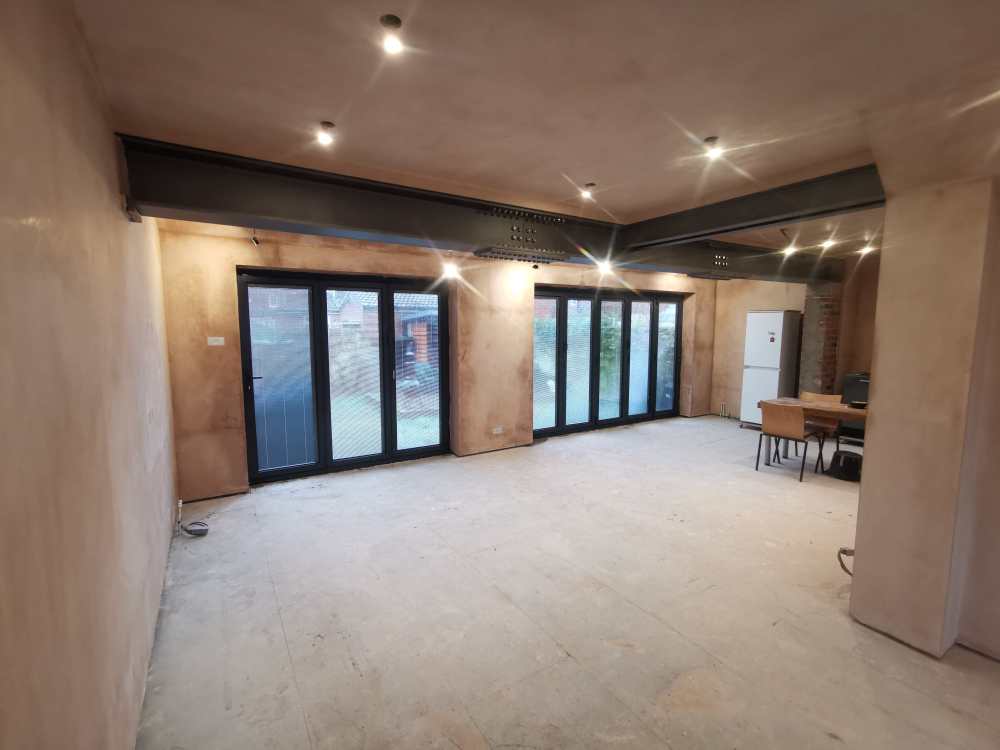
As I'm at the decorating stage, got a question for you guys. I have a hefty steel beam, with a small, maybe 2 inch section of plasterboard and skim above it and then the ceiling. Although this joint is fine currently, I'd imagine the house is still settling and thus the join will likely crack, no doubt as soon as I'm finished decorating. Would it be an advantage to mist coat, then go along the wall/ceiling join with decorators caulk before my final coats of paint? In my mind this will add a flexible joint in that section that will crack if it's just skim. Any opinions?1 point
-
probably just keep an eye on it then and repair in the future if necessary. Fully expect it to crack at this point but onwards and upwards!1 point
-
Ideally you'd be able to join the roof polythene to the foil facer of the PIR. Not practical now of course. I would use the OSB (sorry for the earlier typo) as the roof airtight layer. Tape it to the joists and tape the perimeter to the boards.1 point
-
It'll keep getting out! Cavity boards suffer worse as they're smaller and have more exposed edges. Anyway this is far from the biggest issue. I've yet to see anyone installing any rigid boards to any satisfaction. It's just not practically possible.1 point
-
A thought. Stand an iPhone or iPad (or rather low rent android equivalent lol) next to your heat pump and set it to record on voice memos. Go back an hour later and you can see a graph of the noise it produces. I’ve just done a quick test using my voice (best I can do right now as we are a heat pump free zone) and this is what it looks like.1 point
-
Definitely swap out the aircrete for dense blocks, look out for the ones labelled as thermal blocks but as an aggregate block. I used xtratherm (now unilin) CT-PIR at 125mm in my latest side extension, which is an interlocking board, and having done previous extensions with aircrete inner and full fill 0.032 wool, I can say that the latest build is by far the best in terms of insulation and energy use. if I remember right the Kingspan full full boards need their joints taping on the cold side. normal wall ties are absolutely fine, and another +1 for wet plaster1 point
-
Was that previously a railway bridge. What a lot of bolts...but I like it. Is it/ Does it need to be fire protected? It's almost heavy enough that it doesn't but not a lot of people know that.1 point
-
1 point
-
That's the way. Before the houses were built, the land was rained upon and it went away, presumably. You can spread over the whole garden if you like, using French drains. The 5m rule is there for a reason, to prevent the house being undermined. Therefore it would be advisable to connect both houses into the new system and leave the old soakaway alone. In case the drains don't cope in extreme conditions, there ca be an overflow into a pond or a crated tank. This will hold the eater until it can get away. Do discuss it with the bco before starting. You might need to prove the efficacy and need some professional help on it, as the bco has to consider what happens to your and oth properties if it doesn't drain.1 point
-
Good news. Standard `construction. Strip footings and beam & block, I would think.1 point
-
Still impossible to get them tight enough to be wall to prevent thermal looping. Whilst you're at it mark the K value of the boards from 0.022W/m2K down to about 0.033 as the blowing agent will escape from all the cut non foil sealed edges in a few years to be replaced by air so you're basically back at mineral wool or EPS anyway. Full fill mineral wool batts will be far far cheaper and easier to work with and result in less heat loss despite the headline worse insulative value. Airtighess is mega important too. I would recommend wet plaster internally. I was going to suggest to suggest stick framing with a blown or flexible insulation for the extension. What's your plan for the SIPs? Are you going to clad them in brick?1 point
-
I’m reading that: 1 You haven’t got surface water sorted yet on the new build, so need suggestions 2 The new house has been inadvertently build too close to the old house’s soakaway I had a similar issue and so we did as @ToughButterCup suggests and detailed a new solution using SuDS suggestions (butts, 3 ponds and swale) with the final pond as far away from the house as possible for good measure, all to to slow the water down. BC don’t seem to know much about SUDs but could see what we were doing was reasonable. Crates are another (expensive) option. You could divert the water from both houses into there if you don’t want to use the nearby soak away. HR Wallingford have tools for the calculations.1 point
-
With the government giving upto £7.5k in the BUS grant most ASHP installations should be free to the homeowner.1 point
-
Just to get this clear. It's your house which has just been completed by a builder who installed a soakaway 2m from the building. Has Building Control signed the work off as complete or is the final inspection still outstanding? Frankly if the BC inspection regime has gone beyond that point and nothing has been raised then I'd let sleeping dogs lie. If the rainwater backs up then I'd deal with this as a private issue after all the official inspection/certification has been done.1 point
-
1 point
-
My UFH has never reached 45 degrees, for UFH - it never will. I just started mine as low a temp as I could, ran for a couple days, increased slowly to about 35 and stopped there.1 point
-
It's a 6kW heat pump, with a flow and dT that was demanding 6kW. Reducing the flow has allowed the heat pump to modulate down further. Overnight it was down to -2 OAT and the heat pump ran for 7 hours straight, except to defrost.1 point
-
0 points
-
Fair comment but angle grinder with flap disc will make short work of removing plastic IMO. ( I will be there to hold your hand, and only your hand 😳). The glue will only be around the hole surely?0 points
-
0 points
-
Nah not really, get all the bits lined up expecting worst case before you start. Send the wife out to a spa for the day then crack on. You’ll be done and dusted before it’s time for bacon butties.0 points
-
0 points
-
I'm pretty sure that you were the one who told me to grow a pair and solvent weld everything when I was going to use push fit as well 🤣.0 points
-
I did do it right first time. It was just that its life span was 2 years....0 points
-
Well our DNO got ours wrong (replaced derelict building and converted to underground) they installed a new pole to feed a public telephone box that no longer existed!!,! I wish I had access to their information and got involved as this pole now serves no one and my trench work (that I did to reduce costs) was approx 10 times more than required. It was the engineers that turned up to do the connection admitted their planners got it wrong FFS.0 points
-
0 points










.gif.92cd606ce8436b49ddfac97fc053c130.gif)
