Leaderboard


Popular Content
Showing content with the highest reputation on 02/19/24 in all areas
-
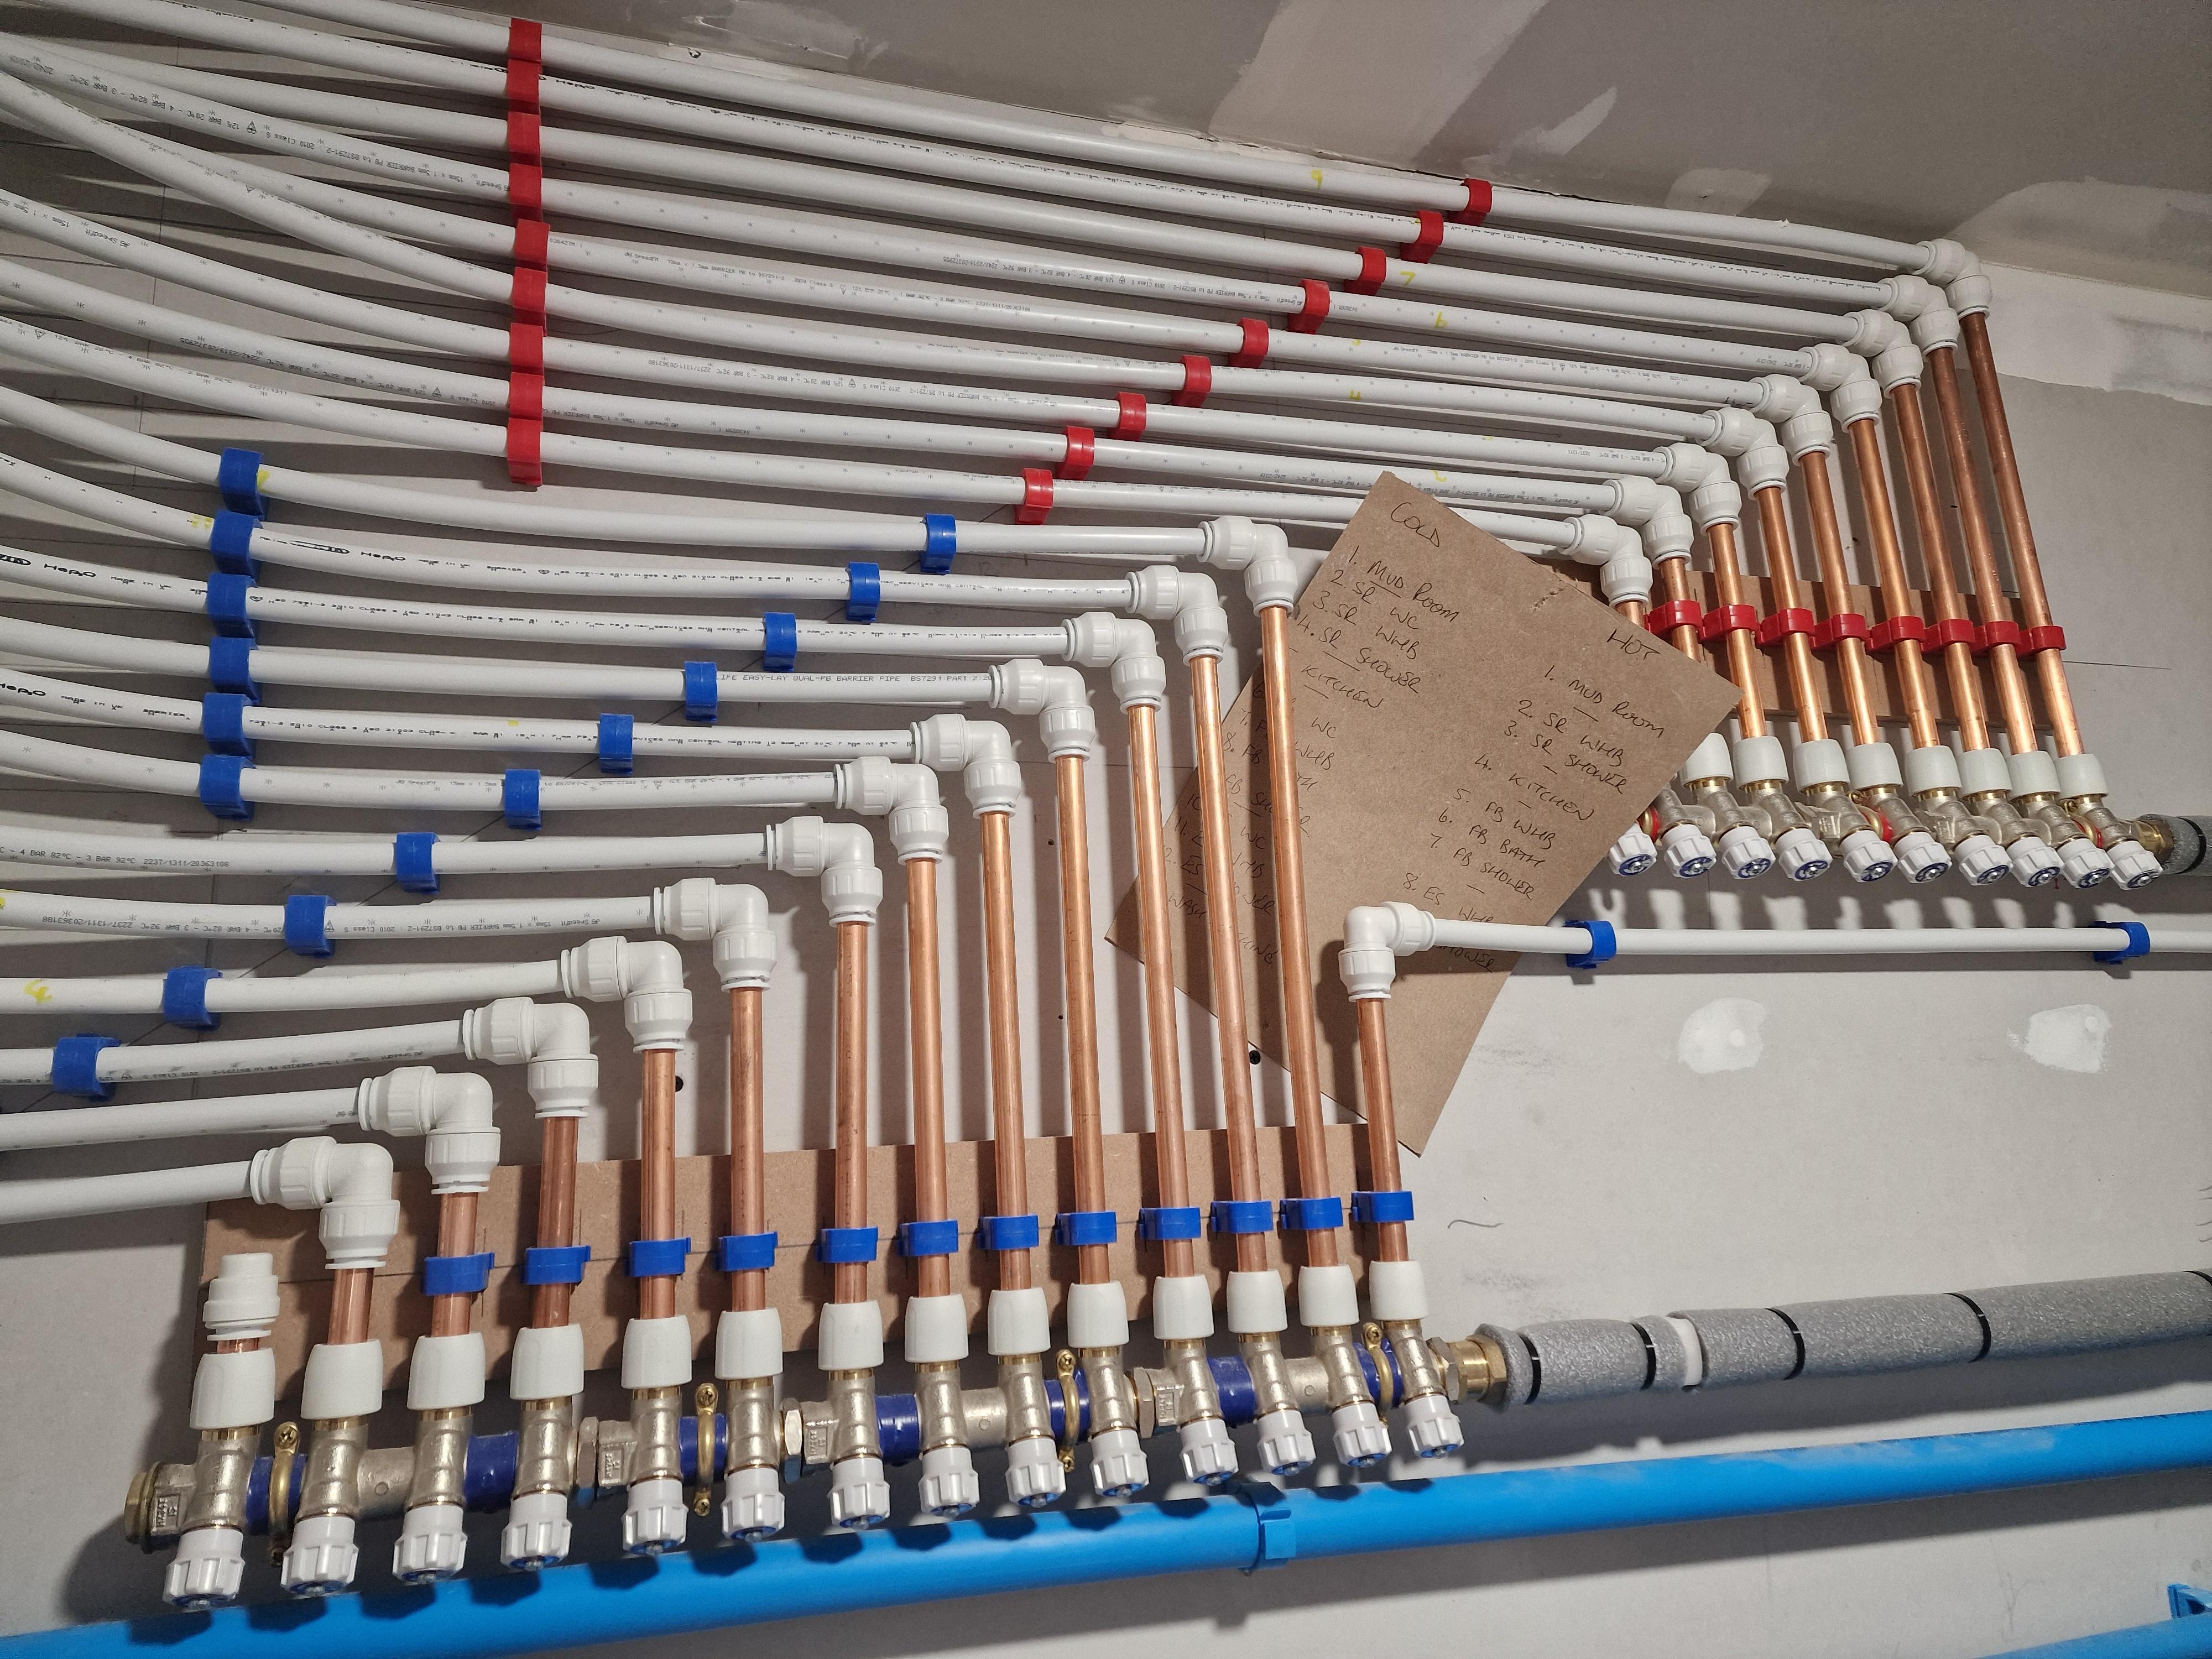
They look good the HEP20 ones...
 4 points
 -
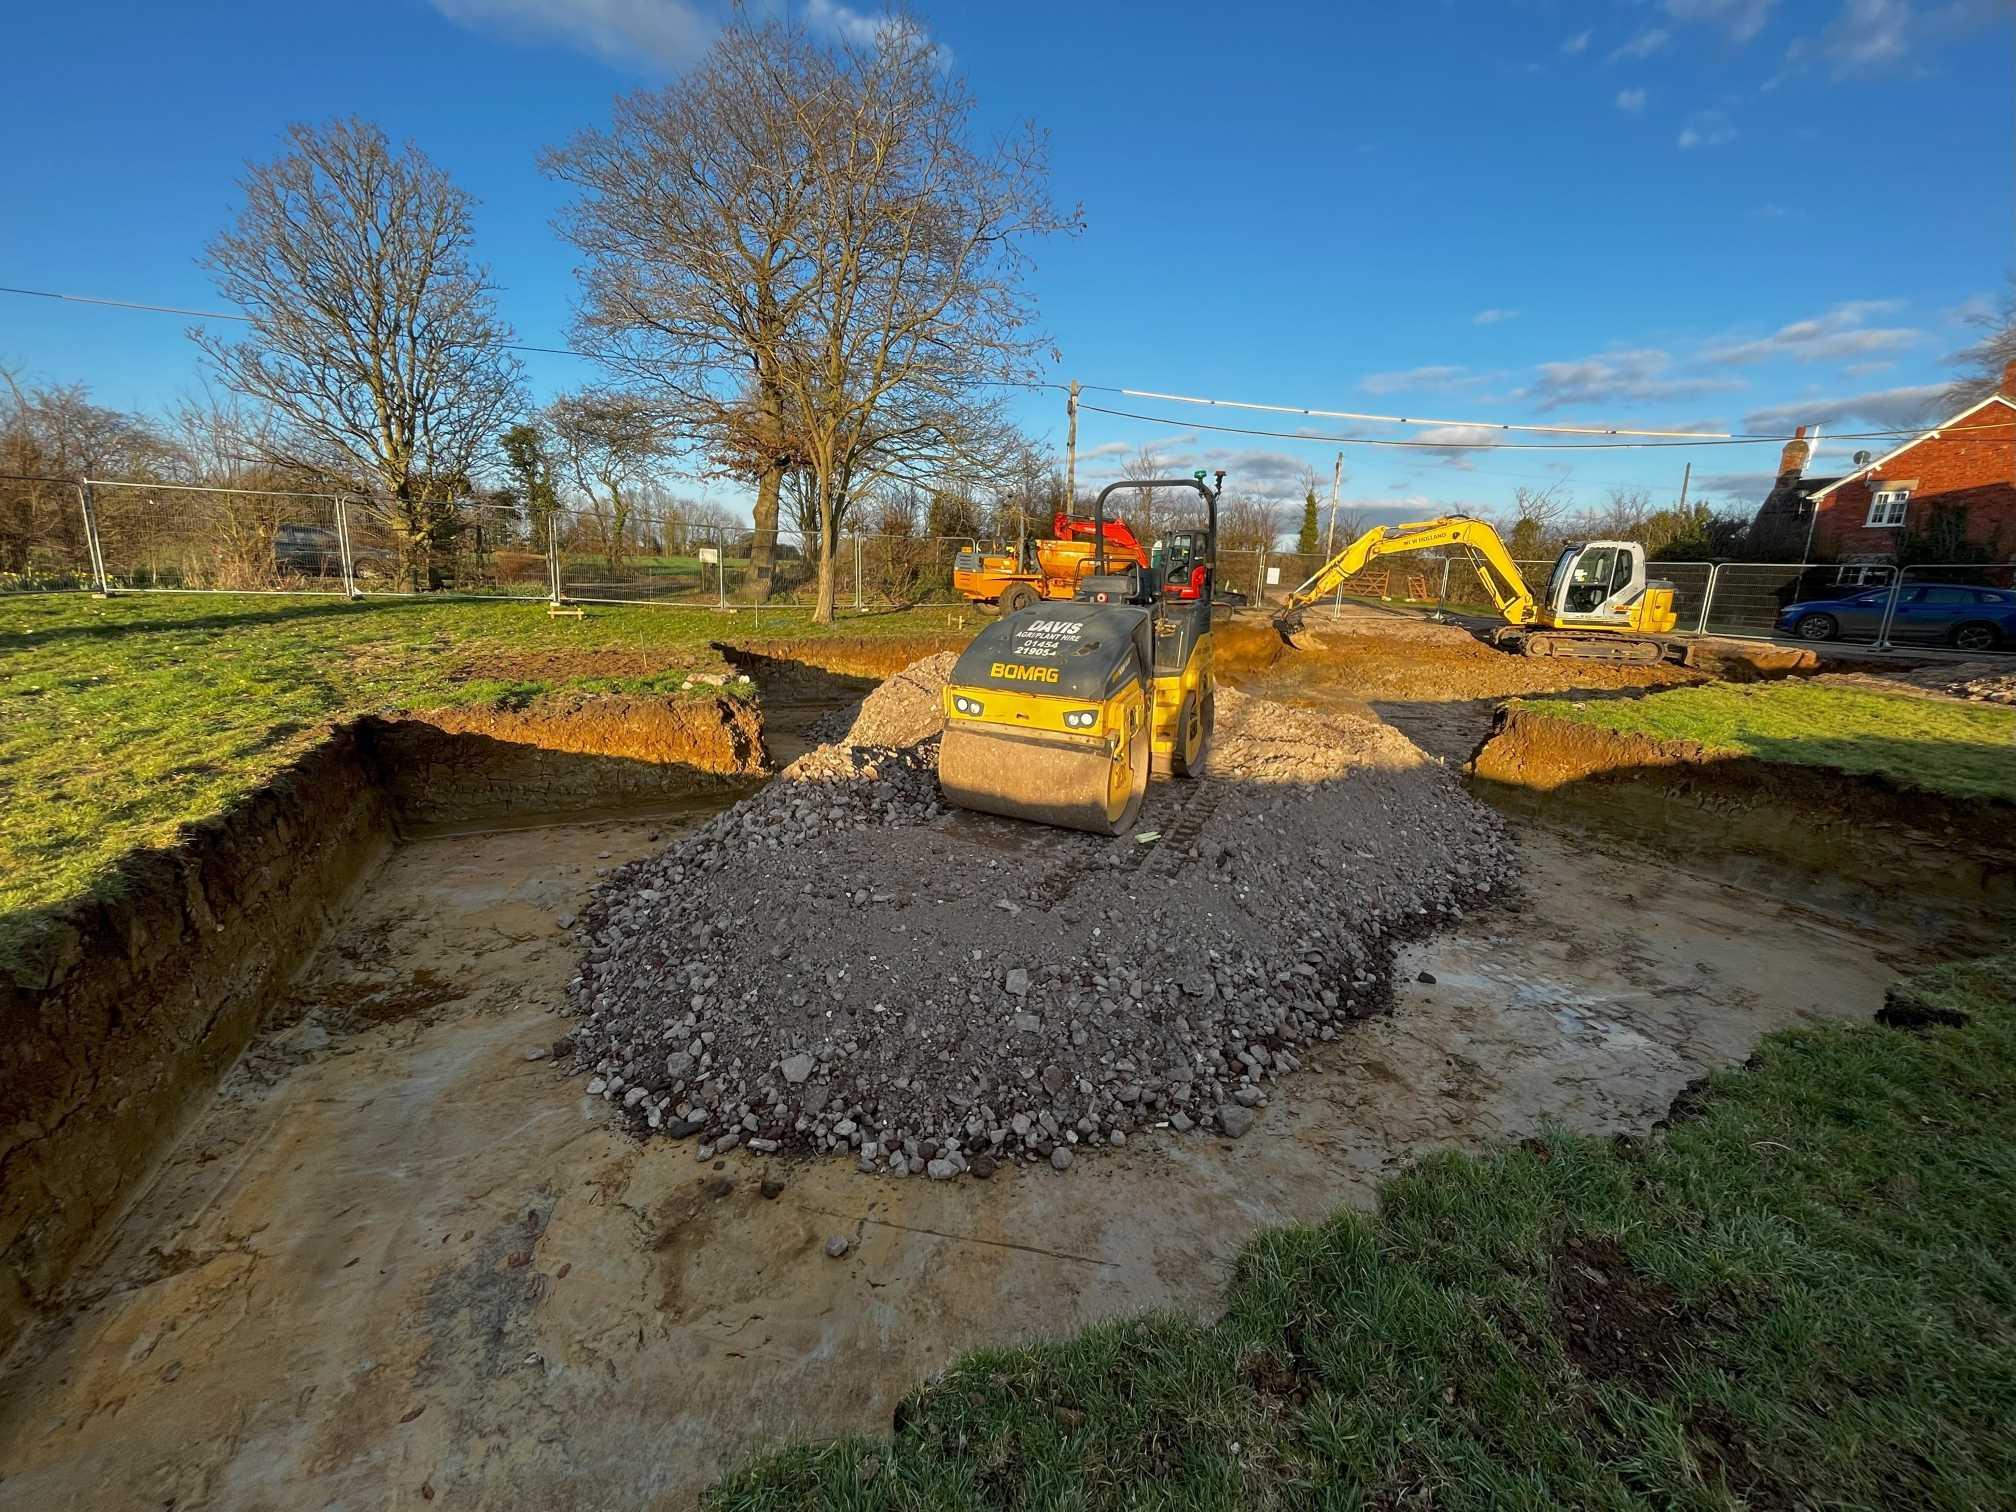
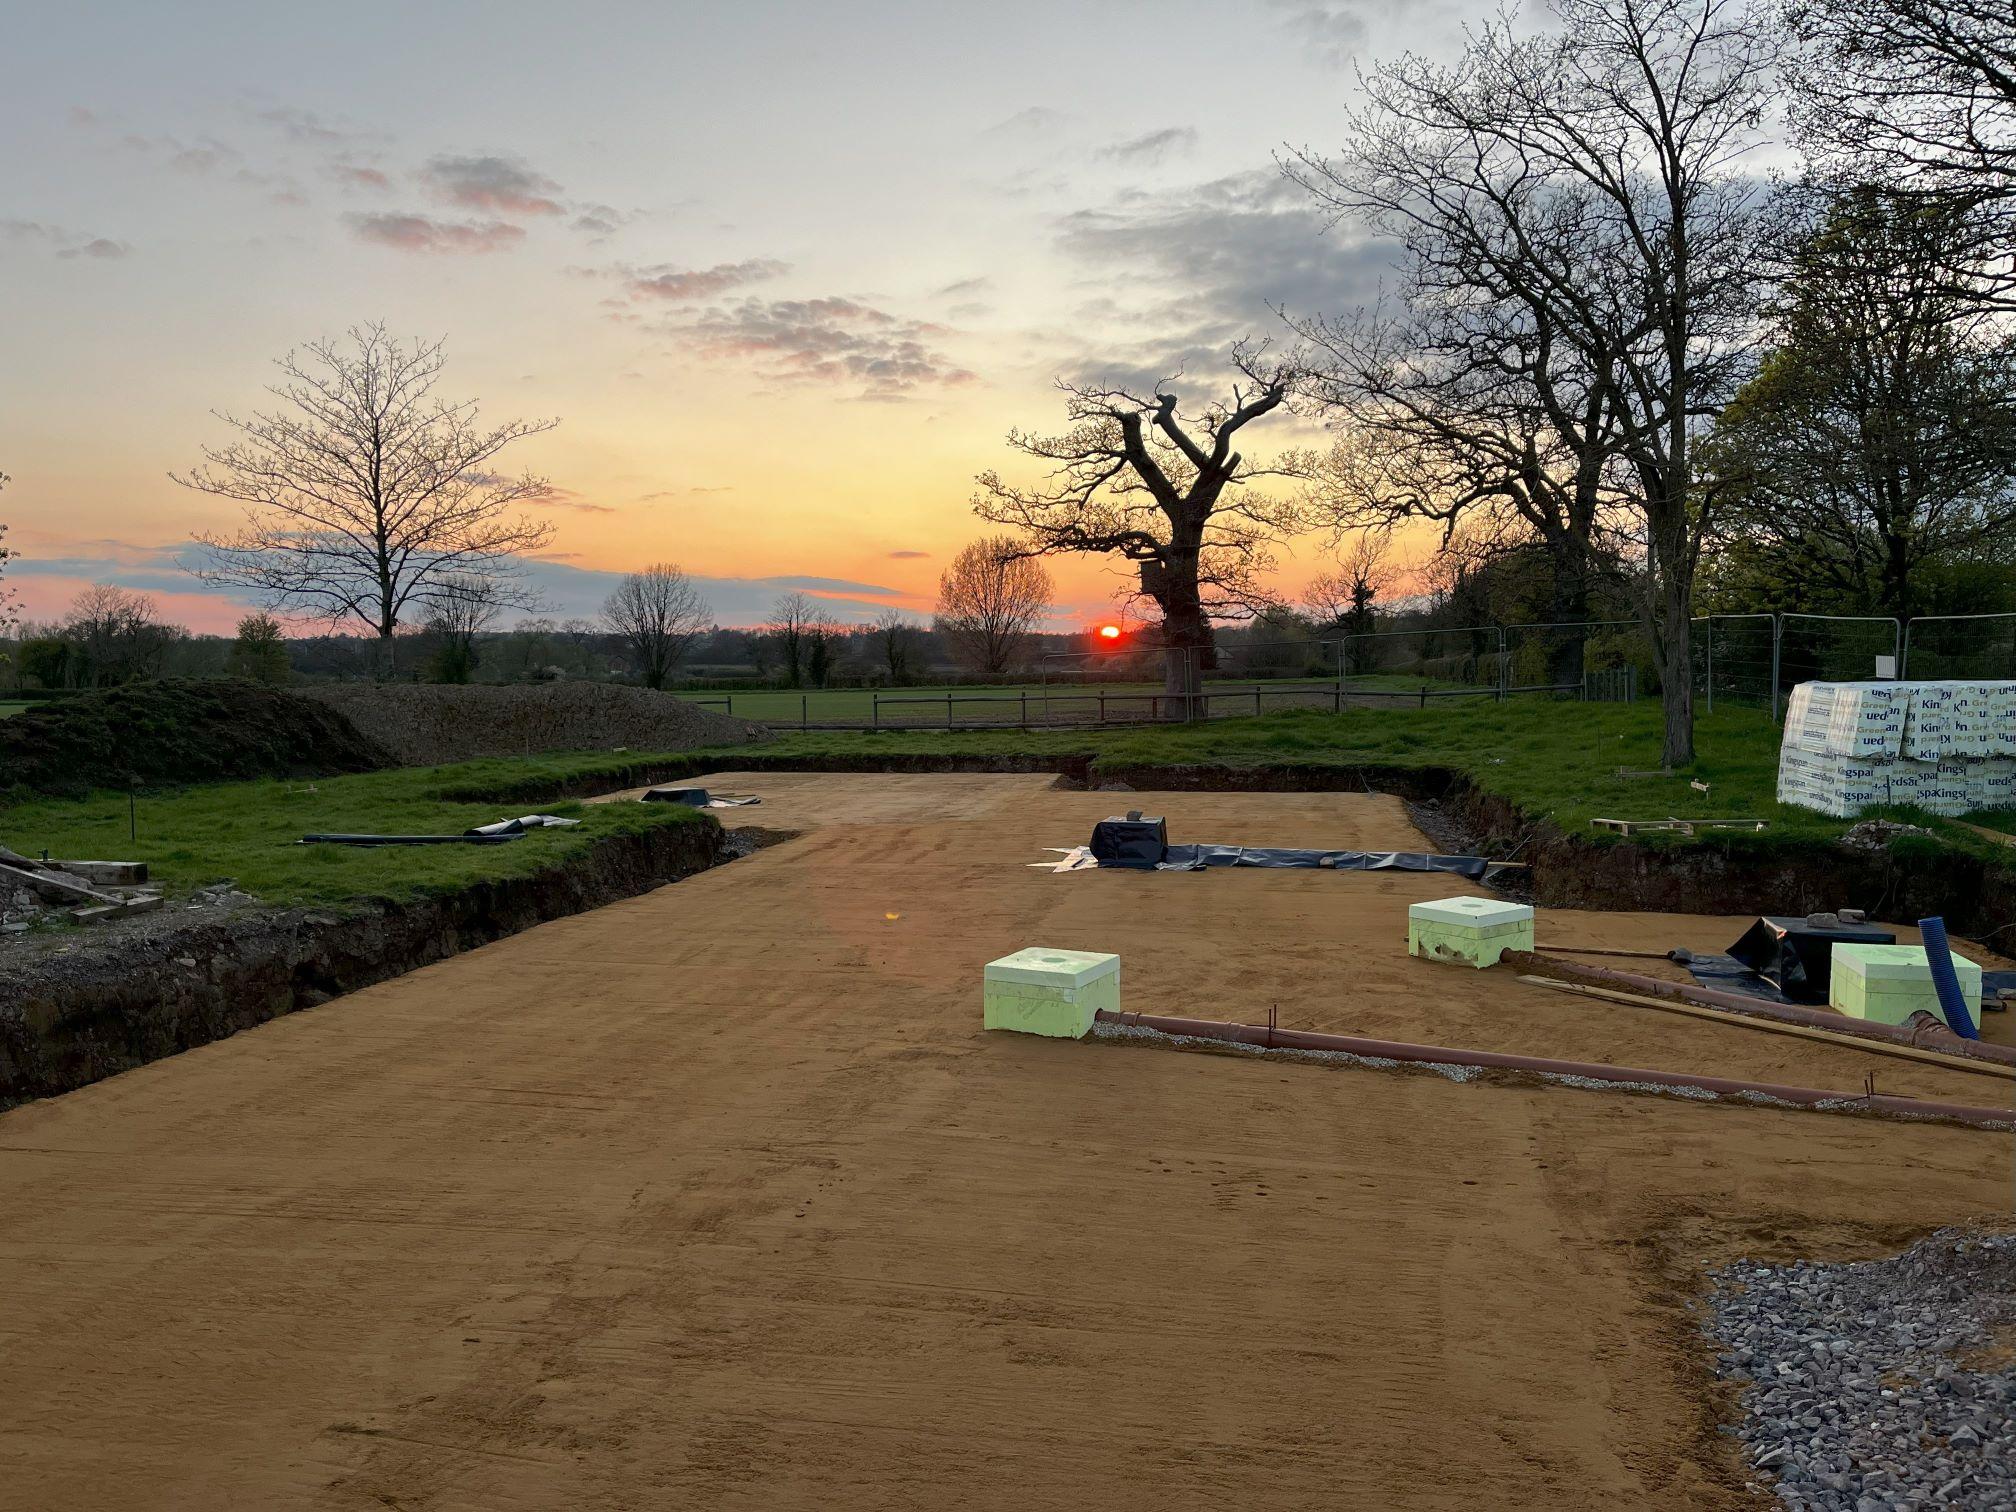
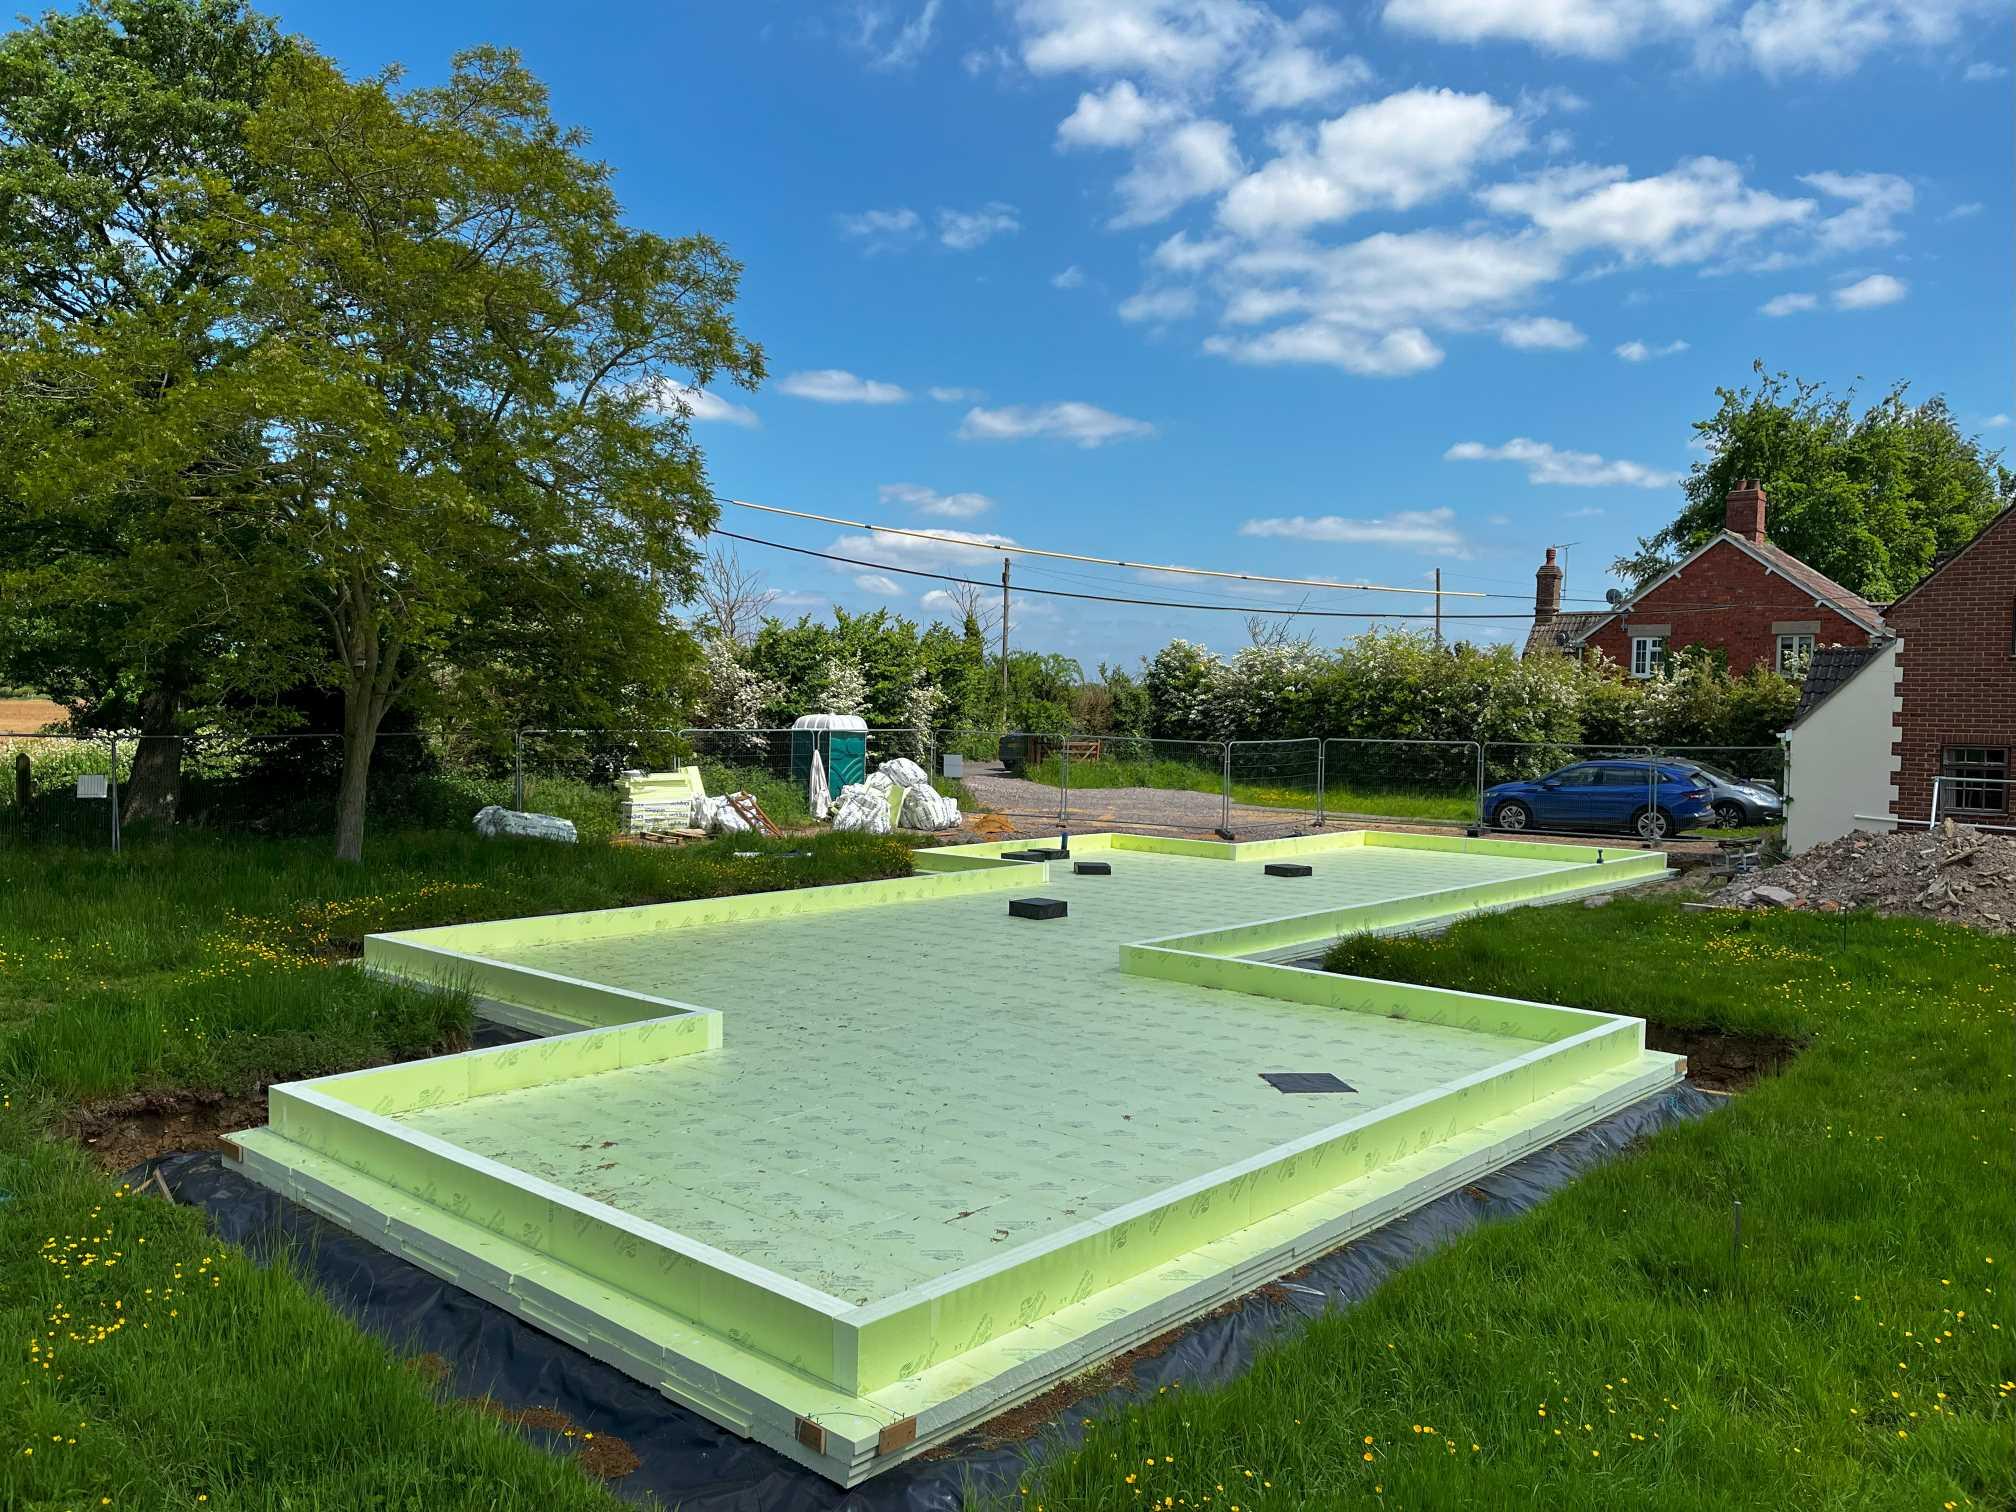
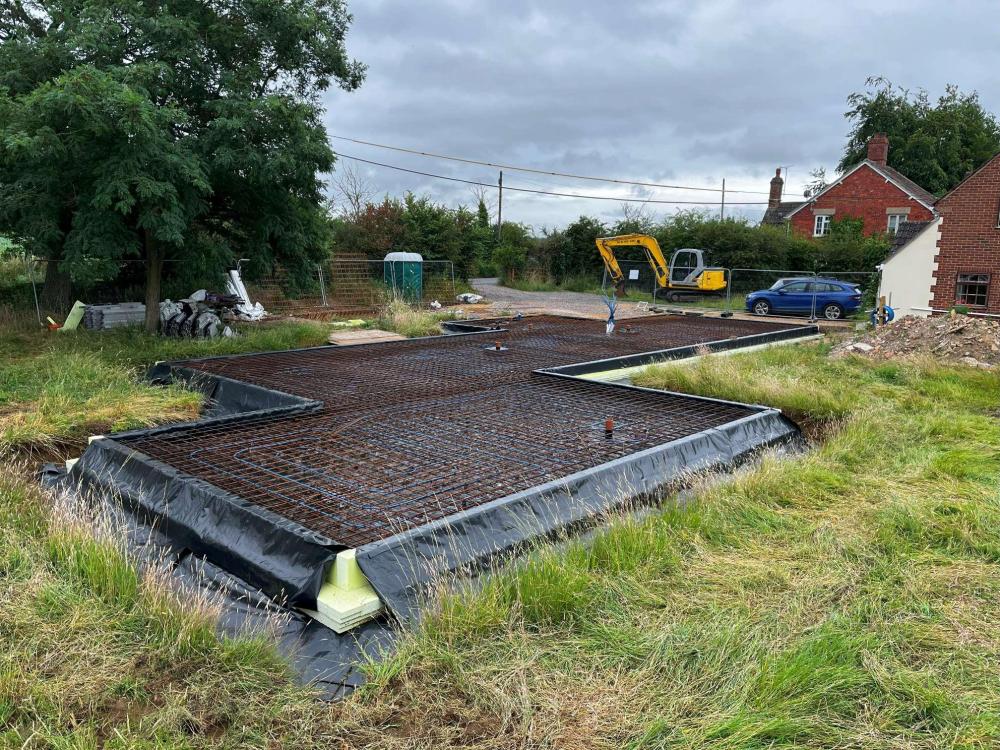
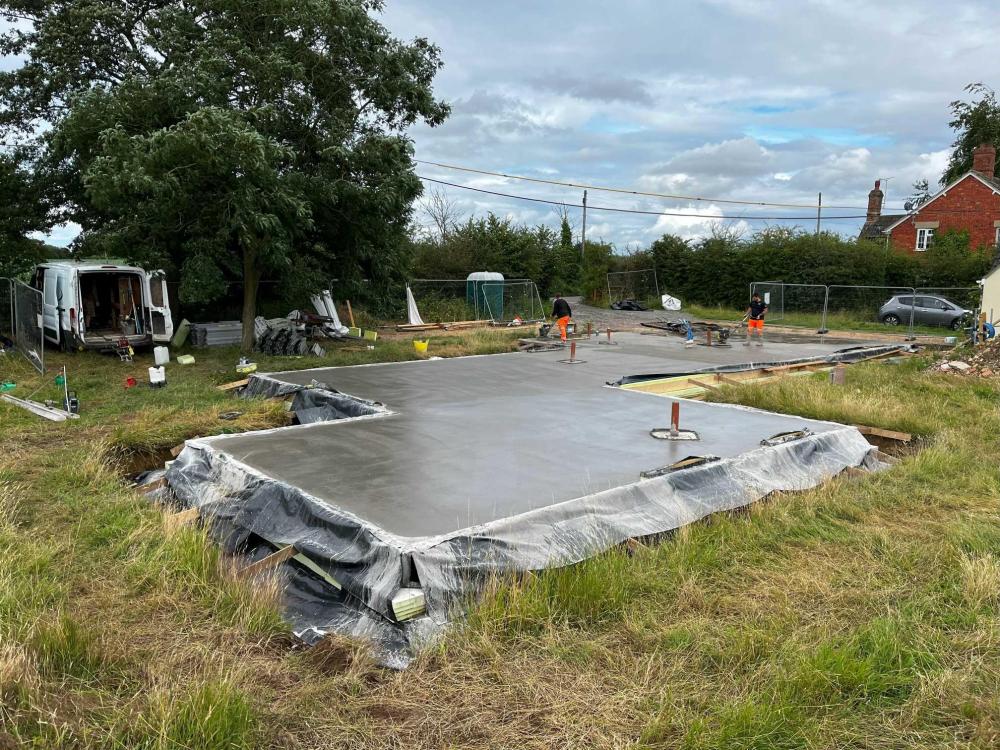
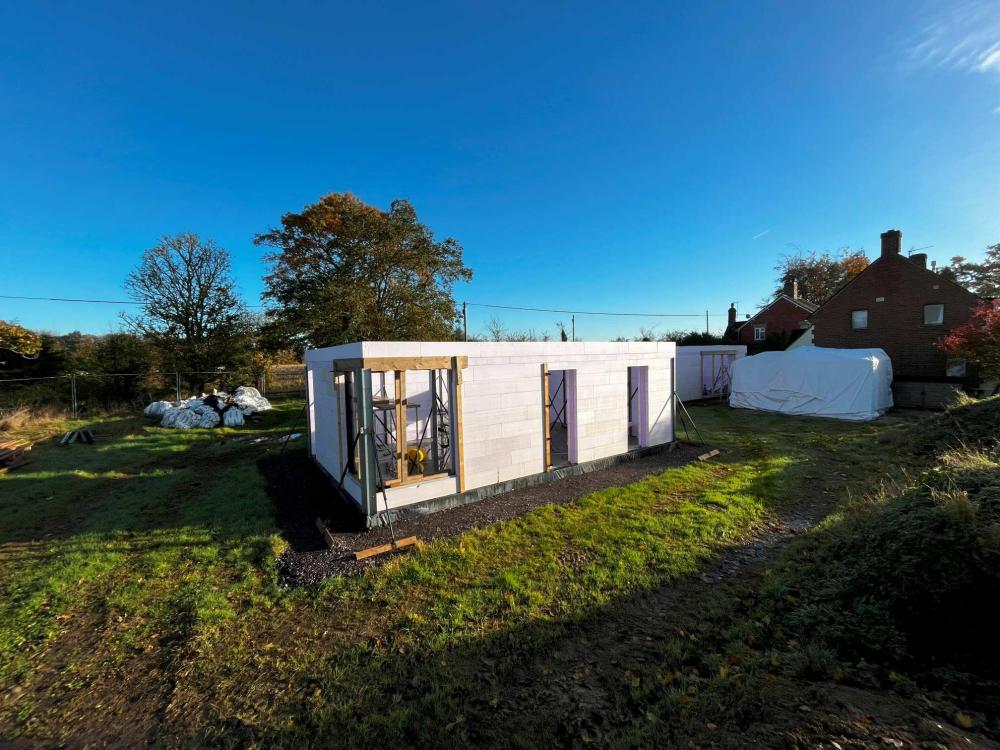
Hi, I wrote an introduction post on here back in 2021 and shared some floorplans for our planned new build in North Wiltshire. As it's been a while, I thought I'd re-introduce myself and do an update post. In early 2023 we broke ground. Since then we built the insulated raft foundation (Greenraft) and the ground floor walls in Polarwall ICF. It's slow going as I'm doing almost all the work myself. We've had a fair few issues, the biggest were our first wall supplier (Isotex) going bust after we’d paid them, and I had to fire our combined engineer/architectural technicians (probably worth a post in itself – but long story short, I can't recommend Build Collective). I’m hoping to ask around the forums for some help/advice on a few things in the coming weeks. In the meantime, enjoy some progress photos! The dig and backfilling, with roller. Sand layer with insulated drainage pop-ups Greenraft insulation for insulated slab foundation. 200mm insulation and 300mm concrete slab Mesh, rebar and underfloor heating Concrete pour And today, with ground floor walls up - ready for the pour


 3 points
 -
Neighbours gutters on the garage were constantly overflowing onto her patio - she’s 85 and needs a walker to get about - not much chance of her getting up a ladder to clear out the gutters so as it stopped raining I thought I’d get it done for her…… Whole length was full of moss/leaves and general detritus Took off the end caps and stuffed a car cleaning sponge down the downpipe and washed them all out into a couple of 35 litre builders buckets Extracted the sponge and the downpipe was blocked up as well so off that came and rodded out a 2 feet of muck but it wasn't all leaves and moss Washed it down and found what was blocking it up I’ve heard the expression “raining cats and dogs” but never heard “raining rats!!!!”
 2 points
 -
If you go to a plumbers merchant you can get 35mm x 15mm insulation, goes over Hep2O fittings nicely.2 points
-
Buy a length of 25/ 28mm internal insulation and cut and secure around the fittings.2 points
-
Reliance is a very well known valve/pneumatic type company they where bought out by John guest. it’s good gear.2 points
-
I’m afraid I consider it a solution to a problem that shouldn’t exist if the job was detailed correctly in the first place and the work carried out accordingly. if your doing a re- furb or trying to fix others work then that’s fine, but building something from scratch there’s no excuse for poor details.1 point
-
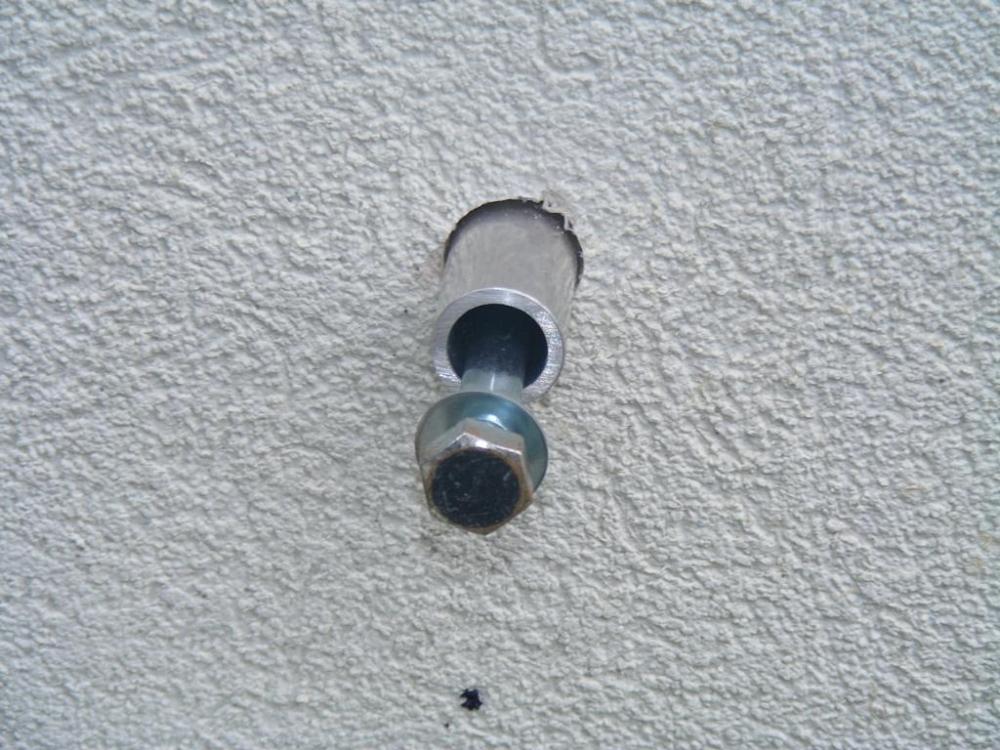
https://rawlplug.co.uk/product/wire-mesh-sleeves/ Seems to be readily available from specialist suppliers in UK too. this comes in kits or as 1m lengths. I have never used it so it needs further research. Even filling the gap to the insulation will provide a bit more stiffness. If this worked it could glue to the inner face and not need a bolt inside the room .....Maybe1 point
-
Do you have to cut out the inside of the block, where you show it recessed? That could be contributing to the strength, and as it's visible you will know it is doing something. Also you would have a conventionally fitted nut there, absolutely preventing the bolt from puling outward. If it can't pull out it won't fall down. Then on the outside, yes use a substantial washer plate to spread the load. The chances of getting any useful fixing on the middle fin of the block are very low. However, I have seen a system of inserting a mesh tube, like a stent, which is inserted into the hole and to which epoxy resin will adhere. It is much used in foreign climes where hollow bricks and blocks are the norm.1 point
-
When I fixed my balcony to the wall, I had the same issue, soft EWI that i did not want to compress. So the outer hole through the EWI was larger, then a spacer inserted so the fixing clamped up against (in my case) the timber behind the EWI. Like this Final assembly, lots of sealant goo around the spacer as it was inserted, And a large penny washer over the end of the spacer tube.
 1 point
 -
You can't have the cladding touching the cill or ground. It will wick up lots of water and rot out in a matter of months. Best practice is at least 150mm gap at the base of cladding. Often this is in brickwork.1 point
-
Even with my cottage esk new build I created angled reveals to all windows and doors and they looked great.👍1 point
-
agreed and I have a plan to further accentuate the size of the aperture by continuing (and increasing the angle of) the taper as we frame and insulate it. This should in theory give us openings of around 400-450mm on the inside. We are also aiming to insert downlights into the frame to provide back lighting1 point
-
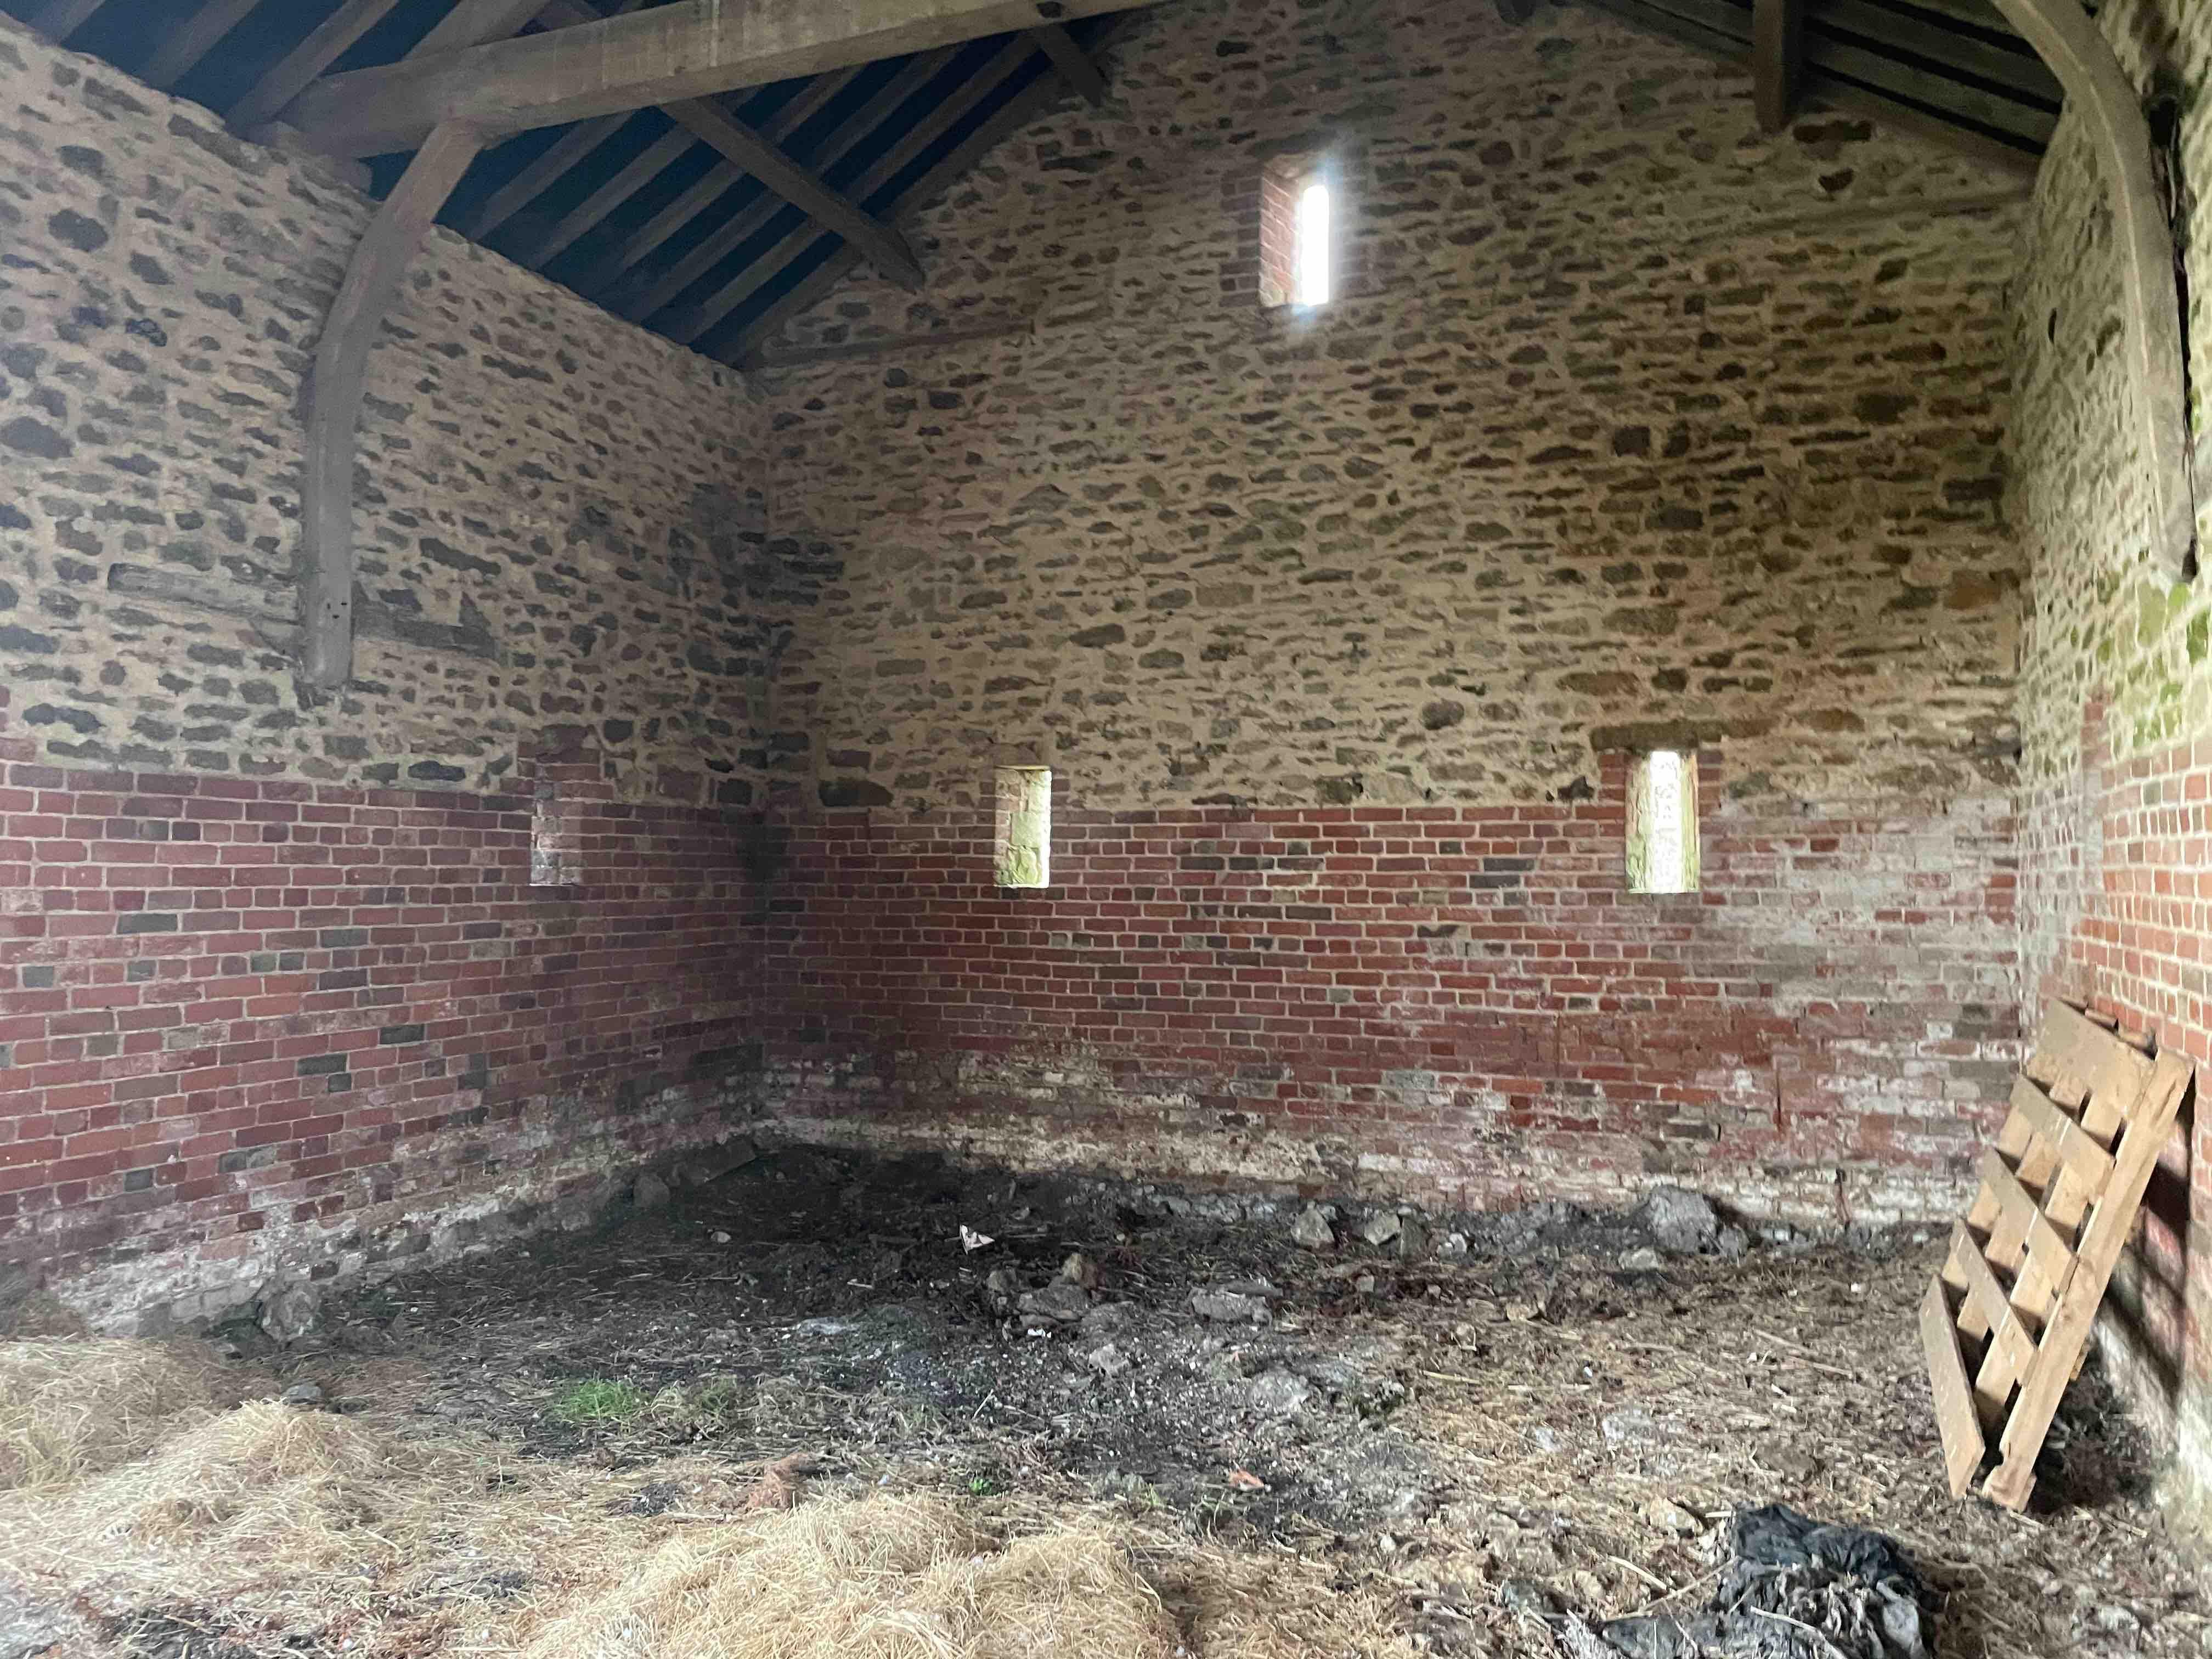
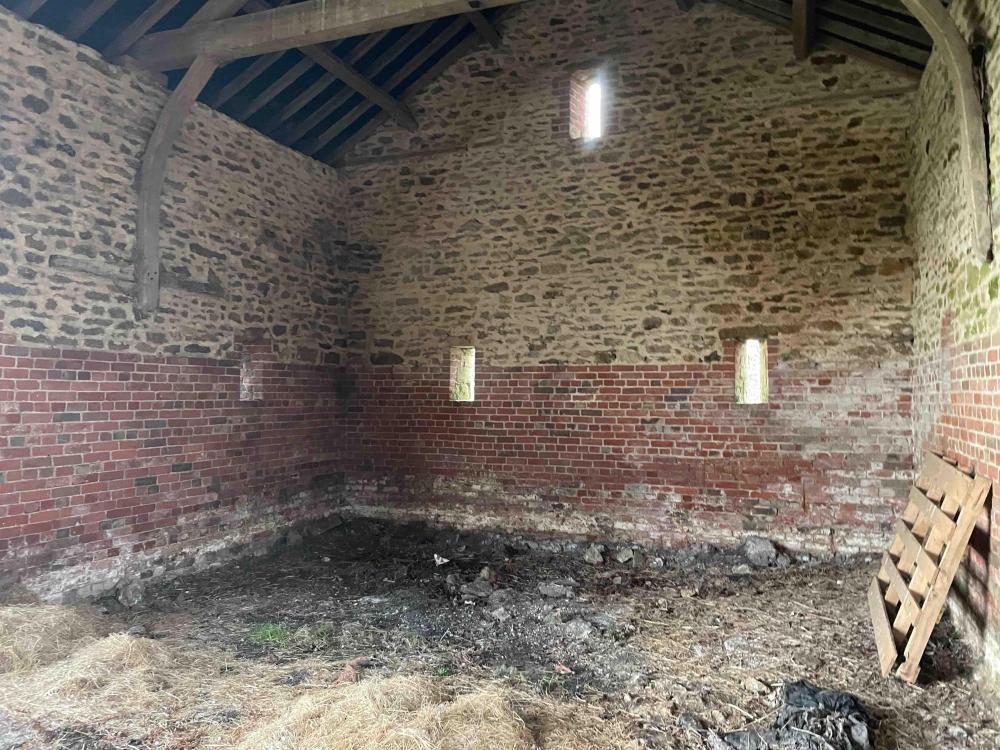
I think that this was initially my thought but then as @saveasteading points out they are all on show in the various rooms in the house and in 1 or 2 cases they are the only wall apertures allowed by conservation. At the 'front' of the barn the slots have quoins around them (looks like these were the 'showy' ones) and the others are framed by estate red brick. The outside of the slots have been chopped about over the years too, so we will need to make good the quoins and brickwork and as they taper inwards, we can move the glazing back into the 'hole' to make it fit with 150mm as the minimum width but it may look a little odd. Maybe a combined approach of bonding the glazing directly in to the opening with a very skinny home made wooden frame painted up on the inside?
 1 point
 -
If you've got any bits of PIR and some thin bits of cushion type foam lying around: - two pieces PIR either side of the fitting - carve/gouge/fettle out some of the PIR to get each piece to fit snug as possible - a thin layer of cushion foam around the fitting, then tie-wrap the two pieces of PIR around that. Think of the PIR as two pieces of bread, the cushion foam as the butter, and the fitting as the cheese in between1 point
-
+1 for frameless, glass bonded directly into slit openings look very neat.1 point
-
I use a Shelly version, for power and another for flow/return/outside air nonissues 2+ years in1 point
-
The airtesting was done as part of the Aerobarrier install - you watch the numbers change on a computer outside the building while the spray is on inside. We are currently getting rendered and plastered (and a temp front door) so haven't done our final test yet. They guarantee to get you below 1.5 and if you can guarantee no holes bigger than a certain size (I couldn't) they can get you below 1. We were £3.4k for a 300 ish sqm house and we have some high ceilings....they can calculate a cost based on stage of build (shell, plastered, finished - they have to protect surfaces that are finished) and the volume of your building (from plans/elevations). Easy to get a quote and then compare to the cost of all the tapes and membranes. For us it worked out very similar in price with more accuracy - we are totally new to building a house!1 point
-
Ffs ! Saving pennies ! . Buy the proper Hep2o ones . Divorce will cost you more than ” best bargain from China , much goodness , best quality , not rubbish , you pay now ? , my sister waiting also , much goodness , she cheap also , what you want now ? “1 point
-
I would have the tank in the loft and the Triton electric shower removed and have a new thermostatic shower valve plumbed in and fed by your combi boiler. Also as stated above your Ferroli Modena 102 Combi is at least 20 years old so it might be worth having it replaced with a newer and more efficient combi to provide your heating and hot water. Combi boilers have improved a lot in the last 20 years! Also make sure the electric supply cable to the existing shower is safely disconnected and isolated by an Electrician if/when the Triton shower unit is removed...water and electricity is not a good combination!1 point
-
Love that - looks superb like a geological sample1 point
-
Triton Alicante Electric shower - Specification. Installation - Plumbing System = Cold Mains - see link below:- https://www.tritonshowers.co.uk/alicante-electric-shower#product.group.attributes The tank in your loft looks like a cold water tank to me (sat on a raised platform to improve the head and increase pressure to whatever it feeds) that has been left in the loft when the Combi boiler was installed. Have you ever confirmed the water in it is actually getting hot? Is the tank metal or plastic? Hot water tanks are normally metal (copper/stainless steel) and a cylinder shape. I would think the cold water tank still fed by the mains supply has been wrongly plumbed to feed cold water to the electric shower which heats it.....assuming that white pipe to the shower does not go direct to the mains supply that is/was feeding that tank? Not clear in photo. Simple diagram of how a combi boiler feeds a thermostatic shower valve and hot/cold taps.
 1 point
 -
We went that way as it seemed the best balance between u-values, airtightness, quality and price. They also provide integrated blinds which we needed for Part O. And we needed a 5m lift and slide patio door. Fitting went well and just had a pre board air test which landed at 0.42 ACH.1 point
-
We did it with 2 board scaffold both sides although to be fair we did agree with the footpaths officer to put 1 leg of the scaffold on the footpath in exchange for resurfacing the footpath - we still left it 2m wide.1 point
-
The evertex coating you used has popped up on lots of forums with issues regarding bubbling and peeling etc. They must have had some issues with previous jobs because they closed and reopened under the name https://everflexcoatings.ie As far as I can tell it's a very thick paint, probably of very low permeability. When airborne vapour escaped from the interior of the house via air leaks it got to a point in the wall where the temperature fell below the dew point, the vapour condensed to water and as it couldn't dry out it soaked into the original line render, diluting the adhesives of the lime and it fell off as you can see. My theory is that insufficient air sealing was done below and above the first floor slab. There was an easy path for indoor air of high humidity to pass right through to hit the back of the render. Here it cooled and condensed into water. As the original lime was of high permeability, the condensed water was ultimately able to dry though it to the outside so damage was limited. However when the Evertex was applied the water couldn't go anywhere, it soaked into the lime render and then you had problems, gravity did it's part and the water migrated down the wall destroying the render below the slab area too. The almost perfectly straight fault lines in the render are my evidence of air leaks combined with the impermeable paint being the issue. I would almost certainly rule out differential expansion of the slab and walls as they are similar materials, and the distinct two lines at slab level rather than a complete band point towards air leakage rather than a thermal issue. TLDR: Bad air sealing above and below the slab allowed moist internal air condense behind the impermeable paint dissolving the lime render.1 point
-
A bit like NHBC 🤷♂️1 point
-
Just plan well ahead if inserting the reducers directly into the manifold, as they are a pita to remove. If there’s any doubt, use a 150mm long piece of copper pipe inserted into the manifold so you can get the clip on removal tool in play. Prob then best to use a ‘socket’ reducer vs ‘spigot’ to save having to buy a coupler. https://www.screwfix.com/p/hep2o-plastic-push-fit-reducing-coupler-15mm-x-10mm/7165f?ref=SFAppShare1 point
-
That is a very good practical question! If you have a cavity wall and using twin beams under each leaf then you can use M16 or M20 threaded rod in the web. The rods need to go as close to the top flange as you can so the nut clears the root of the web. You get the web drilled and then align the beams so the holes line up. Weave the rod through and wind on nuts so there is a nut both sides of both the webs... then you fiddle about progressivly tightening the nuts. Now you can only do that if you have a reasonably wide cavity and beam flanges not too wide as you need to get a spanner in between the beams. OR you can be really clever and bolt the rods to the first beam with a nut each side of the beam turned up tight, measure exactly where the inside of the other beam web needs to be, wind on two nuts and turn them in opposite directions so they lock... a locking nut. Then the second beam can be slid sideways onto the rods and you put the last nut on. But all this needs good planning as there are probably props etc in the way. The other easy to do it is to put a flat plate over the tops of the beams and bolt that down to the top pre drilled flanges. The plate acts like a strut. The objective of both methods is to prevent the top flange buckling sideways. Rods can be a bit of a palaver but if you have set your mind on mitigating cold bridging rods work well in this context as their cross section area is a lot less than flat plates. I'm sure there are other ways to do this? but that is some..1 point
-
In some cases a building is in such poor condition that it makes financial sense to knock it down and rebuild but as yo have discovered the planners treat that as a new build in the countryside which is against policy. You need to tread carefully and not let the building get so bad that it is incapable of being converted. If necessary carry out repairs but only repairs and get a new survey being careful to brief the surveyor. Ideally you want to be in a position where you have planning permission to convert it and then put in another application to knock down and rebuild with something that looks near identical. That would be very hard to refuse (at appeal if necessary) as the end result of both would be the same. If it's too bad to convert then you don't have anything to bargain with. For the planners it becomes a choice between no house and a new house.1 point
-
Sorry if I've ruined your day - but the Rat had a worse day all things considered0 points