
ProDave
-
Posts
30861 -
Joined
-
Last visited
-
Days Won
427
Everything posted by ProDave
-
What did stand out is the inability to tackle a fire so high up a building from the outside, which of course is why there is so much emphasis on containing a fire to stop it spreading and fighting it from inside. The fear now has to be a 9/11 type collapse of the building after the stress it has endured. I can't see anyone going inside for some time.
-
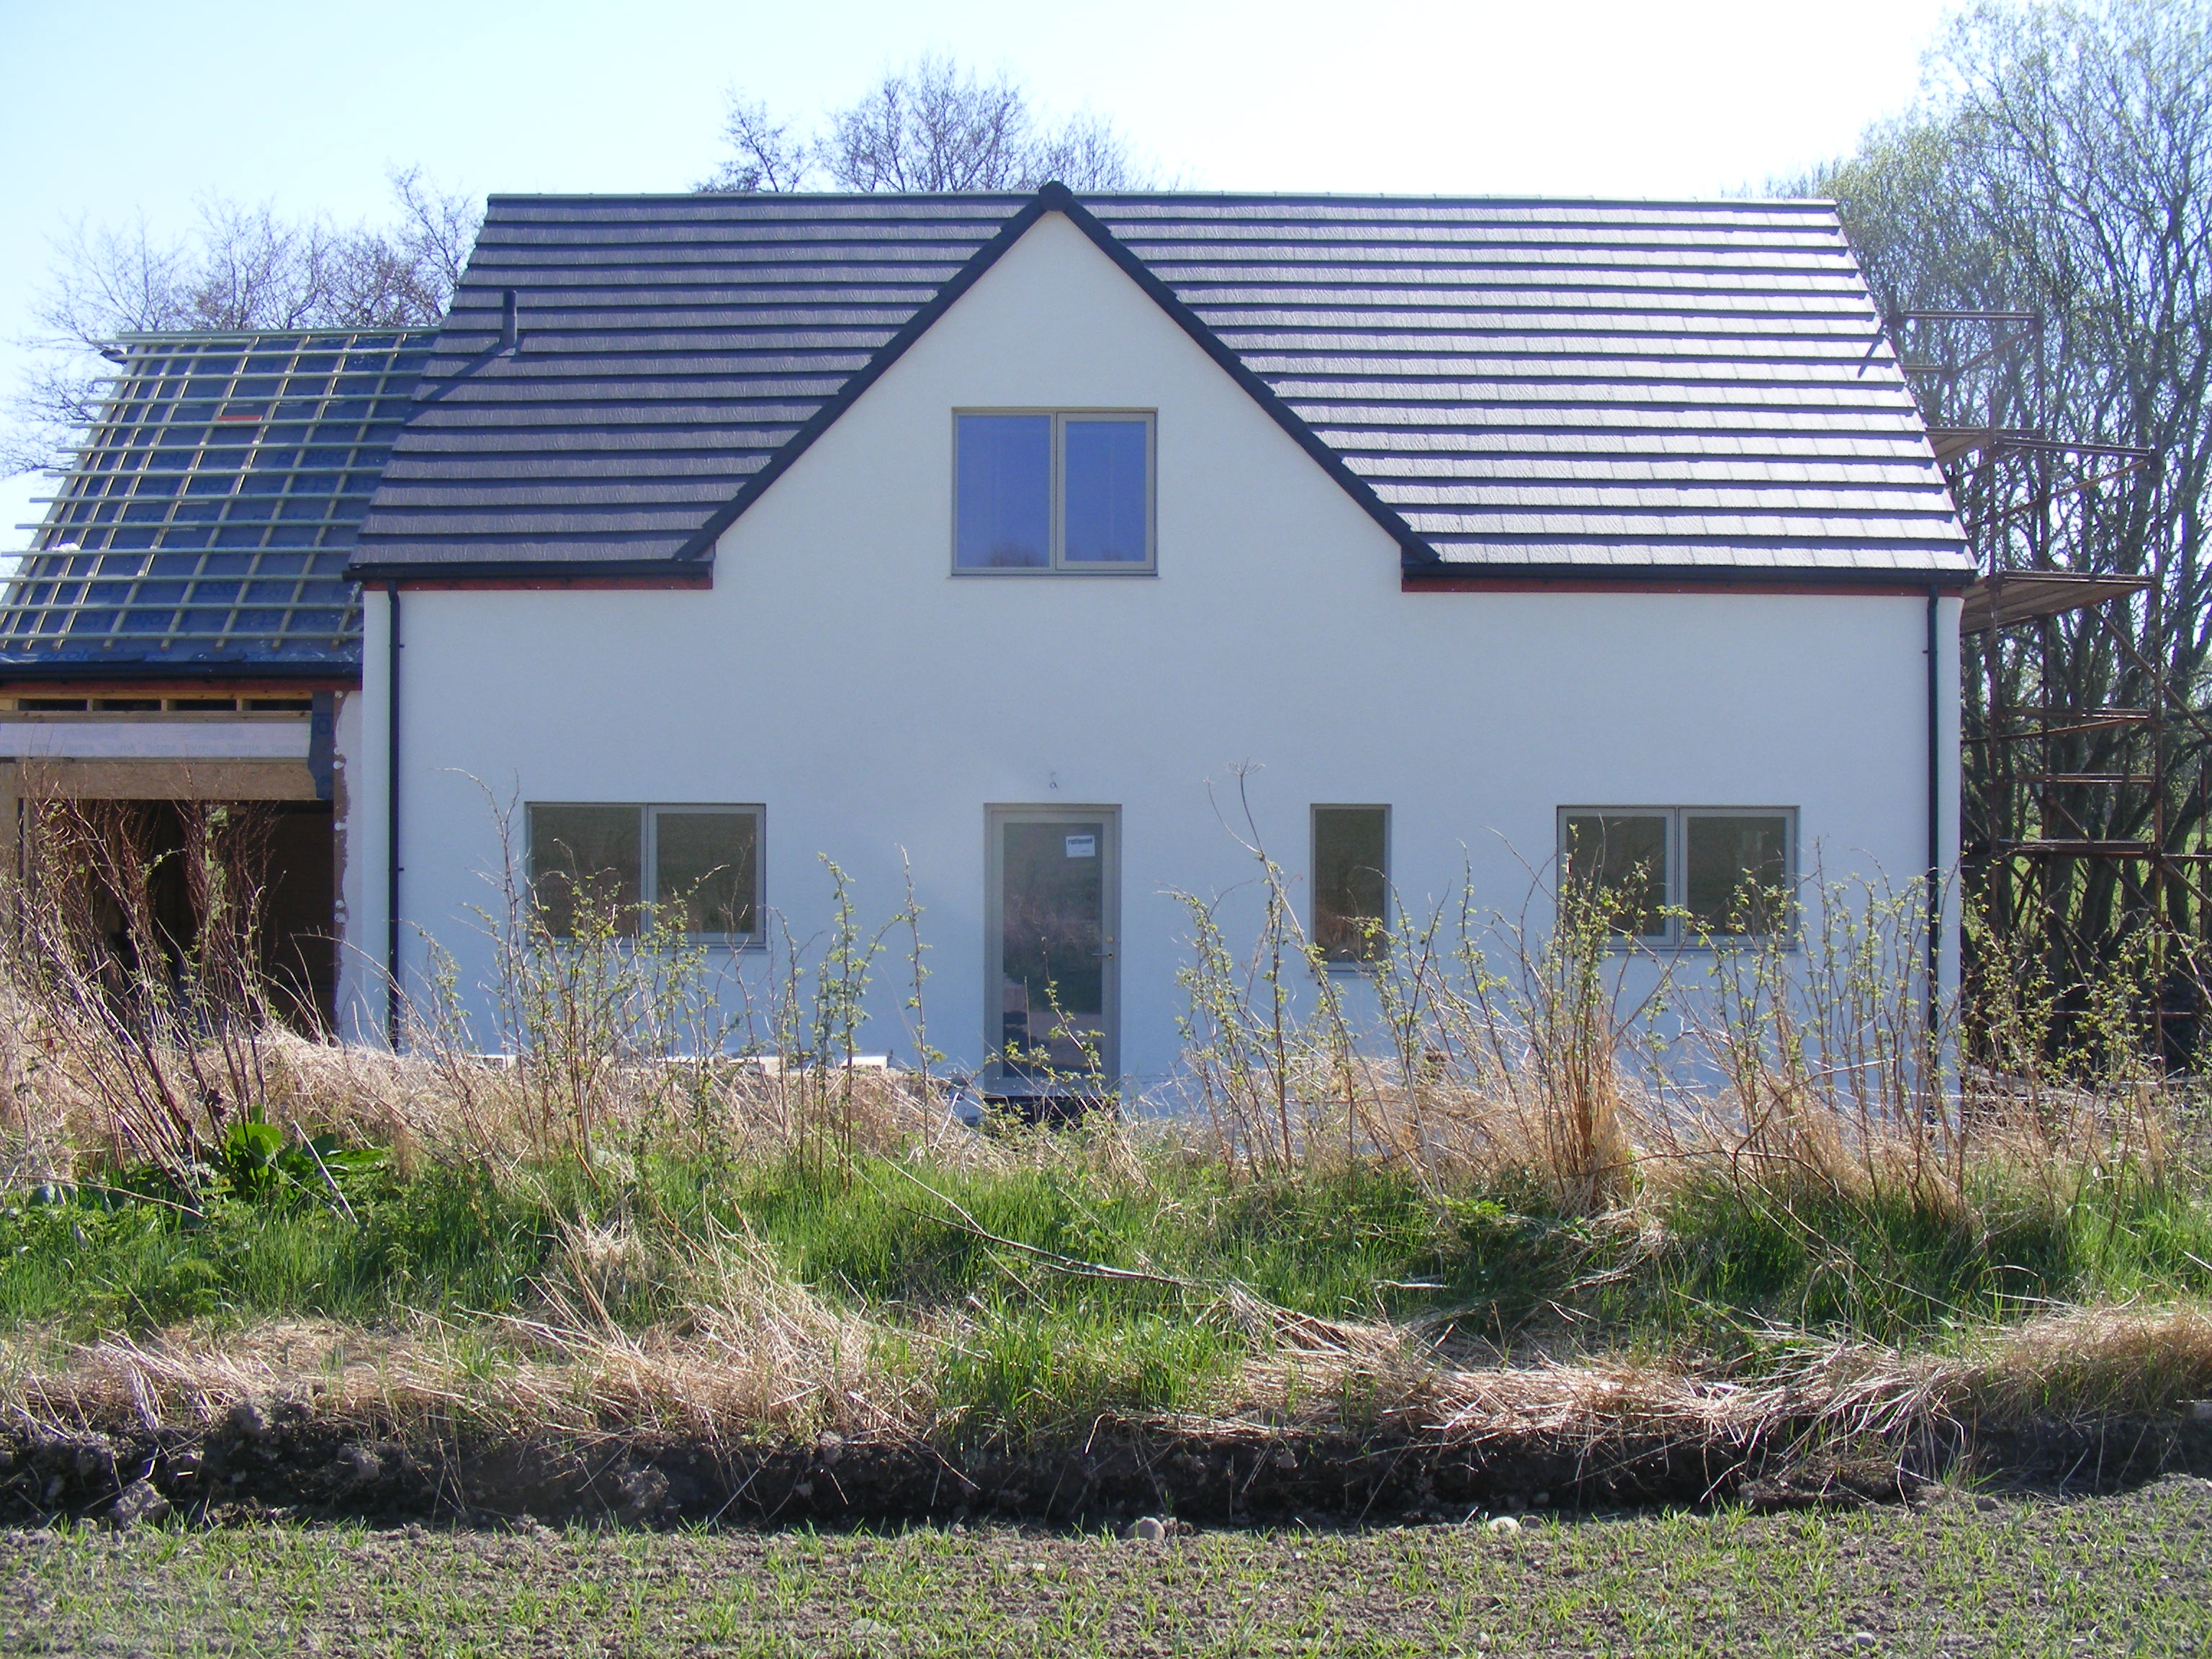
Yes that confirms what I thought, that normally the cladding is all one piece, but mine is split to allow the glazing to be fitted later. I will have to seek guidance from Rationel how to fit my split surround. It also raises another issue. Should I be unfortunate enough to break a window in one of the fixed windows, there is no way to remove the trim to change the unit without hacking the render off then re doing the ingo's.
-
Just watched some of the news reporting. The main message was from the fire chief who said they had never seen a fire spread so quick in a high rise before. They are all being politically correct and not speculating on the cause until the enquiry. I predict 2 things will come of this: This type of EWI will be banned from high rise, and may even retrospectively be removed where already fitted. And (cynical I know) domestic insurers will slap a premium on anyone with EWI on their house.
-
I don't suppose you have the drawing for the fixed pane version (this window is fixed) I seem to have a "problem" here. The window in question was supplied, unglazed. The aluminium trim is in two parts, one that covers the wooden frame, and one that covers just the edge of the glass, with no clear way of attaching the trim over the glass other than tape. I have two more fixed pane windows in the house and they came pre glazed. It appears on those, the trim is all one piece covering the frame and the glass in one go, and it's easy to see how that clips the the wooden frame. That's a question I need to address to Rationel when I have the glass. but for now it looks like 4mm gap at each side looks favourite.
-
The right hand one, the second one they put the blowlamp to, looks like the sort of wood fibre board I used. After several minutes of the blowlamp, when they took it away, it smouldered a bit and that was it. I will sleep easy. P.S i love the pump up blowlamp, my dad had one a bit like that.
-
Are you saying the PUR / PIR foam is just as flamable? for some reason I thought it was only EPS / XPS that was the danger?
-
Thanks Craig My windows are Rationel if you know them in detail? Looks more like the left hand of your drawings although their aluminium profile is a lot less bulky. Looking at the bare window frame, what I have is a recess on the outside that the glass "fits" into, somehow. Then an aluminium surround goes on from the outside (the windows are all ali clad timber) So I had assumed the glass fits to the frame with double sided glazing tape, using wedge packers to position it and get it square. The rest of the windows that came pre glazed you can see a thin bit of grey rubber / foam between the frame and the glass on the inside which I assume to be double sided tape. The aluminium outside trip has a rubber profile built in to seal to the outside of the glass, though I am not sure yet what holds that trip in place. What I am wanting to know is what size to specify the glazing unit. If you say a 4 to 6mm gap, and I have 20mm "available" then it sounds like they need to be about 15mm larger on each side than the visible glass area so 30mm bigger in each dimension overall. Another way to address the question it, is what is the thickness of the spacer that goes around the edge to separate the 3 sheets of glass. All the pre glazed windows, the edge of the frame lines up with the inner visible face of the edge spacer (sorry no doubt wrong terminology) so if say that spacer strip was 15mm wide it would reinforce the make it 30mm bigger idea?
-
On the basis that Knauf have removed the references, one can infer that it was their insulation used. Are we able to determine from that, what sort of insulation it was?
-
I have seen mention of an "appliance fire" presumably where the fire happened (if this is indeed what happened) they opened the window, or the fire burst the glass? P.S wood fibre external cladding does not ignite and spread like this.
-
Reports seem to say it started on the 4th floor. So just what set light to it on the 4th floor? There won't be anything external (wiring etc) to cause that. So was it started by a fire in a 4th floor flat?
-
The question was really aimed at anyone that knows an answer. So far suppliers of bare 3G stained glass window panels are thin on the ground. Our local plastic window supplier will make one but I am not convinced of their quality (the replacement 2G panes they fitted in our old house were noticable poorer than the originals that they replaced) There are quite a few "artists" that will make you a bespoke stained glass panel to your design at a horendous price. Most of them are not interested in shipping it so you would have to collect it. All we want is a simple stained glass panel for a landing window. It wants a fair bit of plain glass, so thinking of something with a stained glass border and a stained glass feature in the middle with plain glass around it. the sort of thing commonly used for front doors. Happy to select from a few standard designs rather than bespoke.
-
Can I ask a window related question for our new expert? One of our windows we bought without glass, because we want a stained glass panel in that one. I am close to looking to source the glass for this. I know the visible size of the window (i.e the internal size of the opening in the frame) I also know that the frame where the glass sits is 40mm bigger in both dimensions (20mm each side) What I need to know is what glass size do I specify? which I guess means how much gap from the edge of the glass to the edge of the frame? And the second question is do you know someone that will make up a tripple glazed panel, 50mm overall thickness, plain glass outside, stained glass panel in the middle, toughened glass on the inside. The unit is 600mm wide by 1750 tall (visible glass size)
-
I think, certainly in England, Kwikstage is not used by the hire firms. They tend to use traditional scaffold. Someone once told me because of the nature of kwikstage and the ease of altering the configuration, it cannot be "scaf tagged" that may or may not be true. But hire firms up here seem happy to use Kwikstage and cuplock and it's rare to see traditional scaffold here. I had no problem with my builders using my kwikstage to erect the frame, other than it was them that told me some planks were rotten and I had to go and buy some more. Building control visited at least twice while my scaffold was up and didn't say anything. Then later on the guy that did the rendering was happy to use it. Use common sense and brace it properly, including a bracing tower on a longer run and if you really want to do it properly, two handrails and a kickboard. Re boards, both Kwikstage and cuplock only support the boards at the ends, so you cannot use ordinary scaffold planks. They must be rated for the job. The metal strap on the end should say "support every 2.4 metres" They are somewhat thicker than ordinary scaffold boards. Kwikstage and cuplock boards are not interchangable, the cuplock ones are about an inch longer. I guess you could take a cuplock board and shorten it for use on kwikstage. If you have any doubt about the integrity of the planks, my test method was support the two ends of the plank at ground level on a concrete block, then jump up and down in the centre for all you are worth. If it did fail you only drop 4". If they passed that test they got used.
-
Planning permission for a caravan on site?
ProDave replied to Weebles's topic in Planning Permission
Strictly speaking you should have applied for temporary PP for the caravan at the same time as doing the full PP for the house. They usually insert a clause that the 'van must be removed when the house is completed. Up here they didn't start charging us council tax for the 'van until we actually moved in. It was sat there nearly 2 years empty before that. We want to keep the 'van as a workshop and studio once the house is complete. I argued that with the planners at the planning application stage, pointing out to them that on the day of completion I could remove the 'van from site, then immediately put an identical one back in the identical position and it would be a garden outbuilding under permitted development. They accepted that argument so modified the condition to habitational use of the 'van will cease when the house is completed. If we have any issued with council tax on it after the house is finished I will be arguing that it's no longer habitable (as the PP forbids it) and it's just a garden outbuilding and not subject to council tax. -
Change the sign to Firewood £5 I'll bet it then mysteriously disappears.
-
Like many here I bought my own Kwikstage. I bought a job lot on auction on ebay from a private seller completing a self build. I then had to hire a 7.5 ton flat bed and make a 600 mile round trip to collect it on a weekend hire. After the main build, I sold half of it, and got back just over half what it cost me to buy even including the truck hire and fuel cost. The rest I intend to keep so I have enough to scaffold one wall at a time for maintenance. It was some time between buying it and using it and I found some planks had gone rotten (poor storage) but I managed to buy some more from a local hire company. I prefer Kwikstage to cuplock, I think it's easier to erect short handed. The way cuplock works, when you undo a "cup" it loosens all the fittings at that layer, so needs more hands to get an initial stage erected. If you are really lucky there is a little galvanised kwikstage about but it's rare. It really was a godsend not being stuck with someone elses timescale and not having a weekly hire cost to worry about. Mine was up for well over a year, imagine the hire cost of that?. And when you need to alter it you don't feel naughty like you might if it was hired. Plenty of dealers selling packaged kits on ebay so I don't understand what your problem was.
-
Another cheap 12kW Kingspan Aeromax ASHP
ProDave replied to Stones's topic in Air Source Heat Pumps (ASHP)
That does look bonkers and would leave the poor thing trying to deliver water at 55 degrees for a lot of the winter here. Once you have set your chosen (straight line?) compensation curve is it remembered for good (i.e if you can't buy a controller could you borrow one just to set it up then return it?_ -
fascias, soffits, guttering help
ProDave replied to sarah barrows's topic in General Construction Issues
The tiles are all fixes width with interlocking tiles. There is about 1 or 2mm "play" in the interlocking joint, so over the width of a typical roof you cam get a bit of adjustment. Half width tiles are also available to get you closer. But you wont get much movement at one joint. The tiles should by current standards be hailed at the top and clipped at the bottom, but in years gone by it was common practice not to nail them. -
Another cheap 12kW Kingspan Aeromax ASHP
ProDave replied to Stones's topic in Air Source Heat Pumps (ASHP)
Not my bid. But before I do bid, what do thee units normally retail for? -
fascias, soffits, guttering help
ProDave replied to sarah barrows's topic in General Construction Issues
The tile is almost certainly nailed down and there won't be that much movement in a nail hole. Also if you could move it, you would be parting the interlocking joint to the next tile. I echo the suggestions above to use aluminium which I am sure would slip between the tile and fascia. -
Another cheap 12kW Kingspan Aeromax ASHP
ProDave replied to Stones's topic in Air Source Heat Pumps (ASHP)
I have never understood the need for weather compensation. Presumably this is done with a temperature sensor built into the unit? If it were an accessible sensor then I would be inclined to remove it and replace it with something fixed / adjustable as a n easy way to set the flow temperature. -
Another cheap 12kW Kingspan Aeromax ASHP
ProDave replied to Stones's topic in Air Source Heat Pumps (ASHP)
Do you need the command unit? Is the 6KW the electrical input rating, or the heat output rating? -
Balancing MVHR system
ProDave replied to Stones's topic in Mechanical Ventilation with Heat Recovery (MVHR)
Do you have particularly short runs of duct? My shortest inlet duct is about 6 mertres and I cannot hear the fan noise even if I get on a stepladder and put my ear to the terminal. -
Balancing MVHR system
ProDave replied to Stones's topic in Mechanical Ventilation with Heat Recovery (MVHR)
Only just starting to play with ours. It's been running now since yesterday afternoon. At the moment with no terminals fitted, just the bare ceiling "plenum" units. No silencer fitted yet and really the only noise is from the mvhr unit itself. Even on boost there's not much noise to speak of from the terminals, just the noise from the unit in the plant room. There's no door on the plant room yes so whether it would be audible in the adjacent bedroom is unknown. I wonder how much difference fitting the teminals make? anything that restricts the flow and causes turbulance can create noise. My thinking is to start with all the terminals almost fully open and work from there to try and ballance the system with as little obstruction to airflow as possible. -
Mitsubishi Lossnay mvhr KAR-50RSDC
ProDave replied to ProDave's topic in Mechanical Ventilation with Heat Recovery (MVHR)
Well I have not found the manual, but I have been doing some experimenting, which might help others with this version of the Lossnay mvhr units: The unmarked right hand terminal of TM3 activates the summer bypass mode. The DIP switch has different functions to that described in the LGH version manual. So far I have discovered SW1 is the same test mode.and SW5-8 do the same fan speed fine tuning that Dip Switch bank 2 does on the LGH version. Not yet worked out what switches 2-4 do. I also found this table about the unit on a website where someone was advertising one. This information is not in the manual so worth knowing. Ventilation mode Lossnay Bypass Fan speed 1 2 3 4 1 2 3 4 Power Consumption W 225 125 57 19 228 126 57 19 Air volume m3/h 468 360 252 144 468 360 252 144 l/s 130 100 70 40 130 100 70 40 Ext static pressure Pa 124 73 36 12 124 73 36 12 Heat exchange efficiency % 75.5 79.5 84 88 Enthalpy exchange Heating % 68 72.5 77.5 82 efficiency Cooling % 65 70 75 81 Sound Level dB 36 33.5 29 23 37 34.5 30 24 (sorry about the poor formatting) I will have to investigate what these heating and cooling modes are all about and what that means in that table?
