gaz_moose
-
Posts
311 -
Joined
-
Last visited
Everything posted by gaz_moose
-
i recently had a whole new heating system installed and the plumber left it for a month with system cleaner in before draining it down to ensure it was flushed out. if he is just doing 1 room in your house then he will probably just isolate that radiator before taking it off so you still have heating in the rest of the house. i supose you could drain it down and just fill it up with water to flush it out.
-
Creating "frameless" look by overcladding frames?
gaz_moose replied to markocosic's topic in Windows & Glazing
how would you ever change the windows? -
some good points raised. i will try and mix it weaker and dryer, ive not got any DPC so will try and scrounge some.
-
i did silicone that bit but its cracking where it joins the wall,
-
the ones i did yesterday have started to crack already.
-
ive put some windows into a regular brick built building, But when i have pointed the window horns the pointing has cracked where is meets the original brickwork once dried. i fitted a few windows over a period of time so have experimented a bit with different ratios like 3 parts sand to 1 part cement and then 4 parts sand to 1 part cement. I also tried wetting the bricks before trowling the mortar in but it still cracked. this isn't my image but it shows where the door sill horns extend into the brickwork and then the excess gap is then filled with mortar. plus you can see where this one has cracked around the edges like mine all have. So what am i doing wrong? is pretty frustrating.
-
Sealant and Toilet Holes
gaz_moose replied to canalsiderenovation's topic in Bathrooms, Ensuites & Wetrooms
dow conning 785 sanitary silicone for the shower. is your toilet actually fastened to the floor? you could put some white snap-caps over the holes or just fill them with white silicone, id silicone around the base aswell to stop nasties getting under it and smelling. im surprised they didnt just stick the brackets to the floor with contact adhesive. get some FUGI silicone smoothing tools if you dont already have some, then you can have beautiful looking silicone -
mine have the adjustable rod at the top. then the side plates have a spring loaded wedge at one end.

-
can you not tap on the downstairs ceilings to listen to where they are??????
-
a nice bead of silicone will be fine.
-
it looks like im going to be using fibo marble tile effect panels in my bathroom refurb but im unsure on what to do with the actual walls. ive seen a few Fibo installation guides and they recommend screwing the boards to the walls on the joining parts of the boards. my walls are currently plastered over regular plasterboard and tiled, so im sure they will be ruined when i chip all the tiles off. if i was tiling the new bathroom i would use tile backerboard and a tanking kit but am unsure what to with these wet wall panels. some of the youtube video guys just bond them over whatever is left of the original walls, some of them replace the walls with wood and bond and screw, obviously this is in my own house so i want it to be done correctly. what have you guys done to your walls before attaching wetwall panels?
-
Insulating garage's concrete floor for electric underfloor heating
gaz_moose replied to Alexx's topic in Heat Insulation
id just put some thick carpet down and some electric heaters. -
if your walls ae decent then you dont need lining paper. just fold the wallpaper around the corner then trim it back with a sharp knife or peel it back and cut with scissors. if your papering a wall from left to right, knock 10mm off the width of the first strip then draw a vertical line down the wall and hang your second strip to that then go back and hang the first strip overlapping the corner.
-
do them like in your picture with the pointing finger. do the top beam out of Angle but with the corner of the angle facing upwards. you might have to grind the edges down so it sits flat. this will allow you to bend over 90 degrees.
-
if your going to use a length of angle for the top beam then weld a length of flat in the Vee for added strength, same for your hinged part. you will soon hate this type of folder and wish you had a box pan folder instead.
-
if you find one thats local they are pretty easy to remove complete. some have batteries in the 'chair' so remove those to make it lighter to transport. a borrow of a decent trailer or a recovery truck to transport them on and a few hands is usually the difficult part.
-
Radiator on studs on top of bricks
gaz_moose replied to phloaw's topic in Central Heating (Radiators)
just go through the studs into the wall. that way you are covered and its never coming off. -
id probably buy some old electric storage heaters off ebay/market place for the main rooms then use oil filled rads for the others.
-
fitting vertical column radiators
gaz_moose replied to gaz_moose's topic in Central Heating (Radiators)
I picked it up when it was still boxed up and the weight caught me by surprised compared to all the other rads i was shifting. so just use the plywood squares as spreader plates and sandwich the plasterboard between the spreader and the radiator ? that would work good for this application. -
hello, I have just bought one of these tall column radiators to go onto an internal partition wall. i was wondering what the best method to mount it as I'm worried about the weight when it is full of water. where I want it positioning is either side of a vertical stud, do people just mount these things too the plasterboard? or should I hack the wall out and fit some noggins for it to mount too? the wall backs onto a cupboard so i can cut the wall out in their f needed. i only have a small project house unlike some of you guys, i dont know how you keep your sanity!!
-
and buy some Winbag inflatable air wedges or similar. and learn how to 'heal and toe' the glass. its also worth stating if you want the sills to be 'horned'. from memory regular sills are 150mm.
-
your supplier will make them to whatever dimensions you give. measure the height of the opening in 2 places and the width in 3 places and go with the smallest measurements. then you deduct 10mm (or 5mm if your feeling confident) then that is your final width and height including sill. all measured in millimetres, inches would blow some peoples brains out. then screw them in with 120mm long concrete screws 150mm away from the corner welds 3 or more per side. get a pack of plastic spacers and some low expanding expanding foam.
-
a lot of places sell rent free argon/co2 cylinders. you put a deposit down on the cylinder and just buy the gas as and when you need it. it was about £100 last time I picked up a hip height cylinder. something like an esab caddy 200i would be a good shout as it has a control panel that you dial your metal thickness into then the machine calculates your setting. R-tech sell some decent little machines too.
-
iirc= if I recall correctly. I stick lining paper on vertically but put it horizontally above and below windows.
-
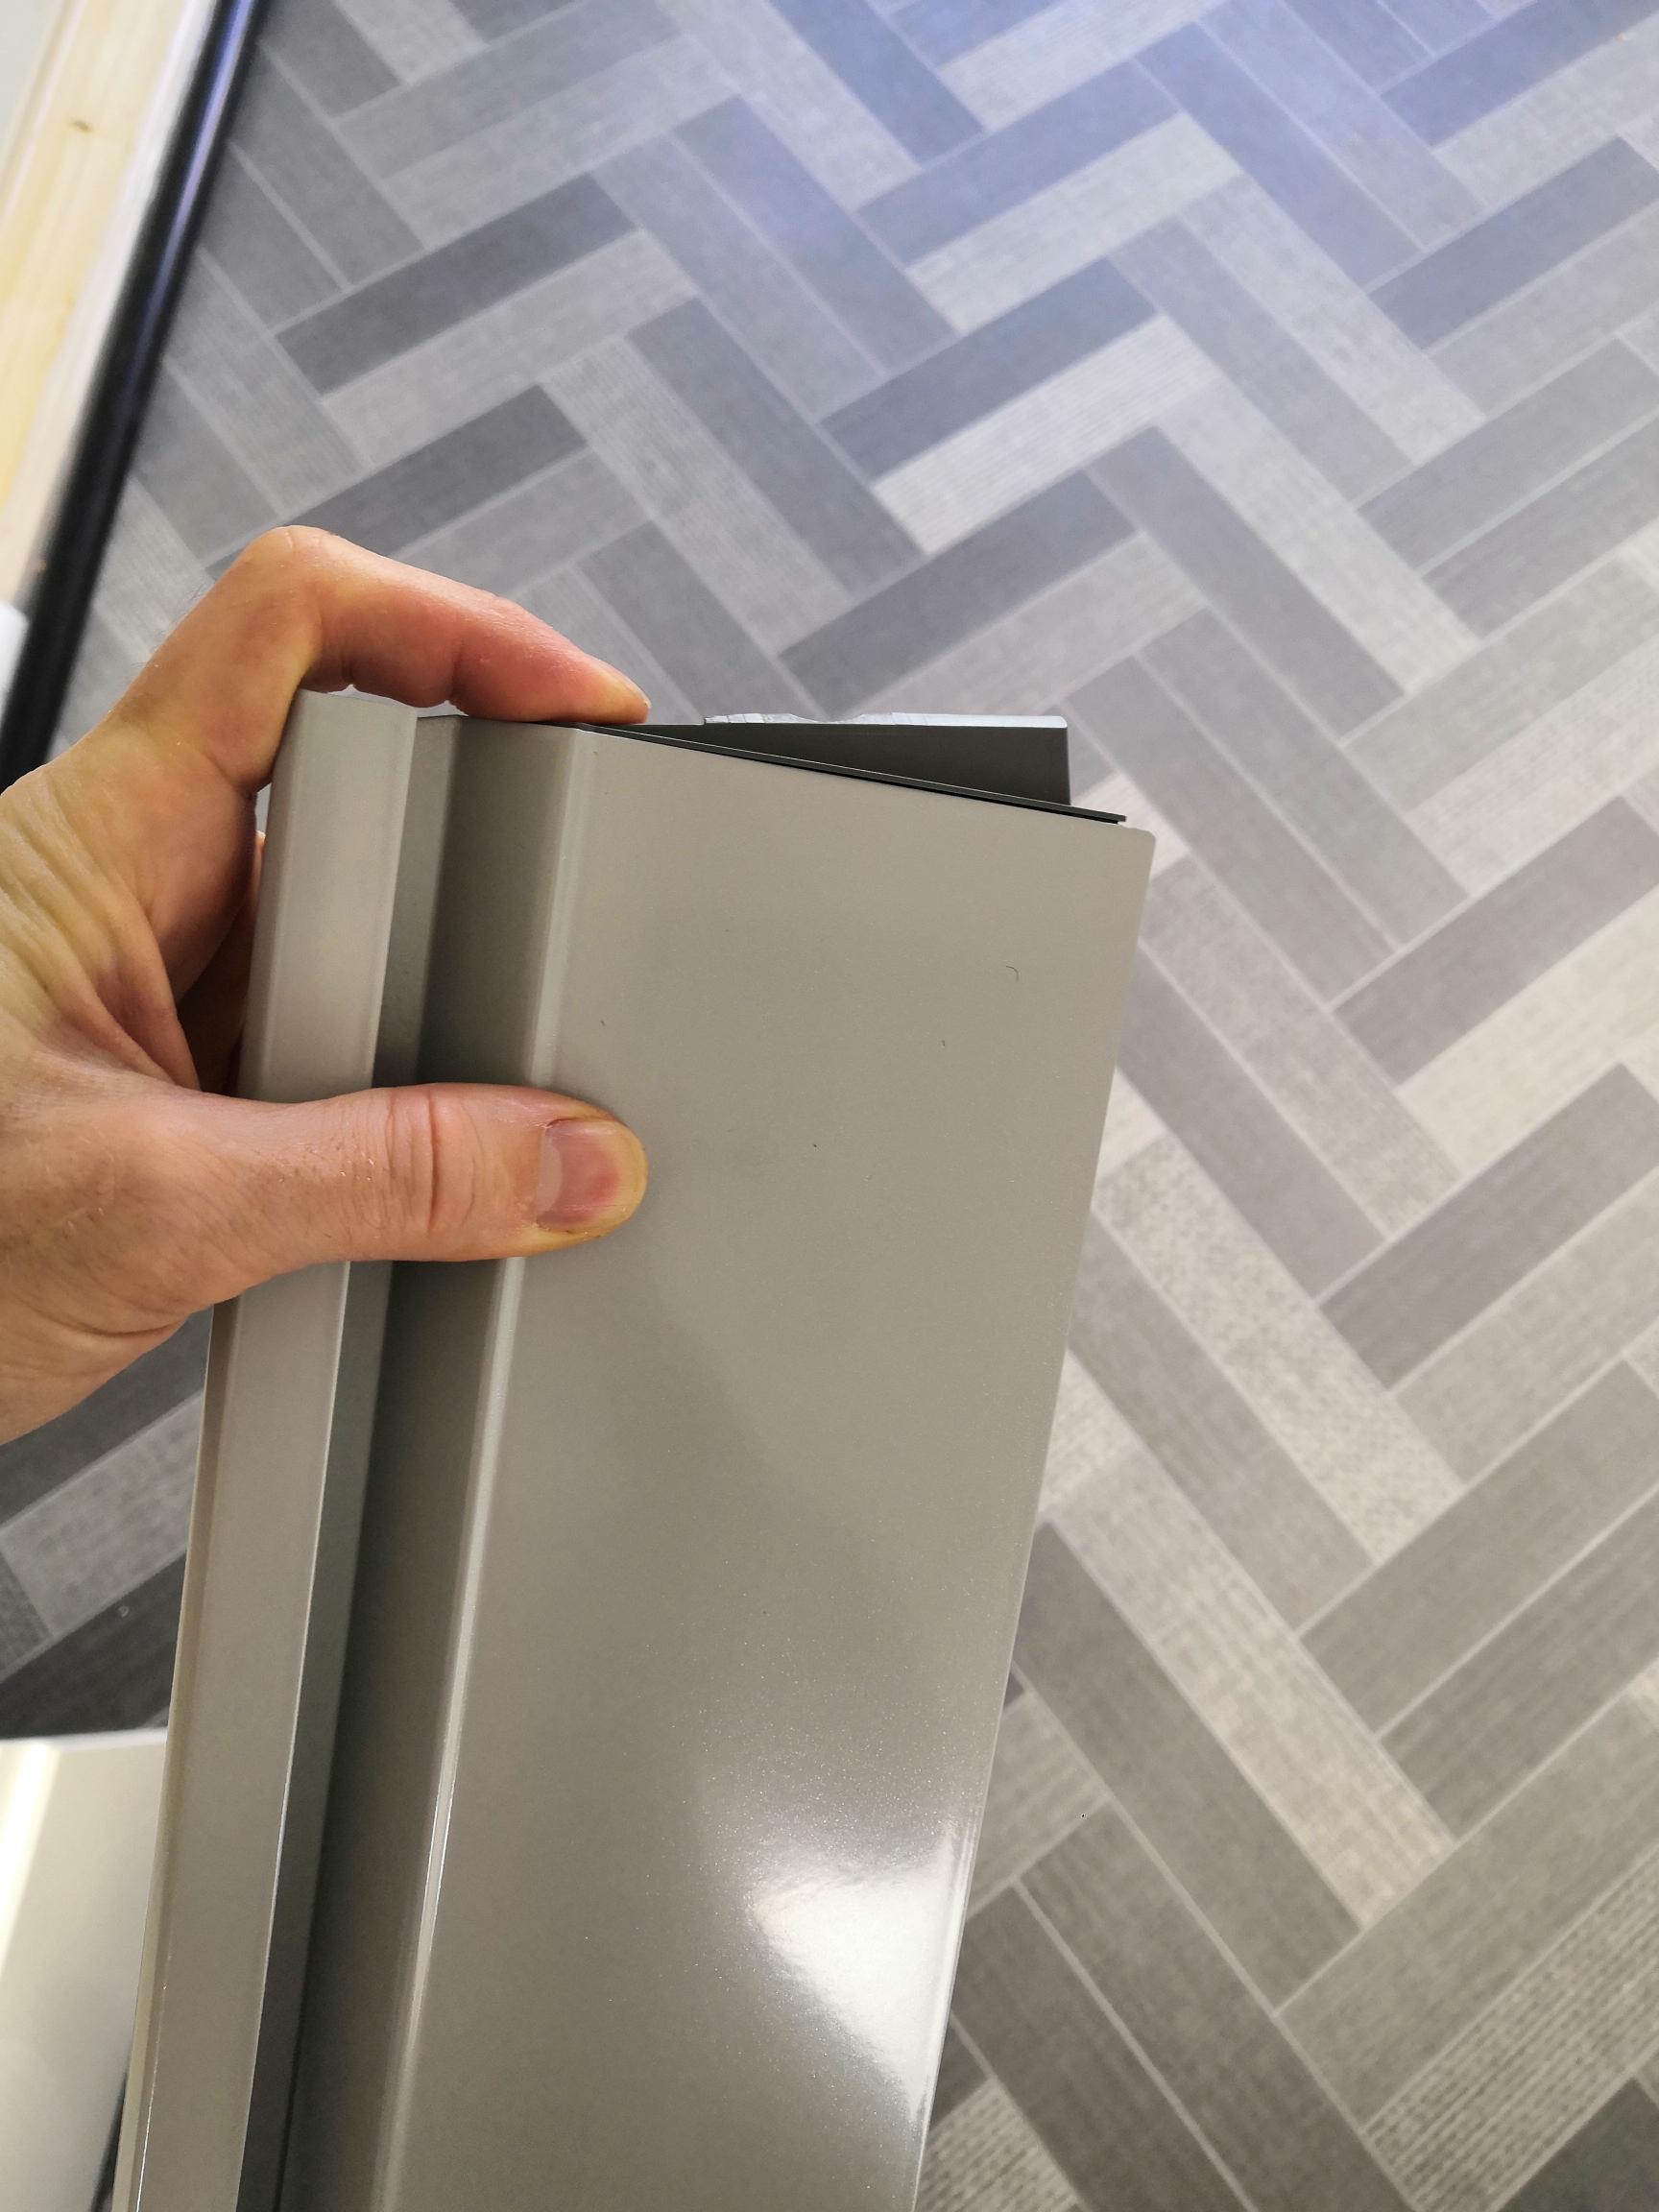
what door style do you want? I have the J-pull handle less ones, I looked at all the big DIY sheds and wren etc.. and found that a lot of the door had edging strip on them, had hinge recesses on each side, or were really orange peely in texture. in the end I got an Ultima one from DIY kitchens and it is nice. I did have some issues with damaged stuff arriving but it was near the start of lockdown so could see they were just trying to rush orders out. the delivery drivers are decent guys, they have a fleet of smaller vans that deliver small orders that drop off replacement stuff, longest I had to wait was 2 weeks for redelivery. all their stuff comes premade so get thiings like cooker,fridge,corner and sink units dry assembled