Listless
-
Posts
11 -
Joined
-
Last visited
Listless's Achievements
Member (3/5)
0
Reputation
-
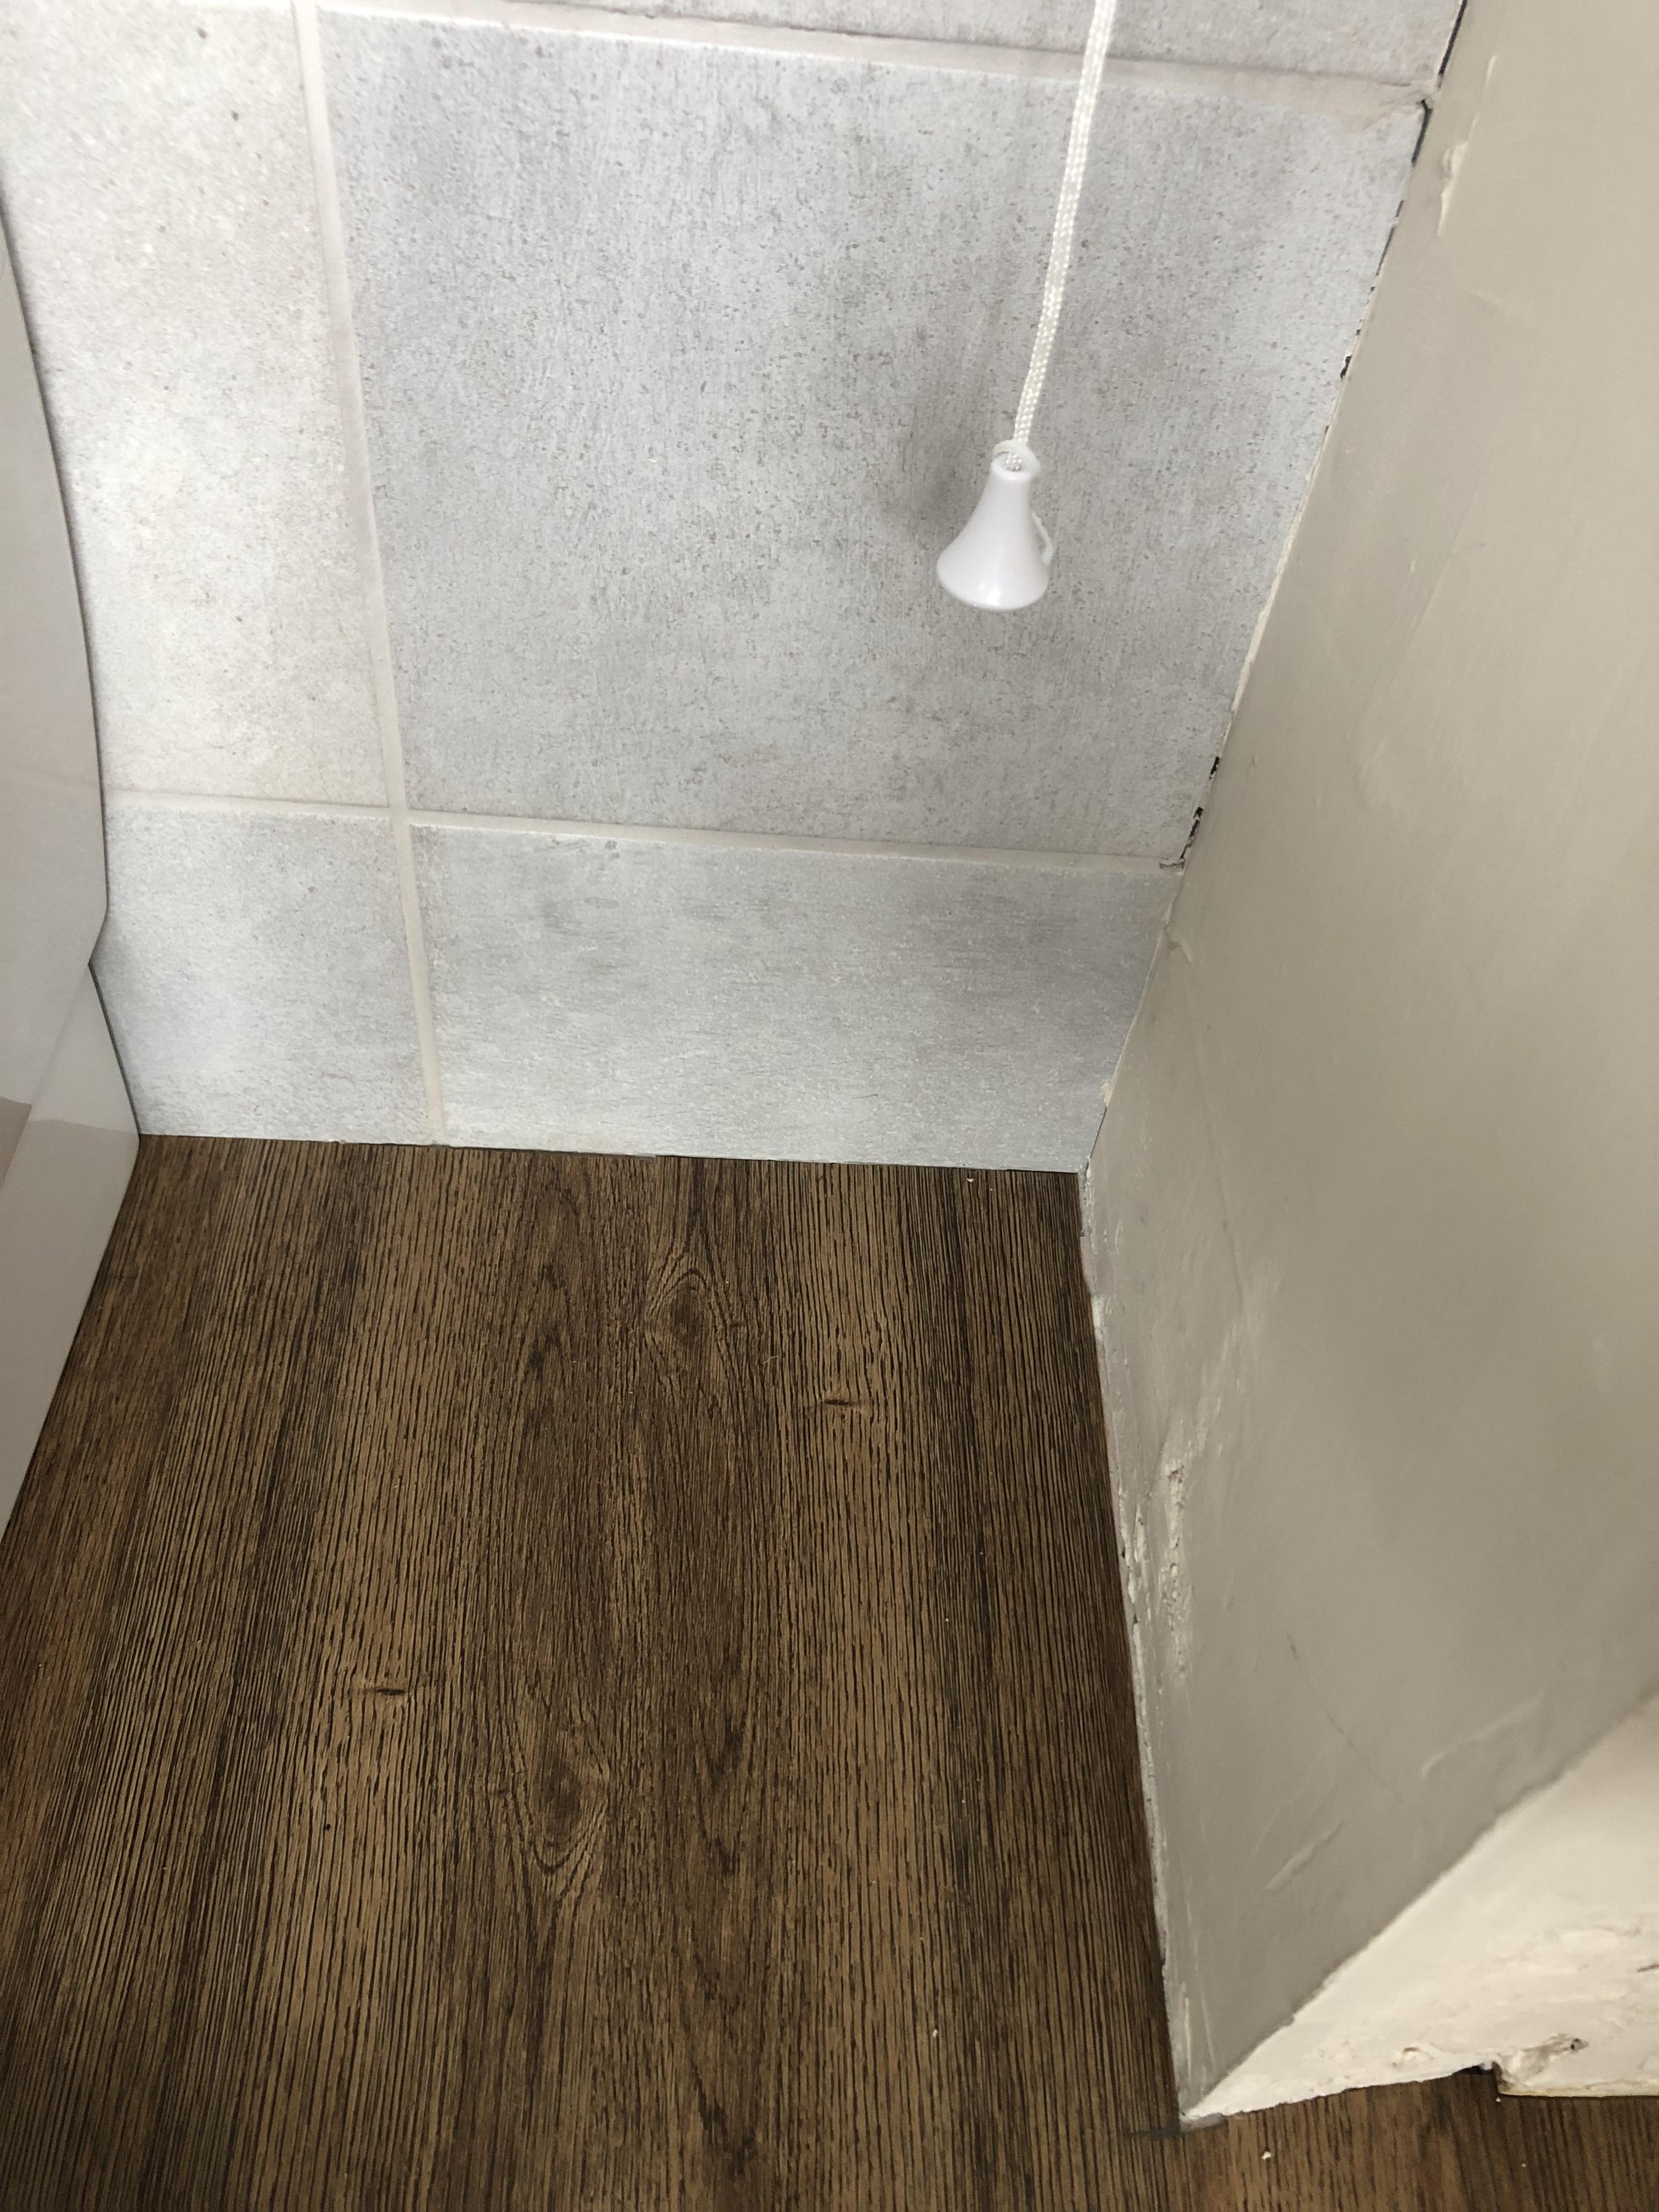
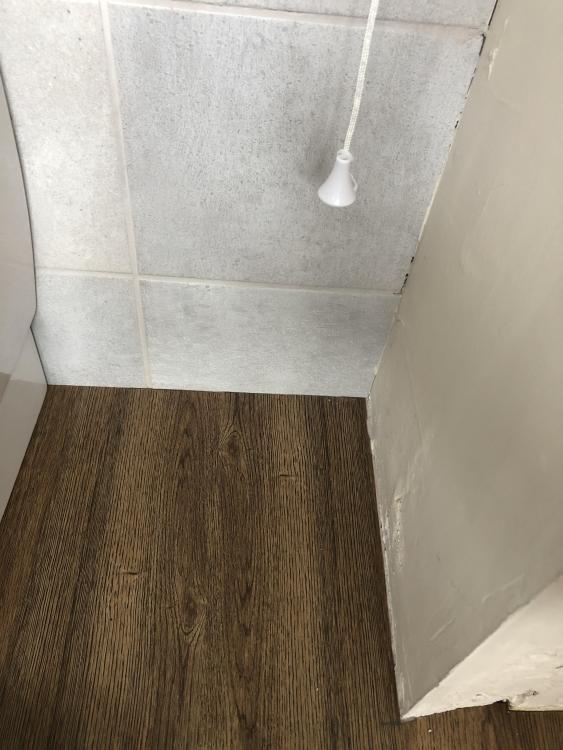
How would you finish this? For tile to floor should I use a finishing strip once floor is stuck down? It’s not stuck down yet. And for where the wall meets the tile face do I use skirting board or just continue with some kind of finishing strip? I need to make good the wall also, we removed tiles from this face so had to board and fill it.
-
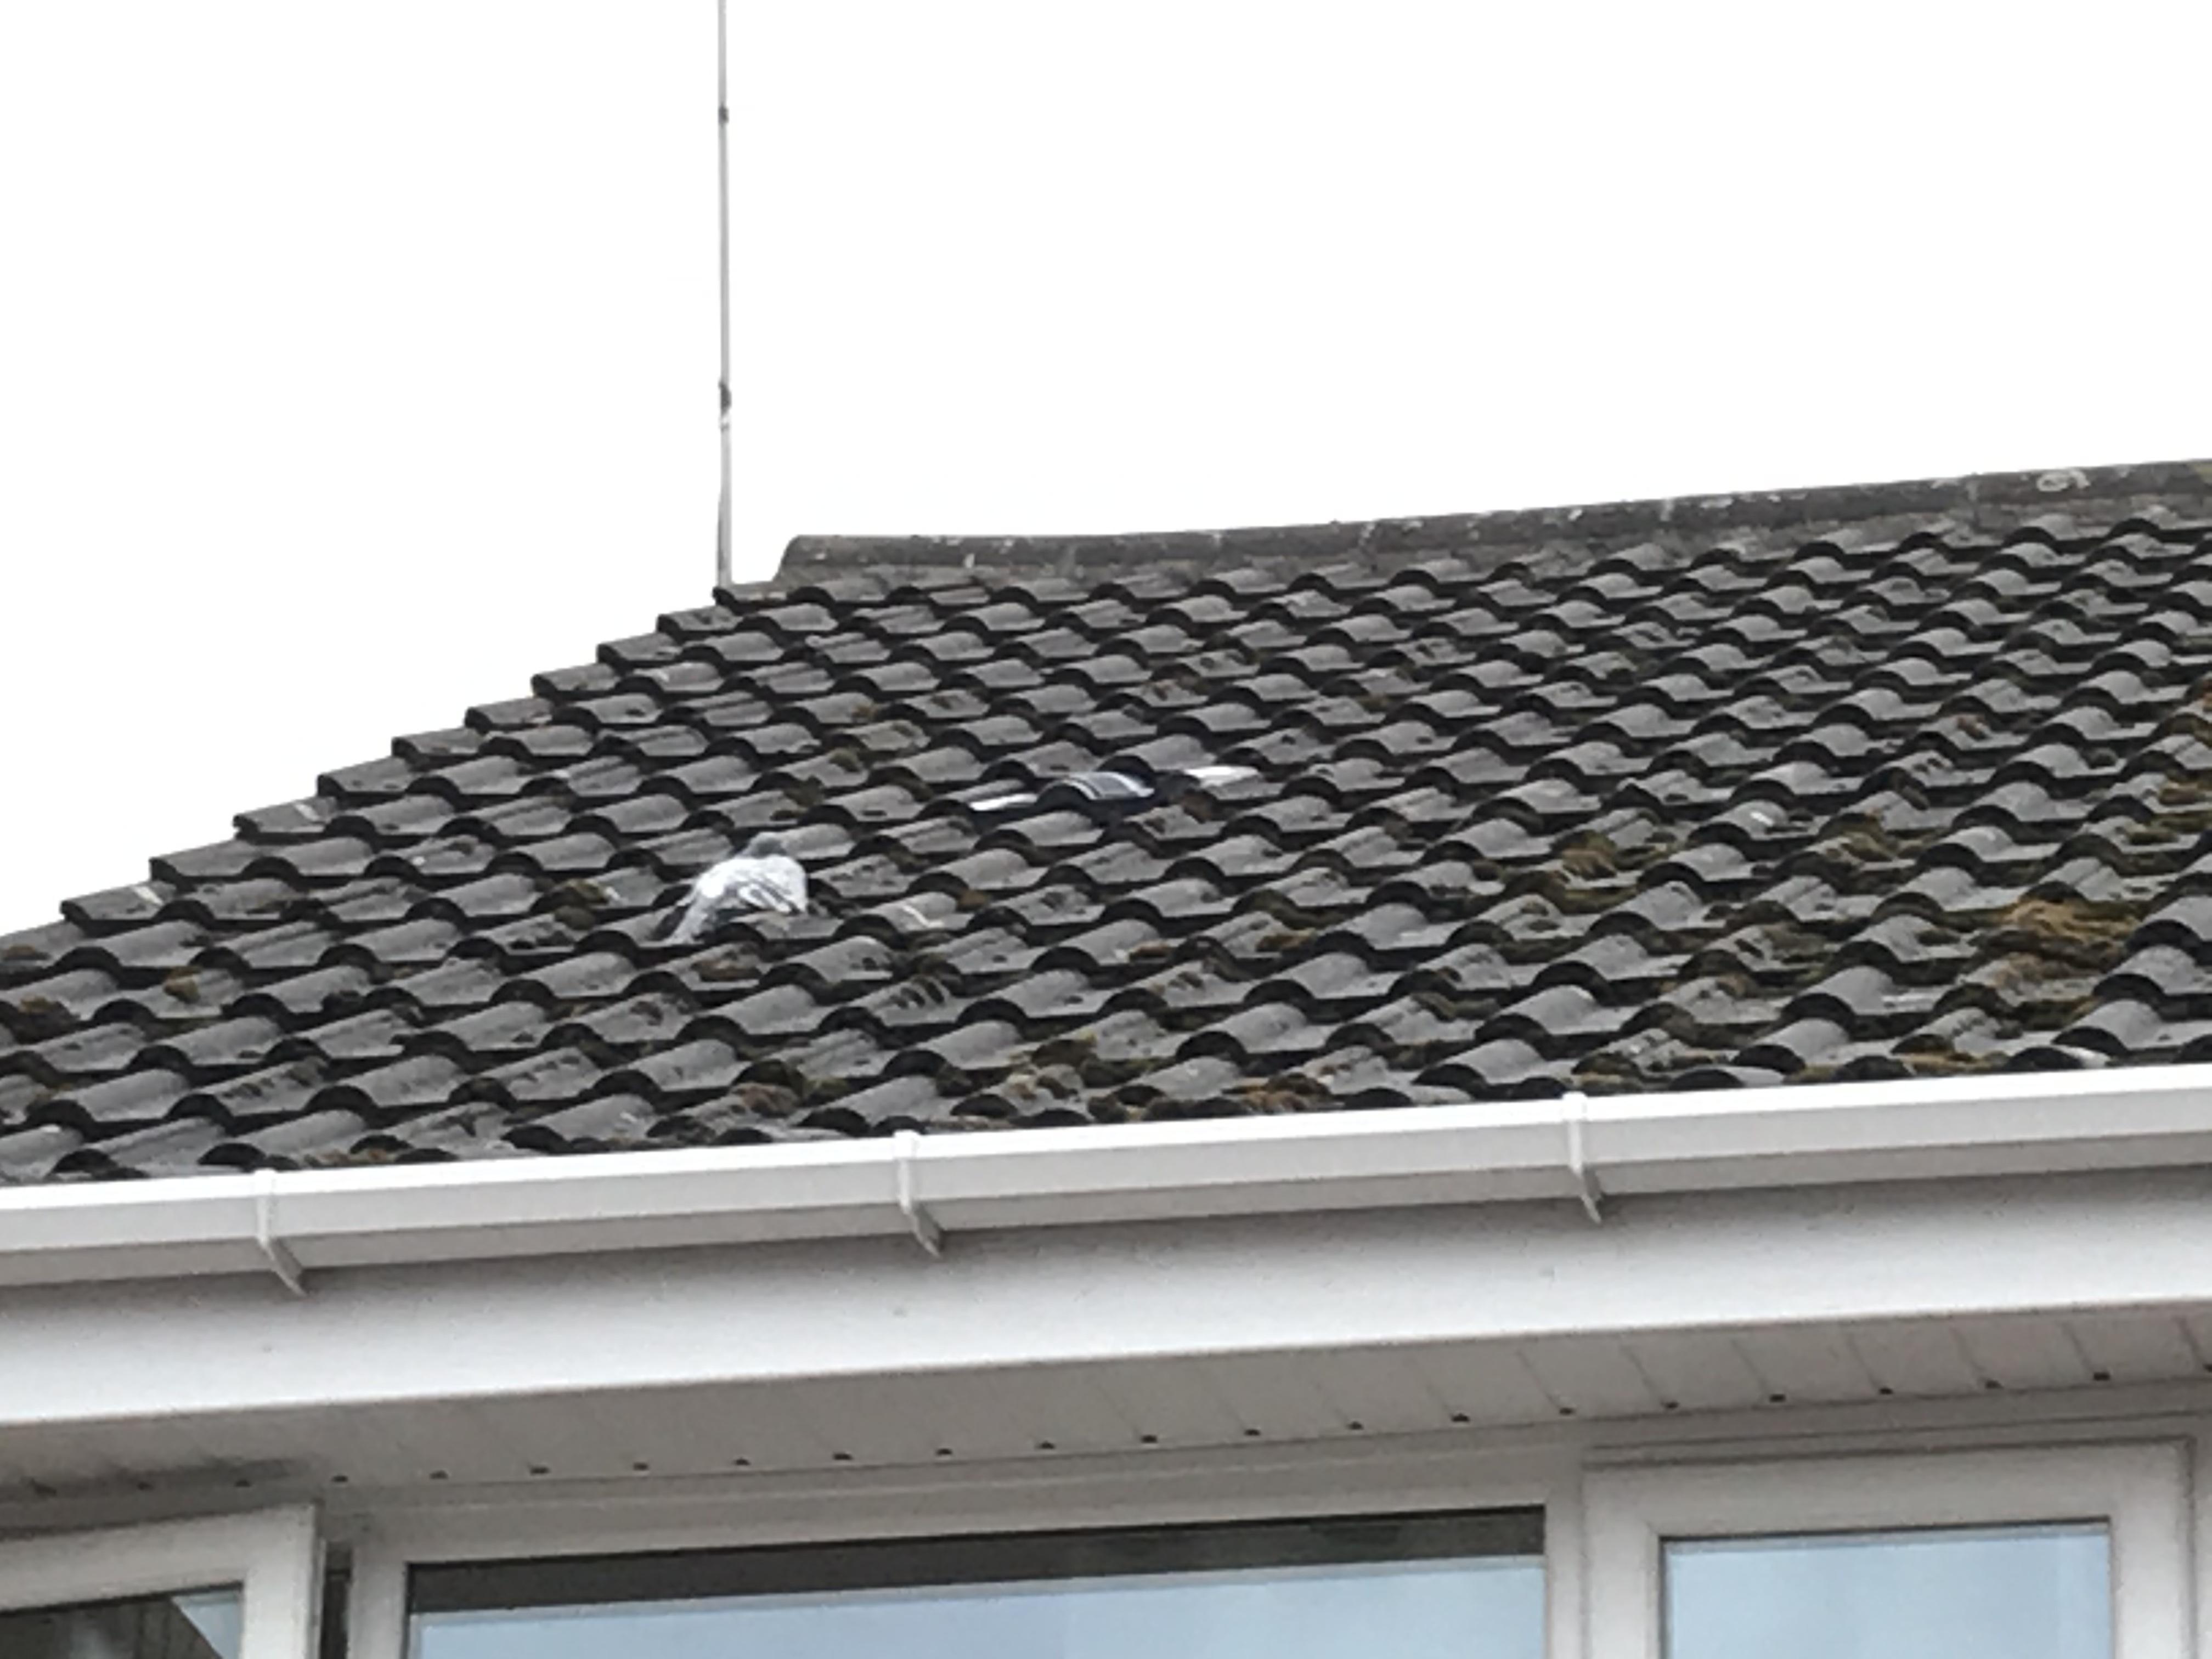
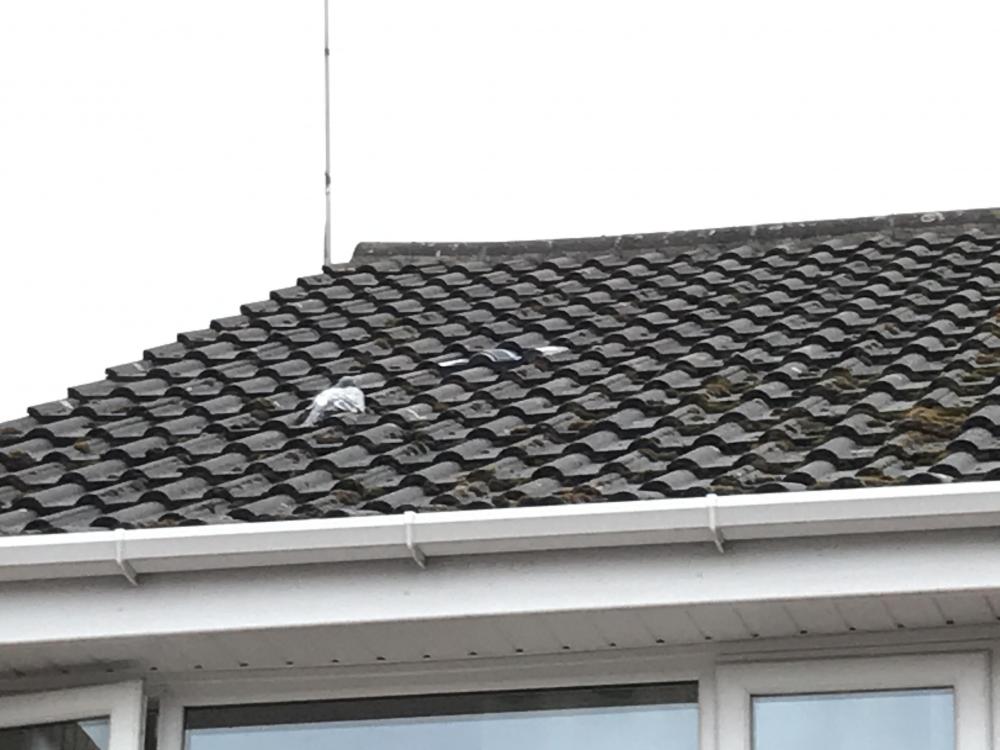
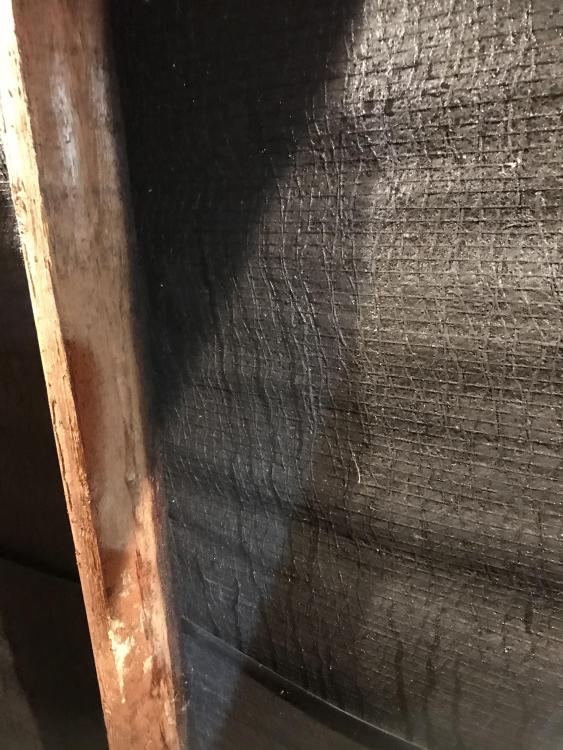
Hi all, Our loft has issues with mould. We had some tile vents fitted to try and increase air flow and prior to this tried to increase airflow using lap vents you can push between the felt. I think the issue was made worse when a few years back we increased insulation up to 300mm. My question is where do I go from here? Do I reduce insulation? How do I go about improving airflow from this point onwards? All the roofers I’ve had quote seem to want to charge the earth for redoing work which I don’t think is required. Sorry about the dead pigeon on the image. It’s the last one I have to show the tile vent. We have 4 on each side and one extra for bathroom extractor. I don’t think they do much in the way of providing ventilation personally and I wasn’t happy with the work done as they didn’t fit neatly and had to be glued down as the chap said the profile of the roof tile was smaller due to age.
-
Do I need skim plasterboard in bathroom?
Listless replied to Listless's topic in Bathrooms, Ensuites & Wetrooms
I think we used the regular stuff with a tapered edge. It was Knauf from Wickes. But it’s on the far wall away from shower so I can’t imagine it being exposed to too much water... It’s been taped and filled. If I were to paint direct do I just seal with paint or is is best to use a dedicated product to seal it? Is skimming likely to prove better in the long term? Seems to be I’m getting mixed responses on this one and online too. -
Hi all We had make good all the walls in the bathroom after removing old tiles and to save time and money we covered most of it with plasterboard using dot and dab. My question is I was told that i can mist coat this with a diluted mix and then paint over it with no issue. However, a tradesman today said it would need to be skimmed over before painting and that he has never painted over raw plasterboard before. Which is correct?
-
Shower Screen Leaks and Bath Problems
Listless replied to Listless's topic in Bathrooms, Ensuites & Wetrooms
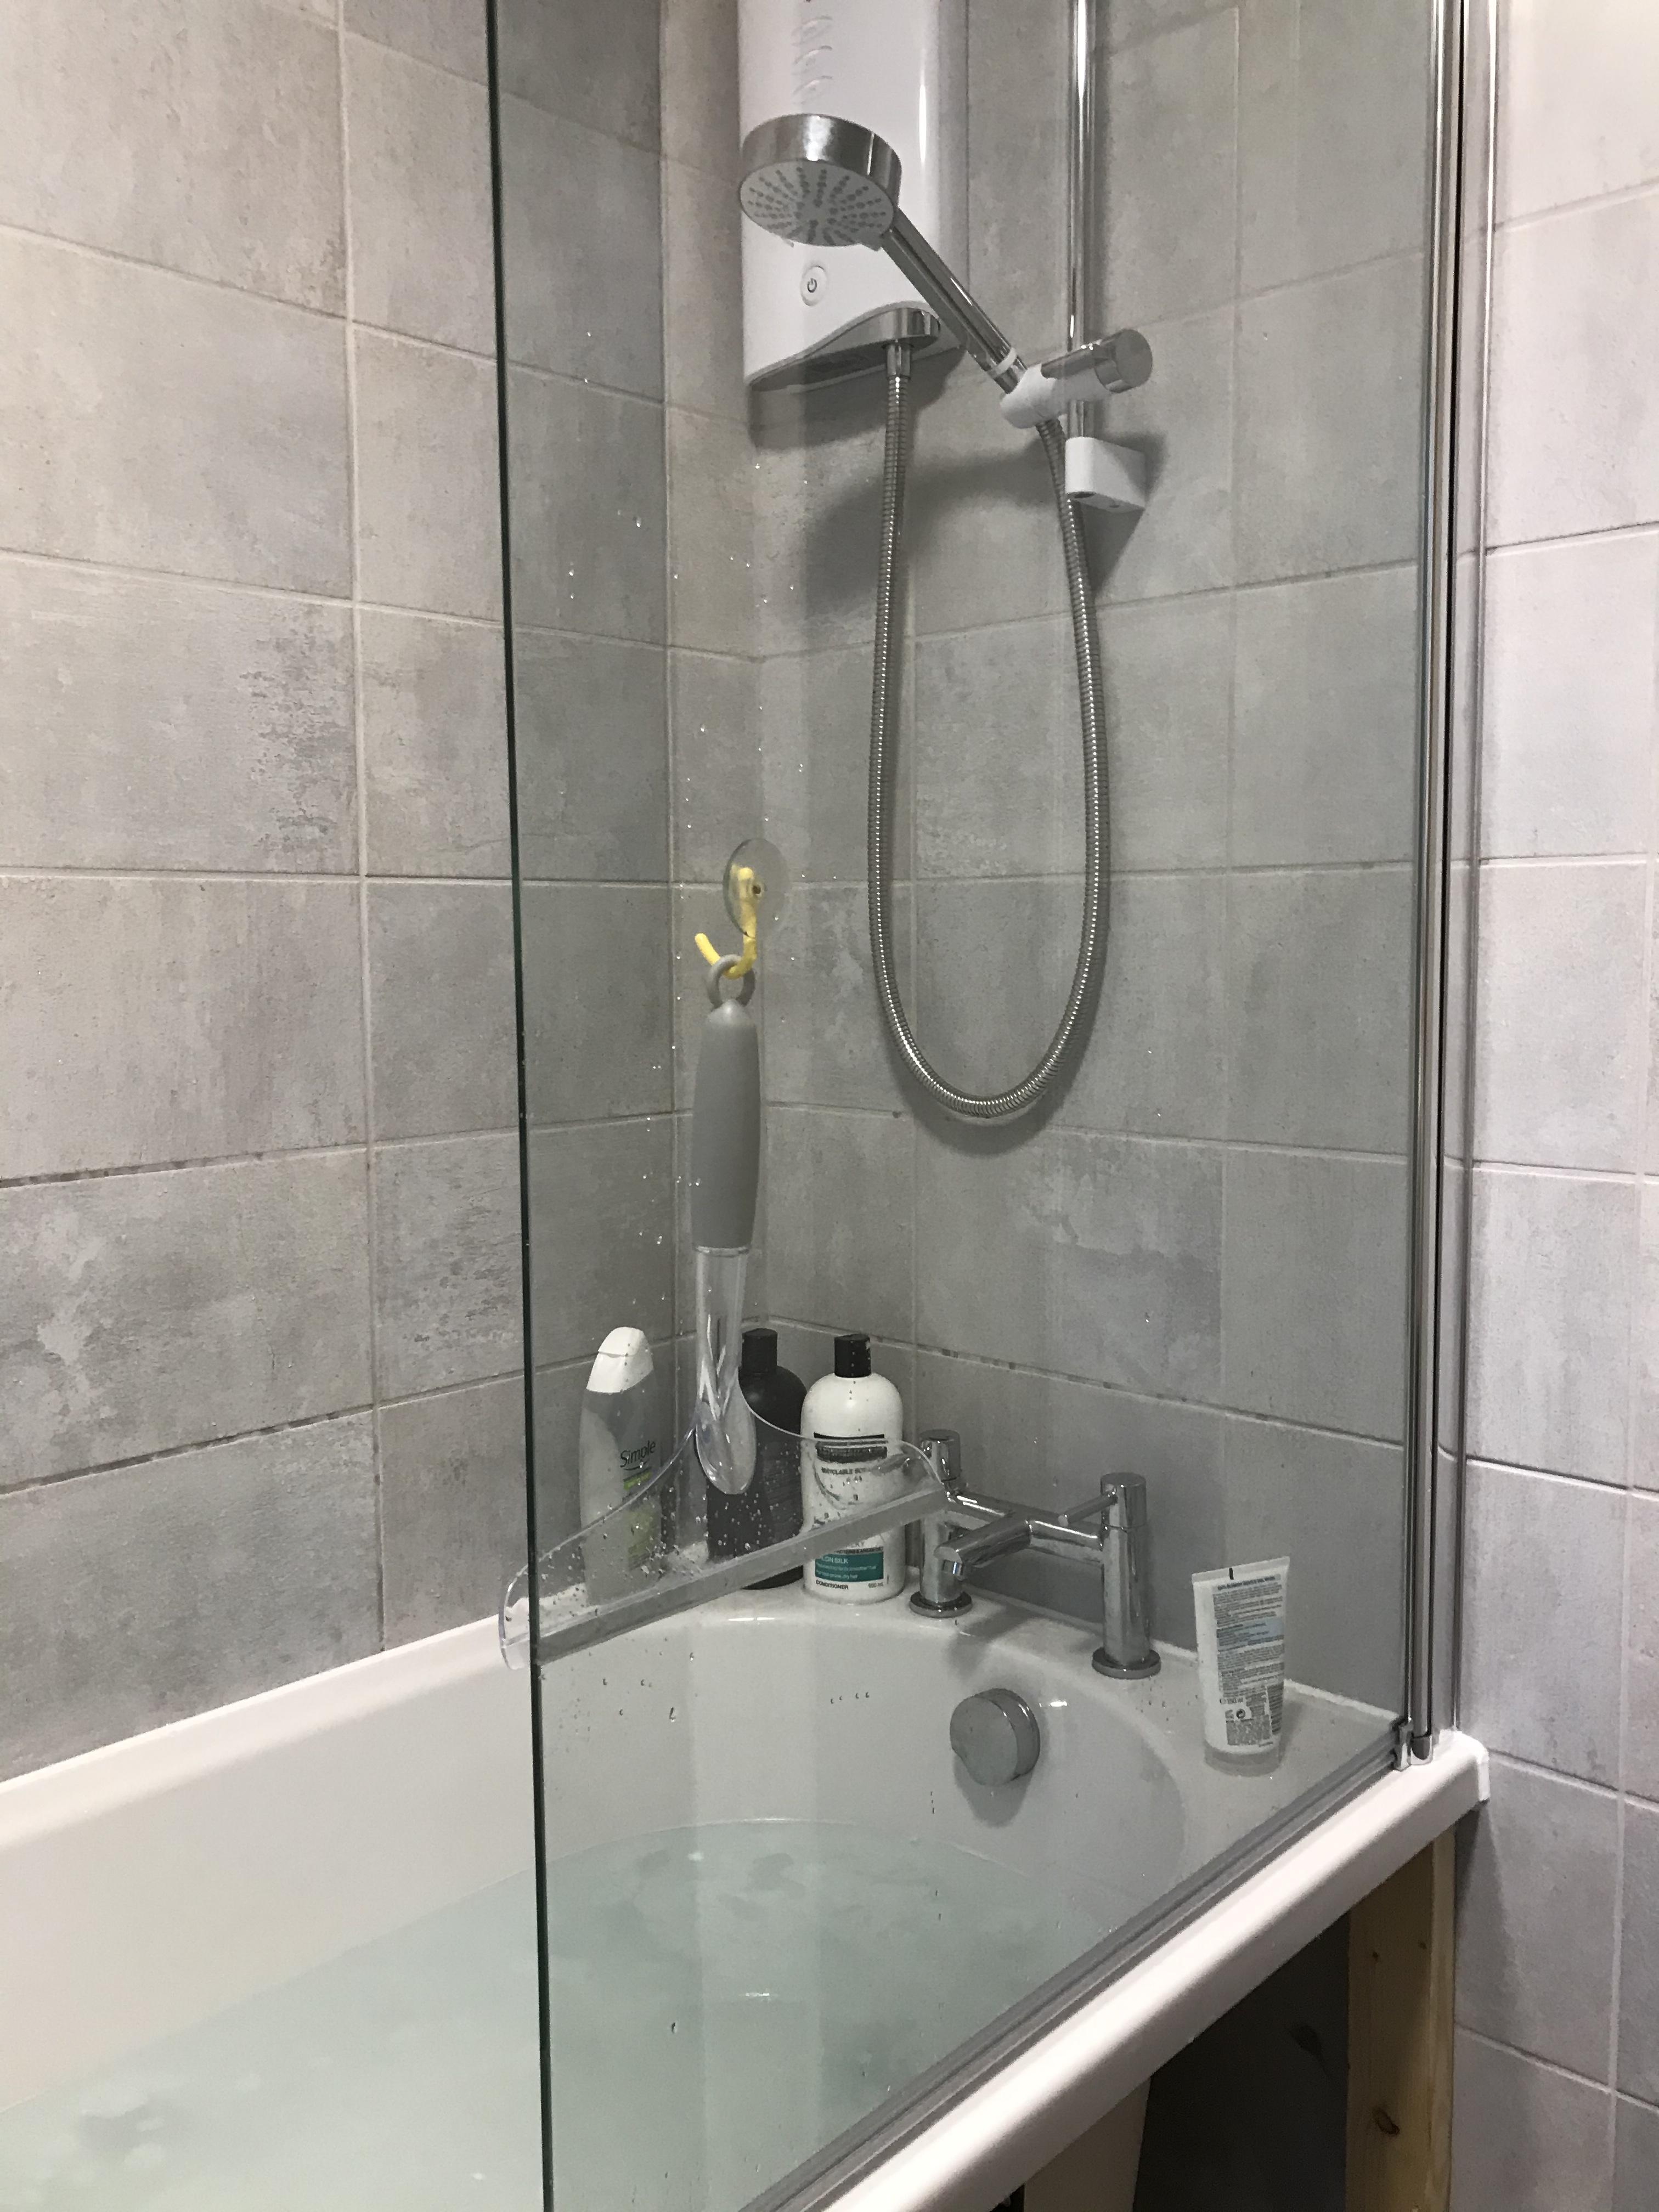
Thanks Dave. I see what you are saying. Bath was levelled using legs and screwed in. The baton under the right side was put in to try and sort out the sag in that corner. The other corners were all correct from what I could measure. I think it happened when I stood on the bath during grouting. A gap opened up between the tiles and corner. This image was taken before screen was removed as I read on this forum about using silicon for edges before putting the panel and frame on. I have considered that the bath being on the cheaper end might just be bad for this purpose but it was sold to us with screen, sink etc so I would hope the shop wouldn’t knowingly sell us a bath that isn’t fit for the purpose we intended. I can’t imagine many people would want a bath that can’t also be used for a shower also?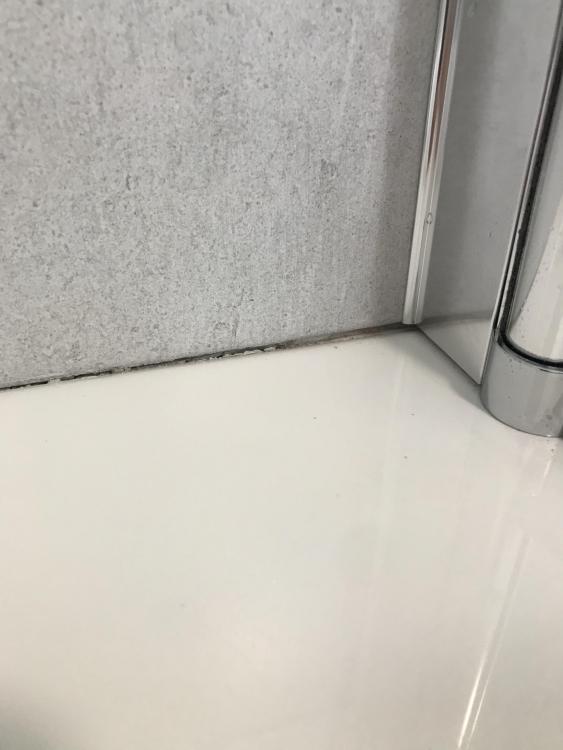
-
Shower Screen Leaks and Bath Problems
Listless replied to Listless's topic in Bathrooms, Ensuites & Wetrooms
Not sure what you mean by longer shower head? The screen has to move to make room for bathing the children. It’s a small bathroom so there is limits to where and how big the screen can be unfortunately. -
Shower Screen Leaks and Bath Problems
Listless replied to Listless's topic in Bathrooms, Ensuites & Wetrooms
Not sure if this is helpful?
-
Shower Screen Leaks and Bath Problems
Listless replied to Listless's topic in Bathrooms, Ensuites & Wetrooms
Yes it presses down when the screen is put into place. But not to any extent that I can imagine it would create a waterproof seal. Whether this is necessary or intentional I have no idea. -
Shower Screen Leaks and Bath Problems
Listless replied to Listless's topic in Bathrooms, Ensuites & Wetrooms
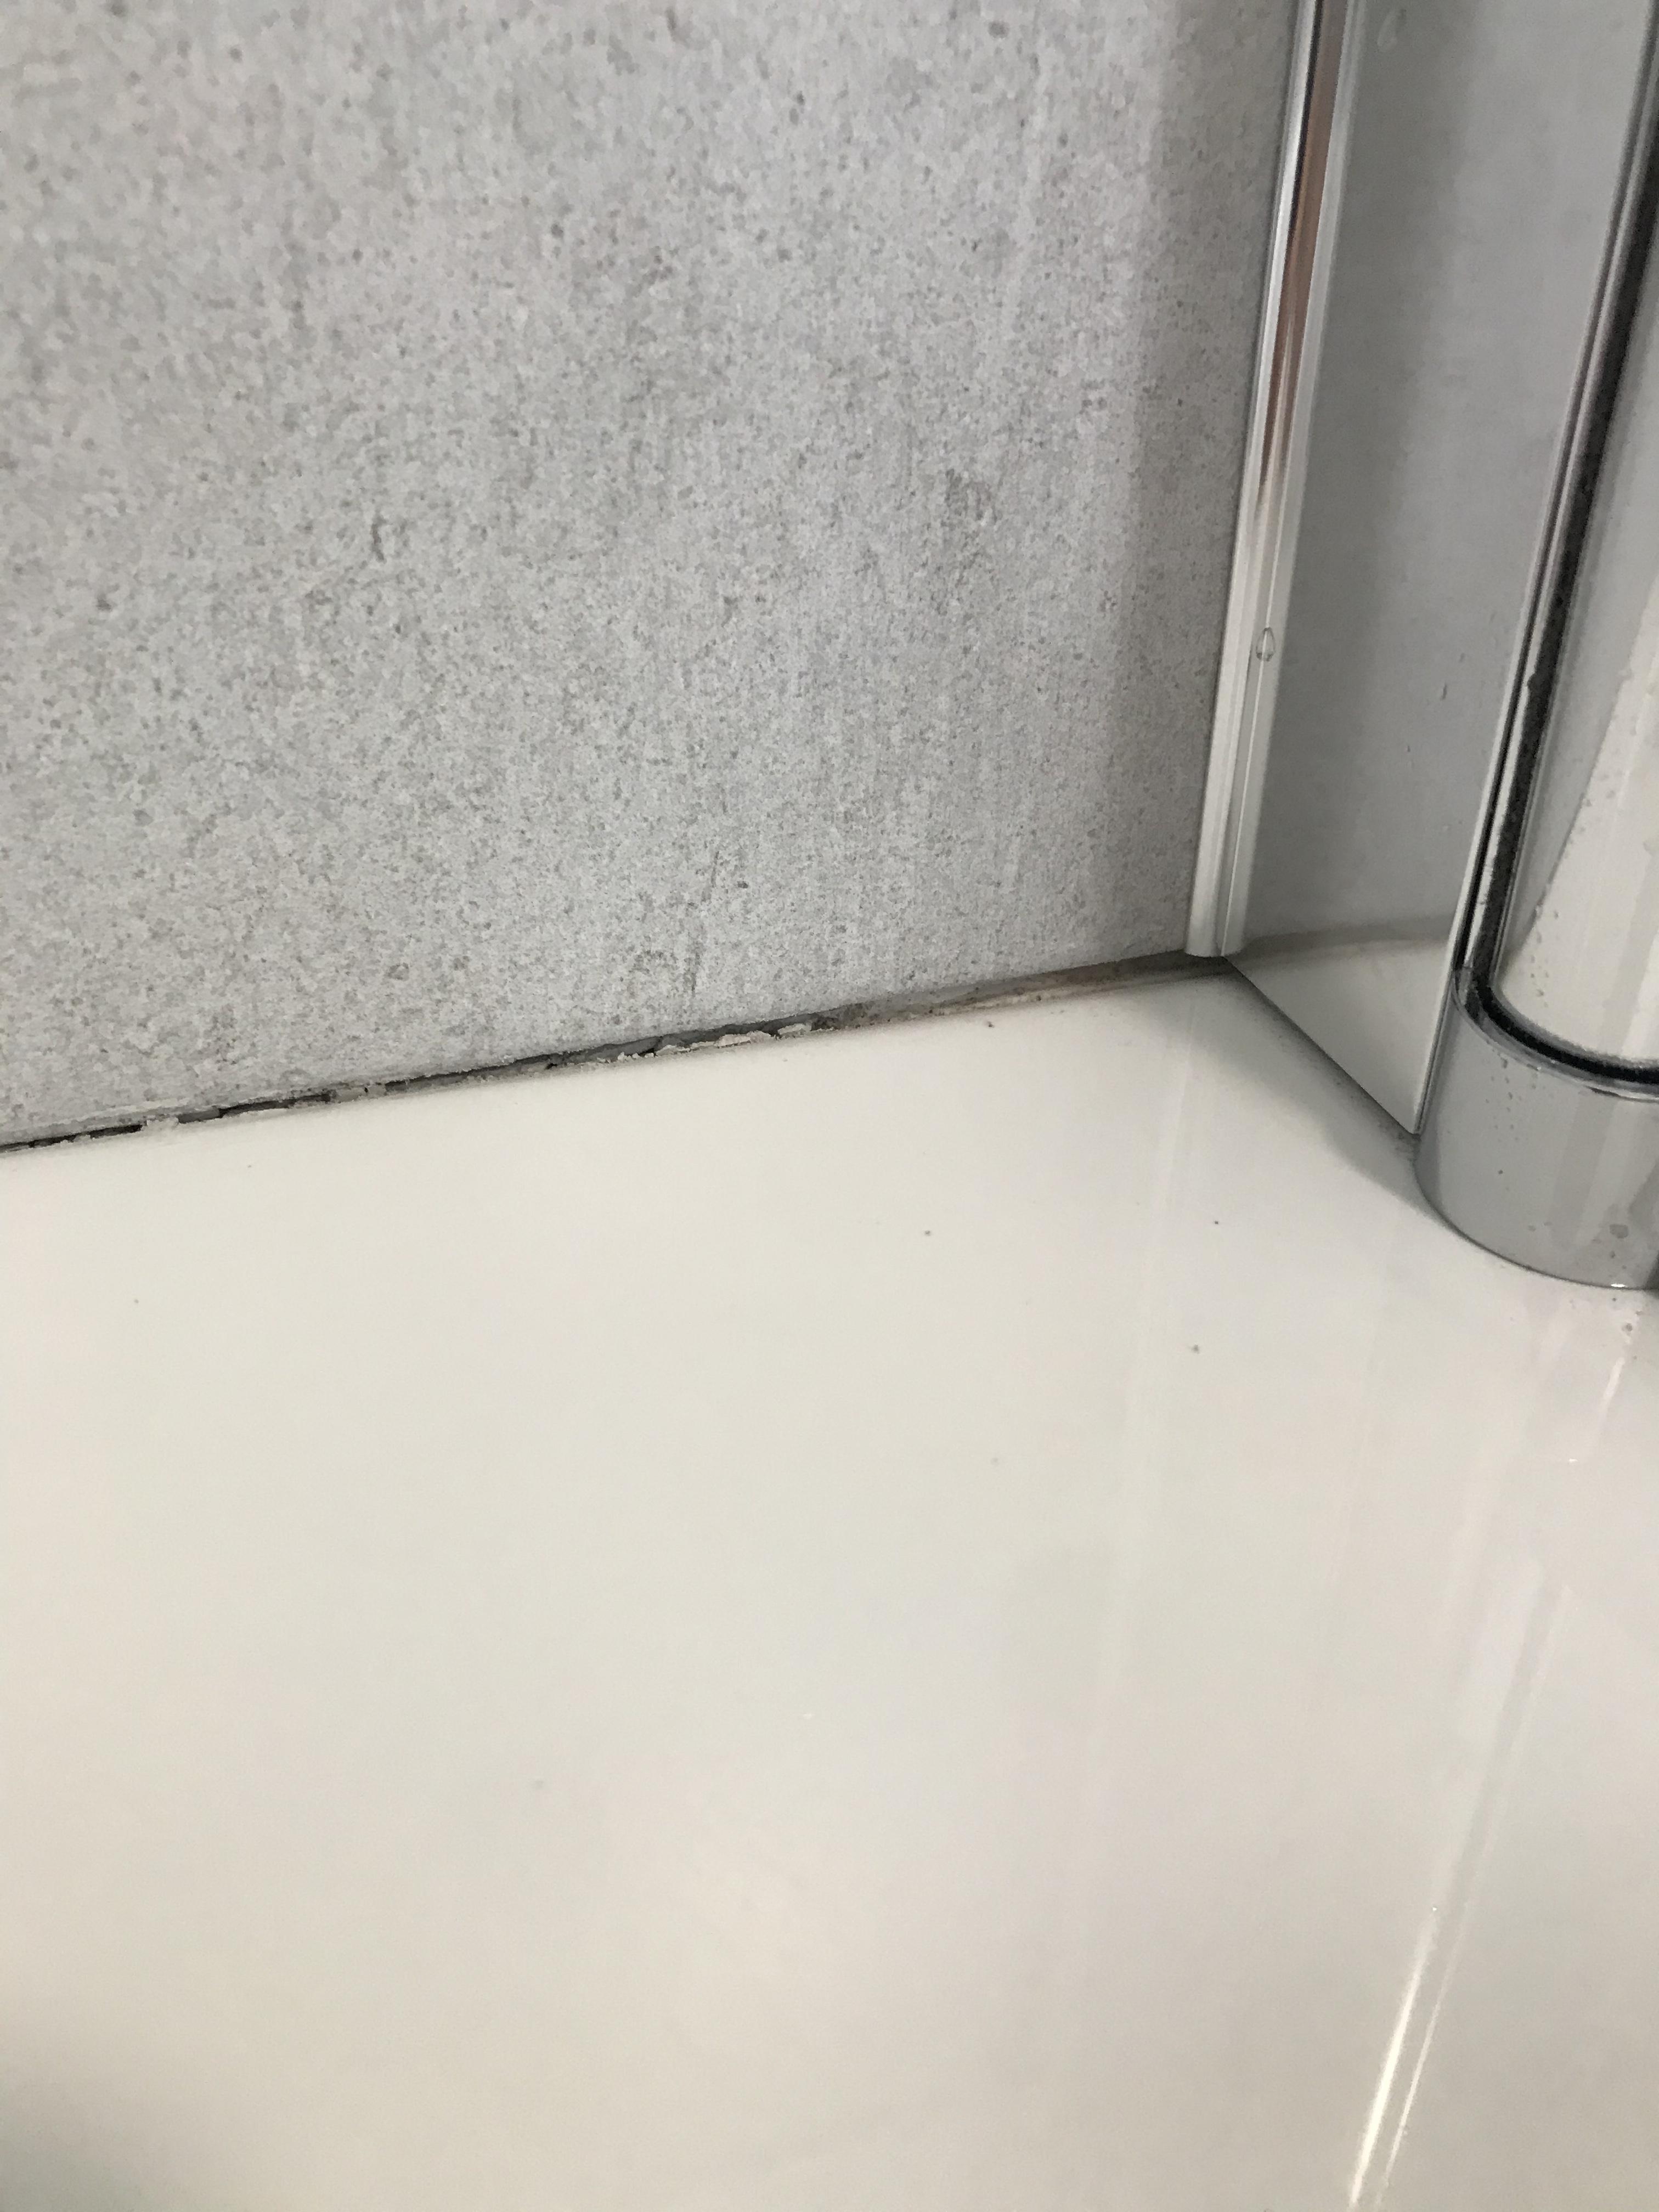
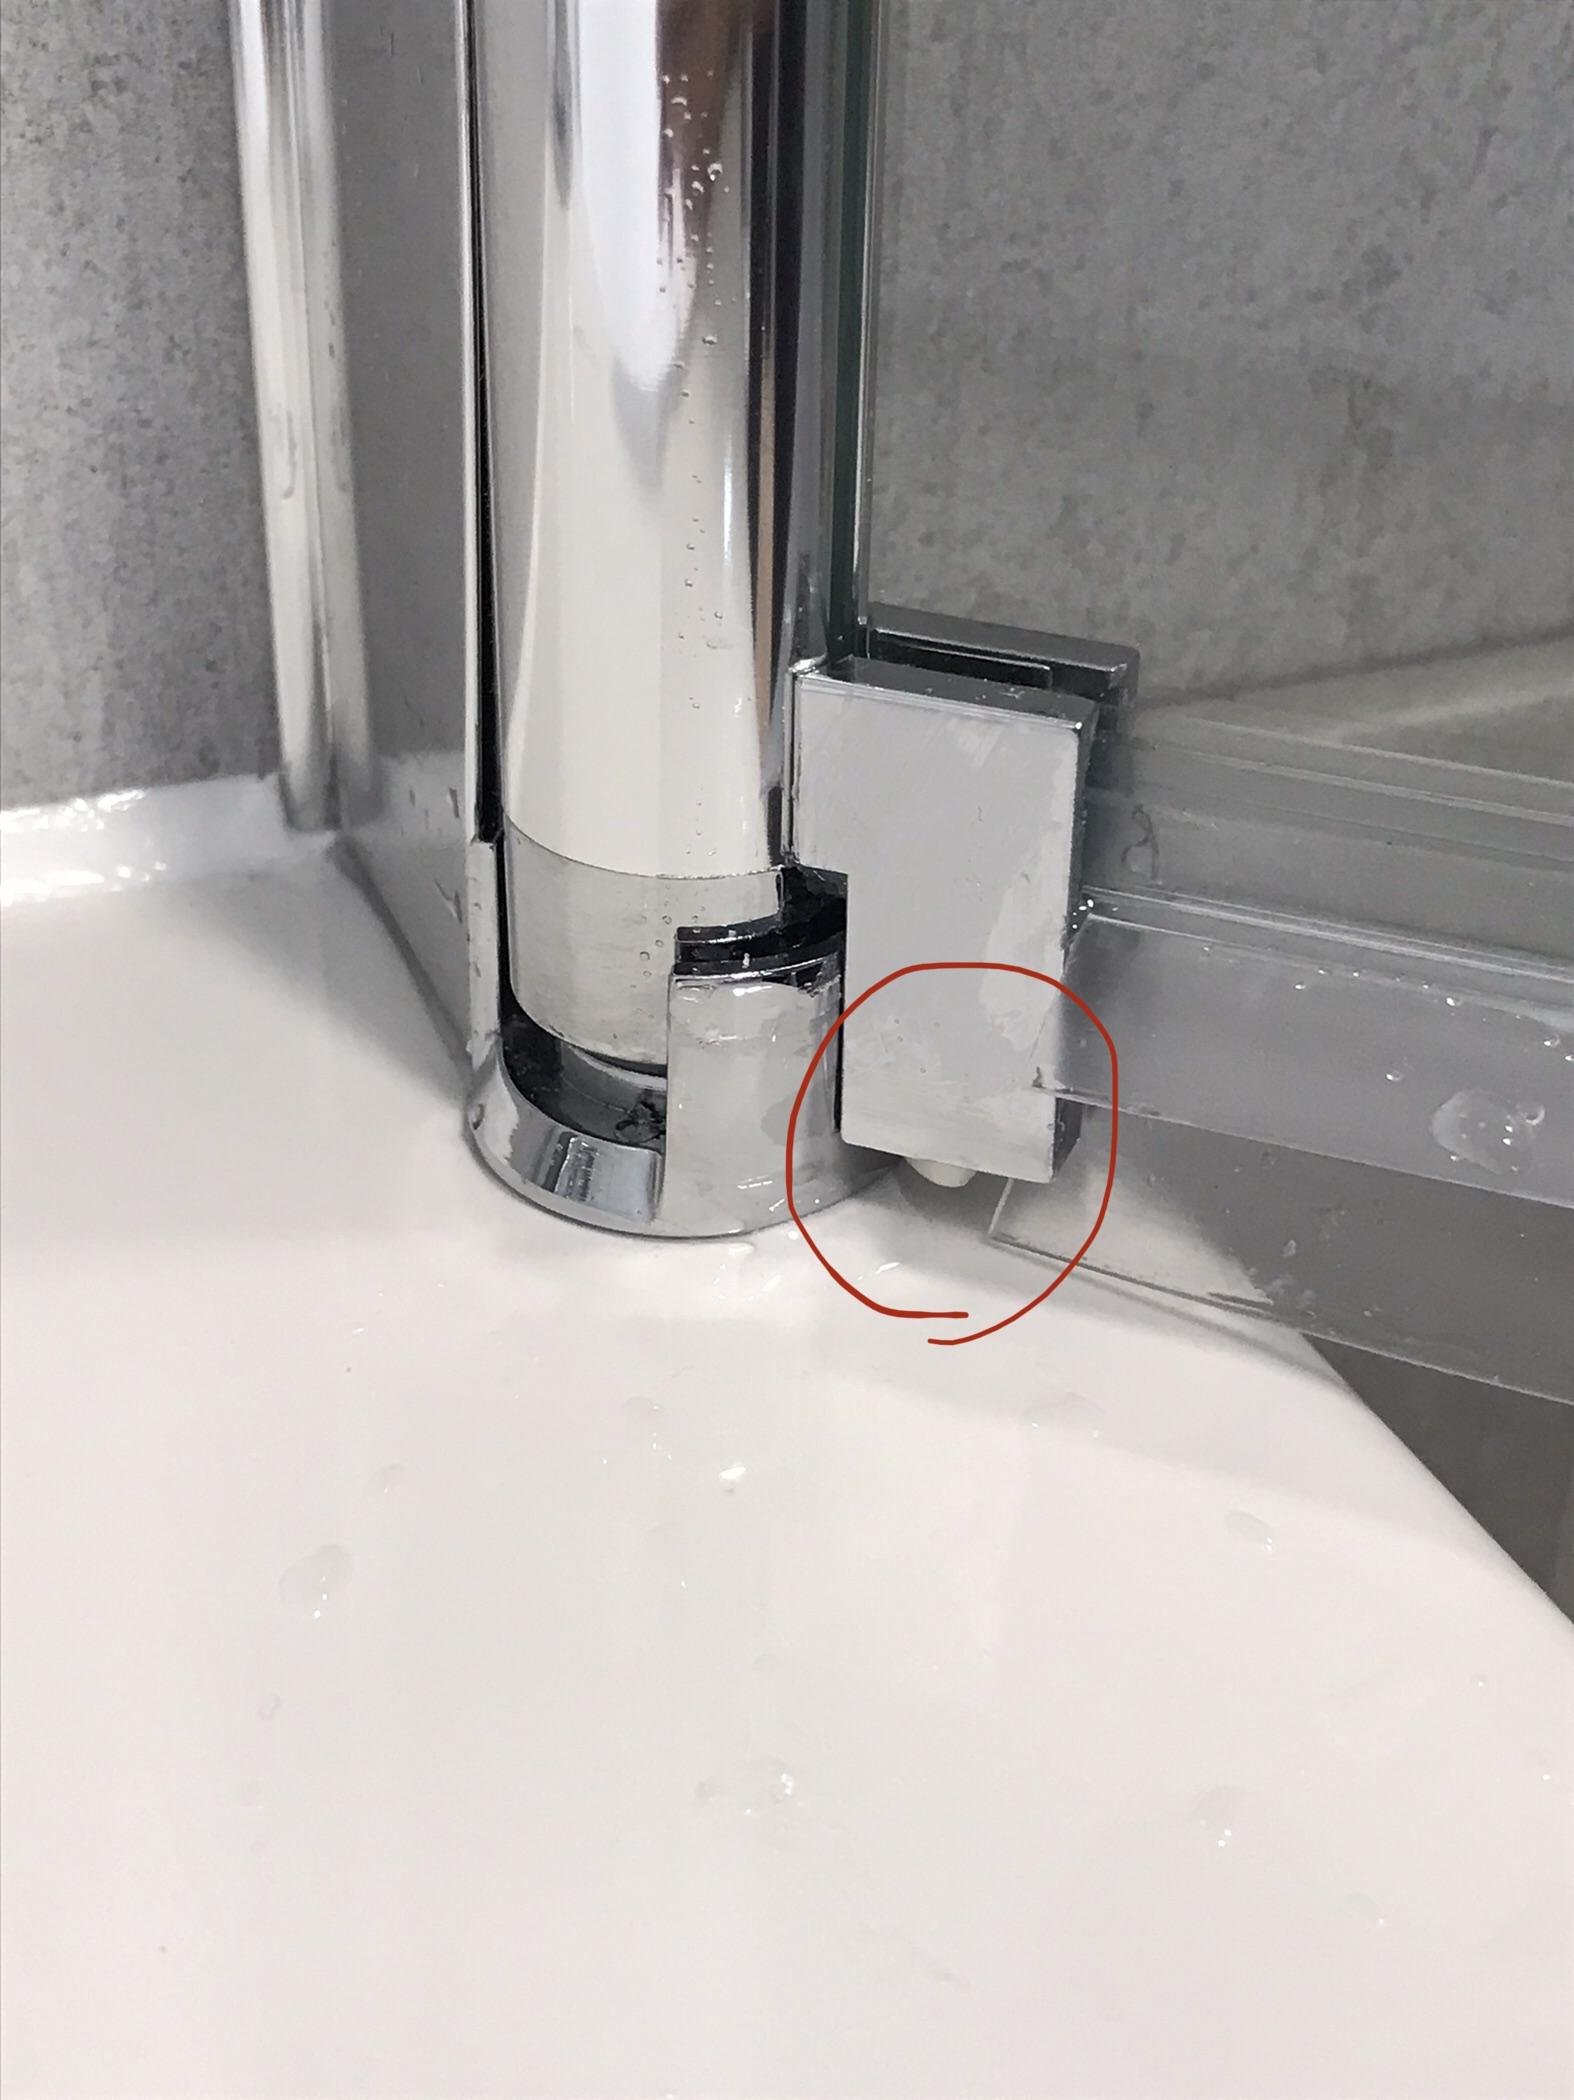
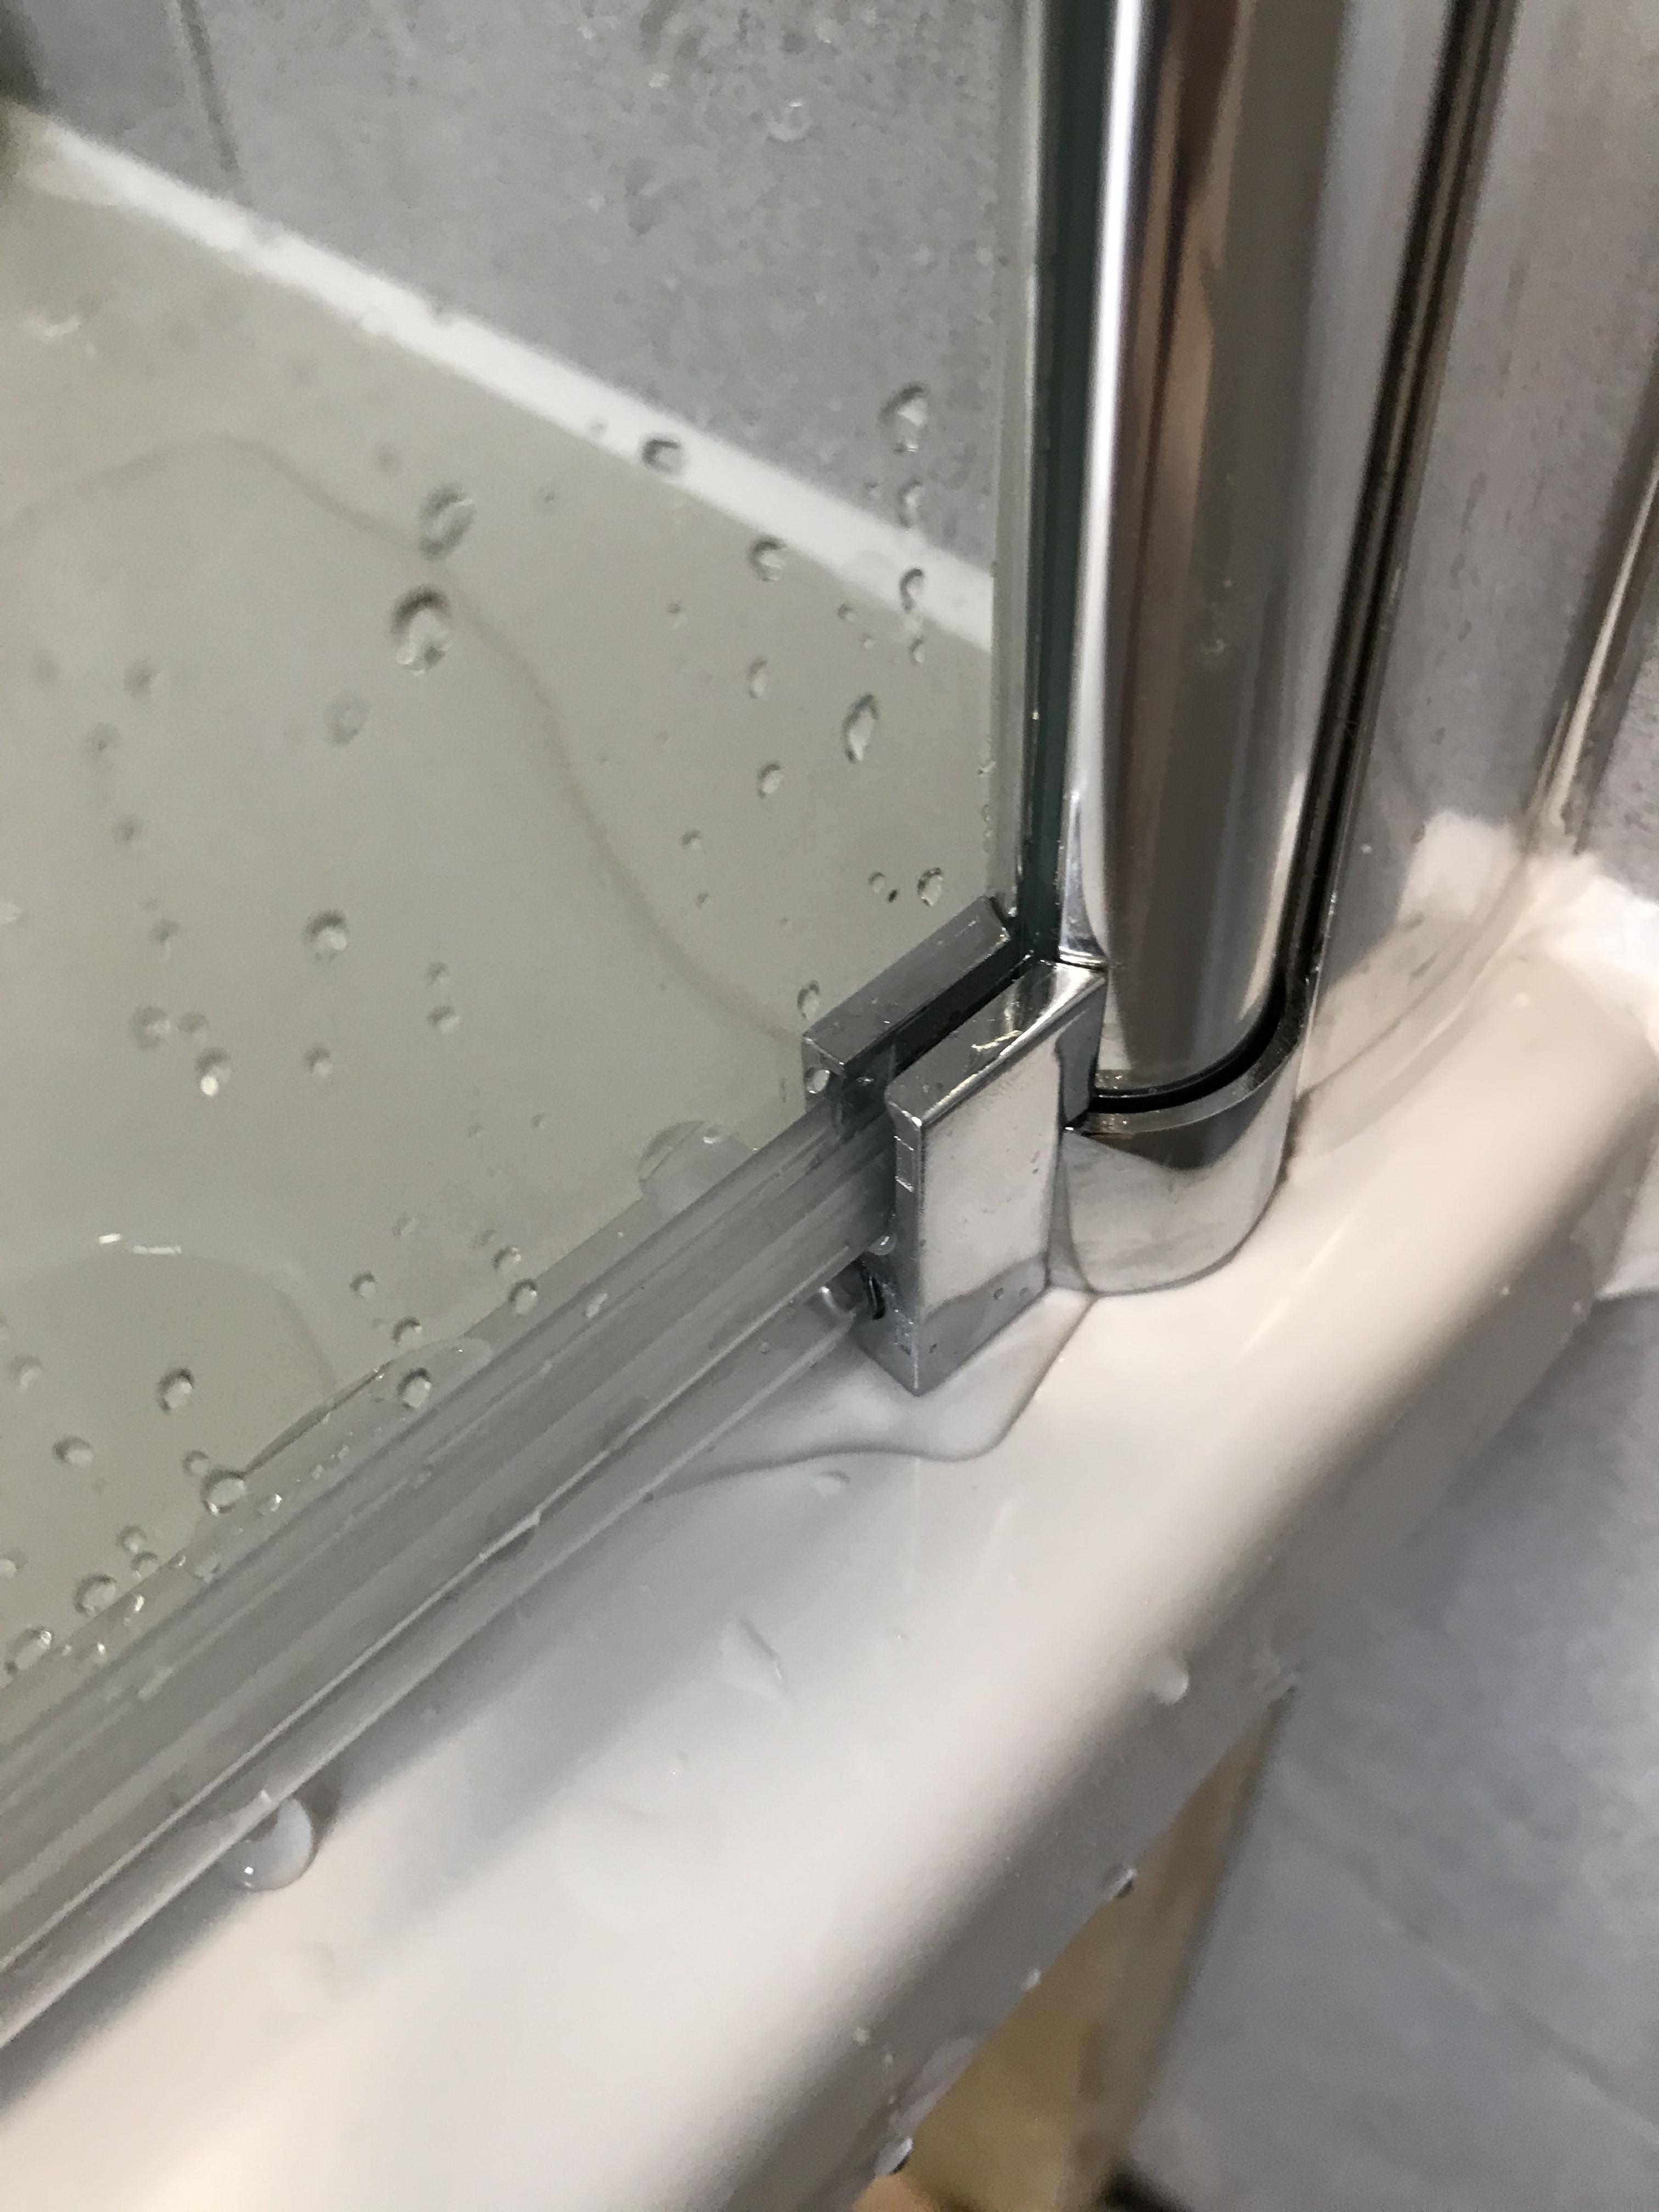
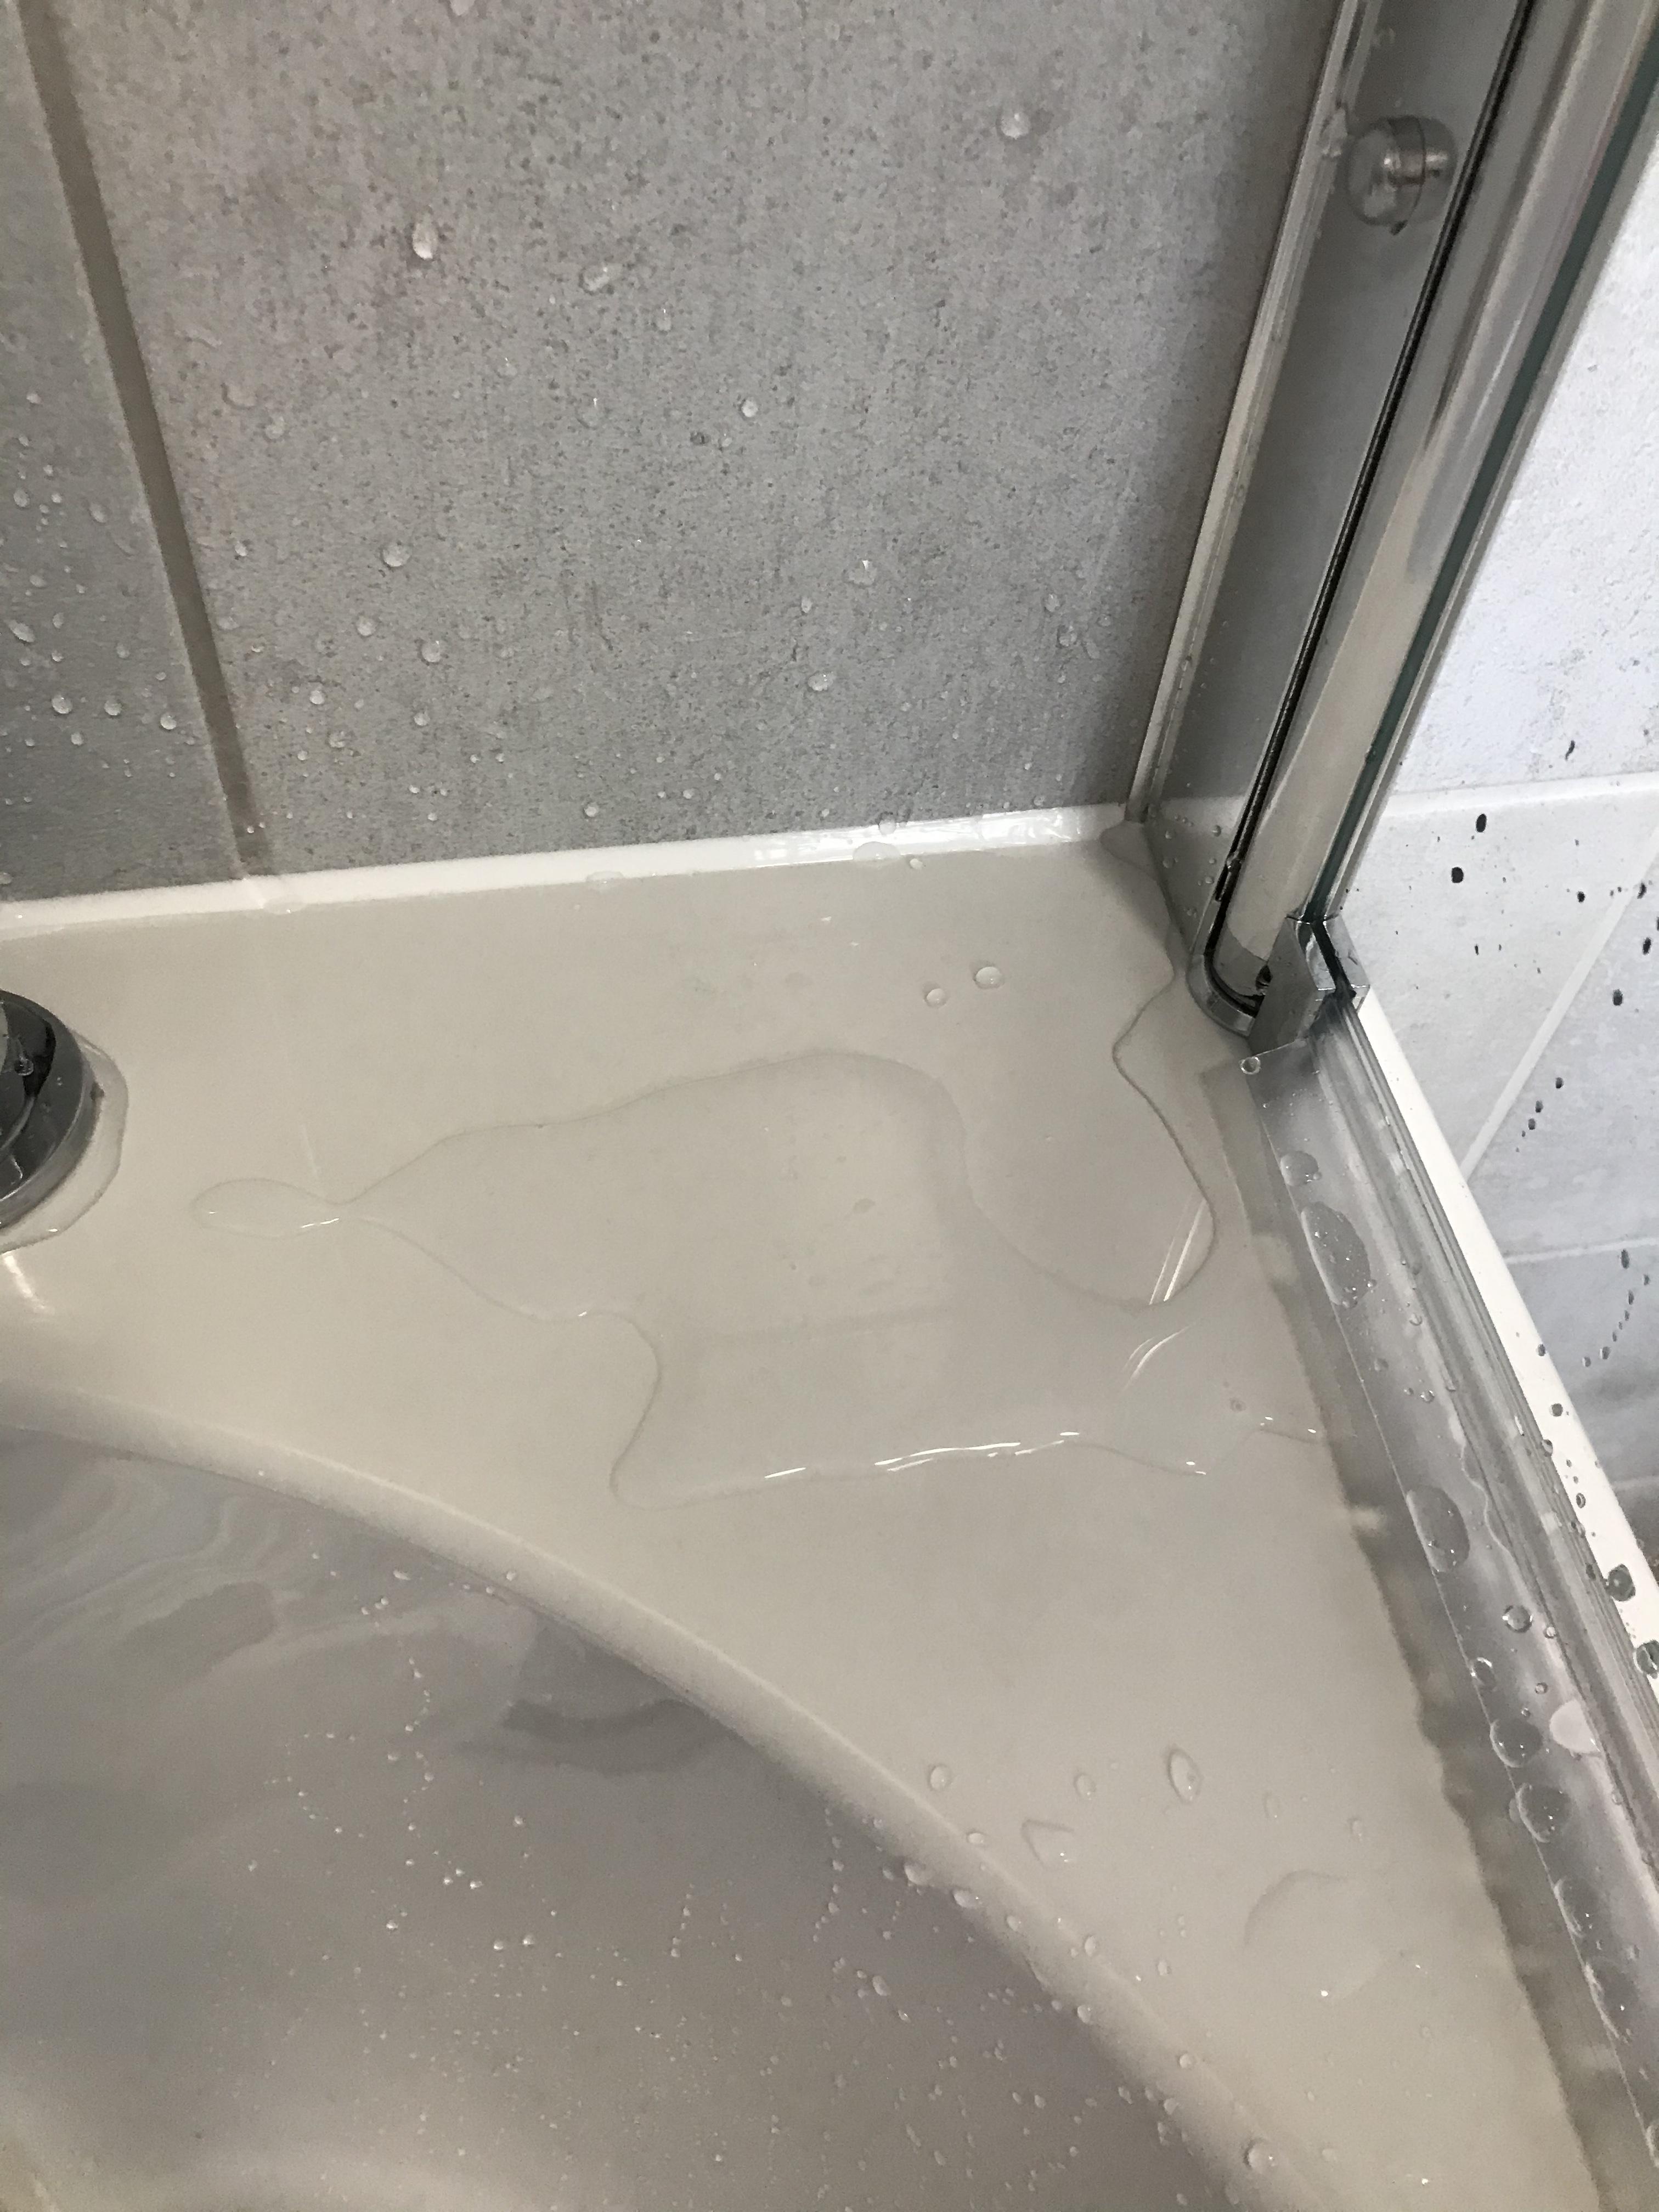
Thanks Temp. I have attached another image and circled the bit in question. The little leg that comes down should that be pressing onto the rubber trim? As you can see it doesn’t extended that far and so leaves a natural gap. Now that I think about it water running down into it should be channelled into the main part of the screen or the hinge and therefore out. So is the issue the water pooling?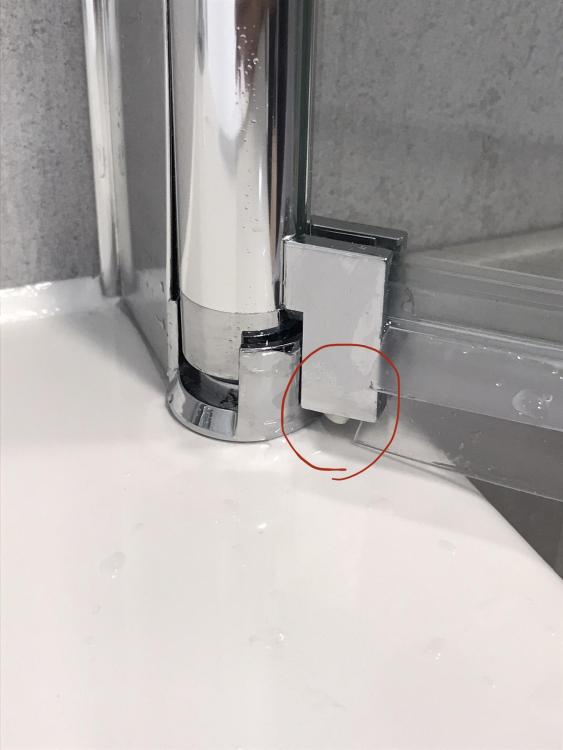
-
Shower Screen Leaks and Bath Problems
Listless replied to Listless's topic in Bathrooms, Ensuites & Wetrooms
Example attached for leak under taps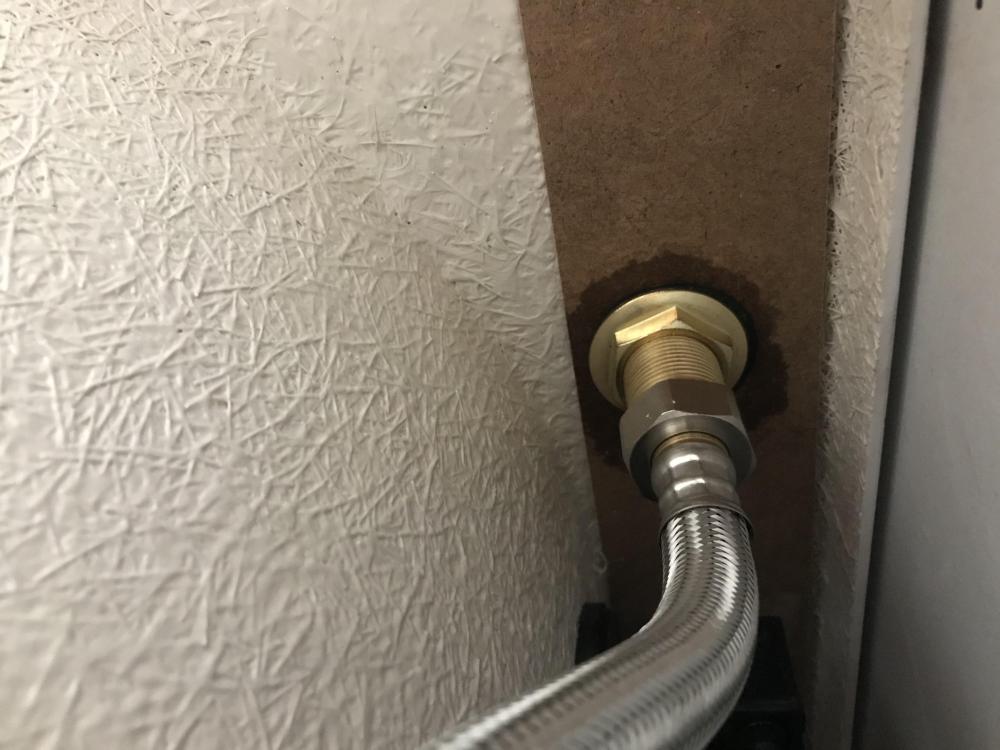
-
Hi all, I have searched through the forums and read various posts with issues similar to mine. This has allowed me to identify previous issues and address them but unfortunately I’m still having problems. Issue 1 - leaking from the shower screen. I have attached images for reference. So after realising my dad had fitted the hinge backwards initially (gulp) we refitted the screen yesterday and made sure to seal up with silicon the tile edge before putting the screen back up. We have no siliconed the inner screen as instructions. However, I’m finding water is pooling in this corner and seeping out from the gap between the rubber edging strip and the little hinge/bracket. Watching YouTube it appears that you can cut the rubber strip in such a way that you can slide it further towards the wall. Would this help reduce water getting in? As for the bath itself we have tried to support the sagging corner using a bit of timber to support the inner wooden frame of the bath but I’m still not super impressed with how water doesn’t seem to naturally drain into the bath. The bath itself doesn’t suggest or allow from what I can see you the chance to level it using batons against the wall. The bath was levelled prior to tiling but i noticed while grouting it appeared to sink in one corner. Hence the need to support it with a bit of wood. I don’t think the leak from the screen is entirely related but I suspected water pooling next to the seal isn’t ideal as it gets swept up in the screen when you swing it towards you and throws it on the floor. issue 3 I have also noticed some water ingress into the underside of the taps where there is a thin bit of wood to help hold it’s shape. I think silicon is not needed here so is it a case of tightening the bolts? Water seems to be hanging around the taps so I wonder if by supporting the frame in one corner it has damaged the seal between the taps and the bath. Honestly, this is a nightmare!