

Stones
-
Posts
3761 -
Joined
-
Last visited
-
Days Won
23
Everything posted by Stones
-
Given the relatively small area you have to cover, is it really going to be that big a saving not putting the durable finish on the ceiling? You really have to balance the saving against the time for cutting in / masking AND future decorating. You are after all going to be operating a holiday let which you may well end up refreshing the paintwork every year to keep things tip top for your guests.
-
There is definitely a difference between Armstead contract matt emulsion, and their durable matt. The contract stuff has a slight cream tinge to it.
-

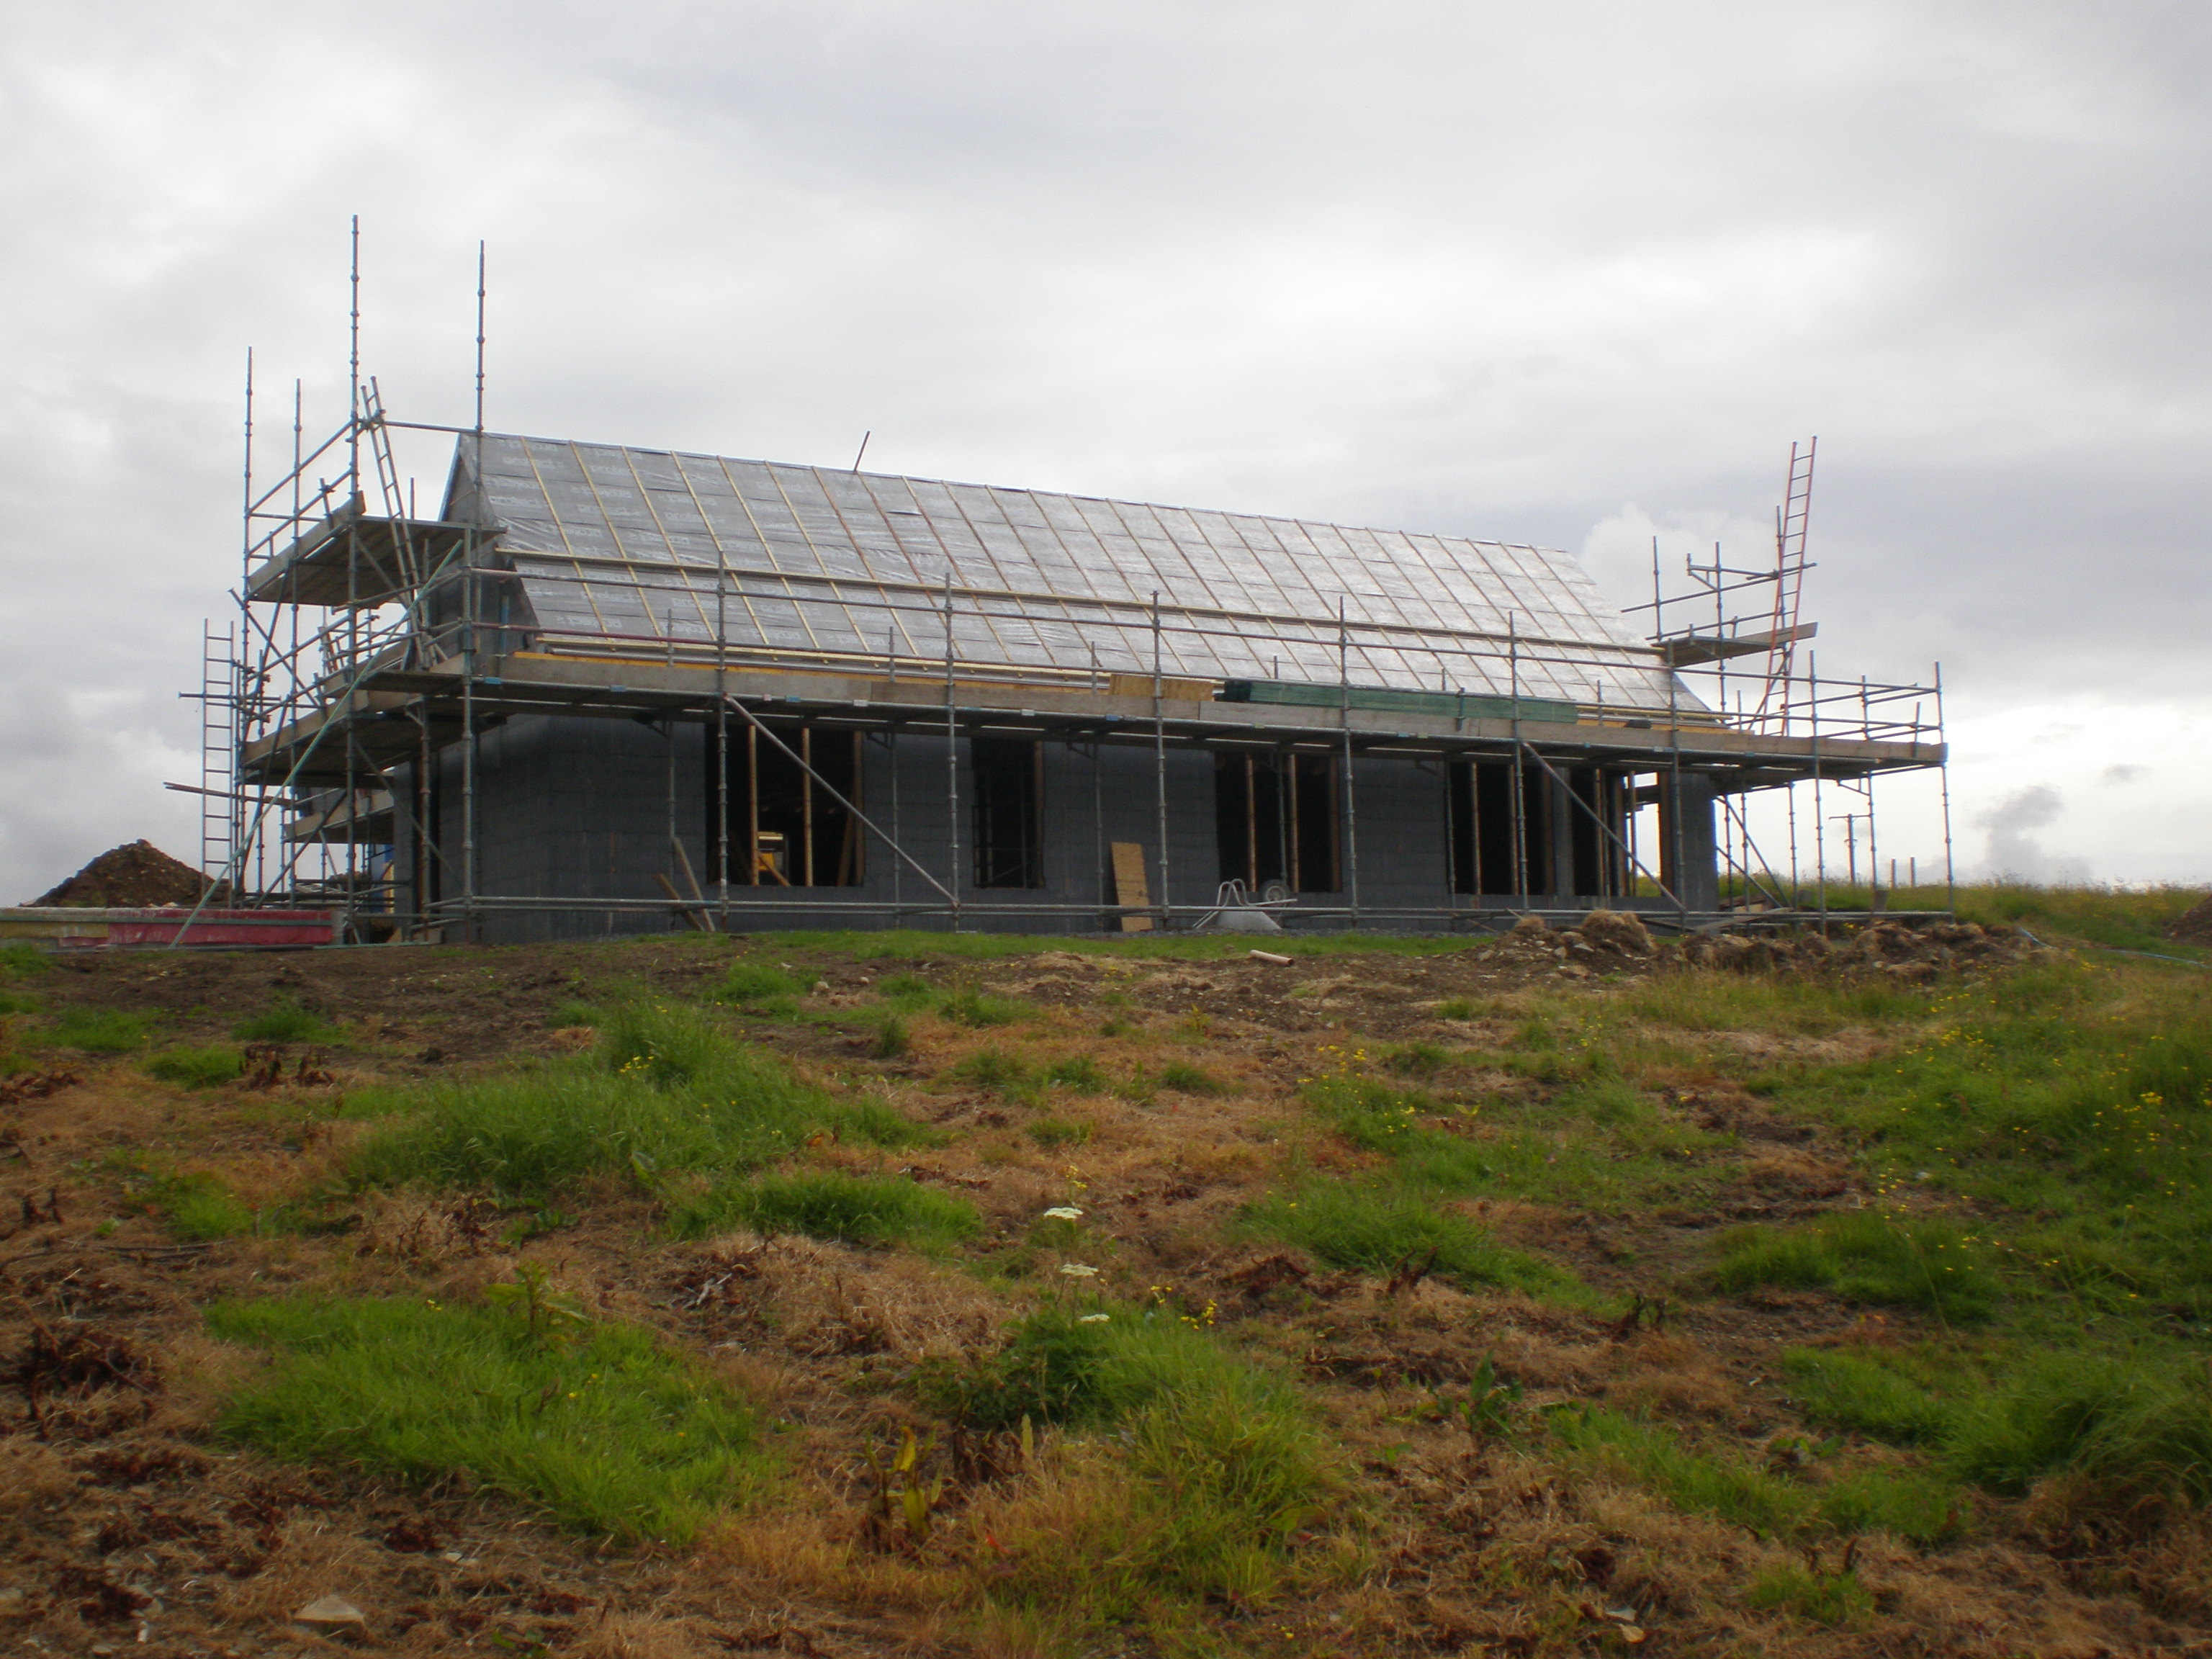
The house arrives & I get a real life Tonka toy!
Stones commented on curlewhouse's blog entry in Sips and stones may break my bones...
Me neither, if I didn't know, I would have said Photoshop! -
Having a CO2 sensor that auto boosts the MVHR would be a nice feature to have, but, assuming you have set your ventilation rates optimally for whatever your normal household occupancy is, would only really be of use for limited periods of time - when you have visitors / more than the normal level of occupancy. Easy enough to boost manually in those circumstances. The following sensor appears to have been designed to work with the Vent Axia Sentinal Kinetic Plus: https://www.digikey.co.uk/products/en?keywords=235-1413-ND and at around half the price of the Vent Axia sensor, is something I'm thinking about. @SteamyTea Can you expand on this ?
-
@craig Is there any restriction on someone setting themselves up as a PHPP 'consultant' if all they are doing is buying the software and providing a fill in the form service? I assume the certifier you refer to will be PH trained / approved / accredited? I think this would be of far more relevance / understandable to most home buyers - say up to three years worth of bills to give a reasonable picture.
-
VHB tapes vs drilling porcelain
Stones replied to Calvinmiddle's topic in General Self Build & DIY Discussion
I can certainly see the attraction of this tape vs drilling porcelain. I'm considering it for mounting bathroom fittings - towel rail etc. -
Floors, plastering and time to recover!
Stones commented on TheMitchells's blog entry in Scooby Cottage renovation.
Looking good. I remember getting knocked off my bike when I was a teenager. No helmets in those days and my head made sharp contact with the offending cars windscreen. Bloody sore it was too, although naturally, my main concern at the time was the state of my bike... Best wishes to your OH. -
We likewise went for a larger MVHR unit to ensure it had enough capacity to be run at a relatively low fan speed. With the Vent Asia, it's also possible to set the fan speeds for the main operational settings (Low, Normal, Boost). I've used some rigid 90 degree bends connecting up the MVHR unit to inside and outside, as I felt this was better for air flow vs flexible duct bent to the same degree.
-
Part 20 - 2nd fix Plumbing / Sanitary Ware
Stones commented on Stones's blog entry in An Orkney Build (in ICF)
The soil pipe pictured does indeed terminate in a vertical stack, located in a cupboard just out of shot to the right of the cistern. That particular stack is vented to atmosphere, the stack is boxed in and we'll insulated. The shower room has an AAV enclosed behind the cistern bulkhead. -
At that sort of money, even if you only get a few years out of it, looks like a bargain. Whether the 7 year warranty will be worth the paper you print it out on....if they are not making them anymore, I suppose sourcing spares may be the only issue?
-
One of their older brochures online http://www.solfex.co.uk/uploads/downloads/Heat_Pump_Brochure_2.pdf pages 22 & 23, suggests they give a 7 year warranty on parts and labour. Have they given you any warranty at all? If you don't mind me asking, how cheeky a bid?
-
Part 20 - 2nd fix Plumbing / Sanitary Ware
Stones commented on Stones's blog entry in An Orkney Build (in ICF)
@Nickfromwales Yes, purely a personal preference. If we do need to remove the tile, it is siliconed rather than grouted in place (silicone colour matched to grout) so shouldn't be an issue. I can't image SWMBO would have been very impressed if I had used that chair for decorating... -
@Ryan4Healthy Home Movement it's fan noise that is being emitted via room supply valves. Blog entry Part 21 details the inline 'silencer' that I've now fitted.
-
As explained, the front panel made out of Recticel insulation is simply taped in place, so removable, thus letting me access the front of the MVHR unit. From the front I can change the filters, remove the heat exchange, operate the control panel, access the wiring connections (if say, I want to add another sensor) and access the condensate drain point. Access into that particular loft area is through a hatch from our mezzanine, so I enter the loft space at loft level - i.e. no ladder required. Fair enough, the hatch into the loft space isn't a full size door, but that's a compromise I'm prepared to live with. Servicing / maintaining the MVHR unit in its current location really isn't an issue.
-
The 'Recticel' panel on the front isn't foamed in place, reasonably snug fit and taped so can be dropped down to access the front of the MVHR unit / access the filters. Ideally, I would have had the unit within the heated envelope, but changing the position of my DHW cylinder makes the previously identified space a bit tight. I could still fit it in the service cupboard, but it would be quite a bit of effort now for very little gain. Despite it being in a cold space (albeit in an insulated box) heat recovery performance appears to be as per manufacturers claims so I'm happy enough. I had thought about creating an insulated room in that part of the loft so I didn't have to box the MVHR and insulate visible ducting, but it was just another expense when I could achieve the same practical results using offcuts to box in the MVHR, and duct insulation I had anyway.
-
I think for sharp turns, you really need to use a rigid bend as the flexi stuff ends up deforming if you try bending it too much. I've just posted an new blog entry about the silencer, where to make final connections to the MVHR unit and supply manifold, I used a combination of rigid bends and flexi. I think large radius curves are preferable to sharp bends, but sometimes that's just not possible.
-
I had intended this entry to be about our heating system and DHW, but due to the interest and debate on MVHR silencers, have brought this entry forward. As reported in a previous blog entry, I’ve been aware of fan noise being emitted from the individual room supply and extract terminals. The valves themselves do go some way of dampening down the noise, so acoustic valves may well be a good solution, but I decided to go down the route of building my own silencer following some discussion on the main board. A check of the various offcuts in the garage revealed some sheet MDF, plenty of CLS, various pieces of 150mm plastic ducting (supplied by BPC but not required during installation), half a box of screws, and three opened tubes of different types of sealant. Whilst it may well have been simpler to buy a ready made silencer for circa £50, I fancied a small project, and felt I would be able to produce something more effective (i.e. a larger silencer) for less cost. So, having assembled all the constructional materials, I ordered a sheet of egg box self adhesive acoustic foam from ebay. With an audience watching proceedings I set about constructing the box itself. I decided on a rectangular shape, 900mm x 600mm x 300mm as this was about as big as I could make it without causing myself problems getting it into the loft next to the MVHR unit. As you can see from the pictures, I constructed a fairly simple timber frame and clad it with MDF sheet. Acoustic foam was stuck to the internal surfaces of the MDF, with additional strips of foam being added if any of the timber framing remained visible. A generous bead of sealant seals the perimeter of every piece of MDF to the frame, and to all external MDF joints. I then taped up all external joints as a belt and braces approach. The end panel remains removable, as I used some foam tape as the sealing gasket rather than sealant. Using a jigsaw, I cut out 150mm holes in the top and end of the box and sealed in place short lengths of 150mm plastic duct, the idea being that these permanent connection points could then be fitted with whatever additional rigid or flexible ducting was required to make the final connections to the MVHR unit. Cutting the plastic duct was a bit of a challenge due to the inherent flex in the pipe - it simply isn't as thick walled / strong as drain pipe. After a couple of failed attempts at getting a straight cut, I switched to using my mitre saw. Holding the duct against the back upright guide on the saw, I simply brought the blade down for the first cut, then rotated the duct against the back plate until the blade had cut all the way round the duct. This produced nice, clean straight cuts. To finish, I wrapped the whole box in foil backed insulation and taped it all up. Up into the loft, I fitted a couple of pieces of timber as a supporting platform for the silencer and positioned it next to the MVHR unit. Using a mix of flexible and rigid ducting, I made the final connections to the MVHR unit and supply manifold. Having switched the unit back on, the difference was immediately noticeable. Even in the dead of night I cannot hear fan noise from any of the supply terminals, so it appears as if my home made silencer is doing its job, and doing it well. We still have fan noise being emitted from extraction terminals so I’ll be fitting a silencer on the extract duct as well. The plan is to use the silencer BPC are sending me. Whether it will be as effective given it’s far smaller size and therefore has a smaller sound absorption surface, remains to be seen. I hope so, but if not, I do have enough material left to make another DIY (albeit smaller) silencer. Next entry will be – Heating system and DHW
-
Part 20 - 2nd fix Plumbing / Sanitary Ware
Stones commented on Stones's blog entry in An Orkney Build (in ICF)
Absolutely, it's the Concept Sphere range. We sourced from Skybad. -
I used plastic as this is what had been supplied as part of the kit from BPC, so I was really just using up odds and ends that I had. For the connections to the MVHR unit I used insulated flexi ducting.
-
I was chatting to someone the other day who said the very same thing. His cunning plan is getting involved in the mens shed movement up here, the aim being that any workshop equipment not wanted by family would pass on for the collective benefit of like minded individuals.
-
@CC45 I'll be doing a full post on this shortly, but here's a preview... Fairly simple MDF box lined with acoustic foam. Duct holes cut out and pieces of duct sealed to box with fix all, inside and out. Picture shows it before it was wrapped in insulation.
-
Part 20 - 2nd fix Plumbing / Sanitary Ware
Stones commented on Stones's blog entry in An Orkney Build (in ICF)
@jamiehamy Hope these help. Fairly simple timber frame, clad with plywood. -
As we approached our move in date, our tiler was unfortunate enough to come down with a bug that was doing the rounds. He had to take a couple of days off (and I think probably came back before he really should have) but it did have a knock on effect on the plumber, who couldn’t get all the sanitary ware fitted before we moved in. On the morning of moving in day (and to obtain our Temporary Certificate of occupation) we had one fully working bathroom. At the end of moving in day we had both working. We sourced our basins and toilet pans (Ideal Standard) from Germany. Doing this saved around £300 (even after delivery was taken into account) compared to the best price I could get in the UK. Other members of the forum have found that buying from Europe can generate savings however this is dependent on the prevailing exchange rate. We sourced our bath and shower trays locally, simply because there is no saving to be made by importing from Germany. I was also concerned about the likelihood of transit damage to the bath and wanted to ensure that a local supplier was responsible for delivery and able to resolve any issues that arose. Taps, shower valves and concealed cisterns were sourced from: https://www.plumbingforless.co.uk/ We went with Grohe for the lot. Generally speaking, we are very happy with them and certainly happy to have a 5 year UK warranty. The only disappointment is the pop up waste lever on the basin taps. It seems relatively flimsy compared to other taps with pop-up waste that we have had. We’re very impressed with the showers, good flow and a large shower head means a very luxurious spray of water. I’ve measured the flow from the shower at 16 litres per minute. Whilst this is slightly extravagant it does make for a luxurious feeling shower and is not something I intend restricting – it’s a cost (in terms of DHW) I’m willing to bear. The shower screens were also sourced locally, which turned out to be a very wise decision in view of a fairly significant oversight on my part. When ordering the shower screens, it never occurred to me to check the height. Virtually all of the shower screens on display in the showrooms were 1950 or 2000 mm high, and in previous houses we had always had trays which you stepped up to get into. It was only when the shower room screen had been fitted and I stood next to it that the issue was highlighted. Being over 2000mm in height, the problem with a 1850mm high shower screen on a low profile tray is self-evident. Fortunately the master en-suite shower screen door was still in its packaging when I identified the problem. A quick visit to the plumbers merchants and they agreed to take the unopened screen door back and replace it with a different shower screen. That screen arrived a couple of weeks later and was subsequently fitted by the Builder. The shower walls were finished with Multipanel rather than tiles, simply to make cleaning easier. Picking the right colour / finish of panel was a little challenging, although I think we managed to achieve a pretty good match in the end. We went with a simple L-shaped aluminium trim to finish the tiles for a sharp clean look. The bulkheads, which conceal the cisterns allowed us to raise the basin height to 1000mm. There are two removable tiles, one for the basin trap, one for the cistern. A larger flush plate was an option for the cistern however we preferred something smaller and stuck with the push button supplied with the cistern. We fitted the flush buttons so that they are behind the raised seat, forcing users to close the toilet before flushing. A couple of reasons for doing this, firstly it prevents any flush spray into the room, and secondly to ensure the toilet seat is left down (this saves a lot of grief) which in turn encourages users (or should I say children) to wash their hands after use. The bath was fitted into a tiled frame, the front panel being removable if we need to get access to the trap. The taps are connected to copper pipes with long flexi pipes. We’re really pleased with how both the shower room and en-suite have turned out, and both feel it was worth spending a bit extra on porcelain tiles to get a nice finish. Next entry: Heating system and DHW
-
@Ryan4Healthy Home Movement That appears to be the product sheet for the unit I have. I have actually now made my own silencer, currently testing and it has made a big difference. Waiting for the silencer from BPC as referenced earlier to compare. Will be writing a blog entry on this shortly.
-
Discount Offers of the Week
Stones replied to Ferdinand's topic in General Self Build & DIY Discussion
We have a Lidl up here and shop there on a fairly regular basis for certain things. 3 year warranties on electrical goods is great but you need to keep hold of the receipt. All too easy to throw it away when it's mostly groceries listed. I've made one warranty claim, for an internet radio. Phoned the warranty / support line, scanned and emailed a copy of my receipt and sent a replacement within days. 90% + of the Scottish Beef in Lidl is sourced from Orkney.
