Search the Community
Showing results for tags 'ducting'.
Found 13 results
-
 Reading the Data Ducting Infrastructure for New Homes - Guidance Note it states, on page 18, that in our circumstances the duct to be used to go from the point of Termination in the road to the terminal box on the outside of the house can be 30mm internal diameter minimum. The duct will travel under the front garden area and under the path around the house to the Terminal Box. https://assets.publishing.service.gov.uk/government/uploads/system/uploads/attachment_data/file/11496/dataducting.pdf Has any one experience with this? What size ducting did you end up using? Can I use black and wrap in green fibre optic tape? I want to do this before they install the POT in the road.... ( soon)
 -
The coils being prepared for the MVHR ducting
-
Can anyone please tell me the diameter of the incoming mains cable to the main fuse. I have the red 38mm ducting required by my local electric board into the house and I have been informed the incoming mains cable is 35mm diameter which seems a little tight to pass through and round the sweeping bend underground. My electrics are being connected on Monday and I am a little concerned I may have to dig down to ensure the duct is as straight as possible.
-
Seems like such a simple question but I could not find a clear answer, I'm about to have a plasterer come in to plaster the kitchen and dinning room, I have chased out my runs for the wiring and have used plastic ducting to protect the cables. My question is once the rooms are plastered how easy is it to find the wiring runs as plastic ducting does not help with detection, is there some kind of tape you can apply to the plastic ducting before plastering a bit like the tape that John Guest provides for pipe detection in walls. Any advice much appreciated :-)
-
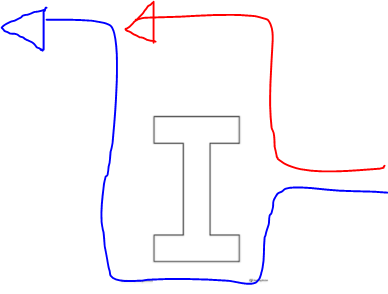
 Weekend spent in the loft getting things prepped for plumbing and building studwalls (for creating an atrium hallway downstairs) and I have been trying to plan routes for my MHVR ducting. Most of the ducting will serve a bungalow with ducting to go via loft, but will also have to route it into a 2 storey extension that has been built onto the other side of a gable wall, i.e: Most likely will end up going for the semi-rigid type stuff. My only real concern is that there are likely to be a few obstacles in the way that will have to be navigated around which means the ducting will have to go up by 500mm and then come down again by the same amount, a bit like so: Sorry about my drawing skills! This up and over is not really avoidable and obviously that's the whole point in this type of ducting to make installs easier and navigate walls, machinery and limited space. My main concern is with condensation getting stuck and collecting at any of the bends. I assume if it is sufficient lagged with insulation, I should not have any issues with condensation? I will try and create less of a gradient to improve the flow rate: drawings skills still not getting any better! There are many factors that will affect flow rates and the more bends that get introduced the worse things get, so in terms of positioning the ducting, should I just try and make each bend/gradient as smooth as possible? There's only really one tight area where I will have to either navigate around an RSJ by either going under (blue route) or punching holes through a cavity and SIP wall (red option - least favoured): Some of the quotes I have received include a preliminary routing plan but Of course they are not aware of actual obstacles in the loft - do they fine tune the plans later on once they've received my ££££ or is it a case of me just deciding a 'best fit' once I get to install it? I've had enough of cowboys so this is something I want to do properly myself! Hoping I can get as neat as some of these install pics! Lastly, are there any issues if I run some of the ducting along the purlins of the roof? Obviously will need to find a way to insulate the ducting sufficiently, but would like to keep the ducting off the floor of the attic if possible to keep future cowboys from walking/leaning/sitting on them! Thanks in advance! I'll have some other newbie questions after I've ready and deciphered some of the quotes received so far! OB


-
Had the gas guy round yesterday who was pretty laid back with everything apart from having the gas meter under the stairs is a big no no for fire safety and gas pipe has to rise externally and enter horizontally through a wall - fair enough. One thing he mentioned was having 150 gas ducting saying that anything smaller is useless for getting pipe through, so that got me wondering if that's true for gas and the other services. How have people found getting pipework through ducting? I'm pretty sure I've read posts saying make sure everything is twin walled so pipework will go along the smooth inside - but what about ducting diameters? Duct runs are approx 30-35 metres. Water is 32mm Gas is 32mm Electrics is 3 phase so been told I need to use 125mm ducting Telephone - as supplied by BT (which looks to me 50mm semi rigid pipe that I connect together) Extra x 2 Also he said I need to use perforated gas duct which is OK, but for what purpose do they sell un-perforated gas duct? I need to insulate the water pipe where it comes into the house and under the B&B floor (approx 6m) but what do I use? Lastly, I'm ducting everything as it goes under the drive and will leave drawstrings in all of them. So should I still use tracer wires on some/all of the pipes/ducts? Cheers Vijay
-
Can anyone remind where I can find the post discussing how many ducts to put in before pouring slab as I cannot find it. I have so far: Main electrical incoming supply Telecoms (Phone and Tv for exterior aerial) Power to garage Power to gates and possible camera/intercom (in separate duct) Exterior lights (may come from detached garage but I realise better control from house) Water Duct from plant room to kitchen island electric and water (internal duct) ASHP (water and power) Spare All these will basically come up in the plant room and some may never be used but better to have them in when we pour the slab. Any others that people have put in or wished they have put in or can point out the thread I cannot find.TIA
-
I have a 6mm2 cable direct from the consumer unit terminated in a box on the outside wall of the house (approx. 7m run in the house). In the future, I'd like to have a garden building approx. 10m from the house and run this electrical circuit to it. I have no plans of running anything particularly powerful in there. Approx. 15m further along I have a small garden shed that maybe in future a light or electrical supply might be handy. Although I've just missed my easiest chance to do something about it with a digger on site, I can still run a duct down the border without too much bother save a little digging. Then an electrician can run a cable through it in future. There shouldn't be any vehicles going over the duct but there might be in future. Occasional, not daily. I'm sure someone here will tell me what size SWA cable I should use for the total run, please do. I won't be doing anything electrical at the moment, just looking for a guide. What size twinwall duct should I be looking at for that cable? http://www.draindepot.co.uk/plastic-underground-ducting/electric-cable-ducting.html And what general practice should I follow? Depth? marking tape? corner radii? pulling strings? etc.
-
One of the final significant jobs I had to do before we moved in was connect up and commission the MVHR. All the radial ductwork and individual plenums had been fitted at first fix, however I had left installing and connecting the actual unit until the loft has been insulated, as I didn't want to risk pipe connections being damaged. The day before we were due to move in, the insulation contractor having laid all the loft insulation, I spent a couple of hours in the loft space above our vestibule connecting ducts for the air intake, air exhaust, and the supply and extract ducts to the distribution boxes. I decided to locate the MVHR in our (cold) loft space, primarily to free up space in my service cupboard which houses our DHW cylinder, UFH manifold and CU. The installation manual advises that where the MVHR unit is located in a cold rather than warm part of the envelope it should be insulated. I initially considered lining the whole of the relevant loft area with insulation, but having worked out the cost, and then being able to salvage a number of sheet insulation offcuts from the skip, I ended up forming an insulated box around the MVHR unit. As you can see in the picture, it's a very simple box, the relevant supply and extract ducts simply cored through the insulation. Our MVHR unit is a Vent-Axia Kinetic Sentinel Plus. These can be supplied in either left hand or right hand format to suit your installation. My plans had originally shown the air intake and exhaust on the Southeast roof of the house, but as the house was being built it became clear it would be more convenient for those vents to be located on the northwest side of the house. Making that change left me with a problem of having an MVHR unit with the duct spigots for the internal supply and extract on the wrong side of the unit. Fortunately the Vent Axia units can be reconfigured by taking off the front and back of the unit, disconnecting and removing the control panel, rotating the unit chassis through 180 degrees, then reassembling so that the back is now the front. Having connected all the ductwork, the final thing to do was connect the condensate pipe I had fitted during first fix (which discharges to a rainwater trap outside) to the flexible condensate pipe on the base of the MVHR unit. Having switched the MVHR on, I then went about balancing the system using an Air Flow meter borrowed from my builder. This was a relatively straightforward process and just required minor adjustments to individual diffusers in each room. Our system is currently operating at a normal supply rate of 32% which equates to 150m3/hr. Having measured efficiency during cold and windy weather, it operates at 90% efficiency in terms of temperature differential (room temperature to supply air temperature). In warmer weather, the Summer Bypass, which I have set to come on when internal air temperatures exceed 22C and ambient air is above 10C, automatically activates. If ambient air temperature exceeds internal house temperatures, as was the case last week, the summer bypass remains inactive so that outgoing stale air can cool incoming fresh air (albeit the effect is negligible). As others have found, whilst summer bypass does provide limited cooling of incoming air, it is not on its own enough to cool the house. Cross ventilation by opening windows remains the most effective way of providing such cooling (in the absence of any active or UFH cooling). The final feature worth mentioning is the humidity sensor, which variably boosts the ventilation rate to ensure RH does not exceed the level set in the controller. This also seems to be working well, auto boosting ventilation when showers are used. When cooking, if we deem it necessary, we can manually boost ventilation to assist in the extraction of cooking odours. Overall I pleased with how the system is operating. The one thing I have noticed compared to other MVHR systems we have lived with is the noise of the fans which you can hear through the ductwork. This is the first house where we have used a radial system rather than 150mm main ducts with branches off, so it may be the duct choice, as I can't recall hearing fan noise on previous installations. To combat this issue, I've ordered some self adhesive acoustic foam sheet, and plan to construct a silencer out of scrap MDF and timber, line with foam and externally insulate, to fit between the MVHR unit and distribution boxes. I'll report back in due course how effective this is. The final tweak to the system that I'm considering is fitting a CO2 sensor so that the unit can auto boost ventilation rates as required. Vent Axia want £350 for their sensor which is a non starter, but looking around, the following may be an option as it seems suited to the parameters of the Vent Axia: https://www.digikey.co.uk/products/en?keywords=235-1413-ND Again I'll report back when I've looked into this some more. Next entry - 2nd fix plumbing
-
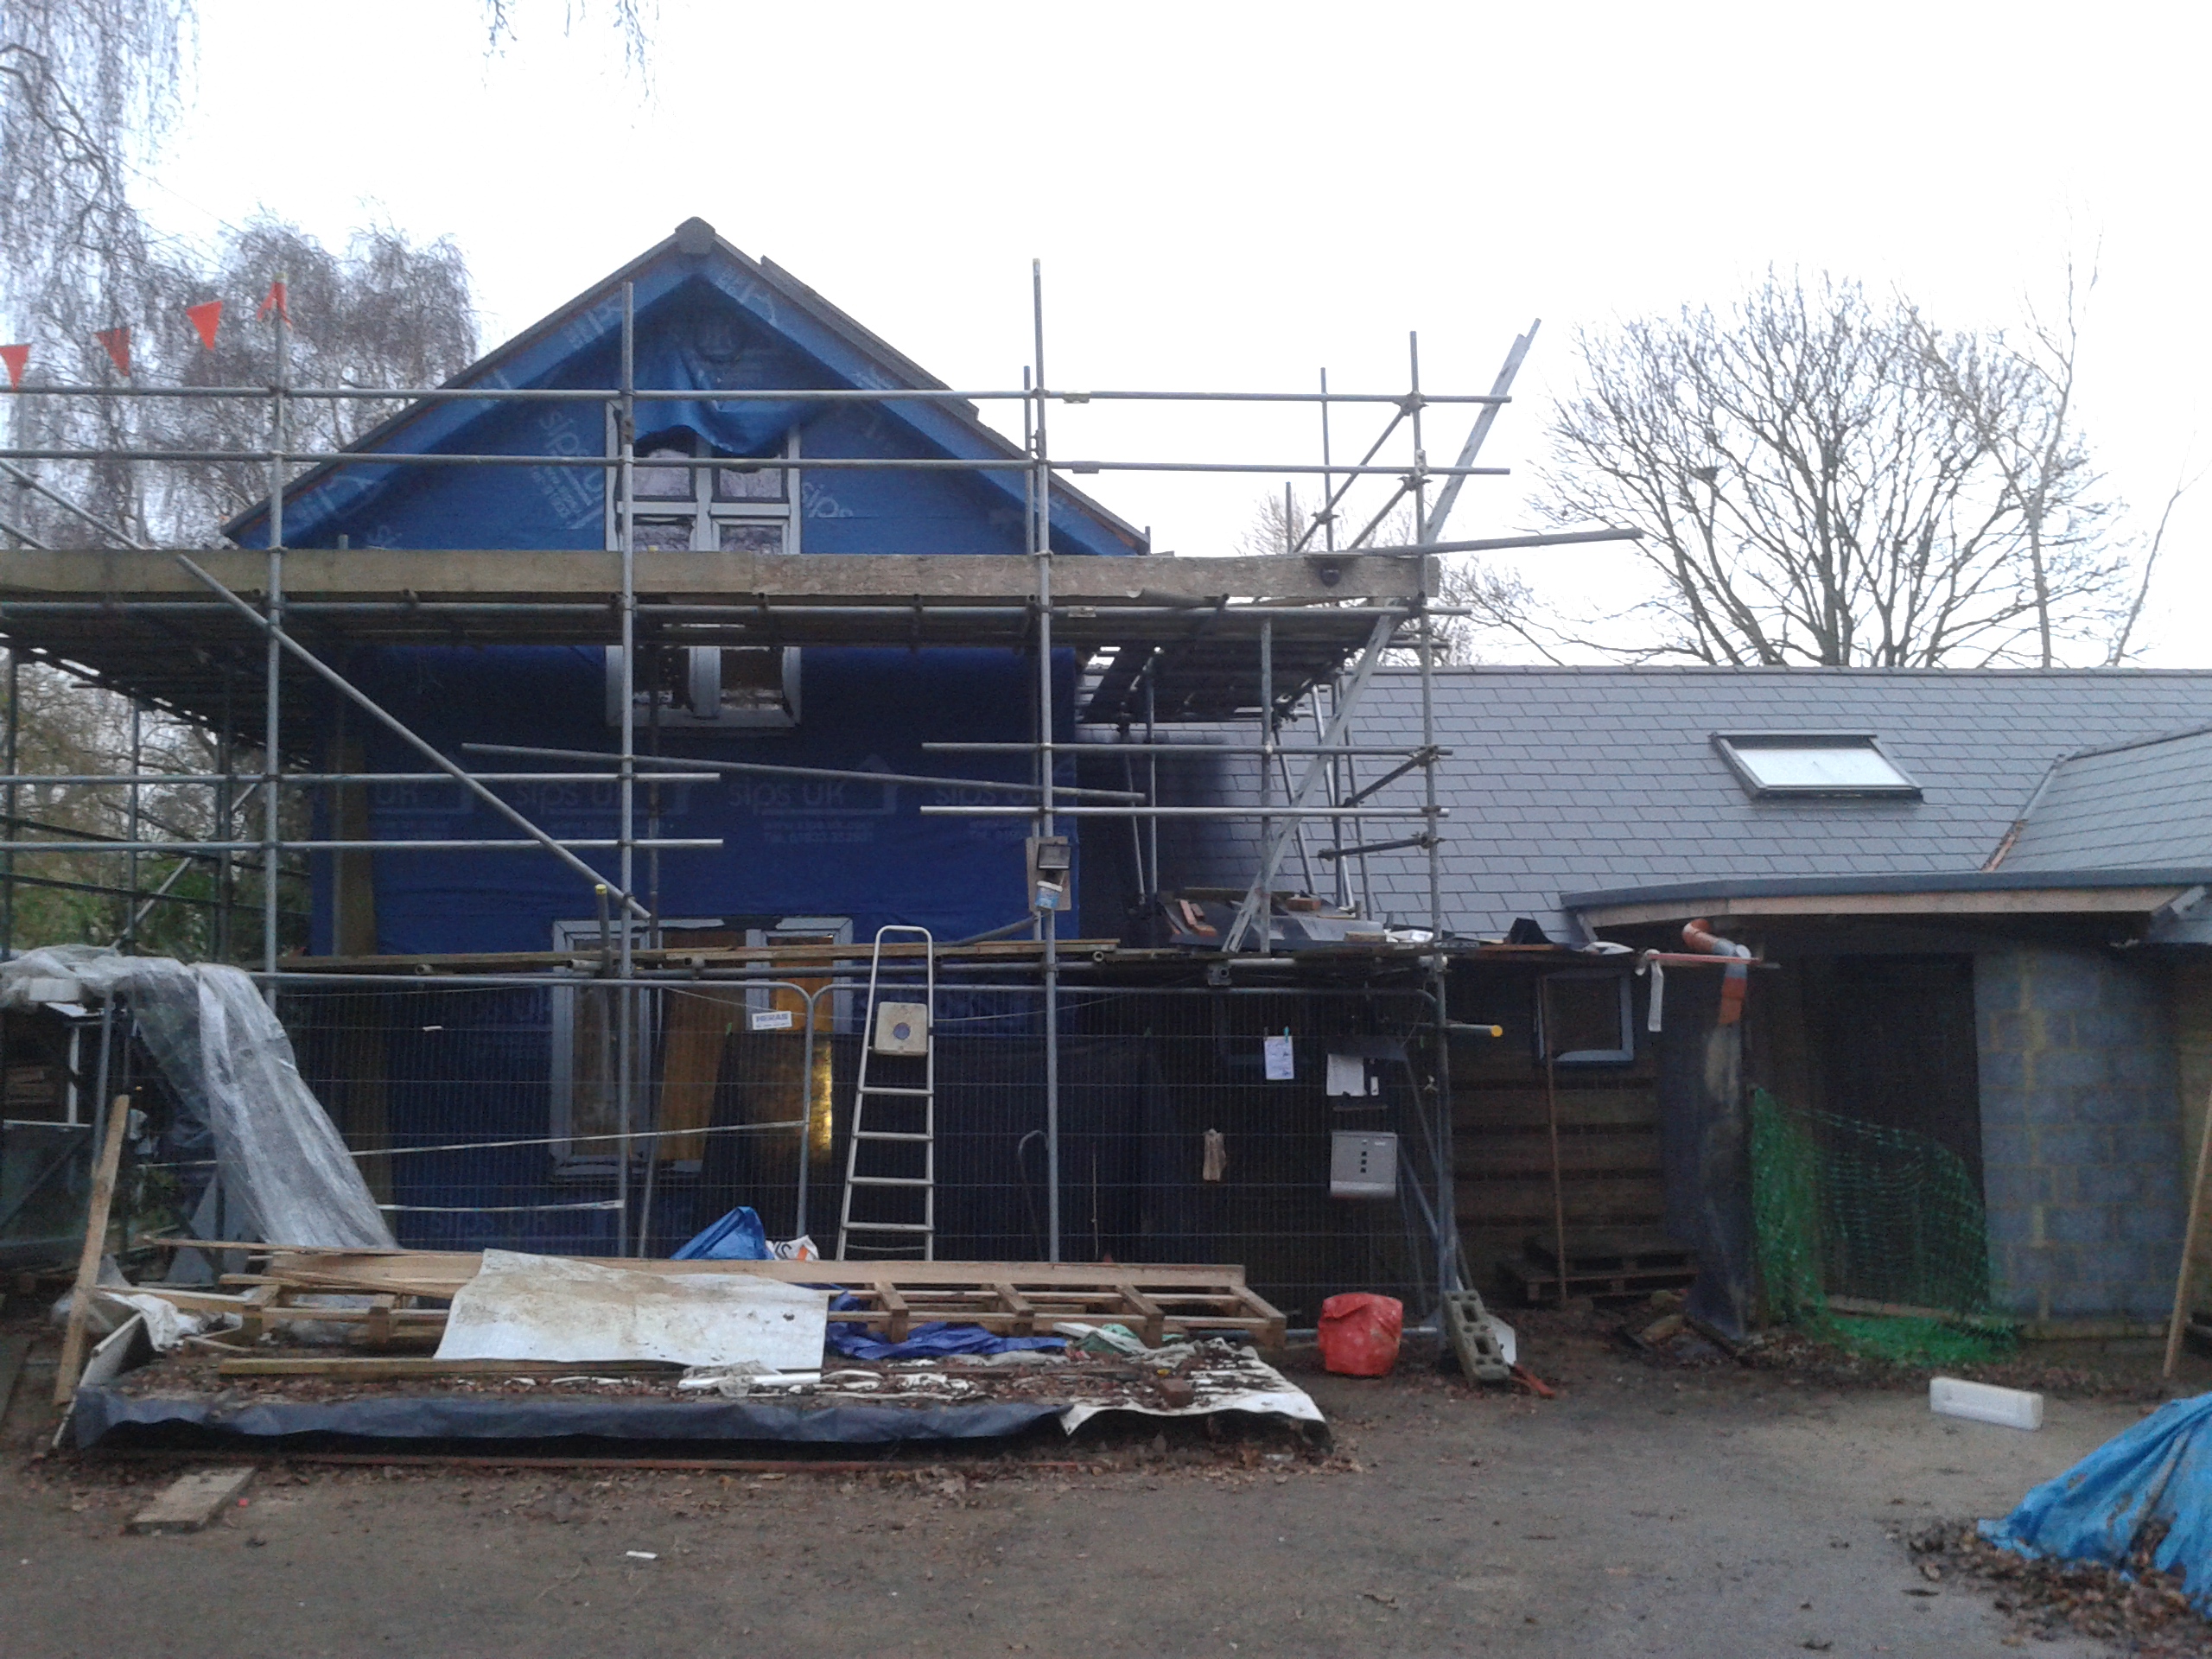
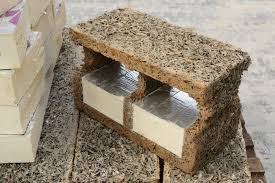
 The harsh interpretation is that we cocked up. The kinder version is that the design evolved: in a haphazard way yes, but it evolved, evolved I tell you! The question: how do I arrange the MVHR ducting between two buildings? The Answer: dig a trench, line it with concrete, and shove the pipes in with as much insulation in as you can (wrap it it in some spare EPS300?) The excuses first: We came too late to ebuild to start our planning with passivhaus in mind. It took us a full year to realise the implications that choosing MVHR would have. It took a further few months to realise that we needed to site the plant room in our piggery. Have a look at this. The Piggery (the plant room) is on the right. There are two six inch ducts and a spare ready for the MVHR unit. The house slab (on the left) shows the ducts entering the heated envelope. The Piggery will also be heated to PH standards. Each of the ducts has two 45 rest-bends underground and have been capped off - until I stop sucking my teeth wondering how to bodge this one. Problem: how to duct the in and out airflows underground without causing condensation My guess at an answer is something along the lines: run a concrete-lined trench between the two buildings to contain the pipes. Lag the Hell out of them. Make sure I can inspect the trench to check for water ingress, and make sure I can drain any condensate out of the MVHR pipes themselves. Maybe even make sure I can visually inspect the inside of the MVHR pipes? My fingertips say that this last bit is desirable, but probably not essential. My worry is that we will have to insulate the pipes as they come out of the trench and return to each building, and that will have to be insulated just as well as the rest of the pipe. In other words, the trench will be the easy bit. I can just see myself under the foundations lagging the pipes right up to the bottom of the strip foundation. Still, if I can't take a joke, I shouldn't have started this should I?
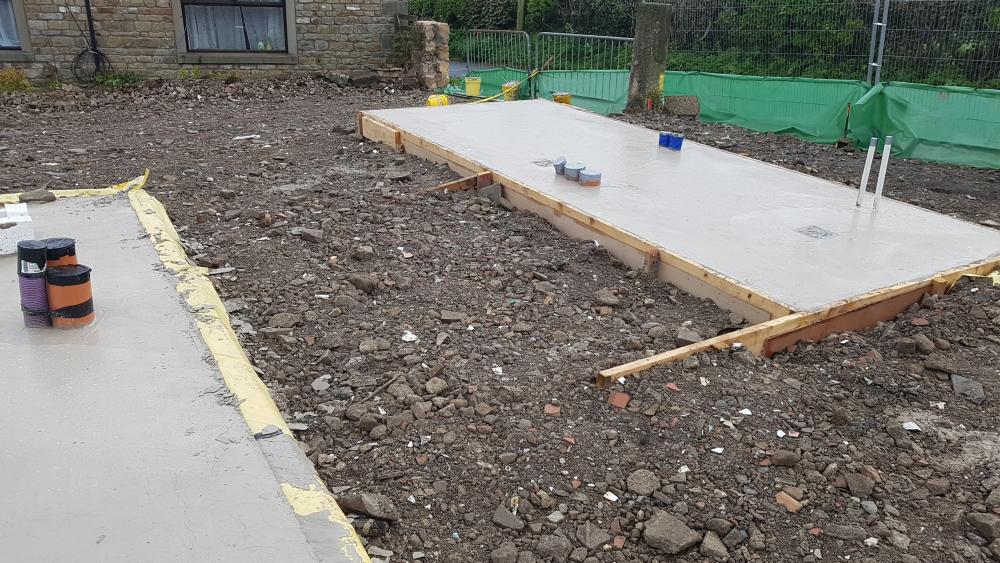
-
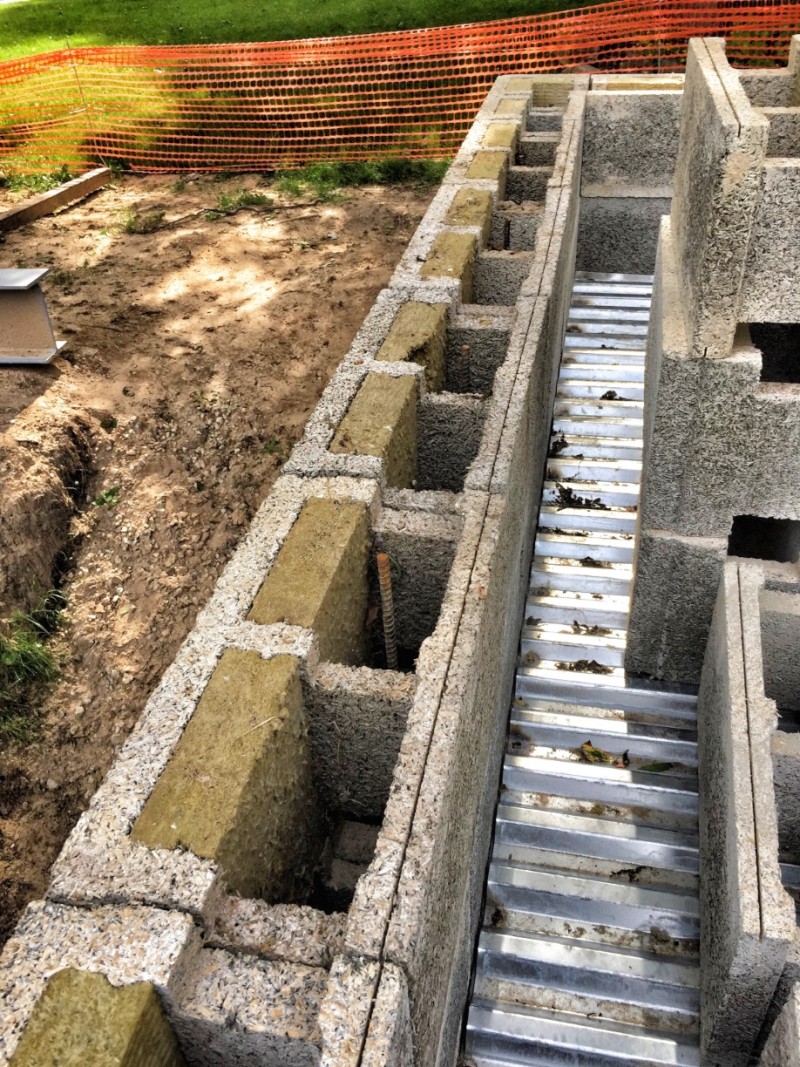
We are building with Durisol. Why? A balance of price, simplicity, build time and thermal performance. This is how they go together.... And concrete gets poured inside the holes. A weeks ago, I bumped into this video and fell to thinking (I really wouldn't mind a few days off that obsession) What if I were to embed my electricity ducting in plastic conduit within the concrete? And so I spent hours digging around. Got nowhere. The videos on YooChube don't allow comments or questions. Rang up the company, spoke to one of the Directors (Tim Bevan) who talked about the sites where he had seen it done. So it can be done. Do you hear the 'BUT' yet? Well I've been trying to think of one, or a few, or some, and got nowhere, except thermal breaks: use plastic tubing once it's in, that's it: not very flexible need to be damn sure the placing is exact : plan properly concrete etches, and eventually destroys the conduit: really? BCO might not like it : ask What might the benefits be? No wall chasing First fit easier Save space in the planned services 'slot' (hardly worth thinking about) I'd dearly luuuuurve to stick my MVHR ducting in it. Now that: that would be brilliant. What do you think? Ian

-
I need to work out my ducting requirements pretty pronto (MBC on site in 3 weeks!), so a few questions then: What colour duct would you put Cat5/6 cables in (wanting a run from the house to the detached garage)? For the run from the cabinet/meter to the house, should you use the flexible ducting or the rigid polyduct? If I want to run electric cables to a few points in the garden (lighting and power), can they all exit the house in one duct and then split off outside of the slab or should they be separate ducts from the house? Similar question to #3 for water I know everyone says put more duct in than you think, but any tips from those that have done it before gladly received!
-
I need about 50m of 110mm ducting for electrical cable - SP Energy have quoted me £93.24 including VAT. Who have you guys used?