


Onoff
-
Posts
21128 -
Joined
-
Last visited
-
Days Won
206
Everything posted by Onoff
-
You could epoxy in a cut down Rawlplug. Or glue something like this in flush: http://www.screwfix.com/p/insert-nuts-type-d-m6-x-13mm-50-pack/59937
-
Being pedantic but might as well have a crack (until I get bored )Can you take a stab at the thermal resistivity at the point where the conduit is, i.e. pb front, block back and 25m insulation either side? (There is no precedent for EXACTLY this detail that I know of). EDIT: With that Inst. Method 2 it says "Multicore cable in conduit in a thermally insulated wall with an inner skin having a thermal conductance of not less than 10 W/m2K". So the inner skin is the pb. On the British Gypsum site I note for 12.5mm it says R (m2K/W) = 0.05. How the two figures correlate I haven't a clue!
-
Why?
-
Don't forget conduit is really meant for singles historically which is why you wont find much definitive & discussed on T&E in conduit in books etc. I reckon Installation Method 2, Reference Method A "enclosed in conduit in an insulated wall" is nearest if we equate T&E to a multicore. In fact the T&E table points to that diagram (Method 2) in very small print at the bottom. http://www.ti-soft.com/en/support/help/electrical/reference/bs7671/tables/table-4a2-schedule-of-installation-methods-of-cables Playing Devil's Advocate here: For 2.5mm T&E, Reference Method A you're looking at 20A current carrying capacity. (Quite a drop from 27A Clipped Direct). Looking at the derating tables then for 2 multicore cables, Ref Methods A to F it's 0.8 ("Bunched in air, on a surface, embedded or enclosed"). For one cable there is no derating factor (well it's "1"). Maybe some mitigation as you're touching plasterboard one side and block the other. So the 2.5mm capacity drops to 16A worst case. I'm sure it'll be better than that as in reality you're not actually covering the conduit in the true sense of the word just foaming up, in ever decreasing thickness to the apex of the tube both sides. This is a ring circuit btw is it?
-
I reckon you could hand stain that a colour then French polish it.
-
Teak, Danish even Linseed oil...? I French polished a gun stock once just for fun. Looked fabulous but no good in the woods. Went back to oil well rubbed in and buffed up.
-
 http://www.screwfix.com/p/rawlplug-hole-cleaning-pump/6995f
 -
French polish it. Very satisfying.
-
CT1 the plastic to the metal.
-
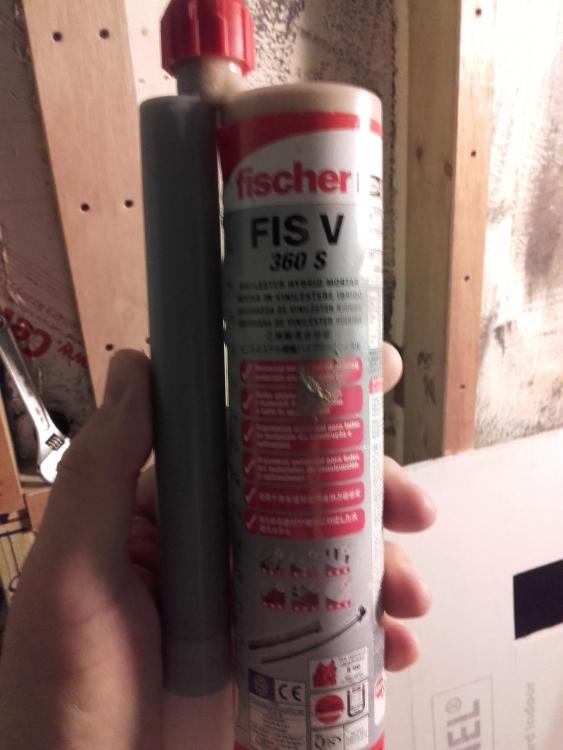
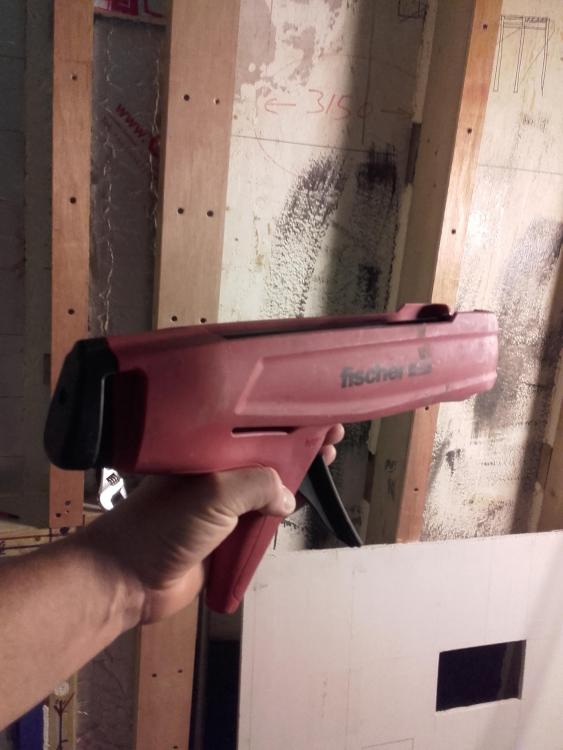
Another + for Fisher: This is used for anchoring safety harness eyebolts etc, Fischer FIS V 360S. It's brilliant stuff. They do a rebar specific one...not sure this is it though: It is two pack as in resin & hardener in separate, piggy backed tubes. Far superior than the stuff that "fits in a normal mastic gun". It takes a special gun. This is the plastic one, they also do a metal version: Tbh I have of late used the DeWalt "standard mastic gun" one for some non critical stuff and it was OK but not Fischer grade to my mind. I got given a couple of slightly out of date Fischer tubes that couldn't be used along with the gun and have used the system to fit M10 studs for supporting some of the heavier timber stud sections in the bathroom, the wc frame etc. Since been buying the resin, not cheap! You MUST get the proper puffer to blow the holes out after drilling. A vac with bit of thin tube is no good nor is a compressor. Each are better than nothing but they only blow/suck in one direction so force loose debris into the sides of the drilled hole. A manual puffer sucks and blows on alternate strokes and really dislodges crap & clears things out. I've tried a Henry and a compressor then the proper tool and more dust always comes out. Before Fischer we used Rawlplug R-Kem. (Their tech support was great). Both systems take special guns. In a previous life way back I used to use Hilti stuff and again special guns required. Think I've still got a couple up the shed people are welcome to if any use. Though I suspect the systems have moved on after 20/30 years and the guns are obsolete. Funny feeling I binned them of late during the Great Clear Out of 2017 which appears to have achieved precisely nothing in terms of "getting tidy"!
-
How about 25mm deep x 38mm wide mini trunking. You could butt your 25mm thick insulation up either side. You'd have plenty of space, air surrounding the cables for some cooling etc. What are the inside & outside faces of the 25mm insulation touching?
-
Got a sketch of what you're thinking? Not sure what installation method this would equate to. Enclosing the conduit in foam with obviously de-rate it's heat dissipation ability. Obviously vertical runs / ducts are more likely to suffer higher ambient temperatures at the top of the run. A horizontal run like yours doesn't sound like it's going to be particularly airtight unless I'm wrong so it'll have "gaps" at the face plates. You want a 35mm box if considering flat plate accessories though some with go in a standard back box. Usually says in the accessory spec. I don't think the regs have really "caught" up with all Passive type wall build up variations.
-
Bath Surround / Boxing In, and concealed pipework
Onoff replied to Onoff's topic in Bathrooms, Ensuites & Wetrooms
Yep, The older UP200 limited me on the choice of flush plates etc. The more modern cisterns have built in take off "Y" branches etc for extracting pan smells so I've had to make my own with help from on here. Never mind. Good find though. -
Bath Surround / Boxing In, and concealed pipework
Onoff replied to Onoff's topic in Bathrooms, Ensuites & Wetrooms
Really like the idea but not sure if it's available for the UP200 cistern with Kappa 20 flush plate? -
Bonding Fibreglass to PVC Pipe
Onoff replied to Barney12's topic in General Self Build & DIY Discussion
I'd have been rolling around on that roof naked it Flash git! Get it...it's like a flashing joke mixed with a heap of jealousy.....I'll get me coat. -
I ever I get a man cave and my stuff had survived the loft I'd love to get mine going: Technics deck / Ortofon cartridge Technics receiver Technics cassette deck Pioneer amp (rack mount) Wharfdale speakers x 4 I was seduced by CD but do miss vinyl and the "whump" as I flicked the Frankenstein switch on the amp.
-
I don't really know my neighbours. Can't really see them anyway!
-
100mm minimum with these panels: You can cut them into strips if it helps elsewhere, I used the multitool: Think I said elsewhere they are only about 30mm thick but that gets taken out of the 100mm slab depth and each "bulge" is about 90mm dia. Tbh with so many pipes that close together I don't think I'd want to compromise the slab there in the bathroom in any way. Going thru the cloak and out that door gets my vote, you'd halve your problems.
-
I've got one of these Polypipe panels spare (plus a few off cuts) if that would help space things: https://www.tdlonline.co.uk/Heating/Polypipe-Underfloor-Heating/Polypipe-Solid-Floor/4100-/Polypipe-Floor-Panel-12m-x-1m-PB08576
-
Open all the doors in the house and turn it up REALLY LOUD!
-
This place any good for you? http://www.fixandweld.com/contact.html Do the plastic disposable cup test CT1 do in their YouTube vid and be amazed! - Fill a disposable cup with water - Slash one side with a Stanley - Seal up the RUNNING WATER gap I was impressed. - Turn the cup around - Slash the other side - Seal it up from THE INSIDE with the nozzle UNDERWATER! Was really impressed!
-
Don't seem to be doing a bad job:
-
OMFG what bodging b'stard did that? Hager btw do some nice slimline maintenance free junction boxes. Don't get me wrong I LOVE WAGO anything.
-
That's one way of paying for it...
-
Get ali rings cut and have them powder coated with say Interpon HT or similar temperature resisting coating? Either that or some very careful cutting to make plasterboard "Polos" to let in and skim flush.


