Onoff
-
Posts
21128 -
Joined
-
Last visited
-
Days Won
206
Everything posted by Onoff
-
We used to regularly take motors off site and dry them in the oven at home. Just watch the plastic doesn't melt. If a tiny bit damp when you stick a "megger" on them you can see them "dry out" as you whack 500/1000V thru them. I wonder if the "iPhone" trick would work. Sling it in an airtight bag with some dry rice to absorb the water?
-
As per title really, best way to move them I find:

-
Make one! http://buggies.builtforfun.co.uk/index.php
-
No but if you find one he could organise it's recovery, shout orders, handle the press and take photos (from a safe distance): (This was back in '97 in his previous life down at Reculver clearing Dambuster's prototypes).

-
Cheaper: Stick @pocster's avatar pic the garage side of the door. Would you come in to that house? If you made it back out it'd leap off the roof onto you...
-
I've NEVER made (4 'ish MHz) QRP transmitters out of old colour tellys if anyone asks!
-
Nick's buying the beers? He could be drinking 10 year old malt if he waits for me to finish! I dustproofed mine (as tiling hasn't been done yet) with thinned down SBR rather than PVA. Something to do with if you use normal PVA and any water gets through the grout it can lift the PVA.
-

Shower, tray, tiles, and all the rest...
Onoff replied to Crofter's topic in Bathrooms, Ensuites & Wetrooms
Fair enough, I'll fit some grab handles to the wall! -
I'm NOT the astronomer. That's my big brother...the barrister...the one who could jump on a plane to watch the elipse in the States. I'm the younger, thicker, less successful one, generally not referred to by name by our parents rather as "...the one who likes wood, metal and playing with wires!" OTA's a Celestron something. It's got motor(s) in it is all I know. Will try and find a pic. Thermal gap, wtf? You'll do well on here talking like that! The plinth is one I copied from photos of an Altair one. I just scaled the photos in CAD and started cutting metal. Sits on a 1200mm cube of mass concrete with a duct for the electrics coming up through into the plinth.
-
I saw the pressure rise as the concrete set. How out of level do you think it is?
-
Would you feel safer working from say a work positioning rope slung from a strong point the opposite side of the roof? It's something you can tug on and think "If I do slip it'll hold me!" Adult nappies are also available!
-
Shower, tray, tiles, and all the rest...
Onoff replied to Crofter's topic in Bathrooms, Ensuites & Wetrooms
So done like this it's pretty strong? You could lean against it without problems? What if you fell against it? What about if two people were "leaning" on it? -
Indoor meter boxes - any regs applicable?
Onoff replied to readiescards's topic in Regulations, Training & Qualifications
Sorry, my mistake. Just read meter box and went mad on the links. Inside, on / below something fire retardent is always good. CEF do "approved" meter boards AND spacers for them to mount off the wall. http://www.cef.co.uk/catalogue/categories/industrial-control-automation-meter-boards-boxes Careful with CEF as it's down to the branch how helpful they are. My local is "No problem, how many?" even if it needs to be ordered from their warehouse. Others have had "Nah, mate don't do 'em". -
Indoor meter boxes - any regs applicable?
Onoff replied to readiescards's topic in Regulations, Training & Qualifications
One of these must be handy for you. Go see if you can as some of the cheaper ones are made from cheaper, thinner plastic than the plastic tray in biscuit tins at Christmas: https://www.tlc-direct.co.uk/Main_Index/Boxes_and_Enclosures_Index/Mitras_Meter_Box/index.html http://fascias.com/Meter-Boxes https://www.meterboxesdirect.co.uk/ http://www.jewson.co.uk/electricals-plumbing-heating/electricals/meter-boxes/ -
Yes it was me that forgot the fibres! Sat there after having done the bathroom slab quite happy then found the bag of fibres! Thank God for the mesh. I am aiming to use them when I cast the wet room tray to the wall drain though.
-
Try a calming can of lager beforehand. Just enough to take the edge off. I wouldn't go much above 4% though.....
-
As long as said help doesn't look like Enrique Iglesias and take on those "special" jobs YOU usually do for the missus!
-
Any chance of posting me a couple of buckets full for my shower tray? So that's 10mm maximum aggregate size? Similar to what I was thinking, to use a 3:2:1 pea shingle/sharp sand/cement mix maybe. I need to decide on the mix and an additive to "toughen" it up.
-
Dark skies? Here's one I made earlier...and FINISHED! I'd post more pics but they were on Photofucket before it got all restrictive to 3rd party links.


-
Should I use conduit for cables in the service void
Onoff replied to MikeSharp01's topic in Electrics - Other
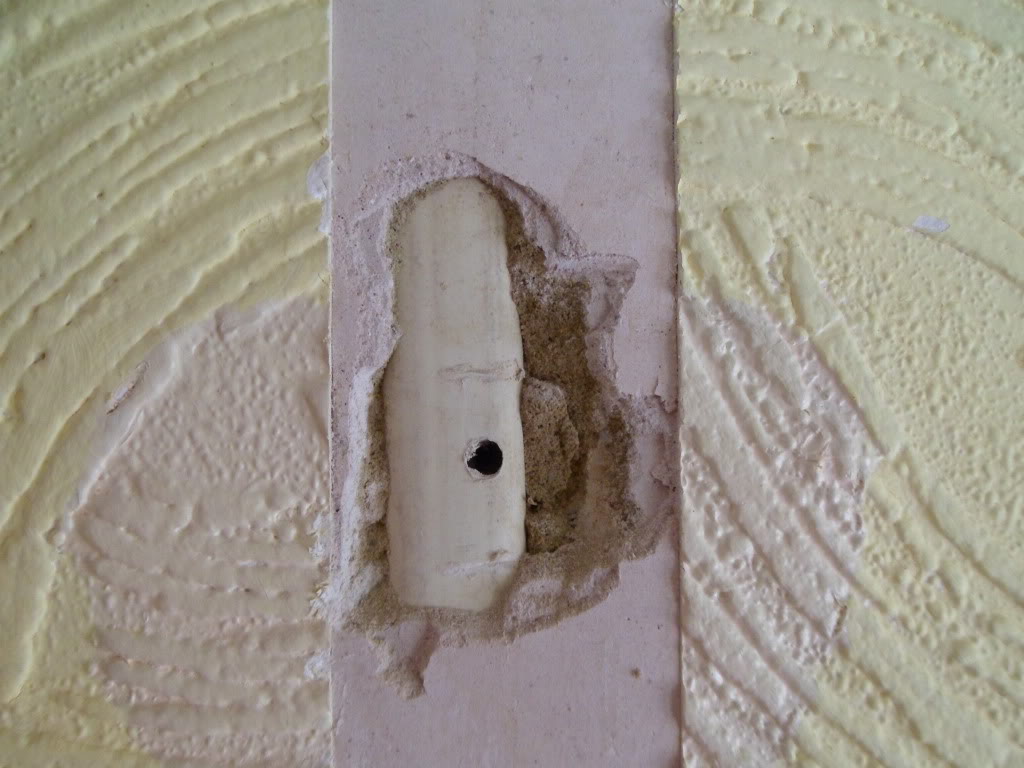
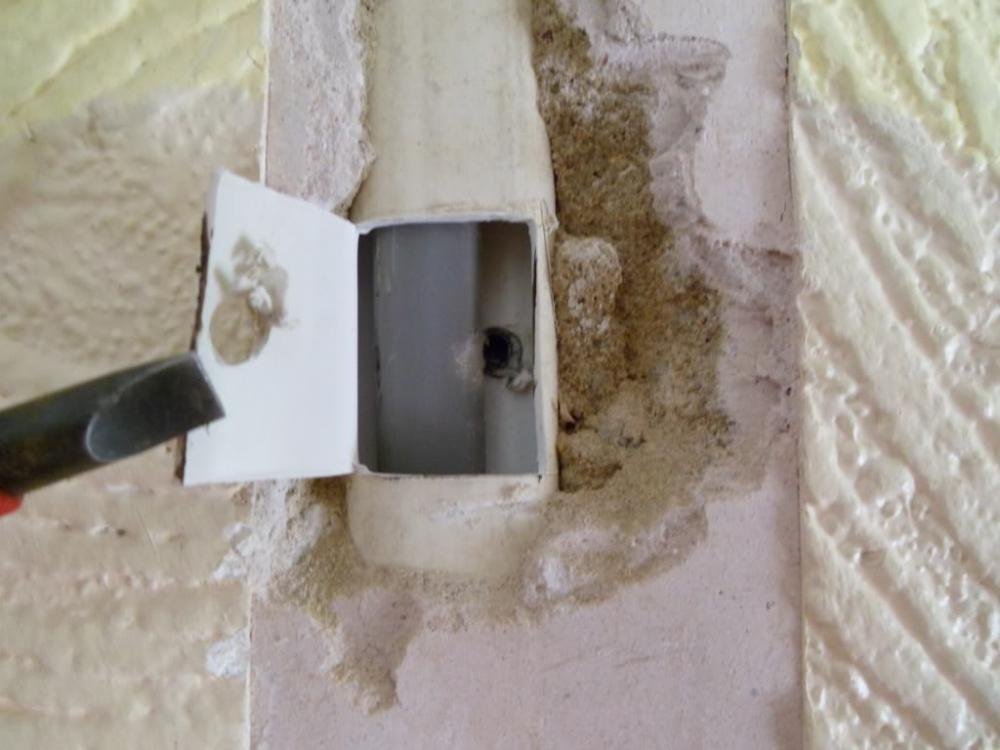
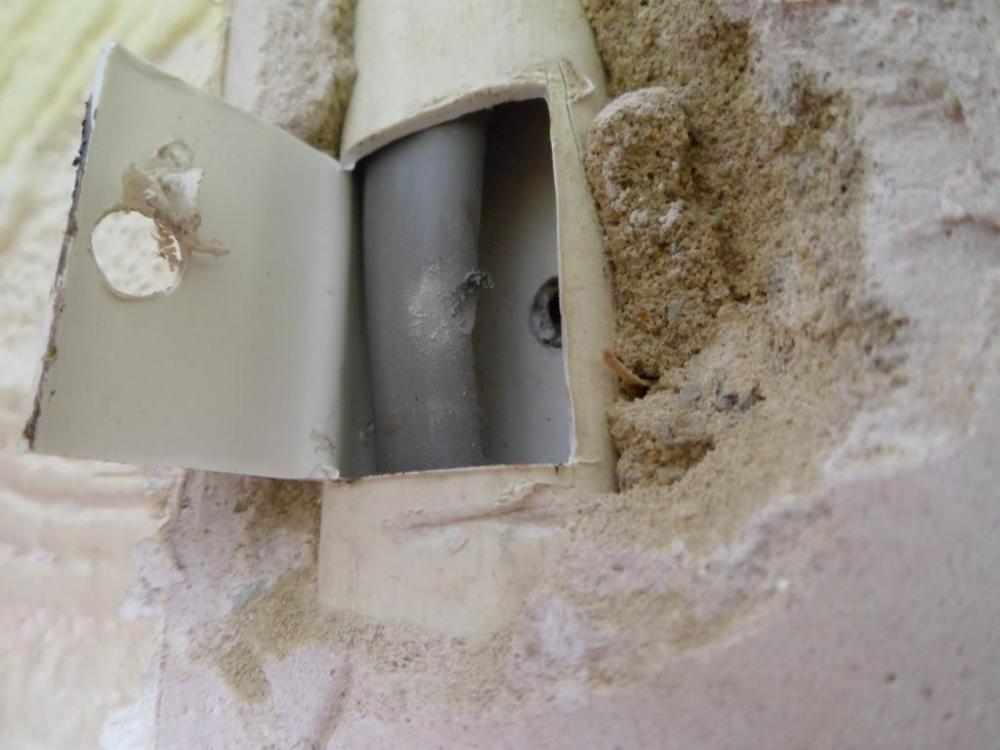
Agree in spades! That's why I'm such a fan of galv conduit. This was mid new kitchen. The place came with a nice dinner gong...I just knew so carefully excavated to show this: A near miss methinks!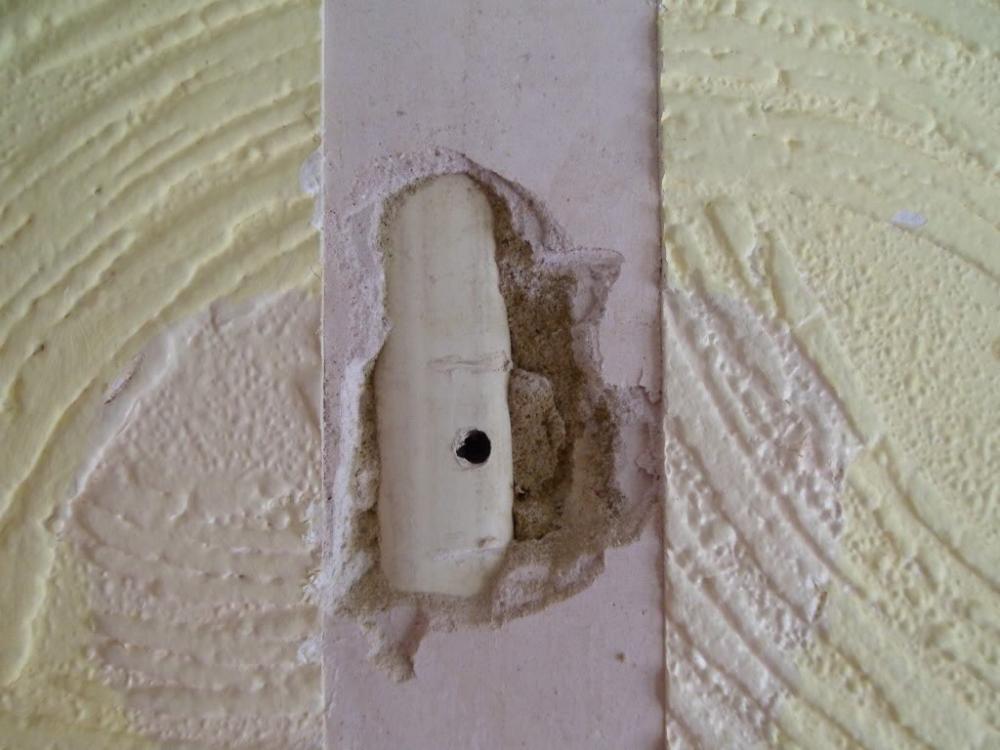

- 9 replies
-
- 1
-

-
- conduit
- service void
- (and 1 more)
-
Bath Surround / Boxing In, and concealed pipework
Onoff replied to Onoff's topic in Bathrooms, Ensuites & Wetrooms
Beer somewhere in pic quite often! -
Should I use conduit for cables in the service void
Onoff replied to MikeSharp01's topic in Electrics - Other
Tbh I've always thought running cable in the 150mm zone either side of an internal corner is bloody silly. It's the first place Joe Public puts shelf brackets. Keep everything in line with switches and sockets and you won't go far wrong. For that matter, 150mm down from a ceiling.....how many people have just banged a quick nail or two in to hold up coving whilst it's setting? -
Should I use conduit for cables in the service void
Onoff replied to MikeSharp01's topic in Electrics - Other
You know safe zones are 150mm from the ceiling, internal corners and then in line horizontally or vertically of sockets, switches? That cable on the lhs wall up by the roof then looks low. Nothing to stop you running horizontal between sockets down low. I'd run in conduit. You could even use singles if it took your fancy. EDIT: Are you using the "50mm" rule to put the cables deeper than the zones? There's always someone who'll put a longer screw in! -
Bath Surround / Boxing In, and concealed pipework
Onoff replied to Onoff's topic in Bathrooms, Ensuites & Wetrooms
Geberit wall drain time...out of character I know but pic heavy! Bear in mind I didn't plan for this type of drain! So I figured out via the CAD where it's going laterally (I hope) and took the multi-tool to the studwork: I've the DPM that comes up from under the floor EPS layer that lapped up over the front of the "sole plate" this was attached with spray adhesive. Because this wall was damp at one time I also ran a metre of DPM up the wall behind the studs: Behind the floor DPM is EPS stuck to the inner leaf of the cavity wall (the green/yellow painted bit): So took a slitting disc to the A142 mesh: And then did some hacking of the PIR on the floor: Along the edge here I made good and squared off the footings. 25mm EPS sits on the main floor area and lips up over the made good footing Under the 50mm PIR is 30mm PIR + the 25mm EPS in the photo above.- this is over the edge of the footings made good. So under the 30mm PIR is the (blue) DPM then 25mm EPS And it drops in: Got to think about this now as with a 2% fall I'd only have about 60mm at the slab edge (best not forget the fibres :). Maybe a 1% slope and I'd gain +10mm. I also need to push it back into the tapered expanding foam layer behind the studs: Thinking I need too to trim those A142 ends that are a bit near to the UFH pipes. -